Hey there everyone! I’m working in my craft room to give it a major overhaul and make it a much more functional and creative space. It also doubles as an office that I share with my husband. It’s not always the easiest thing to do, partly because of a lack of organization. One of the biggest projects we’re taking on is completely making over the closet. I’ve already replaced the closet doors with curtains and I love how much easier it has made it to get to things in the closet.
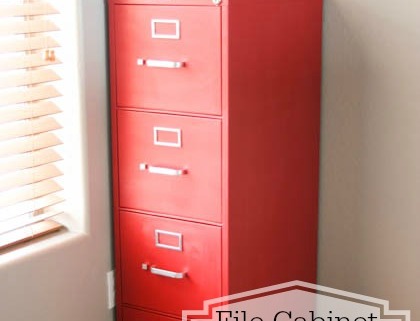
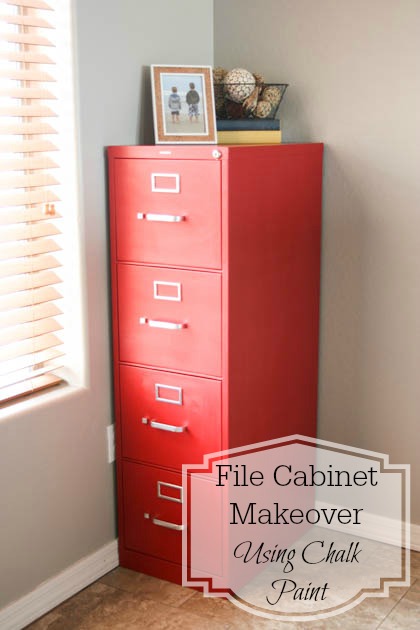
File Cabinet Makeover Using Chalk Paint
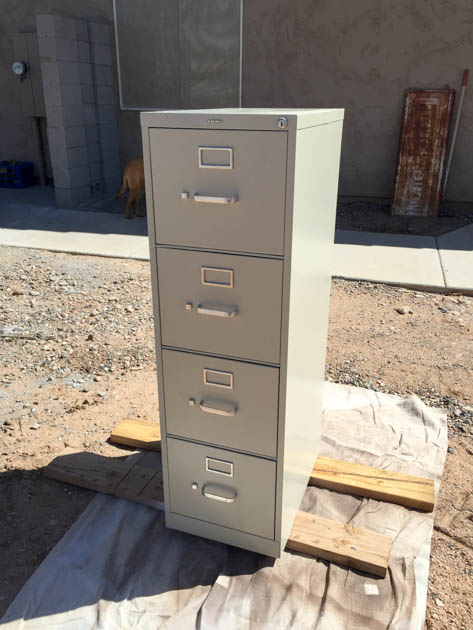
This file cabinet is one of the things that goes in that closet. When we finish making over the closet, it will be moved to a more prominent location that will be more visible, especially if the curtains are left open. Because of that, I decided that the boring beige color had to go and I gave it a quick and SUPER cheap makeover!
Here’s what you’ll need to do this project yourself!
File Cabinet Makeover Using Chalk Paint Materials:
- Paint Sprayer or paint brushes
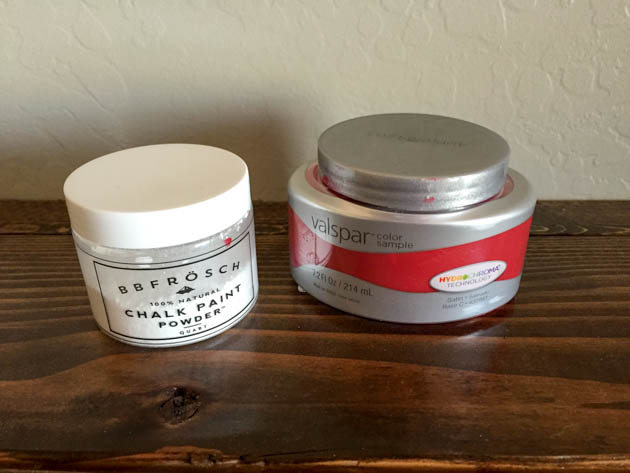
- 2 – sample sized containers of paint (I used Valspar Cut Ruby)
- 1 – container BB Frösch Chalk Paint Powder
- 1 – container BB Frösch Premium Finishing Wax (clear)
- 1 – wax brush or lint free wax cloth
File Cabinet Makeover Using Chalk Paint Instructions:
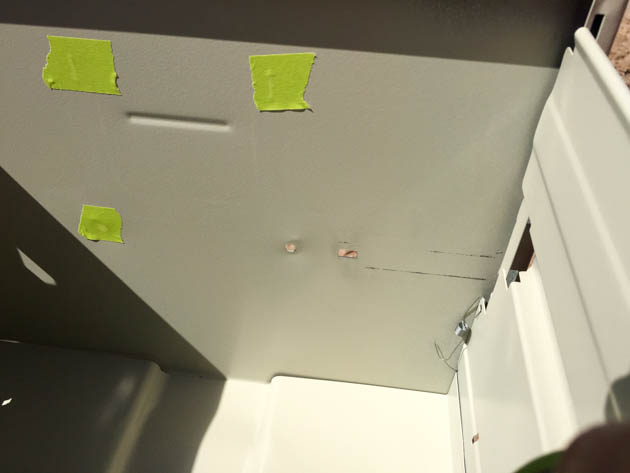
Unless you plan on painting it, you want to remove all of the hardware off of your file cabinet. I wasn’t quite sure how this would go, but it was extremely easy to remove everything. Just a couple of bolts and I was pretty much done!

To protect the inside of the cabinet from overspray or paint dripping through, cover all of the holes from the inside using masking or painter’s tape.
Time to mix your chalk paint. What I love so much about BB Frösch Chalk Paint Powder is that there’s virtually no waste. You mix as you go. I like using the sample-sized paint containers because they’re cheap and if it’s a project where I’m not sure how much paint I’ll need, at least I know I won’t go way over by buying a quart. The other amazing thing is that there’s virtually no prep work.
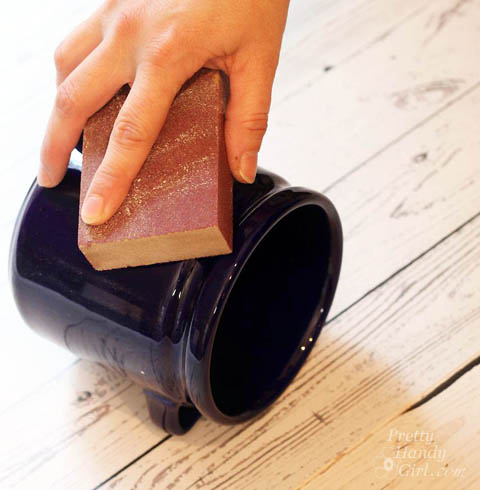
Wipe down the file cabinet with a wet cloth and that is it!
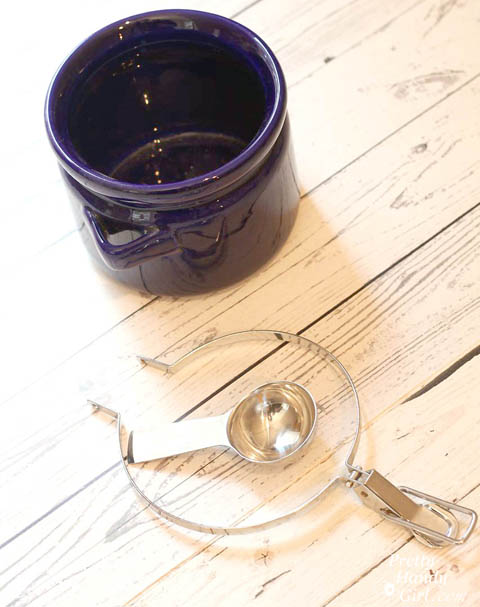
If you choose to paint your cabinet using a roller or paint brush, you can get started from this point. If you plan to use a paint sprayer, you’ll need to prep the paint. First and foremost, strain your paint! Lowe’s sells little cone paint strainers (they look like coffee filters) for $.98 a four pack. Once your paint is strained, you need to thin it with water. The HomeRight paint sprayer that I use comes with everything you need to do this, plus great instructions. Read more