Today’s Rockstar is one of the bloggers that I aspired to be when I started blogging. This gal truly paved the way for DIY Bloggers. Gail is here to show us how to make a headboard bench. Watch closely as she deftly converts an old headboard into a cozy entryway bench.

Gail is the rockstar behind the wildly famous My Repurposed Life! She has the ability to see beyond the ugly junk and trashed items on the curb. She has a way of seeing the beauty in all of it!

I hear the sounds of hammering, Gail is ready to take the stage! Give it up for this rockstar!

Hi there Pretty Handy Girl readers. I am so happy to be here, because I’m a huge fan of Brittany. I’ve followed her blog for a long, long, time.
I’m Gail from My Repurposed Life. If you don’t know me, the blog name sort of gives it away. I mostly blog about repurposing items; saving them from the landfill; and giving them a new purpose in life. Many people who find me through Google, do so by looking for headboard benches. It’s pretty much what I’m known for. Today, I’m going to share one of my all-time favorite headboard benches with you.

A supply and tool list is at the bottom for your reference.

I got two sets of these bunk beds for a steal at a thrift store. They’re not typical of the headboards I normally pick up—I prefer larger headboards.
You can see the piece in the back is slightly larger than the one in the front. That identifies it as the headboard.

You can see the headboard is in tact, but the foot board was cut on the miter saw right above the brace, leaving the top half of the foot board for another project. At this point you decide how deep you want the seat of your bench to be.

I used scrap 1×4’s for the side that connects the headboard to the foot board. All of my boards are secured using a Kreg Jig and pocket hole screws.

See how easy? the bench is already formed with a few simple steps, you could stop right here and add a seat. However, I knew I wanted to do a little something extra for this petite bench. Read more
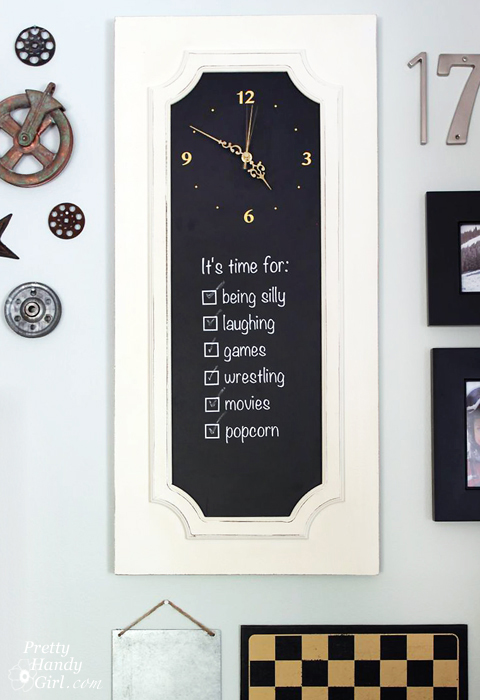
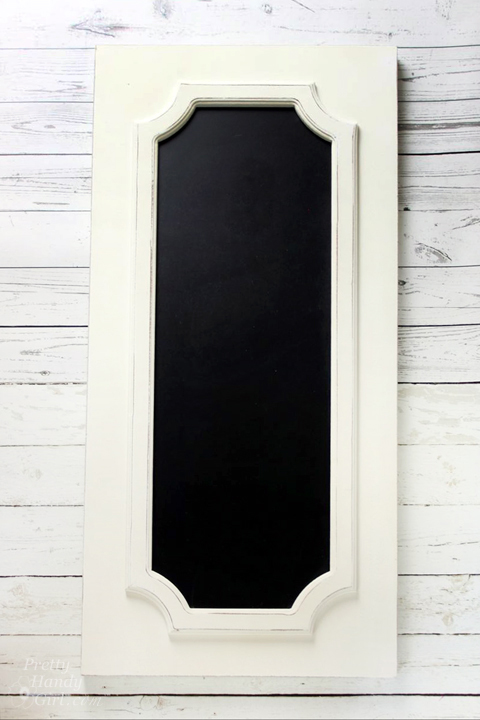
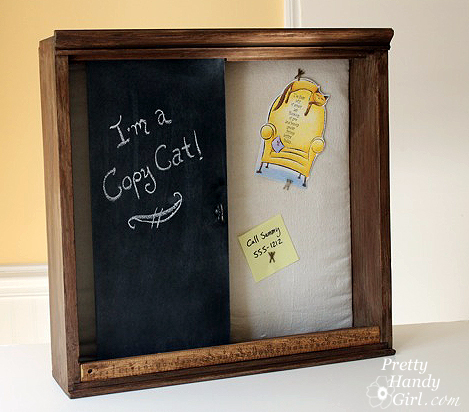 Rustic Chalkboard Wall Organizer