Quick Kitchen Cart Makeover with BB Frösh Chalk Paint Powder

Quick Kitchen Cart Makeover with BB Frösh Chalk Paint Powder

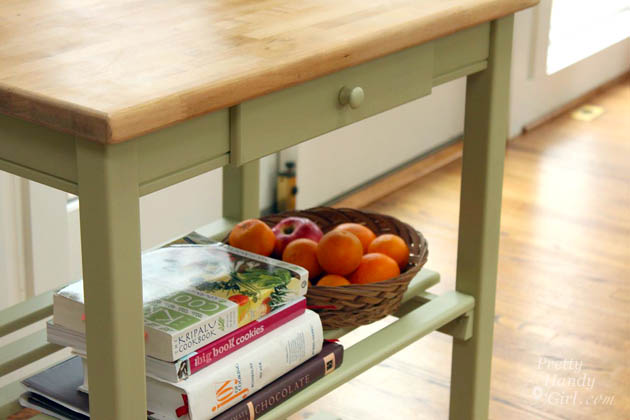
It seems I have a penchant for painting my late grandmother’s old furniture. You may remember the coffee table I wrote on of her’s. This kitchen cart was Grandma’s, but it had seen better days. It has been hanging out in my Dad’s kitchen for years now. My sister Caitlin decided to rope me into giving this kitchen cart a quick makeover over the holidays.
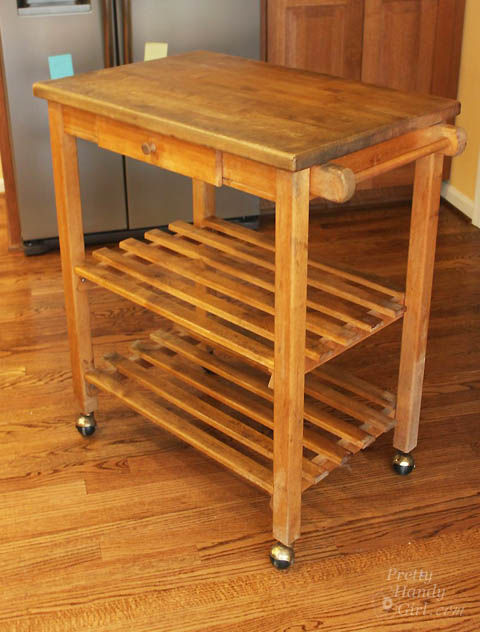
Quick Kitchen Cart Makeover with BB Frösh Chalk Paint Powder

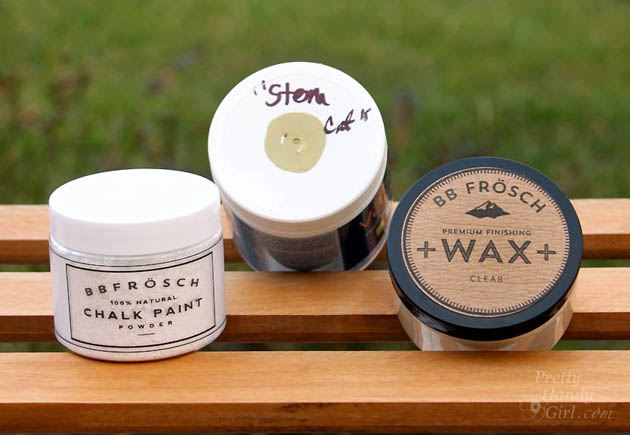
It actually turned into the perfect opportunity to try BB Frösch Chalk Paint Powder. The powder is mixed with water first and then any flat latex paint to create a smooth, durable chalk paint that can be painted directly over any surface regardless of whether it is bare wood, metal, or previously painted. Primer is not needed! For a soft durable finish, you can add a coat of BB Frösch Clear Wax.

Quick Kitchen Cart Makeover with BB Frösh Chalk Paint Powder

I can’t wait to show you how this chalk powder works and how quickly you can give furniture a makeover.

Materials:

(I’ve included affiliate links for your convenience. I earn a small percentage from a purchase using these links. There is no additional cost to you. You can read more about affiliate links here.)
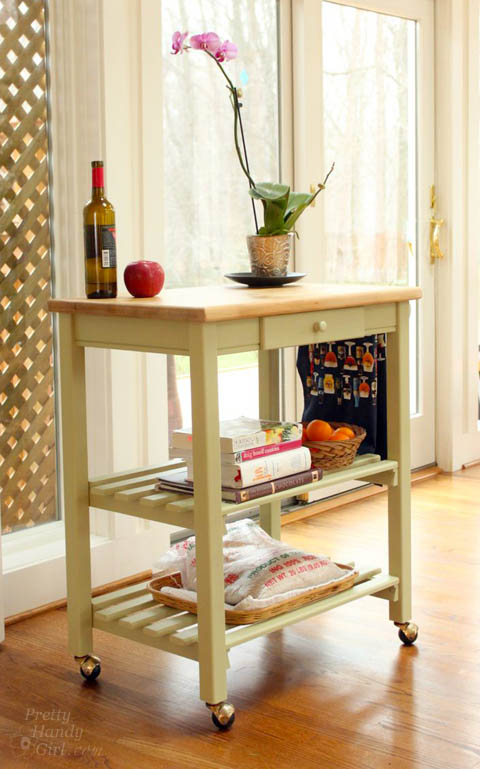
Quick Kitchen Cart Makeover with BB Frösh Chalk Paint Powder

Optional (for butcher block top):


Instructions:

Begin by wiping off your kitchen cart with the damp rag.
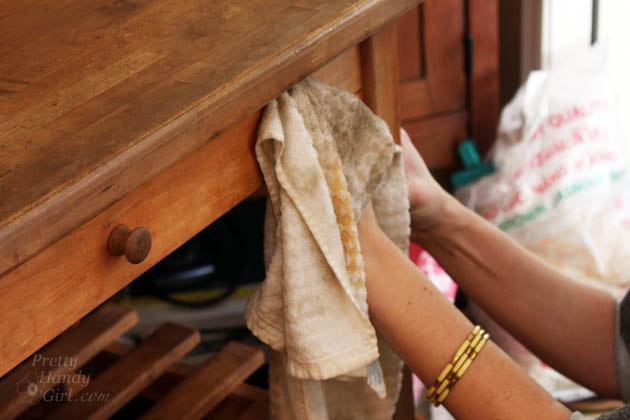
Quick Kitchen Cart Makeover with BB Frösh Chalk Paint Powder

To remove the butcher block top, turn the cart upside down and remove the screws holding the top in place.

Lightly sand the rest of the cart with a sanding block. It helps to enlist the help of one adorable niece for this step. Read more
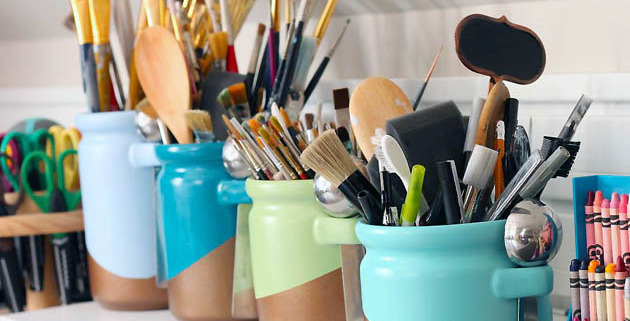
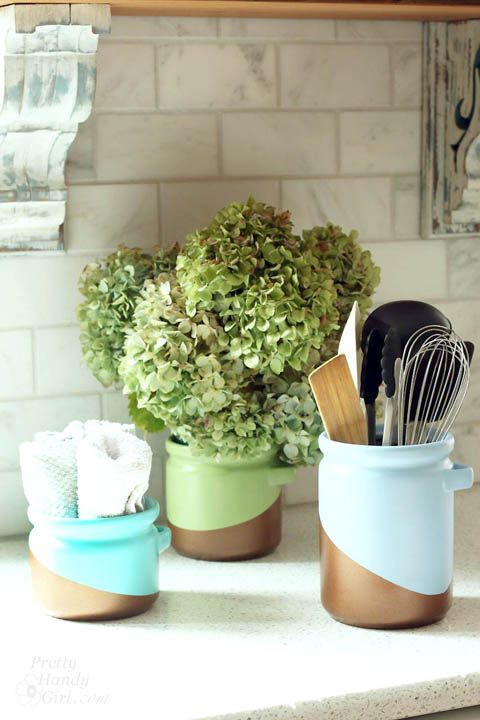
Metallic Color Block Canisters | Pretty Handy Girl

Metallic Color Block Canisters | Pretty Handy Girl

I’m back with another easy Lowe’s Creative Idea this month. When you get tired of your cobalt blue canisters you can easily spray paint them with a metallic color block pattern. That’s exactly what I decided to do with my thrift store canisters.

I’ve been on a major mission to purge things I no longer use or love from my house. I have almost completely filled our dining room with things to donate. I had contemplated donating my cobalt kitchen canisters because the color wasn’t making me happy anymore. But, then I realized that I could give them an entirely new look with some spray paint.

Materials:

Instructions:

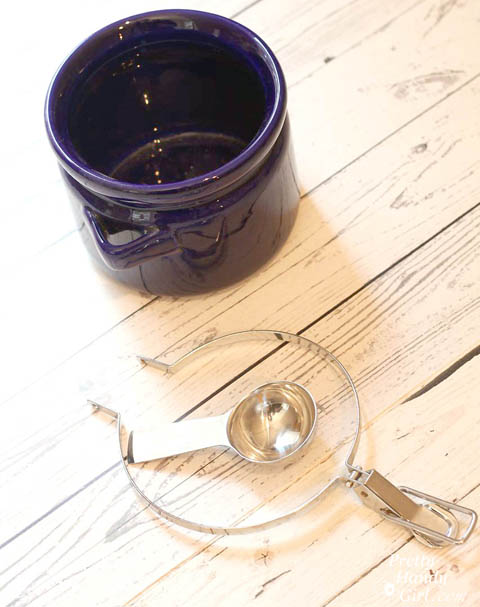
Remove the lids, the metal ring, and spoons from your canisters.

Metallic Color Block Canisters | Pretty Handy Girl
(Wood plank photo backdrop courtesy of Leen the Graphics Queen.)

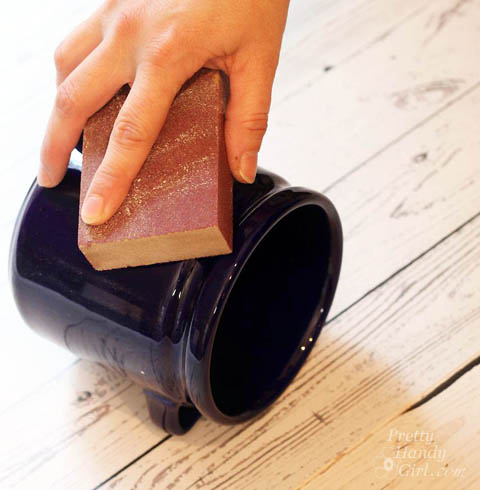
Use a sanding block to lightly rough up the surface of the canisters. Wipe all the sanding dust off with a damp rag.

Metallic Color Block Canisters | Pretty Handy Girl

Spray the outside and base of the canisters with Valspar Premium Primer. Read more
rustic wine bottle centerpiece

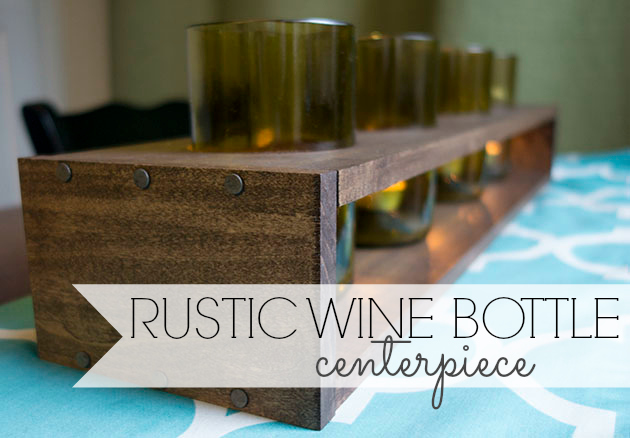
Hey everyone!  Jacque here from The DIY Village again to bring you another quick DIY tutorial! A few years ago I was given a really cool set of drinking glasses made out of old wine bottles.  Recently we purchased some new glasses but I wasn’t ready to donate the old glasses quite yet and decided to come up with a way to recycle them and keep them functional in our home.  After some thought, my rustic wine bottle centerpiece was born.

MATERIALS:

  • 1/2″ x 4″ x 4′  Poplar Board – Cut into 2- 5 1/2″ wide pieces
  • 1/2″ x 5 1/2″ x 4′ Poplar Board – Cut in half
  • 12 – 8 Penny Nails (Truss Hanger Nails)
  • 1/8″ Drill Bit
  • Drill
  • 3 1/2″ Hole Saw
  • Clamp
  • Sandpaper
  • Drill Press
  • Straight Edge (Speed Square)
  • Sliding Rule Square
  • Walnut Gel Stain
  • Foam Brush
  • Paper Towels
  • Pencil

Instructions:

measure in

Start by cutting the 5 1/2″ board in half to leave you with  two boards approximately 24″ long.

measure over 7

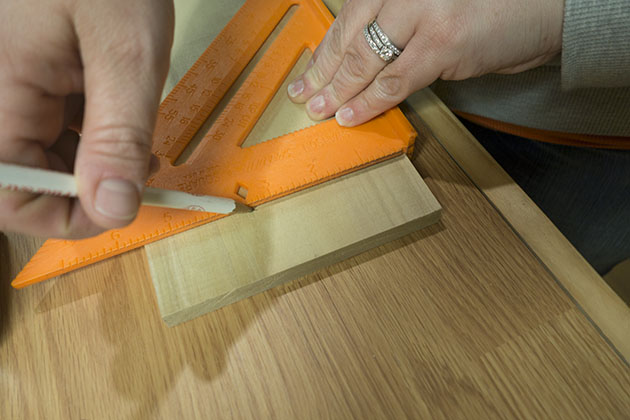
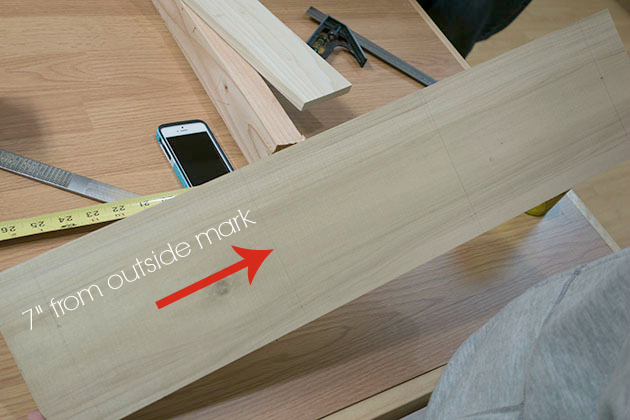
Measure 3.5″ out from the center line and mark a line with your speed square. Repeat on the opposite side of your center line. Measure 7″ out from the two center lines and make a mark with your speed square. These will be the center points for your four openings.

find center

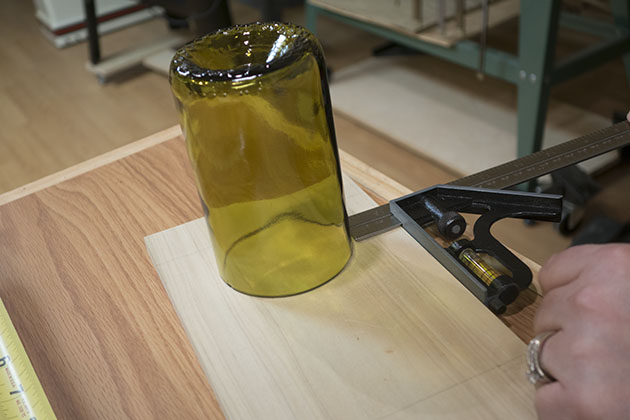
Use the wine bottle glass as a guide to help center the glass on the board.  Set the sliding rule square and use as a guide so that the glasses will be straight across the rest of the board.  Using a pencil to trace around the outside edge of the glass, repeat for all four holes. Read more
Racing Stripe Mirror Makeover | Pretty Handy Girl

Racing Stripe Mirror Makeover | Pretty Handy Girl

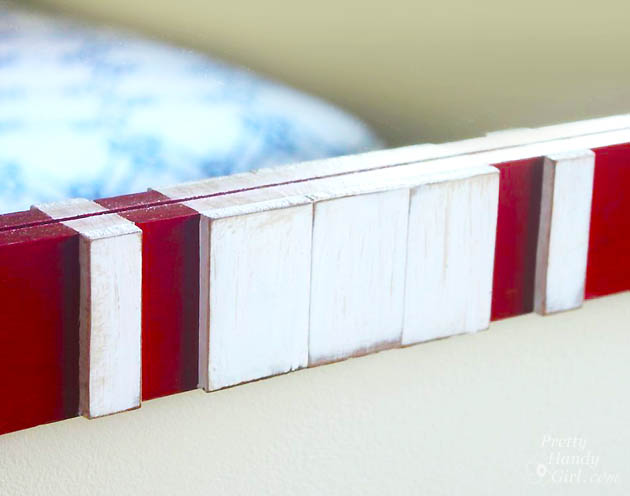
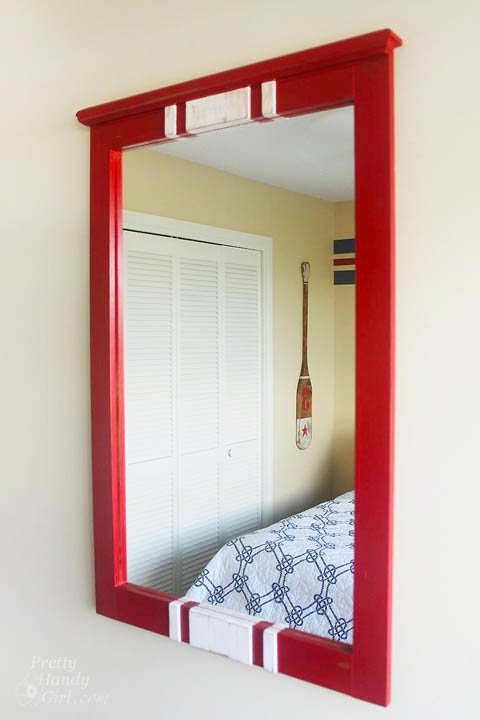
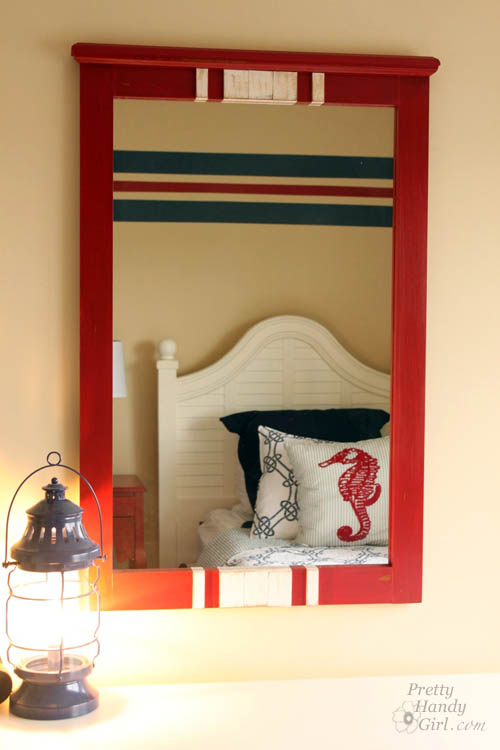
While my sister and I were renovating the Topsail Beach condo we had a strict budget. Finding a large mirror for less than $15 was challenging until I found this mirror with potential. I know my sister was doubtful, but I had a vision. Some red milk paint, lattice and glue would make this racing stripe makeover complete!

Racing Stripe Mirror Makeover | Pretty Handy Girl

To transform the mirror, I disassembled the top and cut off the panel portion using my Dremel MultiMax. I salvaged the top crown moulding and re-attached it to the new top of the mirror with glue and finish nails.

Then it was time to add stripes.

Materials (some links are Amazon affiliate links):

Instructions:

Tape off the edge of the mirror where it meets the frame. Paint two coats of Miss Mustard Seed Tricycle red paint onto the frame. (See this post for painting with milk paint.)

Racing Stripe Mirror Makeover | Pretty Handy Girl

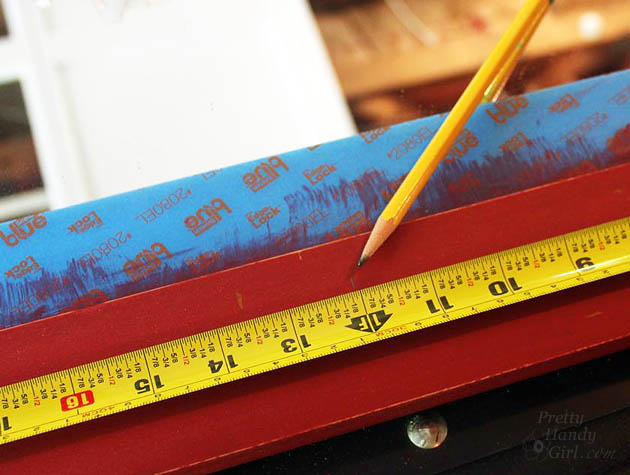
After the paint dries, wax it or leave it unfinished. Mark the center of the frame at the top and bottom of the mirror.

Racing Stripe Mirror Makeover | Pretty Handy Girl

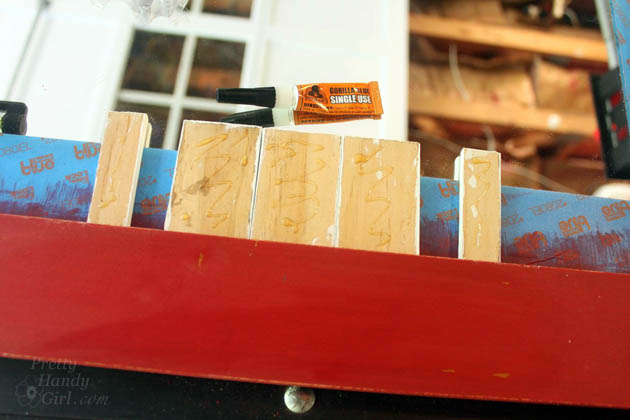
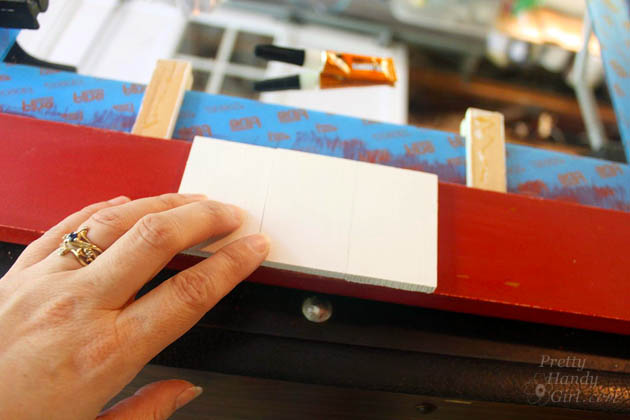
Cut pieces of lattice to fit the mirror frame width. (I used three pieces of lattice and cut a fourth piece in half for the outer stripes.) Pre-paint the lattice pieces ironstone (white) and let dry.

Wet the frame and the back of the lattice. Apply a small amount of Gorilla Glue to the backs of the lattice.

Racing Stripe Mirror Makeover | Pretty Handy Girl

Line up the center lattice piece with the pencil mark. Attach it and the other two pieces beside the middle lattice.

Racing Stripe Mirror Makeover | Pretty Handy Girl

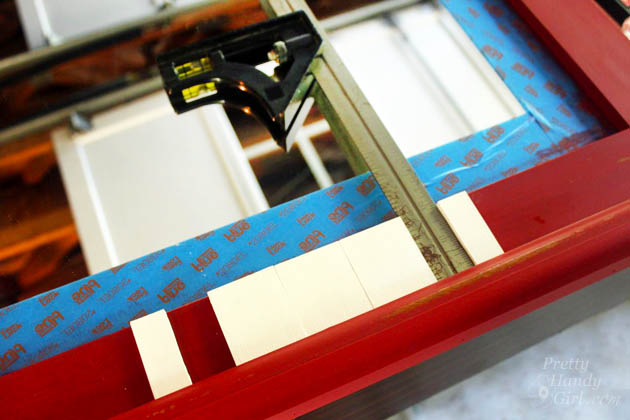
Use a ruler to create a space between the middle stripe and the outer small lattice piece. Glue the outer pieces in place.

Racing Stripe Mirror Makeover | Pretty Handy Girl

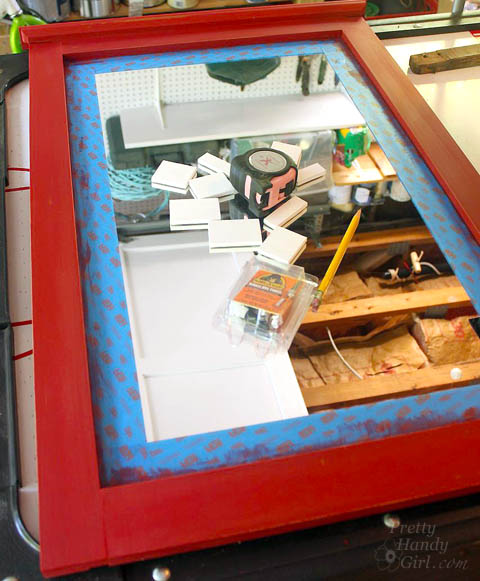
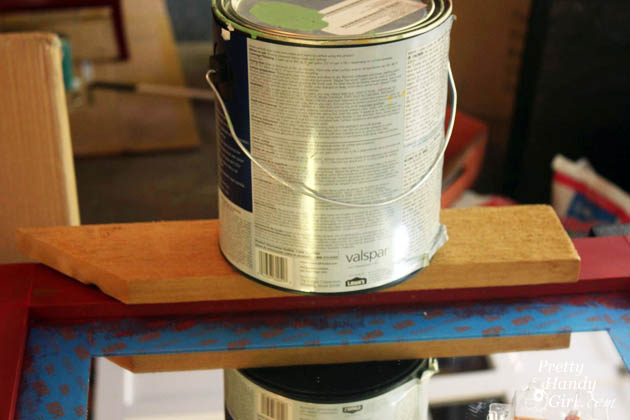
Set a weight (or paint can) on top of a scrap board and the lattice pieces while the glue dries.

Racing Stripe Mirror Makeover | Pretty Handy Girl

Remove the weight. Paint the top and bottom edge of the mirror frame white to create the illusion that the stripe continues around the frame edges. Distress the lattice pieces with sandpaper if you want a rustic look.

Racing Stripe Mirror Makeover | Pretty Handy Girl

Hang your mirror on the wall and admire! Not bad for $15, two coats of paint, and some scrap lattice!

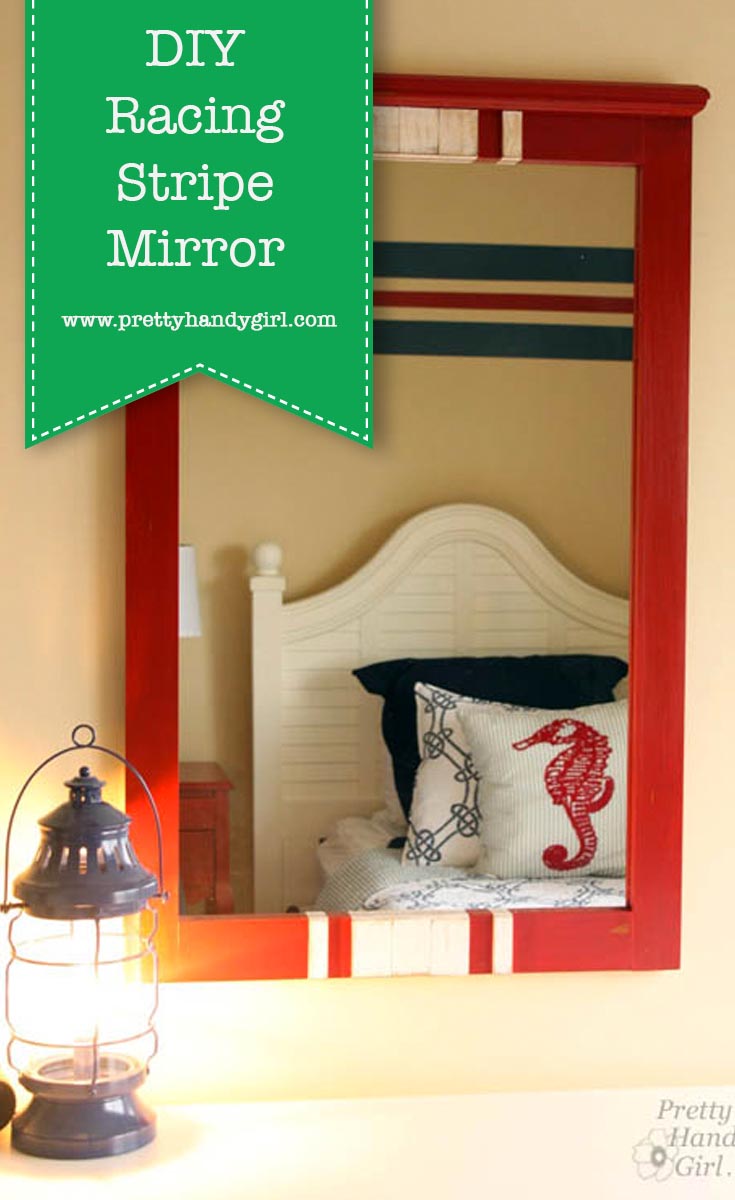
Some red milk paint, lattice and glue transform this $15 find into a charming racing stripe mirror perfect for a boys' room! | thrift store makeover | DIY mirror | mirror tutorial | #prettyhandygirl #DIY #tutorial

The mirror hangs happily in the twin bedroom at the Topsail Beach Condo. Click here to see the rest of the condo!

Some red milk paint, lattice and glue transform this $15 find into a charming racing stripe mirror perfect for a boys' room! | thrift store makeover | DIY mirror | mirror tutorial | #prettyhandygirl #DIY #tutorial

Hope you never turn down a $15 mirror again ;-).

PHGFancySign


Pin for later!


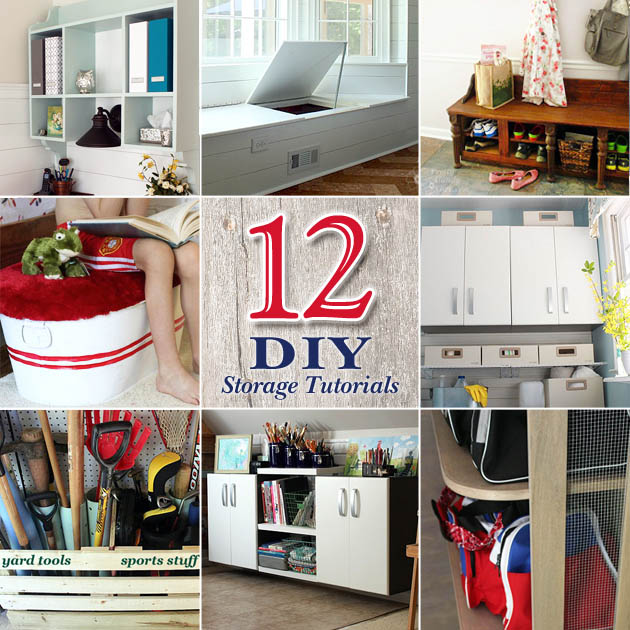
12 DIY Home Storage Tutorials | Pretty Handy Girl

It’s January and you know what that means! Time to clean and purge the house of all the excess stuff. Last year I was too busy with projects to purge, so this year I’m taking advantage of some warmer days to clean out our home. I hope you’ll excuse me while I’m in clutter busting HELL mode. In the meantime you might enjoy these 12 DIY Storage Projects to help you organize your home (and hide clutter.)

mudroom_shoe_storage_bench
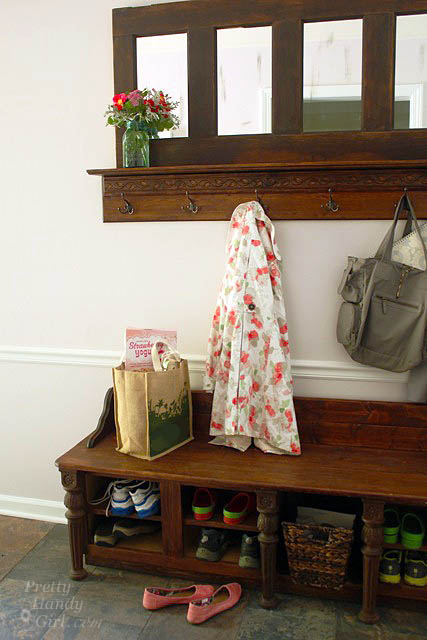
Make a Coat Rack from an Old Door
 and Make a Shoe Storage Bench with Kitchen Cabinets

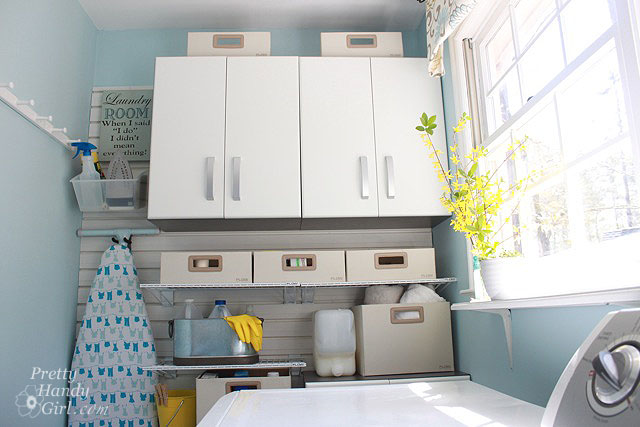
full_flow_wall_above_washerLaundry Room Storage using Flow Wall Read more