After years of painting rooms, I have perfected the process and can tell you that 80% of a professional paint job is in the preparation. Today’s post will be about properly prepping your room before painting. Then I’ll post next week on how to paint your room like a pro.

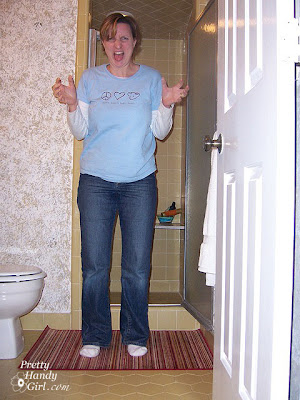
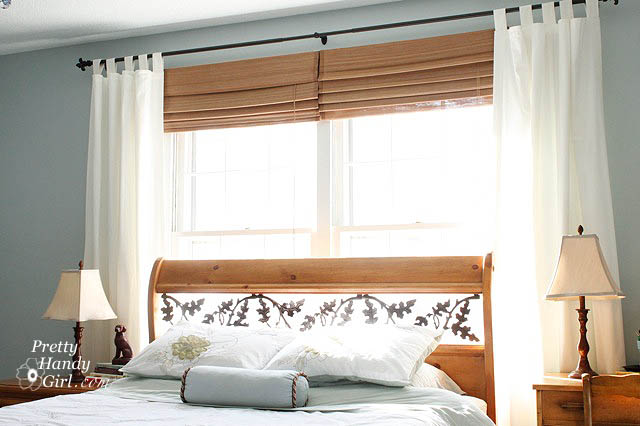
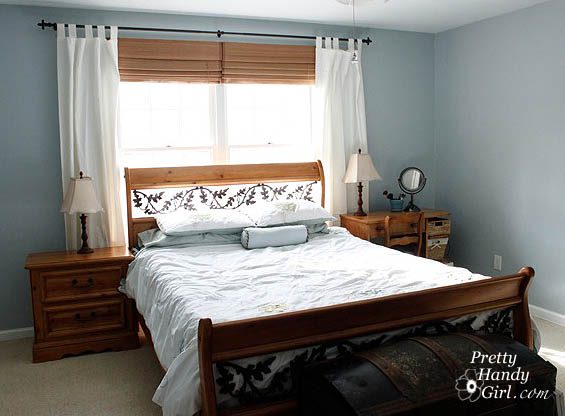
Start by removing everything from your room that isn’t bolted down to the floor (notice how I said “floor”.) You will be removing anything that is attached to the wall. That includes towel bars, TP holders, pictures, outlet covers and switch plate covers. I will allow you to leave a light fixture if it is a sconce style. But, otherwise, get it out of there, ALL of it! We are doing it we’ve started painting like a pro.

painting like a pro outlets

But, how do you remove those toilet paper holders and towel rods if you can’t see the screw?

painting like pro towel rods

Here is the top secret, hidden location of those wall mounted accessories. Get down on your hands and knees and look up. Underneath there is a teeny tiny hole.

painting like pro diy tip

And inside that hole is usually either a hex screw or a flat head screw. You will need a little hex wrenches or flat head screwdriver to undo the screw. A flashlight may also be helpful. Turn the screw until you can pull the fixture off the mounting bracket.

painting like pro fixtures

Once your room has been emptied, bring in the tarps, towels, newspapers or plastic. Cover anything that is left in the room. Painter’s drop cloths work the best, but they can be expensive. I usually use plastic drop cloths, then put a folded towel in the entrance of the room to wipe my feet on should I step in any drips.

Even the neatest painter will drip paint! And if you are a klutz like me, you may even step in the paint tray. (Not a good thing.)

pro painting floors

Are you paying attention? This next task is the most important to truly achieve a professional paint job (in my opinion.) Have you assessed the condition of your walls. Do you have any holes or dimples in it?

patch dywall holes for painting

You will need to patch any and all holes (unless it is a picture hanger and you are going to use the same hanger after painting), HERE is the tutorial for patching all types of holes.

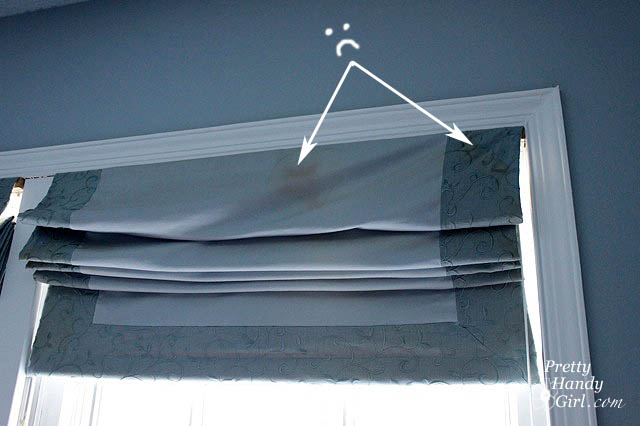
Okay, no holes now, but do you really know how smooth your walls are? Well, turn off the lights to find out!

smooth pro painting tip

And don’t forget to bring a flashlight. Aim your flashlight parallel to the walls and let the light beam skim the surface. Suddenly you will see all the imperfections. The bigger ones need to have some spackle or joint compound added to smooth them out. Any hills or bumps need to be sanded down.

Soon your walls will look like this!

pro painting tips spackle smooth

Yikes, looks like some kind of pox virus.

After your spackle or joint compound is dry, be sure to sand it smooth.

pro painting sand smooth

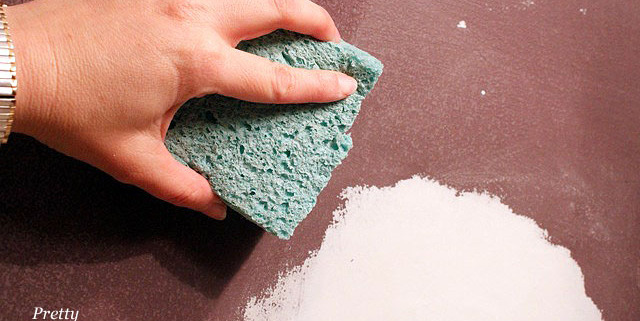
Then use a damp sponge and a pail of fresh water to remove any and all dust. You will probably need to rinse out your sponge frequently. (Especially if you patched as much as I did.)

painting tips clean patches

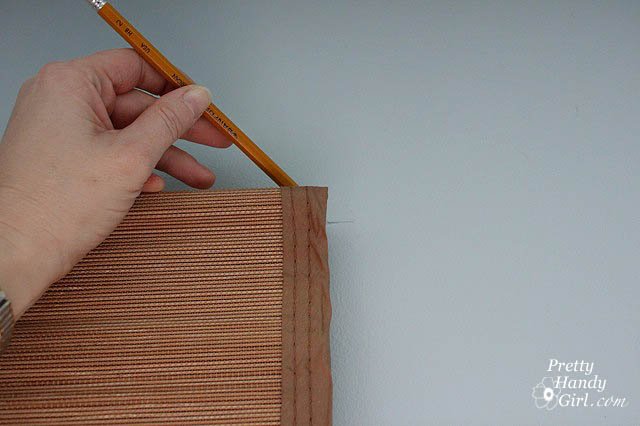
Time to tape!  Start by taping any light fixtures or permanent fixtures in the room. If you are re-painting your entire room (ceilings, trim and doors) I’d wait to tape the molding and door or window trim. For our downstair’s bathroom I knew I was going to repaint the trim too, so I left it exposed to be sure I got the wall color all the way down to the trim and even onto it. Tomorrow I’ll show you why I do this.

painting molding

If you don’t need to paint your trim, you can use a handy dandy tape dispenser like the one below, but honestly, I can tape off the trim just as fast by hand (after years of practice).

painters tape tips

Here is another little pro painting secret, if you want to keep the paint from bleeding under the tape, you can seal it with matte medium (available at artist supply stores.)

painter tape tricks

Simply pour a small amount into a cup and then brush it on the edge of your tape where it meets the surface you are going to paint.

sealing painter tape

This puts an invisible seal over your tape edge. It won’t work ALL of the time, but it will really cut down on any seepage and therefore any touch ups you have to do later. You’re well on your way to painting like a pro!

Other Steps in this Series:

Step 2. paint and sheen

Step 3. painting your room and finishing touches

pretty handy girl painting like a pro

Happy New Year! I love January 1st. It is a new beginning, with new goals, resolutions and a chance to start fresh.

We had an open house style party on New Year’s Day. I was talking with my friend Leslie about how little changes can really make a big difference in your home and attitude. It is better to make some small alterations to your home instead of waiting to make bigger changes. We all have many reasons for waiting:

  • Lacking Money
  • Lack the skills
  • Lacking a vision
  • Lacking time
  • Lacking motivation
  • Insert your own reason here!

When we first moved into our home I didn’t want to do anything to our master bathroom because I knew we would need to gut it one day.

But, I can’t tell you how awful I felt every morning as I stepped into that hideous bathroom.

Finally I stopped waiting and made a few changes. I didn’t rip out the tile, I just added some paint, stain and new fixtures. And it really made me happy! Sure I still have to step into a harvest gold tile coffin to shower. And I will have to wait until we have the funds to renovate the room one day. But, at least that room makes me happy for now.

So, in the spirit of a fresh start, I decided to give our Master Bedroom a little face lift this week.

Our bedroom was the first room we painted when we moved in, and I stopped loving the room last year. Especially when these showed up!

Yuck, I’m not sure how our roman shades got stained. I think it might have been from the vaporizer I run in our bedroom because I can’t find any other places where water could have penetrated the window.

I admit, I was in a holding pattern. I found myself stalling, thinking that I had to wait until we scraped our ceilings. Then we could re-do that room.

The truth is that I had all the supplies to give our room a mini-facelift. Back when Layla posted about her new window treatment in her master bedroom, I was all eyes!

Our bed is situated in the same location as her’s (in front of two windows.) I had struggled with what to do with our bed and those window until I read her post. Luckily, I was able to find these natural grass shades at Bed, Bath & Beyond on clearance. $9.99 per blind! SCORE!

Thank you Layla@TheLetteredCottage for sharing your window treatments!

But, I waited another 2 months to do anything with those blinds! Sheesh, I can’t believe it took me that long to pull on my big girl “go ahead and do it” panties?

I started by removing the old stained blinds. Sadly I sewed them myself only three years ago. Sniff, sniff.

Then, I held up the new blinds to the height I wanted them. I hung them higher than the window to give the illusion that the window was taller, and also to be sure not to block too much natural light from the room.

Made a mark on the wall with pencil.

Next, I used a level to mark a line across the whole window.

I measured the width of my blinds and held up the first bracket at one end. Lucky for me I had already located a stud near the one end of the blind. (Read about stud finding HERE.)

Here is the first trick you NEED TO KNOW about hanging any window treatments! Those screws that come with blinds will not hold up your window treatments over the long haul even if you are screwing them into a stud. Especially if you have small children that may try to play Tarzan on them one day.

The wimpy 1″ screws are not long enough to go through the drywall and into your studs. And DO NOT expect them to hold if they are simply screwed into drywall either.

Be sure to purchase some extra drywall or wood screws that are 2″ long.

Also have some of these wall anchors on hand at all times! They screw into the wall when a stud is not behind your bracket. I can’t tell you how much better these are than those cheap wall anchors that you get for free.

Next I drove the screws into the bracket using my cordless drill. (Finishing off at the end with a screwdriver.) I used two of the wimpy screws and two longer screws.

I repeated the process to hang the other bracket. Then followed the directions for hanging the blinds I bought.

I was able to hang the other side the same way and used my level line to make sure both blinds were hung at the same height.

Next I adjusted the cord stop and pulls to fit our windows. Because the blinds weren’t custom made for our windows, they hung down below the window sill. I started by closing the blinds to the bottom of our windows. Then moved the small stop bead to the top of the cord.

Next I moved the pull knobs to a location in the middle of the blinds, added new knots to hold them there and then cut off the excess.

Next up on Pretty Handy Girl. How to hang curtains and a no-iron way to iron your curtains!

Plus, I have some more frugal changes that cost me – ummm – nothing! I added a big graphic element to the side wall (Tutorial HERE.) I know, sorry to tease you like that, but if you follow me on Twitter, I gave away the secret there.

Until then, I encourage you to embrace the New Year by making a small change to a room you really don’t like.

  • Try hanging a new picture.
  • Try hanging new blinds or curtains.
  • Cover up something you don’t like with fabric.
  • Buy some new throw pillows.
  • Change around your accessories.
  • Or switch out your bedding.

If you have a little more time and energy, It really is amazing what a new coat of paint can do for a room!

So, please don’t wait. Make yourself happy! Change out something today! It doesn’t mean you have to buy something new.

I am planning on swinging by our local Goodwill this week. You should have seen the lines of people donating their items before the new year (myself included!) I bet there are some treasures to be found this week.

Addendum: Monique sent me an email asking if she would be at risk of electrocuting herself when using the longer screws. Good question Monique. Here is my answer:

When I used the 2″ screws I was screwing them into the studs. See THIS post to determine how to find a stud. It is about halfway down the post past the bench assembly. Electrical is not normally in a stud, occasionally it is run through a stud, but the 2″ screw is actually only penetrating the stud about 1/2″ to 3/4″. Sometimes electrical wires are fed through a hole in the stud, however, it is normally centered in a 2″ x 4″ stud, so about 2″ back. But, normally electrical is not run up near the ceiling through studs (where I was hanging the blinds). The electricity for your outlets is down near the outlets. The electrical for your ceiling light would run vertical from the switch and up through the ceiling. Most of those wires are either loose in the cavity between the studs or stapled to the middle of the stud (about 2″ back).

If you are mounting your bracket into the drywall cavity (not a stud) I wouldn’t use just the screw. That is where I would use the plastic toggler anchors that I showed above. The cavity in the drywall is 3 3/4″ deep (the width of a stud.) Should an anchor touch the electrical (which that would be rare, it is sheathed in thick plastic and would normally flex away from the anchor. Plus, because it is plastic it wouldn’t conduct electricity.)

In other words, long explanation short, you don’t need to worry about shocking yourself if you are using anchors in the hollow areas and 2″ screws into the studs.