Rustic Metal Magnetic Window Frame | Pretty Handy Girl

Galvanized Metal Magnetic Windows | Pretty Handy Girl

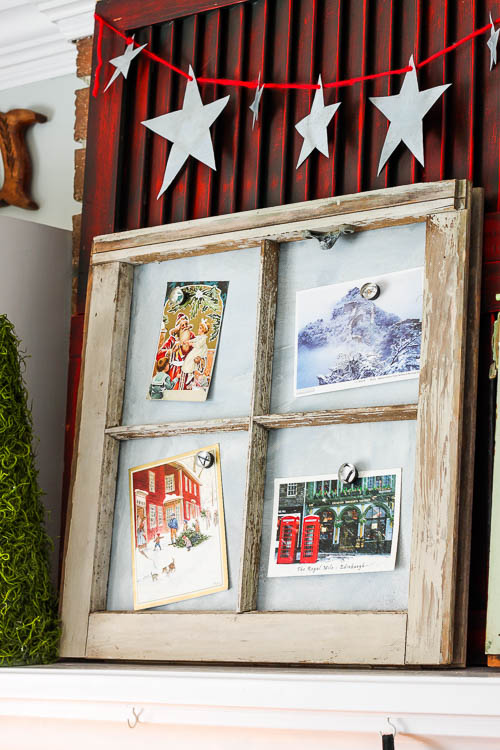
I was really inspired by Laura Putnam’s new book: DIY Rustic Modern Metal Crafts. I love the look of aged galvanized metal and knew that our home needed more of it. Today I’ll share with you a tutorial to create your own Rustic Metal Magnetic Window Frame, inspired by Laura’s Vintage Window Memo Board. But, you’ll definitely want to get a copy of Laura’s book to learn how to make 34 more storage and decor items using galvanized metal!

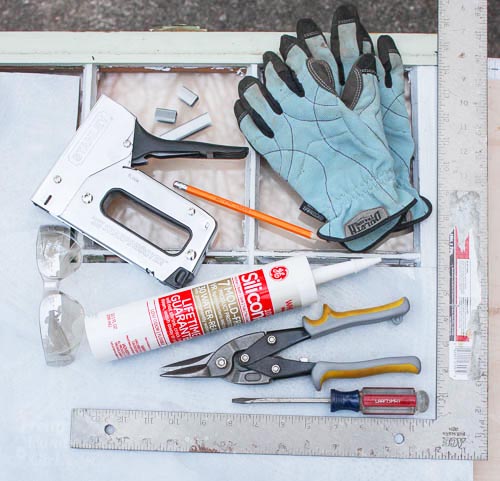
Materials:
(contains affiliate links)

Galvanized Metal Magnetic Windows | Pretty Handy Girl

Optional: Silicone Caulk (for more secure metal)

Instructions:

Ready to make your own Rustic Metal Magnetic Window Frame? If you have newer galvanized metal, you can easily add an aged patina to metal following this tutorial. Prepare ahead of time, because it might take up to 8 hours to get the look you want. The sheet you see below was left overnight in the solution to get a nice white patina.
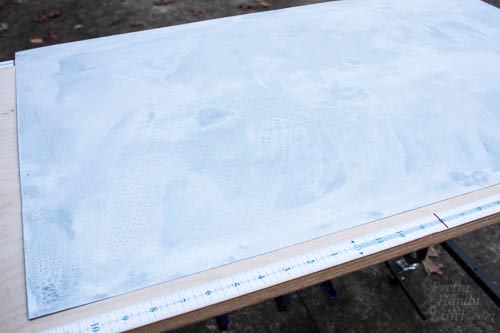
aged-galvanized-sheet-metal

Remove the glass panes from your old window.
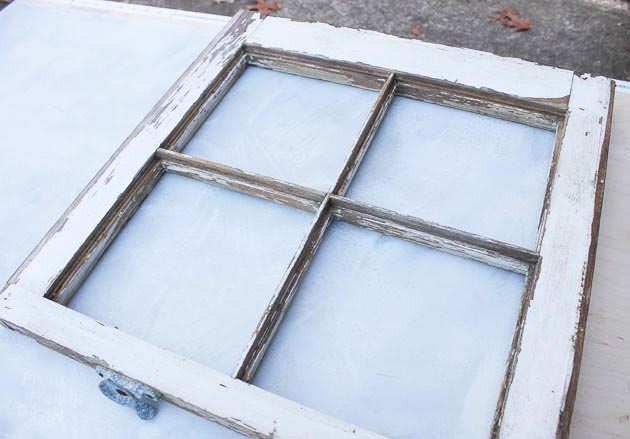
old-window-pane

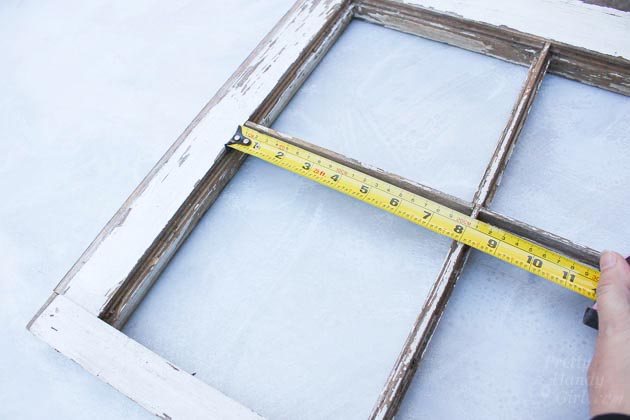
Measure the size of each pane.

measure-window-panes

Transfer your measurements onto the galvanized metal sheet. Read more

Fall Home Tour 2015 | Pretty Handy Girl

Fall Home Tour 2015 | Pretty Handy Girl

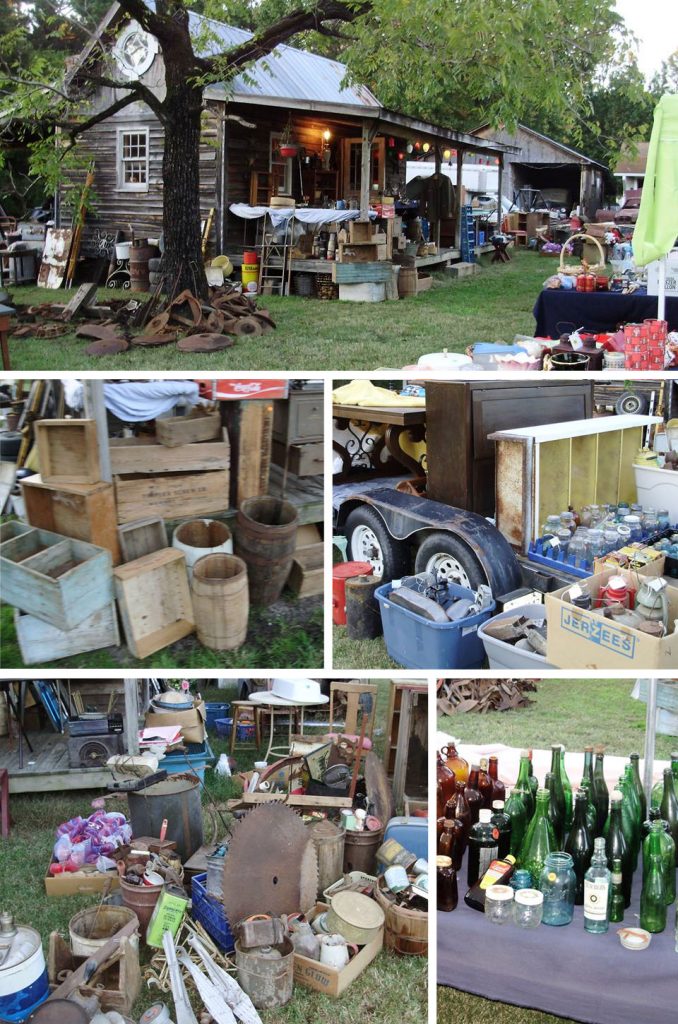
When I got back from my extended stay in Houston (after my sinus surgery), I was so anxious to decorate for fall. All those magazines I’d been perusing and all the beautiful Instagram photos had me craving some beautiful autumn decor. It took me a few days to get my energy back after I got home. In fact, I was still feeling a little worn out when I spotted this post on Facebook about a local multi-family yard sale that ran Monday – Saturday.

Rustic Yard Sale

I thought it was a joke or a dream. But, something told me (more like fifty of my fans on Facebook) that I should get off the couch and high tail it to this sale. My sweet friend Candace from Rusted Roots Blog was easily persuaded to meet me there, so I wouldn’t be the only fool who fell for a yard sale mid-week.

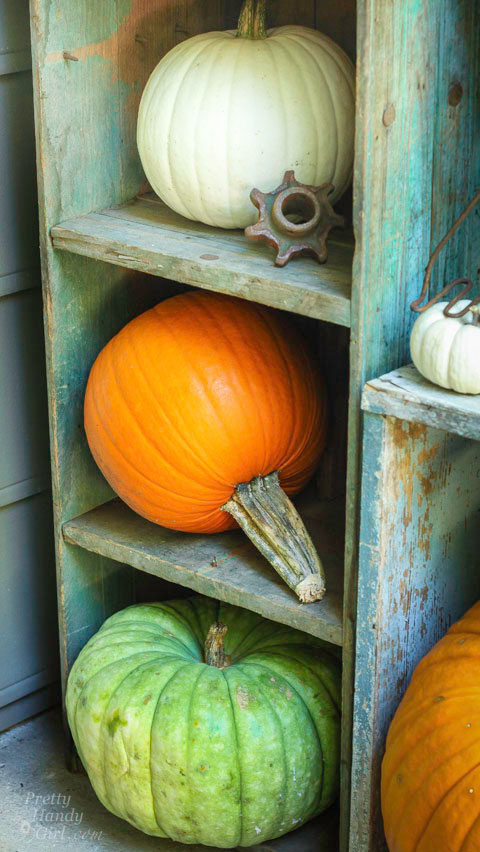
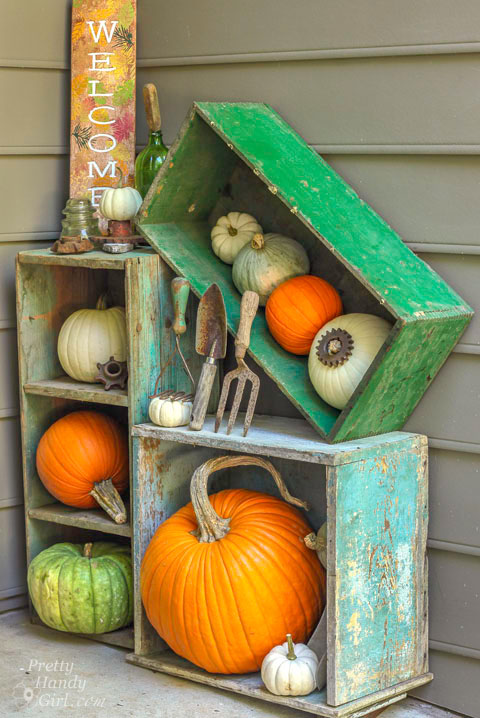
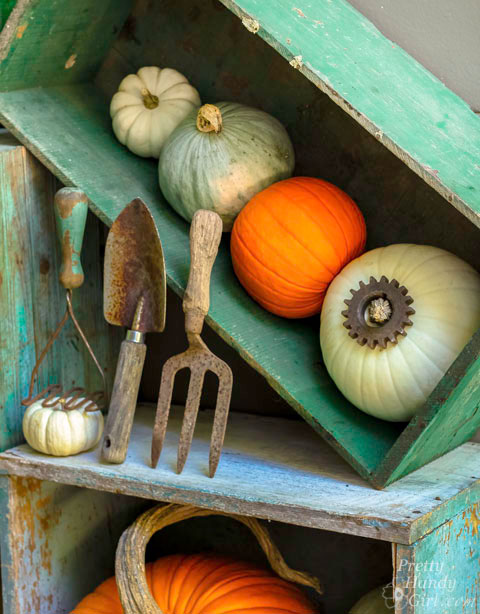
We both filled our cars with some great finds! I got home and quickly put together a little pumpkin and rustic relics display by our side door.

Fall Home Tour 2015 | Pretty Handy Girl

Fall Home Tour 2015 | Pretty Handy Girl

Fall Home Tour 2015 | Pretty Handy Girl Read more

Family Organization Door | Pretty Handy Girl

Family Organization Door | Pretty Handy Girl

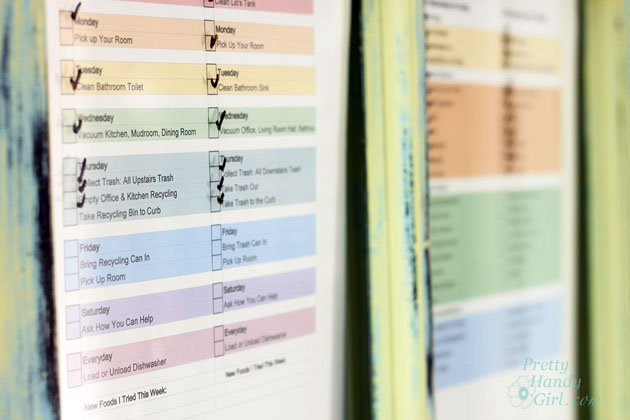
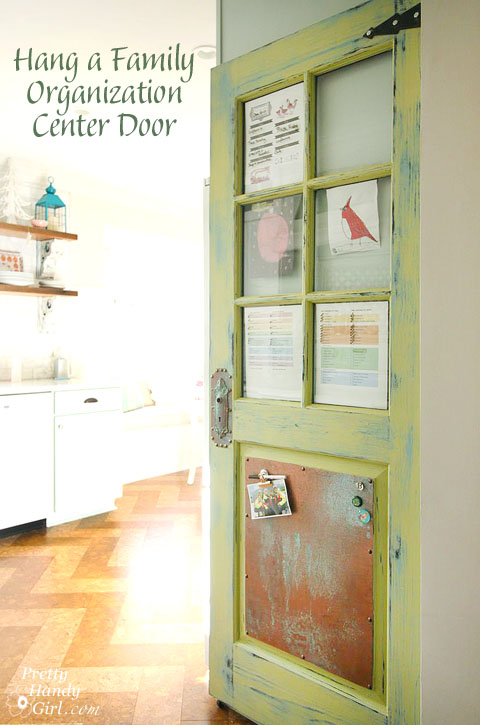
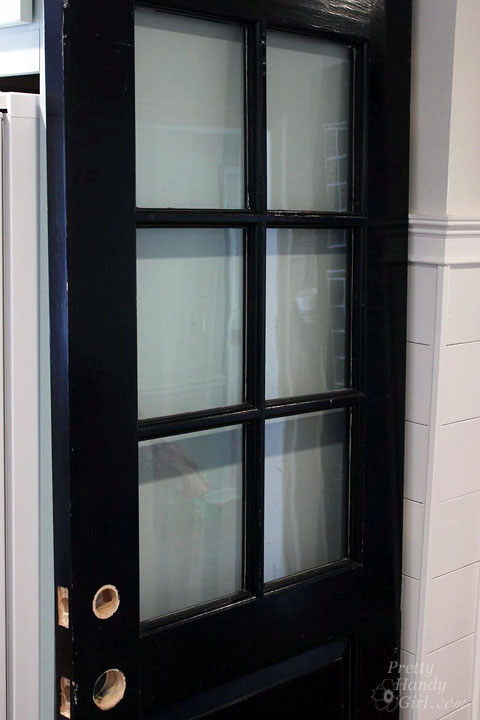
It’s hard to stay organized when you are a DIY blogger, Mom, wife, cook, cleaner, taxi driver, and a student (taking evening classes for the general contractor exam.) I’ll be the first to admit that I’ve dropped a few balls in this massive juggling act. But, I strive to improve and part of that effort involved hanging a Family Organization Center Door next to the refrigerator.  Did you know there was such a thing? Ha, me either until I saw this half window door at our local Habitat ReStore.

Family Organization Door | Pretty Handy Girl

A vision of a place to plan meals, keep track of chores and keep reminders became clear in my head when I first saw it. Want to see how I took this old door and turned it into a family organization center? Hang around for a few minutes to find out.

Materials:
(contains some affiliate links)

Optional:

Instructions:

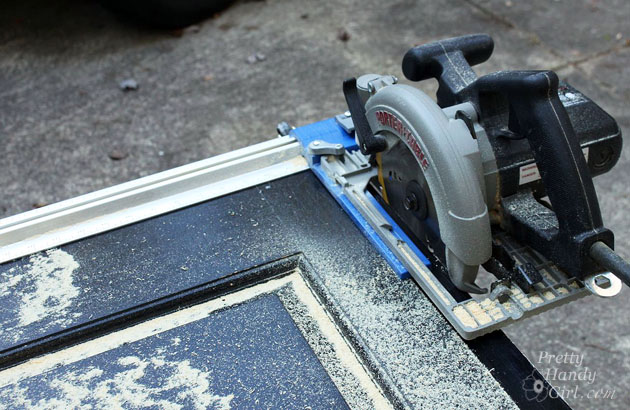
After finding a door for your organization center, you may need to trim down the sides to fit your space. I had to trim an inch off each side of my door to fit on the side of our refrigerator cabinet. Use a circular saw to trim the door. Using a Kreg Rip Cut will help keep the saw straight.

Family Organization Door | Pretty Handy Girl

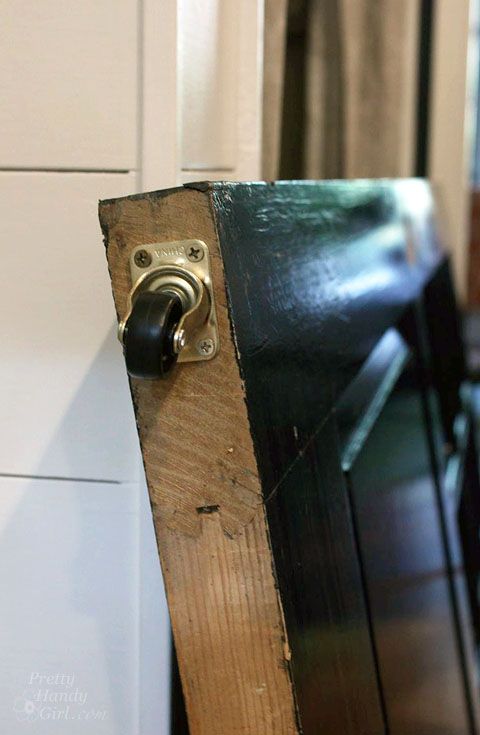
For extra stability, you may want to add a caster on the bottom of the door (opposite the hinge side). This is not necessary, but will add extra support.

Family Organization Door | Pretty Handy Girl

Cut scraps of coax cable to fit into the tops of the windows. Read more
Metallic Color Block Canisters | Pretty Handy Girl

Metallic Color Block Canisters | Pretty Handy Girl

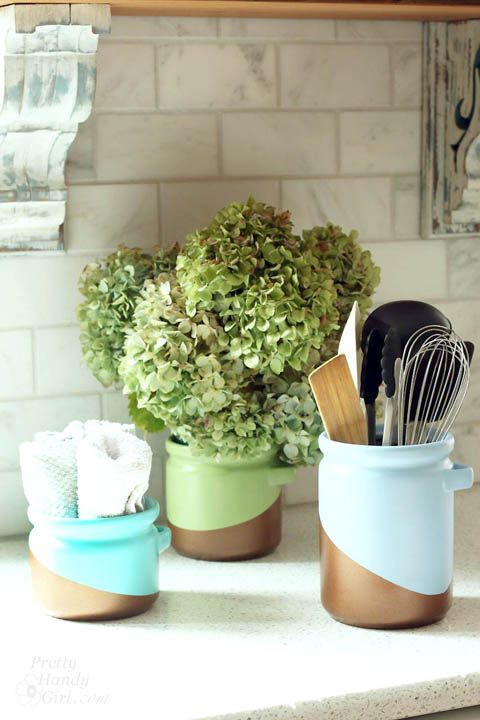
I’m back with another easy Lowe’s Creative Idea this month. When you get tired of your cobalt blue canisters you can easily spray paint them with a metallic color block pattern. That’s exactly what I decided to do with my thrift store canisters.

I’ve been on a major mission to purge things I no longer use or love from my house. I have almost completely filled our dining room with things to donate. I had contemplated donating my cobalt kitchen canisters because the color wasn’t making me happy anymore. But, then I realized that I could give them an entirely new look with some spray paint.

Materials:

Instructions:

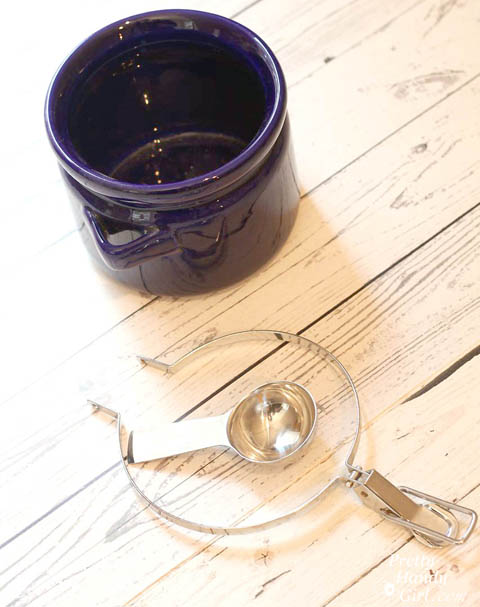
Remove the lids, the metal ring, and spoons from your canisters.

Metallic Color Block Canisters | Pretty Handy Girl
(Wood plank photo backdrop courtesy of Leen the Graphics Queen.)

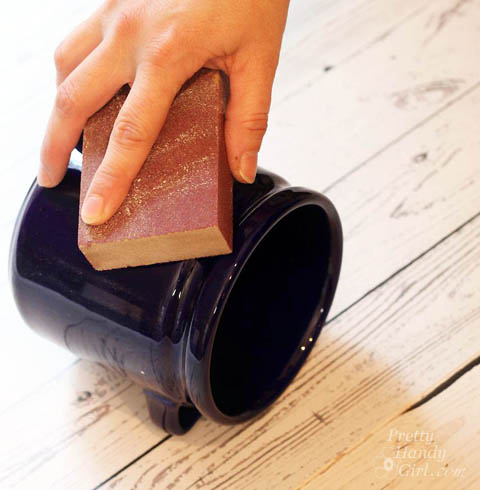
Use a sanding block to lightly rough up the surface of the canisters. Wipe all the sanding dust off with a damp rag.

Metallic Color Block Canisters | Pretty Handy Girl

Spray the outside and base of the canisters with Valspar Premium Primer. Read more
Racing Stripe Mirror Makeover | Pretty Handy Girl

Racing Stripe Mirror Makeover | Pretty Handy Girl

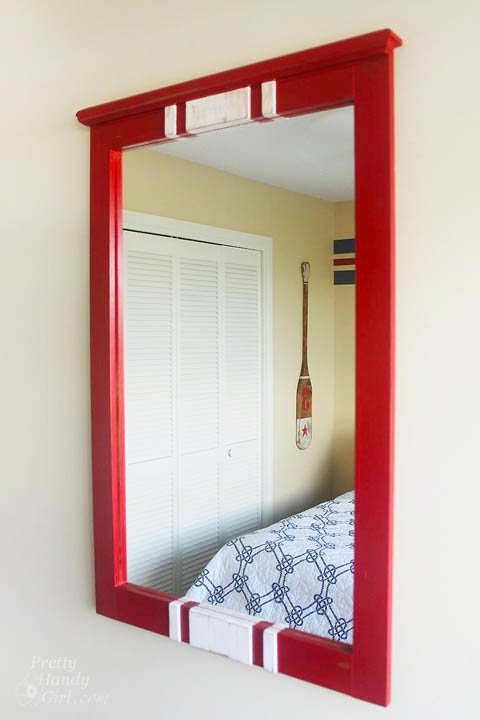
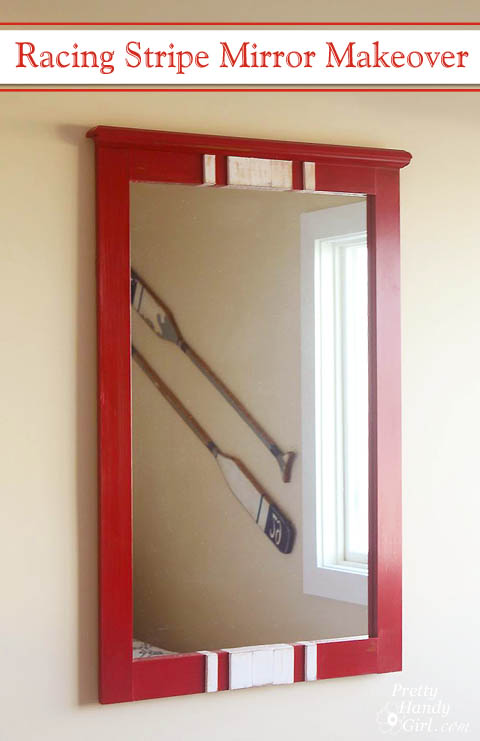
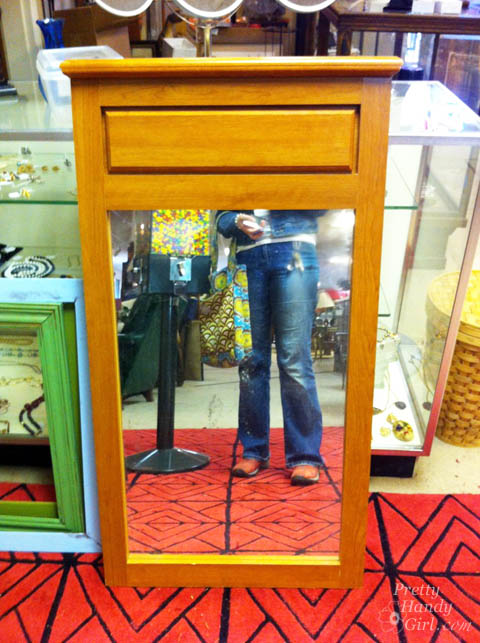
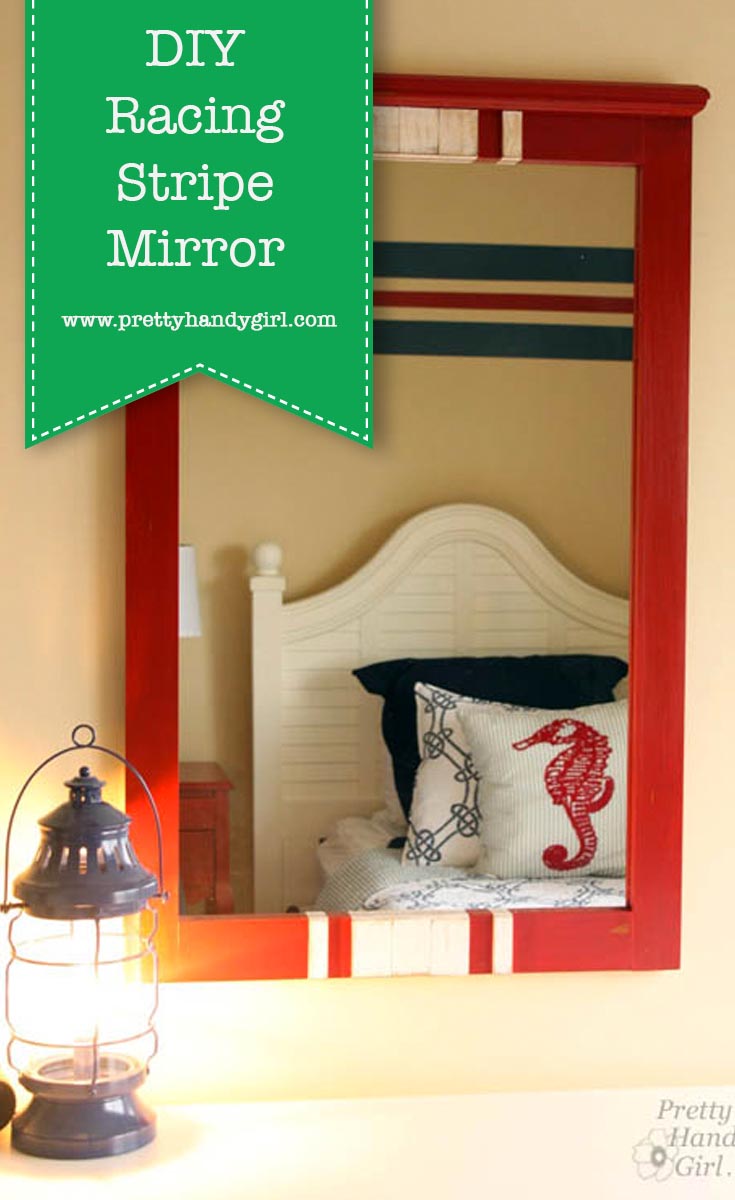
While my sister and I were renovating the Topsail Beach condo we had a strict budget. Finding a large mirror for less than $15 was challenging until I found this mirror with potential. I know my sister was doubtful, but I had a vision. Some red milk paint, lattice and glue would make this racing stripe makeover complete!

Racing Stripe Mirror Makeover | Pretty Handy Girl

To transform the mirror, I disassembled the top and cut off the panel portion using my Dremel MultiMax. I salvaged the top crown moulding and re-attached it to the new top of the mirror with glue and finish nails.

Then it was time to add stripes.

Materials (some links are Amazon affiliate links):

Instructions:

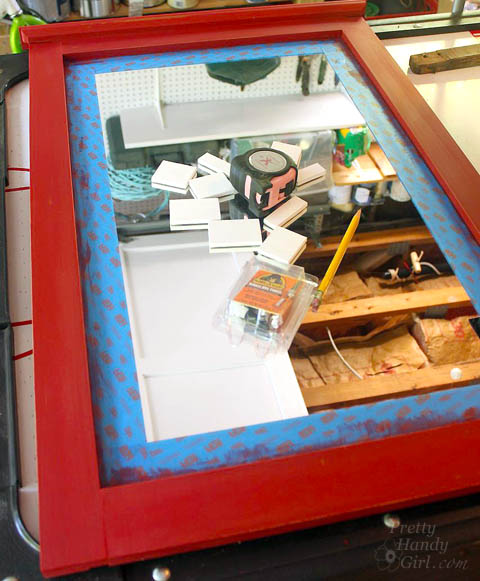
Tape off the edge of the mirror where it meets the frame. Paint two coats of Miss Mustard Seed Tricycle red paint onto the frame. (See this post for painting with milk paint.)

Racing Stripe Mirror Makeover | Pretty Handy Girl

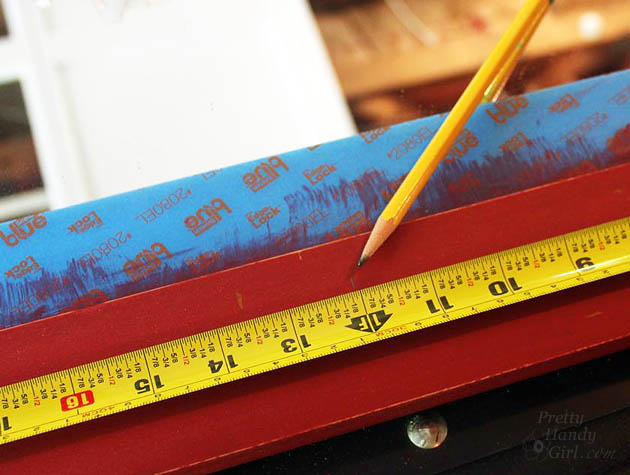
After the paint dries, wax it or leave it unfinished. Mark the center of the frame at the top and bottom of the mirror.

Racing Stripe Mirror Makeover | Pretty Handy Girl

Cut pieces of lattice to fit the mirror frame width. (I used three pieces of lattice and cut a fourth piece in half for the outer stripes.) Pre-paint the lattice pieces ironstone (white) and let dry.

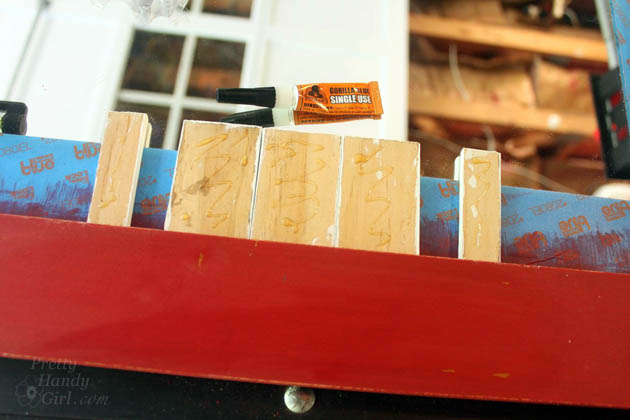
Wet the frame and the back of the lattice. Apply a small amount of Gorilla Glue to the backs of the lattice.

Racing Stripe Mirror Makeover | Pretty Handy Girl

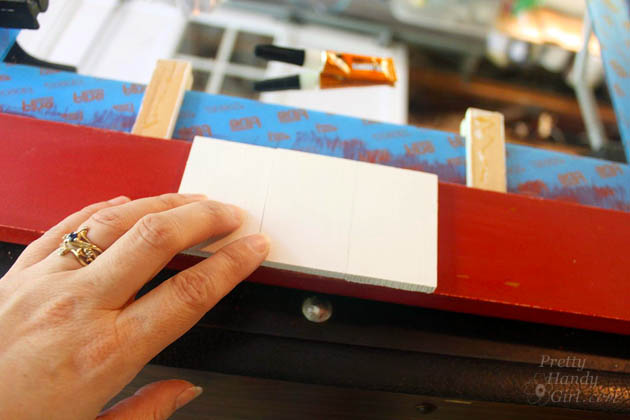
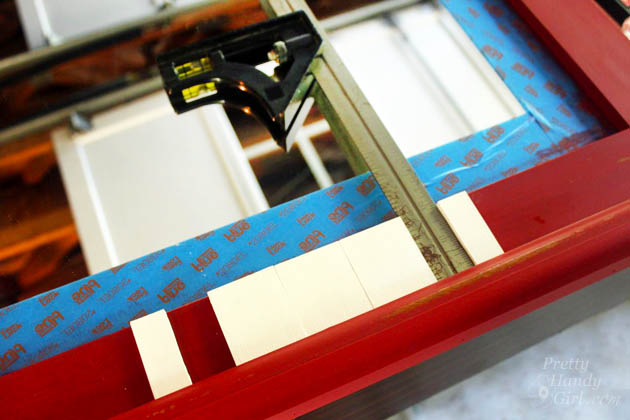
Line up the center lattice piece with the pencil mark. Attach it and the other two pieces beside the middle lattice.

Racing Stripe Mirror Makeover | Pretty Handy Girl

Use a ruler to create a space between the middle stripe and the outer small lattice piece. Glue the outer pieces in place.

Racing Stripe Mirror Makeover | Pretty Handy Girl

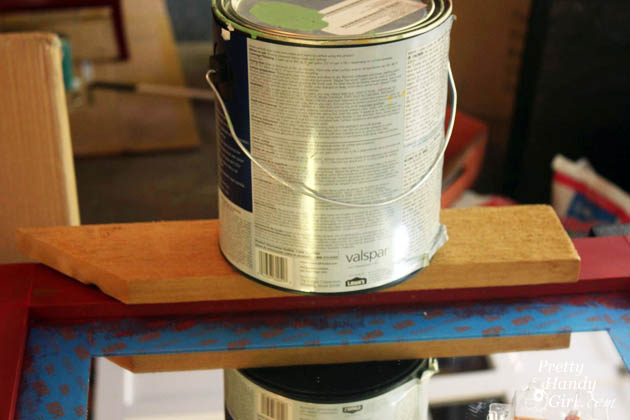
Set a weight (or paint can) on top of a scrap board and the lattice pieces while the glue dries.

Racing Stripe Mirror Makeover | Pretty Handy Girl

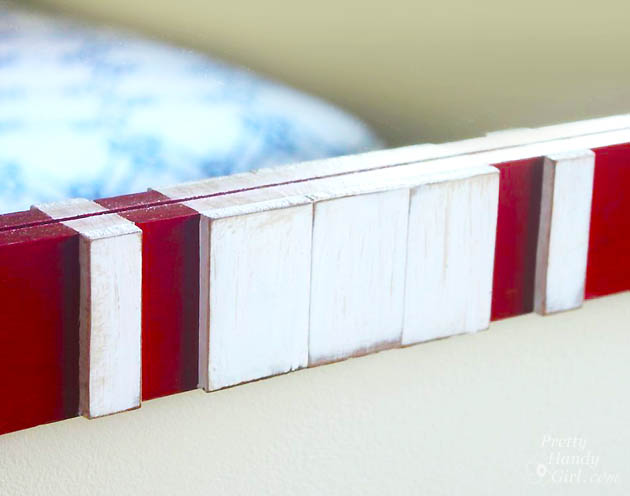
Remove the weight. Paint the top and bottom edge of the mirror frame white to create the illusion that the stripe continues around the frame edges. Distress the lattice pieces with sandpaper if you want a rustic look.

Racing Stripe Mirror Makeover | Pretty Handy Girl

Hang your mirror on the wall and admire! Not bad for $15, two coats of paint, and some scrap lattice!

Some red milk paint, lattice and glue transform this $15 find into a charming racing stripe mirror perfect for a boys' room! | thrift store makeover | DIY mirror | mirror tutorial | #prettyhandygirl #DIY #tutorial

The mirror hangs happily in the twin bedroom at the Topsail Beach Condo. Click here to see the rest of the condo!

Some red milk paint, lattice and glue transform this $15 find into a charming racing stripe mirror perfect for a boys' room! | thrift store makeover | DIY mirror | mirror tutorial | #prettyhandygirl #DIY #tutorial

Hope you never turn down a $15 mirror again ;-).

PHGFancySign


Pin for later!