 Saving Etta: Living Room Reveal
I know it’s been a while since you received a Saving Etta update. And, there’s a good reason for the delay. Not only did I renovate two bathrooms for our local Habitat for Humanity this past week, but I also bought a house! After six months of touring houses and putting in offers, I finally had one accepted on a house. I’ll be giving you more details soon, but in the meantime, I want to invite you inside for the living room reveal in the Saving Etta house.
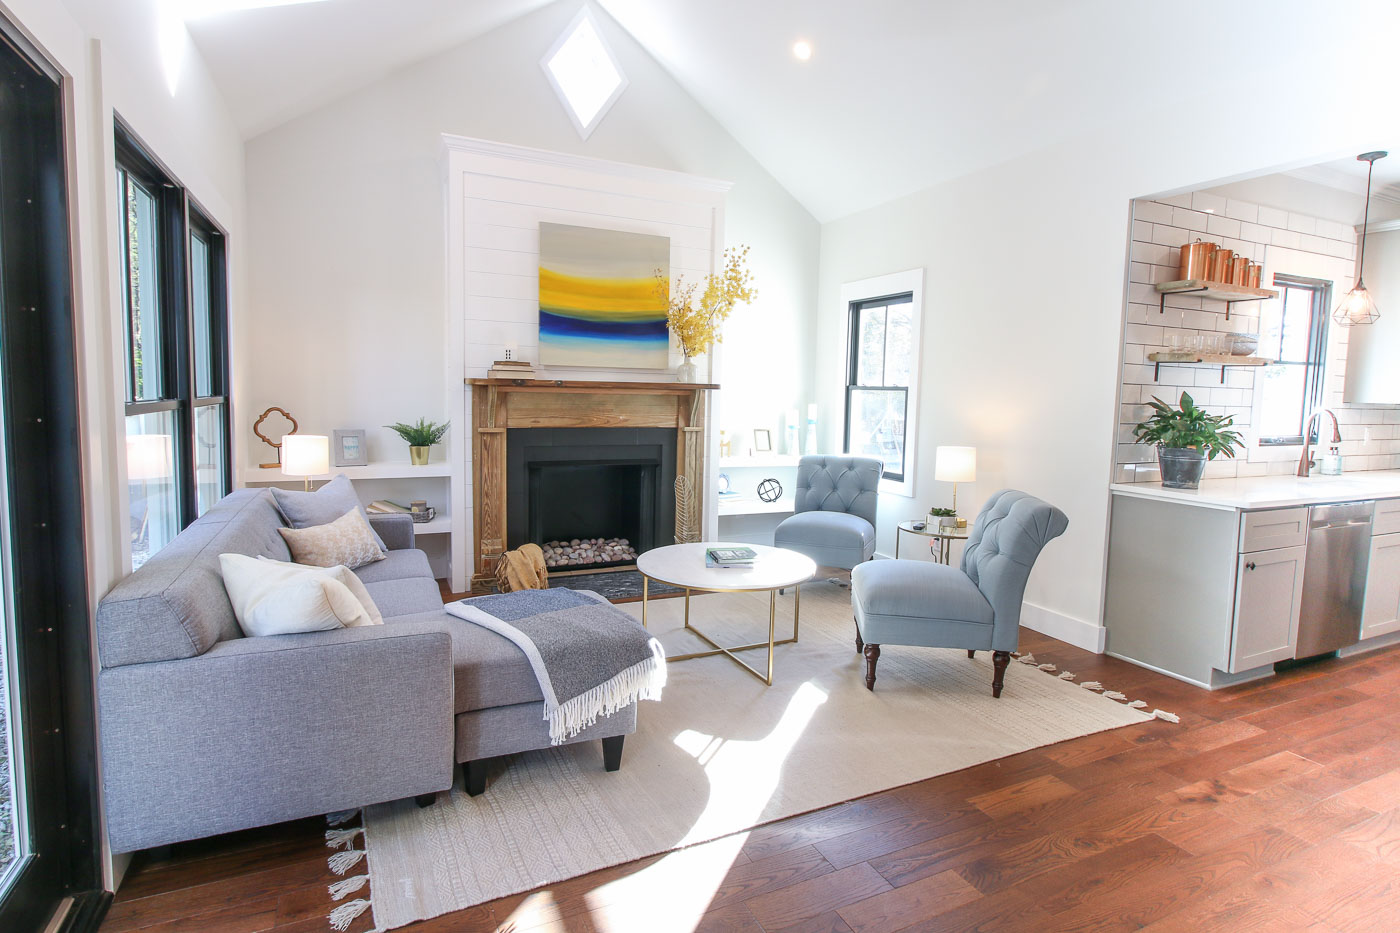
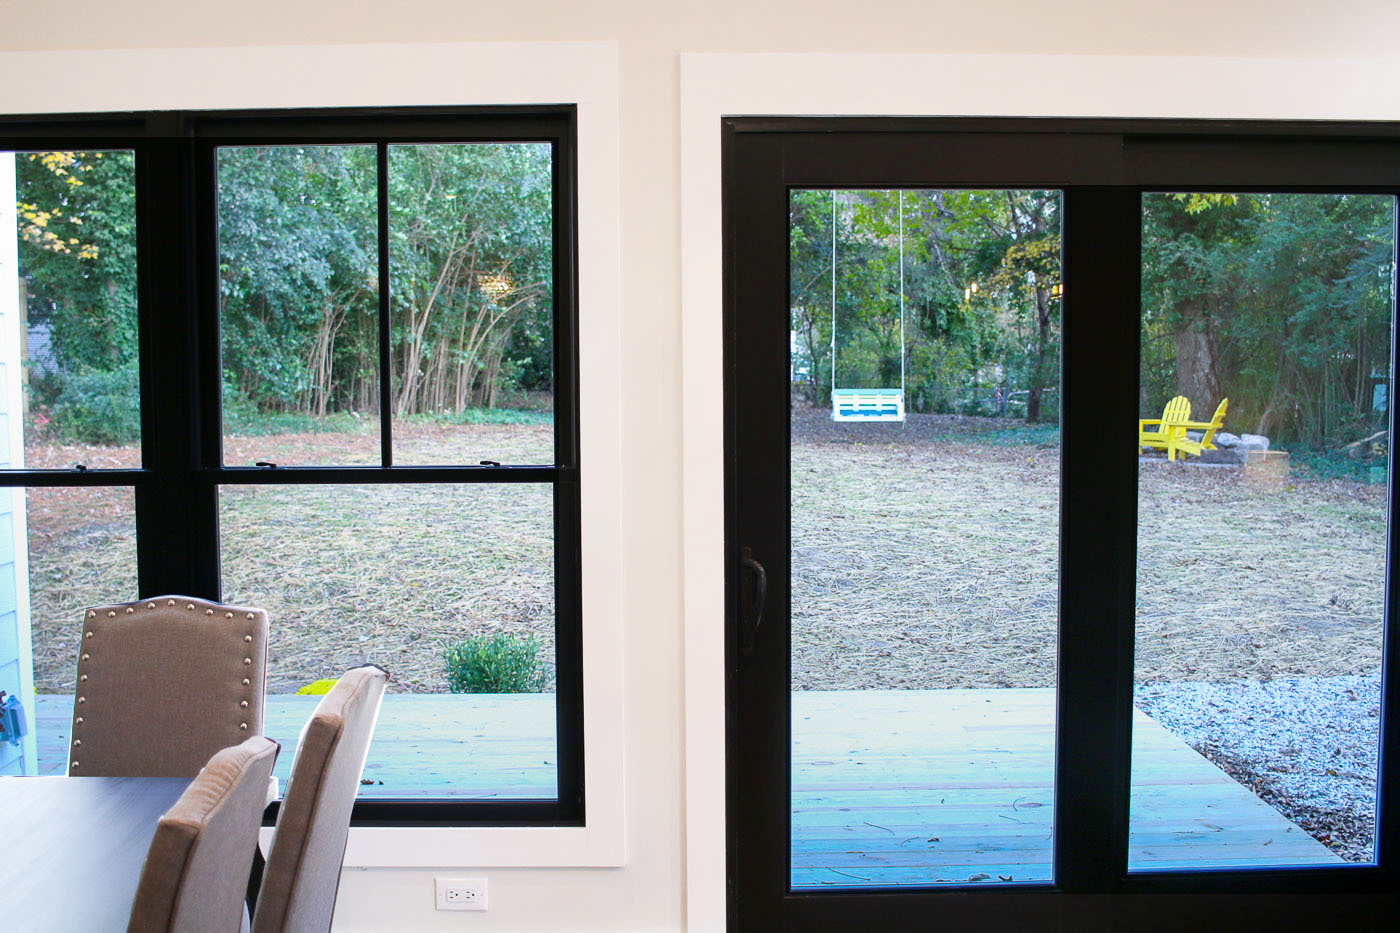
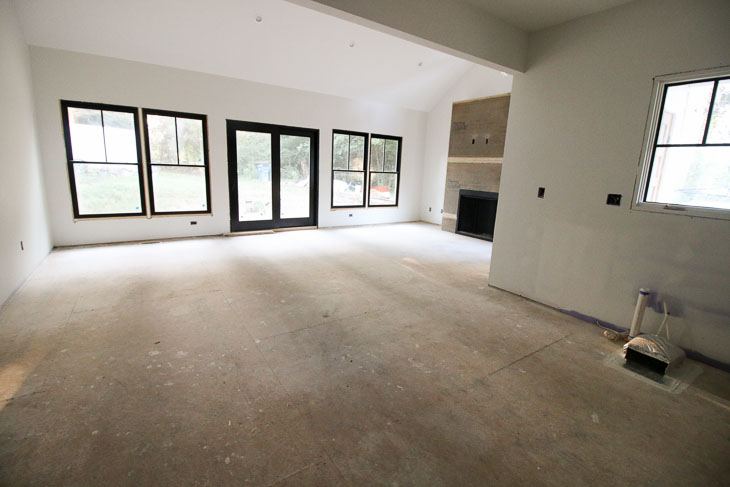
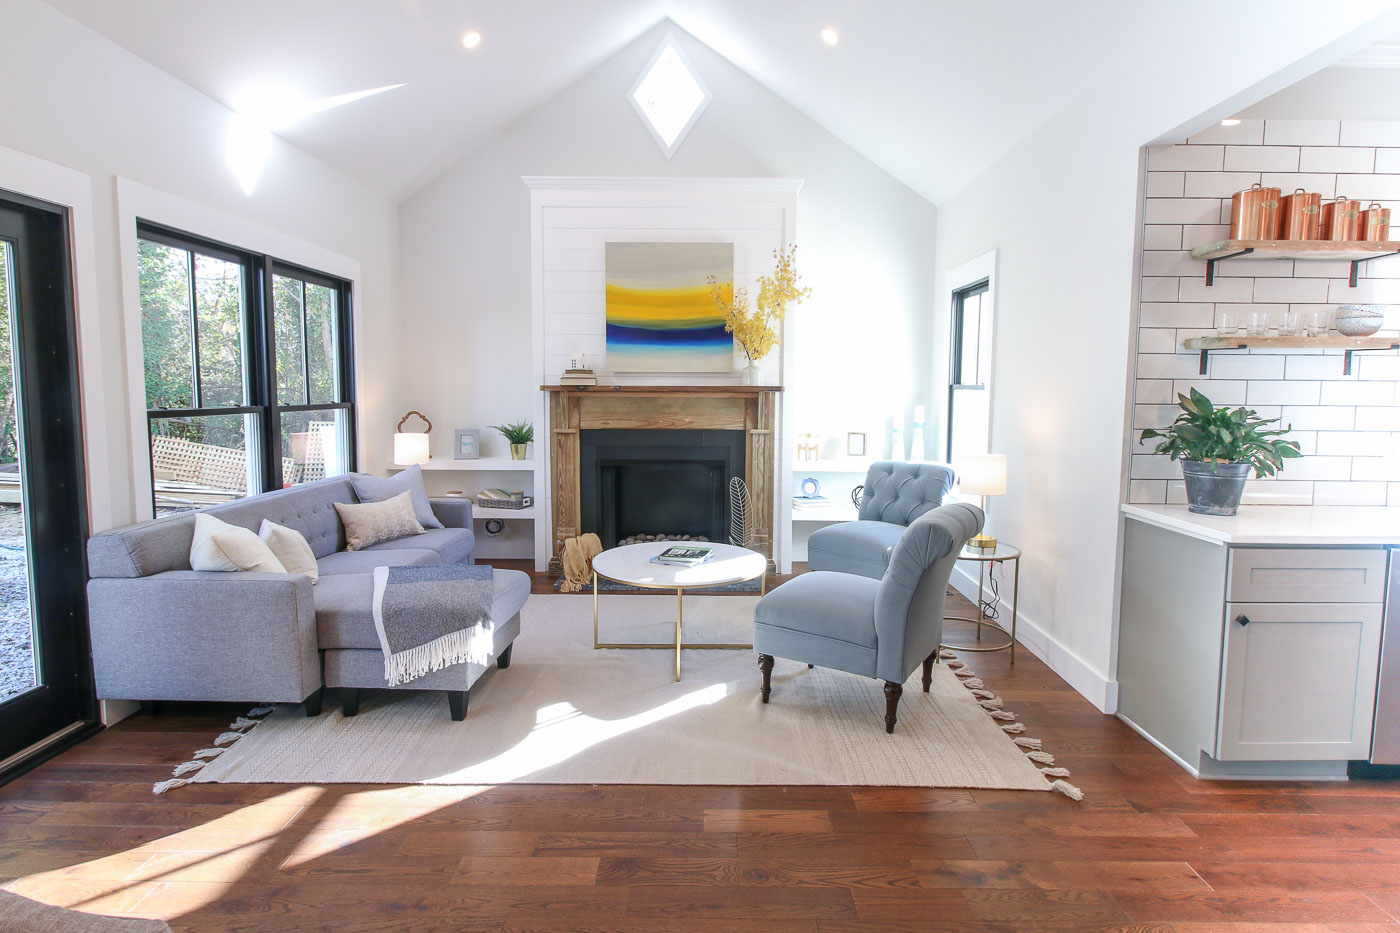
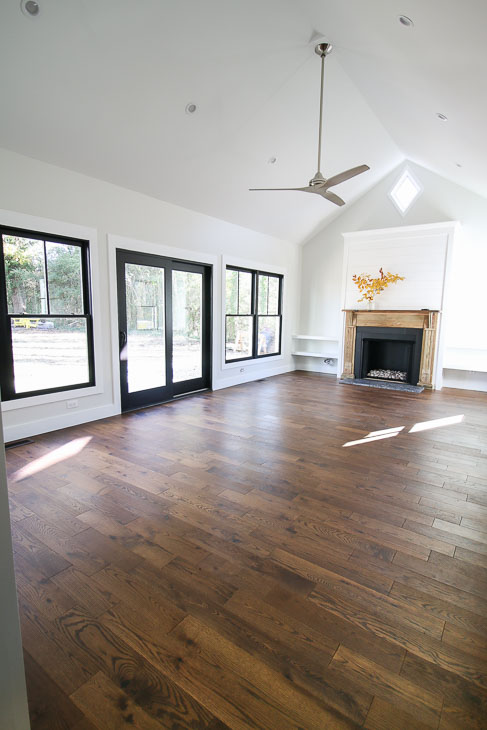
This room was one of my favorite rooms in the house because of how bright, open, and lofty the space is with huge 14 foot ceilings. The focal point of the room may not be something inside the living room itself. Instead the real star is the view to the backyard through the big Plygem Mira windows and sliding door.
During my breaks, I loved looking out at the serene yard with many birds hopping and flying around. The backyard is truly a gem in the middle of downtown Raleigh.
Before I get ahead of myself, I’d like to thank all the Saving Etta sponsors. They are all near and dear to my heart for their support and patience. When it comes to selecting products, tools, and clothing, these are the brands I select time and time again.

(I’ve included affiliate links for your convenience. I earn a small percentage from a purchase using these links. There is no additional cost to you. You can read more about affiliate links here.)
Progression of the Living Room:
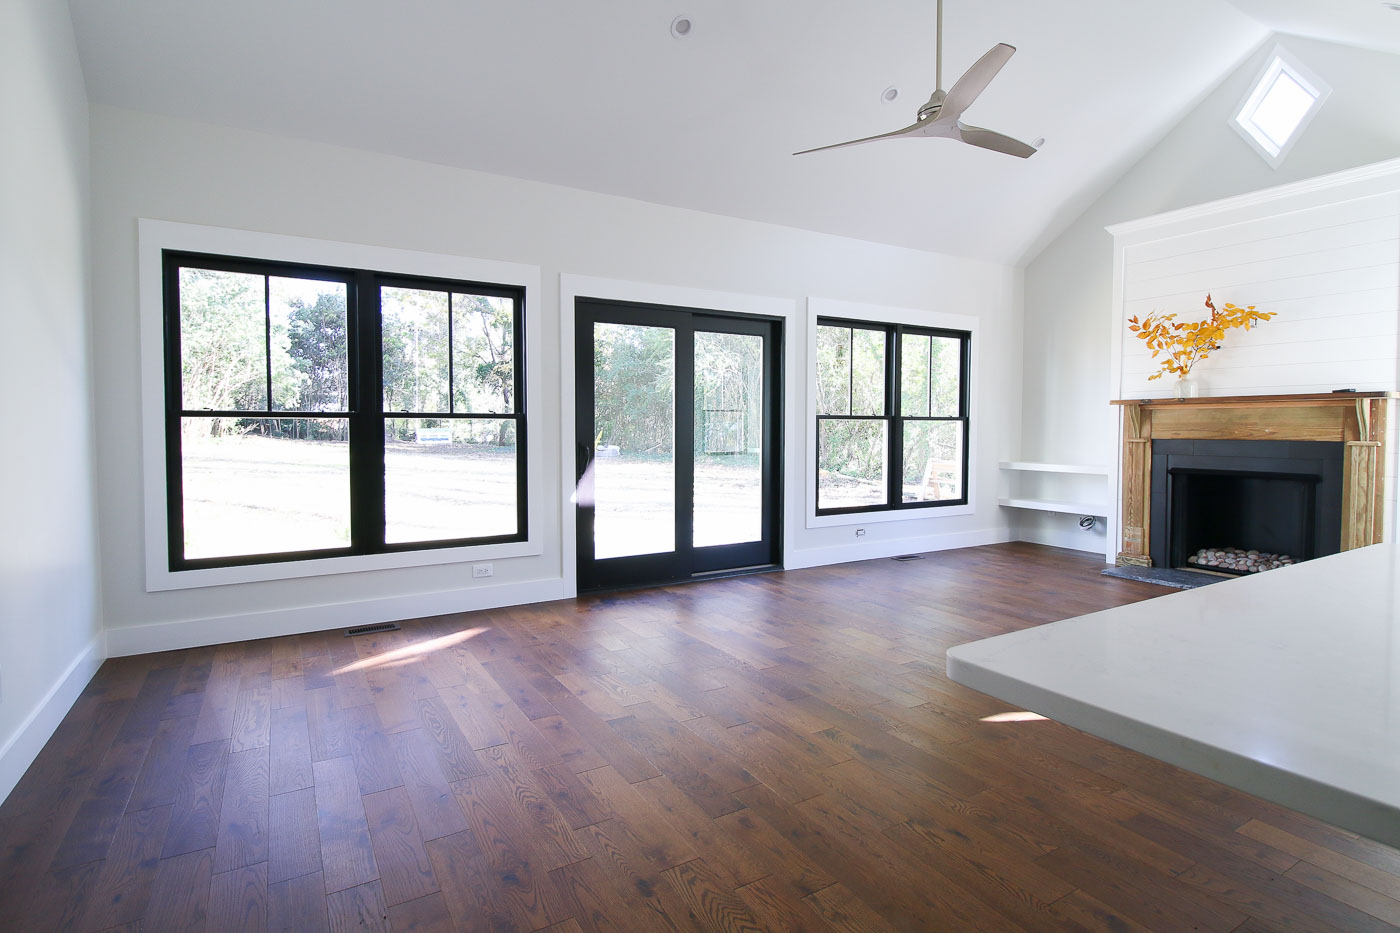
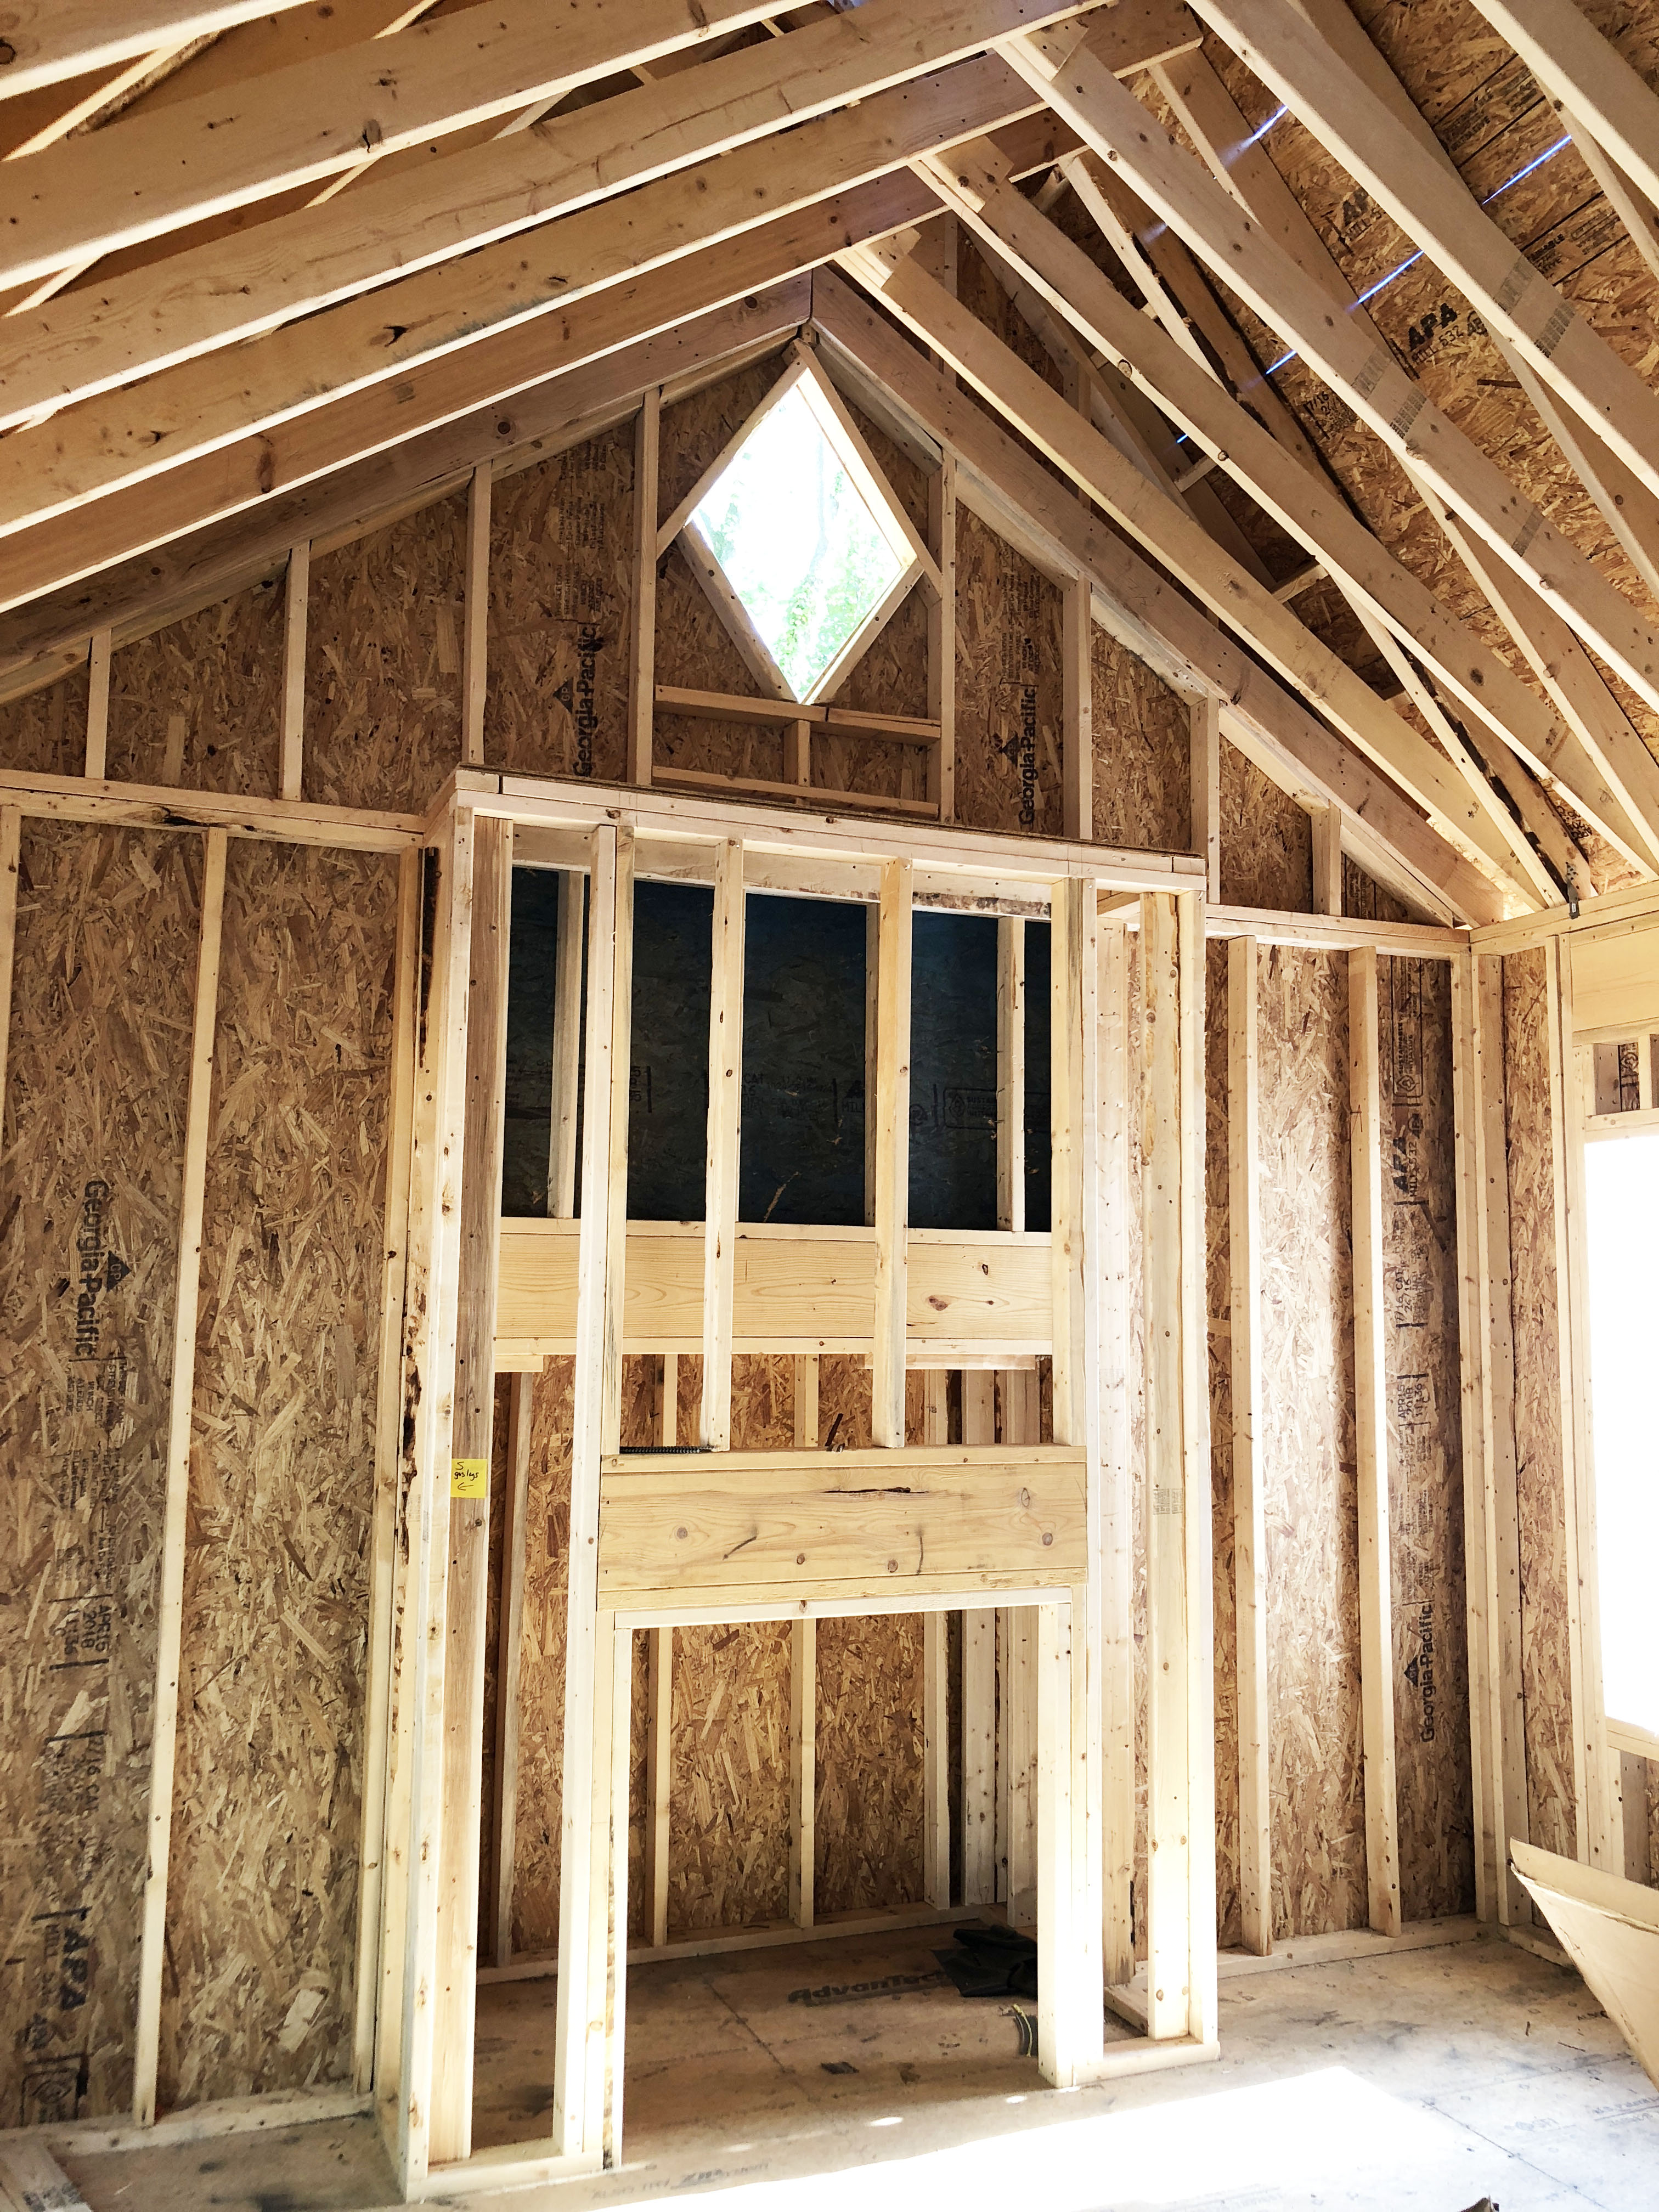
The moment the living room was framed, I could tell it was going to be glorious. The huge ceilings and the diamond cut out for the window were enough to make me awestruck. It was also the moment I knew my architect had created something grand.
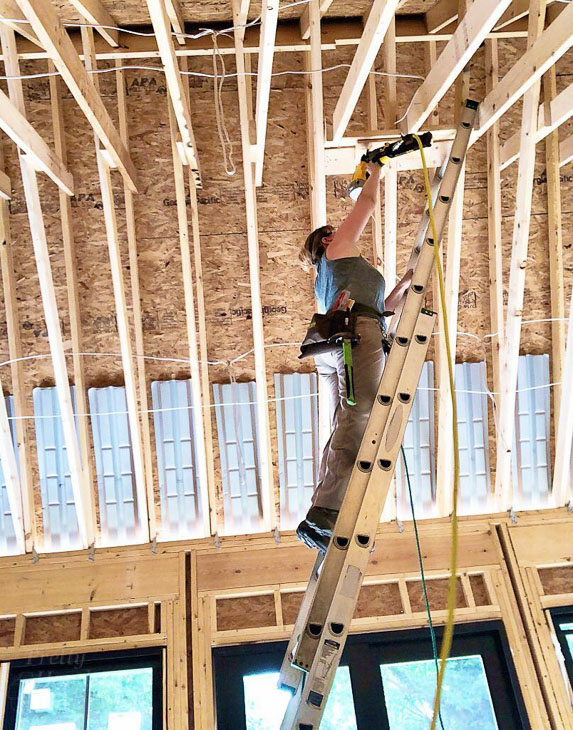
Before the electrical and lighting could be installed, my electrician pointed out one problem spot. He said there wasn’t a level spot for the ceiling fan. My framers had long left the job site, so I had to install a piece of blocking myself. It took a few trial efforts to figure out the proper angle to cut the blocking so it could fit level in the peak of the rafters.
Once the blocking issue was resolved, the drywall was installed. If anyone questions the insulation value of sheet rock, I can tell you it made a huge difference in maintaining the temperature in the house after install. (It also cut down on much of the outside noise.)
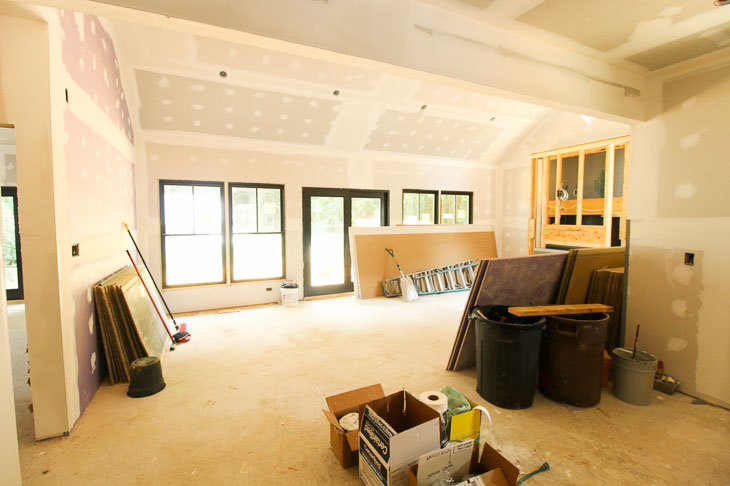
Speaking of noise, if you had a sharp eye, you may have noticed the purple drywall on the left hand wall. It’s SoundBreak drywall used to reduce sound transmission between to rooms. You can read more about how I “sound-proofed” the rooms here (actually it’s more sound reduction than sound-proof.)
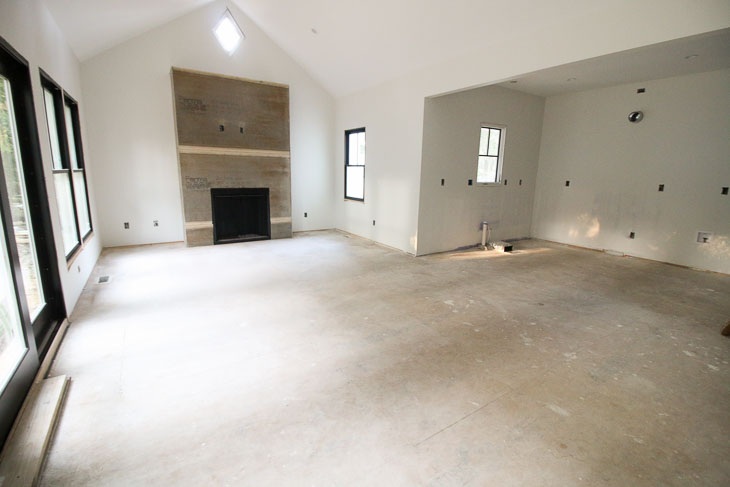
The fireplace surround was wrapped with PermaBase cement board in preparation for tile or stucco around the fireplace. (At this point I still had no idea how I was going to finish the surround.)
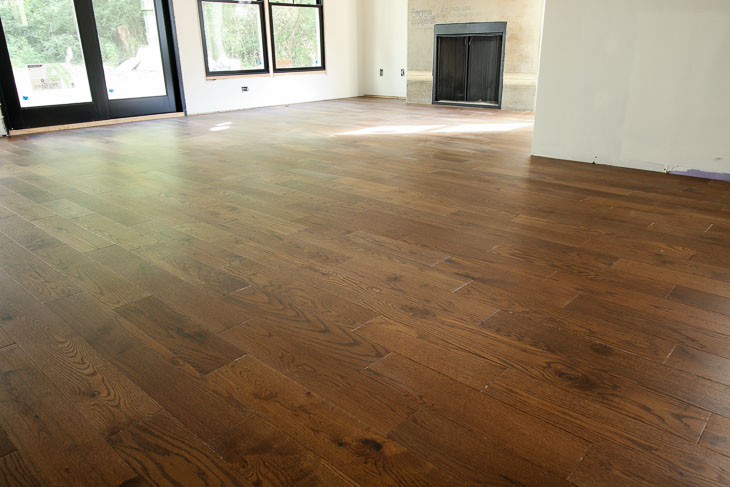
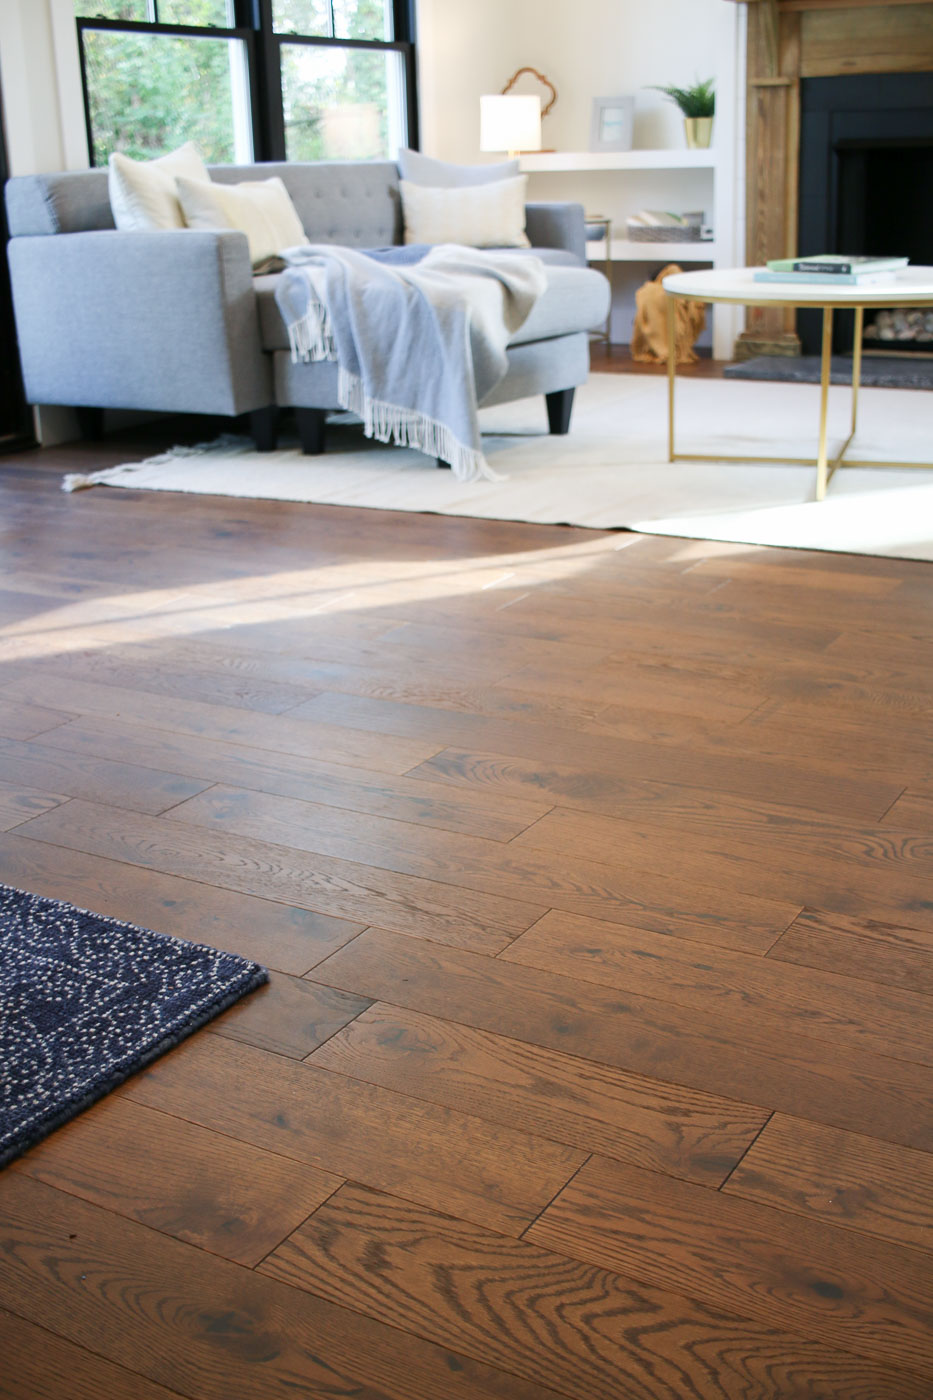
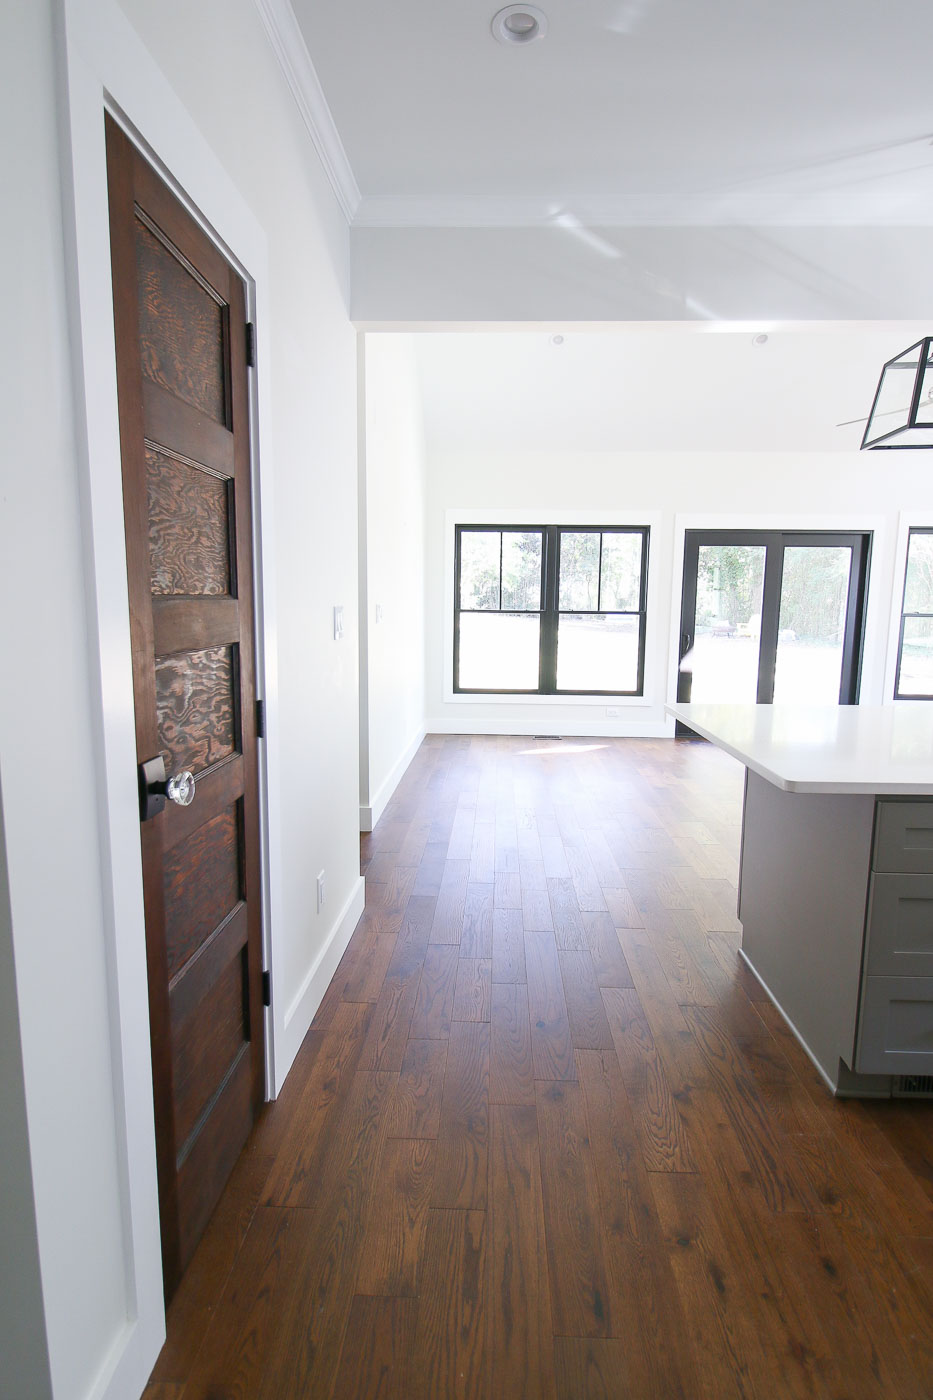
After the flooring was installed, the construction site started to feel more like a home. I still drool over how beautiful the Elegance Series wood floors from Impressions Flooring Collection looked in the house. I chose the flint color stain, but recently saw a house with wheat colored Elegance series floors, and they were equally as stunning (but definitely lighter in color.)
My friend Holly, Pretty Handsome Guy, and I worked together to assemble and install the cabinets in the kitchen as my trim carpenter worked on building shelves for either side of the hearth.
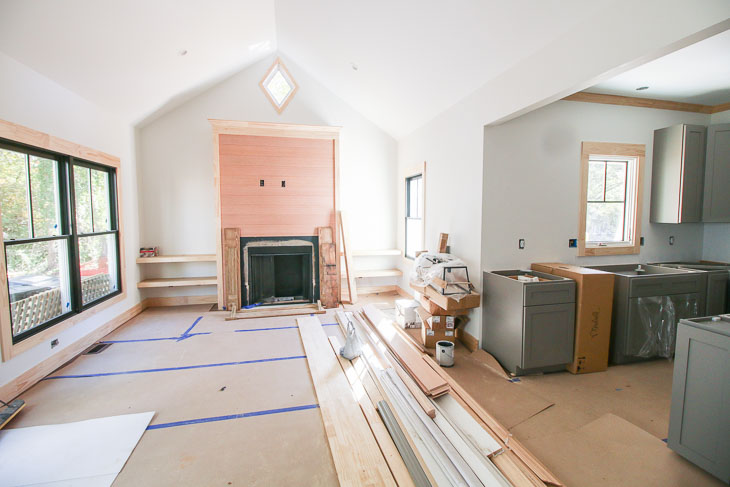
Ultimately, I deviated from the idea to tile or stucco the fireplace and asked my trim carpenter to install wood planks (faux shiplap) like I had in my own kitchen. (You can read the tutorial for creating and installing your own faux shiplap planks here.)

The fireplace is a ventless gas fireplace. I selected a sexy gas fire with decorative rocks for the living room. It has one linear flame and cranks out an amazing amount of heat! The few times we turned it on, the heat warmed the room very quickly. If the homeowners ever lose power they will be very comfortable using the gas fireplace for heat.
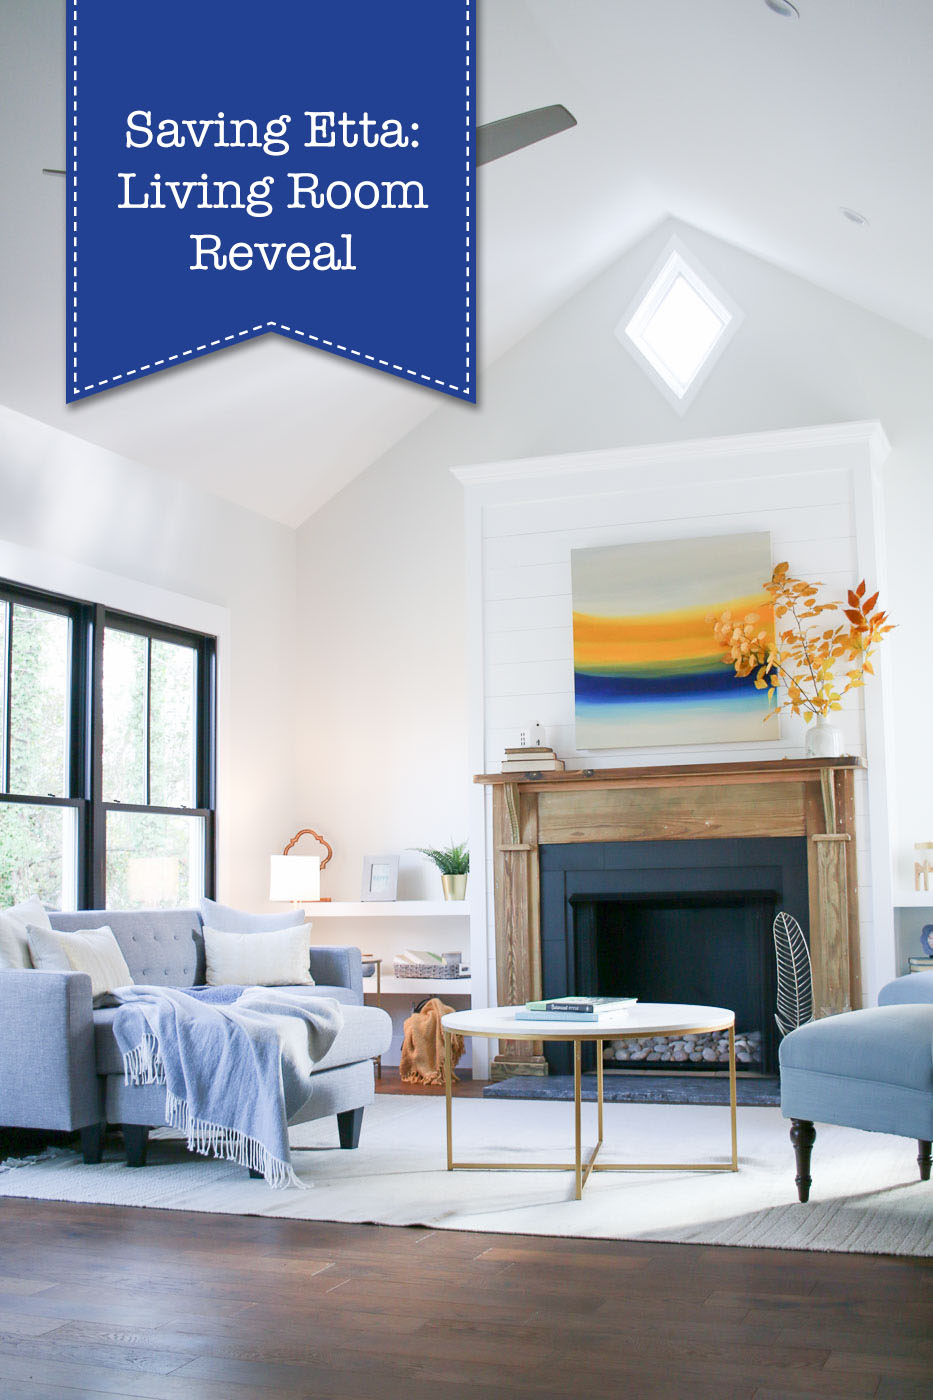
The Living Room Reveal:
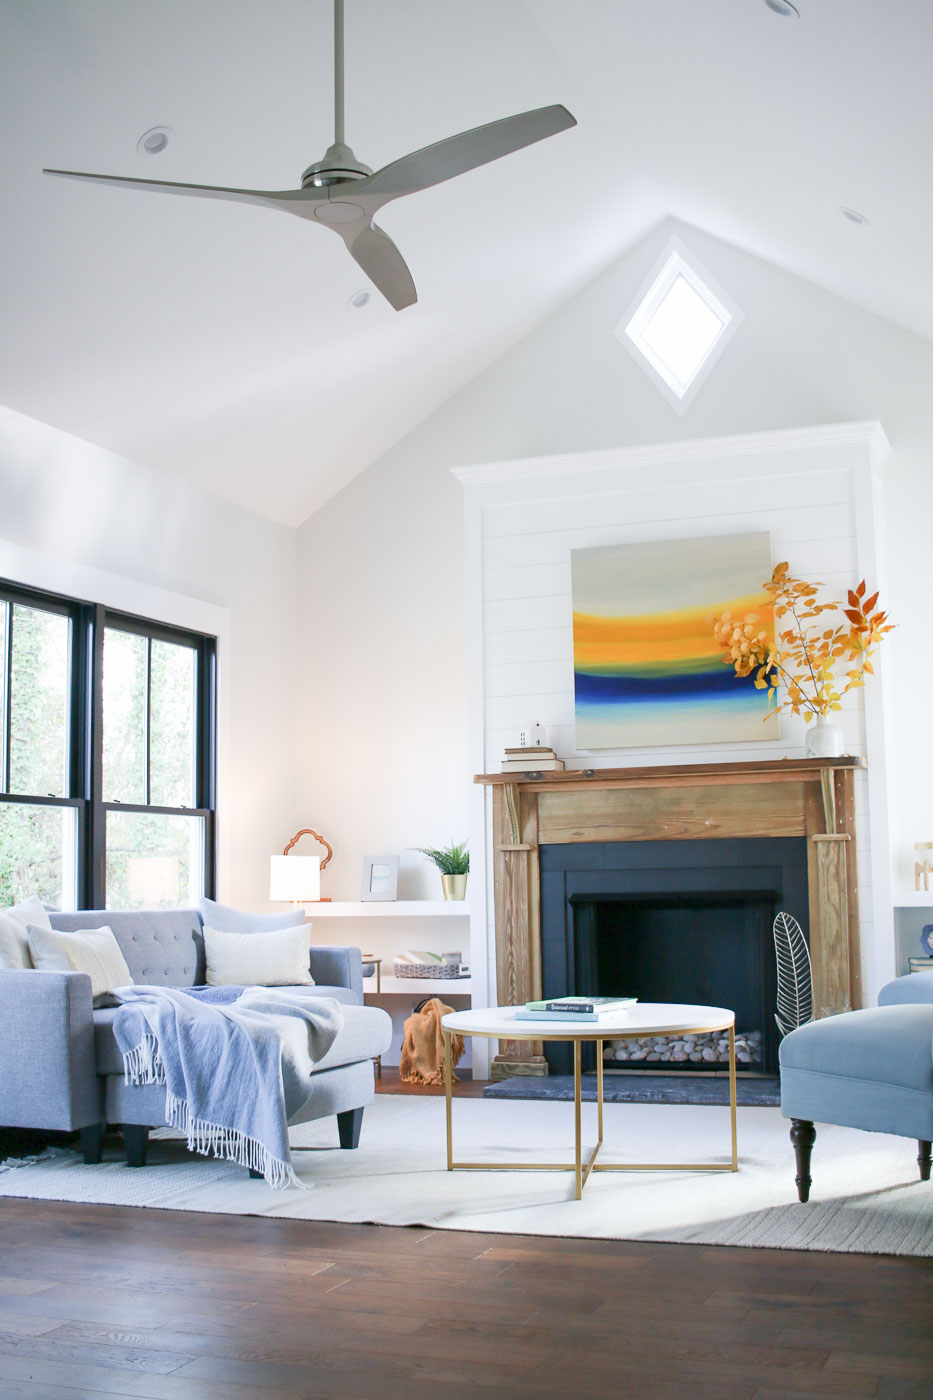
At long last, I’m super proud of this room and hope you love it as much as I do.

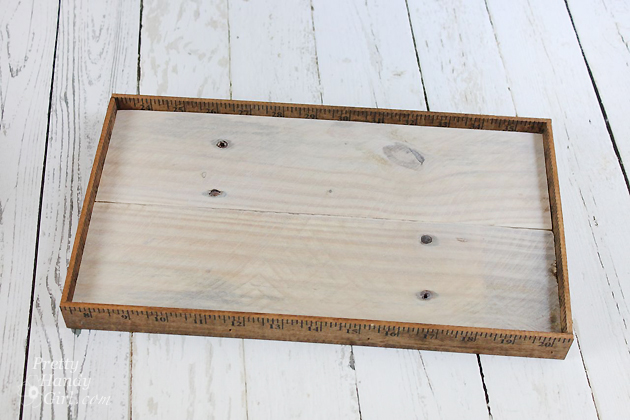
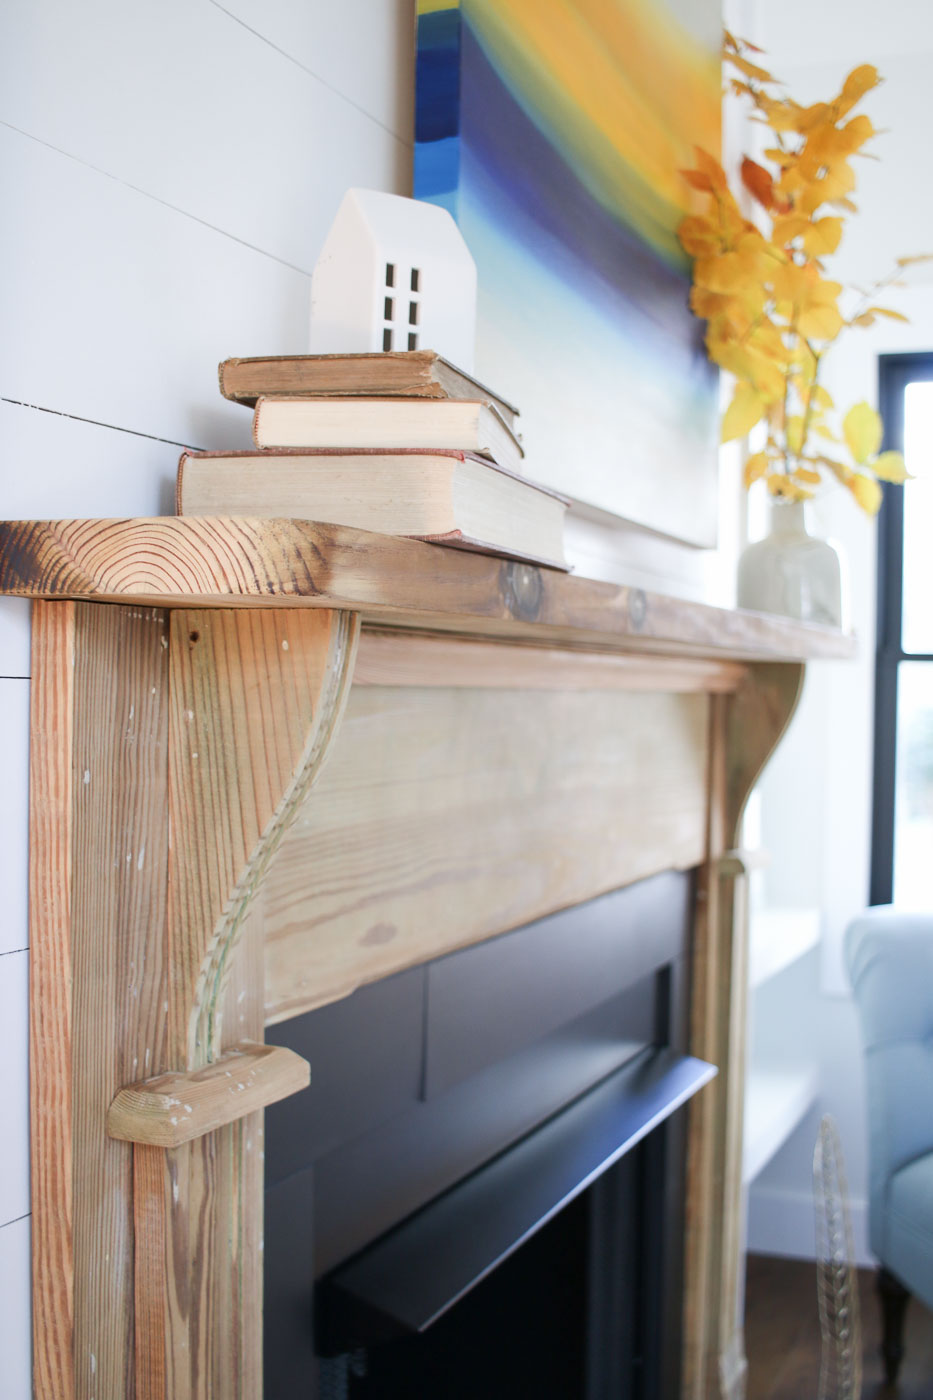
The fireplace mantel is one of two original mantels from the house. Because they both had lead paint, I had them stripped down to raw wood. The old wood and age made them too attractive to paint again.
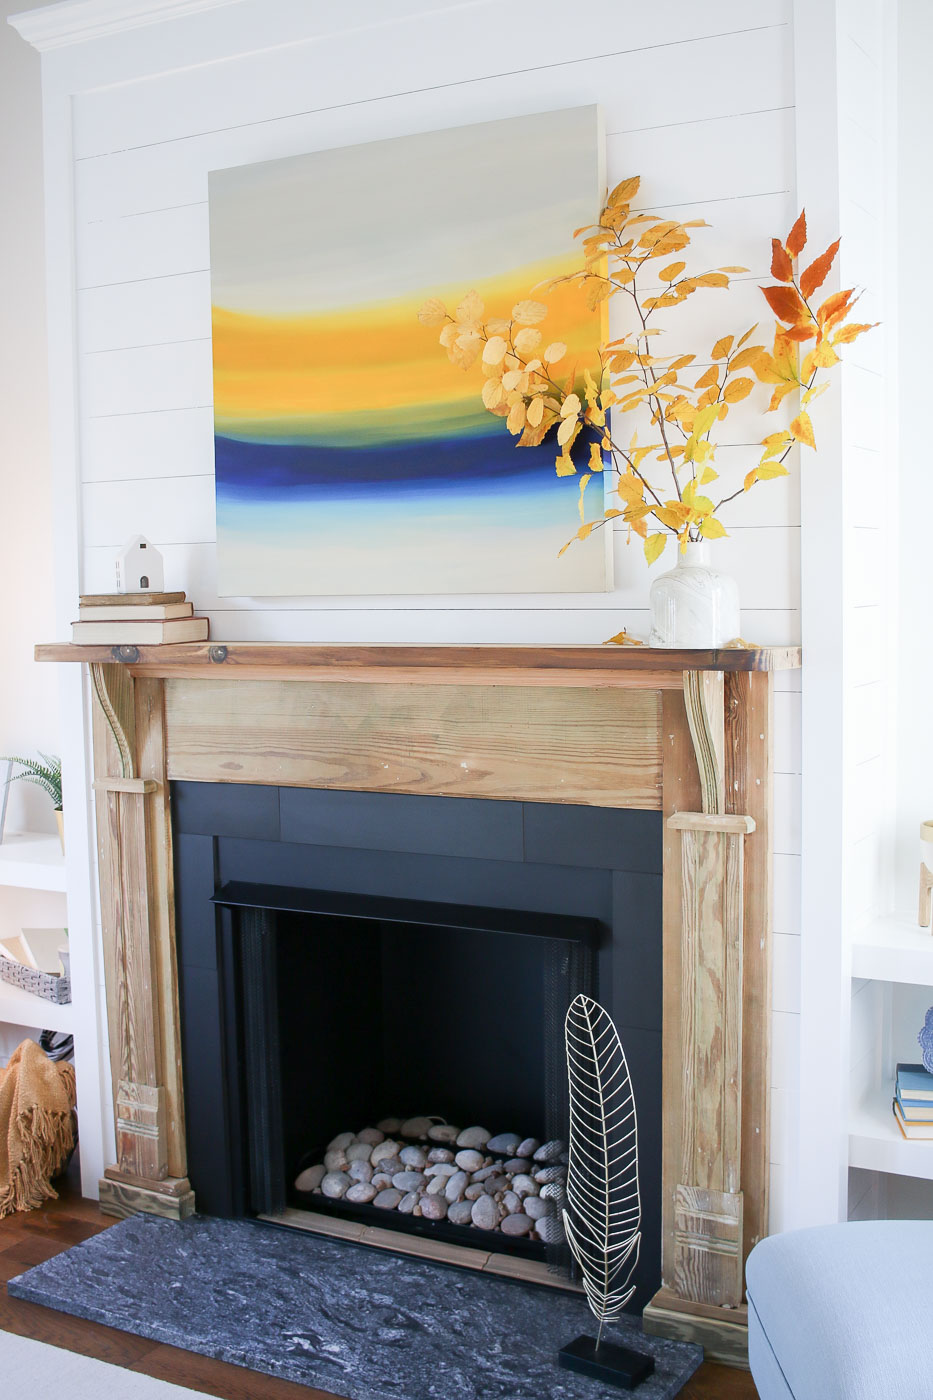
To protect the wood, I simply added wood filler to the nail holes and finished the mantels with a flat top coat from General Finishes. The top coat protects the wood but doesn’t have a shine to distract you from the mantel’s aged appearance.
The diamond shaped window over the fireplace is one of those details I’m glad we decided to include. I wasn’t about to order a custom window for that spot, so I learned how to make my own window. It’s a single pane glass, but the size and location means there’s not a huge energy loss.
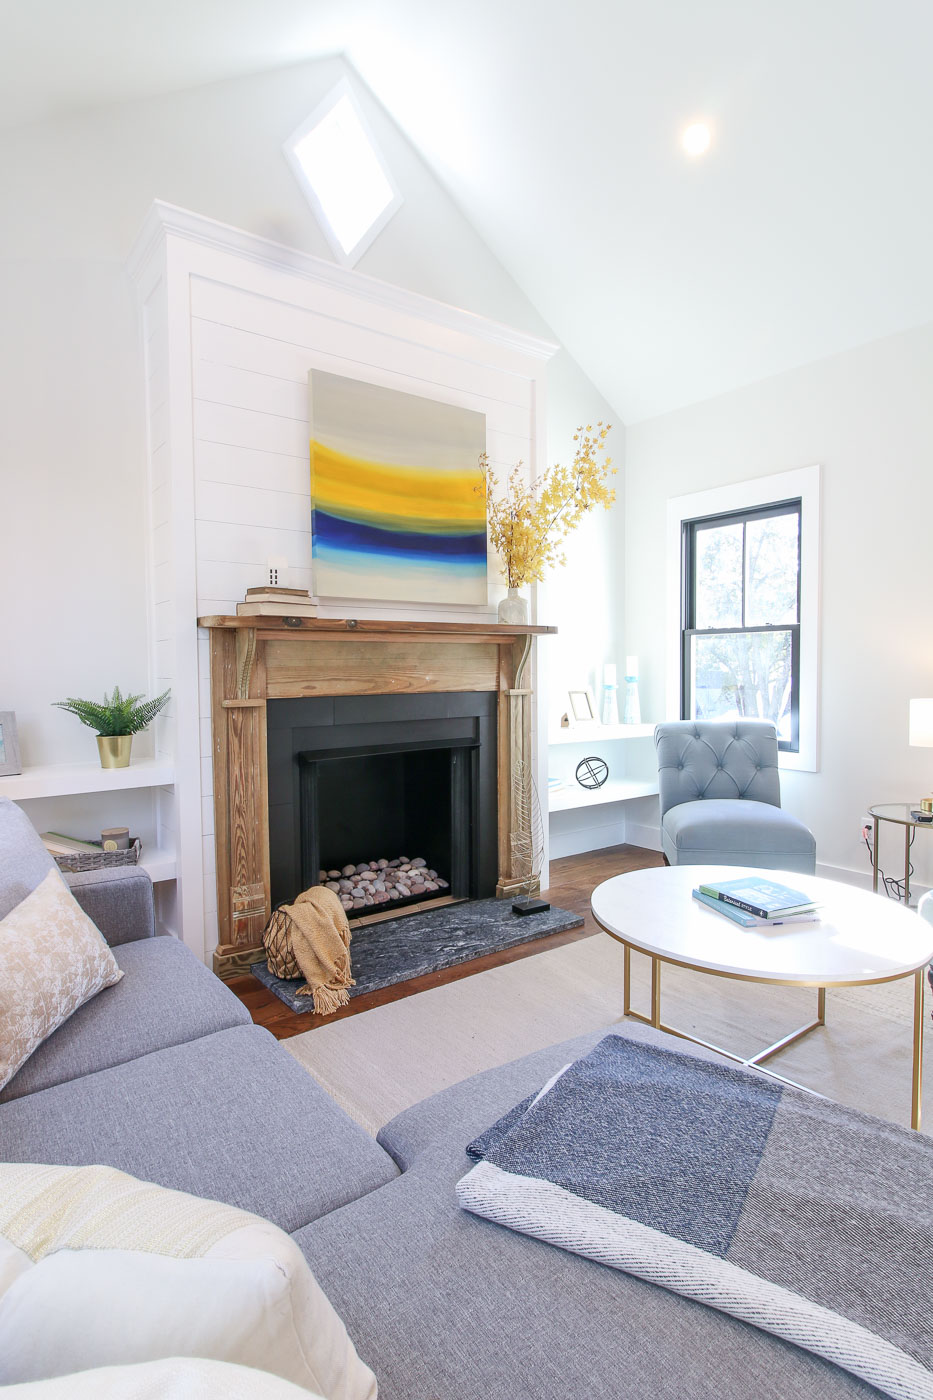
The diamond window has the same shape as the attic vents on the exterior of the house. I’m so glad my architect added it to the plans. Little touches like this really show the attention to detail for the overall design.
Remember the blocking I had to nail into the top of the living room ceiling? This is what it’s for:
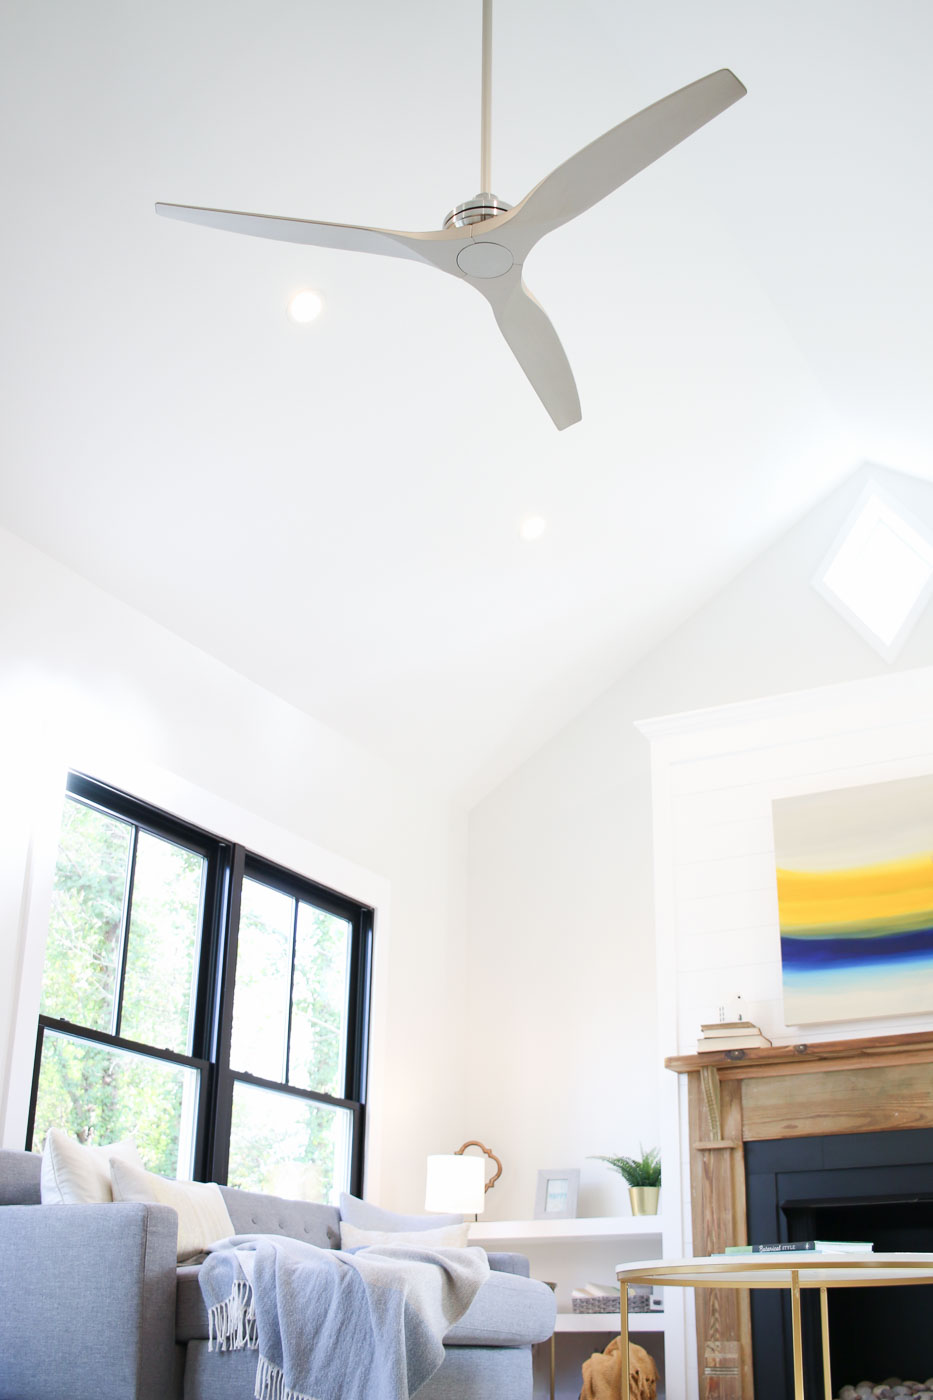
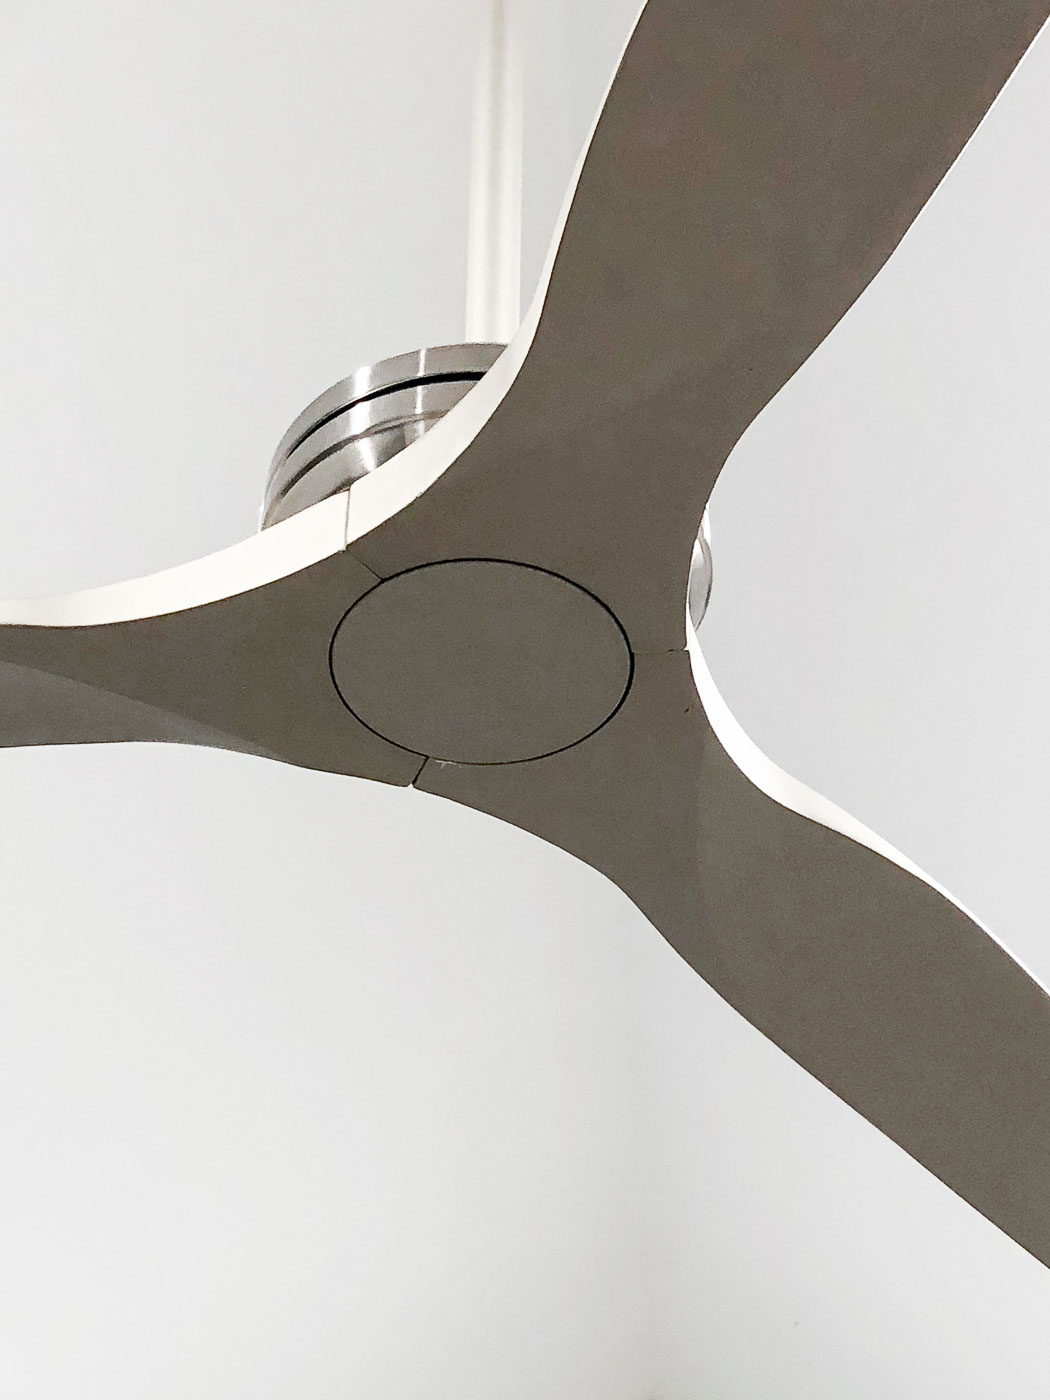
The Fanimation Spitfire ceiling fan. Instead of black, I ordered a brushed nickel fan to keep it light and airy feeling. This fan is definitely one of my favorite modern fans.
A special thanks to Minted Spaces for the phenomenal staging they did in the house.
The furniture truly set the stage for the open house event and I’m happy to say we had multiple offers that same weekend. Hooray.
After the furniture was removed, the house felt empty. I knew it was time for Etta to be turned over to the new owners so they could fill the space with their furniture and create their own memories.
Many people have asked me if it was emotionally hard to sell Etta. It wasn’t because I love our own home and stayed focused on choosing things for the young couple I always pictured as the buyers.
The last day I owned the house, I ran around finishing the few punch list fixes. After everything was complete, I sat on the floor and tried to reflect on the last 18 months building and saving this historic house. It was crazy to think where this journey started and how much the experience deviated from my idea of what rehabbing a historic house would be like.
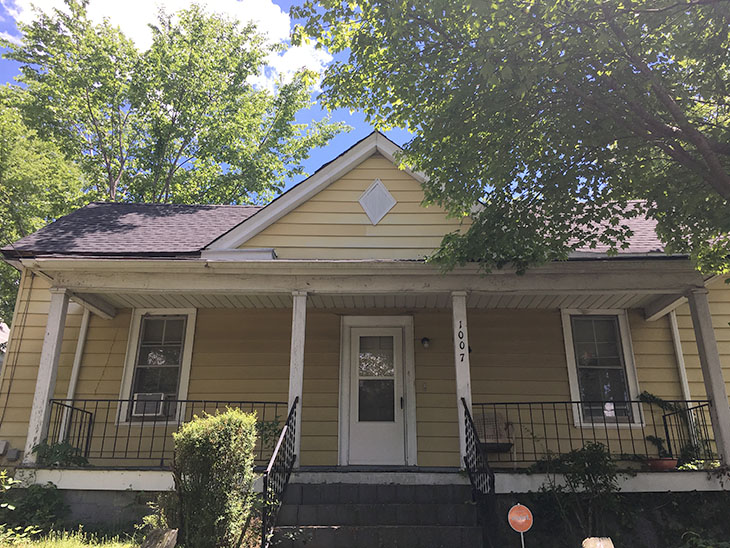
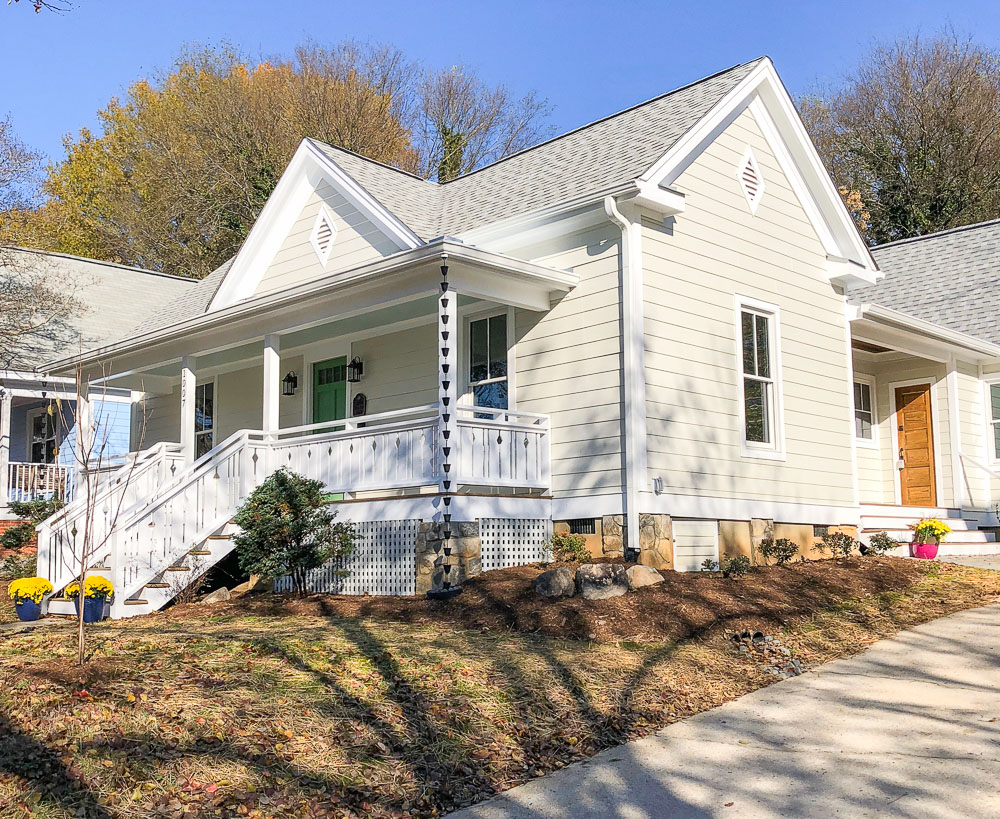
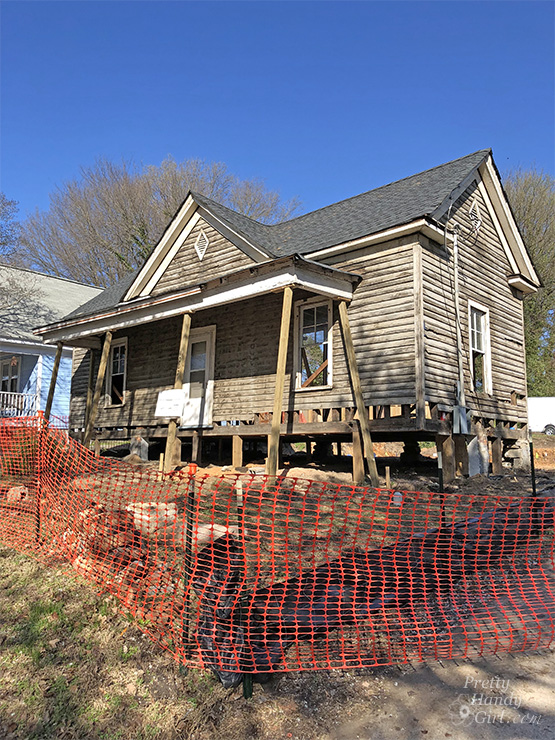
Although it was a huge undertaking and an experience along the way, I am proud to say, “I did it! I saved Etta!” The little bungalow I bought with a major roof leak and black mold had been turned into an amazingly beautiful home.
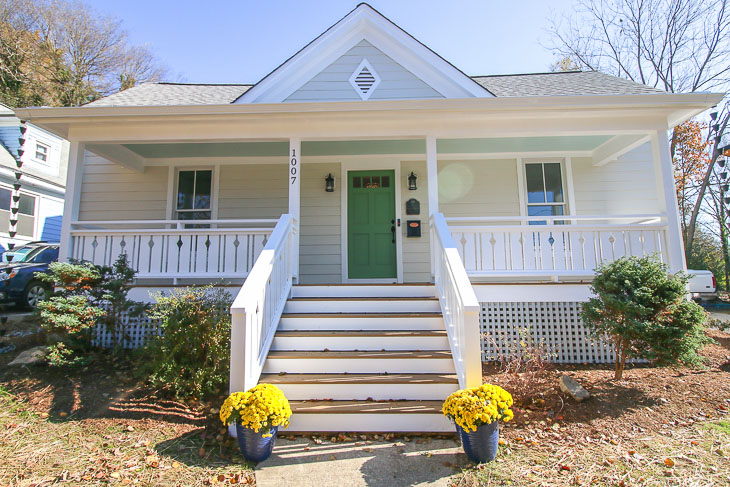
Looking back I never would have bought the house if I had known how much was involved in rehabbing her. But, I’m glad I didn’t realize it, because this house pushed me and taught me many lessons. Plus, it would have been bulldozed like many of the other houses in disrepair in this neighborhood.
Thank you all for your words of encouragement and for cheering me on when I felt like I couldn’t press on. You are the best set of friends (some I’ve met and some I haven’t met yet) a handy girl could ask for.
I’ll be back with the last reveal (the upstairs bedroom and den), and then it’s on to the next house remodel. Stay tuned to learn more.
![]()