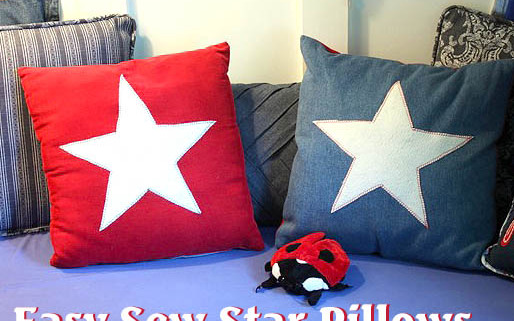
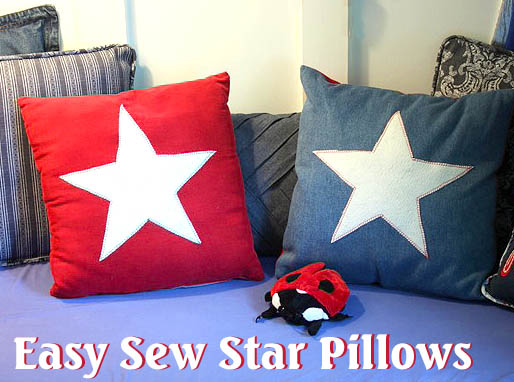
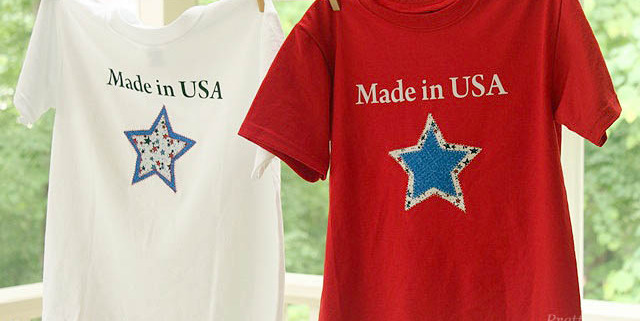
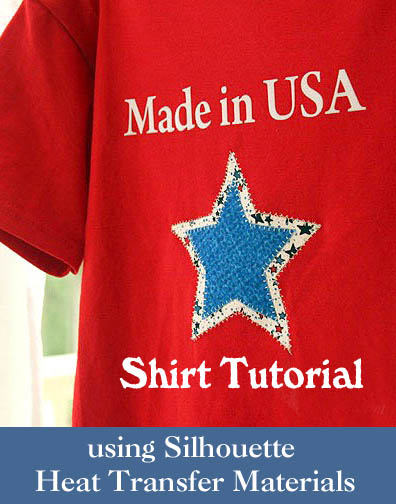
As Independence Day nears, why not dress up your home with these easy to sew star pillows?
Easy DIY Patriotic Star Pillows Materials:
- White felt
- Blue fabric
- Red Fabric
- Blue thread
- Red Thread
- Square Pillow Form
- Scissors
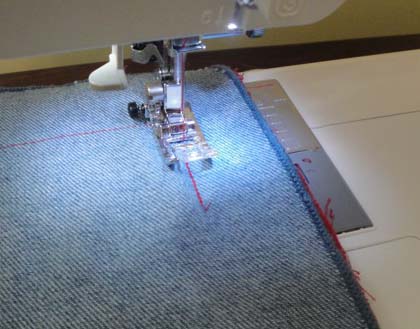
- Sewing Machine
- Pins
Instructions:
Start by printing out a large star onto a piece of paper (you can use the Zapf Dingbats font or google “star” to get your image.)
Lay the print out on top of the white felt and cut out the star shape slightly larger than the image. Read more


