Sew Easy Anthropologie Cloth Napkin Gift Bags | Pretty Handy Girl

Sew Easy Anthropologie Cloth Napkin Gift Bags | Pretty Handy Girl

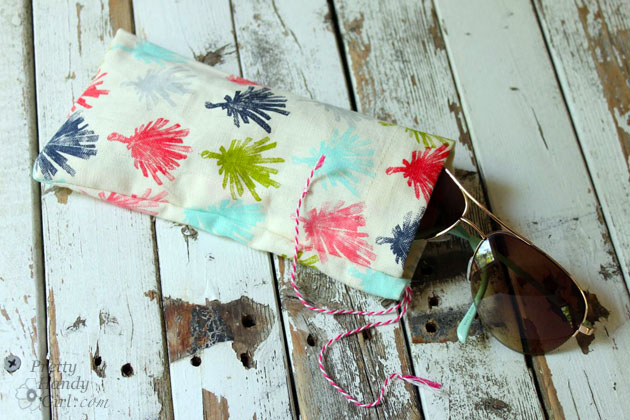
When I want to give a small gift as a thank you or to make someone’s day I like to dress it up by presenting the gift in a little fabric drawstring pouch. These cloth napkin gift bags are “sew” easy to make and they cost about 1/3 the cost of the cloth napkin! Gather a few simple supplies and your sewing supplies and join me.
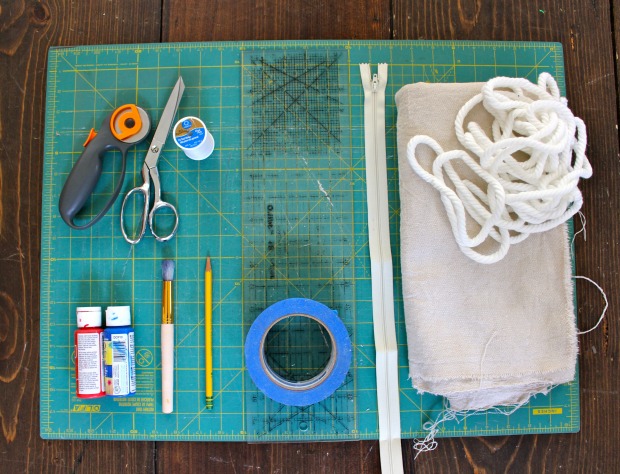
Materials:

  • Cloth napkin
  • Thread
  • Baker’s string or thin ribbon
  • Seam ripper
  • Scissors
  • Safety pin
  • Chopstick, paint brush or other stick type object

Instructions:

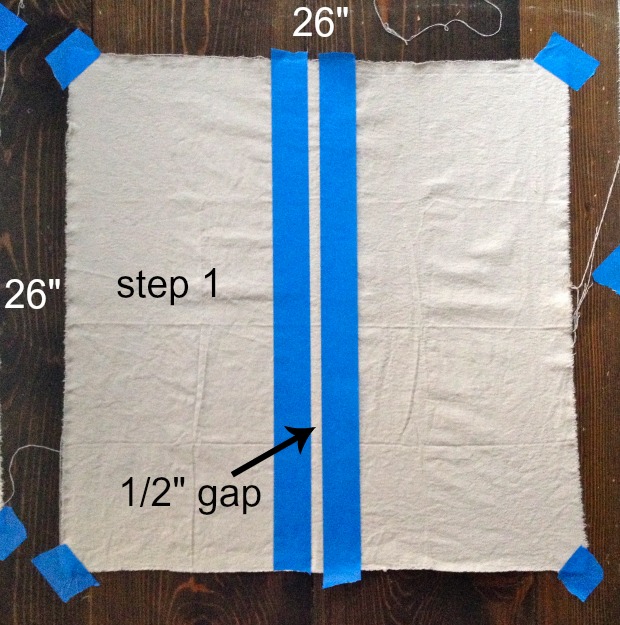
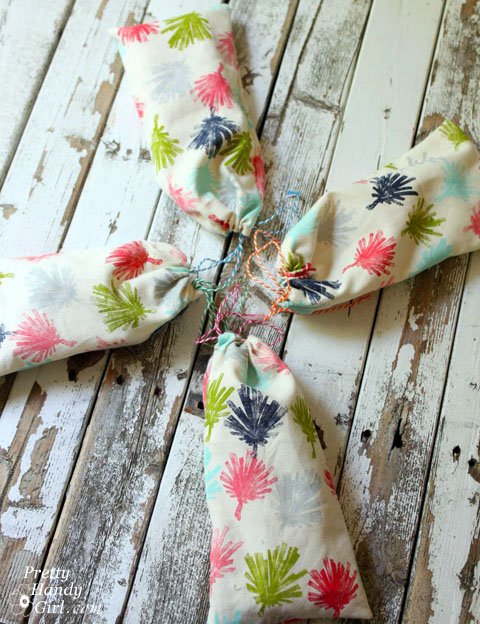
Fold the cloth napkin into fourths. Cut along the folds to yield four squares.

Sew Easy Anthropologie Cloth Napkin Gift Bags | Pretty Handy Girl

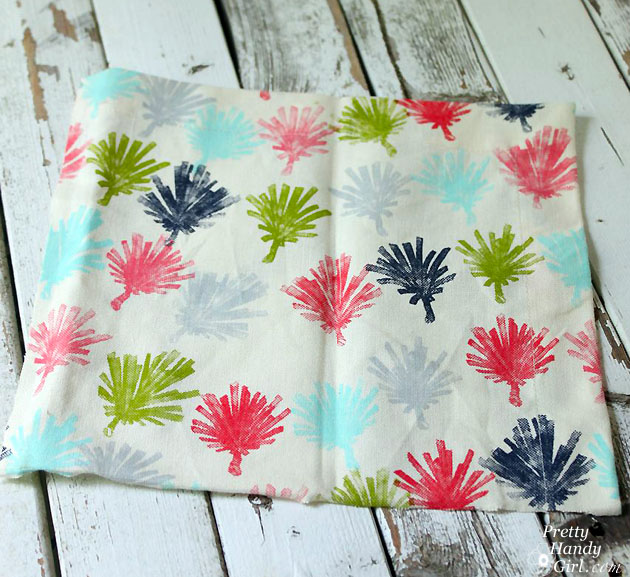
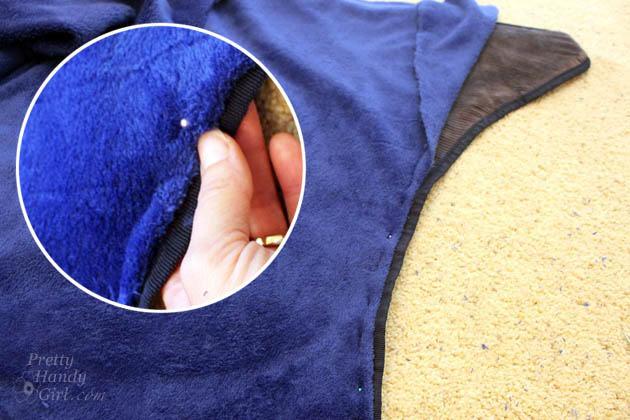
Fold the napkin fabric in half right sides together. Read more

DIY Octopus Pillow

diy anthropologie inspired octopus pillow

Hi there! It’s Melissa from The Happier Homemaker back again this month with a super easy knock off project today.

I don’t know about you but I just love looking at stores and catalogs for my DIY inspiration.  I recently saw a gorgeous Anthropologie octopus pillow online but one look at the $168 price tag and I knew it would not be making an appearance in my living room! I knew right away that I could DIY my own version for significantly less and am in love with how it turned out!

Supplies:

  • Inexpensive Tea Towels (I bought mine from Walmart-2 for less than $5)
  • Black Sharpie marker
  • White Thread
  • Poly-Fil
  • Sewing Machine

Instructions:

If you feel comfortable drawing, use the inspiration picture to sketch out an octopus approximately 11″ wide.  If you need a little help in the art department you can download a scan of my sketch here. (You will need to tape the two scans together to get the full sized design.) Read more

striped euro shams

Every DIYer loves a little drop cloth project right?  Jaime from That’s My Letter here to share how to make striped euro shams.

Using drop cloth and acrylic craft paint, I made these grain sack inspired shams to finish off our new poster bed.

striped euro shams 1

I added piping to finish the edges. It wasn’t too hard, and it was worth the extra effort.  Brittany has a great piping tutorial here or you could always leave off the piping if you choose.

05-CLX-digging-deep-striped-duvet-cover-0613-xln 1

I found my inspiration for these shams from a Country Living article in the June 2013 issue.  The master bedroom in the featured home had the perfect striped lumbar pillow and I knew I just had to have my own!

striped euro shams 3

Similar but different, these striped shams coordinate well with my Joseph’s Coat quilt.  Check out how easy it is to make your own shams:

Materials:

striped euro shams supplies

  • drop cloth (2 – 26″ x 26″ square piece per sham)
  • cotton cording (2 yards per sham)
  • 22″ zipper
  • painter’s tape
  • stencil paintbrush or stiff bristle brush
  • acrylic paint
  • pencil
  • clear quilting ruler
  • rotary cutter
  • self healing cutting mat
  • scissors
  • thread
  • sewing machine
  • iron & ironing board

Instructions:

striped euro shams step 1

Step 1: Measure your sham inserts and add 1″ to each side.  (My inserts measured 25″ x 25″ therefore I cut the drop cloth at 26″ x 26″.)  Tape the corners of the drop cloth to a hard surface.  Slide a piece of cardboard under the drop cloth to protect your surface. Mark a 1/2″ wide stripe at the center and secure painter’s tape down either side of gap. Read more

pom pom pillows

Hi Pretty Handy Readers, Jaime here from That’s My Letter  sharing another fun DIY project.  Today it’s pom pom placemat pillows. Yes, please!

pom pom pillow 5

We just amped up the fun factor with these cute pom pom placemat pillows and they are a cinch to make.

pom pom pillow 6

Pom Pom Placemat Pillows

You make a placemat sandwich with pom pom trim in between and no turning right side out!  Simply fill with stuffing and sew shut.

The red and white is classic and bold. But, I loved this simple sewing project so much that I made another set of pom pom pillows for my girls summer bedding.

pom pom pillows 4

A pretty set of yellow placemats with light pink pom pom trim will be the perfect accent pillow on their beds.

Pom Pom Placemat Pillows Materials: Read more

How to Recover a Butterfly Chair | Pretty Handy Girl

How to Recover a Butterfly Chair | Pretty Handy Girl

Happy St. Patrick’s Day! Do you have a butterfly chair that is sun-faded or has hideous fabric on it? I bet you thought it was a lost cause, right? Nope! With a sewing machine, some new fabric and a little spare time you can recover that ugly butterfly chair and have a new one. Okay, so I didn’t recover it with green fabric in honor of St. Patrick, but what could be greener than a good old upcycling project! Believe it or not, this was a much easier project than I had anticipated, so don’t get scared by the curves. You can “sew” do this! 😉

How to Recover a Butterfly Chair | Pretty Handy Girl

I stumbled upon this chair at Goodwill for $9.99. Normally I wouldn’t spend this much for a sun-faded chair, but because I was working on the school library makeover project — and we needed more comfortable seating — I bought it.  After all, we would have had to pay at least double for another comfy chair.

How to Recover a Butterfly Chair | Pretty Handy Girl

Luckily, I had some soft leftover fleece fabric that I could use to recover the chair. I wish I had measured how much I used, I think it was a little less than 2 yards.

Materials:

  • 2 yards of fabric
  • Coordinating thread
  • Pins
  • Scissors
  • Old butterfly chair + old cover

Instructions:

1. Remove the old cover from the butterfly chair frame. Lay it on top of your fabric (both right sides up.) Read more