Sew Mini Gift Pouches from Napkins

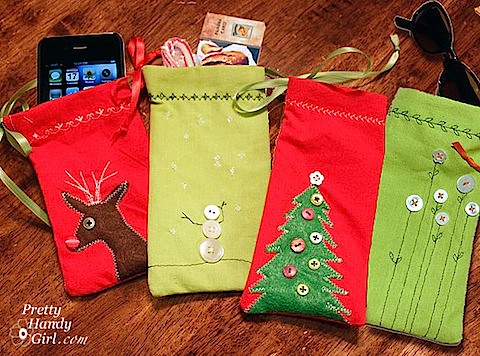
AllPouches.jpgOh the quandary of what to get my boy’s teachers, the sitter, and all those other important people in our lives. Usually I take the easy way out and buy gift cards. Well – okay – I’m still going to give the gift cards, but this year I wanted to present them in something a little nicer. Something handmade with love. Cute mini gift pouches!

These little handmade pouches are perfect for holding a gift card and some holiday treats. And then after the holiday season has ended, the recipient can use the pouch to protect and store valuables!

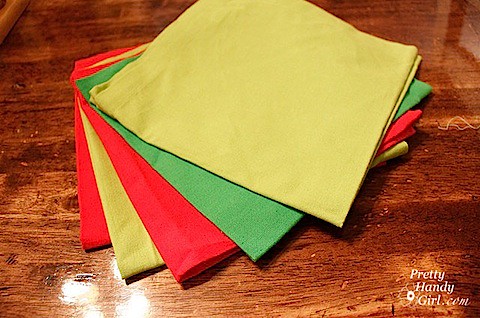
My pouches started like this:
DiscountNapkins.jpg

Discounted cloth napkins! 90 cents for each napkin. And here is how they became cute little mini gift pouches:
CutinQuarters.jpg

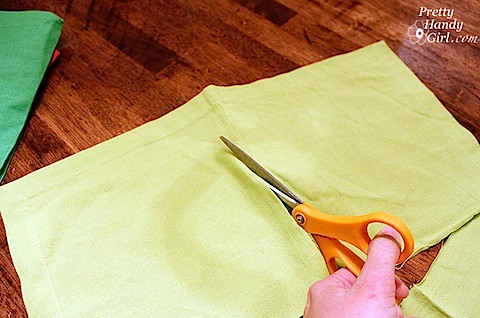
Open the napkin up and cut it into quarters.
FoldinHalf.jpg

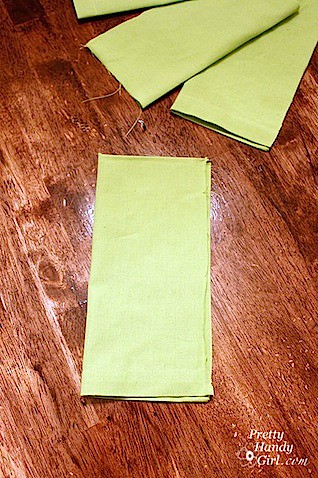
Fold the napkin in half.

LayoutButtons.jpg

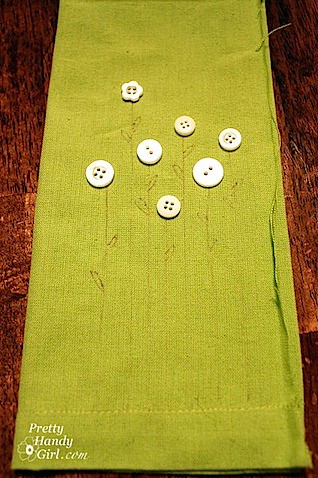
Allow 1/4 inch seam allowance on the open edge of your pouch, then layout your design and sketch with a disappearing marker where your stitch lines will appear.
SewStems.jpg

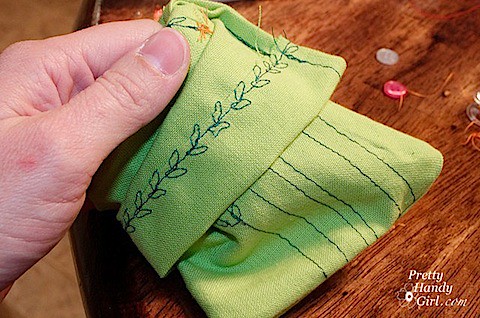
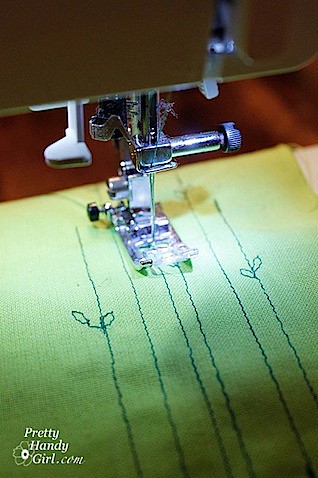
Sew along the lines you drew. (My machine has a few decorative stitches, but I could have done them by hand instead.)
SewOnButton.jpg

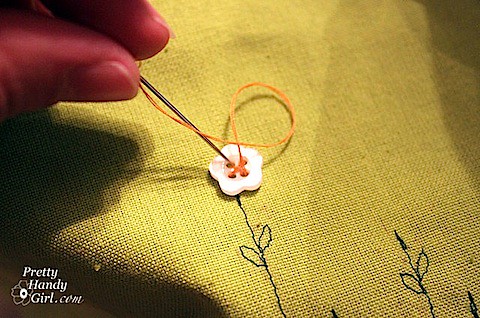
Then hand sew the buttons on where you want them.
HemPouch.jpg

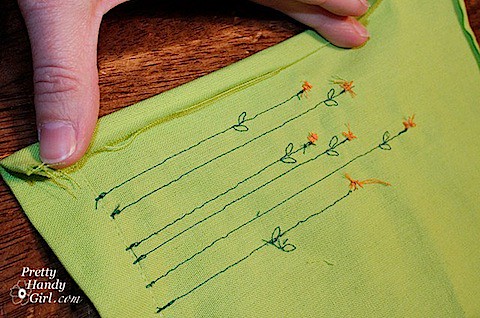
Once your design has been completely stitched You will need to hem the raw edge on your napkin.
FoldOverDrawstring.jpg

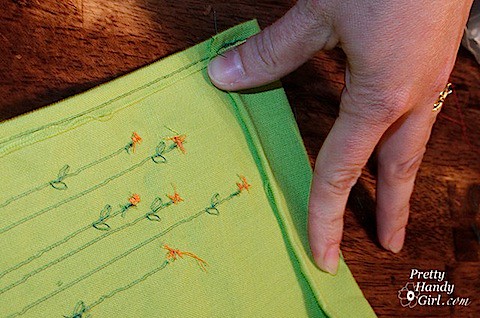
Next, fold over the top of your pouch approximately 1/2″ to accommodate your ribbon drawstring.
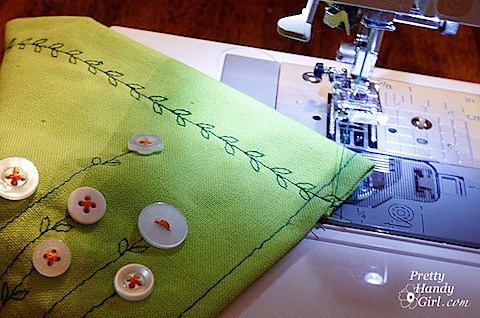
DecorativeTopStitch.jpg

Stitch the ribbon drawstring pocket closed. If your sewing machine has decorative stitches you may choose to use one of them, but be sure to sew on the right side.
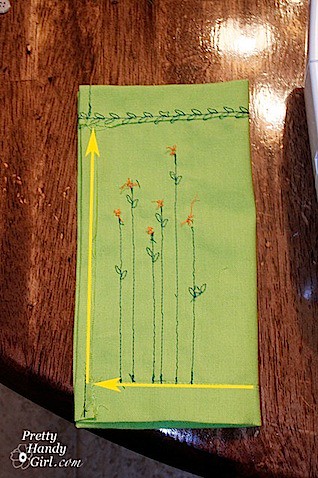
StitchLines.jpg

Fold your napkin back in half with the right sides together, and stitch along the bottom and open sides of your pouch. (I stitched this pouch a little higher on the bottom edge to make the flower stems end in the seam.) Be careful to stop stitching up the side before the drawstring opening.
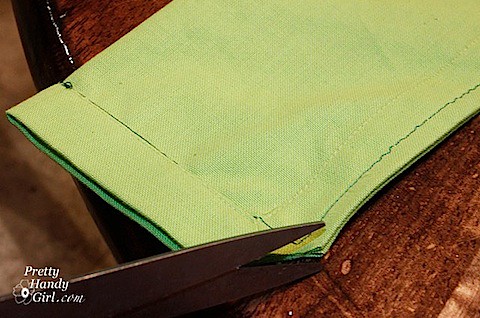
CutCorners.jpg

Snip off the corners of your pouch.

TurnRightSideOut.jpg

Turn your pouch right side out.

FeedSafetyPin.jpg

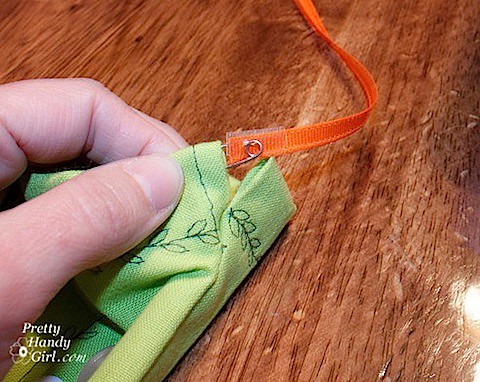
Cut a length of ribbon long enough to thread through the top of your pouch and to tie a bow. Then attach a safety pin to one end of the ribbon. (I added some scotch tape so the pin wouldn’t fray the ribbon.)
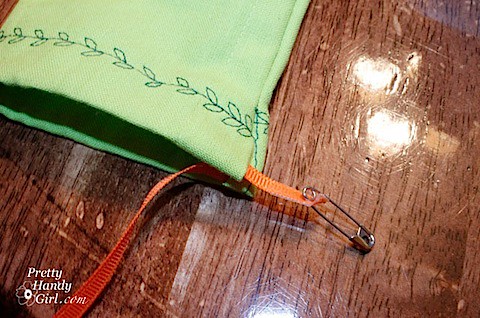
PulledSafetyPin.jpg

Gently feed the ribbon through the bag using the safety pin to push its way through.
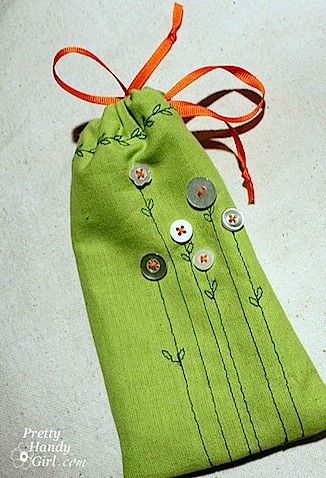
FlowerPouch.jpg

Add some goodies to your pouches and tie the ribbon to close it up.
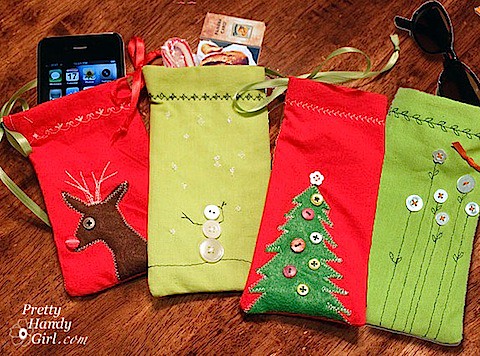
AllPouches.jpg

For the Rudolf and tree bag, I simply cut out the shapes using felt and stitched around the edges.
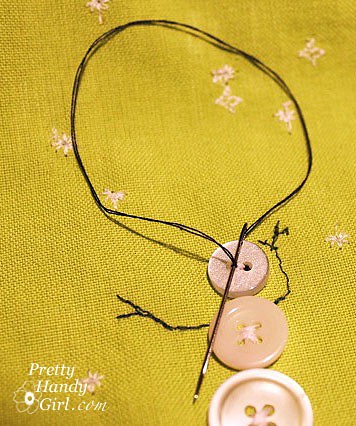
SnowmanEyeballs.jpg

One more trick for you. The snowman’s eyes were added after I stitched the button on using white thread. Then I re-threaded my needle and sewed in and out a few times on each hole to give him little black eyes.

I will be the first to admit that I need to center my designs a little better, but for now I’m happy with them. And, hey, isn’t it the imperfections that make them look handmade?

https://3.bp.blogspot.com/_g5zUd7bijOw/TP5MiaPwgSI/AAAAAAAADLs/GU1XOSrD1_I/s1600/MoreXmasPouches.jpg

Update: I made a few more pouches last night, and altered my snowmen to a four hole button which gave me the option to add a mouth. I’m also perfecting my technique and getting better (not perfect) at centering the designs.


Pin for later!
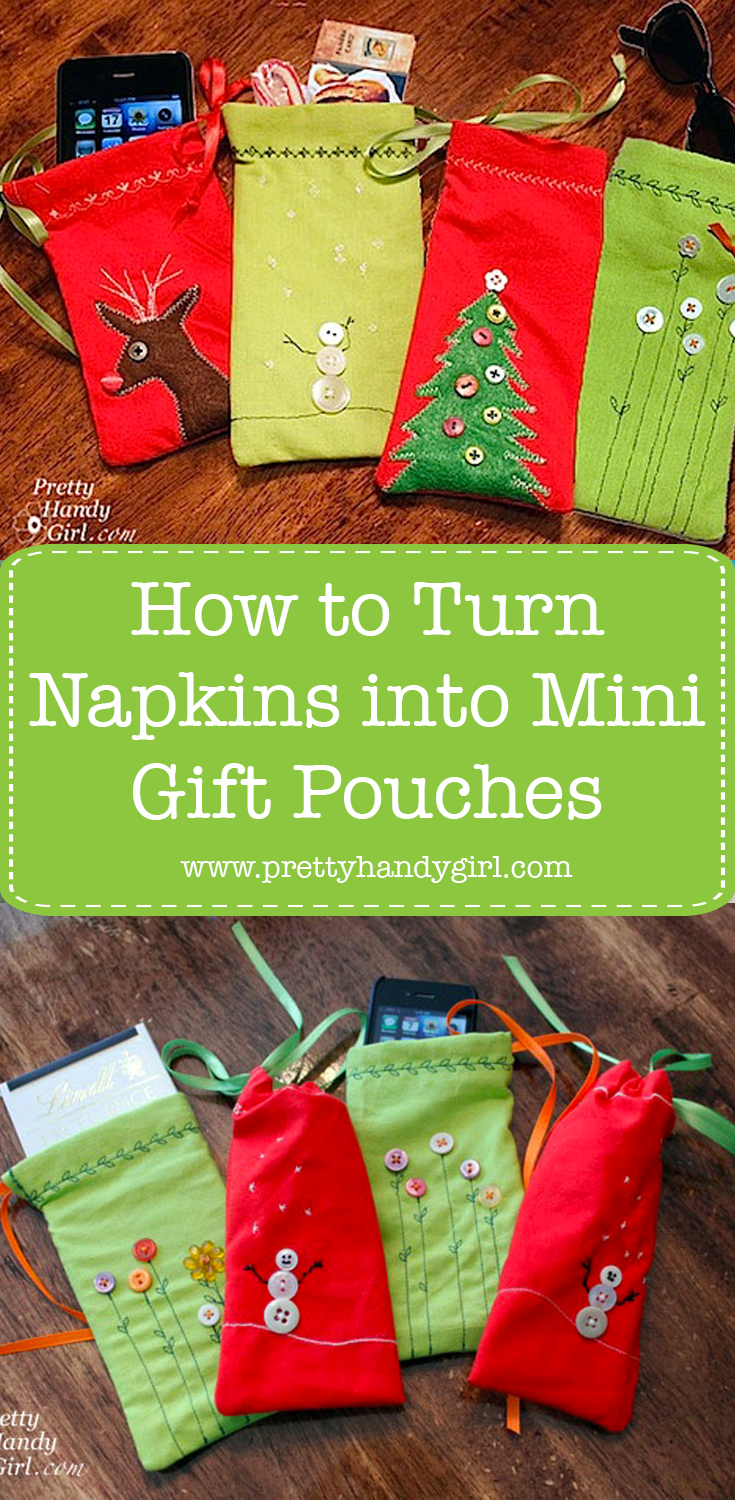
DIY Christmas gift pouches made from napkins

Ahem, may I have the drumroll please?

 Rat-a-tat-a-tat-a-tata…

…and the winning number chosen by Random.org is:

#59 (well, that is random isn’t it!)


Michelle! Wooohooo! Come on down and pick up your prize:

And for everyone else, don’t be blue. I was a busy beaver in September and stood up to Robin’s Stashbusting Challenge. So, when I saw this tutorial written by Jorja over at Puking Pastilles (Great name! Don’t you think? Any other Harry Potter fans?) I knew this was a great way to bust some of my fabric scraps.

I took some of these:

And a few of these:

And cut them like this:

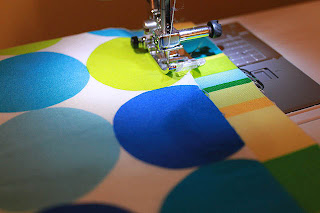
Then did a little of this:

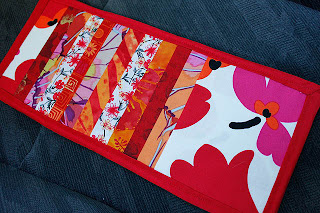
To make this:

And because I already had my stash out, I also made these:

But, I put the most effort and love into this one:

Because it is for someone very special to me! You!

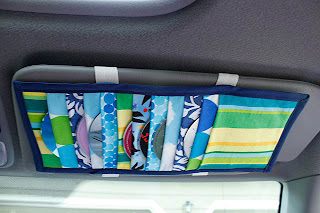
I will choose one of my followers (via Google Friend Follower or FeedBurner) to receive a Pretty and Handy CD/DVD visor wallet. So, you too can roll around town with one of these:

But, wait! There’s more! Inside one of the sleeves will be tucked one of these:

And the best part is that if you are already a follower you will be eligible. You don’t have to do ANYTHING! No tweets, no likes, no comments, nada, zilch, nothing.

One of my Pretty Handy Assistants (Boy #1 and Boy #2) will choose a follower for me at the end of October. So, if you aren’t a follower, head over to my side bar and either click the “Follow” button or add your email address to the FeedBurner subscriber box.

Thanks again to all my readers. I wish you good luck in October!

Now, I have officially said goodbye to Summer. Sniff, sniff.

Our office renovation is nearing completion. We’ve been working on the room for two plus months now. The majority of the work is complete, but we are waiting for two desk cabinets to come in to the Office Depot warehouse so we can actually order them. At this point I’m wondering if I should just build my own! <<Sigh>>
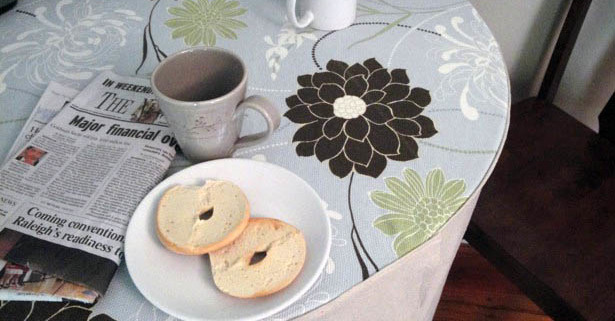
After searching for over a month on Craig’s List, I finally broke down and bought a small counter height bistro set from Big Lots for the corner of our office. We thought it would be a great place for the kids to sit and do homework. Or better yet, for Pretty Handsome Guy and I to talk and have our morning coffee!

The height and footprint is perfect, however, the dark wood (in addition to the other furniture in the room) made the room too dark for my taste. Okay – and I’m a sucker for hidden storage (need to hide that stop sign red box!) So, I came up with the idea to slipcover the table.

Unfortunately I didn’t have enough fabric left over from my yard sale re-upholstered chair and the back of the bookcase project. But, I did have enough to cover just the top of the table.

Then I bought two small 4′ x 5′ painter’s drop cloths for $5 each. I am seriously addicted to these must have fabrics! I already used a pair for our laundry room curtains and I bleached another one to make grain sack valances for our dining room at a later date.

So, anyone remember their geometry class? I barely remembered enough to figure out that the circumference of my 3′ diameter table is 9.42 (π x diameter or 3.14 x 3= 9.42). Therefore, two 5′ wide cloths would just cover my table!

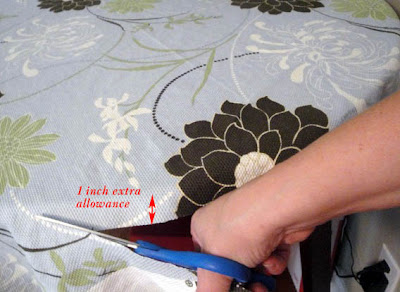
The first thing I did was trim the fabric around the tabletop allowing a 1″ overage for seam allowance.

Then I ironed the drop cloths, and decorative table top fabric. I hate ironing  – I hardly ever iron. Usually I’ll just spritz water on my shirts or pants in the morning and they dry wrinkle free. Or if it is really wrinkled, I will dampen my clothing and toss them in the dryer for a few minutes.

Sometimes, I just have to break out the iron. But, I found a way to make ironing enjoyable. I set up my ironing board and watched a little HGTV or DIY Network while I de-wrinkle. Nothing like a hot DIY hunk to make me all steamy. Hee, hee.


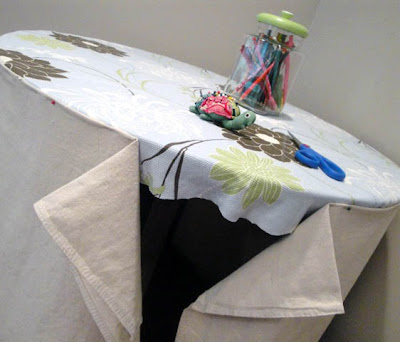
I folded the top of the drop cloths so they just meet the table top and the bottom brushes the floor (this way I won’t have to hem the bottom.) Next I pinned the 2 drop cloth pieces around the table. Being sure to use lots of pins, since sewing around a curve can have a tendency to make the fabric pucker.

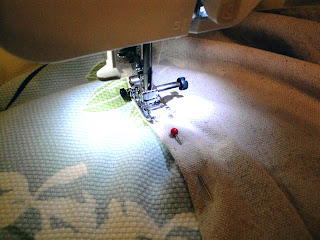
Then I stitched on top of the drop cloth, as close to the edge as I could. Being careful to avoid letting the fabric pucker.

After a few trial and errors, I got a smooth line and the drop cloth edges overlapped slightly.

Next the fun part! Digging in my grandmother’s button tin! She passed this down to my mother and somehow it ended up in my possession. (Shhhh, don’t tell my sisters!) I love this tin. The smell I encounter when I open the tin is part metal, part perfume, and 100% nostalgia.

I remember the feeling of running my fingers through the buttons. Isn’t this the prettiest eye candy? All those colors and textures.

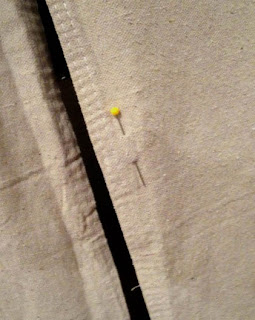
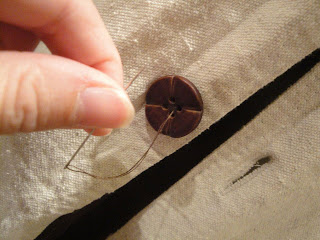
<<snap of the fingers>> Okay, back to the project at hand. I chose four large brown buttons. Then eye-balled them on my slipcover and put a pin where each one would be attached.

I used a disappearing pen to mark the size of the button on the side that overlaps the other.

This is the first time I’ve used the buttonhole foot on my Brother CS-6000i sewing machine. (No, I’m not paid to endorse this sewing machine. I just can’t believe all the features it has for the $125 price!) I was impressed by the button holder that automatically tells the machine how big to make the hole.

The machine also has a feature where it can stitch your buttons on, but I knew it would take me longer to read and measure how to tell my machine where the holes in the buttons were. So, I sewed them on by hand.


And presto, I have a pretty bistro table with storage underneath!


And, a place to have morning coffee with Pretty Handsome Guy.
And, somewhere for the kids to do homework (or brush up on reading at Starfall.com.)


Visit thecsiproject.com
Sew Star Pillows
Making Red & Blue Star Pillows

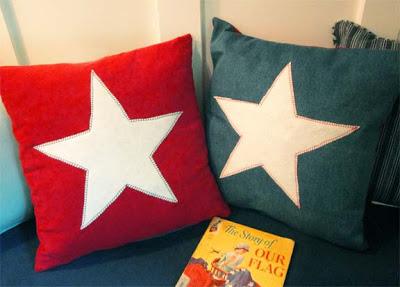
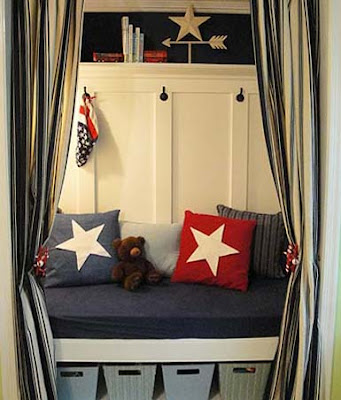
If you read yesterday’s post, you saw two star pillows on my son’s reading nook bench. I promised you the tutorial, so here it is:

These were super easy to make. I made two pillows in just over an hour on my Brother CS6000i sewing machine. This was a great Mother’s Day present from my hubby 2 years ago. (Last year he bought something most men would swoon over – A 10 inch sliding dual bevel compound miter saw. I just love saying that long name!)

This sewing machine is very reasonably priced at $125 and it has loads of decorative stitches!

The first thing I did was print out a star symbol from the computer as large as I could on letter size paper. (Look through your dingbat fonts if you can’t find a star. Mine is Option + H when using zapf dingbats font. But, yours may differ. Or better yet, google star in the images tab.)

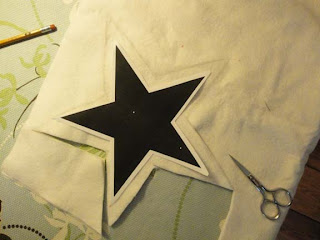
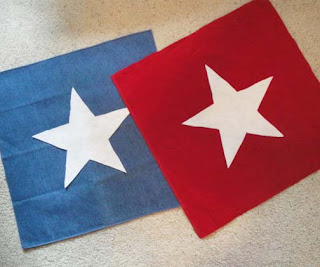
Then I traced the star slightly larger than my print out onto white felt. Be sure you are using sharp scissors when you cut the felt or it will tear.

Making Red & Blue Star Pillows

Luckily I had leftover fabric from some pillows I made for Christmas presents and 2 denim cloth napkins handed down to me from my super stepmom!

I simply cut out two squares of red corduroy the same size as the napkins. At this point I should have ironed my fabric, but I was too impatient to finish sewing these starry stunners.

Making Red & Blue Star Pillows

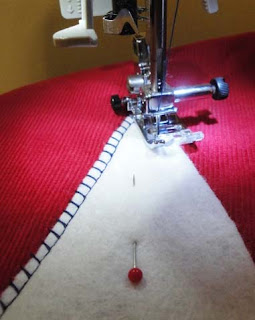
I laid out the stars on the center of the fabric (one on blue and one on red.) Then pinned them in place and stitched the stars onto the fabric.

Making Red & Blue Star Pillows

I used this decorative stitch (I don’t know the name of it…can anyone tell me?), because it made it looked hand-stitched. I used red thread on the blue denim pillow and navy on the red corduroy pillow.

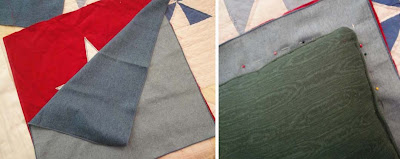
Then I matched up one denim napkin with the red corduroy star front and vice versa for the denim star pillow. After laying out my pillow (gotta love that I kept those hunter green pillows from the 90’s!) on top of the fabric, I pinned the fabric right sides together forming a guide for where my seams would be.


Next I straight stitched the sides together leaving an opening, about half the width, at the bottom to stuff the pillow inside. I checked to make sure the pillow fit before I turned it right side out. Then trimmed my extra salvage edges and made 45 degree cuts at all corners. At this point, I turned the pillow case right side out.

Making Red & Blue Star Pillows

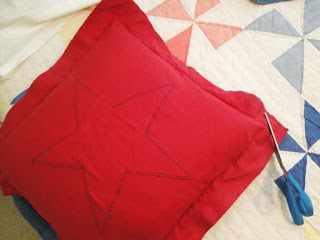
I used the blunt tipped scissors to poke the corners out (broken tipped pencils or other blunt pointy objects work just as well. Wow, that sounds like a murder weapon.) Then stuffed my pillow back inside and pinned the bottom of the pillow together.

Last, I stitched a straight stitch as close to the bottom of the pillow as I could to seal the open edge.

And that is my super-duper, easy and quick guide to creating star pillows.

Making Red & Blue Star Pillows

But, who says you have to make star pillows. Get inspired to make your own pillows! Here are some other ideas:

Poinsettia pillows made with corduroy and felt on Centsational Girl’s blog.  I loved the combination of the textures and the graphic images.

Or adorable pet silhouette pillows. I made a dog portrait pillow for my pretty handy sister and my super talented mom (who both coincidentally own black dogs.)

Next up will be a tutorial on rewiring and adding a switch to the copper wall sconce lamp that hangs in the closet turned reading nook project, that I bought from the Habitat for Humanity ReStore!

Inspired by:
Visit thecsiproject.com
Check out some other Independence Day inspired projects on their site.


and


Project completed just in time to participate at Centsational Girl’s
Check out other Independence Day themed projects on her site as well!


Happy Fourth of July!