How to Refinish Wood Floors without Sanding | Pretty Handy Girl

How to Refinish Wood Floors without Sanding | Pretty Handy Girl
How to Refinish Wood Floors without Sanding

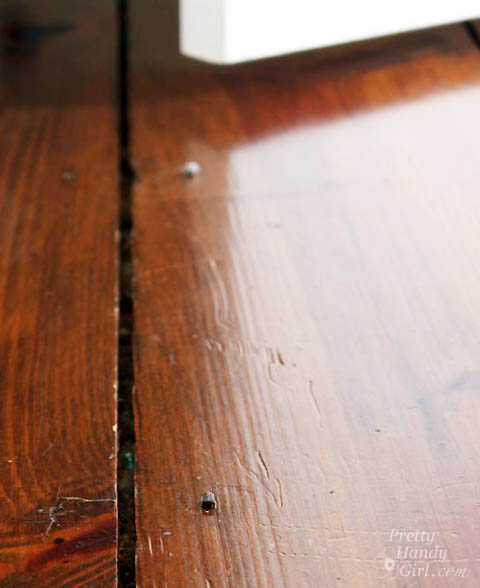
I love our antique heart pine floors! They are beautifully distressed. The round pegs and square nails securing them in place add loads of character. However, the square nails sit flush with the surface preventing us from ever being able to refinish them with a sander. The nails would tear up the sandpaper in no time. But, that’s no problem because I know a way to Refinish Wood Floors without Sanding!
 

How to Refinish Wood Floors without Sanding | Pretty Handy Girl

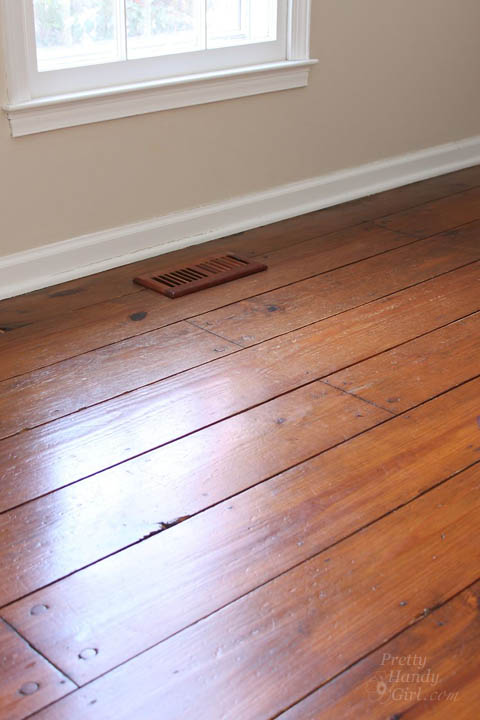
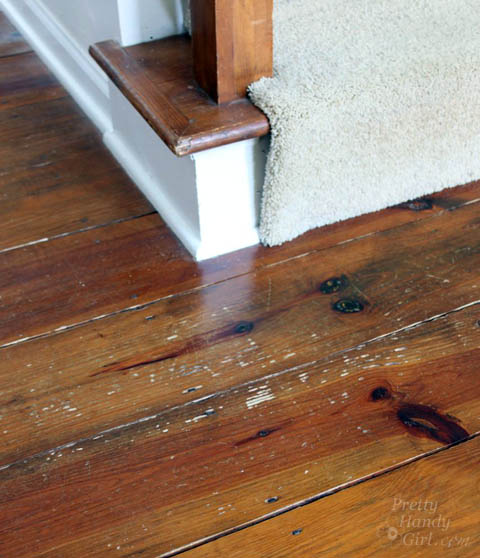
From time to time, our floors start to look dull…
How to Refinish Wood Floors without Sanding | Pretty Handy Girl

…and the scratches are more noticeable. This is when I know it’s time to refinish them.
How to Refinish Wood Floors without Sanding | Pretty Handy Girl

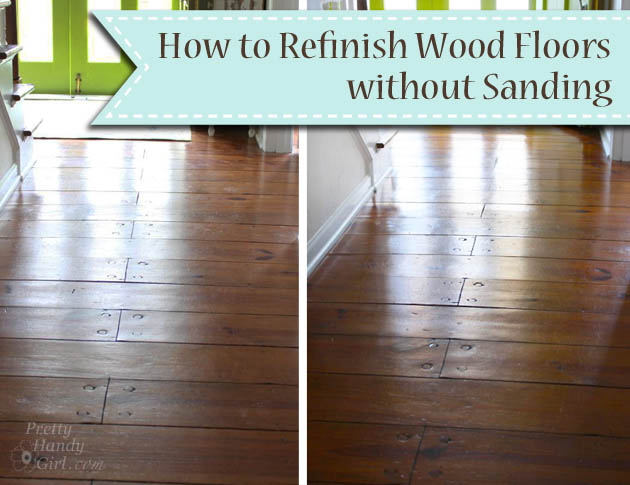
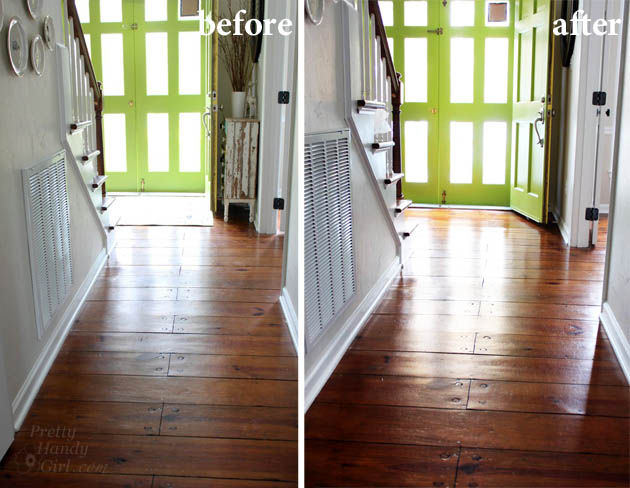
The first time I refinished our floors, it was several years ago when we were painting the office and dining room. I decided to try to refinish the floors because the rooms were already devoid of furniture. Several neighbors had recommended Bona® Hardwood Floor Cleaner and Bona® Hardwood Floor Polish. I was skeptical, but the results were beautiful floors that had luster, but still showed their beautiful age.
Before and After Finishing Wood Floors without Sanding | Pretty Handy Girl

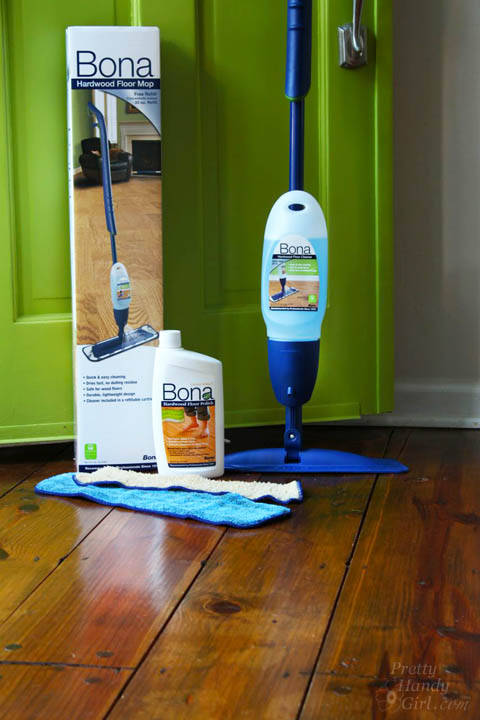
The Bona® Hardwood Floor Cleaner did a fabulous job of cleaning the floor without damaging them. And, the Bona® Hardwood Floor Polish provided a strong finish without any waxy build up. The high gloss protective layer adds some shine, but isn’t overly shiny. The polish also fills micro-scratches, evening out the appearance of the floor.
How to Refinish Wood Floors without Sanding | Pretty Handy Girl

Fast forward to this past week when Bona asked me to write a sponsored post for them, I jumped for joy because I already use and love the Bona® Hardwood Floor Products! (Here’s my full disclosure: Yes, this is a sponsored post. No, I was not told what to write. And yes, I probably would have blogged about my experiences using Bona® Hardwood Floor Products at some point anyway. Win-win.)

I highly recommend trying the combo of the Bona® Hardwood Floor Cleaner and the Bona® Hardwood Floor Polish before spending huge amounts of money to have your floors refinished. (Bona® Hardwood Floor Cleaner & Polish will not work on floors that have an oil or wax coating. Test in an inconspicuous area to be sure it will work for your floors.)

Here’s how to Refinish Your Wood Floors without Sanding:

Materials:

(I’ve included affiliate links for your convenience. I earn a small percentage from a purchase using these links. There is no additional cost to you. You can read more about affiliate links here.)

Instructions for Cleaning the Wood Floors:

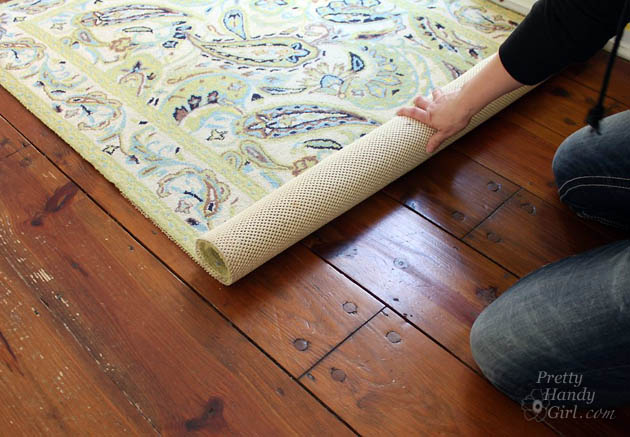
Remove all rugs and furniture from the room. If you have heavy furniture pieces that are never moved, you can leave them in place.
How to Refinish Wood Floors without Sanding | Pretty Handy Girl

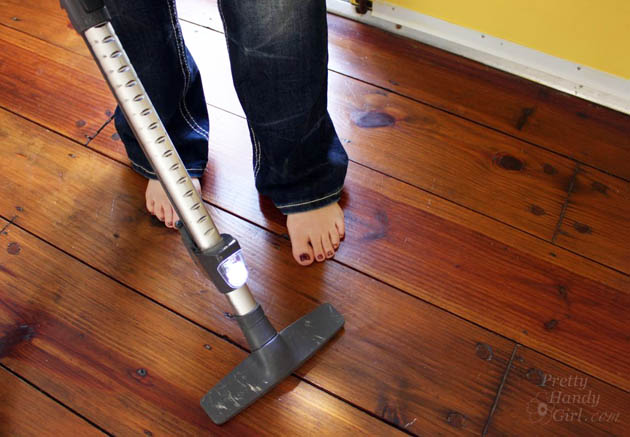
Vacuum or sweep the floors to remove all dirt and debris.
How to Refinish Wood Floors without Sanding | Pretty Handy Girl

Assemble your Bona® Hardwood Floor Spray Mop as shown here: Read more

Quick Kitchen Cart Makeover with BB Frösh Chalk Paint Powder

Quick Kitchen Cart Makeover with BB Frösh Chalk Paint Powder

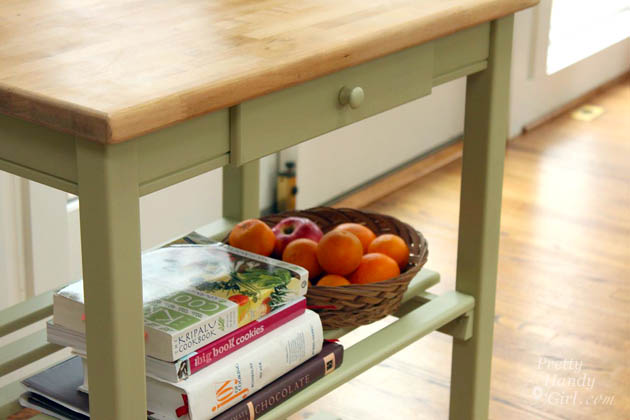
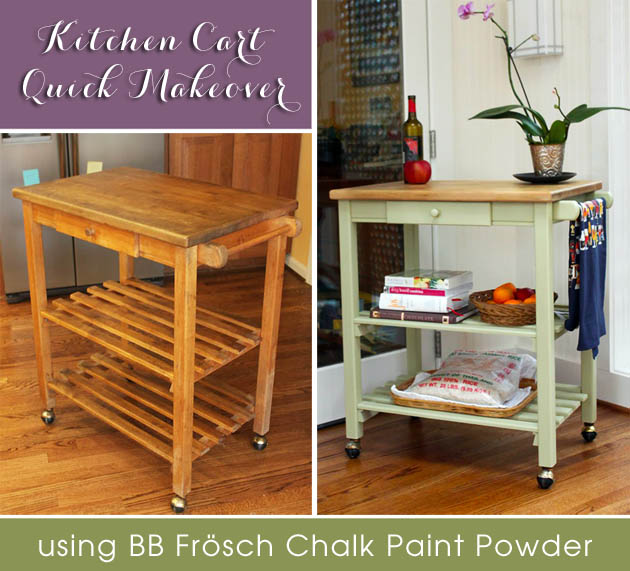
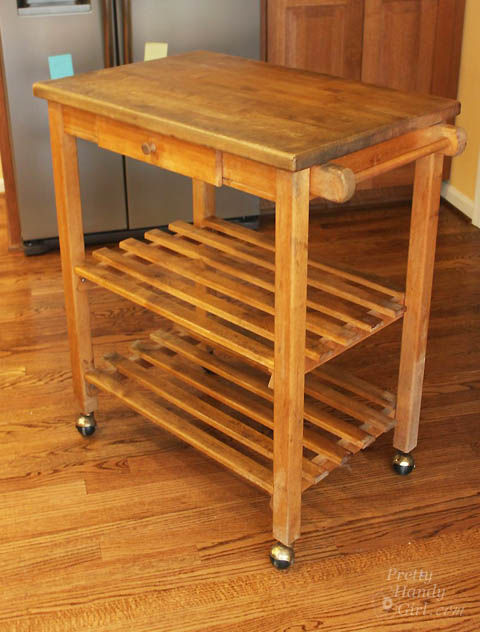
It seems I have a penchant for painting my late grandmother’s old furniture. You may remember the coffee table I wrote on of her’s. This kitchen cart was Grandma’s, but it had seen better days. It has been hanging out in my Dad’s kitchen for years now. My sister Caitlin decided to rope me into giving this kitchen cart a quick makeover over the holidays.

Quick Kitchen Cart Makeover with BB Frösh Chalk Paint Powder

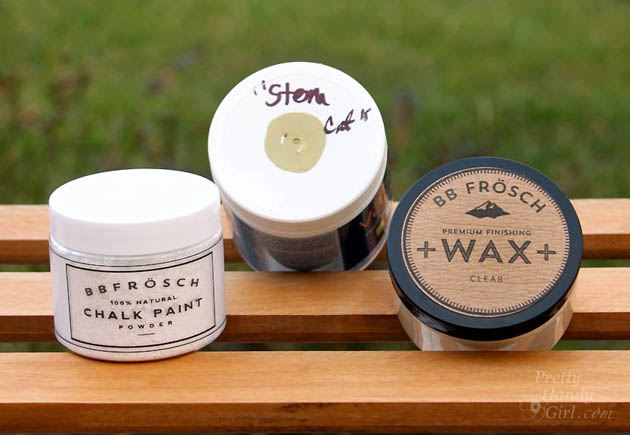
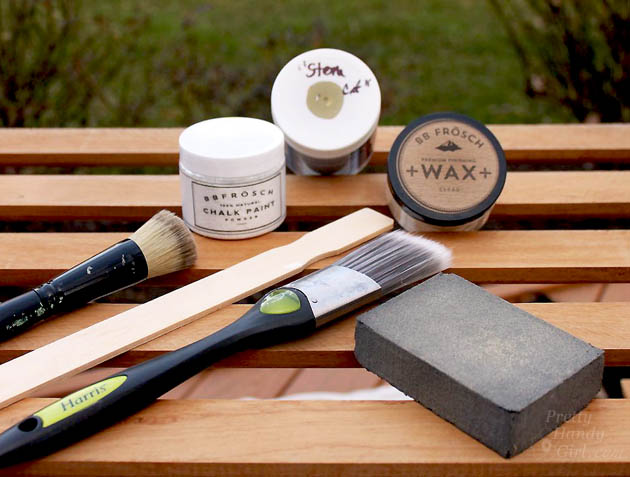
It actually turned into the perfect opportunity to try BB Frösch Chalk Paint Powder. The powder is mixed with water first and then any flat latex paint to create a smooth, durable chalk paint that can be painted directly over any surface regardless of whether it is bare wood, metal, or previously painted. Primer is not needed! For a soft durable finish, you can add a coat of BB Frösch Clear Wax.

Quick Kitchen Cart Makeover with BB Frösh Chalk Paint Powder

I can’t wait to show you how this chalk powder works and how quickly you can give furniture a makeover.

Materials:

(I’ve included affiliate links for your convenience. I earn a small percentage from a purchase using these links. There is no additional cost to you. You can read more about affiliate links here.)

Quick Kitchen Cart Makeover with BB Frösh Chalk Paint Powder

Optional (for butcher block top):


Instructions:

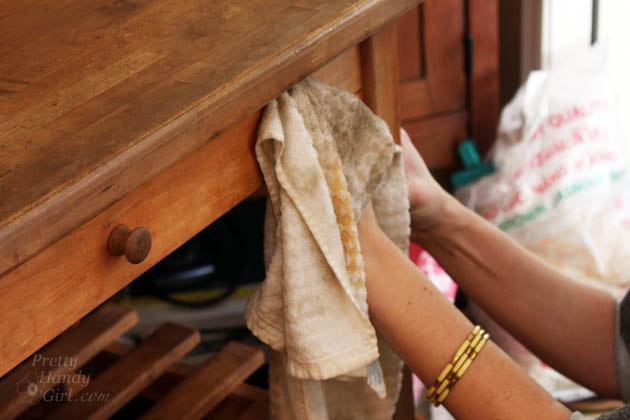
Begin by wiping off your kitchen cart with the damp rag.

Quick Kitchen Cart Makeover with BB Frösh Chalk Paint Powder

To remove the butcher block top, turn the cart upside down and remove the screws holding the top in place.

Lightly sand the rest of the cart with a sanding block. It helps to enlist the help of one adorable niece for this step. Read more

wood-block-picture-frames

Wood Block Floating Picture Frames | Pretty Handy Girl

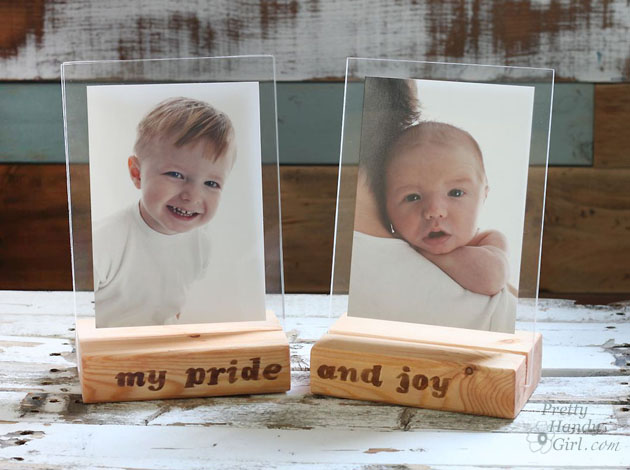
We are days away from Christmas and I’m sure there is someone on your list that you just can’t figure out what to get for them. I have the perfect solution! Make them a wood block floating picture frame using scrap 2×4″ lumber and plexiglass.

If you don’t have scrap 2×4’s lying around, you can purchase a 2x4x8 foot stud for less than $4! You could make 16 photo frames out of that one board! (Granted, you’ll need to buy the plexiglass for each.)

Materials:

  • 2 – 2 x 4s (cut to 6″ lengths)
  • 4 – 6″ x 9″ pieces of plexiglass (3/32″ thickness)
  • Ipswich Pine Stain
  • gel stain or Minwax Express color
  • small detail paint brush
  • pencil or pen
  • photos
  • tape
  • rag
  • optional: scrapbook paper, double stick tape

Tools:

Instructions:

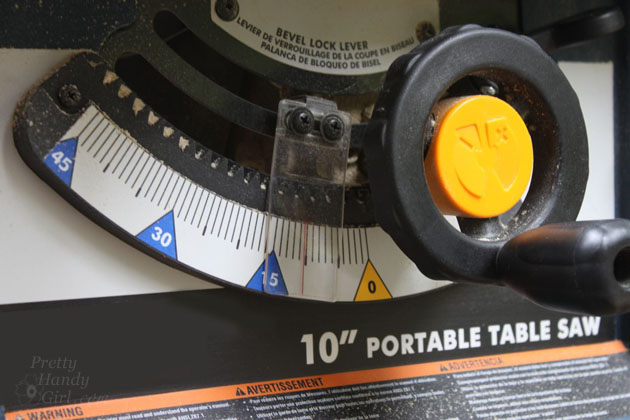
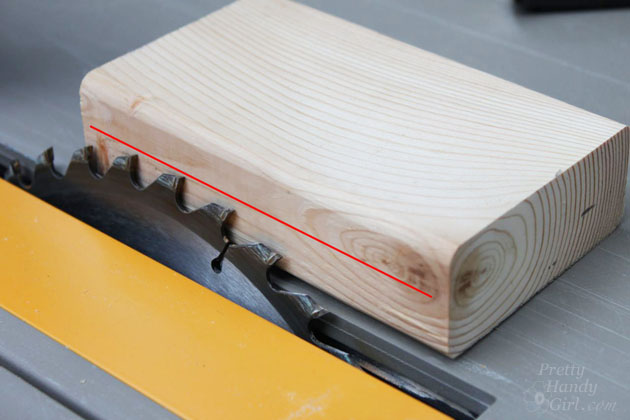
Set your table saw to a 10 degree bevel.

Wood Block Floating Picture Frames | Pretty Handy Girl

Set the saw blade to a depth halfway through your block (about 7/8″ deep.) Set the fence to 2″ from the blade.

Wood Block Floating Picture Frames | Pretty Handy Girl

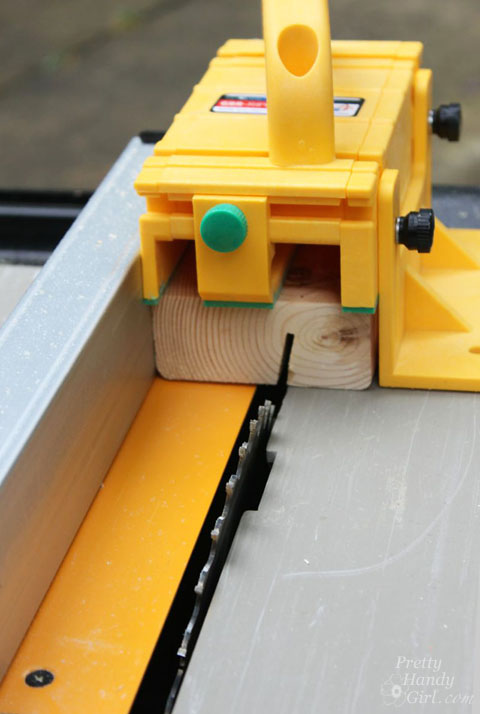
Use your GRR-RIPPER to safely guide the 2×4 over the saw blade. Check to see if two pieces of plexiglass will fit in the groove created by the saw blade.

Wood Block Floating Picture Frames | Pretty Handy Girl

If not, nudge the fence over slightly and make a second pass over the blade. Check to see if the plexiglass will fit now. If not, repeat the process until they fit snugly. Read more

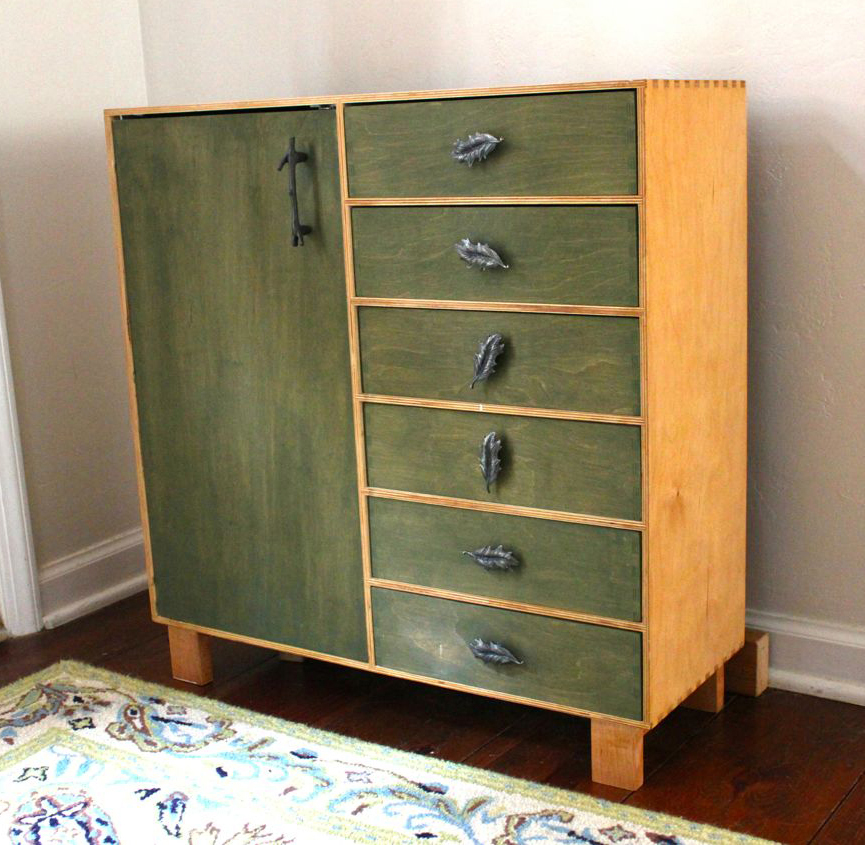
Rustic IKEA Hack Cabinet Transformation | Pretty Handy Girl

Rustic IKEA Hack Cabinet Transformation | Pretty Handy Girl

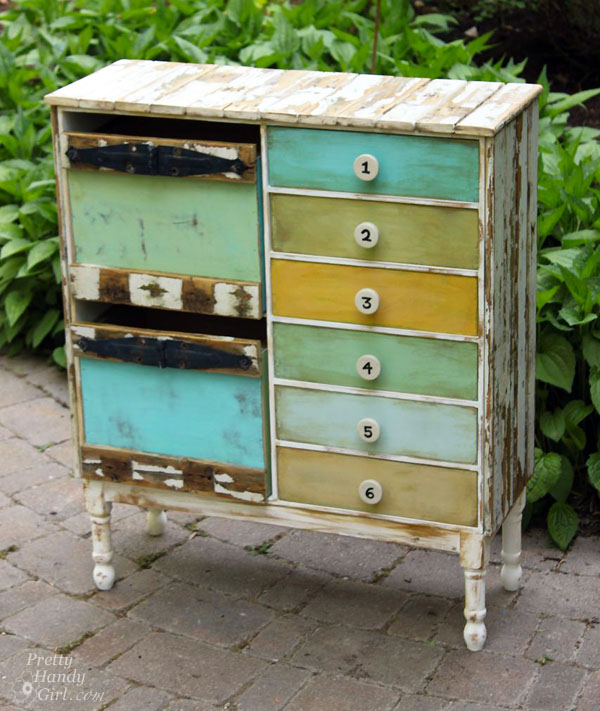
Rustic is not usually a word used to describe IKEA. IKEA is better know for their modern furniture, simple lines, meatballs and funny Swedish words. Today I’m going to change how you perceive IKEA furniture forever! Are you ready for this? Well, hang onto your hästes (Swedish for horses) because you’re going to see a transformation nothing short of amazing! You too can customize your plain jane furniture by adding legs and cladding the exterior with reclaimed picket fence wood.

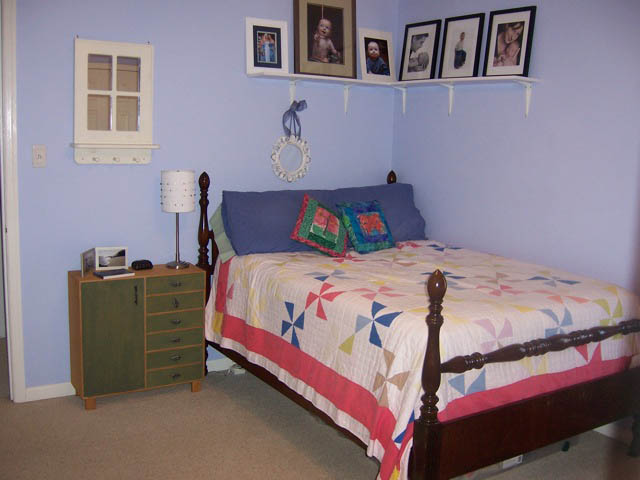
This tale starts with a hunter green stained IKEA storage chest that I bought for our first apartment and stained myself (can you tell what decade it was? Hint: hunter green, honey pine, throw some burgundy in there and I’m sure you’ll be guessing no more.) It moved from room to room each time we settled into a new home. But, it never really fit in.

ikea chest in guest room

The cabinet was short and not very deep. Plus, it bore the mark of the popular 90’s hunter green. It was ugly. Why didn’t I get rid of it years ago? Maybe I was attached to it because it was the first piece of furniture I ever stained myself. And it brought back fond memories of calling the fire department because I smelled gas. Turns out you aren’t supposed to use an oil-based stain indoors, especially if you have a gas stove. Lesson learned.

Rustic IKEA Hack Cabinet Transformation | Pretty Handy Girl

Fast forward two decades and it’s still hanging around. The other day as I was lamented the fact that our foyer is too small to fit a cute dresser, I found myself looking at this sad little IKEA chest. I picked it up and put it in our foyer. The fit was perfect in the small space behind the front door! But, it was short and let’s not mention the hunter green again. Plus, it just wasn’t cute. And it doesn’t reflect my warm and weathered style. But, you know me, I wasn’t deterred.

I did some mental gymnastics and began to hatch a plan to create a marriage that would last longer than two decades.

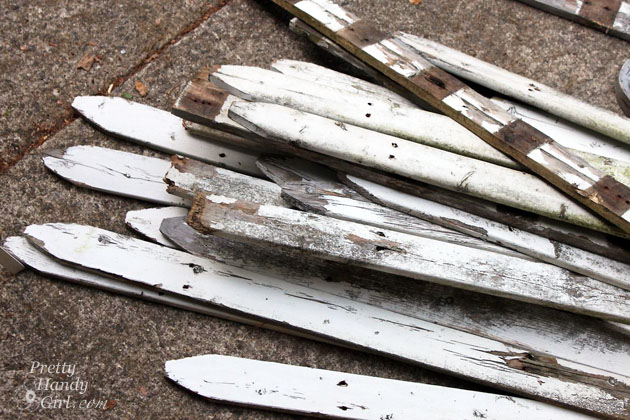
Old picket fence pieces

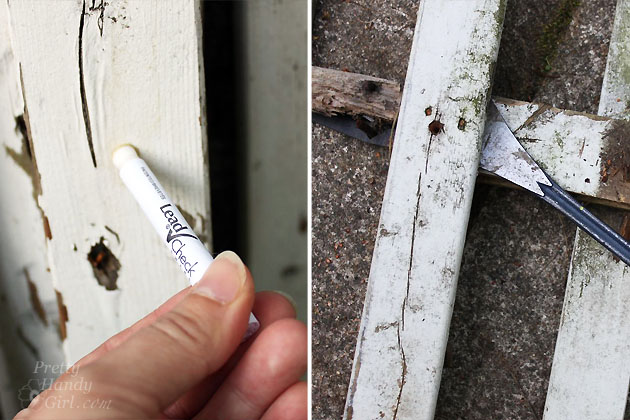
It began with some pieces of old picket fence that I found by a dumpster. They were perfectly chippy and rustic! Luckily the 3M Lead Check results were perfectly negative. I carefully took the fence apart and removed all the nails.

Lead check picket fence paint

Ready to see how I convinced the two polar opposites that they belonged together — rustic and modern — to create a match made in heaven? Let’s explore this couples’ counseling further:

Read more

Upcycled Metal Rolling Cart Plant Stand | Pretty Handy Girl

Upcycled Metal Rolling Cart Plant Stand | Pretty Handy Girl

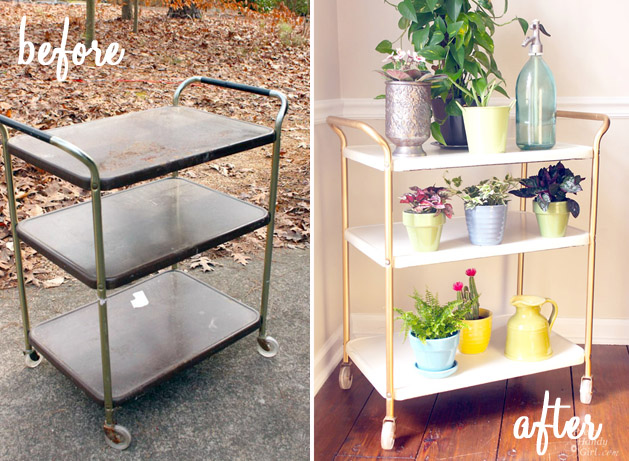
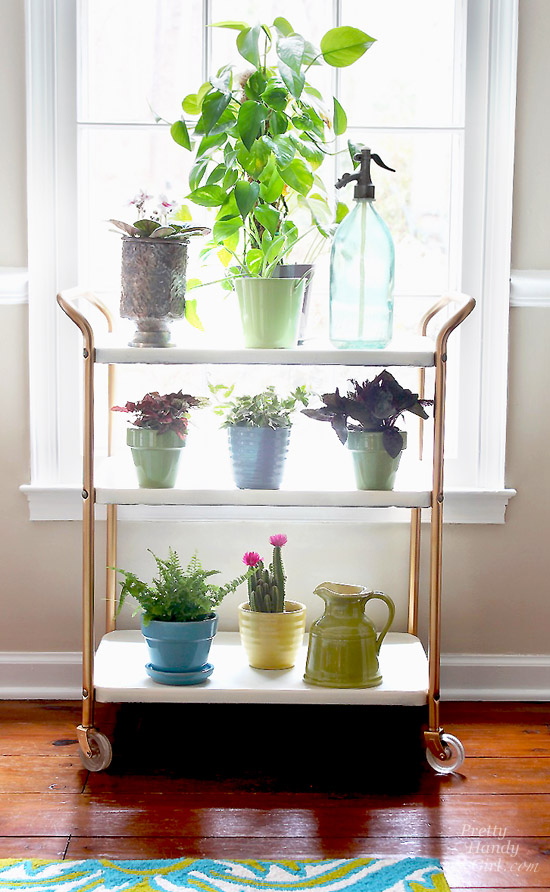
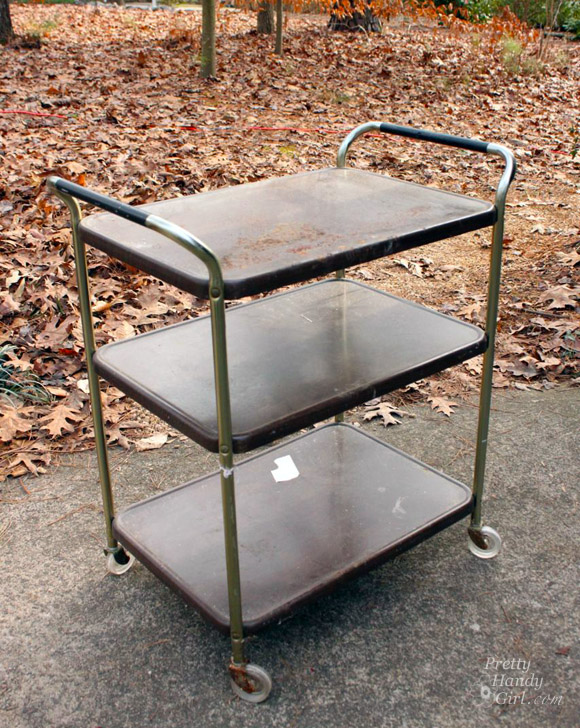
This past summer I spied a metal cart in a dumpster. To be frank, I have never truly actually participated in dumpster diving. The thought of actually climbing inside a dumpster has never been on my acceptable things to do list. But, this metal bar cart was floating on top of the trash pile. It was (to quote a Seinfeld episode) above the rim! And it was begging to be upcycled into a beautiful plant cart.

So, I convinced myself it was okay and wasn’t officially dumpster diving. Feel free to debate this fact in the comment section.

I brought it home and knew I could do a quick makeover with some spray paint. But, first it needed a good cleaning and some prep work. The tops of the shelves were very rusty:

Upcycled Metal Rolling Cart Plant Stand | Pretty Handy Girl

Upcycled Plant Cart Saved from “Above the Rim”

And the undersides were filthy. But, the end product was worth it! Here is how to upcycle your own little metal rusty bar cart into a beautiful plant stand!

Materials:

Upcycled Metal Rolling Cart Plant Stand | Pretty Handy Girl

  • 1 Discarded rusty bar cart (rescued from above the rim)
  • Socket set
  • Hammer for coaxing rusty bolts loose
  • Can of Rustoleum Heirloom White spray paint
  • Can of Krylon Copper Spray paint
  • Sander/sanding block
  • Fine grit sand paper
  • Wire brush
  • Rag and/or damp wipes
  • Painter’s tape
  • Drop cloth
  • Scraps of wood to elevate while painting
  • Optional: Drill

Upcycled Plant Cart Instructions:

Loosen corner bolts with a socket wrench or drill and socket bit. Hammer out any that are too rusty to budge. Read more