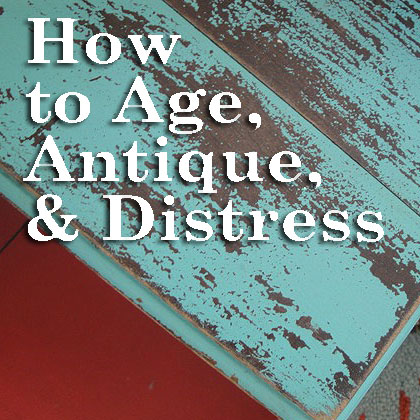
Well, despite the fact that I am starting to feel my age, this post will help you achieve that beautiful well worn, loved, aged and antique look on furniture and decor items. This is something you can do to new furniture or to give old furniture a new rustic look.
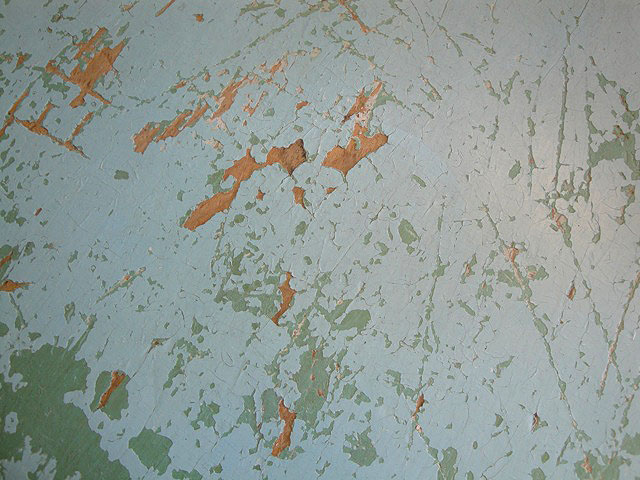
Aren’t these layers of paint, scratches and wear marks art to your eyes?
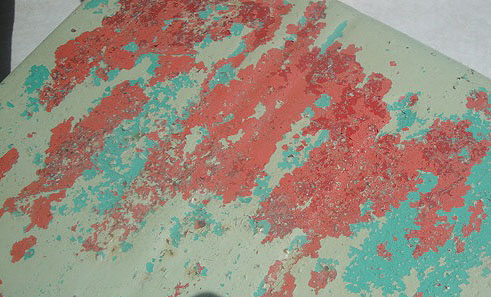
Nothing shows character like chipping paint and multiple revealed layers on metal.

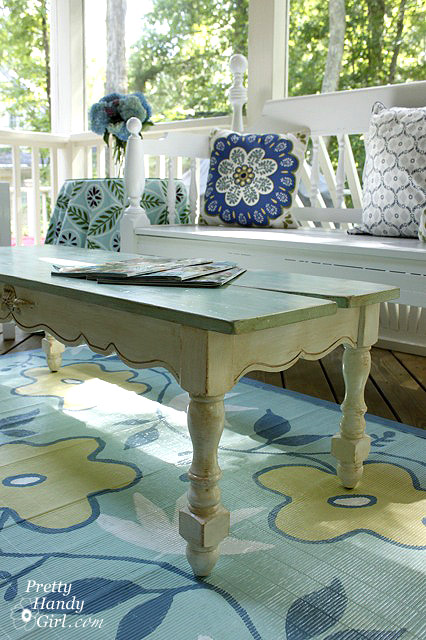
Weathered paint worn thin and rubbed off give a table character!
Paint splotches on an old ladder beg to tell stories of the projects it has seen.

And you can’t forget rust, love that beautiful brown patina!
I have been experimenting with several techniques to add age to “newer” pieces of furniture. Here are a few ways to add some character through distressing. (This post contains affiliate links. To learn more read my disclosure page.)
Distress Marks:
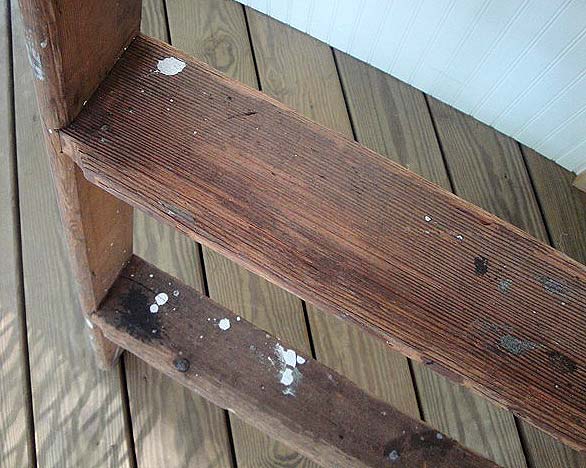
Achieving a worn look can be as easy as adding dings and scratches. This process can also be a great stress reliever! Grab some chains and let’s work out some of that pent up aggression!
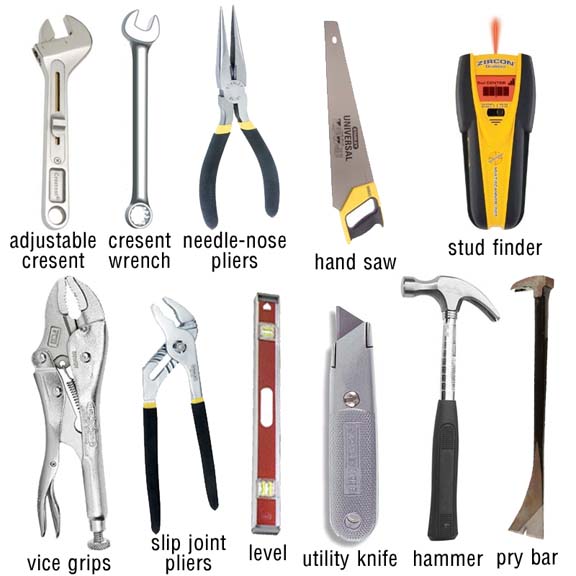
Materials:

Throwing a chain at wood gives you those elliptical dents. Dragging the sharp edges of a pry bar across wood will give it some deep grooves. Set a screw on its side and lightly hammer it into the wood. Finally a few random hammer marks here and there finish off the worn look.
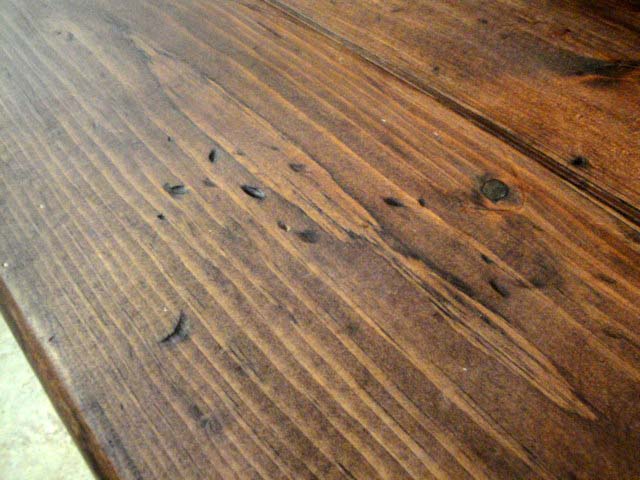
This is the same technique I used on my mudroom bench.
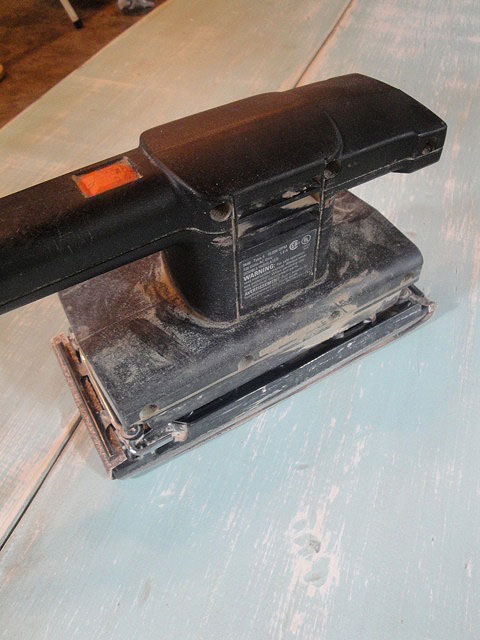
Sanding through layers:
The easiest way to add some age to a piece of furniture is to expose layers of paint. Whether you paint a few contracting colors on yourself or you sand a pre-finished piece, sanding is one of my favorite ways to add age. A note of caution: Before you begin sanding, always check for the presence of lead paint. You can learn more about how to detect lead paint in this post.
Materials:
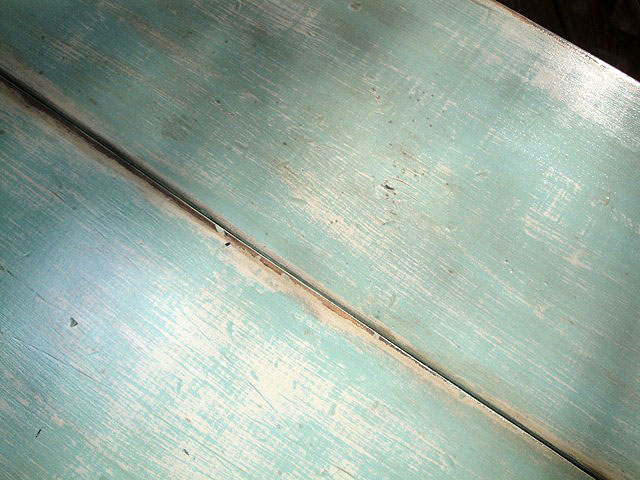
You’ll get the best results using 150 grit sand paper (but use whatever you have on hand). Attach it to your power sander and go to town on the furniture! Work in areas that would normally get a lot of use or abuse. Corners and edges of furniture usually take more abuse. Table center is a good place to show signs of worn paint. Be sure to move the sander around and be random rather than symmetrical. A good example of a sanded finish can be seen on this Trashy Coffee Table.
A table that was previously painted white received a sea-inspired blue layer of paint on top of the white. (You could always add a third color if you want more colors showing through.) Sand through the layers of paint down to the bare wood in spots. The challenge with a new piece of wood is it lacks the deeper darker color tone of antique lumber. Unfortunately, when new wood is exposed, it will look blonde and – well – brand spankin’ new. Read on to learn how I solve this problem.
Faking Age with Stain:
I have a trick up my sleeve for creating those darker wood tones in seconds! Ready to learn my secret?
Materials:
- Rubber Gloves
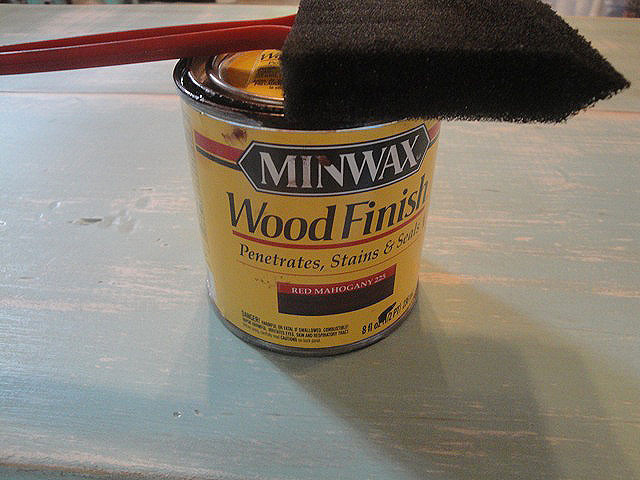
- Dark Stain (Minwax Red Mahogany
or Minwax Early American
)
- Foam Brush
- Clean dry rag
To hide the look of new blonde wood, carefully paint some wood stain onto the bare wood spots.
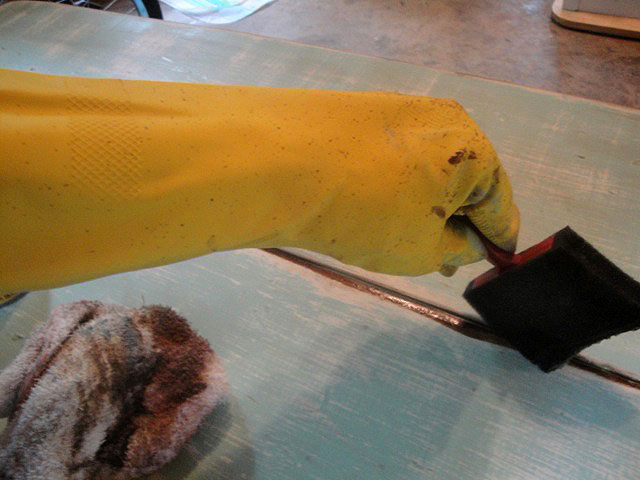
Wipe off any excess immediately with a dry rag.
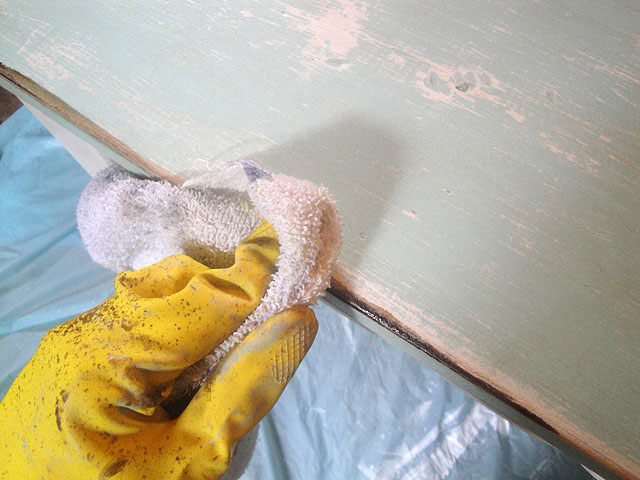
If you desire darker wood repeat painting and wiping off the excess.
My two favorite stains for aging are Minwax Red Mahogany and Minwax Early American
, but any dark color stain would work just as well.
“Tea” Stains:
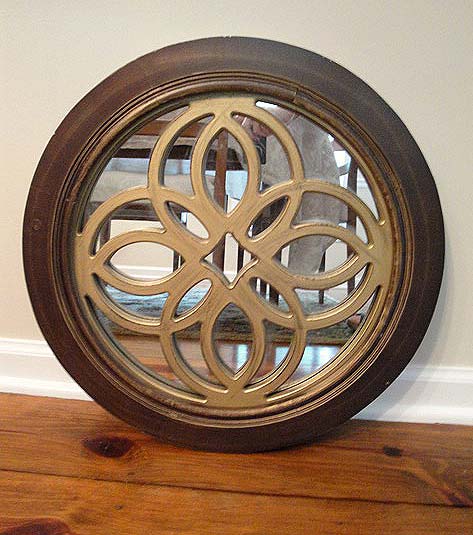
You can use the same dark stain to give your object a faux “tea stain”. This antique gold 80’s mirror is easily transformed with spray paint and some stain.
Materials:
- Sanding block
- Spray paint (Rust Oleum Heirloom White)
- Rubber Gloves
- Dark Stain (Minwax Red Mahogany
- Chip Brush
- Clean dry rag
If you use regular white spray paint, it will be difficult to “dirty” your object. Instead I like to use Rust Oleum Heirloom White which gives a soft antique white look. (FYI, I used Rust-Oleum Oil Rubbed Bronze
for the inside decorative design.)
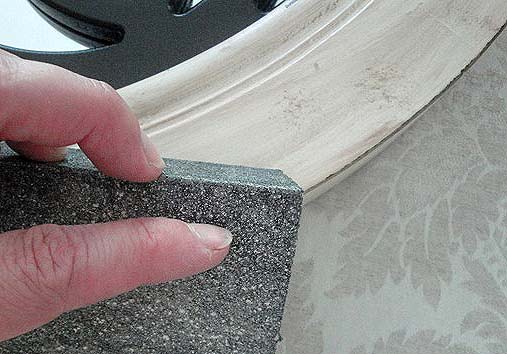
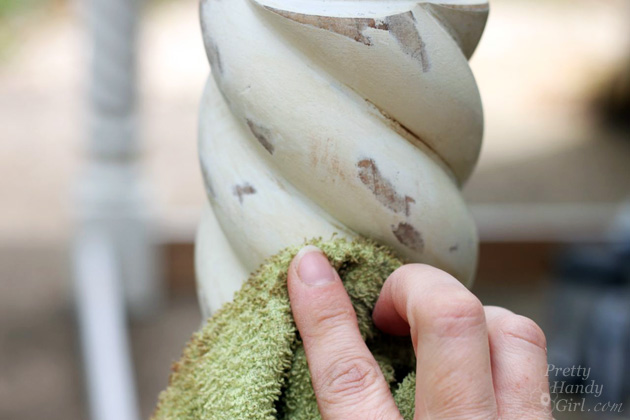
After the paint dries, hand sand some of the edges to expose the stained wood beneath.
Use a dry brush technique* to brush on the stain and wipe the excess off immediately. *Keep your brush dry by dipping in the stain and wipe off your brush on a rag before using it.
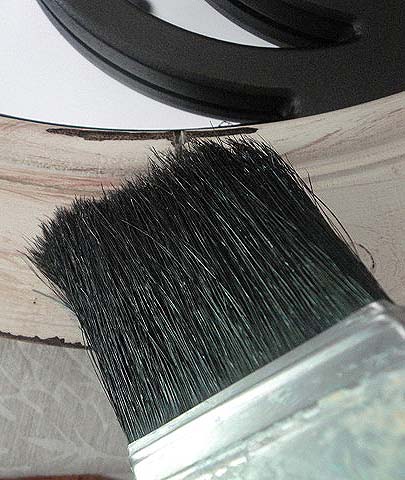
For the best results, use an old shaggy brush or rough up your chip brush. The rattier the brush the better because anywhere the stain lands is where it will remain.

The end results are pretty tea stains and peek-a-boo dark wood below.
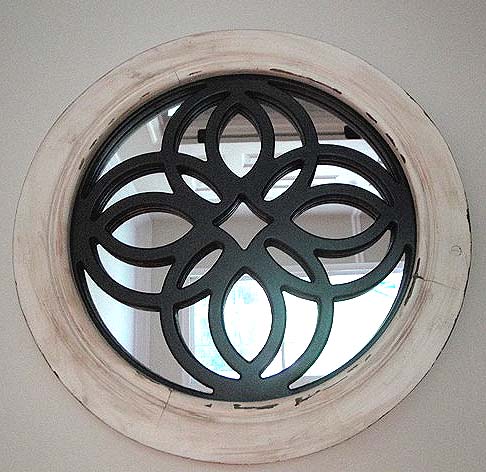
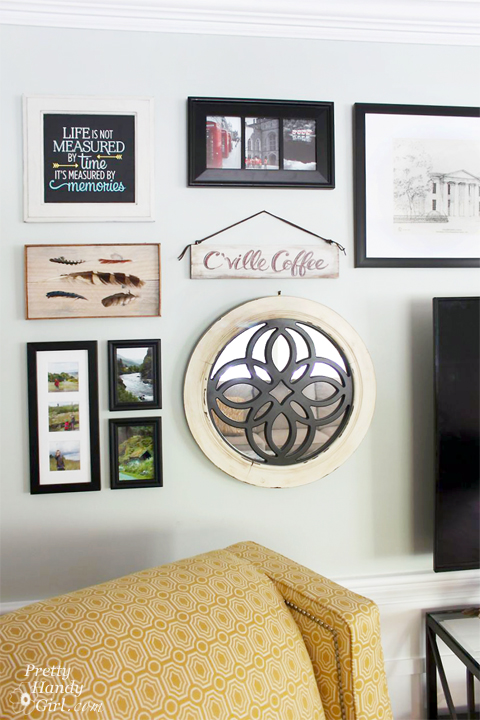
A totally new look for that sad 80’s mirror. It fits in nicely on our living room gallery wall.
Glazing:
Do the permanency of stains scare you? Have no fear, one of the more forgiving ways to give your object an antique tone is to use a glaze.
Materials:
- Chip Brush
- Clean dry rag
- Van Dyke glaze (brown tones)
- Pitch Black (gray tones)
Glazes add depth and dimension to furniture that has a detailed profile. Glazes can be used on everything from kitchen cabinet doors to table legs and picture frames. But, don’t let that limit the places you can use glazes.
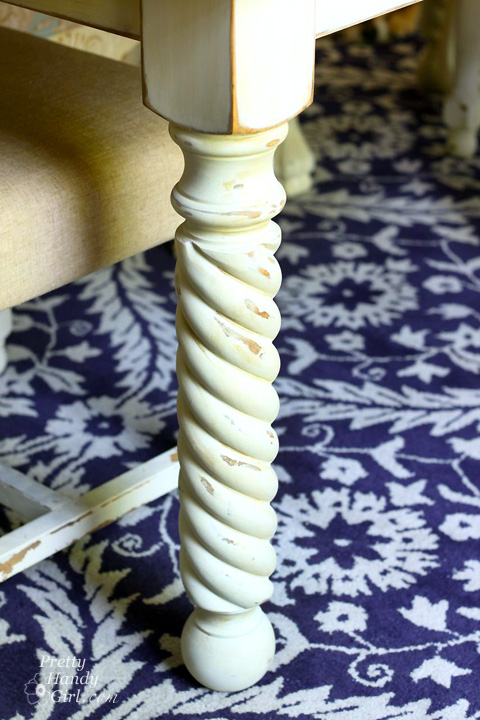
The table legs on my DIY Farmhouse Table have Van Dyke glaze on it that accentuates the rope turns.
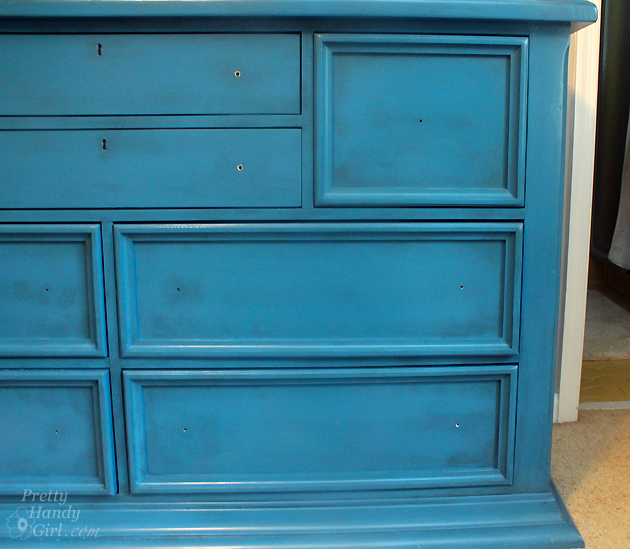
This dresser needed more than a coat of paint to give it an attractive new look. I added black glaze for pretty gray tones.
Simply brush on the glaze (again use a ratty almost dry brush.) Push more glaze into the gouges and crevices to show off the details.

Wipe off any excess with a clean dry rag.
The glaze stays wet for longer than the wood stains. It can be wiped off immediately if you make a mistake. Once you like the look, let the glaze dry to permanence.
When working with black glaze, use the same technique of wiping on and blotting off. The black glaze gives you more gray tones and gave this picture frame a dirty distressed look:
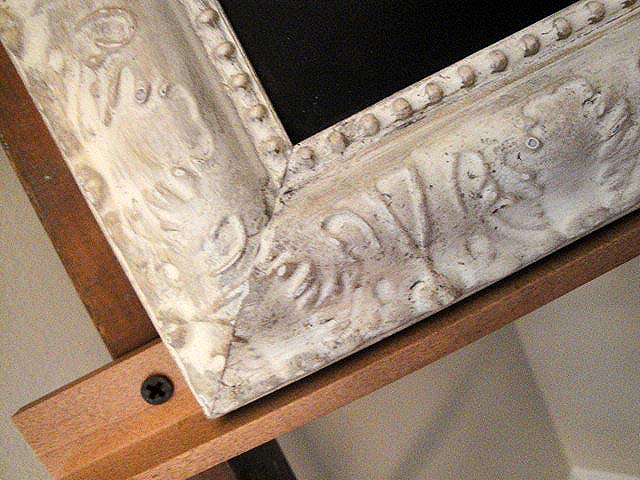
It may take a while to build up the glazing. But, you end up with a really nice final product.
Spattering:
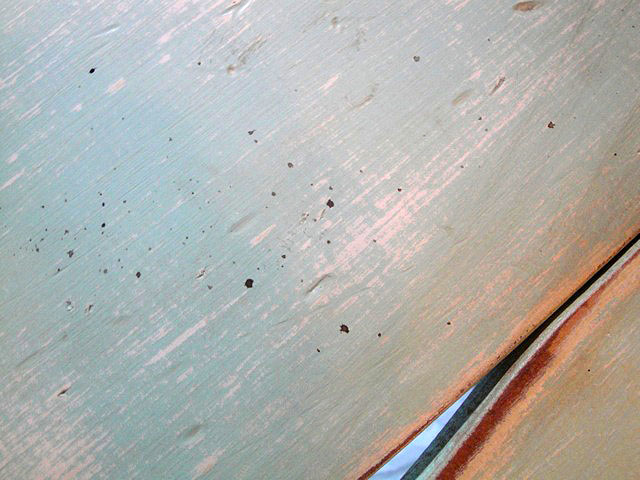
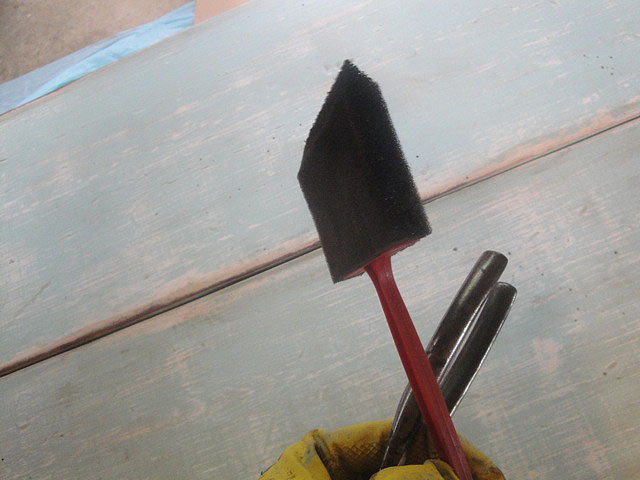
Another technique I like is adding paint or stain spatters. This is easy to do, but if you aren’t wearing protective clothing you might give yourself some freckles.
Materials:
- Rubber Gloves
- Dark Stain (Minwax Red Mahogany
- Foam Brush
- Screwdriver or stick to tap against
Dip a foam brush into the stain and wipe off any excess. Then gently tap the brush on a stick or handle of something sturdy. (A large screwdriver or other solid object works well.) This time I don’t wipe the stain off. Let it dry a little then dab up any excess.
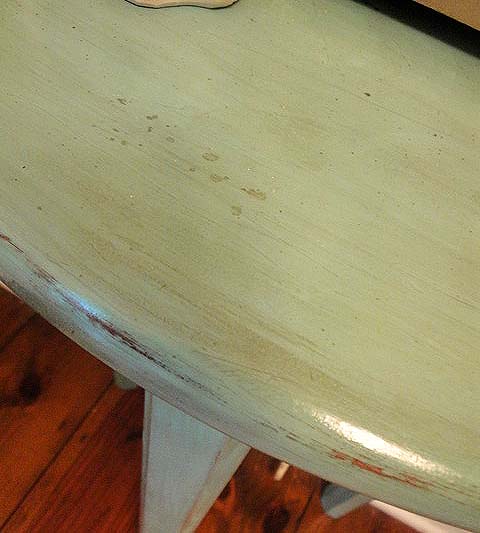
With these techniques, you can take a plain painted side table from this:
To a more sophisticated antiqued older sister:
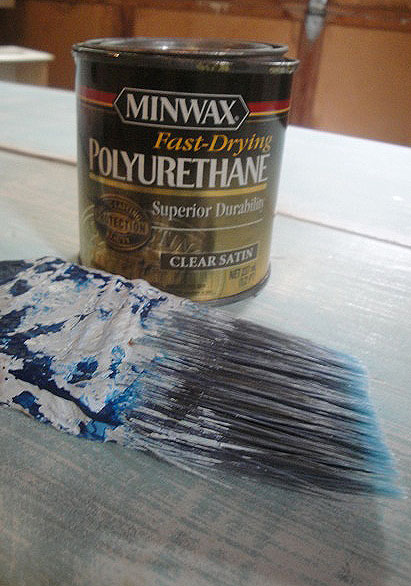
Protective Coating:
Once you have achieved the antiqued look you like, be sure to put a protective coating over your furniture. I prefer using Minwax Oil-Based Polyurethane. This adds the perfect age to furniture. (If you use new oil-based poly, it will yellow in a few years time.) If you don’t like the yellowing effect, stick to Minwax Satin Polycrylic.
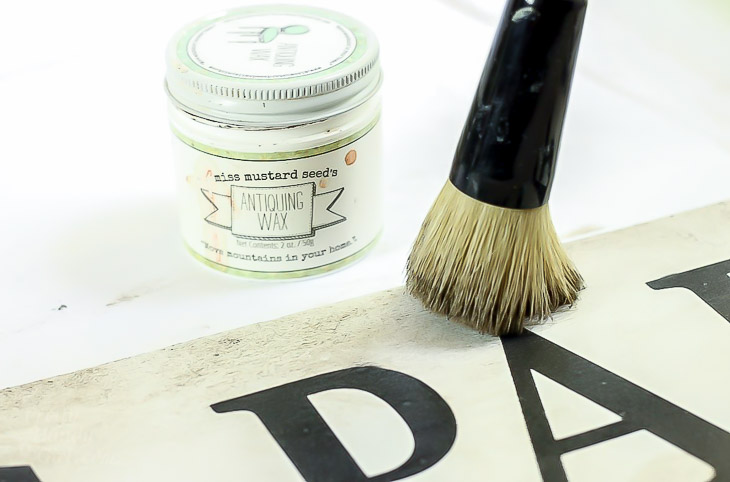
You can also use a good quality furniture wax for a satin finish. Or use an antiquing wax
to really give it an old appearance.
Now, don’t be distressed, grab some sandpaper and a brush and give your furniture an age boost!
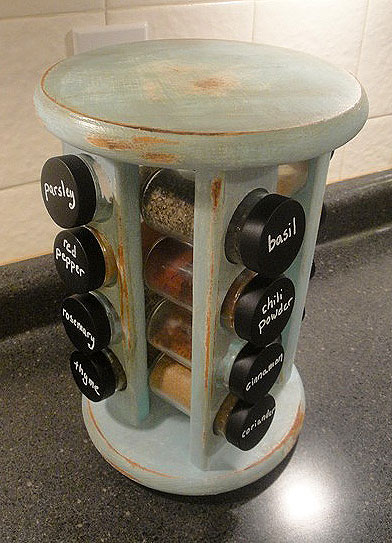
Yard Sale spice rack turned rustic! Chalkboard lids tutorial here.
Watch a live tutorial to see how I accomplished an aged paint look on this trough. And be sure to subscribe to my YouTube channel to get notifications when a new video is uploaded.
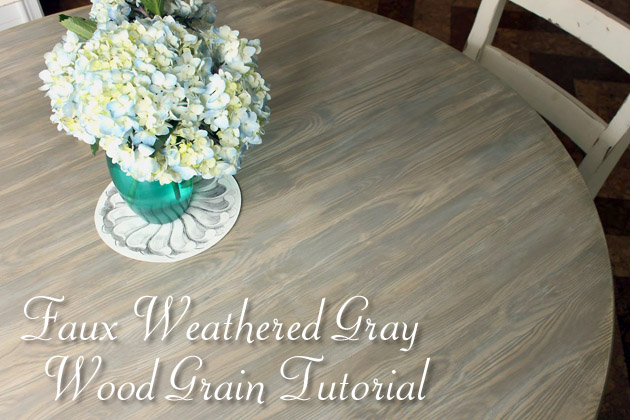
Now that you have some aging and distressing techniques under your belt, you can push your skills by trying your hand at some more complicated techniques! Like creating a faux wood texture on surfaces following this tutorial.
![]()
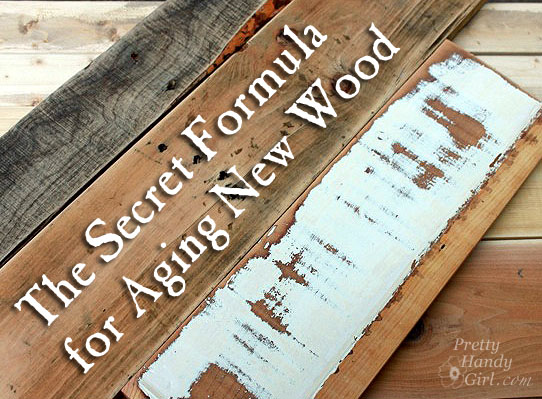
As a follow up to this post, I divulged my top secret recipe for making new wood look old!
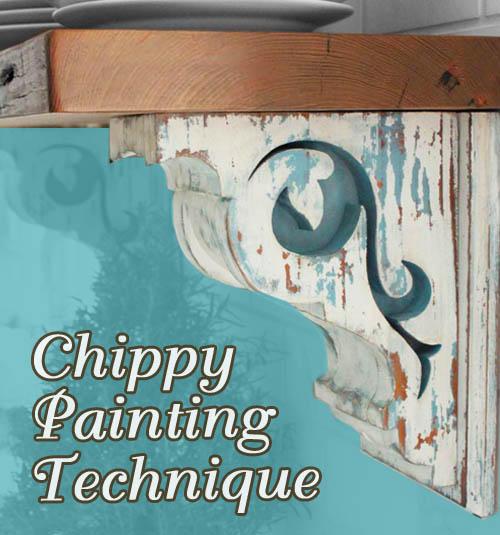
And how to get the true chippy paint look:
You may also want to check out my gallery of rustic and distressed projects!

Or follow me on Twitter, Facebook, Instagram, or Pinterest so you can be the first to know what I’m working on next!