There is a joke on our street that Pretty Handsome Guy isn’t allowed to touch my power tools. Okay, it isn’t really a joke, it’s a fact. He knows he is not allowed to use them without me around (smart guy.) 😉

Before the Woman’s Day shoot I decided at the last minute that I wanted a sign that really labelled the workshop as a “Woman’s” workshop. In an instant I had a creative spark and came up with this question, “Are You Woman Enough to Handle My Power Tools?”  Then I called my good friend Leen the Graphics Queen and asked her to make a wall decal for me. (Did you know she can create custom wall vinyl for you too?! And you don’t even have to be a close friend! But, I’m sure she’d be your friend immediately if you met her because she’s a sweetheart like that.)

Once the vinyl arrived, I set about creating a fancy and feminine sign with some scrap plywood. Here’s how to create your own custom wooden sign. Read more

I have amassed quite a collection of “project” furniture and objects waiting for a future date with my creative magic sessions. I worry that some of this behavior is bordering on packratness (I don’t think that is a word, at least my spell check says it isn’t. But, you get my drift, right?!) So, when a Wagner rep contacted me about trying one of their paint sprayers, I couldn’t reply “YES!” fast enough. I had visions of setting up all those projects and spraying them down in a line-up fashion. But, I reined in my “glass half-overflowing” mentality and decided to tackle one project at a time. Good thing too, because although the Wagner Power Painter Plus with EZ Tilt (affiliate link) did spray at lightning fast speed, there were a few drawbacks.

But, I don’t want to get ahead of myself. I still want to give you a bonafide tutorial on how to fix, prep, paint and finish a wobbly yard sale find for yourself.

Materials:

(I’ve included affiliate links for your convenience. I earn a small percentage from a purchase using these links. There is no additional cost to you. You can read more about affiliate links here.)

*These items are purely optional. You don’t NEED them, but they help.

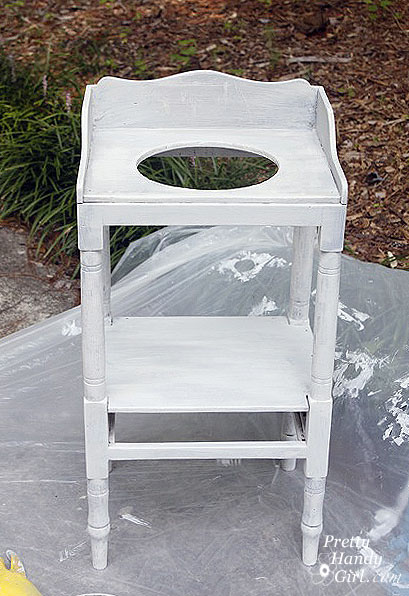
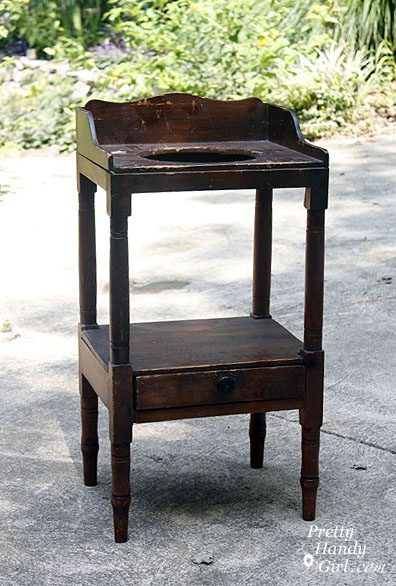
This wash stand had a $5 price tag on it. But, my neighbor gave it to me for $3. Is that robbery to talk someone into less than $5 for this antique?! In self defense, the stand was in pretty poor shape. It was VERY wobbly and had some big scratches on it. Can you forgive me?

Here is what you do when you find yourself as the new owner of a “this really should be trashed” purchase. Take it apart and rebuild it from the ground up. Having done this before with Daisy the Discarded Chair, I was prepared to tear this wash stand down to the ground. But, luckily it had some better joints than I had anticipated. So, I basically pulled apart anything that was not tightly joined.

The shelf over the drawer came off super easy.

As did a few joints.

I wiped the whole wash stand down with a wet rag.

Then, the side of the stand got some new glue and a few finish nails.
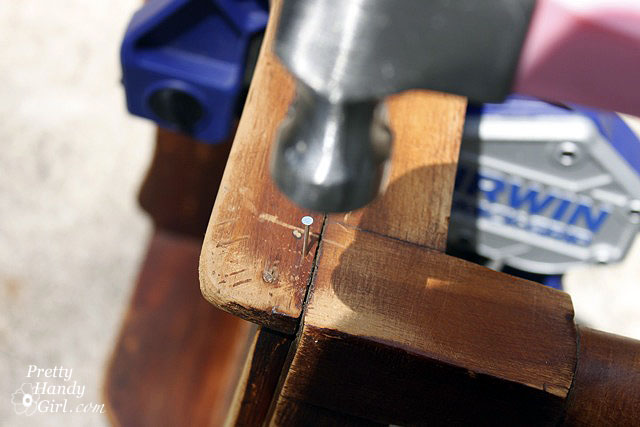
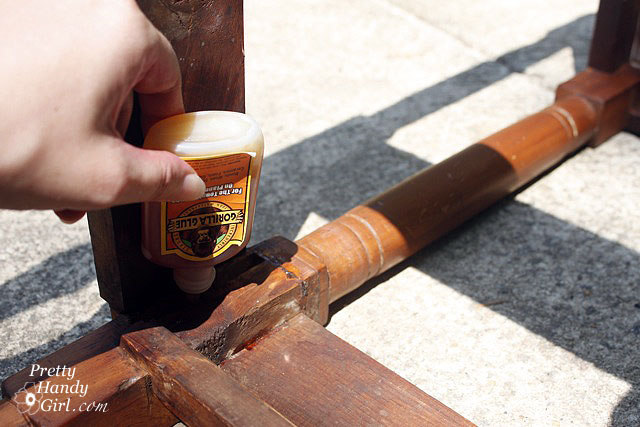
The joints got some Gorilla Glue and were set back together. And, I added a thin bead of glue and some finish nails to re-secure the shelf.
Next I sanded down the whole piece of furniture with these two 3M sanding blocks. I like to call them Tweedle Dee and Tweedle Dum because they are super easy to use. Even an idiot can’t screw up.

They work great for around spindly legs because they can bend and flex (I wish I could bend and flex like that!)

After wiping off all the sawdust, my wash stand looked like this:

Almost too pretty to paint, but it had some serious gouges, so I took a picture and said goodbye to the beautiful wood.

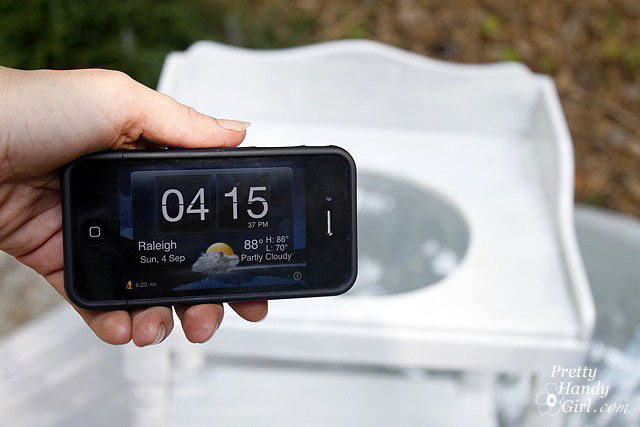
Here is where the race began. I decided to time myself painting on the primer with a brush. Then time myself using the sprayer for the first coat of paint.

Start your engine….paint brush and KILZ Clean Start Primer…GO!



After 30 minutes I had primed the entire stand from top to bottom.
After the primer dried, I gave the stand a quick, light sanding with a 220 grit sanding block and wiped it down with a damp rag.

I set up the sprayer, read all the directions (very important!) Then I filled the quart size reservoir and attached it to the sprayer. The Wagner Power Painter Plus doesn’t require a compressor, just a good old fashioned extension cord plugged into your household outlet.
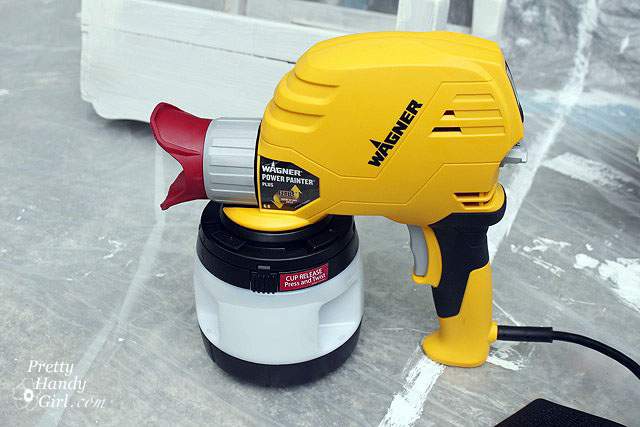
Start your engine…Wagner Power Painter Plus…GO!

VROOOOOOM! The sprayer let out the loudest and most obnoxious noise I had ever heard (Note to self to wear ear protection next time.) I thought the sprayer was going to self destruct, so I let go of the trigger. Then I pulled it again and the noise returned, only to abate after a few seconds once the paint started to come through the nozzle. Phew, that scared me.

I breezed through painting the entire wash stand from top to bottom. I started with it upside down and quickly flipped it while it was still wet (I left a finger print underneath, but no one will know about that unless you squeal.)
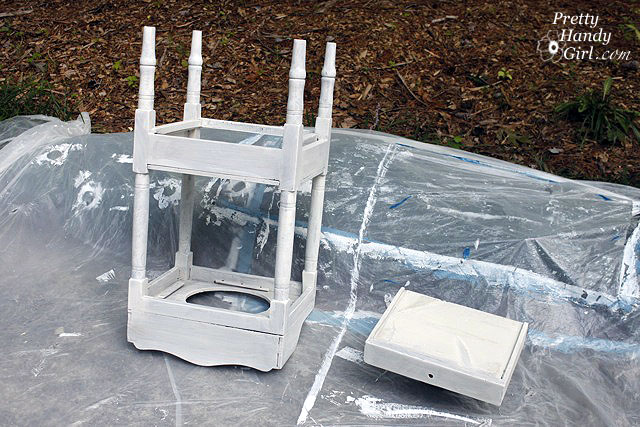
And I was done. Then I looked at my timer and WHAT?!!! 5 MINUTES! Holy Cannoli! I had no idea a sprayer could shave that much time off a paint job.
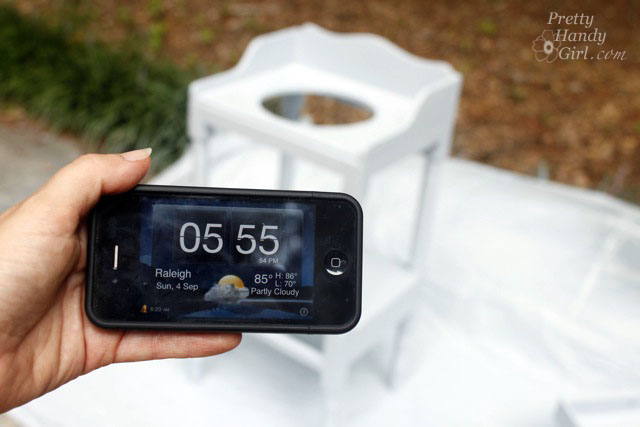
I left the wash stand outside, while I took apart the paint sprayer.

To avoid emptying the paint canister, I covered the container with saran wrap and a rubber band.
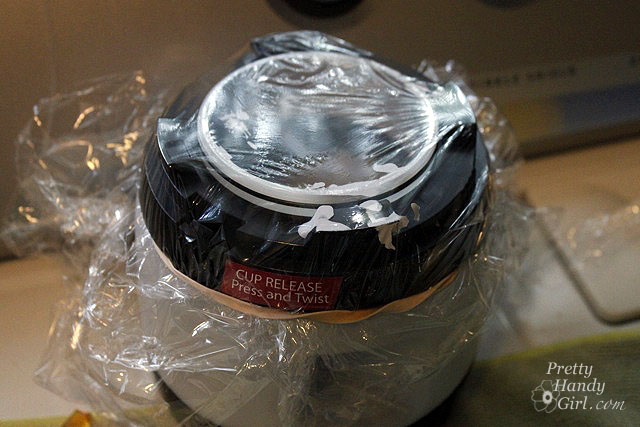

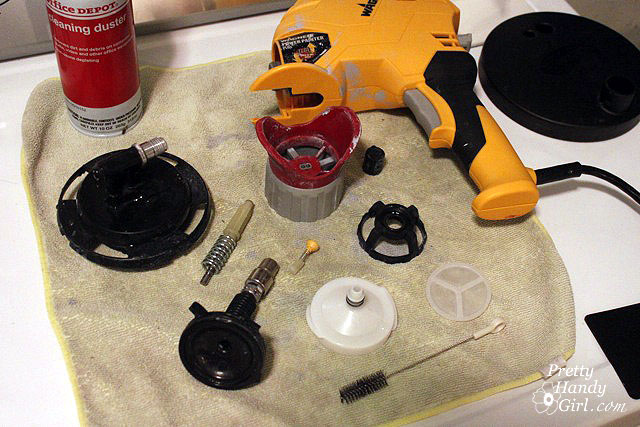
Then I took apart the ENTIRE sprayer and cleaned out all the parts. It is soooo important to clean the sprayer thoroughly or you risk paint drying in your machine and ruining it. This is a look at the sprayer disassembled.
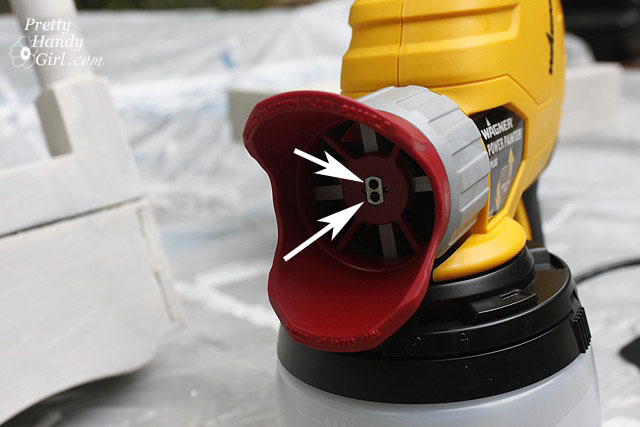
It is paramount to clean the tiny dual spray tips on the machine. They are small slits that can clog easily if the paint is allowed to dry in them.
After the wash stand had dried. I put the sprayer back together and screwed the paint container back onto the gun.

I was all pumped and excited to be done in 5 minutes! With dusk still 30 minutes away, I had no fear. BIG MISTAKE!

What was to ensue was a stressful 45 minutes of paint globbing, paint sputtering, my cursing, and frantic cleaning of the sprayer again. I finished spraying, but I had to use a different top coat color because I ran out of the first paint color. (Which ended up being one of those happy mistakes. You’ll see.)

I wiped off the big globs of paint and decided to give those areas a little “extra” distress in the morning.

After stepping back from the project, doing some research and having a twitter conversation with Shaunna (the furniture painting guru), here is what I concluded from my disasterouos 2nd attempt:

  1. The paint sprayer MUST have a full paint cup in order to work properly. When the reservoir gets down to less than 1/4 full any air that gets into the paint suction tube will cause the sprayer to sputter and discharge big globs of paint, instead of a nice even spray.
  2. The sprayer dispenses an INSANE amount of paint in 5 minutes and when it runs low #1 happens. I used a half gallon of paint on the first coat of paint on this small wash stand. Whereas, I normally would have used maybe half a quart to brush on two coats total. The drop cloth was so heavy with paint when I cleaned up, that I realized the majority of the paint was wasted in overspray.
  3. The Plus does not have a low paint level indicator. Therefore, it is very difficult to determine when you are getting low on paint until the sprayer starts to sputter and shoot out globs of paint onto your project.
  4. In the same vein, the paint canister only holds a quart of paint, and 1/4 of that isn’t useable unless you like Jackson Pollock style painting.

The next morning, I took out my power sander and gave the sink some character by distressing it.
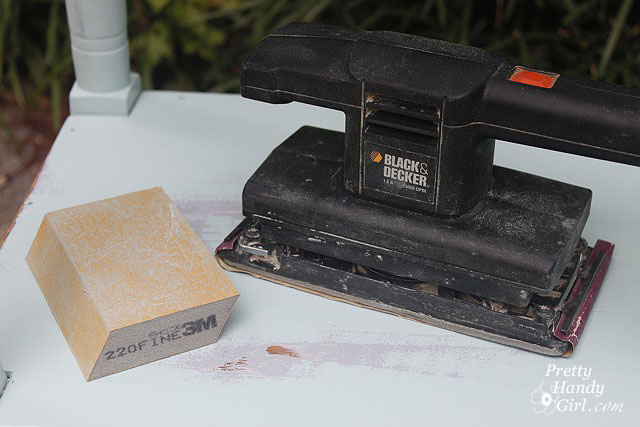

This is where the happy accident occured. Because I had to use an aqua blue as the top coat on my sink, you could see the blue gray color peeking out! Which I think makes it look sweet, shabby and old.
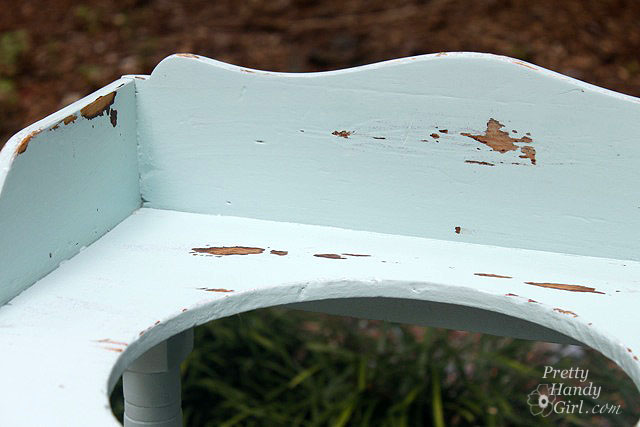
Once I was happy with the amount of distressing, I sanded any chipping paint and rough spots with the 220 grit sanding block. Then, I cleaned off the wash stand with a damp rag. To protect the sink, I used Minwax wipe-on Polyurethane. I like the wipe-on Poly for speed. But, it doesn’t leave as thick a coat as the traditionally brush on kind. So, if you really want to protect a piece of furniture, use the brush on kind instead.

I added a cute little crystal cheap acrylic knob to the drawer.

And my new/old dry sink looks right at home in the corner of my porch! Although, it needed something…hmmmm….
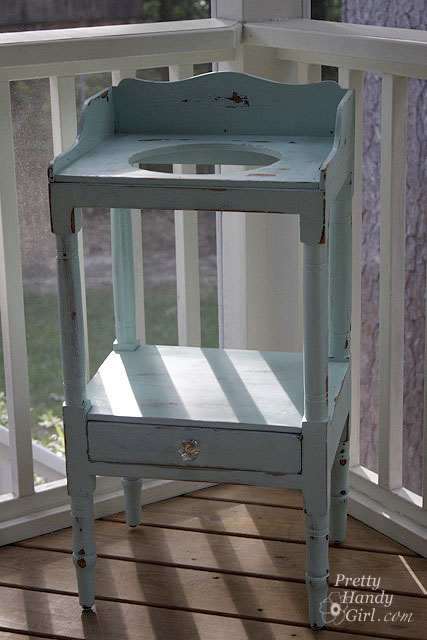
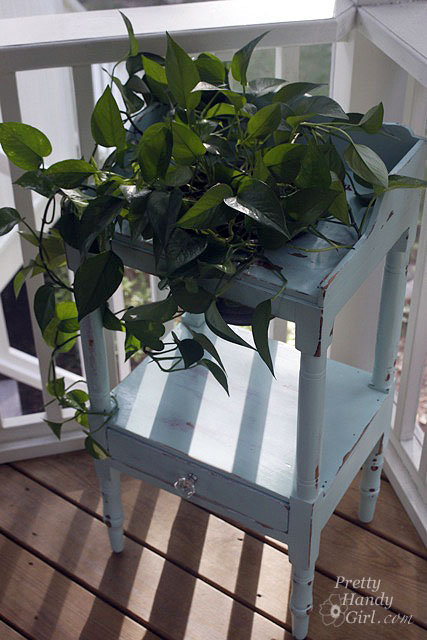
…how about a plant! I dropped in a plastic pot with NO holes in the bottom. I filled the bottom 1/4 with rocks for drainage. And my pothos plant. I used to have a chippy pedestal that sat there, but sadly I had to get rid of it. I’ll fill you in on the details next week. It is a sad story ;-(.

Here is my summary of working with the Wagner Power Painter Plus model:

  • Pros – Saves time. $100 price tag. No compressor needed.
  • Cons – Small Paint Cup, No Flow Speed Selector, No Low Paint Level Indicator, Lots of overspray and wasted paint.

I will definitely try the sprayer again. When I do I might add Floetrol to my paint, which is supposed to help your paint even out and give you a smoother finish. (Especially if it globs on you.)

  • Wagner Power Painter Max has a two speed selector AND a paint level indicator. This model runs under $100. Have a great weekend and see you next week with some more DIY goodies.


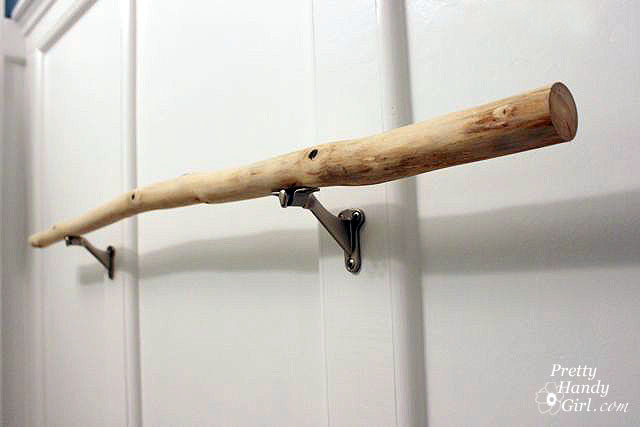
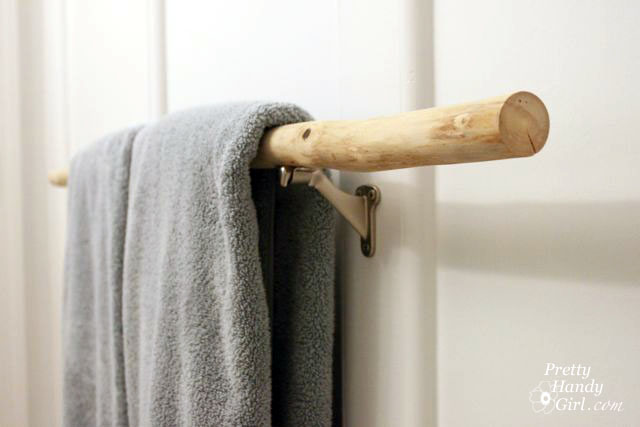
We’ve moved several times and each time I’ve packed one special tree branch with us. I have had this branch so long that I can’t remember where I found it. I do know that I picked it up on one of our camping trips. Whether it was Yellowstone, Acadia, Nova Scotia or somewhere else I’ll never know. What I do know is that I kept it because I thought I could do something really special with it someday. Well, that day has arrived. I decided to turn the branch into a towel bar for my sons’ bathroom.

(This post contains affiliate links. To learn more about affiliate links, you can read my disclosure page.)

Materials:


  • Tree branch stripped of bark and branches
  • Coping saw or other hand saw
  • Sandpaper (80, 120, & 180 grits)
  • Pencil
  • Scissors
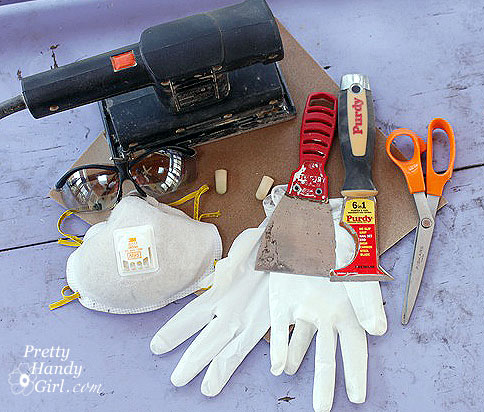
  • Power sander
  • Gloves
  • Dust mask
  • Safety glasses


Tutorial:

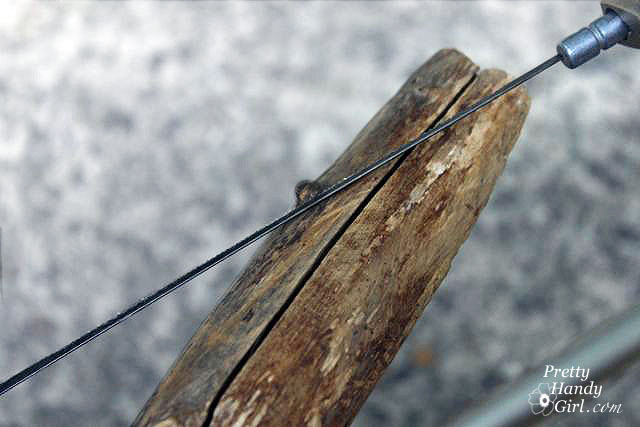
Start by sawing off any nubs, knots and sticks using a coping saw.

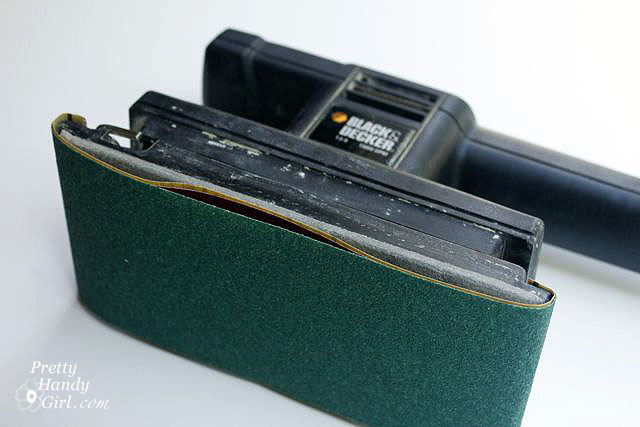
Pull out the sandpaper and power sander. 3M just sent me these color coded sandpaper sheets. I think the idea of color coding them is brilliant! It really helps you grab the right grit quickly. I give them two gloved thumbs up.

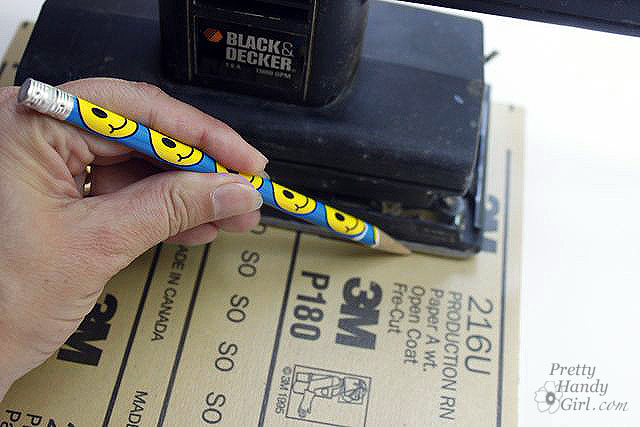
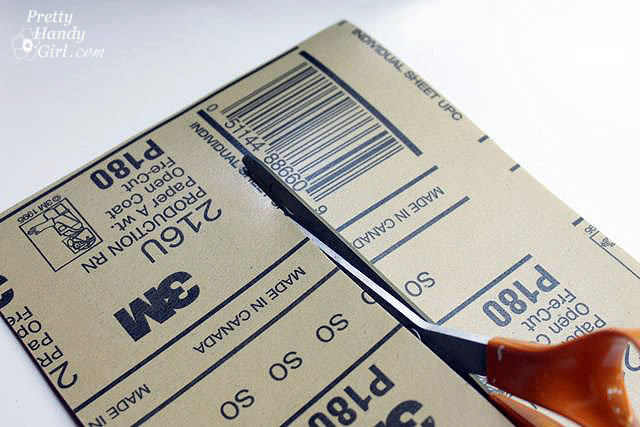
Stack your sandpaper sheets. Lay the sander along one edge of the papers and trace a line along the edge of the sander with a pencil. Be sure to leave excess on both ends to attach under the clips of your sander.

Cut the papers along the pencil line.

Load all three pieces of sandpaper into the sander (if possible). The coarsest grit (80 grit) should be on the outside, followed by the 120 grit and finally the 180 grit sandpaper.

Now you are ready to start sanding!

Here is a video tutorial on sanding the branch down. I’ve upped my level of professionalism, so I hope you enjoy my efforts.

Coming up next. Installing and finishing the branch towel bar.


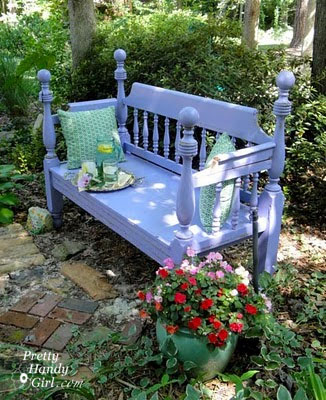
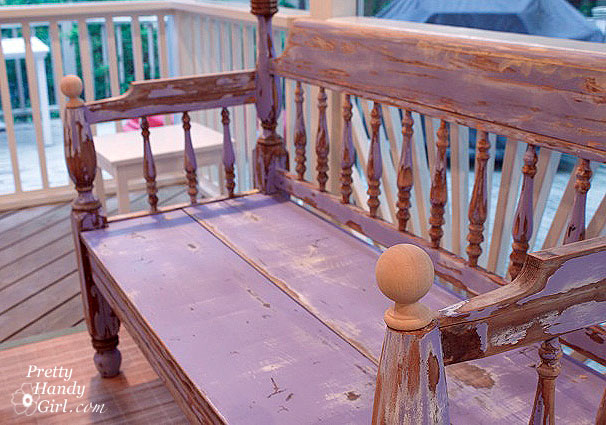
Recently I decided my garden bench that used to be a Craig’s List bed frame, needed to be refinished. I repaired, sanded and repainted the bench before setting it onto our porch where it would get less exposure to the rain.

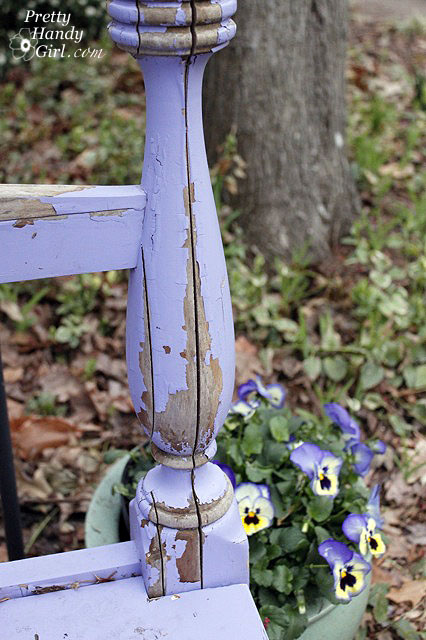
Well, it wasn’t weathering the elements too nicely. Or maybe I should say it was weathering them poorly. Regardless, I really liked the bench and decided to strip it and start over again. I believe the main problem was that the bed frame was not solid wood, it was glued pieces. Then, if you factor in that I used spray primer and spray paint, the rain and moisture got in easily and caused the wood to swell and some of the glued joints to come undone.
But, the bench was still structurally sound, so we moved it onto the screen porch and I got ready to refinish it.

Refinishing a Weathered Garden Bench

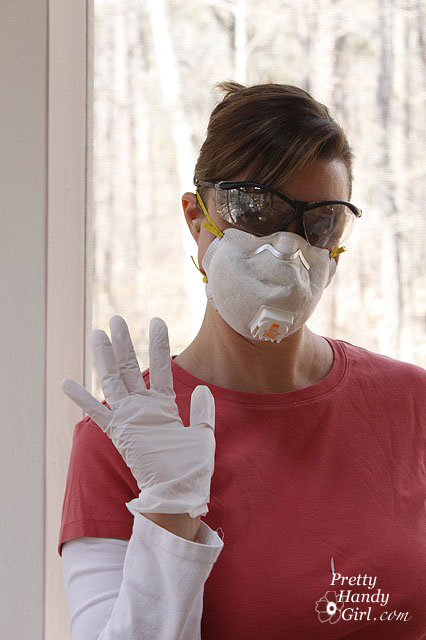
Safey First, (as Meri-K will tell you.) Because I was sanding and scraping the old paint I had to wear eye protection and a dust mask. I also wore ear plugs while sanding and gloves to keep my hands from getting rough.

Materials:

(I’ve included affiliate links for your convenience. I earn a small percentage from a purchase using these links. There is no additional cost to you. You can read more about affiliate links here.)
Instructions:

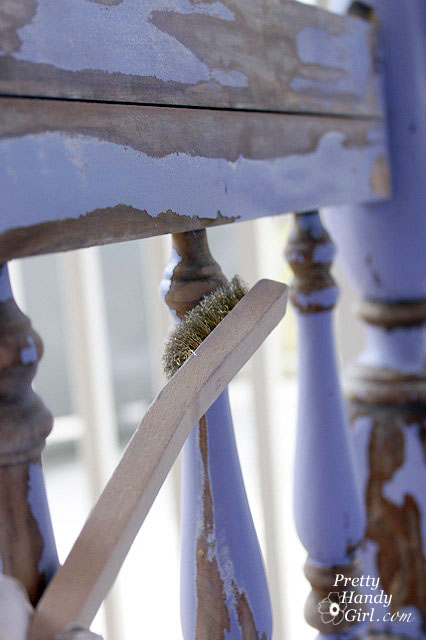
Begin by using the wire brush to remove any flaking paint and to get into the grooves of the spindles (and other hard to reach places.)

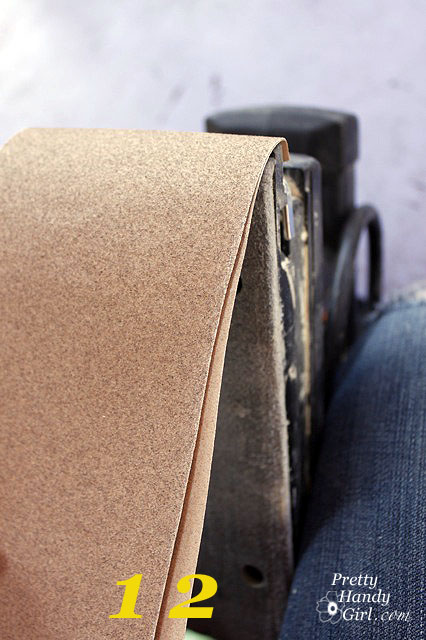
Tip from a Handy Girl: I am about to share with you a helpful time saving trick, so pay attention. If you have a power sander that holds the sandpaper with a clip. You can stack your sandpaper. I put the 220 grit on the bottom, then put the 1oo grit on top of that. After sanding my bench with the 100 grit, I simply tear off the top sheet and expose the finer 220 grit.

Sand down the bench with a rough 100 grit paper first, then follow up with a finer 220 grit sand paper.

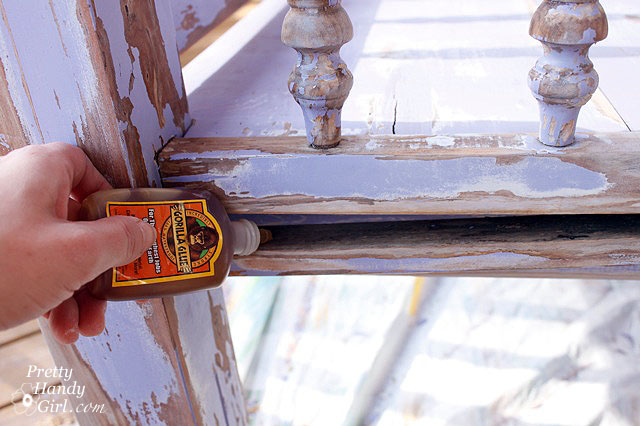
Secure any loose pieces of the bench. To use Gorilla Glue, you need to moisten the two pieces that you will secure.

Then put a small amount of Gorilla glue onto one of the pieces.

Clamp the joined pieces and allow to dry overnight. (By the way, don’t waist your money on cheap clamps. That little black & orange number below just bit the dust last weekend. My Irwin clamp is a CHAMP!) Check back after 30 minutes to wipe off any Gorilla glue that has spread out of the seam.

Because the posts on my bench were really falling apart, I decided to remove the ball finials.

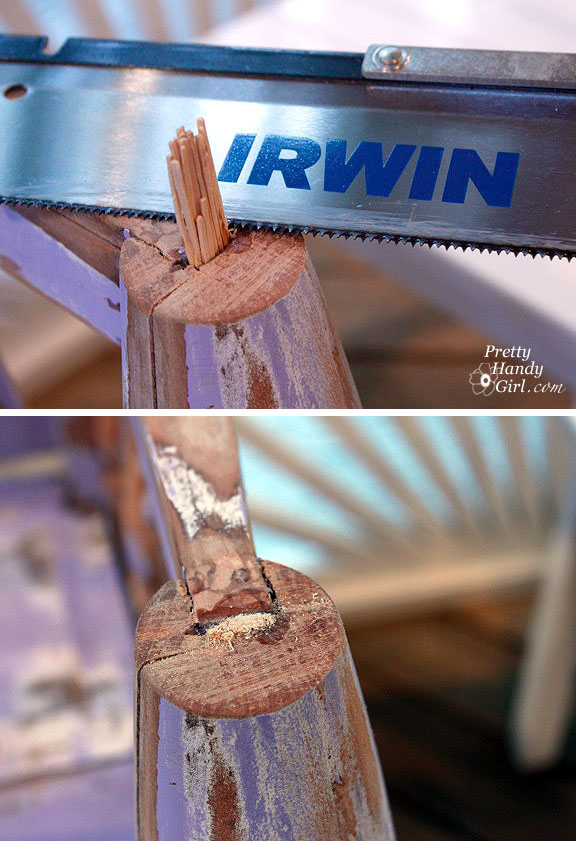
Use a saw to cut both finials off.

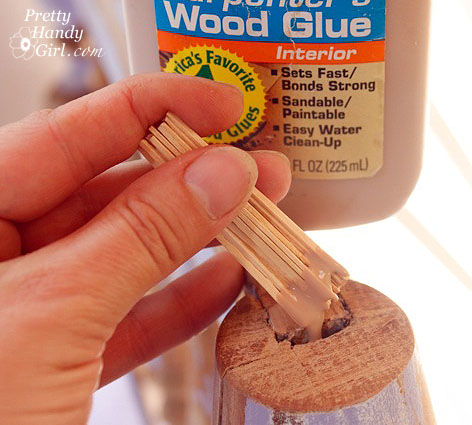
Patch the hole using toothpicks and wood glue.

After the glue has completely dried, saw off the toothpicks.

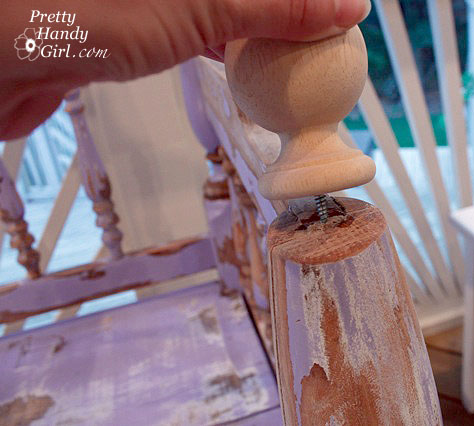
Add a curtain rod finial on top of the sawed off posts.

It looks like those finials were there all along!

Clean your bench off with a damp rag to remove any sawdust.

Cover the entire bench with one coat of KILZ Clean Start Primer. Want to know why I use KILZ Clean Start primer for all my projects now? Read how much I love it in this post where I used the same primer for painting a bamboo rug. I’m never buying any other primers (unless I’m priming a tricky surface, then I’ll use BIN 1-2-3 oil based primer. But, I won’t be happy about using that stinky stuff.)

After the primer has dried, use a piece of fine grit sand paper to gently remove any burrs or imperfections.

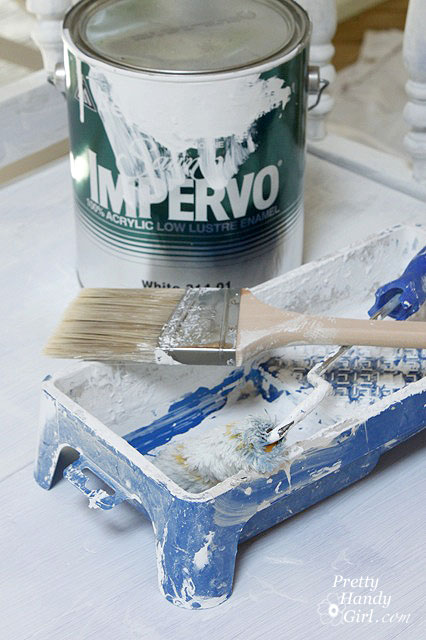
Then wipe off the bench with another damp wipe. I used Benjamin Moore Impervo Semi Gloss paint for the top coat on my bench. It leaves a really tough coating and will hold up to wear and tear.

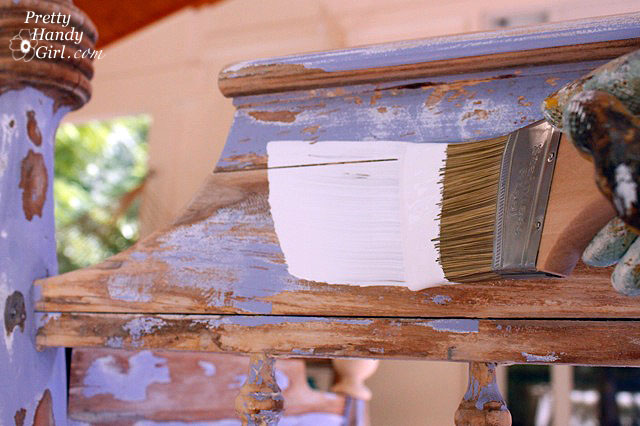
Roll on the paint in one area. Then follow up with a brush to even out the paint. Remember to run your brush in the same direction as the grain of the wood.

Lightly sand after the first coat has dried and finish up with a second coat of Benjamin Moore Impervo paint. I didn’t add polyurethane, but if you are really concerned about a piece of furniture that will be exposed to the elements, go ahead and add two or more coats of polyurethane.

My bench should successfully last outside now for three reasons:

  1. I moved it inside the porch and out of the direct sun and rain.
  2. I primed the bench with a good quality brush-on primer (instead of a spray paint type.)
  3. I brushed on two coats of paint making sure I got into all the cracks and crevices of the bench.

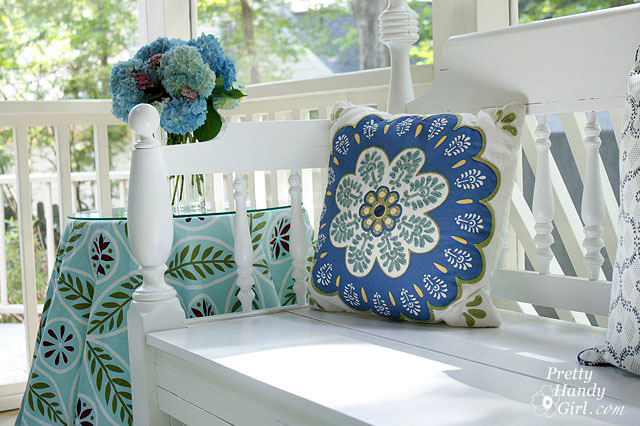
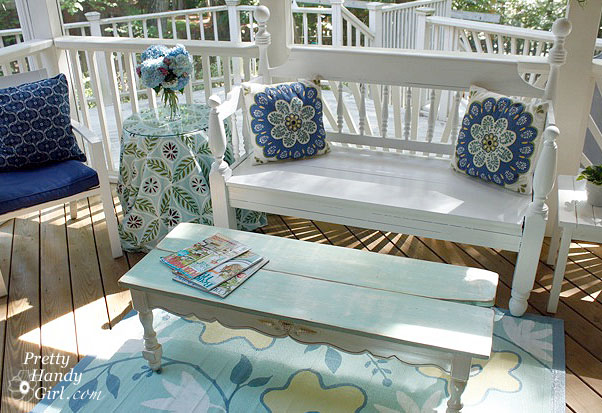
Here she is in her newfound home, our screen porch:


With zero VOCs and the quality that is standard in all the KILZ products, this primer is a must have for the DIY painter!


Disclaimer: The products mentioned in this post are products that I use and stand behind. The opinions expressed in this post are authentically mine. I was sent a gallon of KILZ Clean Start Primer and the Irwin Quick Grip clamp to try out, but I was not paid or swayed to write favorable things about the products. If I don’t like a product, I won’t write about it. And I certainly won’t pass it off on my valued readers.


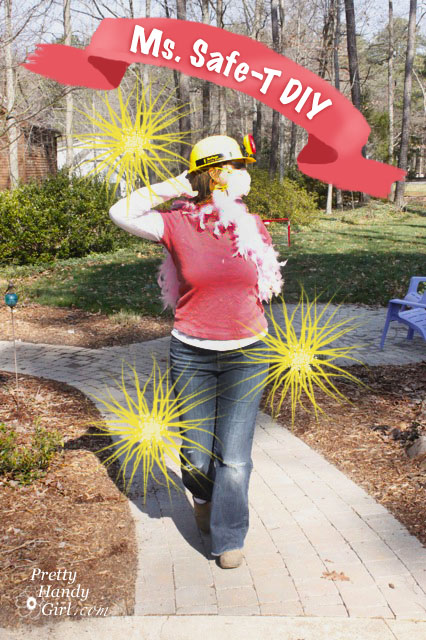
This weekend I’m competing in the Ms. Safe-T DIY Pageant for 2011. What? You never heard of it? Well, let me tell you the competition is fierce. I’m up against 7 other beautifully safe women for the title.

The final 8 contestants are (click on their photos to view their Safe-T profiles):

Sandra from Sawdust and Paper Scraps

Michelle from Dream Home DIY

Katy from Mom and Her Drill

Erin from Erin’s Creative Energy

Tanja from Postmodern Hostess

Jaime from That’s My Letter

Pink Toes and Power Tools

And of course, there is me! Don’t you think I nailed the runway walk? I’m a muddy shoe-in to win! (Snort, snort, I crack myself up.)

Brittany from Pretty Handy Girl

In all seriousness, Sandra is hosting the Strut Your Safety Gear Link Party to get the word out about wearing the appropriate safety gear when working on your DIY project. And if you hop to it and comment by Sunday night (tonight) you can enter to win a $100 Amazon gift card. Whoo-weee.

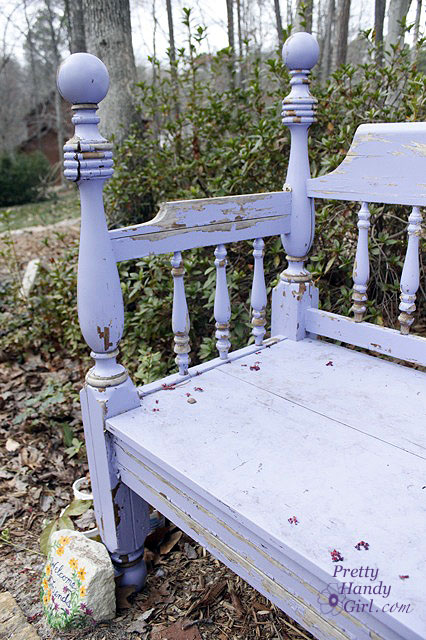
Today, I geared up to scrape and sand my garden bench. Sadly the paint didn’t weather the year in the rain, sleet and snow. The bench is still structurally sound, so I’m going to repaint it (the right way) and and share with you the details at a later date.

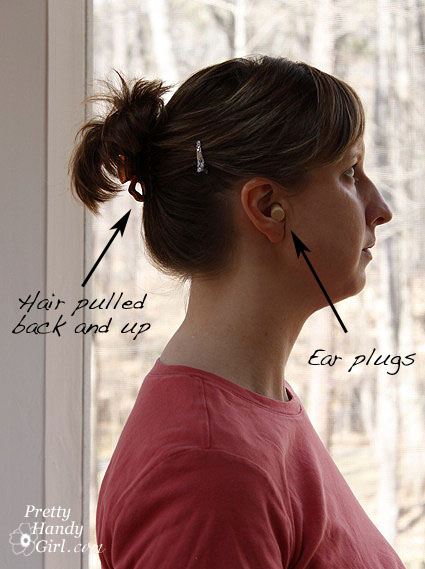
I needed to use my power sander, so I pulled my hair back and put in my ear plugs.

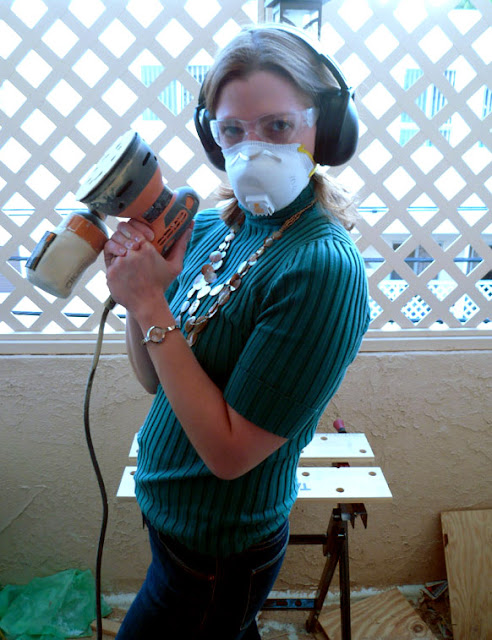
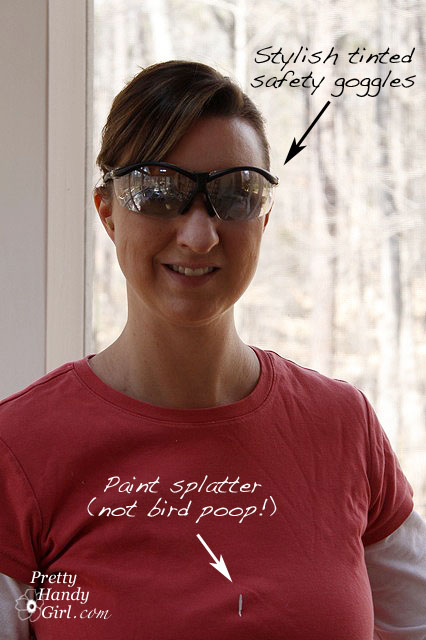
99% of the time, when I’m working on a DIY project, I put on my paint spattered shirt and ripped blue jeans. The 1% of the time that I don’t do that I end up ruining those clothes. Safety goggles are a must when working with any power tool. (I just ordered some new molded goggles that seal on your face to help keep the dust out next time. Sandra turned me on to them HERE!)

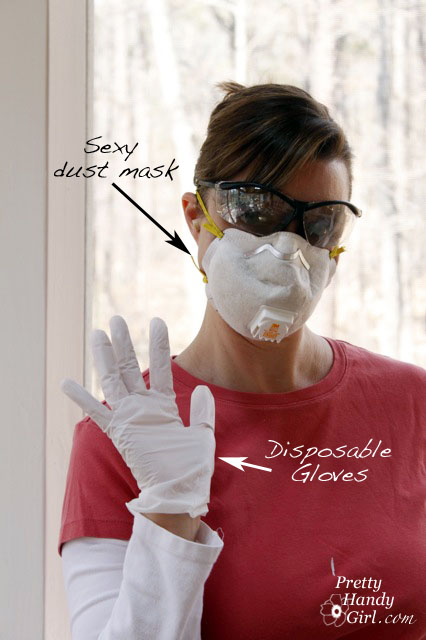
Sanding is a messy job. It is a good idea to tarp anything you don’t want covered in sawdust. The particles go EVERYWHERE. That is why it is important to wear a dust mask and gloves.

The gloves also keep my hands from getting rough.

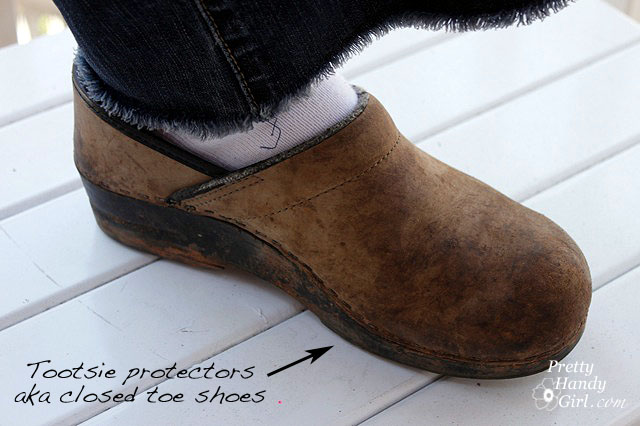
And finally, I wear closed toe shoes to protect my piggy wigglies from a dropped power sander. OUCH!

Be sure to wear appropriate safety gear next time you take on your own DIY project. Check out Sandra’s post for more information on safety gear HERE! She even gives you the links to purchase your own. Now that is my kind of shopping!