La-Z-Boy Living Room Decisions | Pretty Handy Girl

La-Z-Boy Living Room Decisions | Pretty Handy Girl

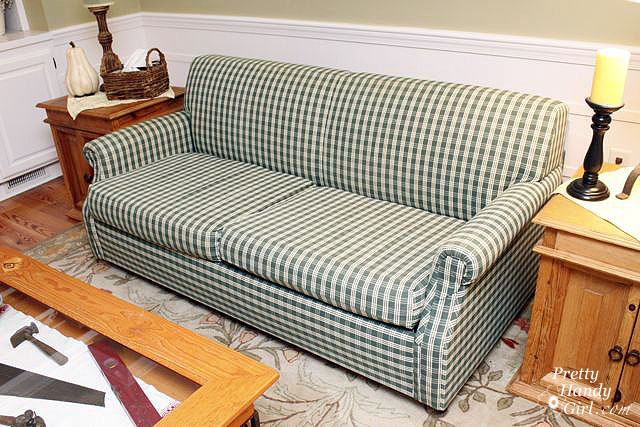
Remember when I admitted to you that we sit on a dead couple’s sofa? I’m ashamed to admit it, but Pretty Handsome Guy and I have the same sofa that was handed down to us by my godfather when his parent’s died. Several years ago I agreed to stop bringing home inexpensive big furniture pieces. Instead, we decided to wait and save for quality furniture that would last a long time. During the wait, I made the best of an ugly situation and covered that old sofa in hunter green plaid in the 90’s.

plaid_sofa

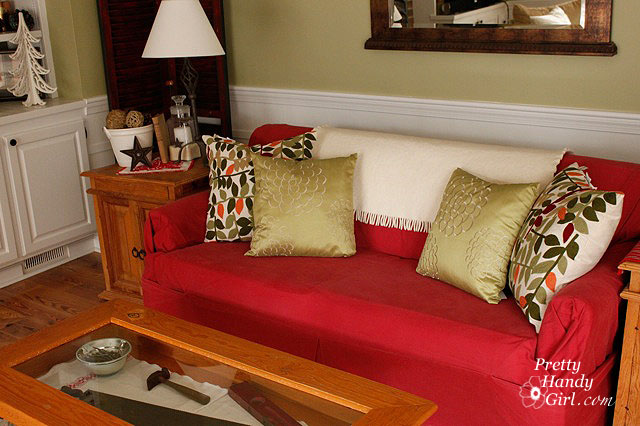
Then I bought a bright red slipcover for it in the early 2000’s.

CouchAfterFull

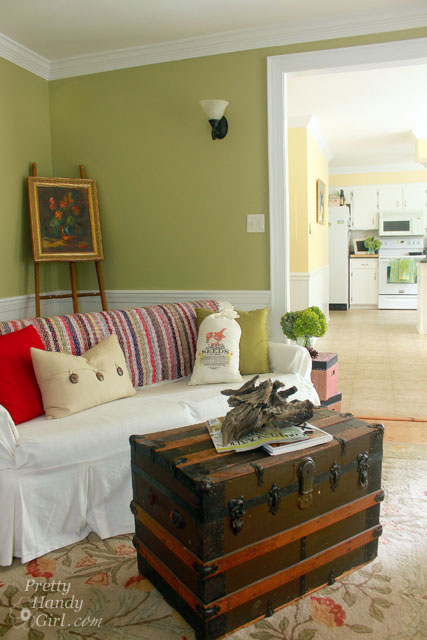
A few years ago, I added a white slipcover to hide it’s true identity.

living_room_vertical

But, when guests sit on it, they know. I know it by the looks on their faces as their rear ends collide with the hard cushions. It’s like sitting on concrete. Not to mention that the sofa is small. Not just in width, but in height too.

I was talking to my sister the weekend we were working on the beach condo. She is an interior designer and she expressed her disgust with my poor excuse for a sofa, “Brittany, for heaven’s sake, you are in your 40’s! Grow up already and buy a new sofa.” I was shamed and agreed that we needed to find some time to go furniture shopping again. But, this was akin to driving a broken ox to plow through a muddy field (Amazing Race reference.) Handsome Guy hates shopping…especially when it involves looking at multiple colorful swatches and fabrics. I on the other hand don’t mind that part, but I’m particular about quality and comfort. Finding furniture that will last the abuse of our boys and last for decades is important to me.

We set out one date night to hunt down the perfect sofa and drag it home to our lair. We went to half a dozen furniture stores, but none of the showrooms felt right. One was too modern. One had cheap quality sofas. One store had a pushy salesman. (Am I sounding like Goldilocks here?) Sadly, we returned home empty-handed.

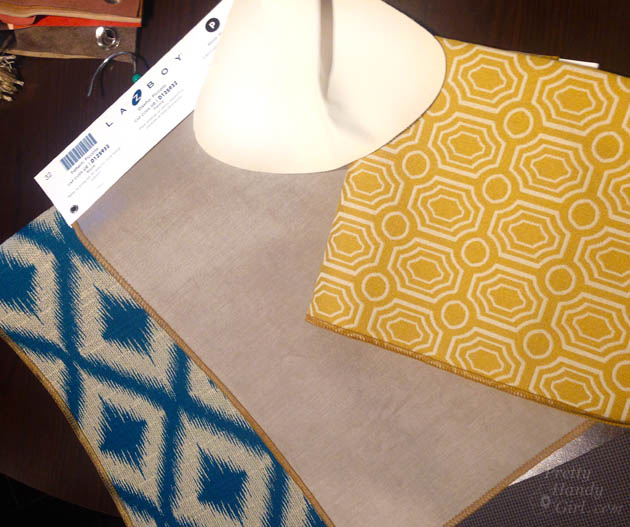
In a twist of fate, I was introduced to the new look of La-Z-Boy when they approached me about participating in the Design Dash. Before then, I never considered buying a sofa at La-Z-Boy because — you know — my grandfather had a big fat roll filled La-Z-Boy and it wasn’t stylish! Boy was I wrong!

I walked into that showroom and was blown away…as in “Shut the Front Door! This can’t be a La-Z-Boy showroom.” Read more

12 DIY Home Storage Tutorials | Pretty Handy Girl

It’s January and you know what that means! Time to clean and purge the house of all the excess stuff. Last year I was too busy with projects to purge, so this year I’m taking advantage of some warmer days to clean out our home. I hope you’ll excuse me while I’m in clutter busting HELL mode. In the meantime you might enjoy these 12 DIY Storage Projects to help you organize your home (and hide clutter.)

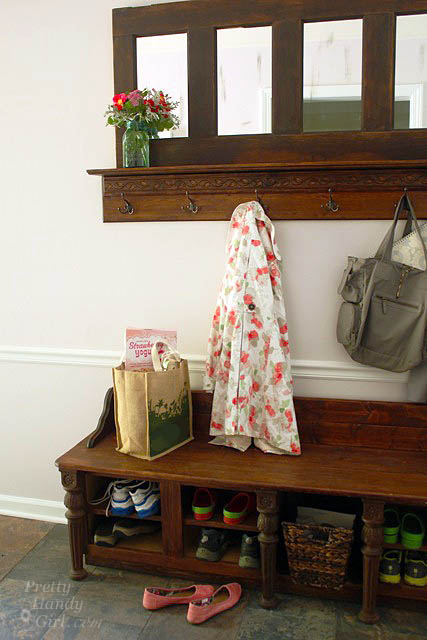
mudroom_shoe_storage_bench
Make a Coat Rack from an Old Door
 and Make a Shoe Storage Bench with Kitchen Cabinets

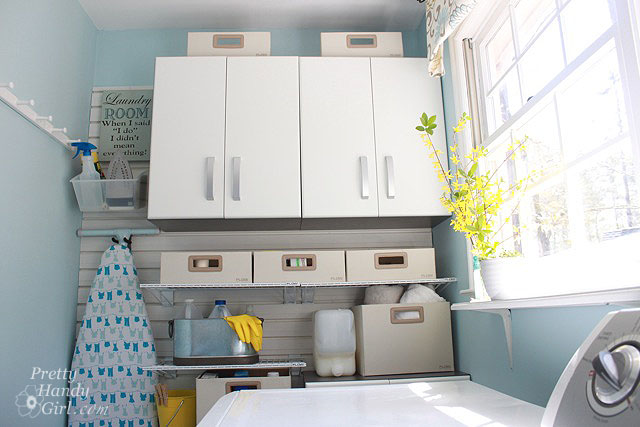
full_flow_wall_above_washerLaundry Room Storage using Flow Wall Read more

Gray Restoration Hardware Stain Recipe | Pretty Handy Girl

Gray Restoration Hardware Stain Recipe | Pretty Handy Girl

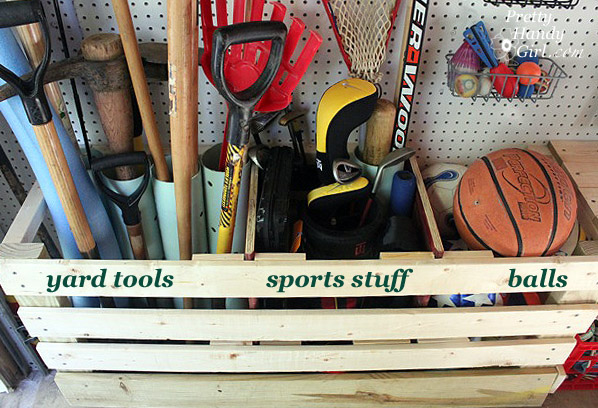
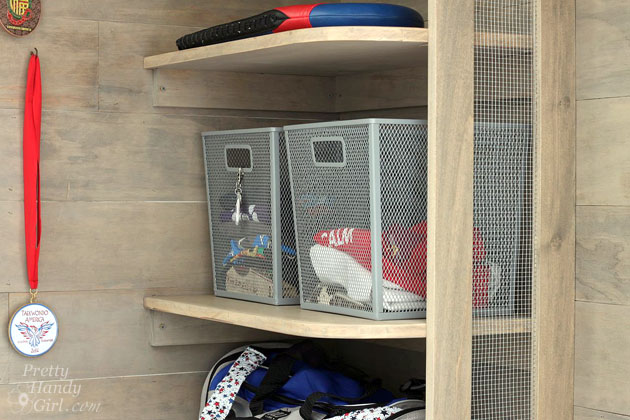
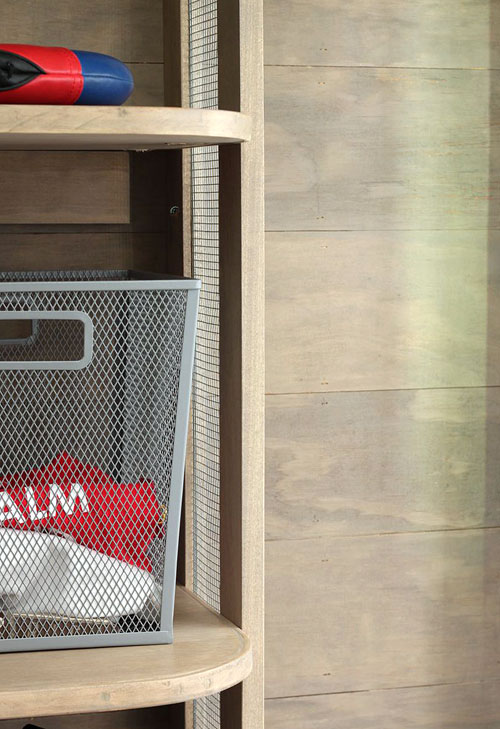
I’ve fallen in love with the Restoration Hardware Salvage Gray wood stain. But, try as I might, I haven’t found a pre-mixed stain that produces the same look. That never deterred me, and I don’t like to give up. Therefore, I created my own recipe for approximating that Restoration Hardware Weathered Gray stain. You may have seen this beautiful gray stain on my Sports Gear Storage Shelves the other day. Because I love you and I love to share, here is the DIY Restoration Hardware Weathered Gray Stain Recipe.

Materials:

Glaze: 

DIY Restoration Hardware Weathered Gray Stain Recipe Instructions:

Premix your glaze in a jar or bottle. 1 Part Valspar Arid Plains with 3 parts Valspar clear glaze.

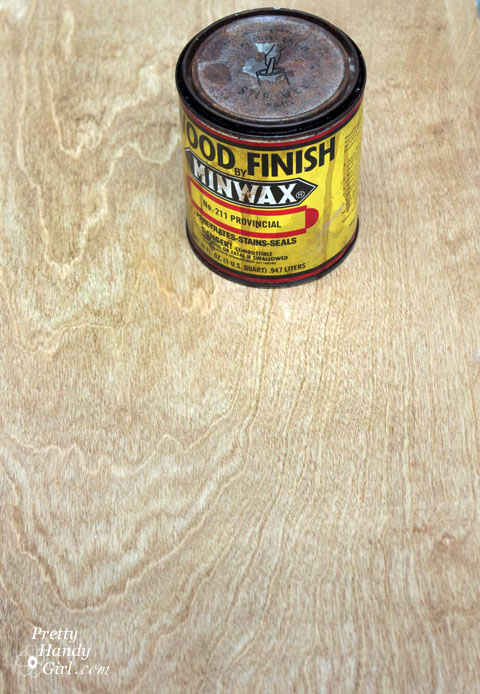
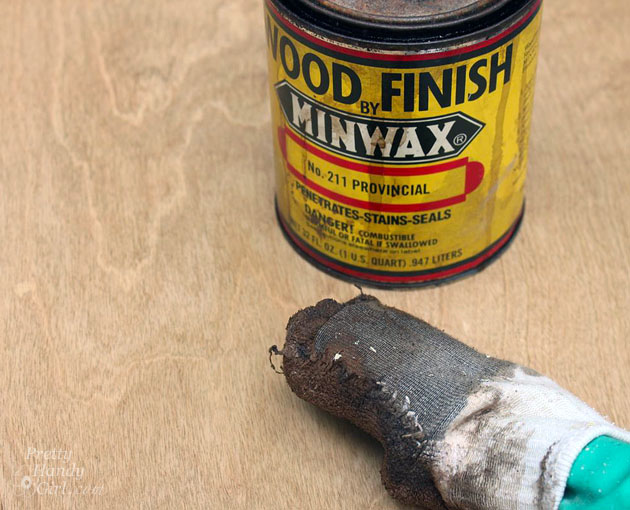
Sand your wood smooth. Put on a rubber glove and slip an old sock over the glove. Dip you hand into the stain and wipe the stain onto your wood. Always wipe on stain with the grain.

Gray Restoration Hardware Stain Recipe | Pretty Handy Girl

After the first coat has dried, repeat by adding a second coat of Minwax Provincial stain. Let the stain dry.

Gray Restoration Hardware Stain Recipe | Pretty Handy Girl

Lightly sand the wood before applying the glaze. Read more

Rustic IKEA Hack Cabinet Transformation | Pretty Handy Girl

Rustic IKEA Hack Cabinet Transformation | Pretty Handy Girl

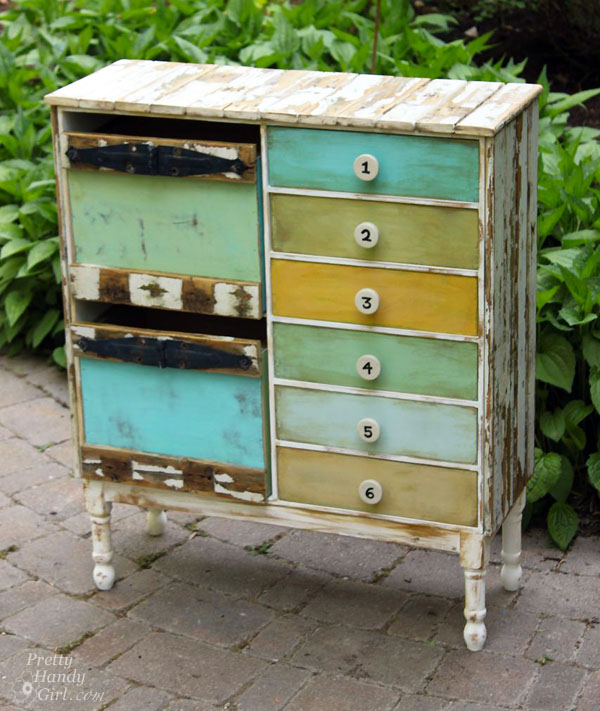
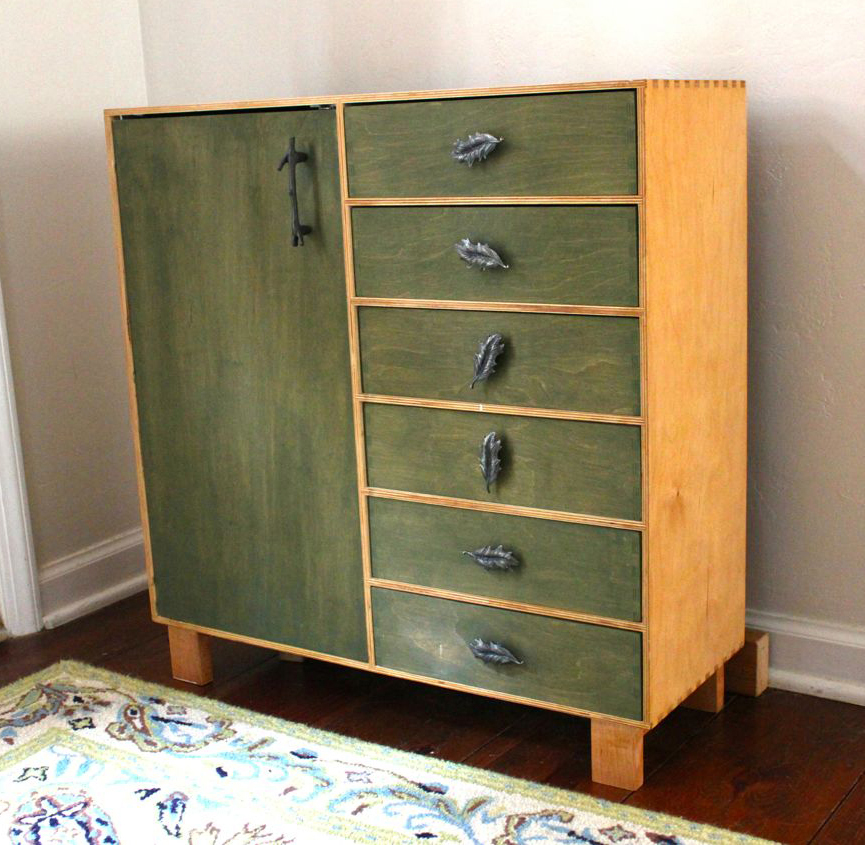
Rustic is not usually a word used to describe IKEA. IKEA is better know for their modern furniture, simple lines, meatballs and funny Swedish words. Today I’m going to change how you perceive IKEA furniture forever! Are you ready for this? Well, hang onto your hästes (Swedish for horses) because you’re going to see a transformation nothing short of amazing! You too can customize your plain jane furniture by adding legs and cladding the exterior with reclaimed picket fence wood.

This tale starts with a hunter green stained IKEA storage chest that I bought for our first apartment and stained myself (can you tell what decade it was? Hint: hunter green, honey pine, throw some burgundy in there and I’m sure you’ll be guessing no more.) It moved from room to room each time we settled into a new home. But, it never really fit in.

ikea chest in guest room

The cabinet was short and not very deep. Plus, it bore the mark of the popular 90’s hunter green. It was ugly. Why didn’t I get rid of it years ago? Maybe I was attached to it because it was the first piece of furniture I ever stained myself. And it brought back fond memories of calling the fire department because I smelled gas. Turns out you aren’t supposed to use an oil-based stain indoors, especially if you have a gas stove. Lesson learned.

Rustic IKEA Hack Cabinet Transformation | Pretty Handy Girl

Fast forward two decades and it’s still hanging around. The other day as I was lamented the fact that our foyer is too small to fit a cute dresser, I found myself looking at this sad little IKEA chest. I picked it up and put it in our foyer. The fit was perfect in the small space behind the front door! But, it was short and let’s not mention the hunter green again. Plus, it just wasn’t cute. And it doesn’t reflect my warm and weathered style. But, you know me, I wasn’t deterred.

I did some mental gymnastics and began to hatch a plan to create a marriage that would last longer than two decades.

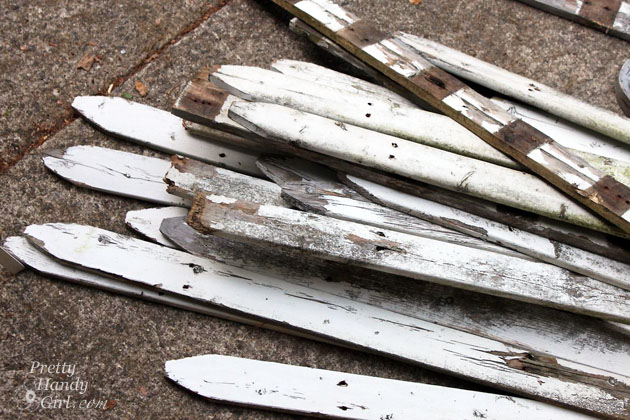
Old picket fence pieces

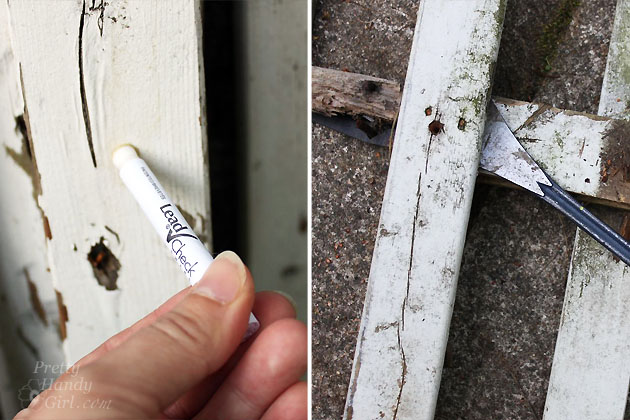
It began with some pieces of old picket fence that I found by a dumpster. They were perfectly chippy and rustic! Luckily the 3M Lead Check results were perfectly negative. I carefully took the fence apart and removed all the nails.

Lead check picket fence paint

Ready to see how I convinced the two polar opposites that they belonged together — rustic and modern — to create a match made in heaven? Let’s explore this couples’ counseling further:

Read more

Updating a Knotty Pine Nightstand | Pretty Handy Girl

Updating a Knotty Pine Nightstand | Pretty Handy Girl

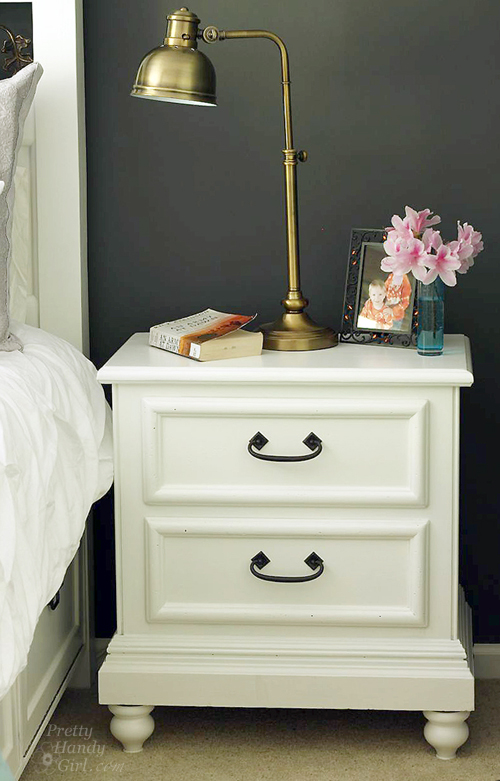
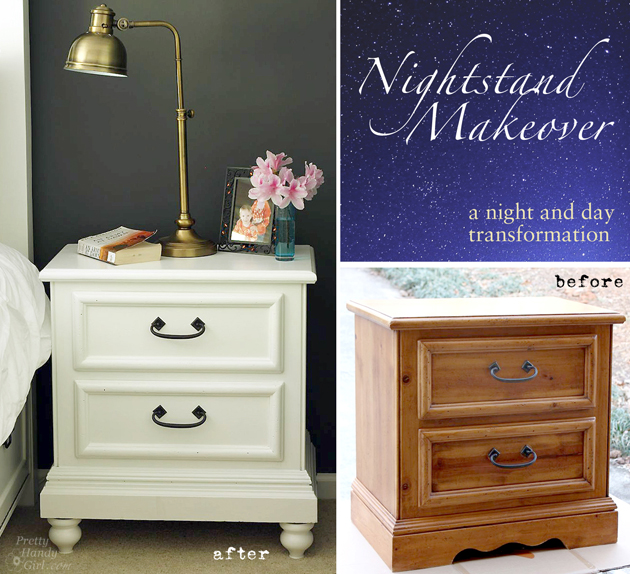
The best way to give your room a makeover on a budget is if you can use your existing furniture. Notice that I didn’t say using it “as is”. Heck no! Update your solid furniture by adding moulding, paint and new feet!

Updating a Knotty Pine Nightstand | Pretty Handy Girl
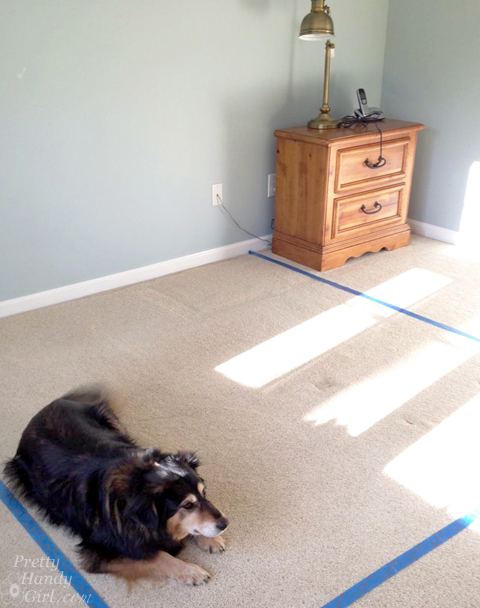
(Pretty Handy Dog is already staking his claim on his preferred spot on the new bed.)

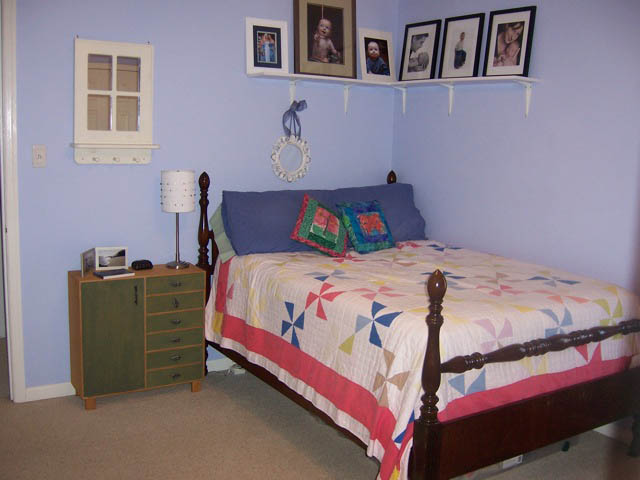
When I decided to build our new bed, I wanted to use our existing nightstand and vanity to save money. But, the nightstand was a little too short for the new bed height. By adding new feet and painting it the same color as our new bed, I was able to give the knotty pine nightstand a second life.

(I’ve included affiliate links for your convenience. I earn a small percentage from a purchase using these links. There is no additional cost to you. You can read more about affiliate links here.)

Materials:

Optional:

Instructions:

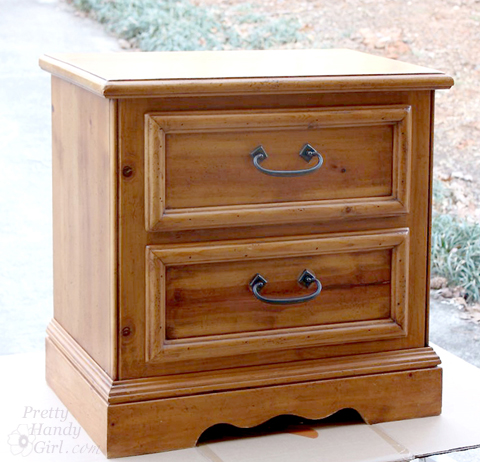
Start with a solid night stand. She may have some dated curves, but that’s nothing a little baseboard moulding can’t fix!

Updating a Knotty Pine Nightstand | Pretty Handy Girl

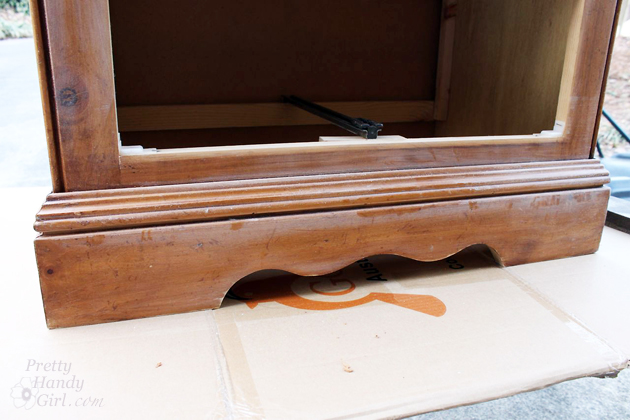
Remove the drawers. Clean out any dust bunnies and lost love letters out of the back.

Updating a Knotty Pine Nightstand | Pretty Handy Girl

Cut an interior facing 45 degree angle into one end of the baseboard moulding. Line up the bevel against one end of the front of the nightstand. Mark the opposite corner of the base where you need to cut. Read more