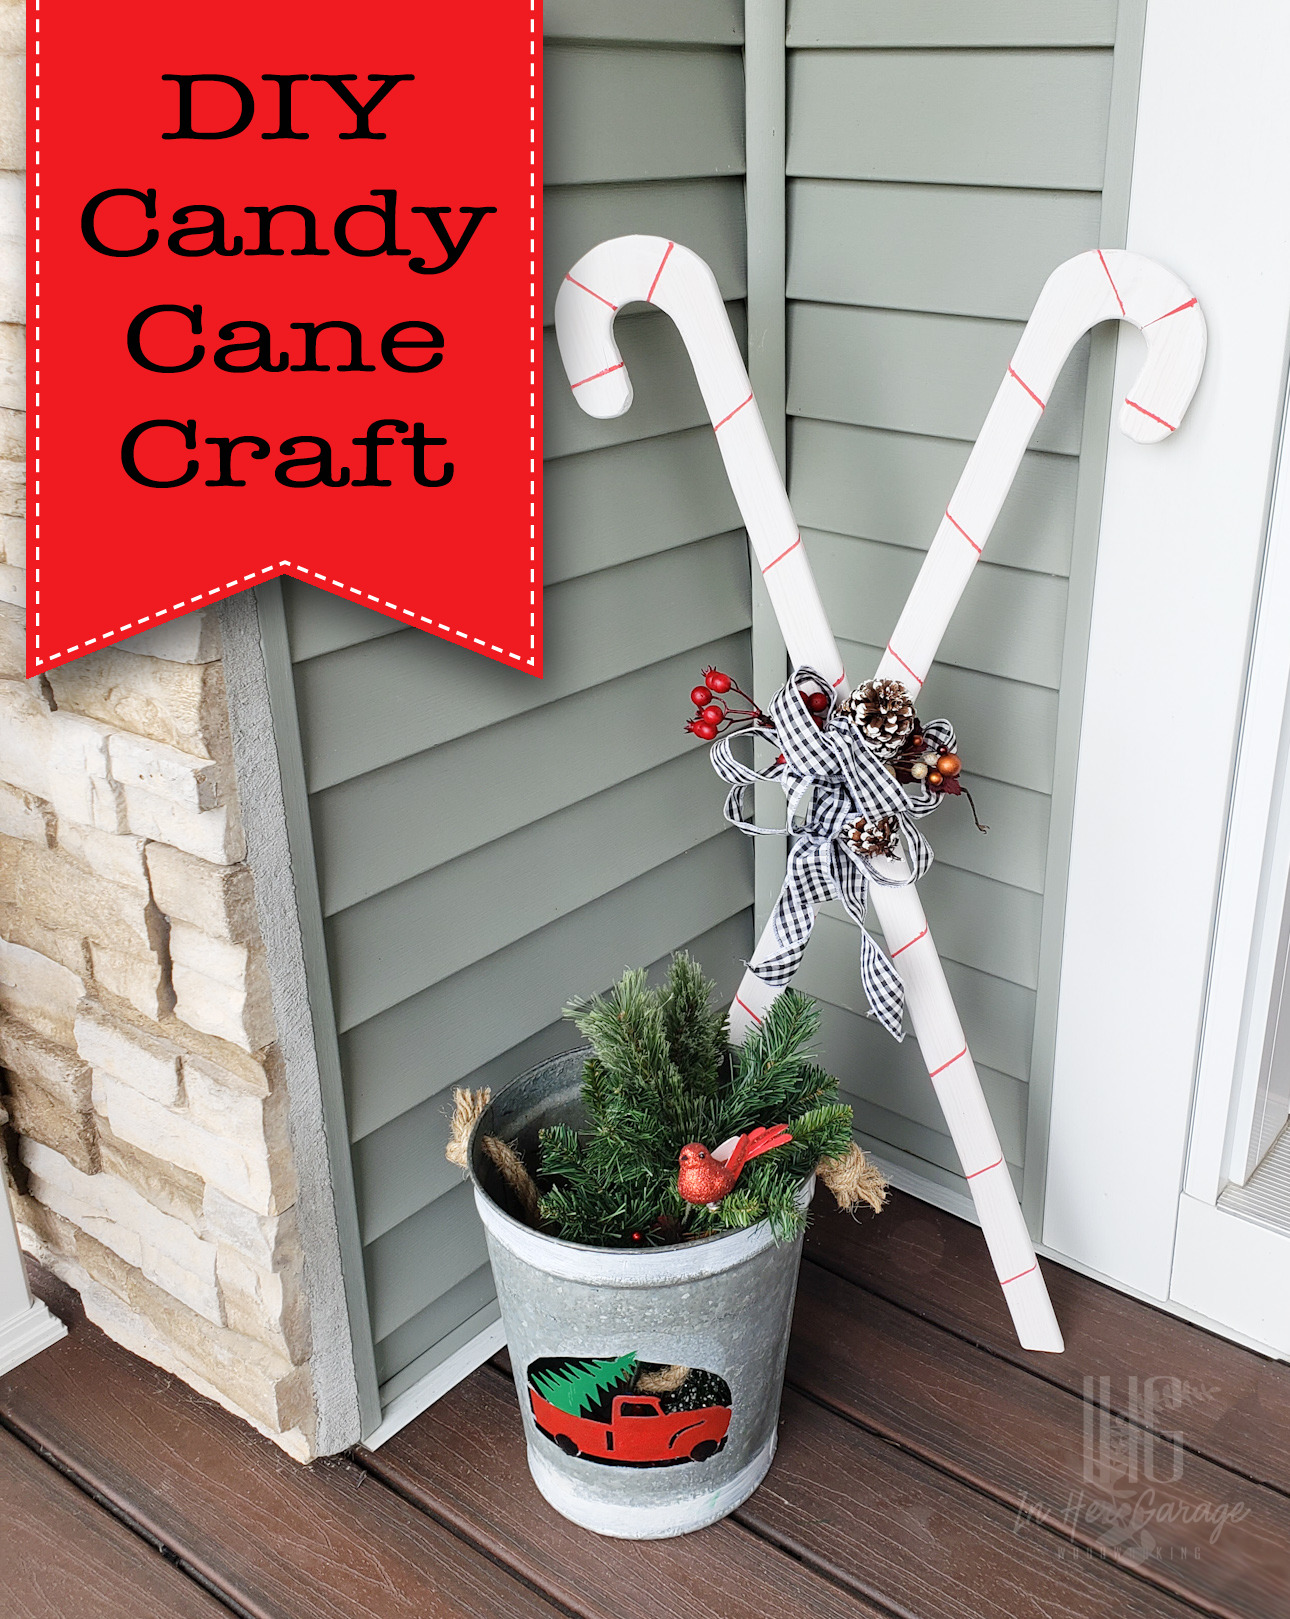
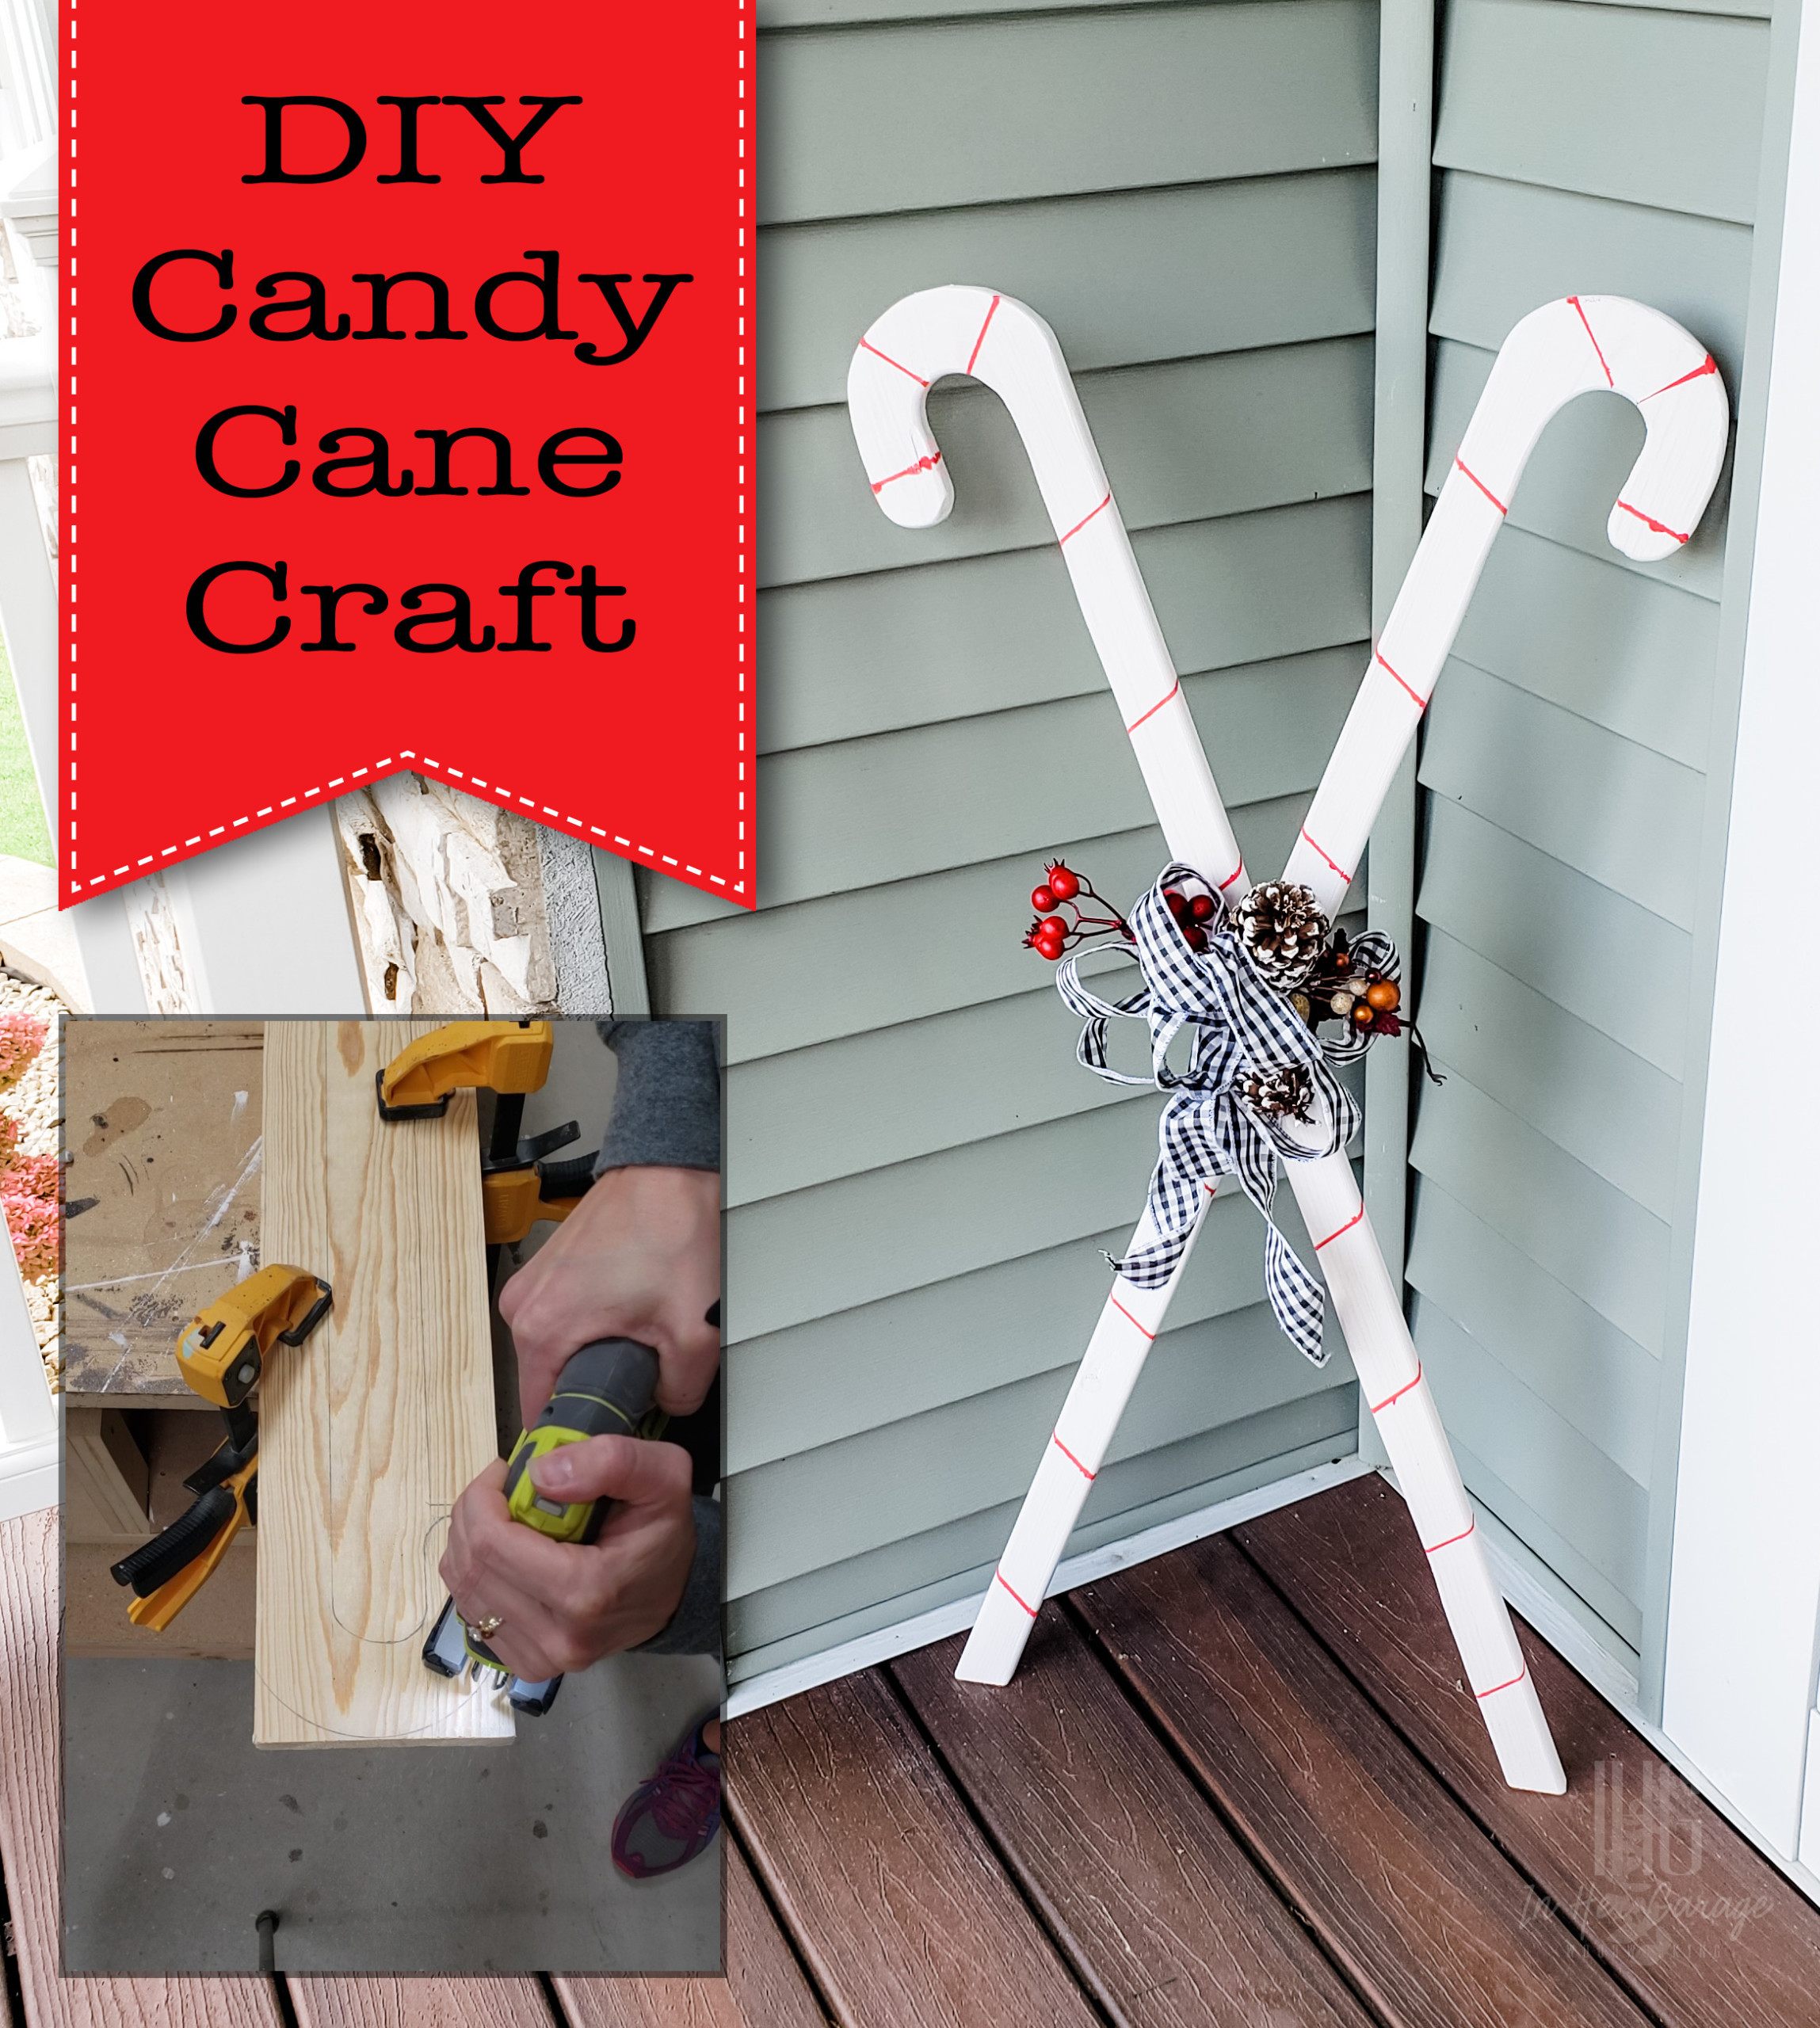
Make this adorable DIY Candy Cane craft using 1 board and 2 tools! These DIY Candy Canes are the perfect complement to your holiday decorations.
DIY Candy Cane Decor
I love this craft because it’s not only cheery but it also helps me add decor at a mid-height. I often find myself decorating something really tall like my Christmas tree or something short, like cute decor items near the ground. These candy canes are super simple to make and add medium height decorations to your home.
Material:
(I’ve included affiliate links for your convenience. I earn a small percentage from a purchase using these links. There is no additional cost to you. You can read more about affiliate links here.)
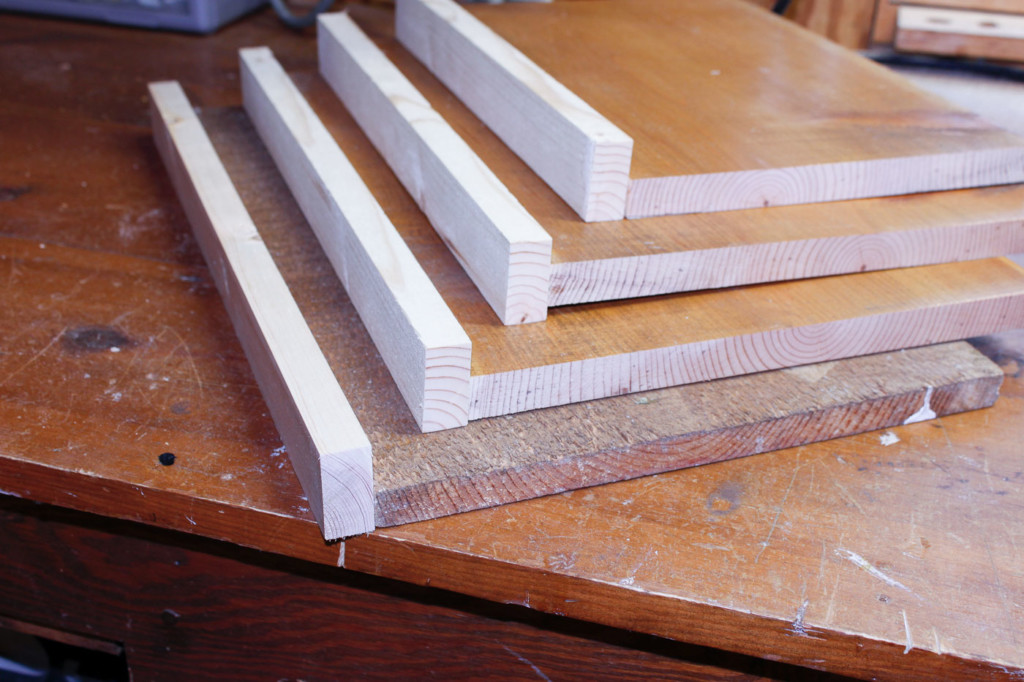
- 1- 1″ x 8″ x 6′ pine board cut to 4′
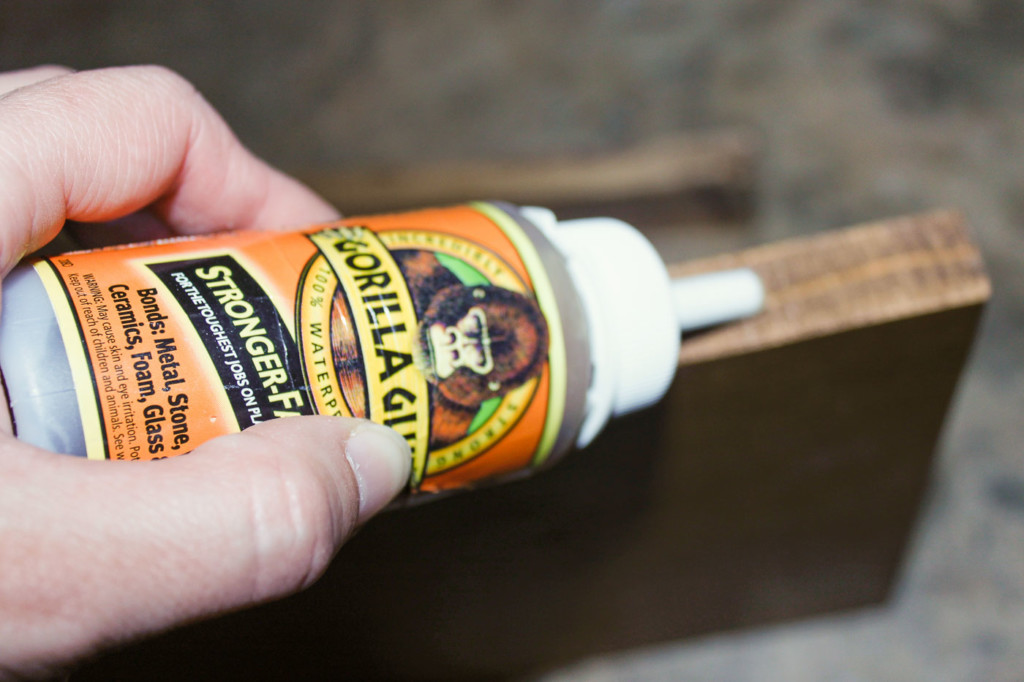
- Wood glue
- Paint
Tools:
Instructions:
Step 1: Draw the candy canes
- Find something round that is about as wide as your board. I used a cereal bowl from my kitchen.
- Draw the top curve of the candy cane, one on each end of the board
- Then draw the candy cane stem coming down from the curve on either side of the board.
- By rotating the board, you should be able to fit two candy canes on one board.


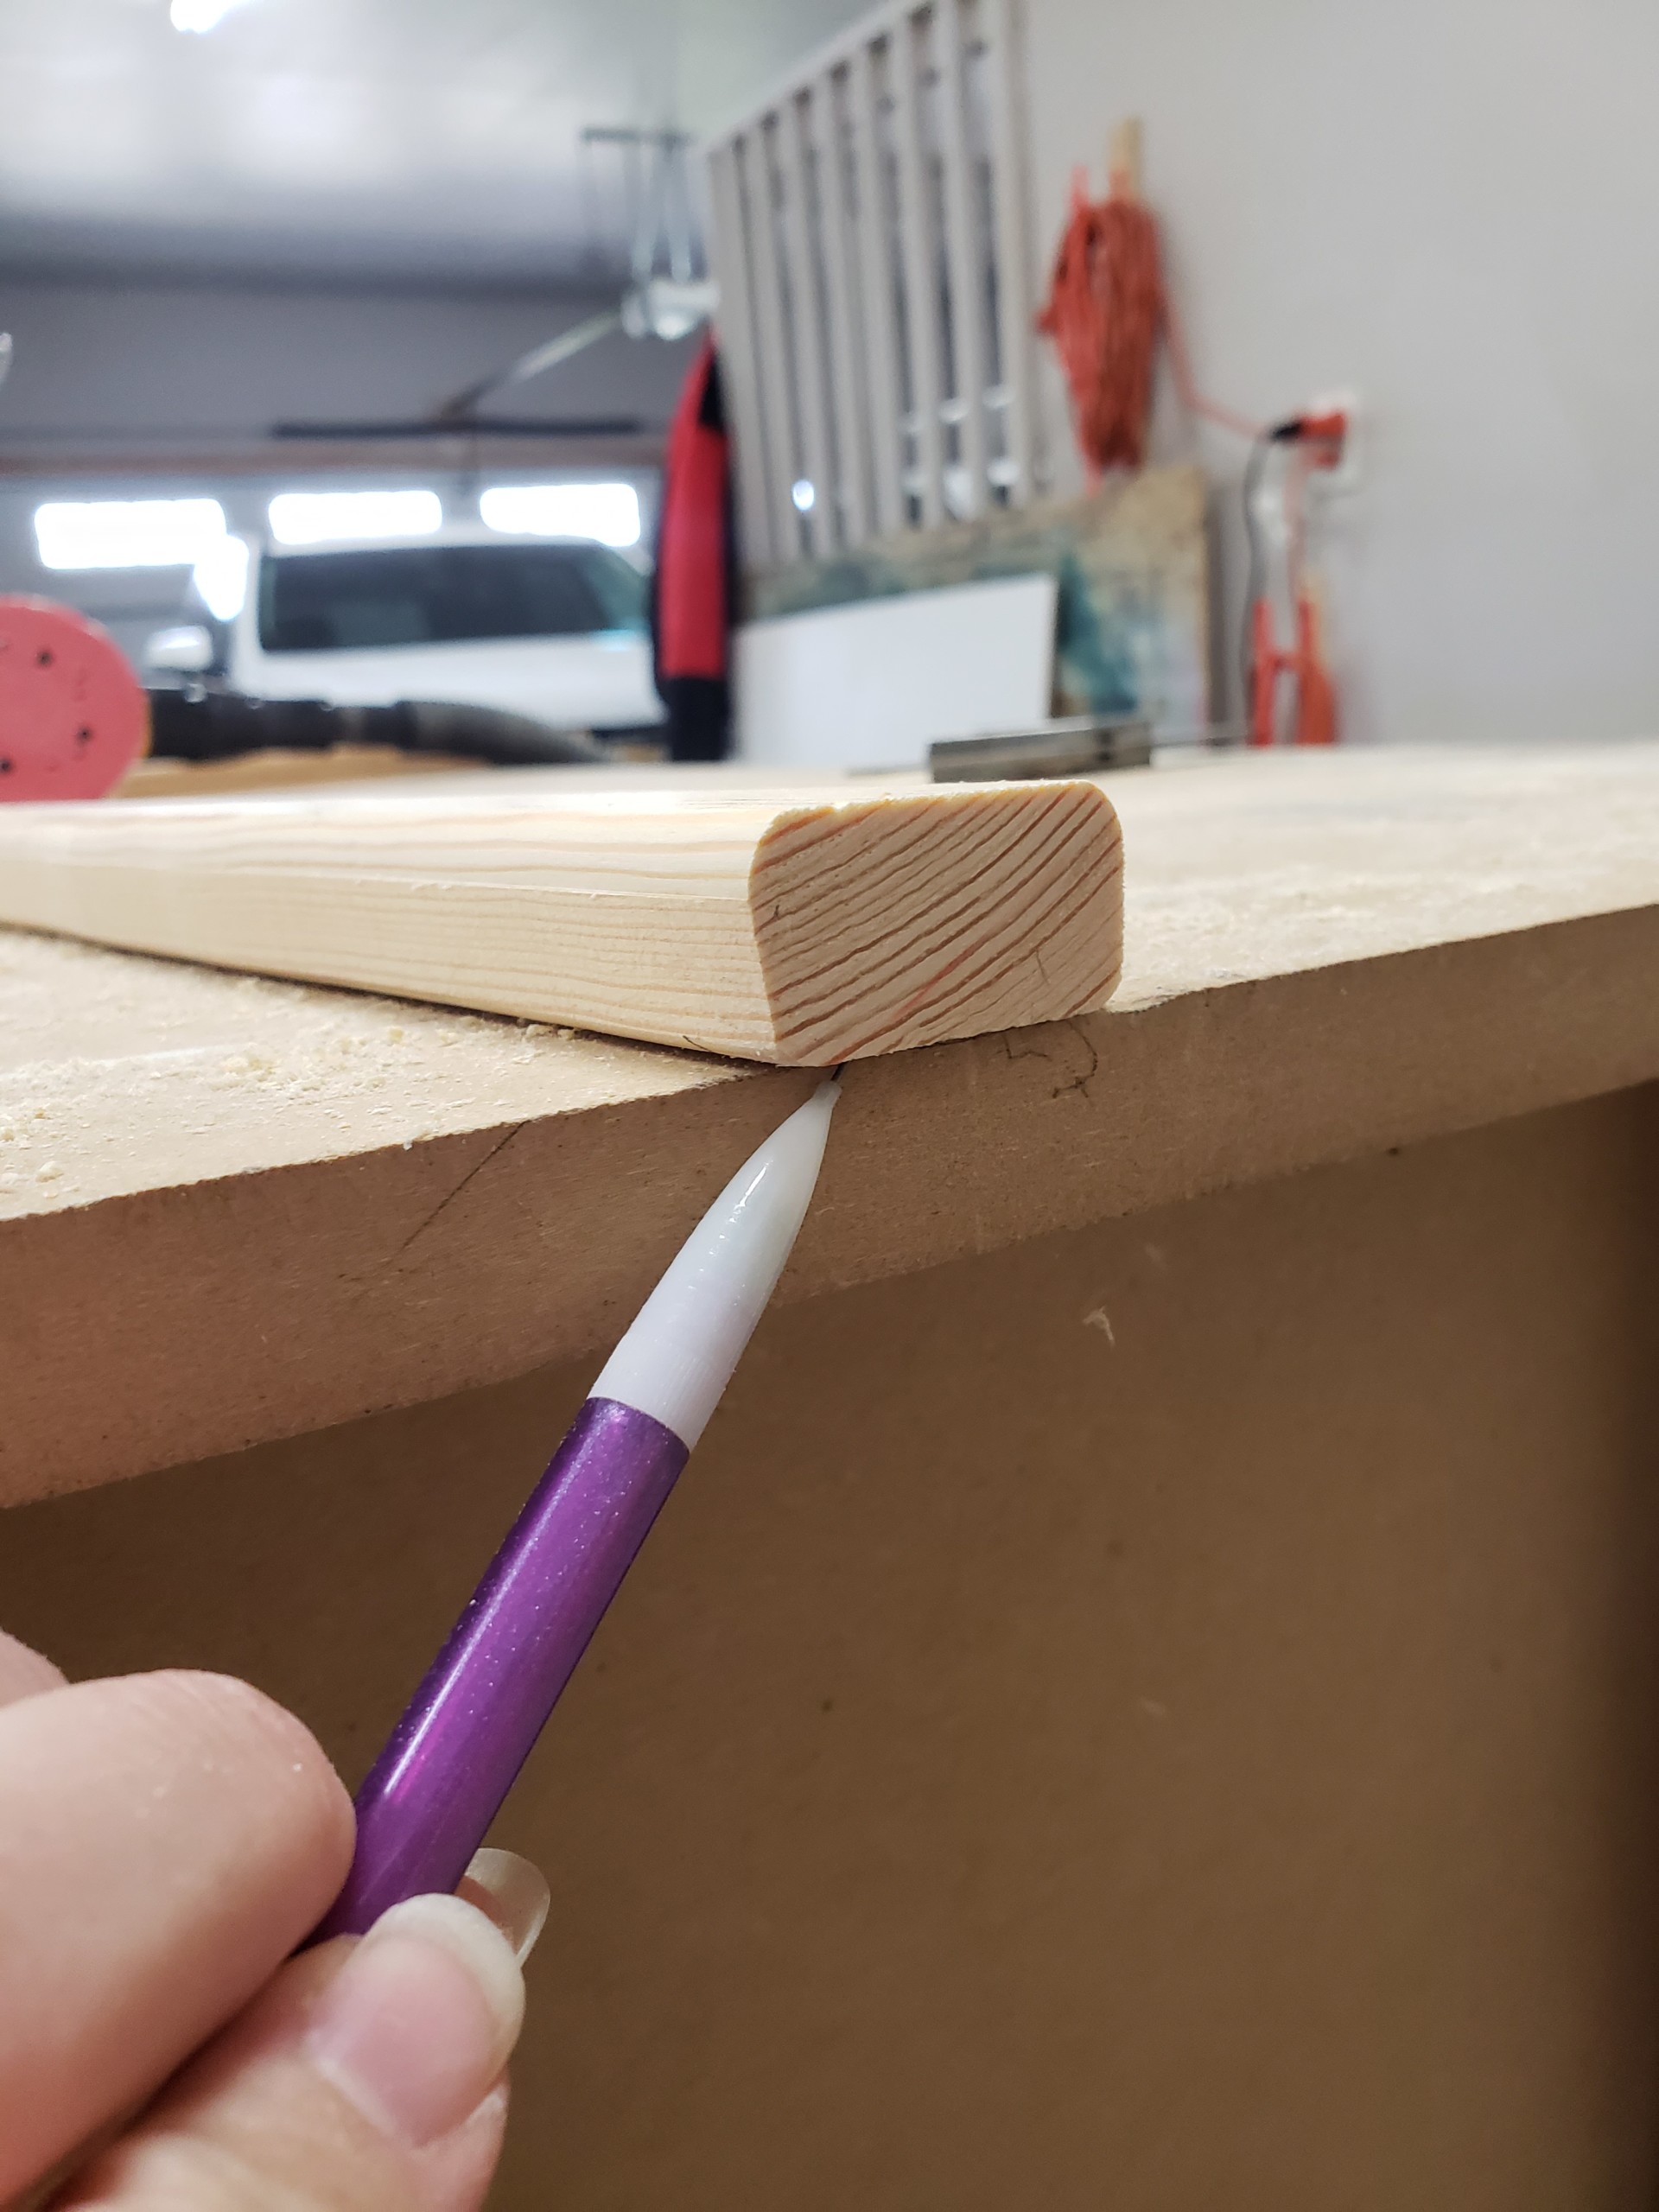
Step 2: Cut out the candy canes
- Clamp your board then use your jigsaw to cut out the candy cane. Mine looked pretty rough at first but no worries.

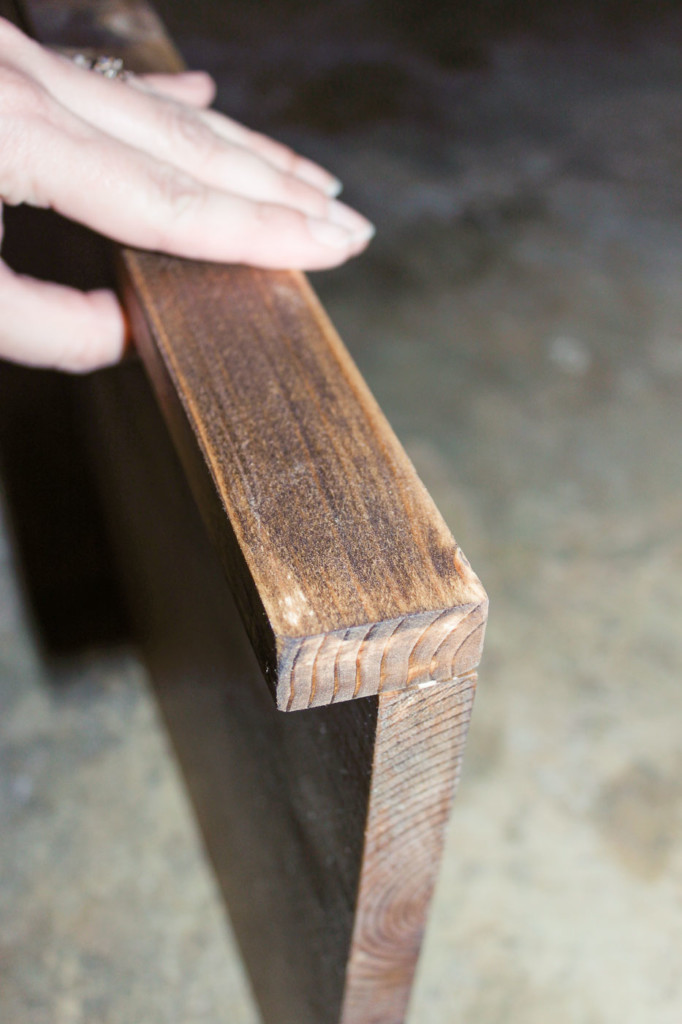
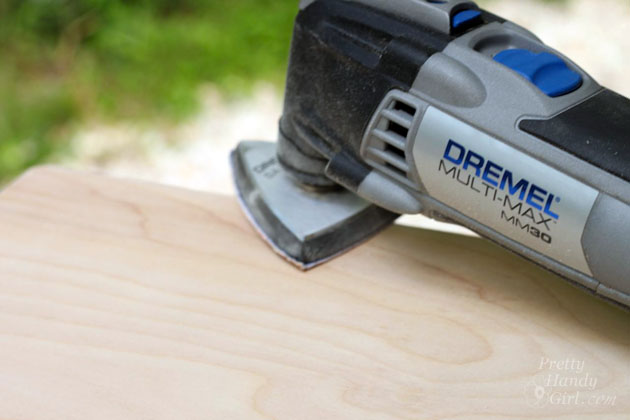
- Sand the candy canes smooth.
- Optional: If you have a trim router with a round-over bit, run along the edge of the candy canes to get nicely rounded edges.
Step 3: Paint
- Paint the body of the candy canes white. (Or you can paint it red.)
- Using painter’s tape, create candy cane stripes and painted them red (or paint them white if the body is painted red).

Step 4: Cross your candy canes
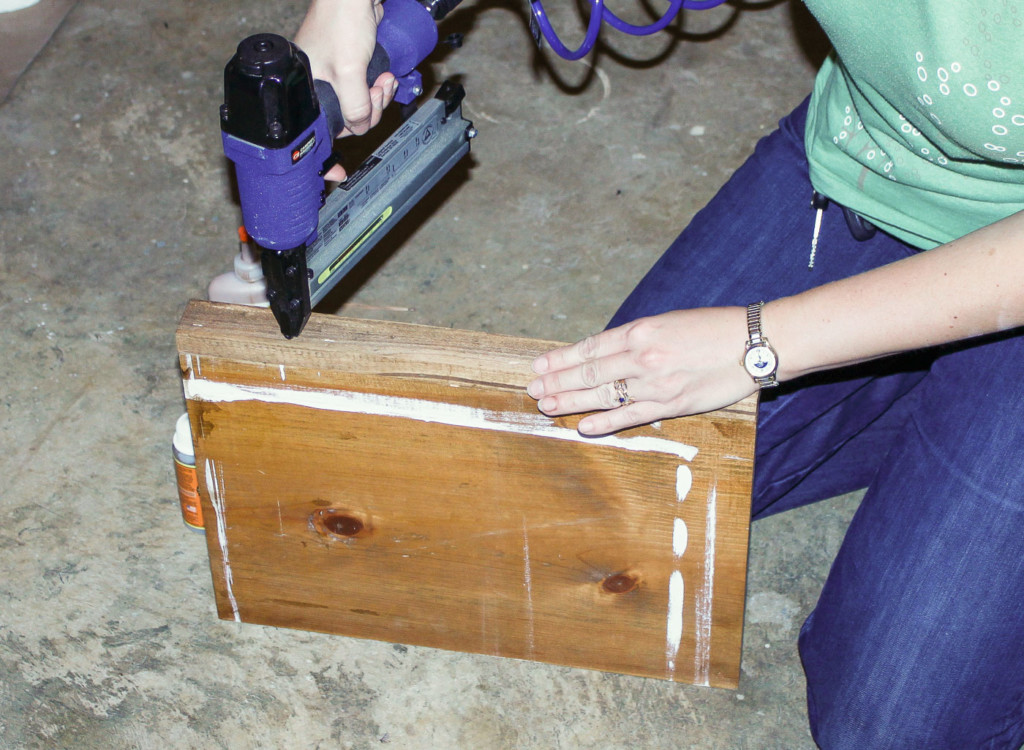
- Place your candy canes, one over the other, in the way that looks best to you and use glue and brad nails to secure them together at their intersection. (No brad nailer? You can secure with a screw through the back.)
- Cut the bottoms off at an angle so they stand up flat on the ground. (This step isn’t necessary since they won’t stand on their own anyway.)
Step 5: Decorate your candy canes
- Using ribbon, ornaments, decor sprays, or picks you have in your Christmas decor box to decorate as it suits your decor style.
- TIP: I like to wrap a rubber band around the candy near the intersection to hold the sprays and picks. This way you can change it up yearly.

Now incorporate these candy canes into your seasonal decor. They would look cute inside or outside.
That is about as simple as it gets for a fun DIY project you can do at home. I’m sure the kids would even love to help!
![]()

Hi! I’m Kristen, from In Her Garage, and I am a self-taught woodworker and DIY fanatic from Minnesota where I live with my husband and our two daughters. Between being a wife, mom, and registered nurse, I try to make as much time for DIY as possible. My love for building came after our family built our current home in 2015. After we moved in, we needed furniture, and instead of spending massive amounts of money to order the pieces we wanted I decided that I would build them myself. I started with a buffet table plan from the fabulous Ana-white and quickly set out to remodel my entire home office.
Check out all of my tutorials here on the Pretty Handy Girl and head over to my site to see more tutorials for making a Toy Box, Folding Craft Table, or a Rustic Buffet Table. Making something beautiful with your own two hands through a little preparation and determination is an amazing feeling and I hope to bring inspiration and know-how to those looking to tackle a big or small project.
Not interested in making these items yourself? Let me make them for you!! Feel free to contact me and I would be happy to talk with you about any idea you may have for your home.
I am so glad that you found me here and please feel free to connect with me on Pinterest, Instagram, Facebook, and Etsy to see what I am working on right now.