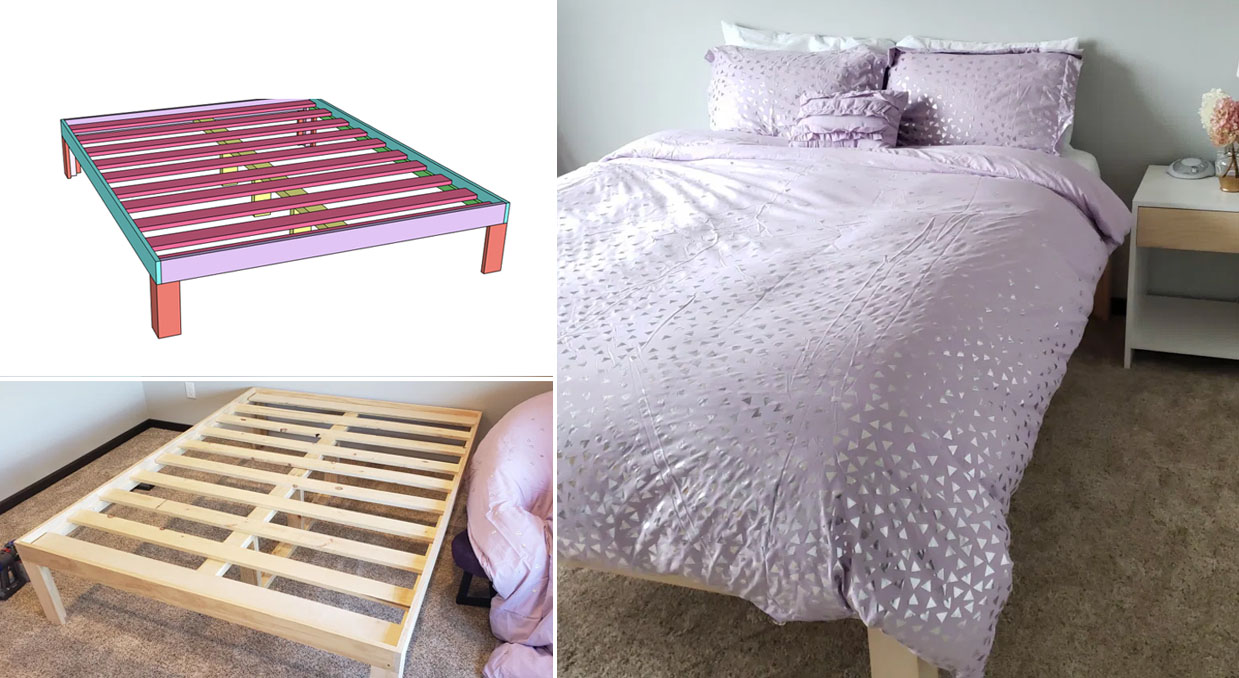
Build this simple DIY platform bed for your home!! This platform bed is a minimalist’s dream and it fits in perfectly with the new and trending BoHo decor style.
DIY Platform Bed
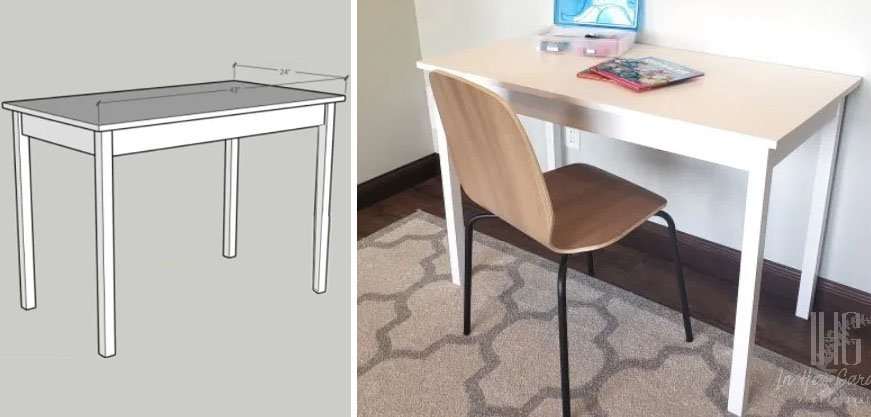
Hey everyone, this is Kristen from In Her Garage and I am going to show you how to build an adorable platform bed. This is the bed I built for my daughter in about an hour and a half. In my home, we are once again changing my girls’ bedrooms (because why wouldn’t I take down the uber-cute loft beds I just built them back in March?! )My kiddos are lucky I’m a sucker for building furniture. Be sure to follow me on Instagram if you want to keep up with all my furniture building adventures!
Since my girls are moving into separate bedrooms we decided each would have a queen size mattress. We purchased a queen mattress without the box spring in the interest of saving money. But, all the platform bed frames I found were either too expensive or too short. I still wanted her bed to be at a standard height so I decided to throw together this really simple platform bed.
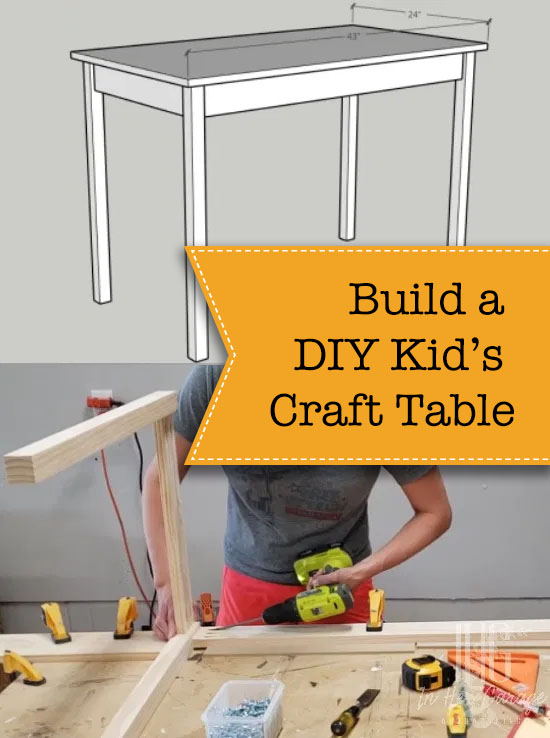
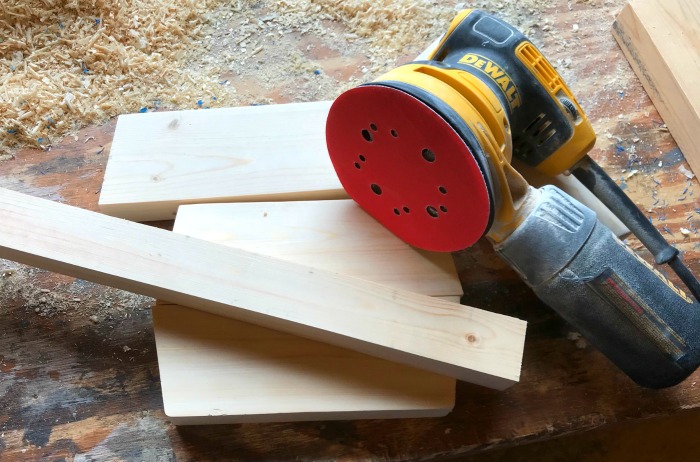
The simplicity and natural look of the popular BoHo style pairs really nicely with the bedding for my daughter’s room. I used the more expensive pine boards from the local big box store (less knot holes and higher quality) to construct the bed legs and frame. These boards are so pretty and I love the color so I chose not to paint, stain, or topcoat them. This is why you won’t find a “Finish” step in this tutorial. But, feel free to finish your bed however you like! Let’s make it!
How to Build a DIY Platform Bed
Materials:
(I’ve included affiliate links for your convenience. I earn a small percentage from a purchase using these links. There is no additional cost to you. You can read more about affiliate links here.)
- 4 – 1″ x 4″ x 8′ boards
- 1 – 2″ x 2″ x 8′ board
- 2 – 1″ x 2″ x 8′ common boards
- 10 – 1″ x 4″ x 6′ common boards (bed slats)
- 2 – 2″ x 4″ x 8′ boards
- Wood glue
- 1 ¼” wood screws
- 2 ½” wood screws
- painter’s tape
- wood putty
Tools:
- Miter or circular saw
- Table saw (optional)
- Brad nailer
- Drill
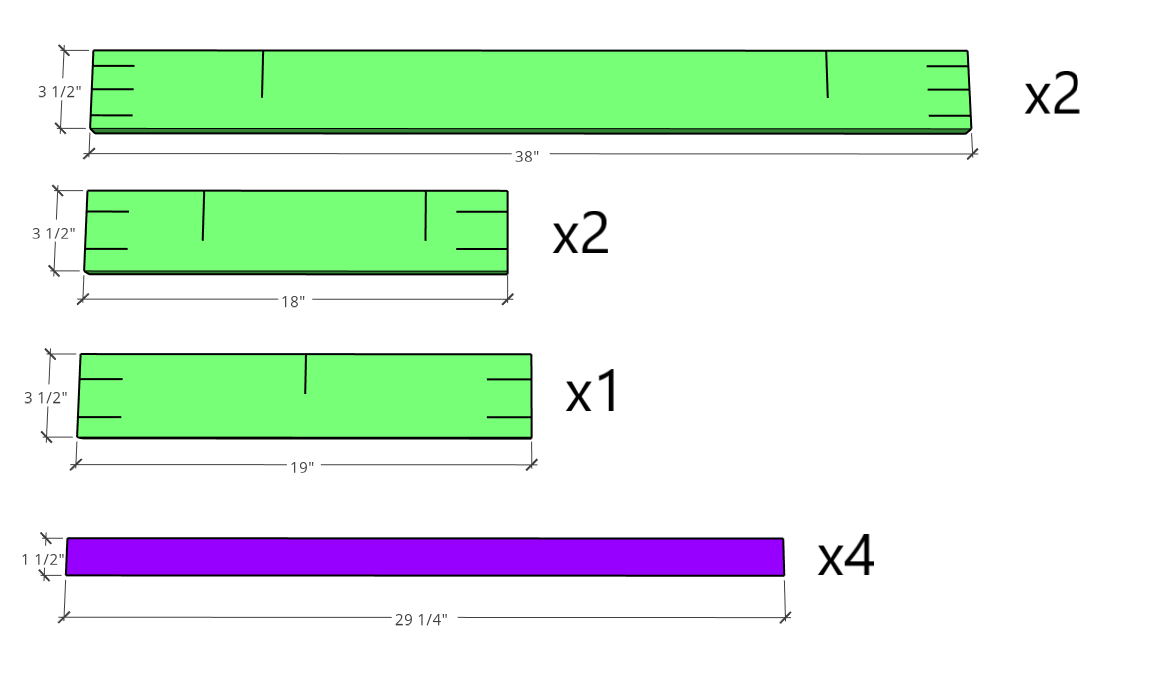
Cut list:
Bed legs:
- 8 – 1″ x 4″ @ 12″
- 4 – 2″ x 2″ @ 13 ¼”
Bed Frame:
- 2 – 1″ x 4″ @ 60″
- 2 – 1″ x 4″ @ 80″
- 2 – 1″ x 2″ @ 75 ¼”
Slats and center support:
- 10 – 1″x 4″ @59 7/8″
- 1 – 2″ x 4″ @ 78 ½”
- 3 – 2″ x 4″ @12″
Instructions:
Step 1 – Build the Platform Legs
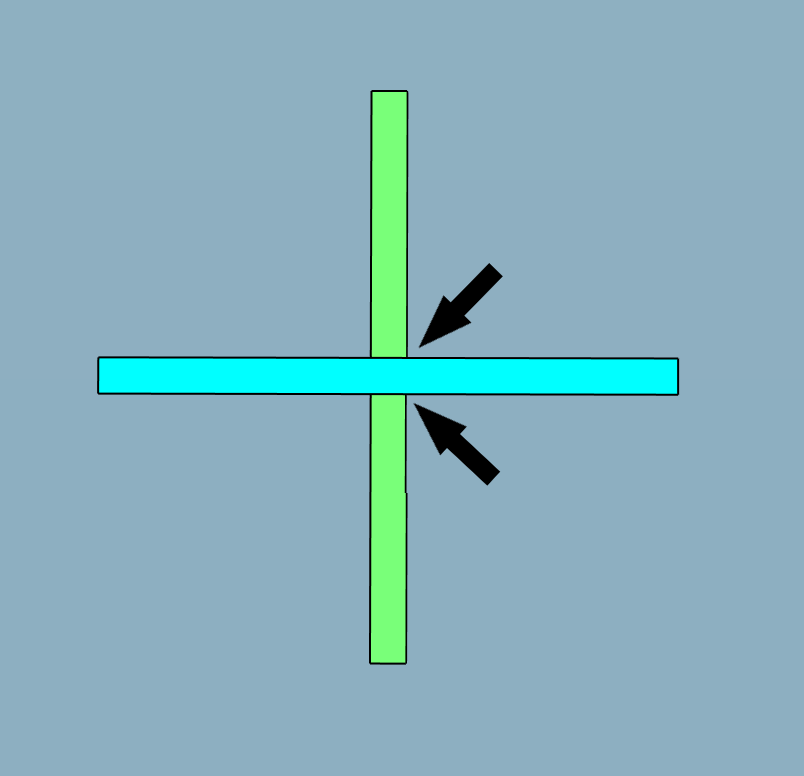
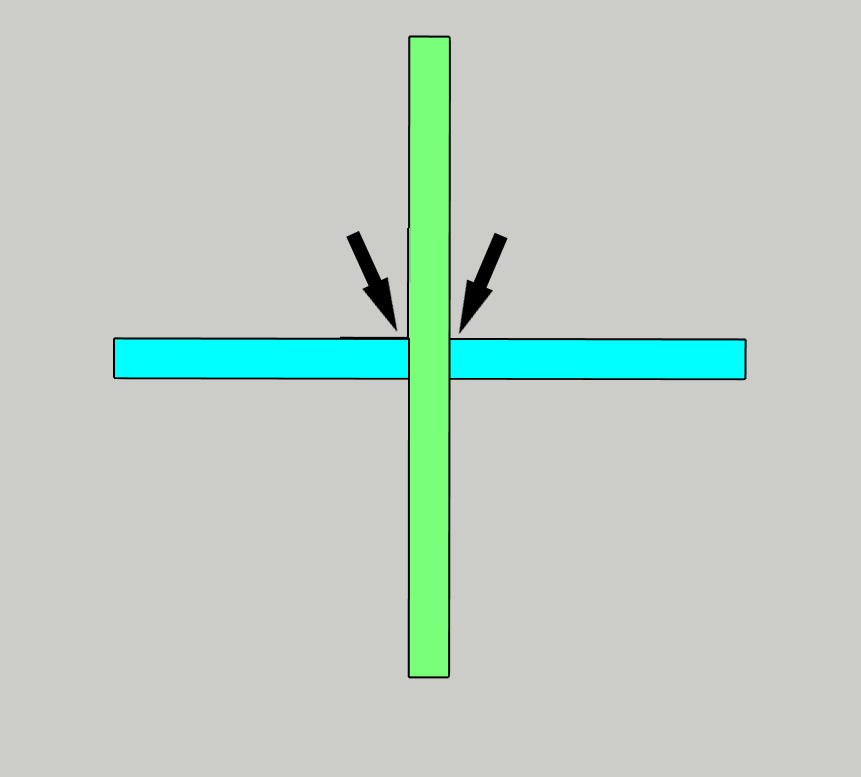
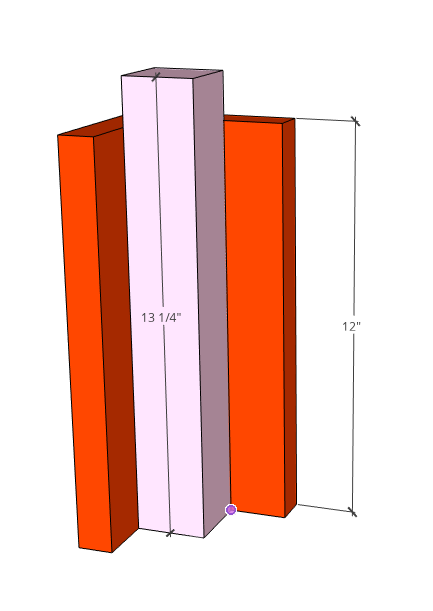
The legs for this bed are meant to provide a base for the bed frame to rest on and attach to. Attach two 1″ x 4″ x 12″ boards at a 90 degree angle to each other with a 2″ x 2″ x 13 ¼” board glued into the center for added support as shown below.
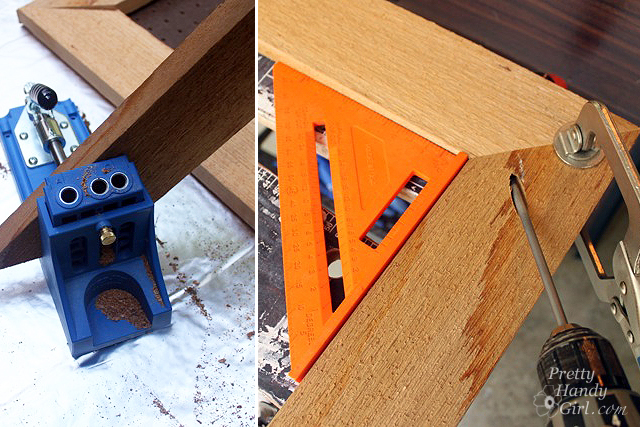
I chose to use my table saw and cut the 1″ x 4″ x12″ boards at 45 degrees along one long edge to create a miter joint between the two boards. This creates a cleaner look but you are more than welcome to use a butt joint instead. Look at the pictures below to see the difference.

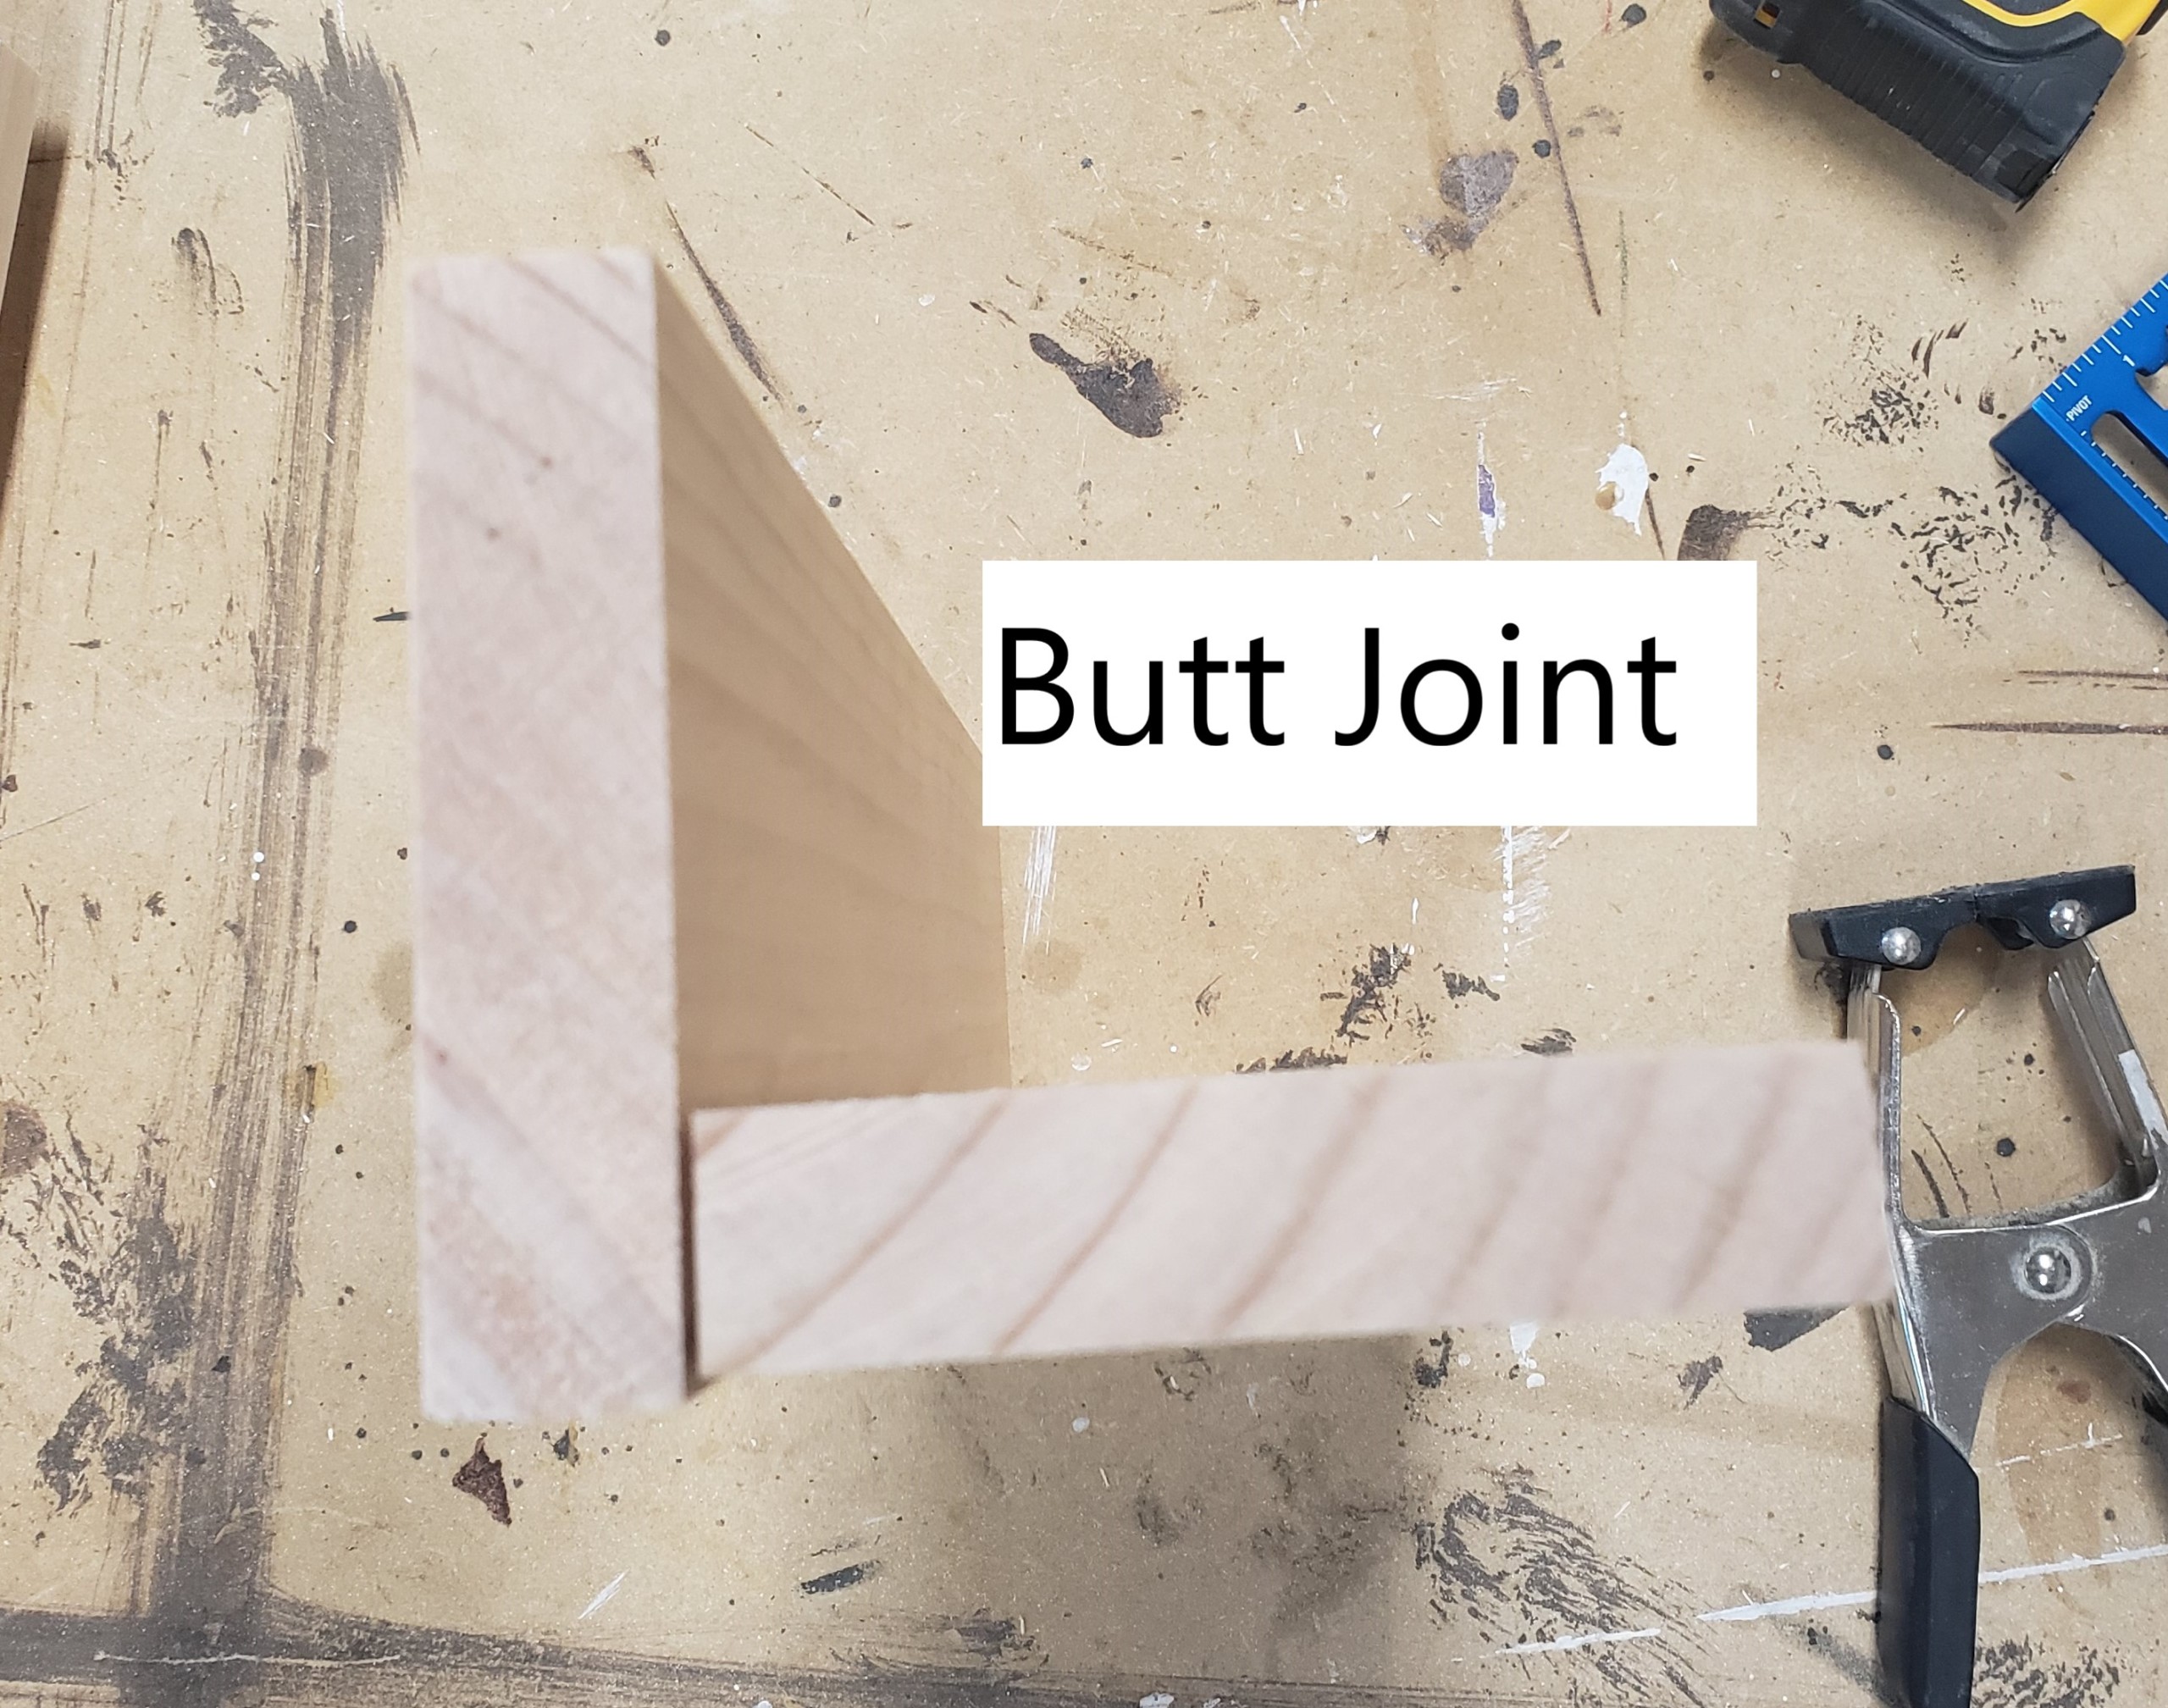
If you are also choosing to bevel the corners of the bed legs then continue reading to see how I put this joint together with ease. If not, go ahead and assemble the legs using the butt joint, wood glue, and brad nails.
Mitered Joint Leg Assembly:
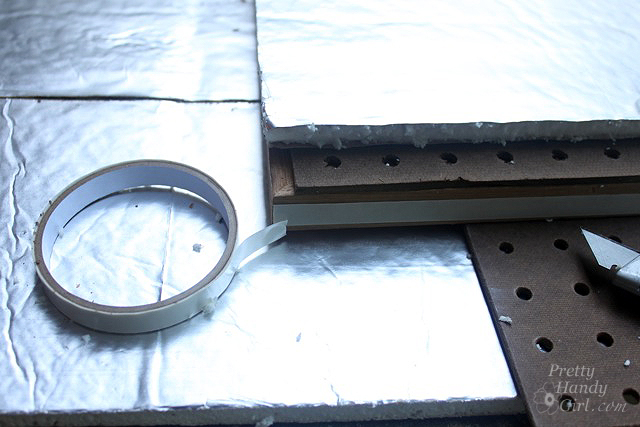
After cutting all eight 1″ x 4″ x 12″ leg boards to 45 degrees, add two pieces of painters tape to the back of the board running perpendicular to the beveled edge.

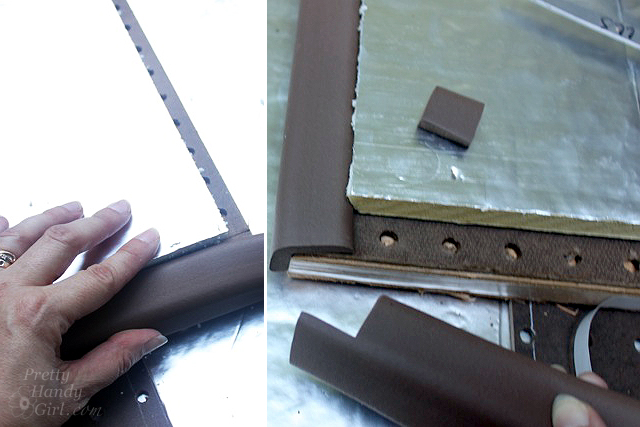
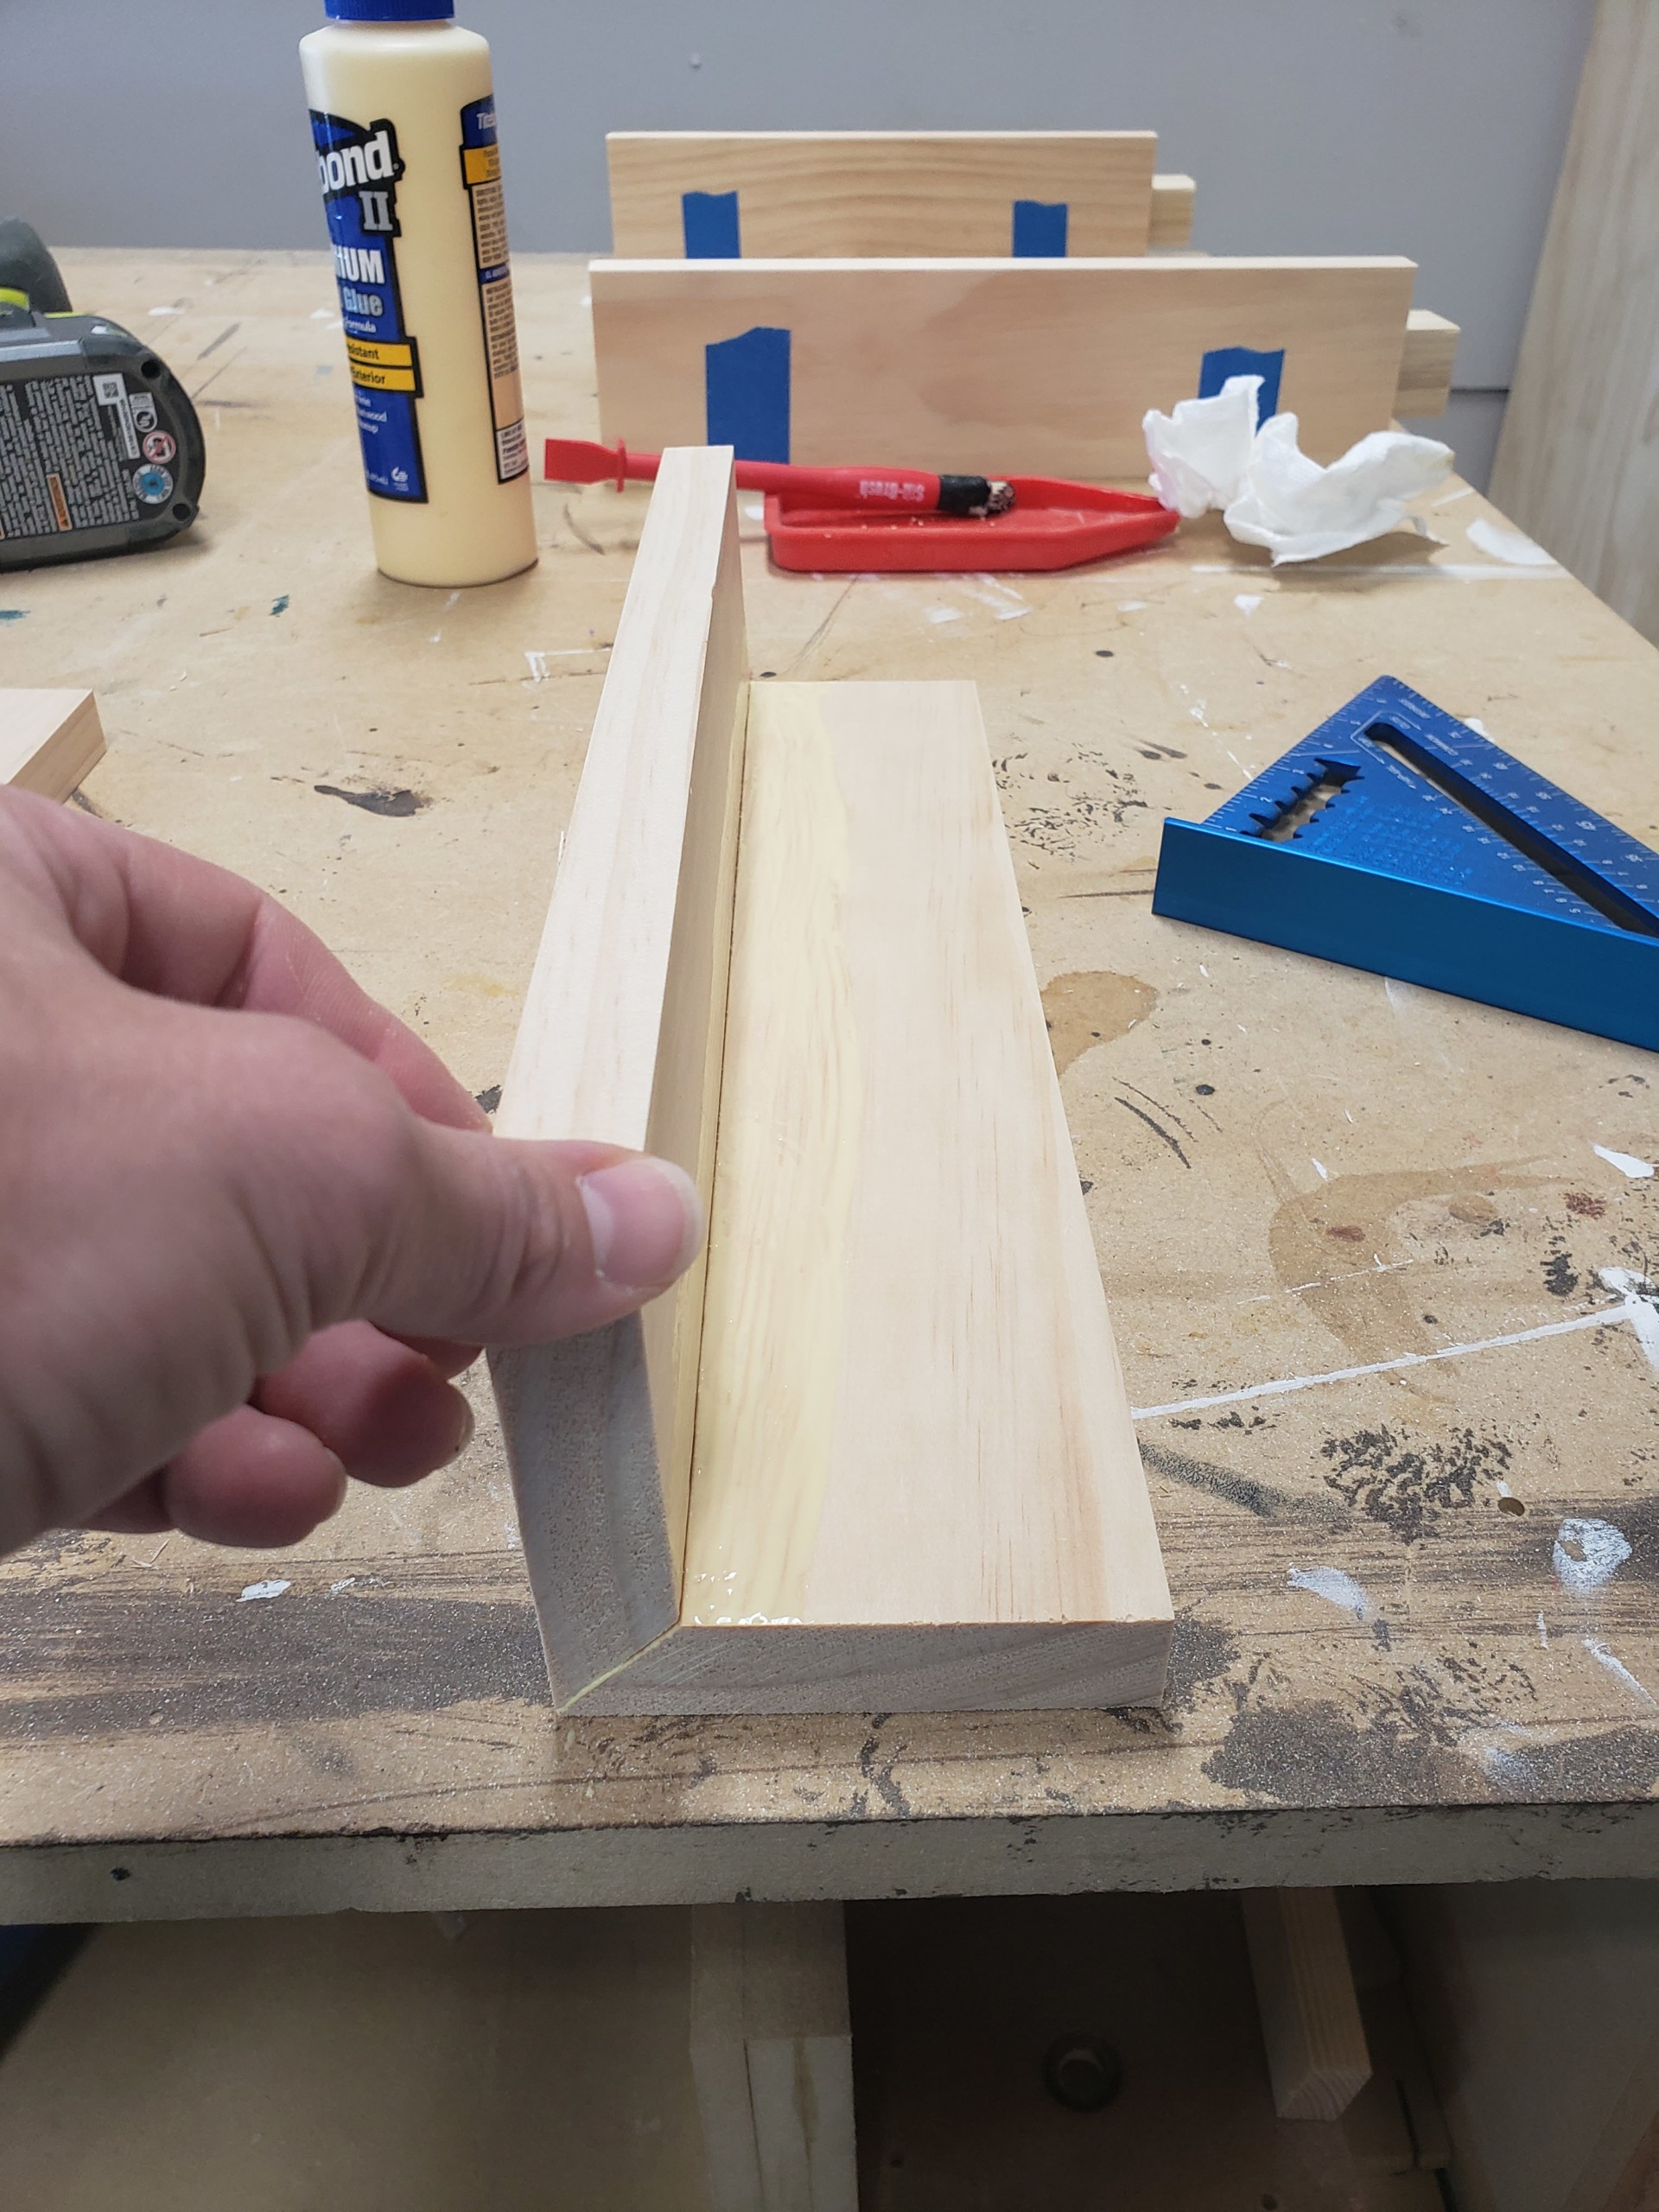
Set the board down on your work surface, sticky side of the tape facing up, and place another leg board with the beveled edge touching the first board’s beveled edge, also being sure to align the top and bottom of the boards. Press down firmly so the tape sticks to both boards.

Add an even bead of glue to both beveled surfaces and then lift one board as if closing a book. The two beveled edges will meet and the tape will hold it in place.

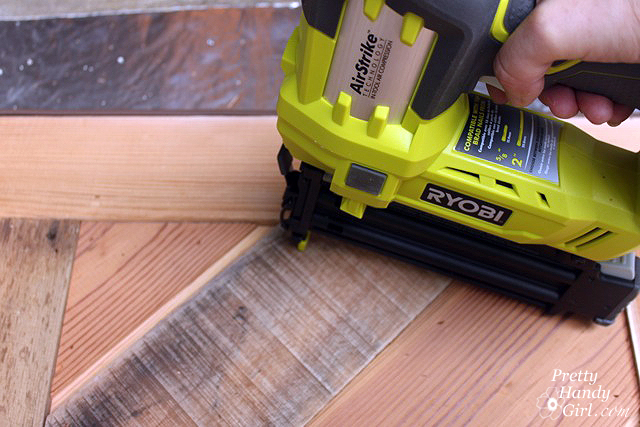
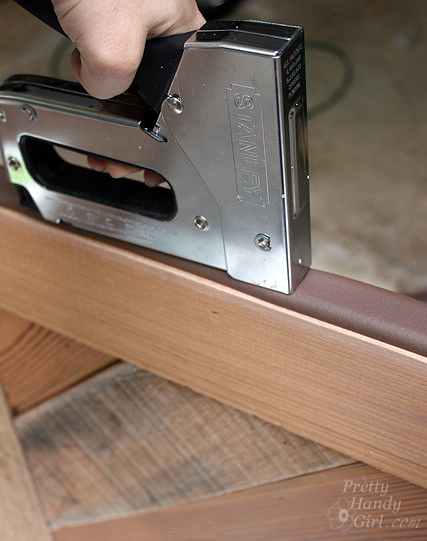
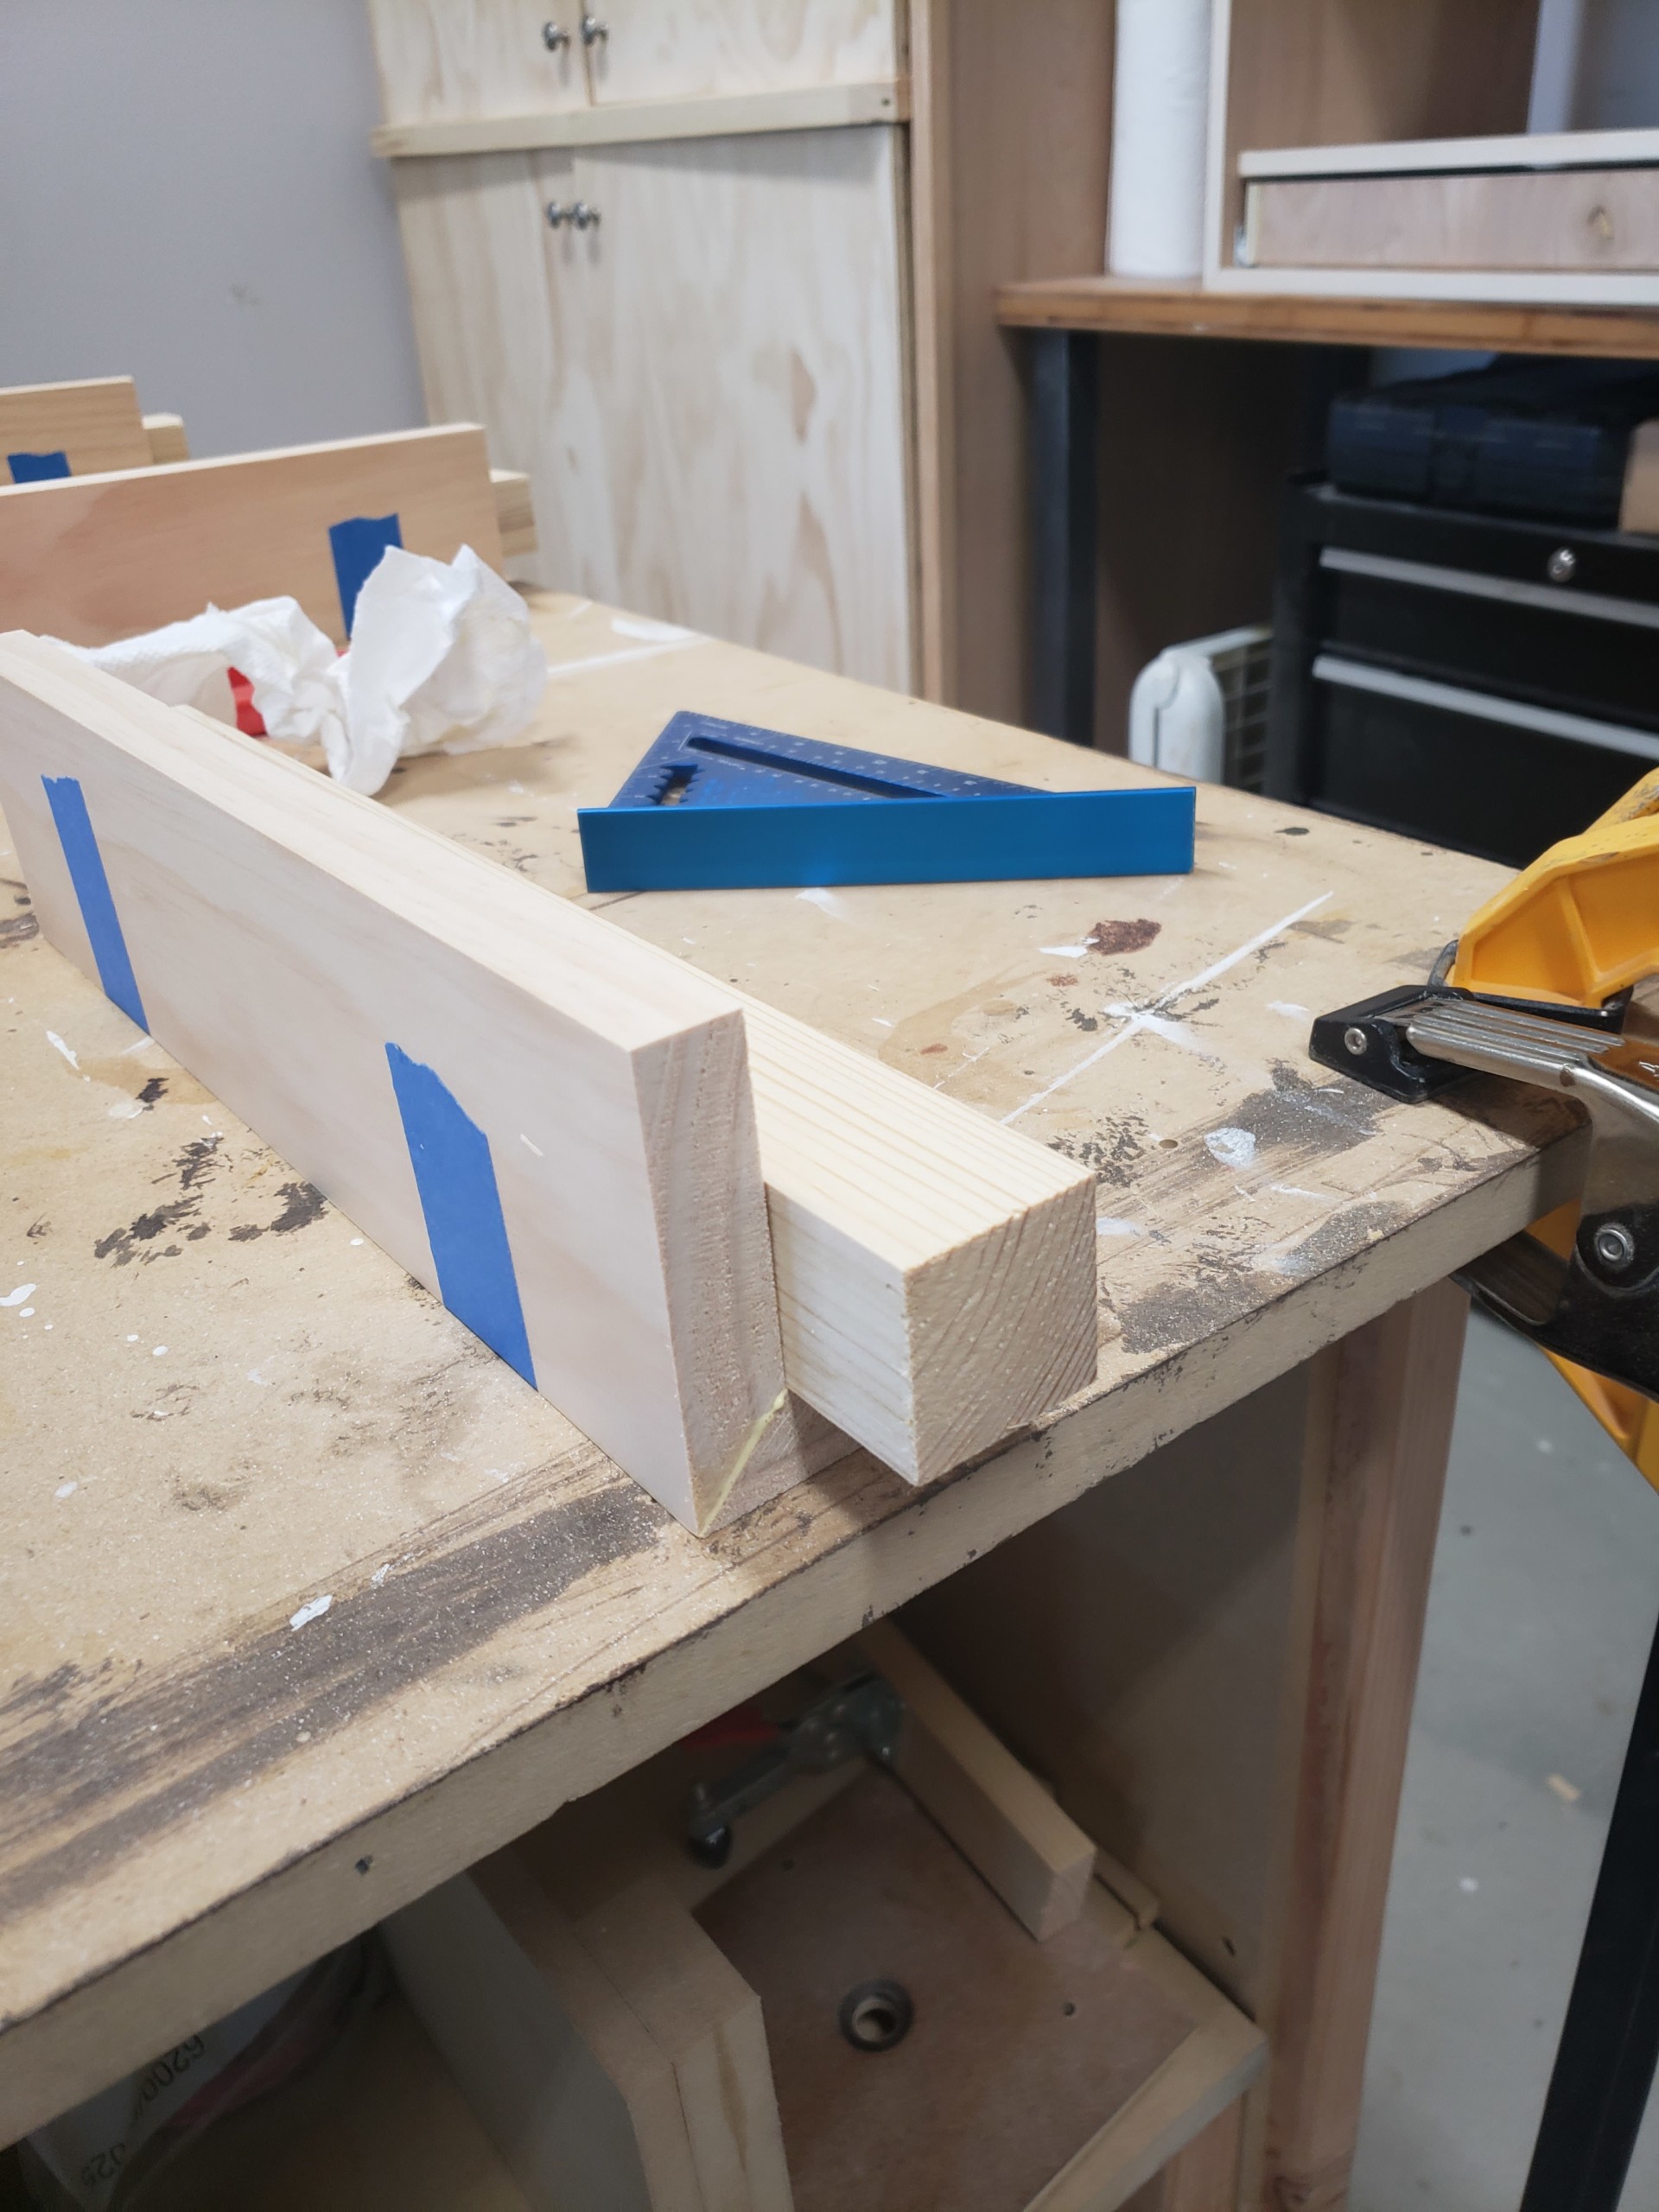
Now place your 2″ x 2″ x 13 ¼” board in the corner of this joint using wood glue. Shoot the brad nails through the 1″ x 4″ into the 2″ x 2″ to secure in place. No need to use screws here as there is plenty of surface area for the wood glue to create a strong joint (once cured). Congratulations, you completed one leg for the platform bed frame to rest on!
Repeat these steps for the other 3 legs. After the legs are built, use wood putty to fill in the brad holes and sand smooth.
Step 2- Building the Bed Frame Components
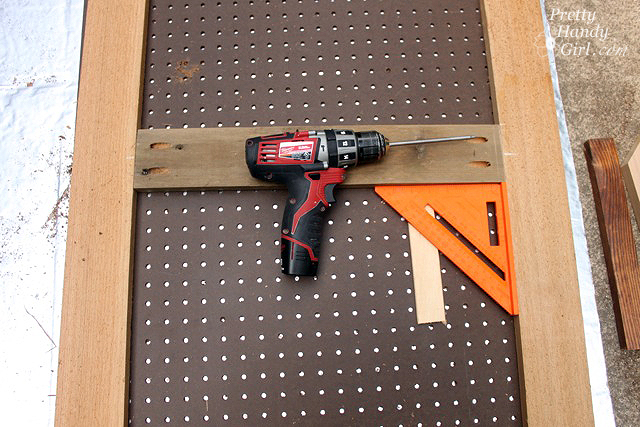
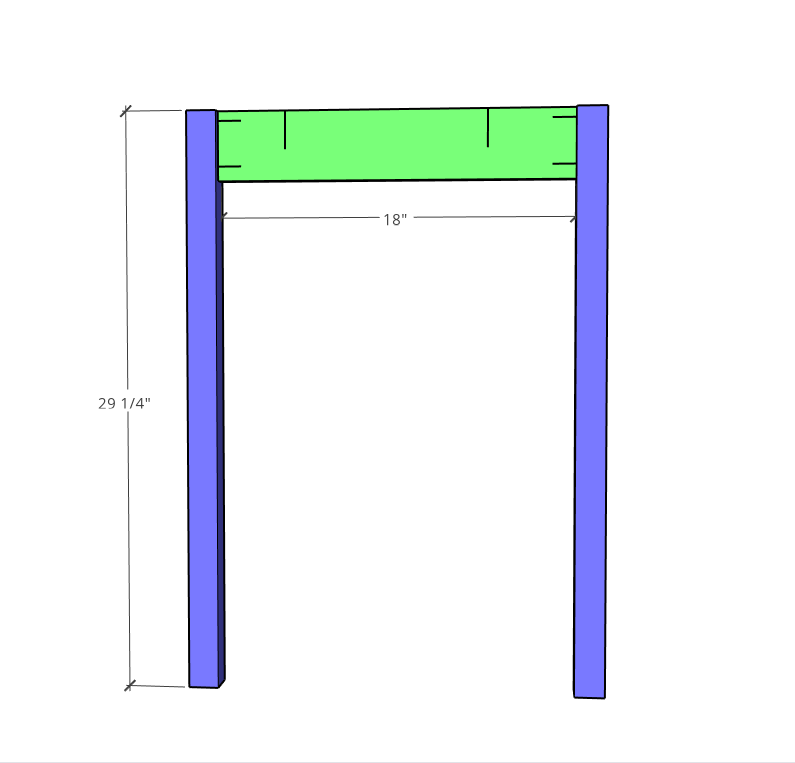
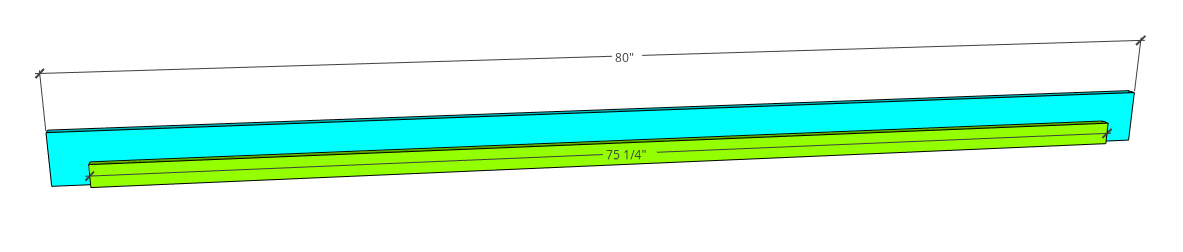
Let’s build the side rail supports for the bed slats to rest upon. Start by marking the center of the 1″ x 4″ x 80″ board and the center of the 1″ x 2″ x 75 ¼” board.
Lay the 75 1/4″ board along the bottom of the 80″ board and align the two center marks. Using wood glue and 1 ¼” wood screws fasten the 1″ x 2″ x 75 ¼” board to the 1″ x 4″ x 80″. Repeat for the other side rail support.
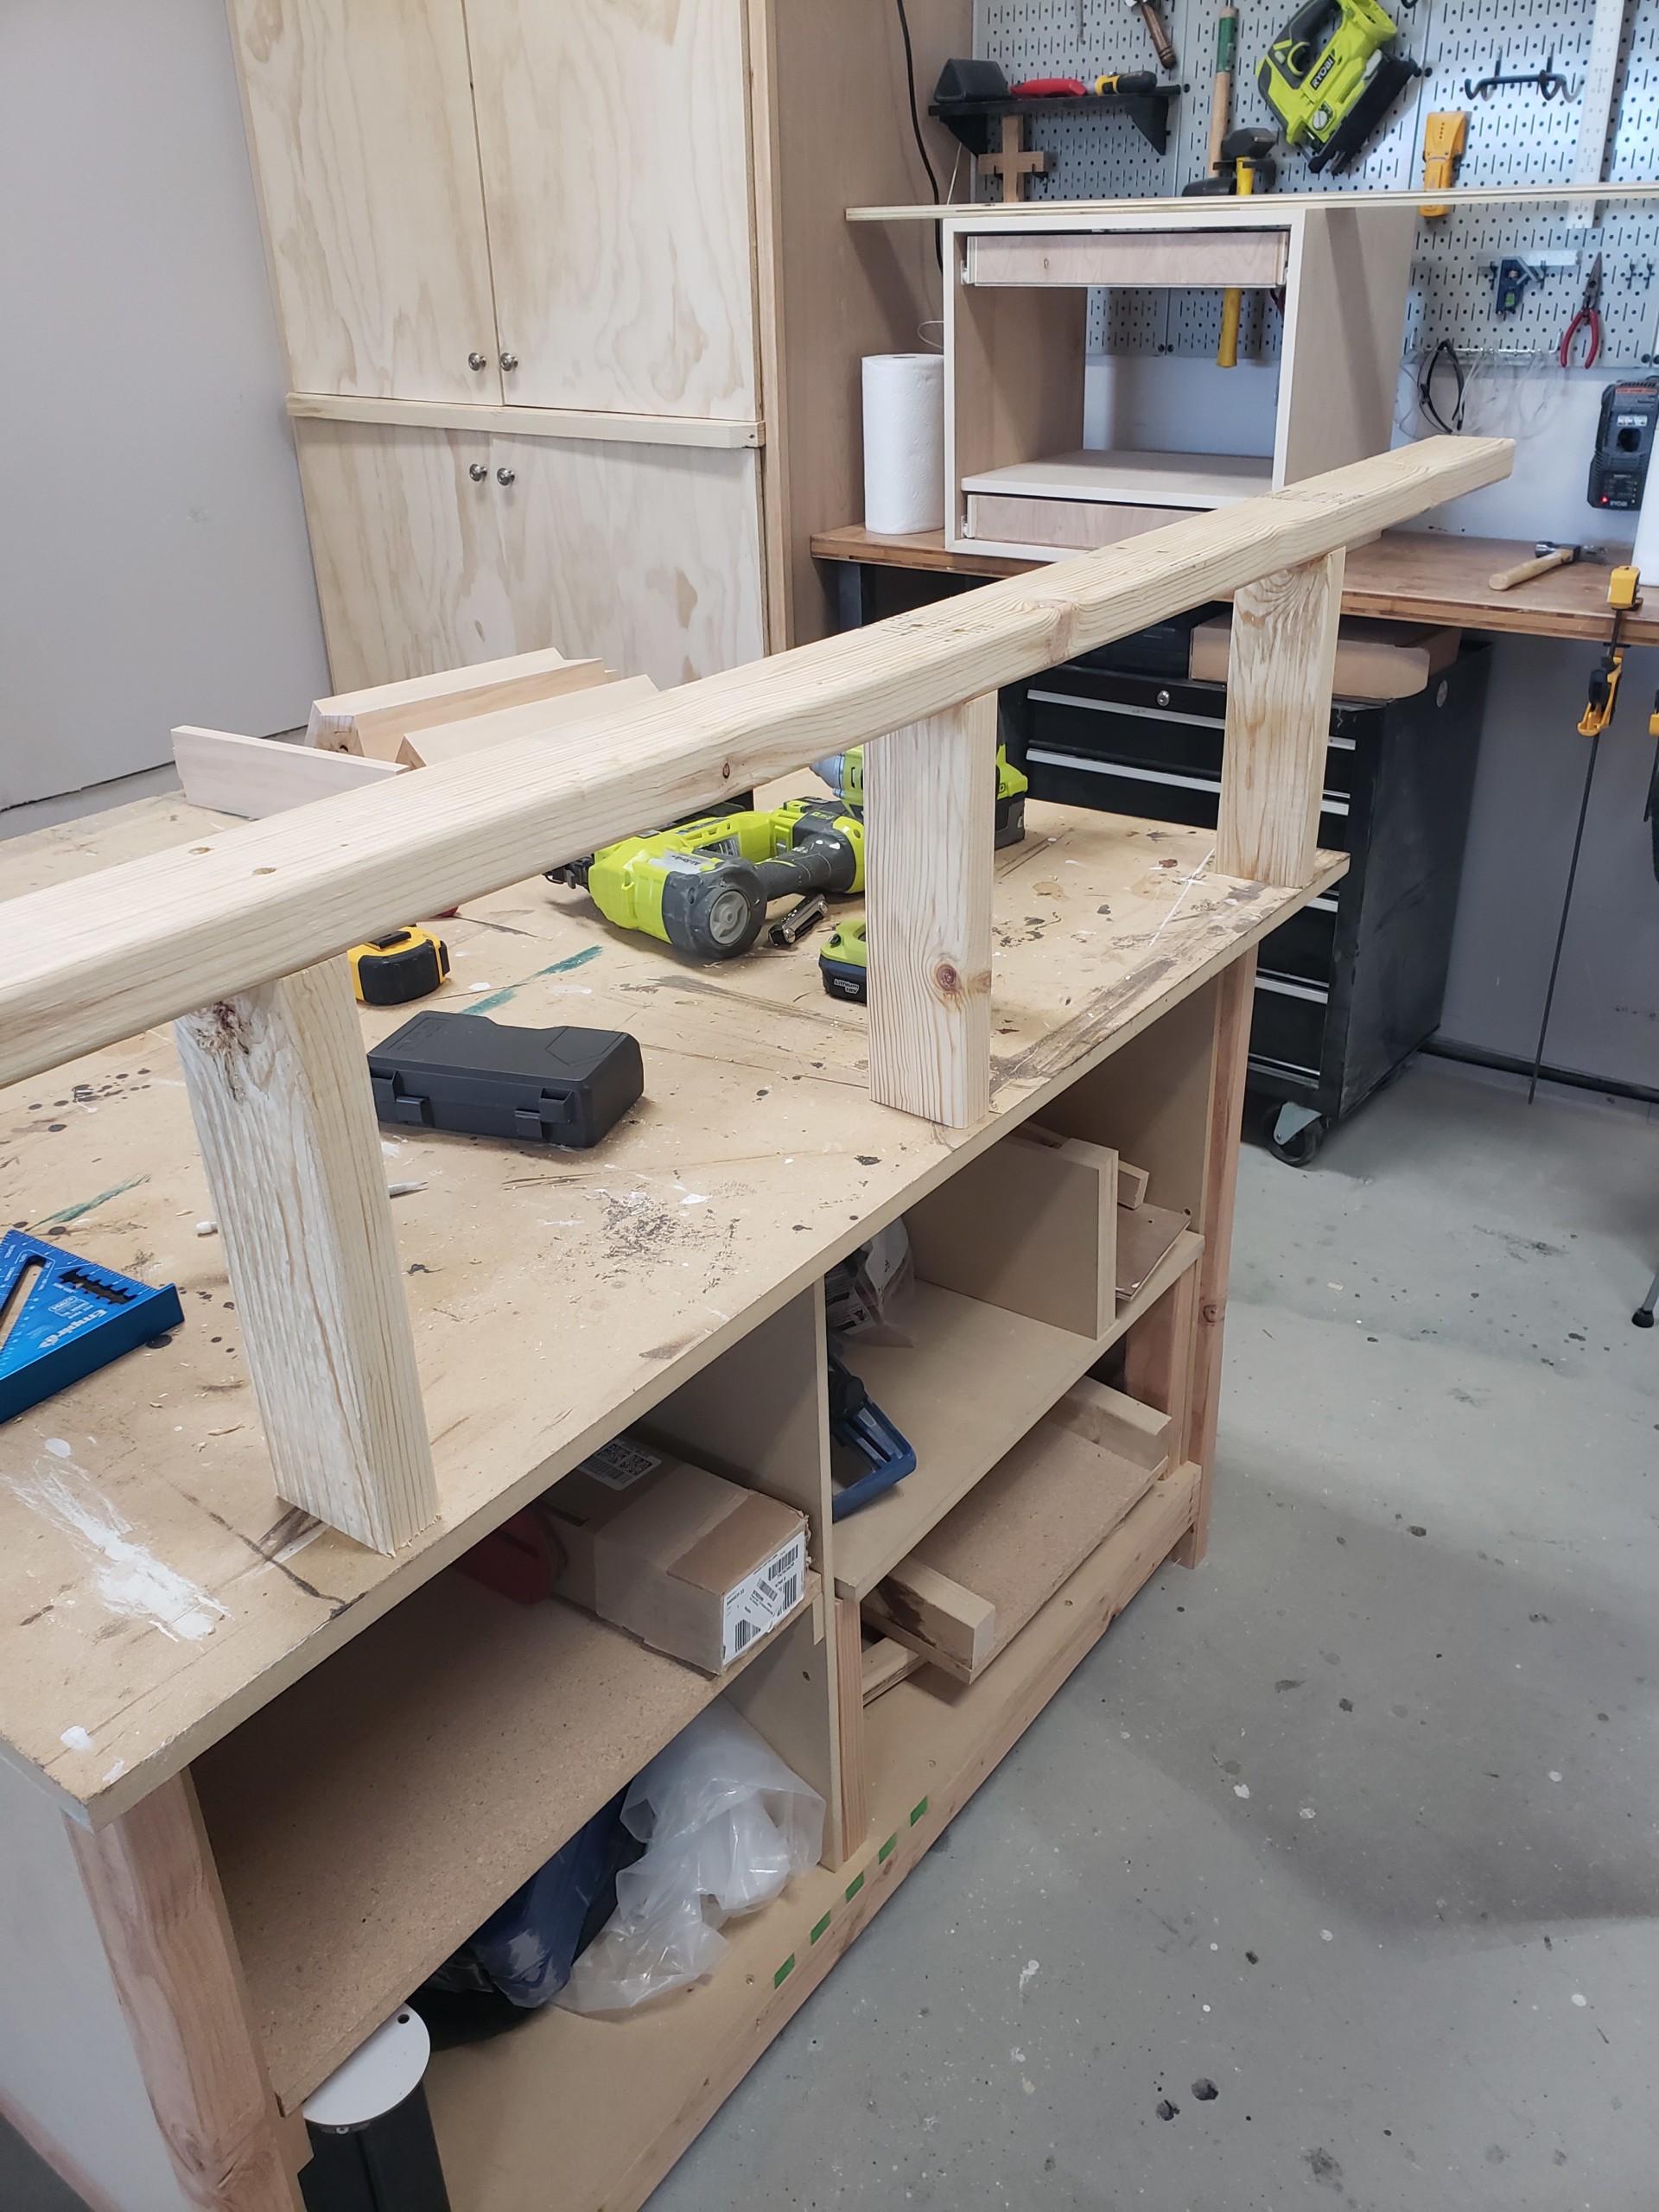
Step 3: Building the center support
The center support will run parallel to the side rails (and perpendicular to the bed slats) in the center of the bed. Therefore, it will run between the headboard and footboard of the bed frame.
Pull out your 2″ x 4″ x 78 1/2″ board (this is your center support). Now pull out the 2″ x 4″ x 12″ pieces and evenly space them under the 2 x 4 center support. Use 2 ½” wood screws to secure the 2″ x 4″ x 12″ legs under the center support).
Note: You might notice in later pictures that my center support looks a little different than what is shown below. I accidentally cut my legs too short and had to add another 2 x 4 to the bottom of the legs to raise it to the correct height. Oops!
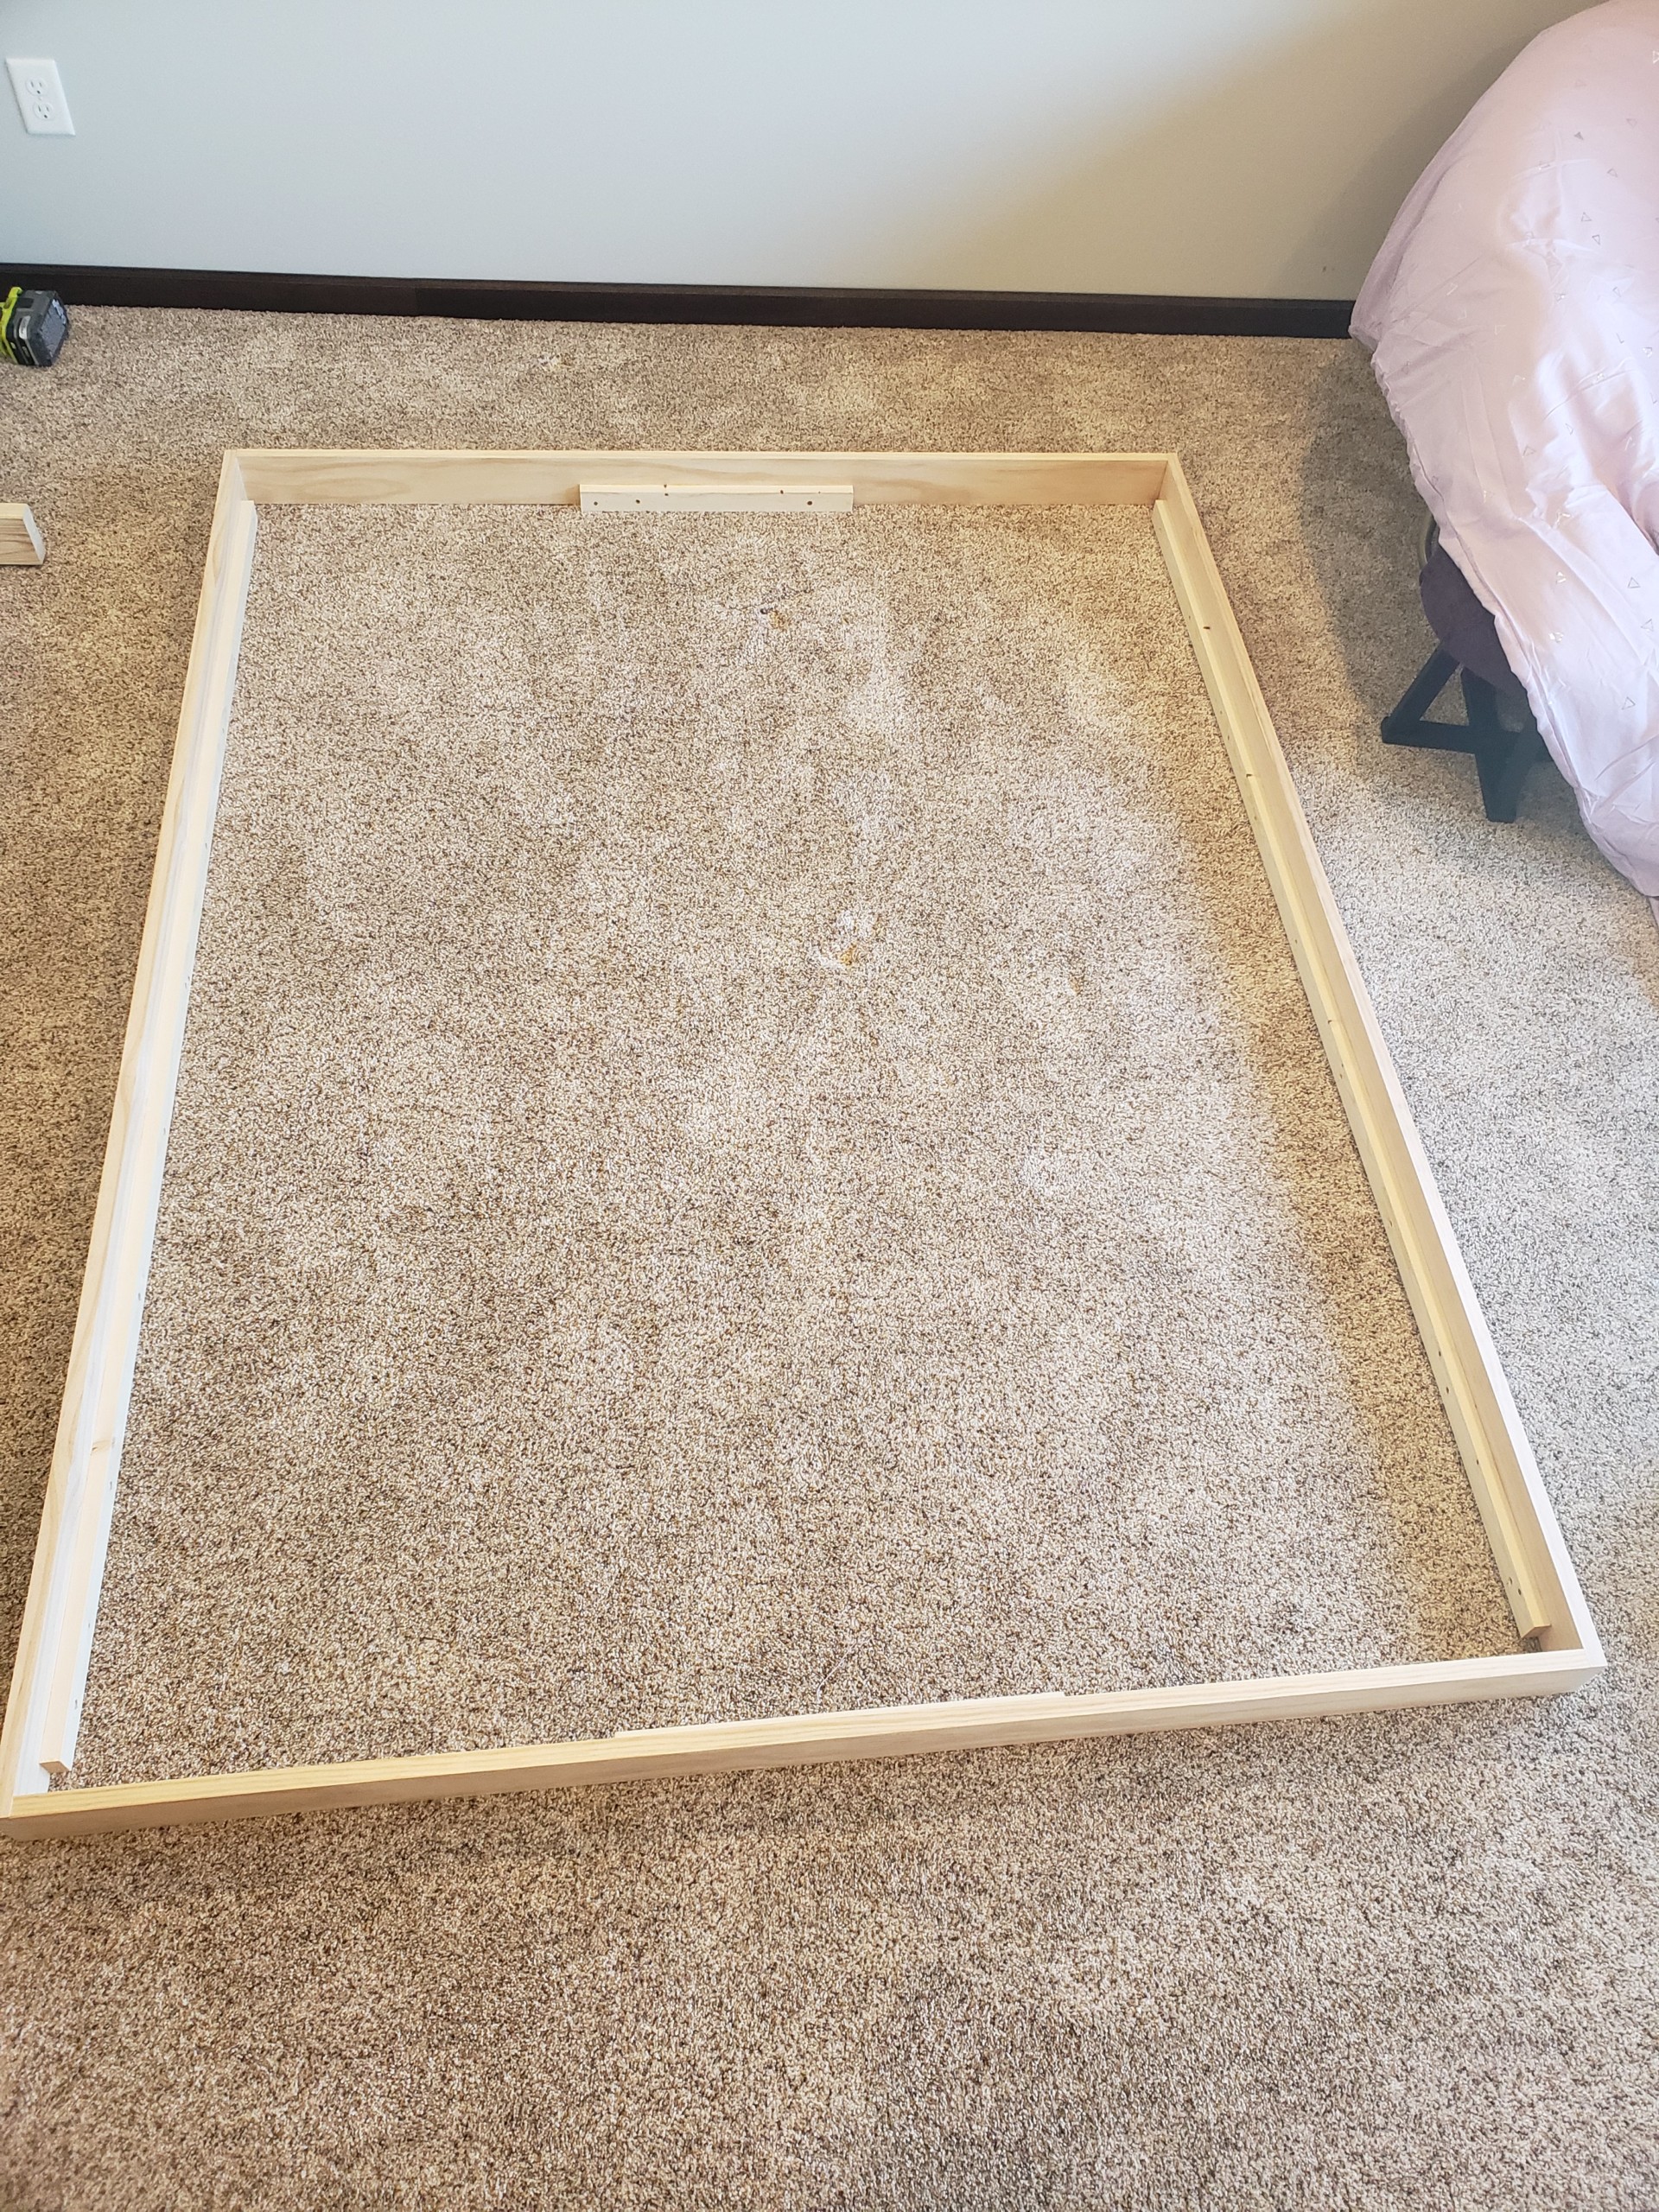
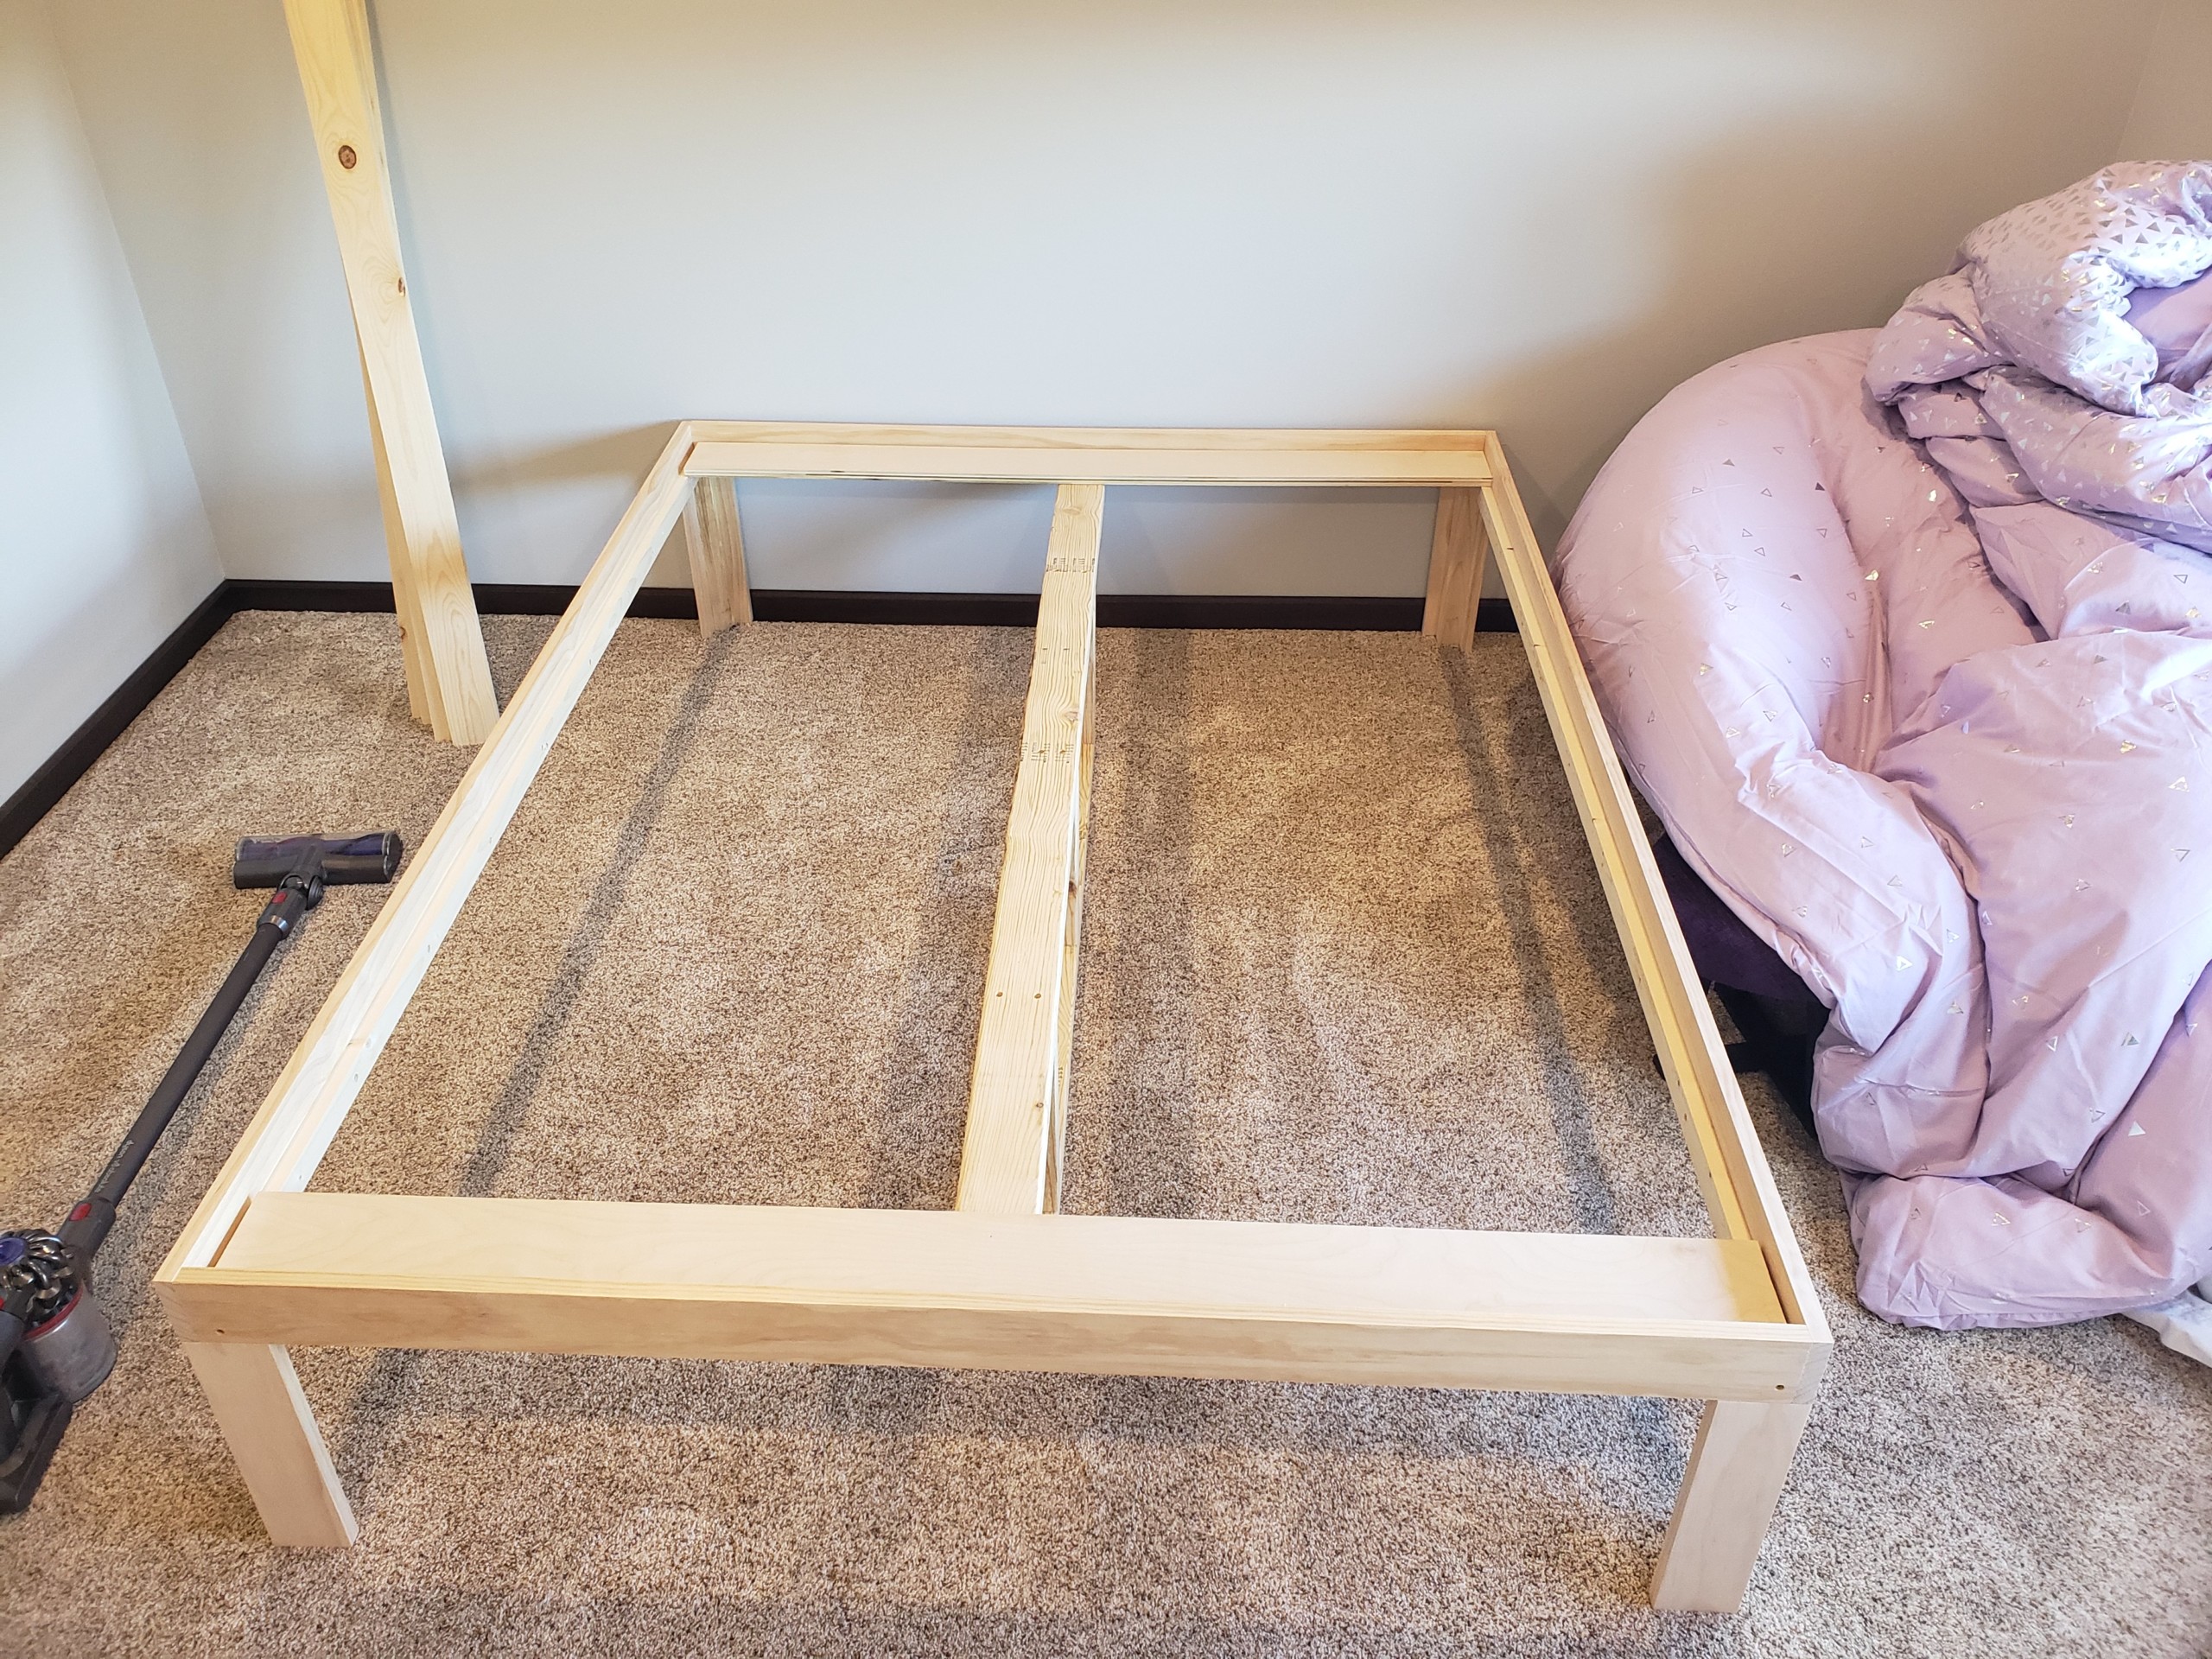
Step 4: Assembly Time
Pre-drill 2 holes into each end of the 1″ x 4″ x 80″ side rails where you will attach the headboard and footboard. (If you don’t have much room to work, you can do this step shortly after building the side rails. This will make assembly easier when you’re up in a small bedroom.)
Carefully bring all of the components up to the bedroom. Don’t forget to grab your drill, 1 ¼” wood screws, and brad nailer.
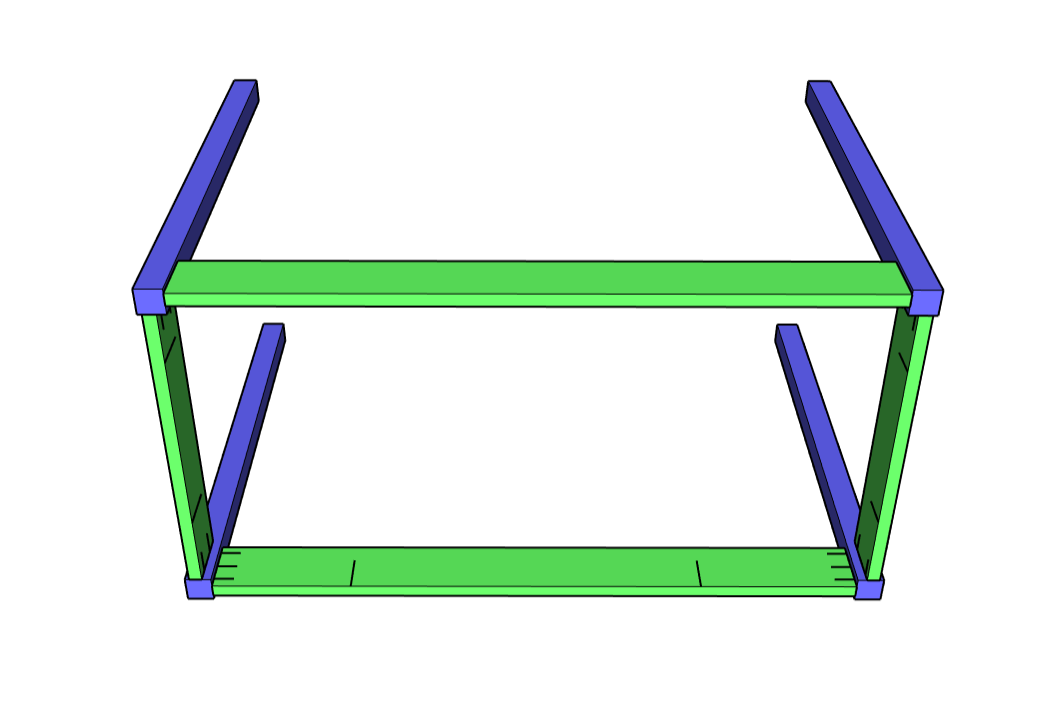
Assemble the bed frame by attaching the side rails to the headboard and footboard pieces. Drive the 1 ¼” wood screws through the pre-drilled holes you made.
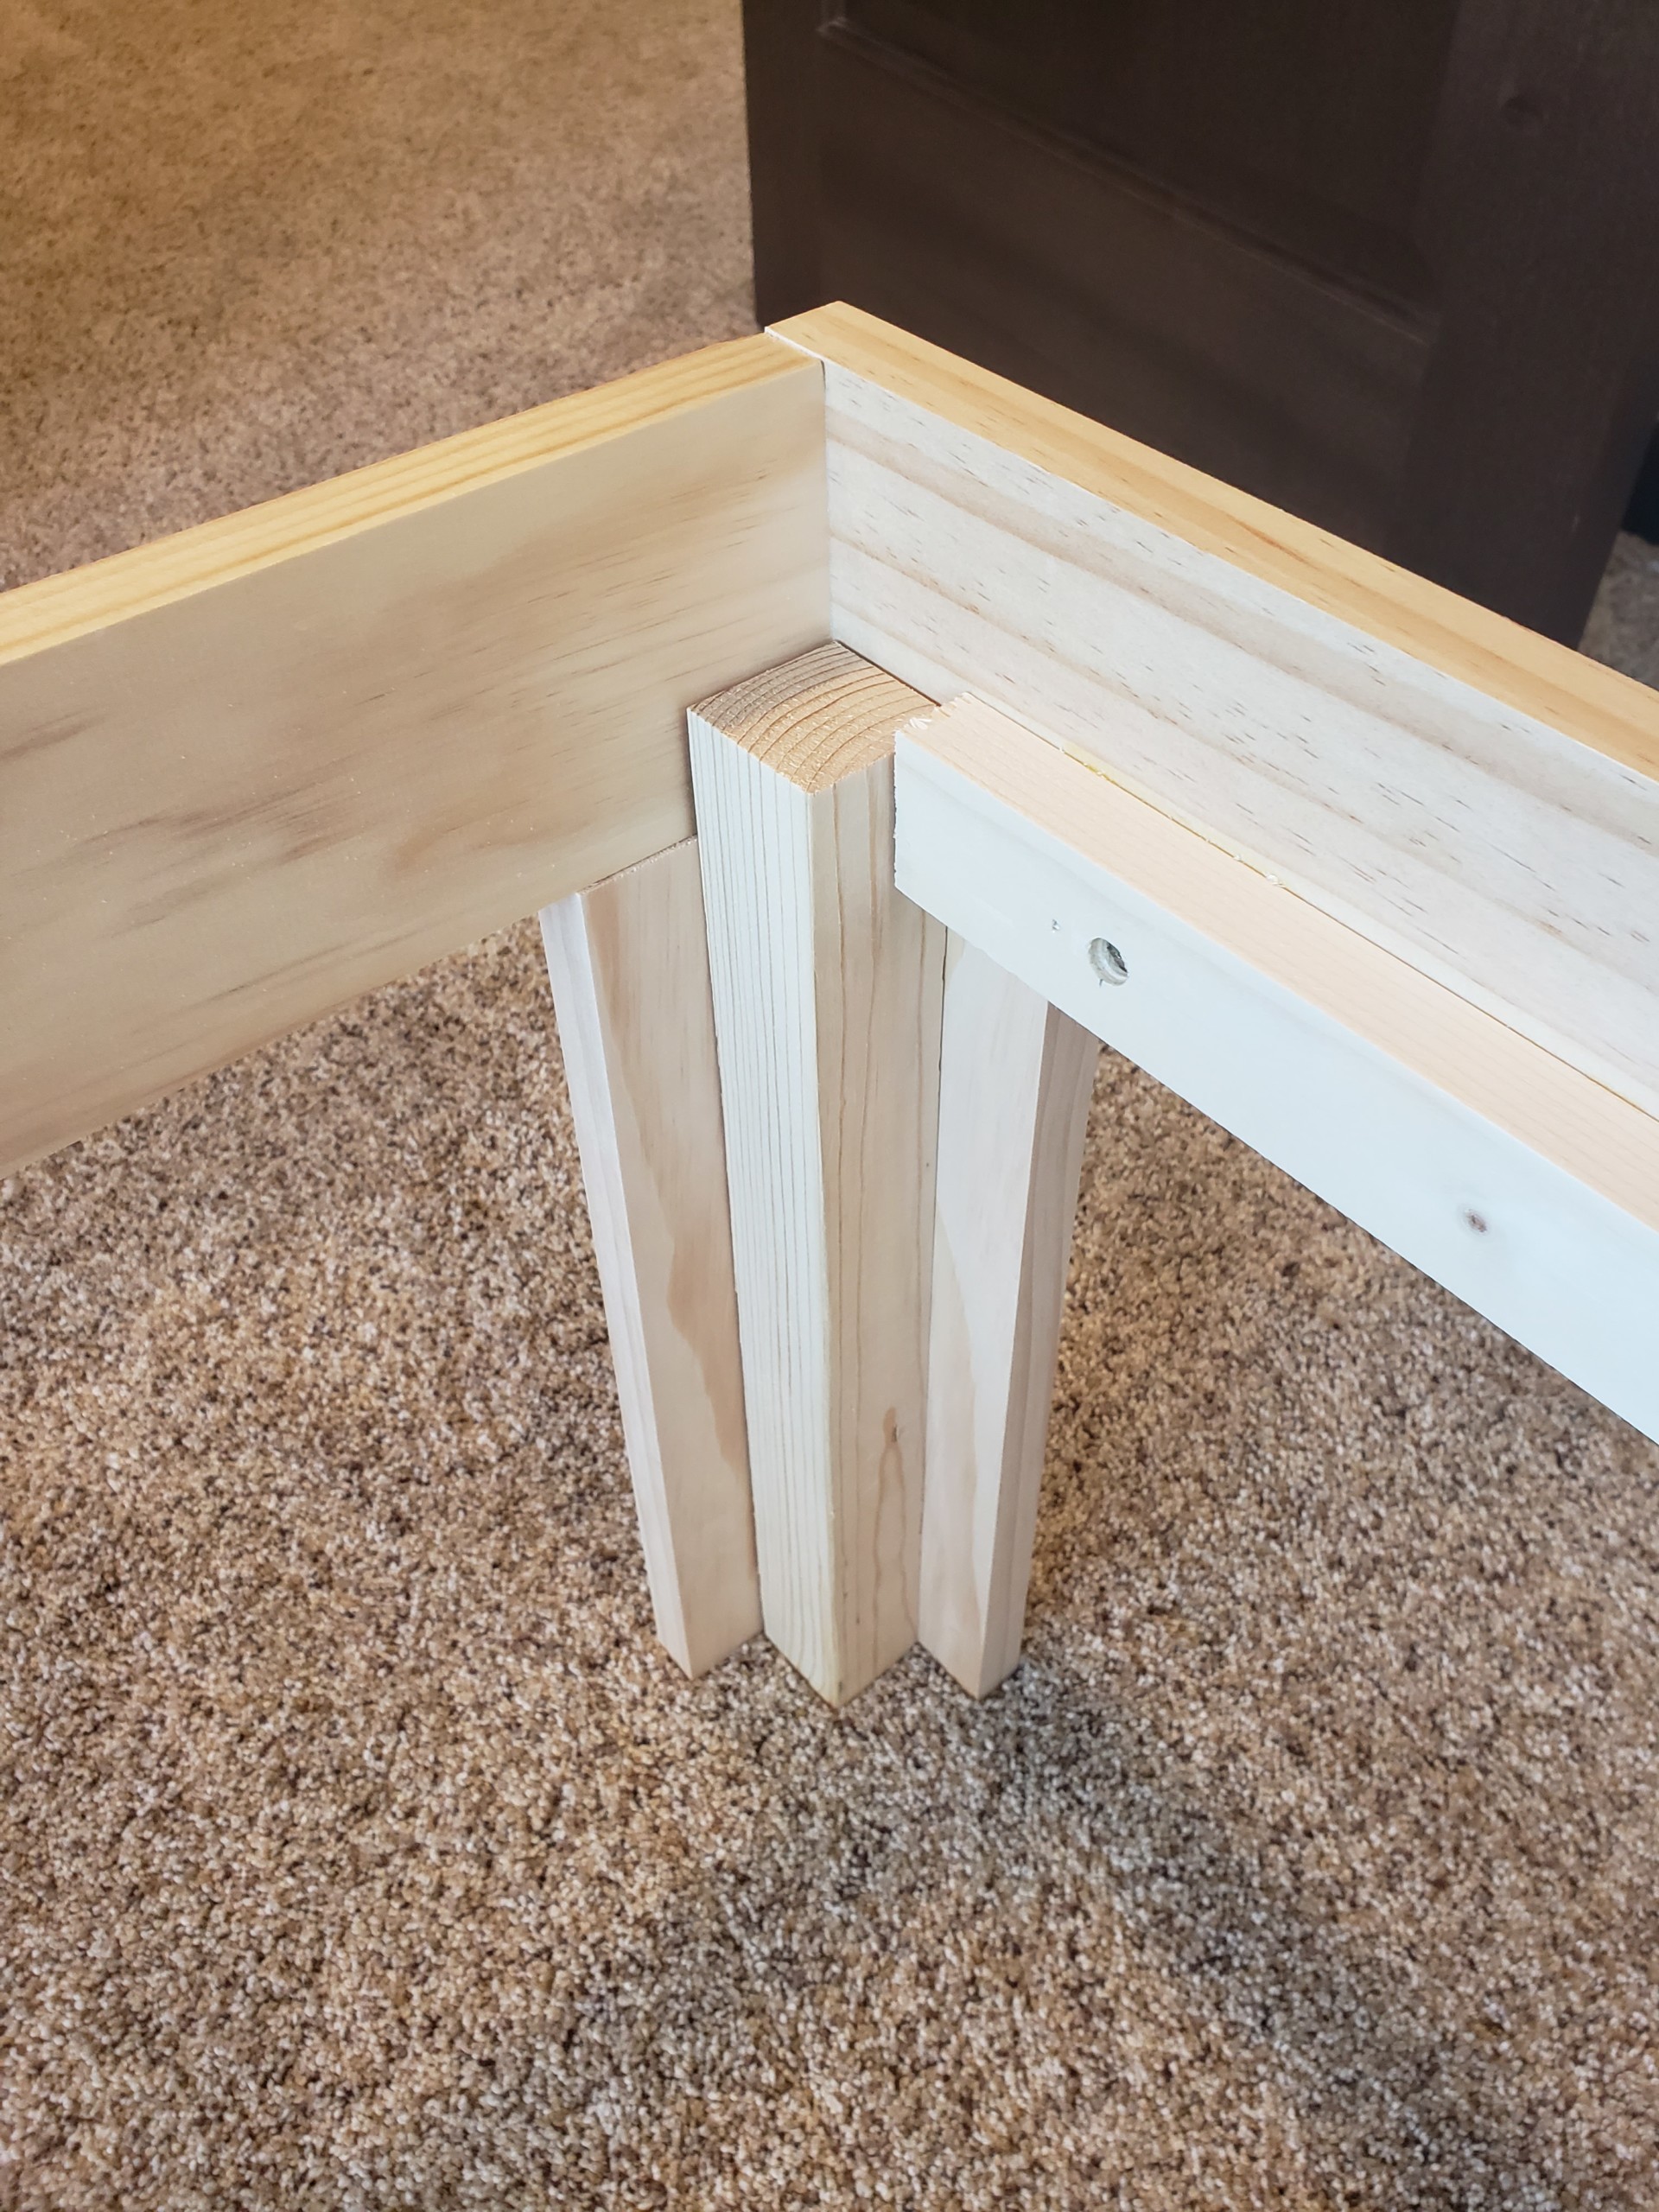
(Note: You may have noticed the scrap 1″ x 2″ boards attached to my headboard and footboard below. I did this extra step for my bed because I like using up all my scrap pieces as much as possible, but structurally it doesn’t really make a difference. If you do this added step be sure to allow for this additional thickness when building the center support.)
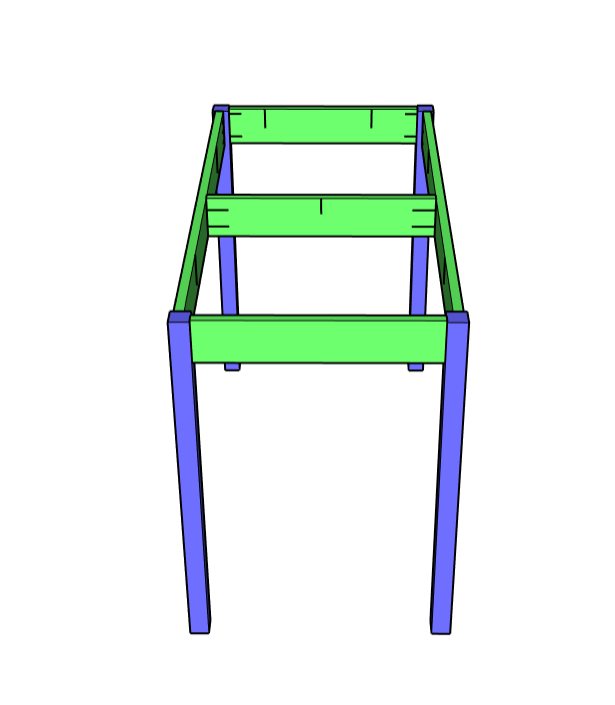
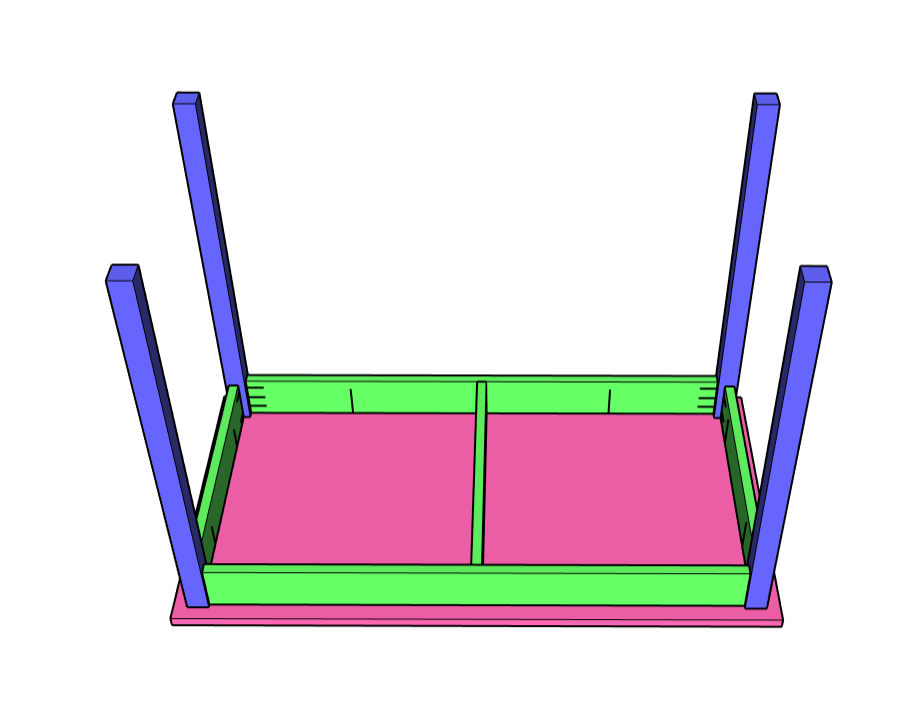
Lift the frame and place a leg into each of the four corners of the bed frame. Attach the frame to the legs using 1 ¼” wood screws. You should use 2 screws per leg (one on each side of the corner). This will secure the legs in place firmly and prevent any rotating.

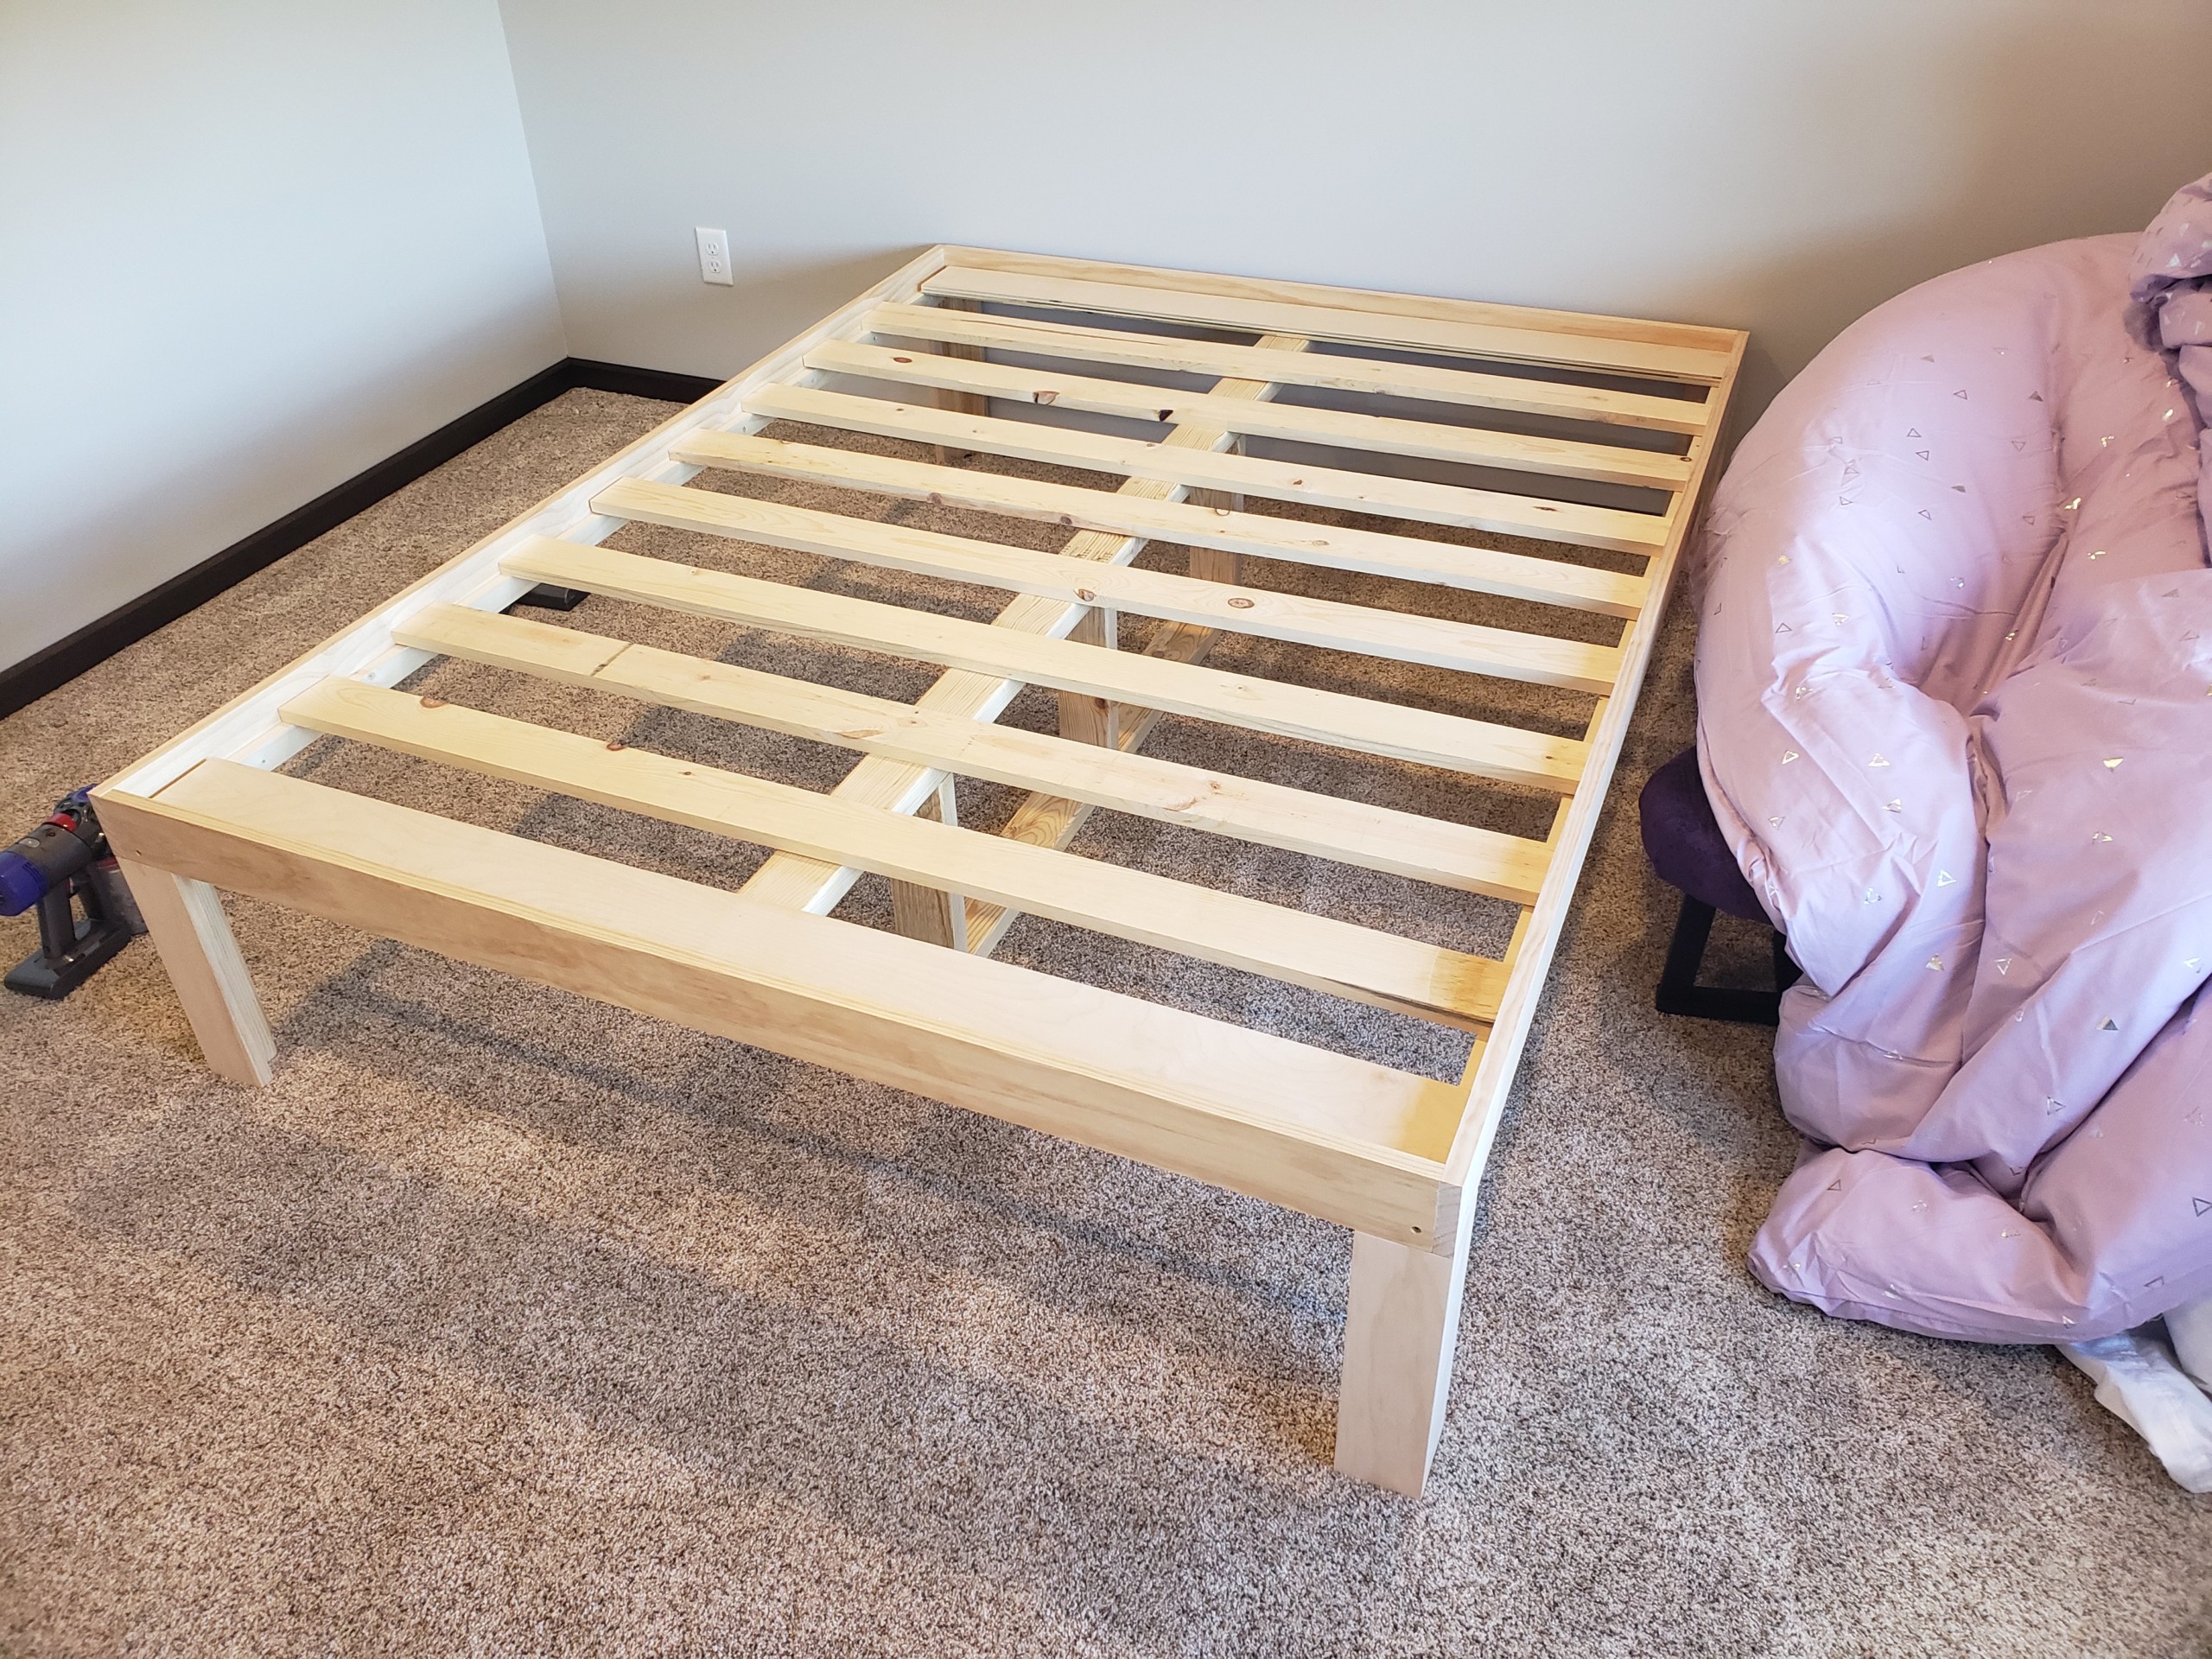
Set the center support in the middle of the bed frame.
Lay your 1″ x 4″ bed slats on top of the side rail and center support. Evenly space the slats across the bed frame. Attached the slats to the center support using 2 brad nails for each. (Or to be able to disassemble the bed easier in the future, pre-drill holes through the end of each slat and into the side rail support board. Then drive a screw in to hold it in place.)
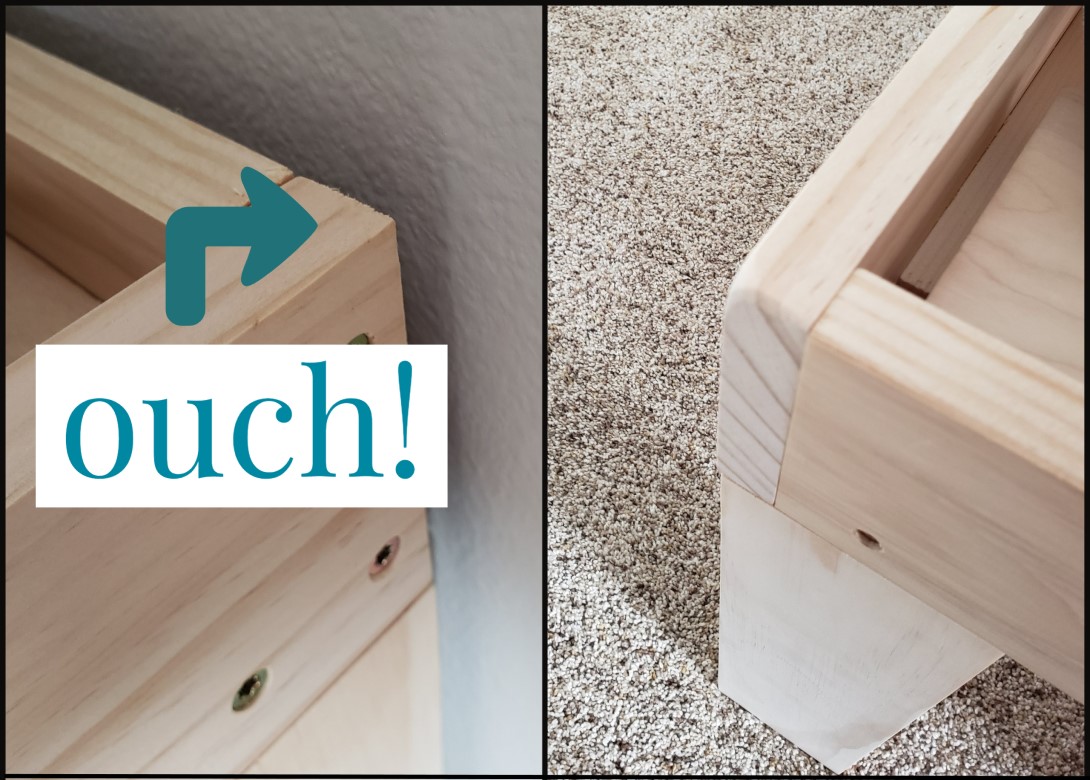
Step 5: Sanding the corners
Hand sand the bottom two corners of the frame to avoid any injuries to shins, legs, and bedding.
Step 6: Make the Bed
Lay the mattress onto the bed frame. Then make the bed and get ready to watch the new owner get a good night’s sleep.
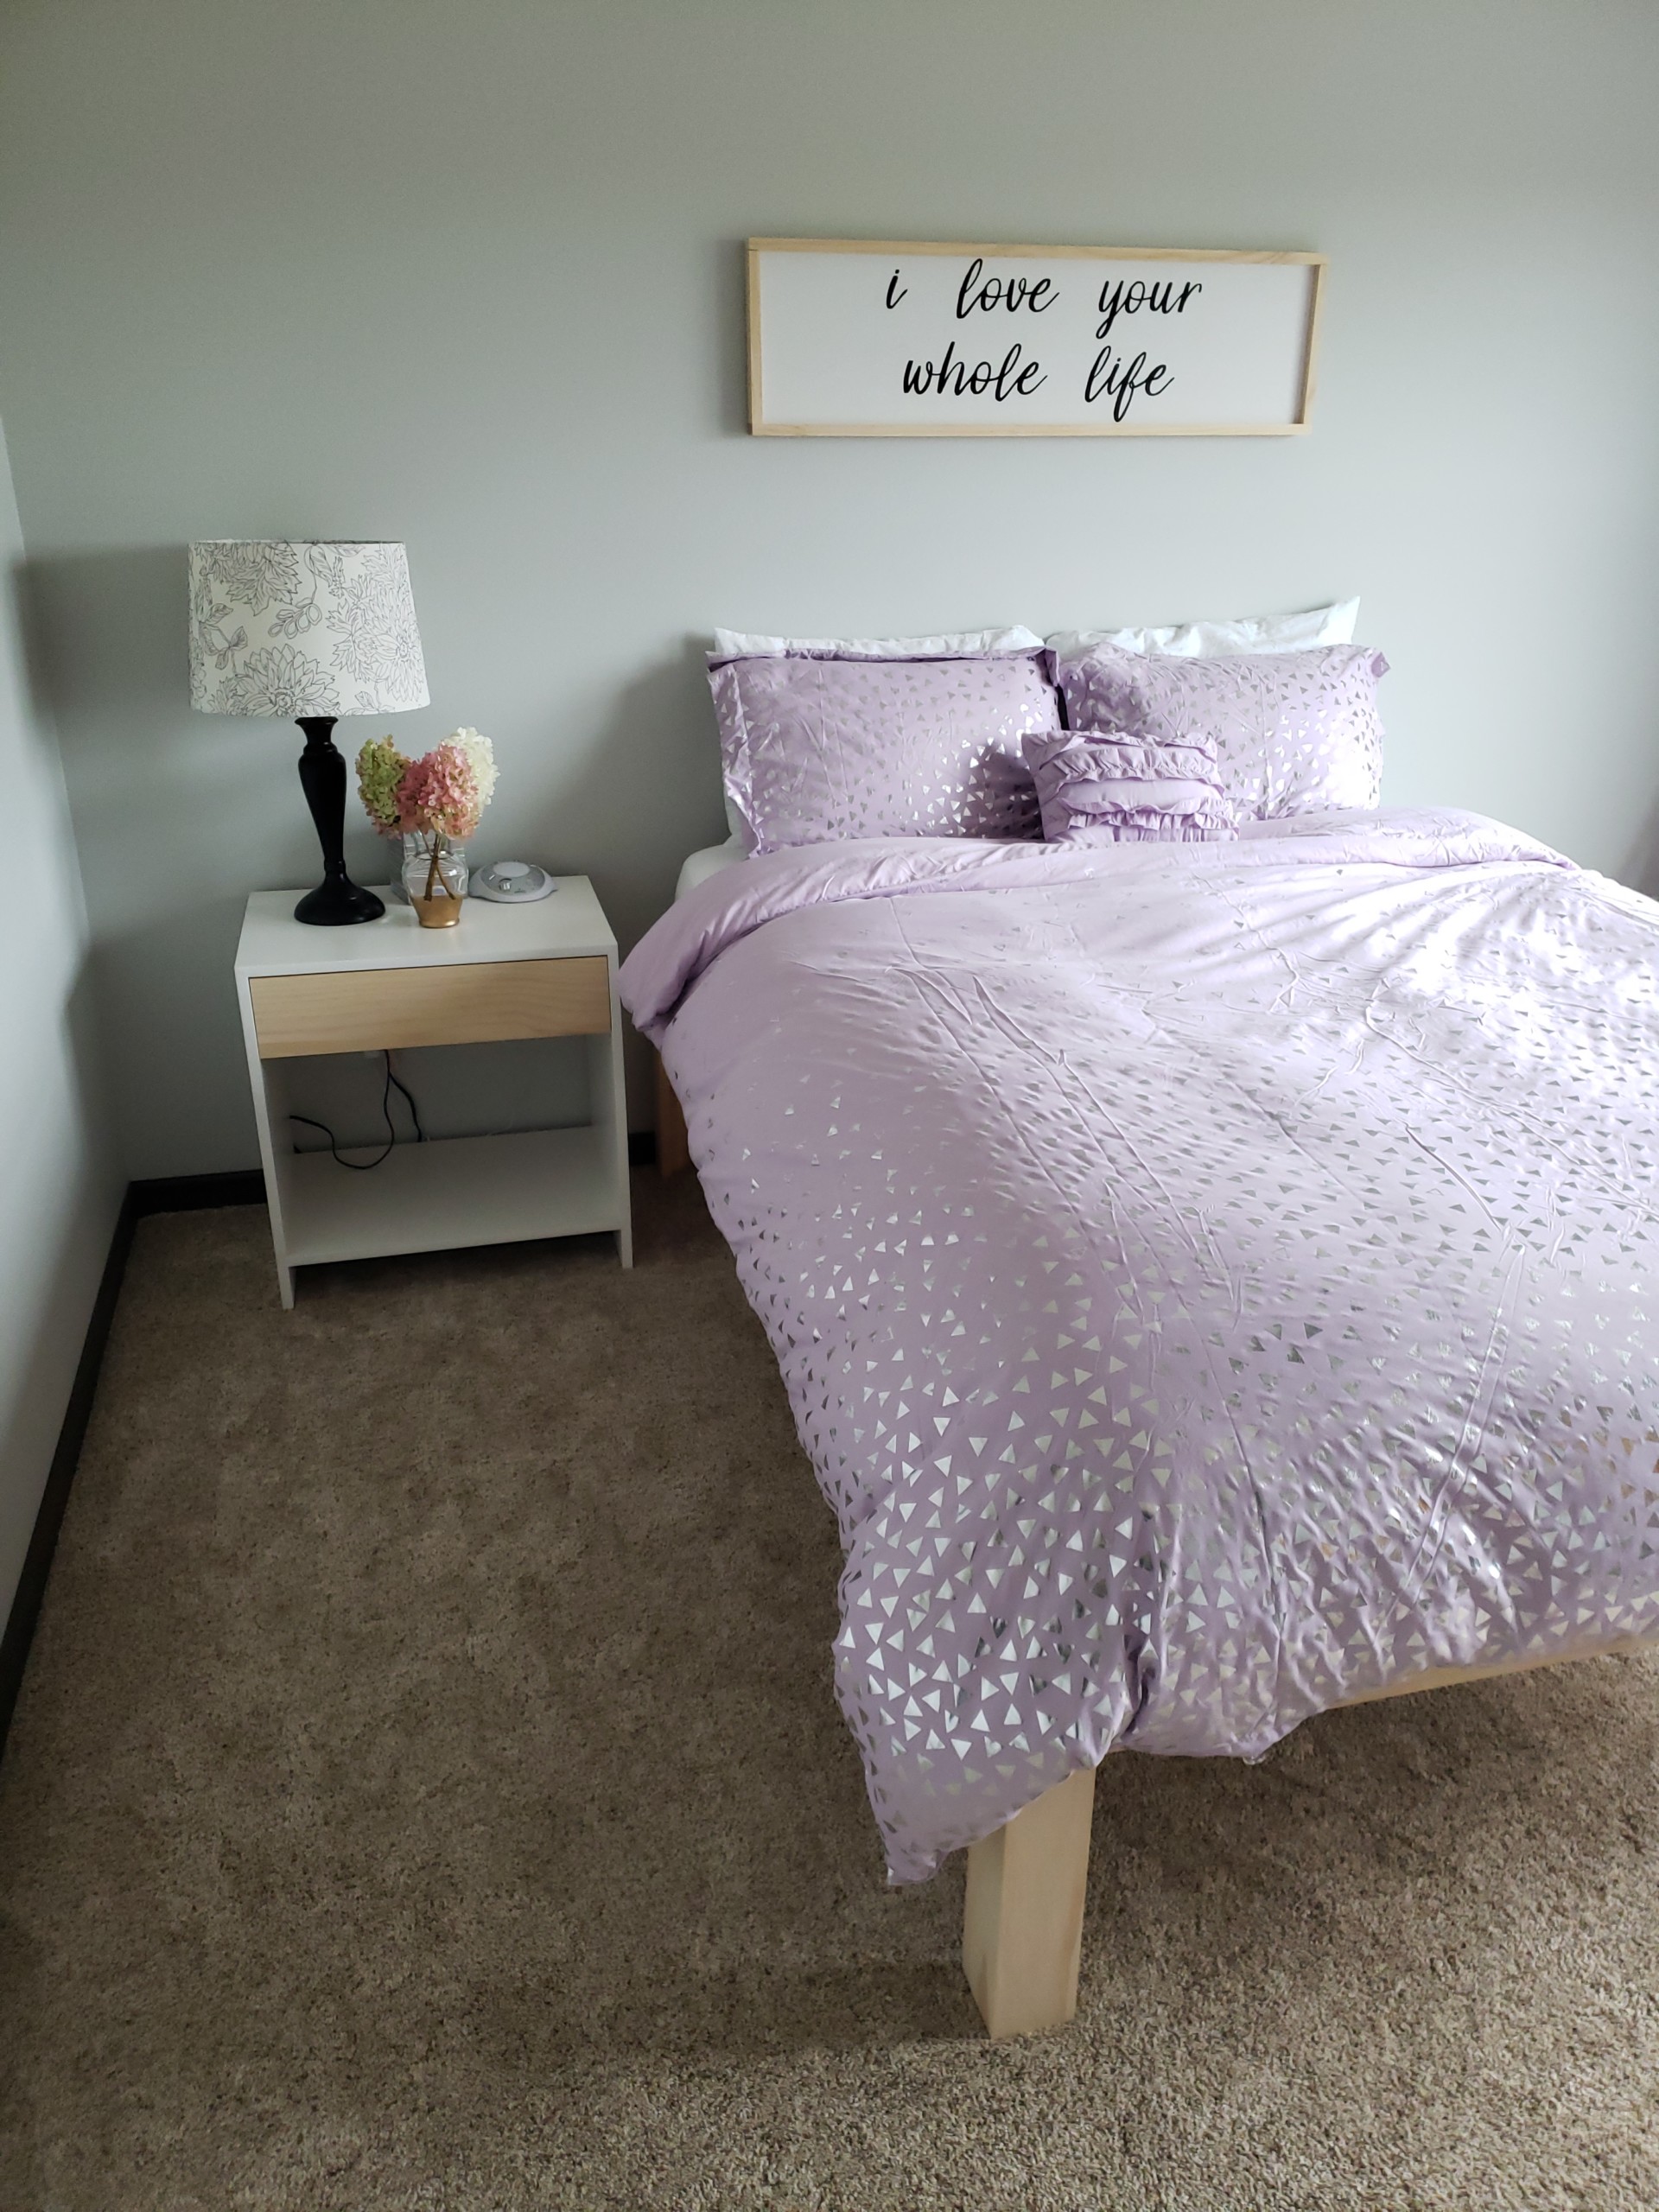
See the “I love your whole life” sign on the wall? You can learn how I make my own signs! Click over to view my tutorial for making a DIY Quote Sign. I even have a trick for adding faux-shiplap detail.
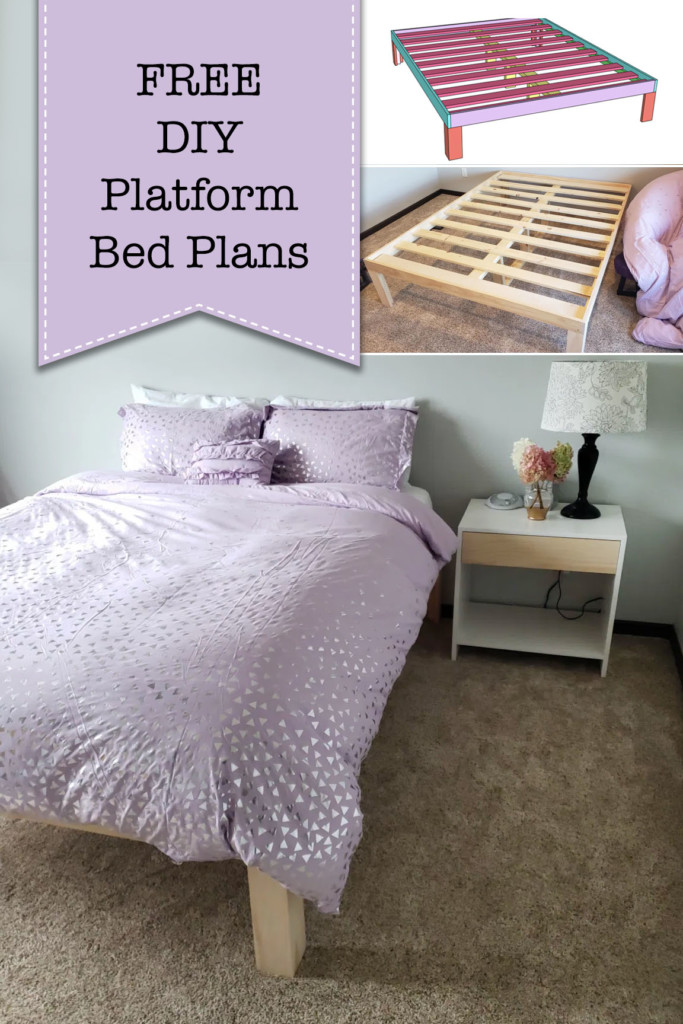
If you’re not ready to make the bed right now, pin this image for later!
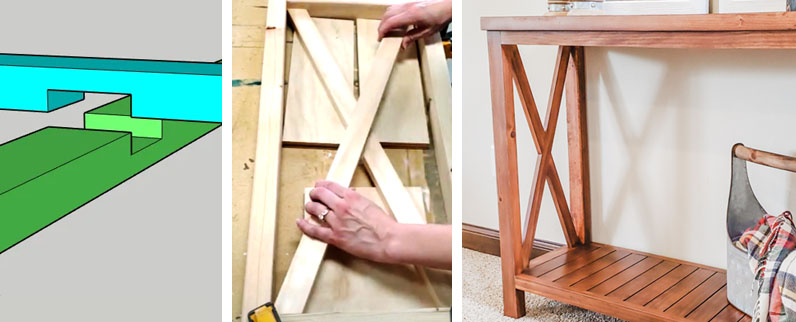
If you liked this build, you’ll also like Brittany’s Farmhouse Style King Bed with Storage drawers:
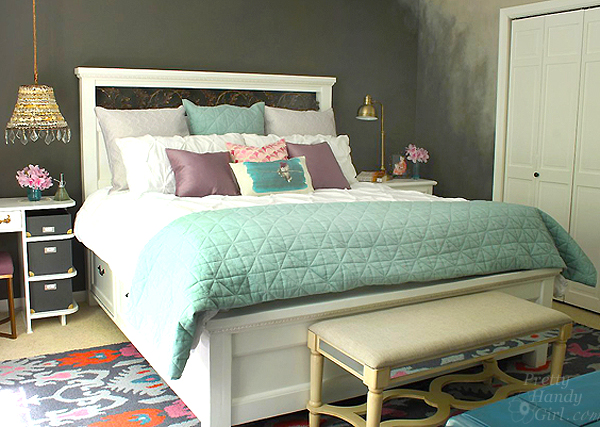
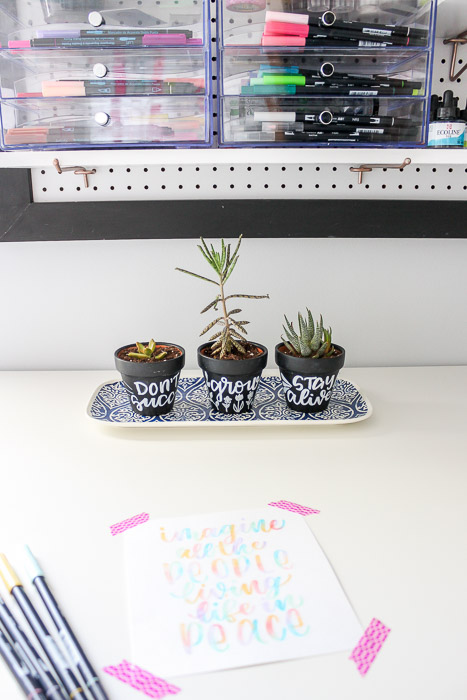
Stay tuned as I bring you more tutorials for the furniture that I am creating for my girls’ bedrooms! The adorable side table pictured alongside the platform bed is coming next month. Thanks for building with me.

![]()
 Hi! I’m Kristen, from In Her Garage, and I am a self-taught woodworker and DIY fanatic from Minnesota where I live with my husband and our two daughters. Between being a wife, mom and, registered nurse, I try to make as much time for DIY as possible. My love for building came after our family built our current home in 2015. After we moved in, we needed furniture and instead of spending massive amounts of money to order the pieces we wanted I decided that I would build them myself. I started with a buffet table plan from the fabulous Ana-white and quickly set out to remodel my entire home office.
Since then I have started a side business building furniture for the people in my community. I love hearing my clients talk about the pieces they wish they had whether it be a rustic buffet table, a one drawer side table, or a toy box and then making it a reality for them. While starting my small business it made perfect sense that I would document my building journey so I simultaneously launched the In Her Garage blog and I love sharing my plans, tips and tricks.
Making something beautiful with your own two hands through a little preparation and determination is an amazing feeling and I hope to bring inspiration and know-how to those looking to tackle a big or small project.
I am so glad that you found me here and please feel free to connect with me on Pinterest, Instagram, Facebook, and Youtube to see what I am working on right now.