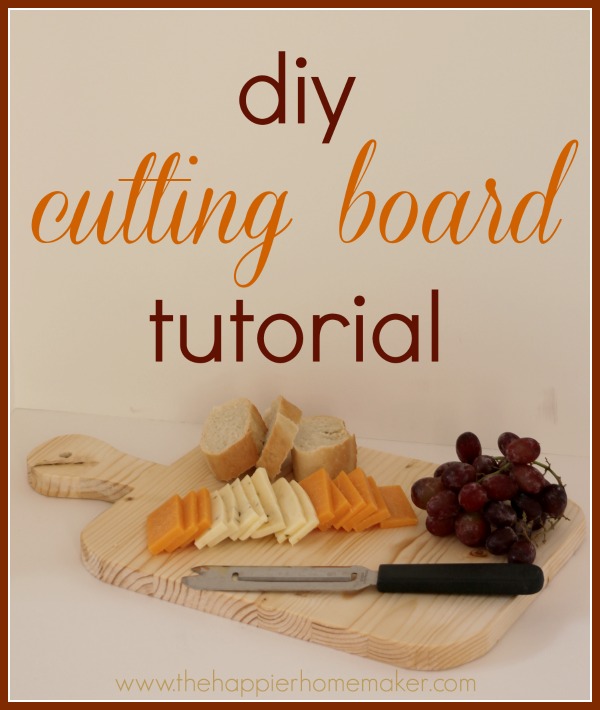
I don’t know about you all but I am so inspired by all of the amazing DIY gifts being shared this month! Today I want to show you how to make this easy DIY cutting board which would be the perfect gift for any foodies on your Christmas list!
Supplies:
- 16 by 9.5″ untreated hardwood
- jigsaw
- sander
- 80 grit sandpaper
- 220 grit sandpaper
- mineral oil
- drill and large drill bit
Instructions:
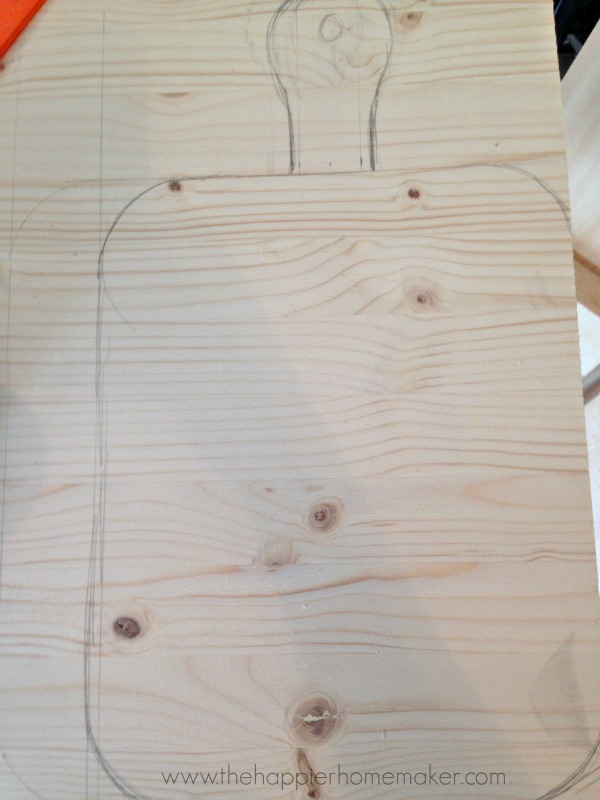
1. Trace out the desired shape of your cutting board – Draw a 12″ by 9.25″ rectangle for the main portion of the cutting board. Extend the handle 4″ from one end making it 2″ at the base and 3″ at the widest point. Read more