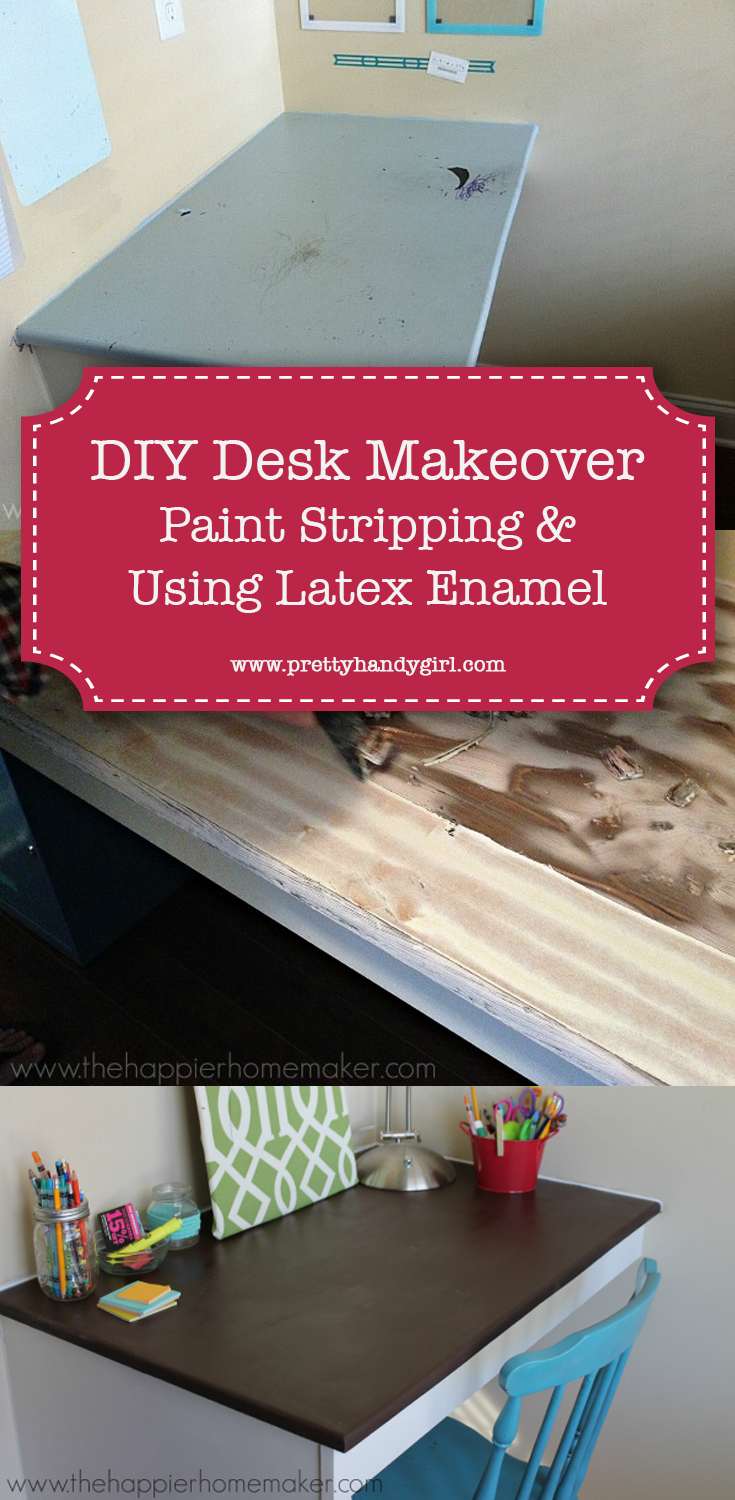
One of the unique features of our home’s floor plan is a “tech room” with built in desks just off of our mud room. When we first built our house I thought they would make the perfect place for our older boys to do their homework.
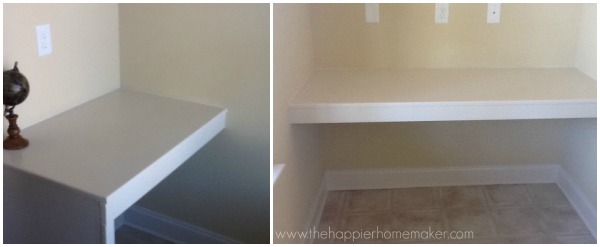
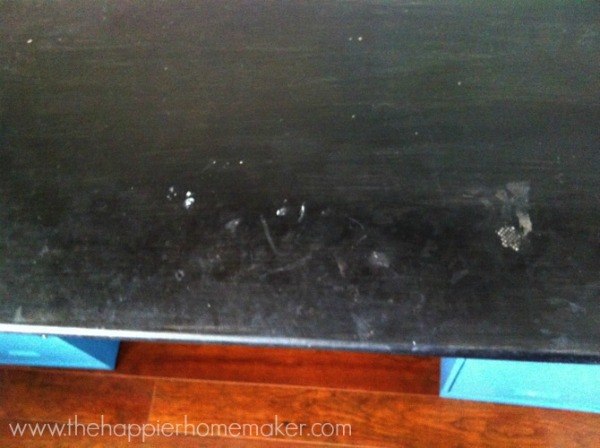
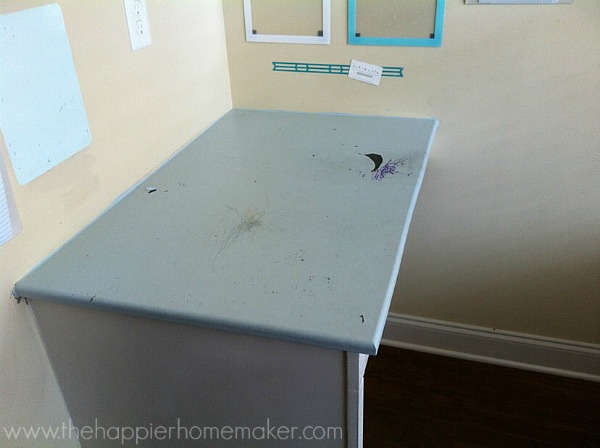
The builders painted the desks with latex paint and unfortunately it showed evey little mark and scratch almost immediately after we moved in. Within a few months I had already given the tops of the desks a coat of black chalk paint in the hopes of giving it a more durable surface. I was again disappointed within a couple of weeks.
In a last ditch effort to make the space look nice I did a total overhall last summer and redecorated the entire room.
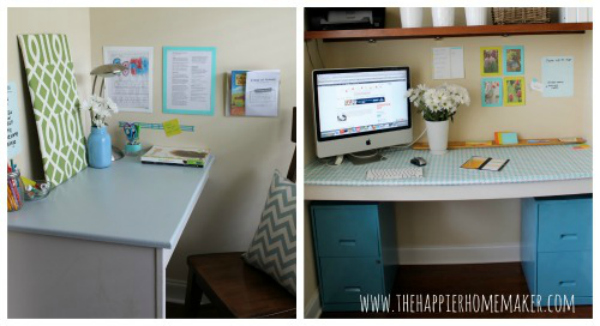
It looked fantastic at first but again, it held up horribly. I knew I needed to come up with a solution that would make the desks both functional and durable.
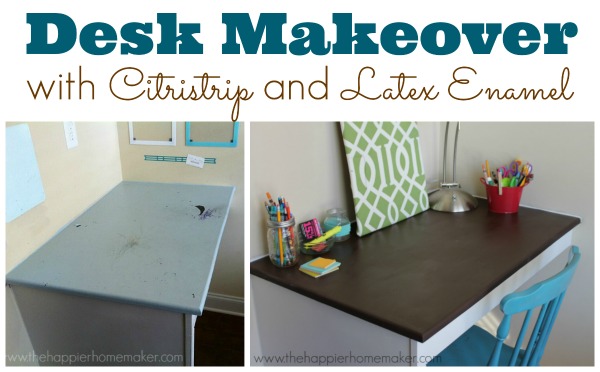
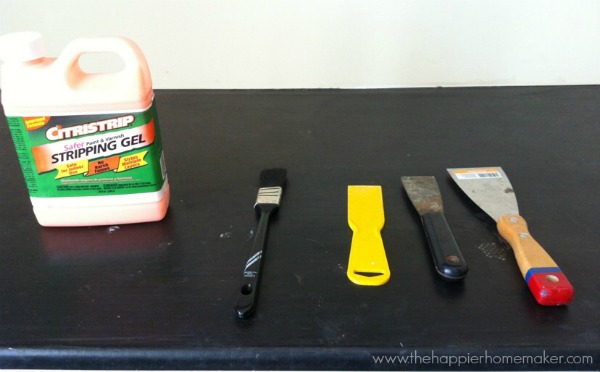
At this point the desks had multiple coats of paint and my husband and I decided to strip them bare and start over. We opted to use Citristrip to strip the paint after much research. We have three small children and the lack of toxicity was a big plus for us.
 Materials:
- Citristrip Stripping Gel
- Paint brushes
- Scraper/Joint knife
- Sanding block
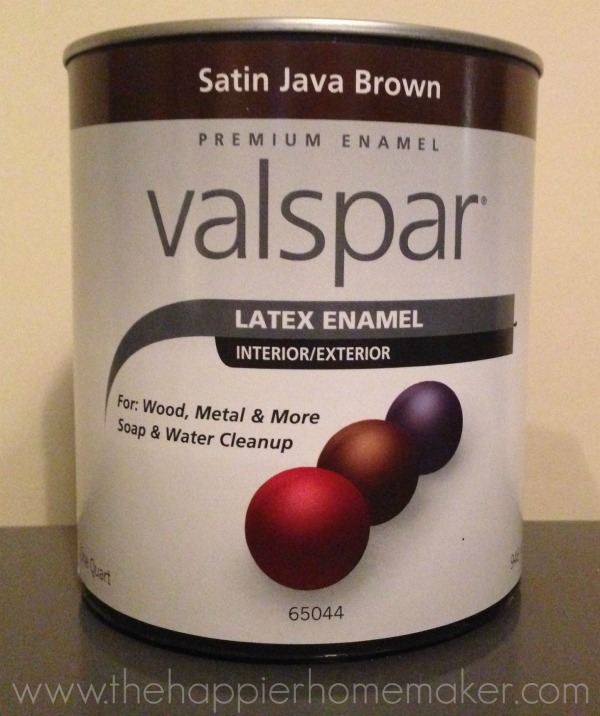
- Latex Enamel Paint
- Safety Gloves
- Protective Eyewear
Instructions:
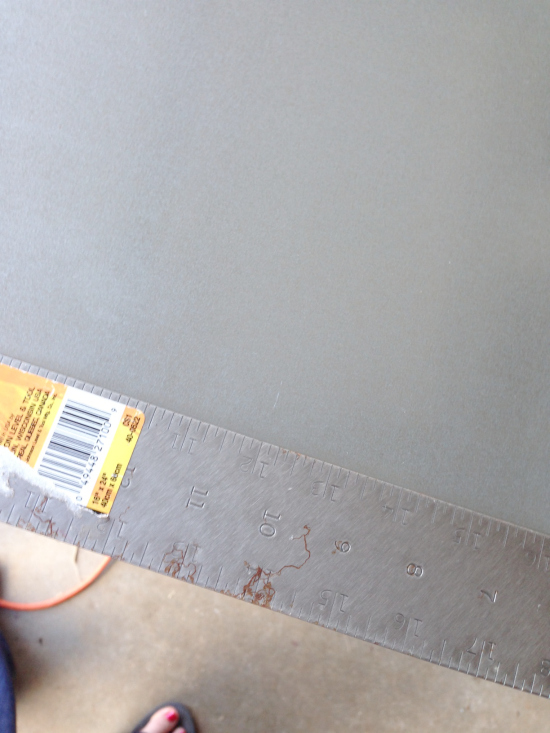
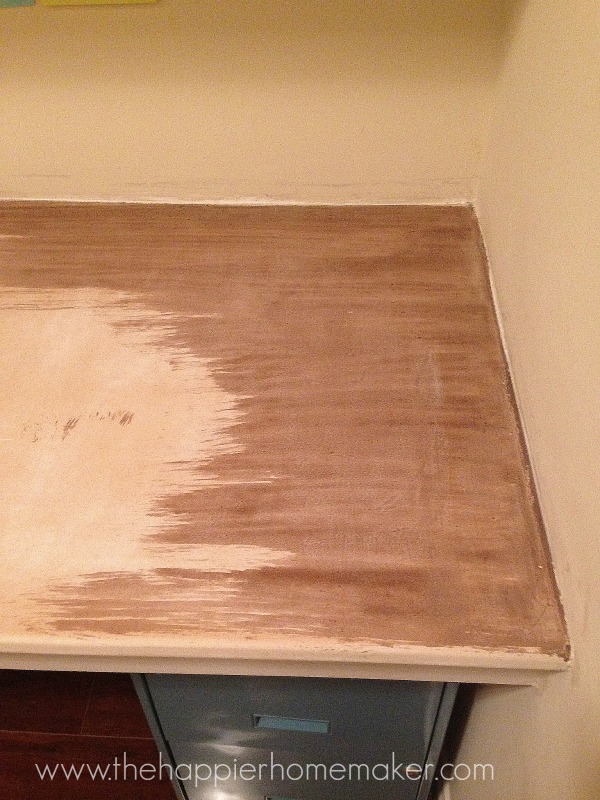
Clean your surface of dust and debris. (You can see how horribly my latex painted desk held up to three little boys!)
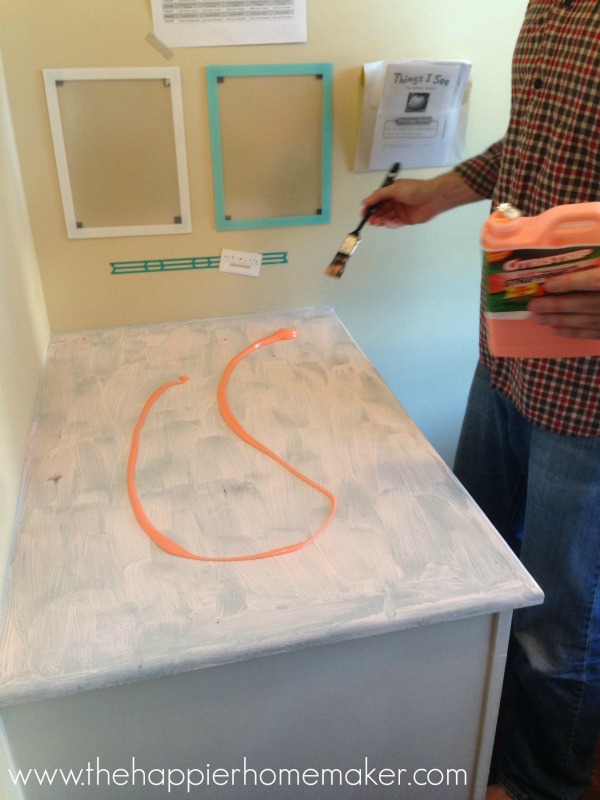
Apply a generous coat of Citristrip to the painted surface using a paint brush, you’ll notice the Citristrip has a thick, gel-like consistency and does not have the strong odor of other paint strippers. It is important to use a thick coat (if your Citristrip begins to dry out, it was not thick enough.)
You should wear gloves and protective eyewear when working with Citristrip. (I didn’t realize until later that my husband didn’t have his gloves on in many of these pictures. He has been sufficiently reprimanded!)
Allow the Citristrip to sit on the project for 30 minutes and test a small area with your scraper. You can leave the Citristrip on the project for up to 24 hours before scraping.
Scrape the Citristrip and paint off the surface, scraping in the direction of the wood grain. The paint should be removed easily.
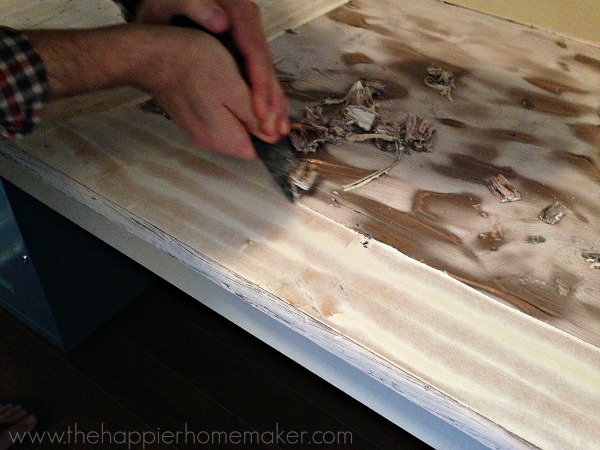
Remove paint debris and thoroughly clean the bare surface. Sand surface lightly to remove any residual paint if necessary.
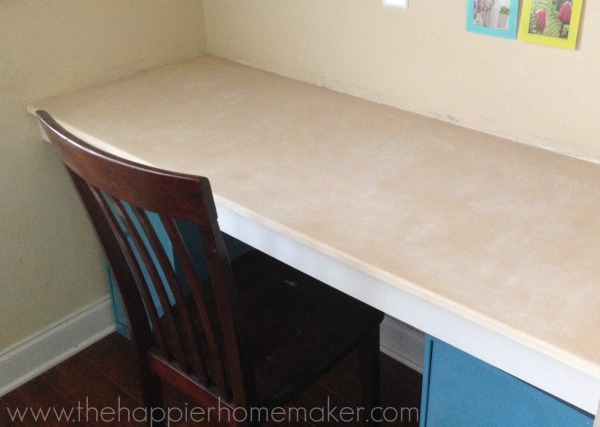
When our desk was stripped we were left with a large piece of MDF. We originally thought it would be regular wood so I attempted to see how stain would look on the MDF but the results were not good so that plan was quickly abandoned.
After much research into durability we decided to use a latex enamel paint to finish the desks. We chose latex enamel because it is a harder, more durable finish than traditional latex paint.
Apply one layer of latex enamel paint with a paintbrush and allow to dry fully. Do not place anything heavy or damp on the painted surface for 7 days to allow the paint to totally harden.
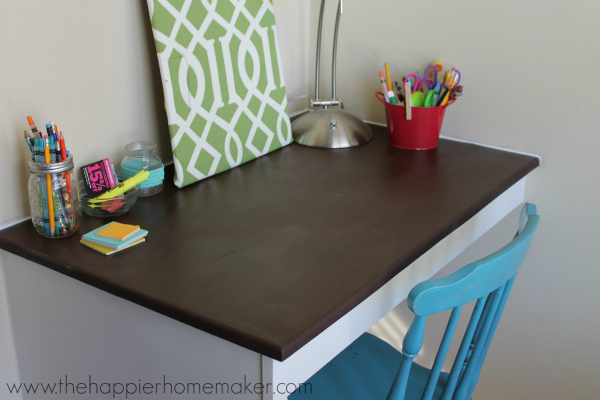
I’m happy to say it has been three months so far and the latex enamel is holding up perfectly! It’s durable enough to scrub and I love the deep, velvety appearance of the paint!

-Learn more about Melissa-
Pin for later!