How I Re-Built My Own Kitchen (after a leak) | Pretty Handy Girl

2013 Could be called the year of the kitchen renovation in our house. Or the year that nearly killed me. Or the luckiest year of our lives. I’m still debating the title. What I do know is that, I decided to take on my biggest DIY project to date. I re-built my own kitchen from bare studs and subfloor.

It started one morning as I was confronted with a foul odor. It’s only describable as that odor that usually lives in the high school gym locker room. I thought my 9 year old son’s feet were starting to stink. Unfortunately a stinky pair of shoes wasn’t the culprit, it turned out to be a very minor leak that turned into a very big kitchen renovation. We persevered through 45 days without a washer and dryer and many months without a kitchen. But, it was like being a contestant in Survivor. I lasted the year of construction; the set backs and sore muscles; and in the end I was rewarded with a brand new kitchen!

Today, I walk into our beautiful kitchen and I know it was all worth it! It was worth all the sweat equity, the daily Advil doses, and the tree falling on the house. If you want to reminisce with me as I recap my kitchen renovation of 2013, here’s your ticket to all the tutorials and posts: Read more
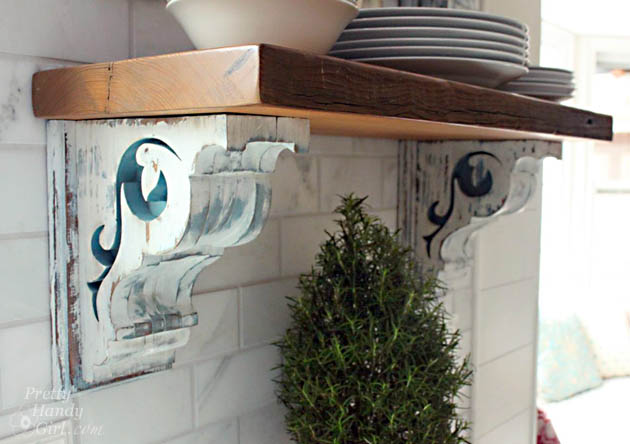
DIY Aged Chippy Paint Technique | Pretty Handy Girl

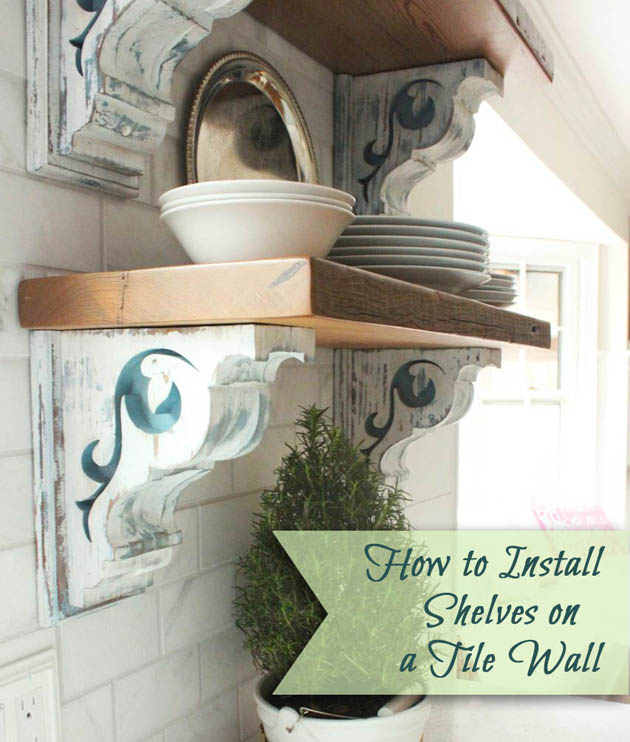
How to Install Shelves on a Tile Wall (using Corbels) | Pretty Handy Girl

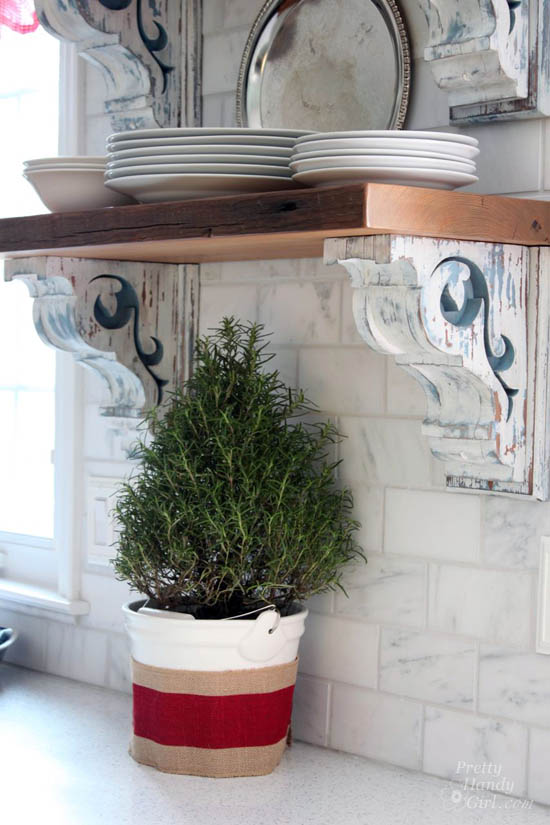
After painstakingly tiling my backsplash, I was more than a bit hesitant to drill holes into the tiles to hang the corbels and open shelving. But, I convinced myself to stop being a wussy procrastinating and just do it.

I’m so pleased with how they turned out and I didn’t chip or crack a single tile. In hindsight I really didn’t need to stress this project. It was less nerve-wracking than I had anticipated.

Here’s the full tutorial so you can install your own open shelving on a tile wall!

Materials:

  • Diamond drill bit (the same diameter as the screws you are using)
  • Wood screws to attach anchor board (must be long enough to go through board, tile, drywall and at least an inch into a stud)
  • Drill
  • Spray bottle filled with water
  • Level (long and a small one if you have one)
  • Pencil
  • 2 regular drill bits (1 the same diameter as the screw + 1 large enough to create a countersink for the screw head)
  • Shelf brackets (I used corbels and a 1″x6″ pine board as an anchor)
  • Kreg jig
  • Pocket hole screws (long enough to attach corbel to anchor board without going through the board)
  • Joint compound or wood putty

Instructions:

Start by determining the height you want your shelves to hang. Read more

DIY Aged Chippy Paint Technique | Pretty Handy Girl

DIY Aged Chippy Paint Technique | Pretty Handy Girl

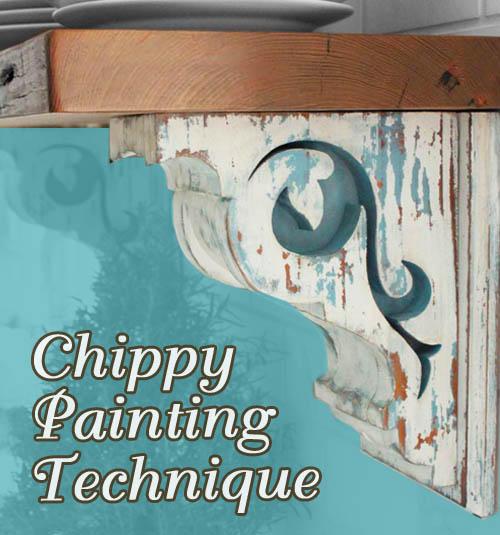
This is another one of those tutorials that I’ve been dying to share with you! Like sitting on my hands and anxiously waiting to type it out. But after taking 2 weeks off from blogging, I’m back and ready to give you this fabulous tutorial for achieving the aged chippy paint look on your next project.

DIY Aged Chippy Paint Technique | Pretty Handy Girl

Before I give you the chippy gritty, I want to give you the background story on those gorgeous corbels.

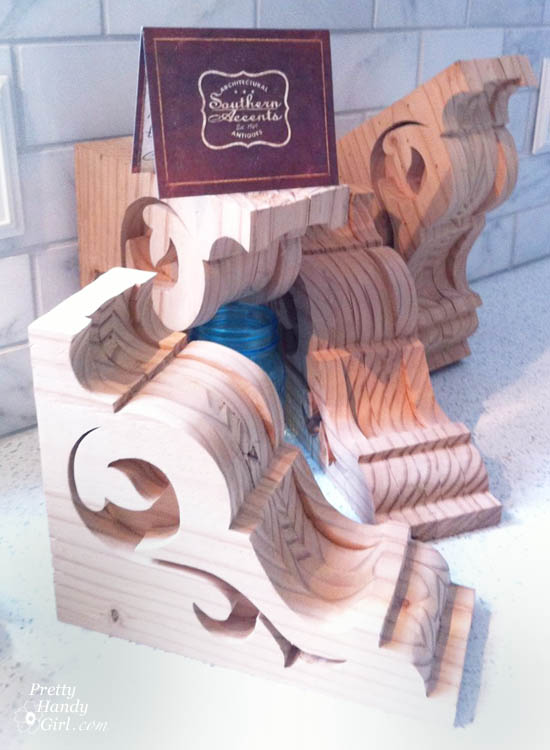
If you’ve been following along, I finally completed my 13 month kitchen renovation. The last task was installing two open shelves on the full tile wall. Finding the perfect corbels to use as shelf brackets was not an easy task. I scoured eBay, Craig’s List and salvage shops. I was really getting discouraged. That was when I met Garlan from Southern Accents Architectural Antiques at Haven. We talked for a few minutes and he showed me some of the corbels he had in his store. There were some wonderful old ones, but I felt a bit like Goldilocks. One was too tall. The other not big enough, but the biggest problem was that I needed four of them. Garlan showed me some new corbels that he had. He told me he has a guy that can duplicate any corbel design and can customize them to meet any size requirements. It was as if the heavens parted and angels sang! I was elated and couldn’t wait to find an image of a design I liked. But, again, the Goldilocks in me couldn’t find the “perfect” corbels. So, I opened up Adobe Illustrator and started to design my own unique corbels.

Chippy Paint Technique

PHG Corbel Design for Sa1969.com


I designed a scroll pattern based off of one corbel I saw, but also added some relief portions inside the corbel. I sent the image to Garlan and a week later he sent me a picture of one of the corbels. It was love at first sight! I quickly approved the initial one and waited anxiously for the corbels to arrive. When I opened the box, they were beautiful and exactly as I had pictured them in my head.

Southern Accents Architectural Antiques corbels

I set forth to give them an appropriate aged chippy paint look to fool people into thinking they were actually antique salvage. Here’s how I did it. Read more

10 DIY Gift Ideas for the Rock Star DIYer

10 DIY Gift Ideas for the Rock Star DIYer

Christmas is next week? Christmas is next week! Who else is still running around buying those last minute gifts? {Me raising my hand.}

If you have someone on your list who is an avid DIYer, I have a new list of the Top 10 Gift Ideas for the Rock Star DIYer in your life! These tools will transform the newbie DIY junkie giving them better street cred and true rock star status! (Results may vary.) In all seriousness, these are the tools and products that I found helpful this year.

In order from  least to most expensive Top 10 DIY Gift Ideas: Read more

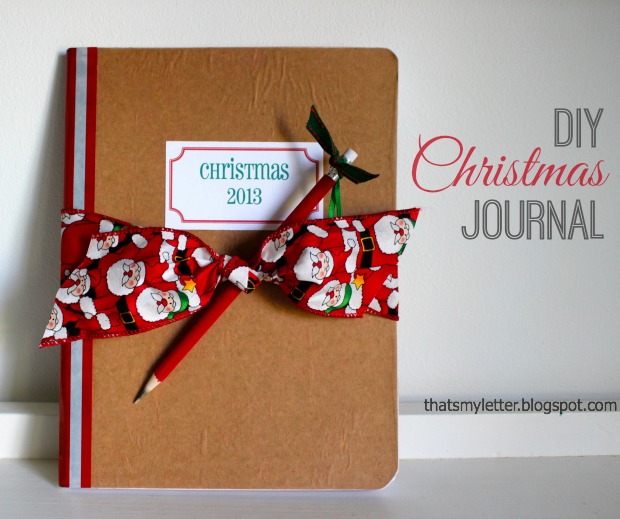
Christmas journal

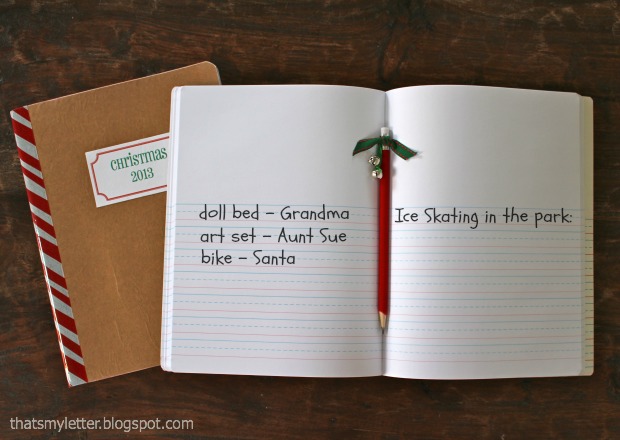
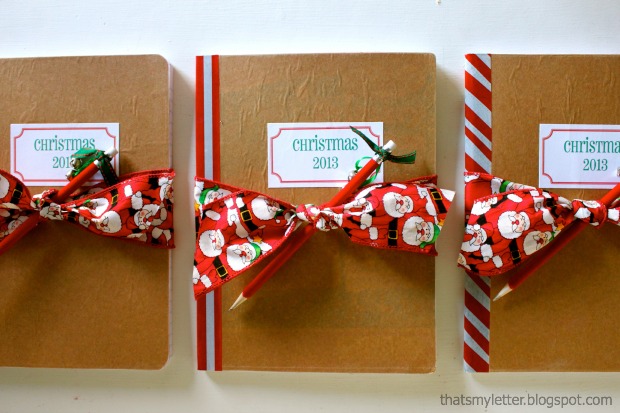
Need an easy DIY gift idea that any kid will love?  Jaime from That’s My Letter here to share DIY Christmas journals made from inexpensive kids composition books.

There’s still time to make this Christmas journal gift for all those kids on your list who love to write and draw, it makes a great small gift or a nice add on to a larger gift.

Christmas journal 1

Take a peek inside and you’ll see the kids composition books are printed with lines just their size and bonus!  a place to draw pictures above the writing:

Christmas journal 3

Kids can use the journal to keep track of gifts received for thank you cards, adventures and travels during the school break, all the exciting events surrounding the holiday and on and on.

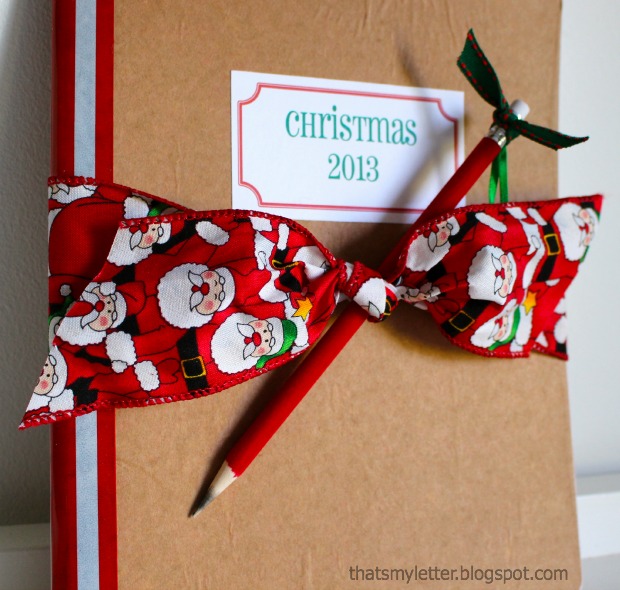
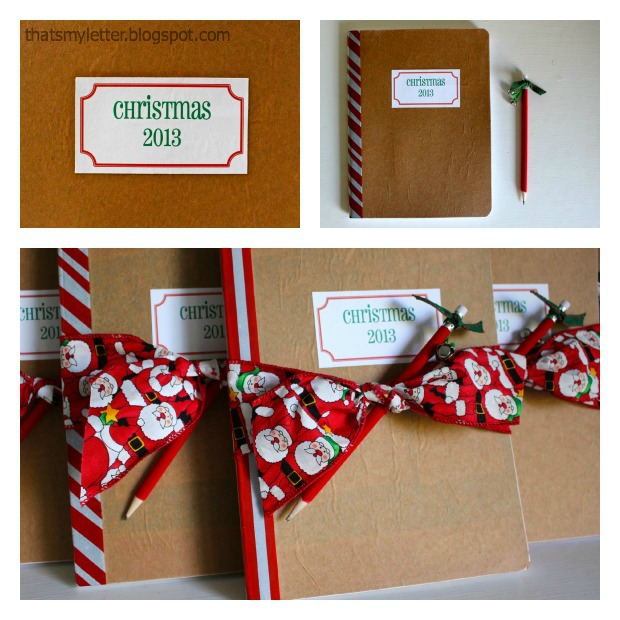
Wrap your  journal with a fun holiday pencil and printed ribbon:

Christmas journal 4

Supplies required:

Christmas journal 5

Instructions:

Step 1: Give the exterior cover (front and back) a quick sanding to rough up the ‘shiny’ surface – this will help the kraft paper adhere better. Read more