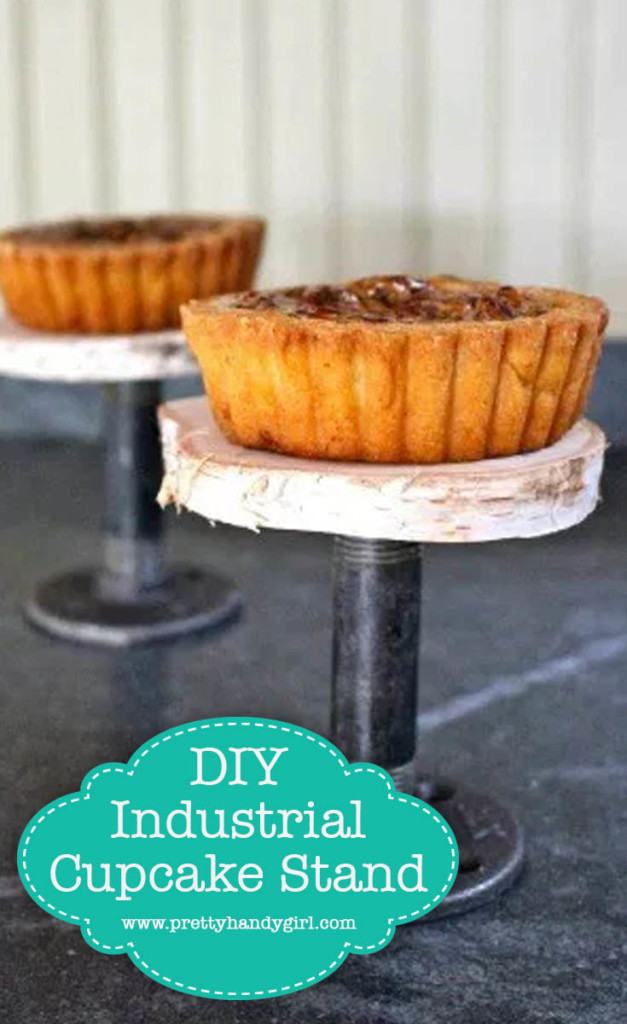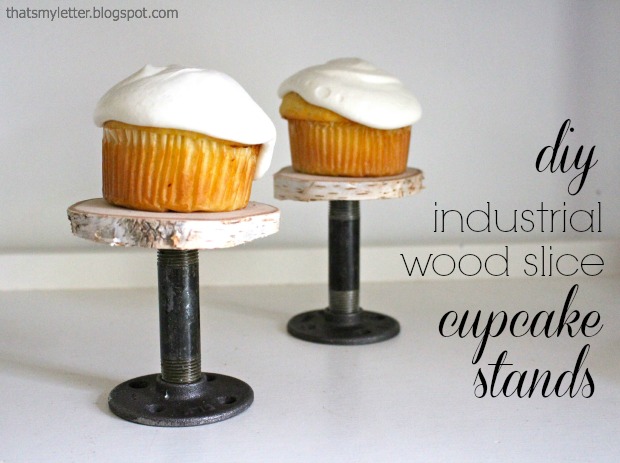
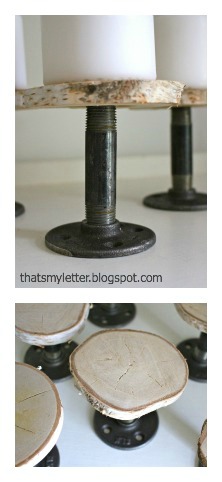
Make these DIY industrial cupcake stands now and you’ll be ready for all the upcoming holidays, Thanksgiving and Christmas are fast approaching! The cool black steel plumbing parts base combined with the natural wood slice platform lends itself to an unexpected industrial feel.
Each cupcake stand costs $5.50 in parts (not including the birch log), very reasonable for a unique, DIY project that could easily lend itself to become a favor or small gift.
Supplies required (for one DIY Industrial Cupcake Stands):
- 1/2″ black steel floor flange
- 1/2″ x 3 1/2″ black steel nipple
- birch log (approx. 5″ in diameter)
- hand saw or circular saw
- palm sander or sandpaper
- drill
- 3/4″ circular drill bit
- E-6000 glue
DIY Industrial Cupcake Stands Instructions:

Step 1: Using a handsaw or circular saw slice off 3/4″ thick disc of wood from the birch log. (If you’re concerned about bugs, you can bake them as shown here.)
Step 2: Sand wood slices smooth.
Step 3: Using a drill with a 3/4″ circular bit drill out a small hole for the nipple piece, only about 1/4″ deep, be careful not to let the tip of the bit pierce through to the other side of the wood slice.
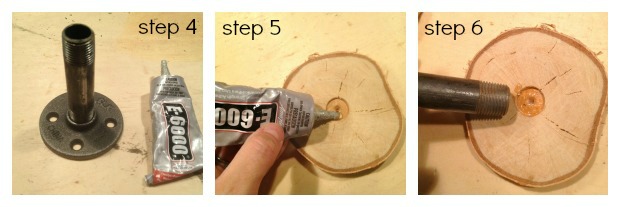
Step 4: Apply E-6000 glue to one end of nipple and screw it into flange.
Step 5: Apply E-6000 glue to circular hole in wood slice.
Step 6: Gently ‘screw’ other end of nipple into wood slice.
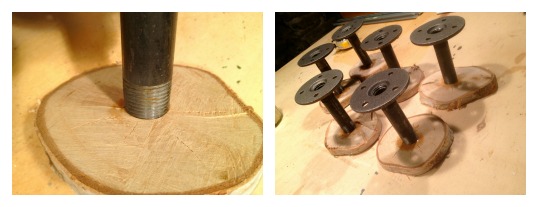
Let the glue dry while the cupcake stands are upside down.
When dry, flip the stands over and load them up! They are perfect not only for cupcakes but candles too:
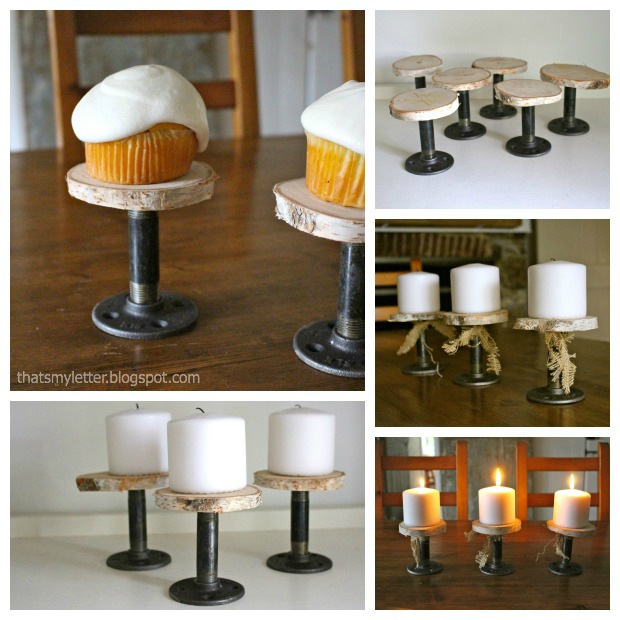
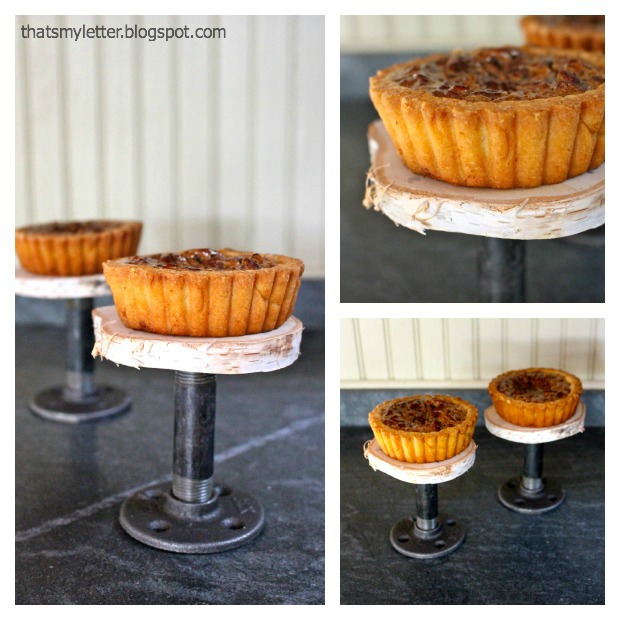
Cupcakes, candles and individual pies too! Mini pumpkin and pecan pies are on definitely my Thanksgiving menu this year:

Pin for later!