Rustic IKEA Hack Cabinet Transformation | Pretty Handy Girl

Rustic IKEA Hack Cabinet Transformation | Pretty Handy Girl

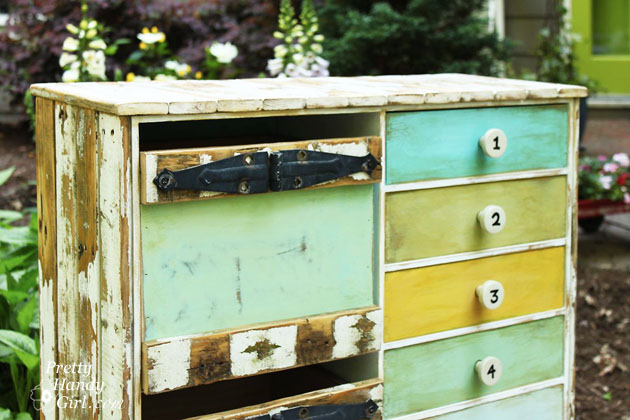
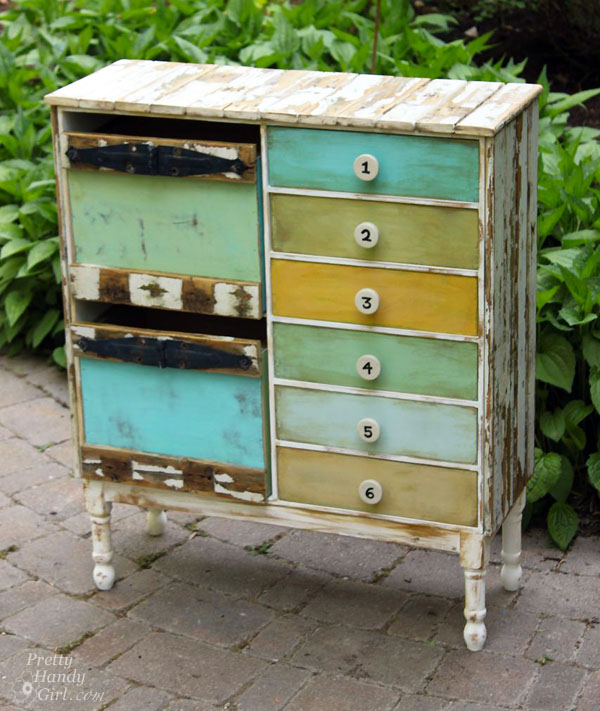
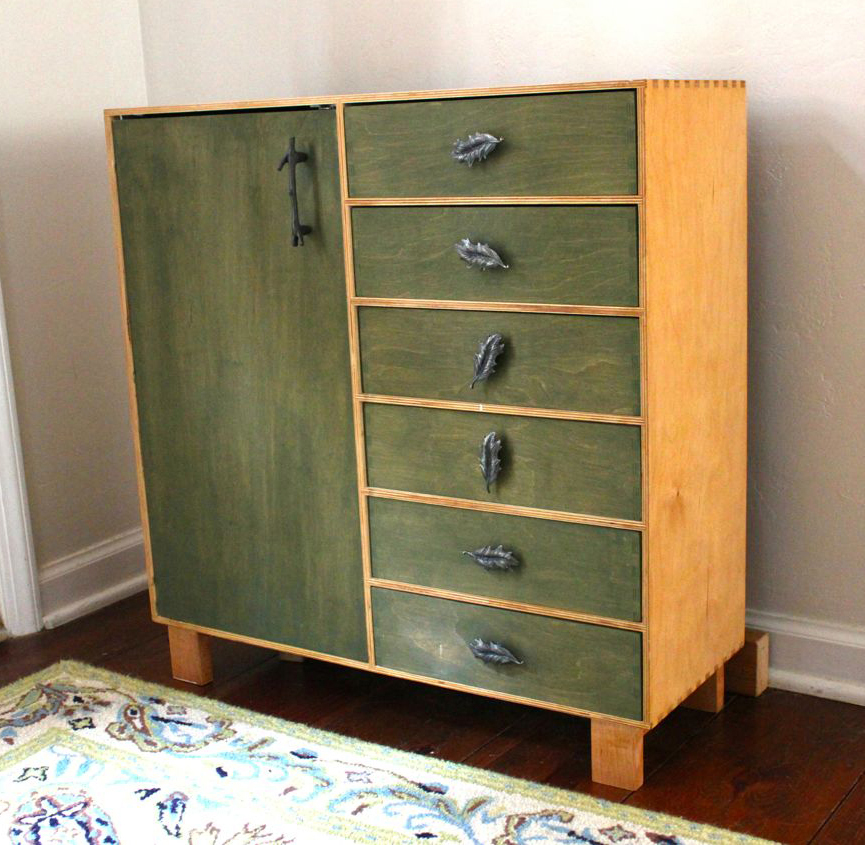
Rustic is not usually a word used to describe IKEA. IKEA is better know for their modern furniture, simple lines, meatballs and funny Swedish words. Today I’m going to change how you perceive IKEA furniture forever! Are you ready for this? Well, hang onto your hästes (Swedish for horses) because you’re going to see a transformation nothing short of amazing! You too can customize your plain jane furniture by adding legs and cladding the exterior with reclaimed picket fence wood.

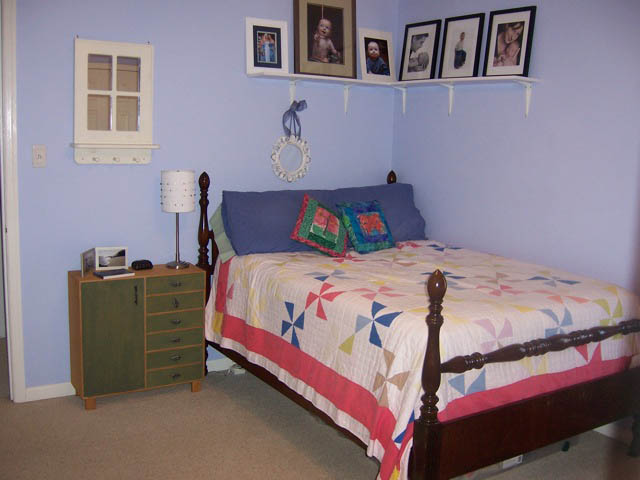
This tale starts with a hunter green stained IKEA storage chest that I bought for our first apartment and stained myself (can you tell what decade it was? Hint: hunter green, honey pine, throw some burgundy in there and I’m sure you’ll be guessing no more.) It moved from room to room each time we settled into a new home. But, it never really fit in.

ikea chest in guest room

The cabinet was short and not very deep. Plus, it bore the mark of the popular 90’s hunter green. It was ugly. Why didn’t I get rid of it years ago? Maybe I was attached to it because it was the first piece of furniture I ever stained myself. And it brought back fond memories of calling the fire department because I smelled gas. Turns out you aren’t supposed to use an oil-based stain indoors, especially if you have a gas stove. Lesson learned.

Rustic IKEA Hack Cabinet Transformation | Pretty Handy Girl

Fast forward two decades and it’s still hanging around. The other day as I was lamented the fact that our foyer is too small to fit a cute dresser, I found myself looking at this sad little IKEA chest. I picked it up and put it in our foyer. The fit was perfect in the small space behind the front door! But, it was short and let’s not mention the hunter green again. Plus, it just wasn’t cute. And it doesn’t reflect my warm and weathered style. But, you know me, I wasn’t deterred.

I did some mental gymnastics and began to hatch a plan to create a marriage that would last longer than two decades.

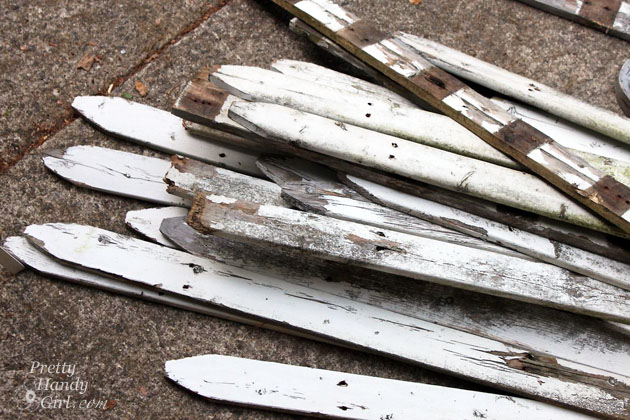
Old picket fence pieces

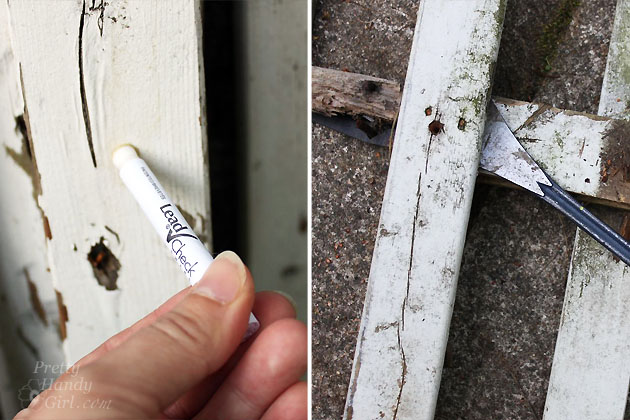
It began with some pieces of old picket fence that I found by a dumpster. They were perfectly chippy and rustic! Luckily the 3M Lead Check results were perfectly negative. I carefully took the fence apart and removed all the nails.

Lead check picket fence paint

Ready to see how I convinced the two polar opposites that they belonged together — rustic and modern — to create a match made in heaven? Let’s explore this couples’ counseling further:

Read more

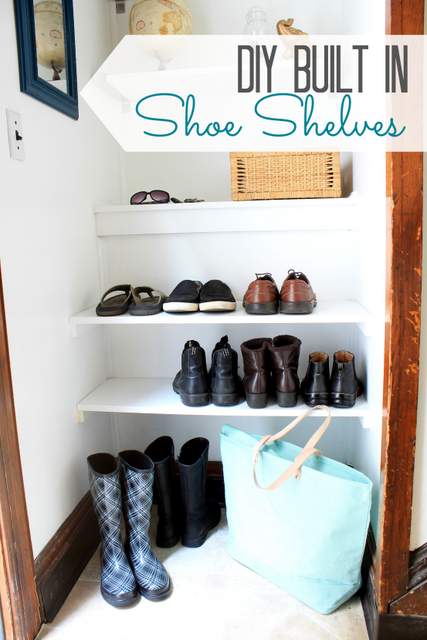
Built In Shoe Shelves

Built In Shoe Shelves

Hello, it’s Jessica from Decor Adventures and I’m back this month to show you an easy project to bring some organization to your home. Now that fall is approaching, you might be thinking about getting your closets, foyers and mudrooms in shape for the changing weather. One project that can make your space nice and tidy is adding built in shoe shelves. Today I’m going to show you how to easily build shelves to keep those sneakers, sandals and boots neat and tidy. Plus, it will save you some space too.

Materials:

  • Miter saw
  • Pencil
  • Ruler
  • Level
  • 1″ x 2″ wood, for supports
  • 12″ deep MDF or pine boards
  • Cordless drill with drill bits
  • 2.5″ Wood screws
  • Primer
  • Paint

Optional:

  • Wall anchors
  • Paintable caulk

Instructions:

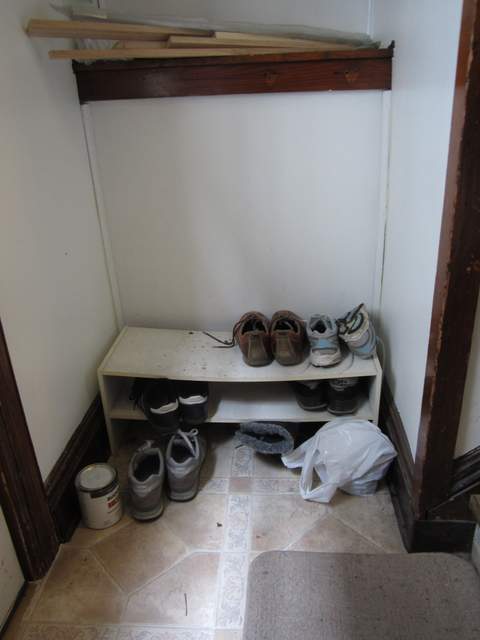
In our side entry to our house we have a small landing at the stairs leading up to the kitchen. It’s a perfect place for shoes, coats and accessories. Unfortunately, our method of lining up our shoes wasn’t working. I thought built in shelves would be a great solution. The shelves ended up saving us space and giving us more room.

Before Building Shelves

Sometimes those awkward spaces can be a blessing in disguise.

Instructions:

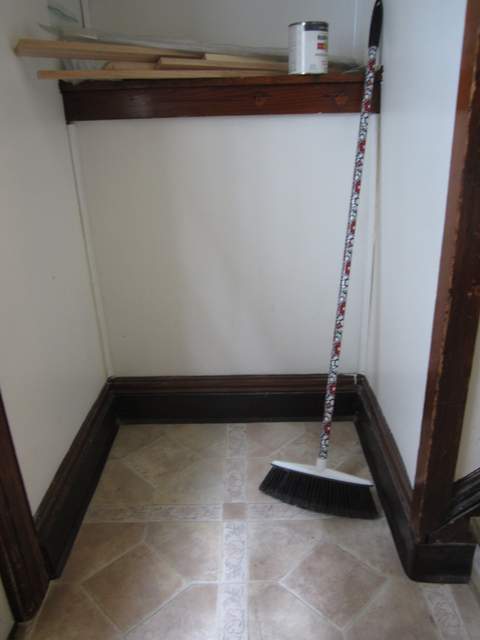
1. First, prep the area by removing anything you were storing and sweeping it out. If you want to add a fresh coat of paint to the walls, now is a great time to do that.

Preparing to Build Shelves

2. Measure how wide and deep you want the shelves to be. (Most shoes fit on 12″ deep shelves, unless you are Big Foot.) Mark the walls at the height of each shelf. (We made the lowest shelf tall enough to fit boots underneath on the floor and the highest shelf about half that height for items like sneakers and shorter shoes.) Read more

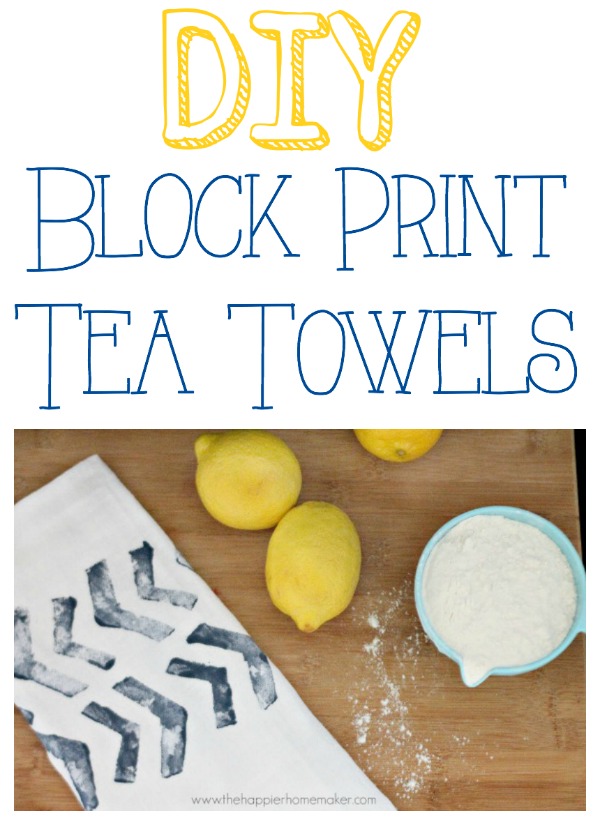
how to stamp with potatoes

Hey there! It’s Melissa from The Happier Homemaker back again with a fun and easy DIY tutorial you can even get the kiddos involved with! I’ve been noticing block printing coming up a lot in my home decor magazines and catalogs lately. Last week when I was prepping a little rainy day potato stamping activity for my 3 boys, I decided it may be time to try a little block printing DIY of my own.

Supplies:

  • Flour Sack Tea Towels
  • Large Raw Baking Potato
  • Knife
  • Craft Paint
  • Fabric Medium
  • Iron and Ironing Board

Instructions:

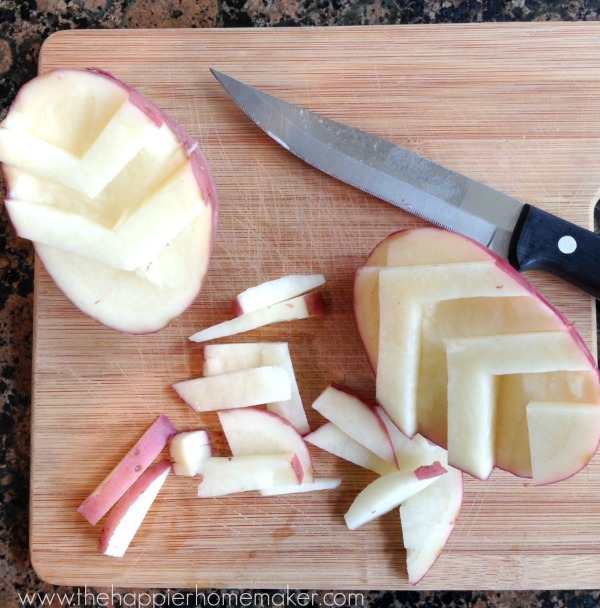
Cut your potato in half and use your knife to {carefully} cut your design.  Simple shapes work best for this type of stamping.

diy potato stamped towel

On a paper plate, or paint palette, mix your craft paint with fabric medium in a 2:1 ratio (or according to fabric medium instructions.) Read more

How to Add Security Film to Glass Doors & Windows | Pretty Handy Girl

How to Add Security Film to Glass Doors & Windows | Pretty Handy Girl

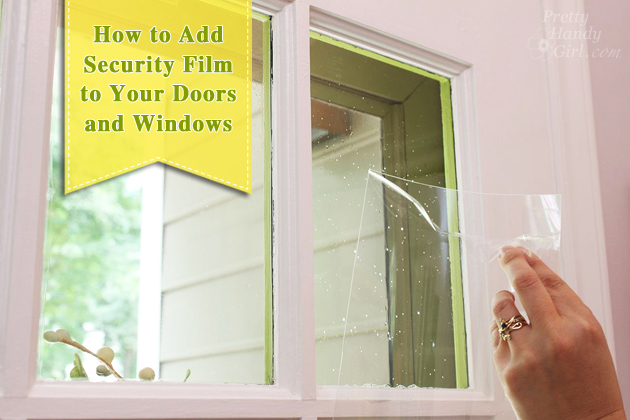
The folks at Allstate Insurance have graciously sponsored this post, which will help you learn how to install security film to safeguard your doors (or windows) from a potential break-in! It’s a simply DIY solution that could potentially save you the heartache of having your home burglarized.

I’ve noticed an unsettling trend in our area. There are more thefts popping up around our neighborhood. Luckily the majority of them are burglaries with no violence. But, it’s still unsettling. If you want the latest on crimes around you, sign up for SpotCrime.com. Simply enter your address and you’ll get emails when crimes are reported around you. Then again, this could lead to a bit of paranoia {raising hand.}

SpotCrime.com map

Regardless, there are two doors in our home that have always caused me some concern. We have two half window doors that needed some added security measures. The first one is the entrance to our mudroom. The second one is the back door to our garage (and you know I’d be heartbroken if anyone stole my power tools!)
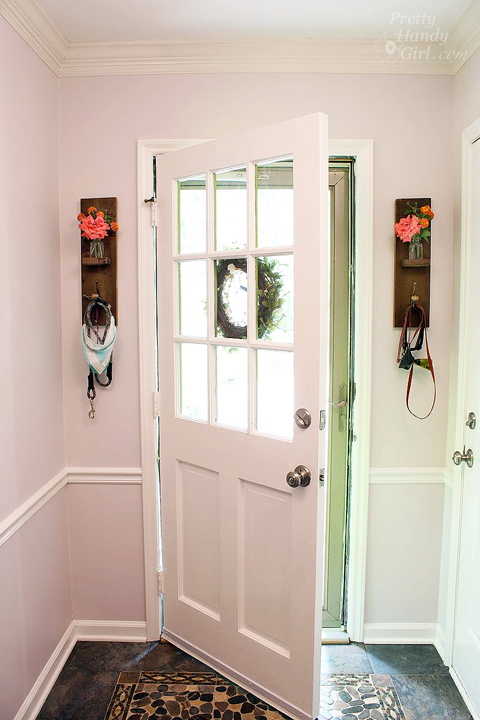
How to Add Security Film to Glass Doors & Windows | Pretty Handy Girl

If you have a door like this, a burglar can simply break the pane of glass closest to the knob, reach in and turn the deadbolt and handle. One option is to install a two-sided keyed entry deadbolt lock. Because we have little children, I worried about them not being able to find the key and get out of the house in the event of a fire.
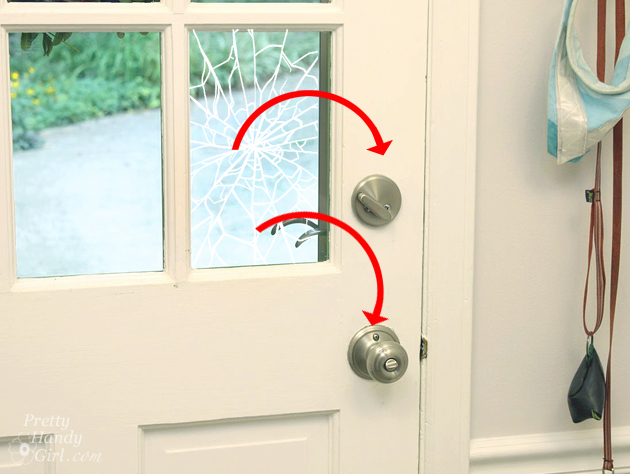
How to Add Security Film to Glass Doors & Windows | Pretty Handy Girl

This past week I happened to hear about security film and did a little research. I was skeptical until I tested the material myself. The results seriously amazed me! You can watch my test in the video later in this post.

In the meantime, here are the supplies you’ll need and the very simply installation instructions!

(I’ve included affiliate links for your convenience. I earn a small percentage from a purchase using these links. There is no additional cost to you. You can read more about affiliate links here.)

Materials:

 Instructions:

1. Begin by removing the grill if you have one solid piece of glass with faux dividers (see my video below for more details on removing the grill.) If you have true divided light, move on to the next step.

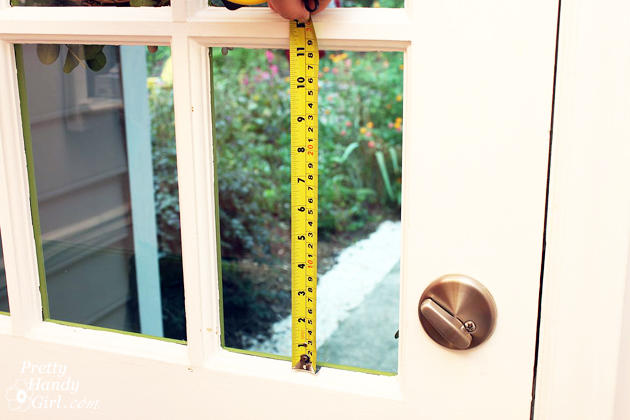
2. Measure your windows. Reduce the size by 1/8″ to leave space at the edges for the water to escape. Transfer the measurements onto the film with pen. Cut the window film with the x-acto knife and ruler. (You could use scissors in a pinch.)
How to Add Security Film to Glass Doors & Windows | Pretty Handy Girl Read more

personalized wall shelf

Happy Wednesday Pretty Handy Readers!  Today’s project is a DIY personalized wall shelf and I’ll show you how to make it.  I’m Jaime from That’s My Letter, a fellow DIY blogger who builds, paints and sews.  I made this wall shelf as a gift for Bryce’s birthday, it makes a great statement AND it’s useful too!

personalized wall shelf 1

Just a bit of painting and assembly to make this awesome, personalized wall shelf.  And of course you can adjust the paint colors to fit your scheme.  Bryce happens to have navy painted walls in his bedroom so I know this wall shelf will really pop once hung in his space.

personalized wall shelf 2

The stained wood shelf adds just a touch of warmth and coordinates well with the hardwood floors.  For a deeper shelf, use a wider board. I used a 1×3 but you could use a 1×4 or larger.

Materials:
(Amazon affiliate links included)

personalized wall shelf supplies

  • 1/2″ or 3/4″ plywood cut to desired size (approx. 2′ x 4′)
  • scrap piece of 1/2″ plywood approx. 4″ x 36″
  • 1×3 pine board cut to width of plywood
  • 9″ MDF Pre-cut letters
  • Single robe hooks
  • French cleat kit
  • paint, roller & brush
  • stain & foam brush
  • sandpaper
  • tape measure
  • pencil
  • wood glue
  • 2″ wood screws
  • 3/4″ wood screws
  • drill & bits
  • nailer & finish nails

Instructions:

Before beginning, layout your letters onto plywood and cut the plywood to size based on the length of the name.

Step 1: Apply stain to the 1×3 shelf piece on all sides using a foam brush. Wipe off the excess.  Set the shelf aside and let it dry.

personalized wall shelf step 1

Step 2: Paint your letters.  Paint your plywood back (not shown).

personalized wall shelf step 2

Step 3: Distress the edges of the letters using sandpaper. Read more