I’ve been putting off this post for a long time. I probably should have written it three years ago. But, each time, I thought to myself, “I don’t want to write about negativity on my blog. I want this to be a positive and empowering space for people (especially women) to be inspired to pick up a power tool and/or complete that DIY project they’ve been putting off.”
This past week I witnessed and endured something that made my blood boil. Supposed DIY experts belittling women. Most of the behavior wasn’t blatant, it was subtle. Some of it was body language (crossed arms, wide leg stance and a scowl while being asked a question.) And some of it was not so subtle with a condescending comment or tone. And this behavior made me mad. No—take that back—it burned me up inside!
Why? Because I have a dream that one day when any woman walks into a hardware store or a home improvement store it will NOT BE ASSUMED that she isn’t handy or that she is incapable of completing a major home renovation or repair. I dream that there will be a day that the stereotypes about women and men will cease to exist. And I know that any woman that is belittled or turned away from DIY is one less step toward my dream.
 Sandra of SawdustGirl.com and myself
Therefore, I think it’s time to address that big fat wall that’s holding us back. What is it that scares you about DIY? Is it the fear of a power tool? The fear of screwing something up? Of injuring yourself? Of breaking something?
Well, it’s time to break down that wall!
First, you need to peel back those layers and really address why you don’t think you can. Did you get messages from others that became part of your beliefs about your own abilities?
How was that wall built? Did it start when you were a child? Did your Dad or Mom tell you not to touch a tool for fear you might hurt yourself? Did your Uncle or neighbor laugh at you when they saw you trying to fix something? What was it? Usually that wall is a culmination of years of messages that get embedded into your brain, until you are stripped of the self confidence necessary to try something new.
Do any of these messages sound familiar:
- “That’s a man’s job. Let a man do it.”
- “You might break it.”
- “You’re not strong enough.”
- “Why don’t you hire a professional?”
- “Here, let me help you with that.”
- “Stand back, I’ll take care of it.”
- “Don’t hurt yourself.”
Or was it a more subtle message from a professional or someone more experienced who threw a bunch of technical jargon at you making you feel confused or inferior.
I want to share with you some of the nasty comments I receive (especially on YouTube.) The comments are direct assaults on my self esteem and confidence. After reading them, I often begin to doubt my own abilities. Here are just a few of those nasty comments:
- You really should remove your power tool tutorials. Some idiot is going to seriously hurt themselves.
- What she is saying is completely wrong esp the part about wetting the caulk but at least she is trying.
- Woman, you do it wrong
- Get back in the kitchen where you belong.
- Women shouldn’t use MAN tools. There is a reason god made you bare children and born with a frying pan in your hand.. This is the same as being a lesbian in my book seeing a woman pick up a tool!
AND then this person left a reply to that last degrading comment:
“Hey dude with the negative comments toward women… disrespectful ! Why can’t a women use power tools? She can do whatever she likes. I think you are old school curmudgeon that is afraid of women, and in controlling what they do, that keeps you feeling like KING SHIT ON TURD ISLAND. Newsflash – we’re in 2014 – get used to it loser! I hope you are man enough to apologize to Brittany for your loser comments.”
I wanted to high five that commenter! He had it right. There are a lot of people who are threatened by women who can DIY. They view it as a threat to their masculinity. Heaven forbid a woman realize that using a power tool or fixing something isn’t rocket science.
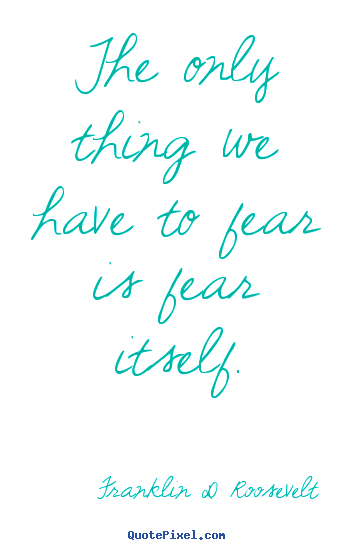
Let me be the first to tell you. You CAN do it! That wall of negative and self-deprecating messages is going to come down NOW! No offense to anyone who is a plumber or knows a plumber, but I sincerely doubt that you have any less brain cells than that guy who’s mooning you while trying to fix your leaky sink. He just has a little more knowledge and experience at tightening slip nuts and p-traps (sorry, I didn’t mean to throw out the technical jargon.) However, when that plumber started, he had no more expertise than you do. He may have been trained in an apprenticeship or trade school But, lucky for you, today there is a wealth of resources to teach you how to fix anything! YouTube, Google, FamilyHandyman.com and many many many blogs that will help you complete a DIY project using step-by-step tutorials!
Still fearful of using a power tool? Well, here are the facts. If you are safety conscious, you will take the time to read the manual and go slow when learning how to use a new power tool. You will have less of a risk of injuring yourself than a seasoned pro. Why is that? I call it the healthy fear factor. If you respect the tool and have a healthy fear of it, you will double-check that you are keeping your hands and body away from the tool. You will be sure that your hair is tied back and you have removed any jewelry or loose clothing. You will not rush through a cut or task. You will give that tool your full attention and make sure that you are staying safe.
A few years ago one of my favorite contractors told me he had to retire. He had accidentally cut off one of his fingers. This is a man who had been building and fixing for decades! And he cut his finger off. How? He told me, “Brittany, I was stupid. I did not respect that tool and it bit me. I was rushing through a job and cut my finger off with an angle grinder. I’ve used that tool hundreds of times and was complacent and didn’t give it my full attention.” And that is why it is important to ALWAYS respect the tool. It’s okay to have a healthy fear of power tools! In fact, it is what will keep you safe.
I encourage you to take a hard look at that wall of negative attitudes about DIY.
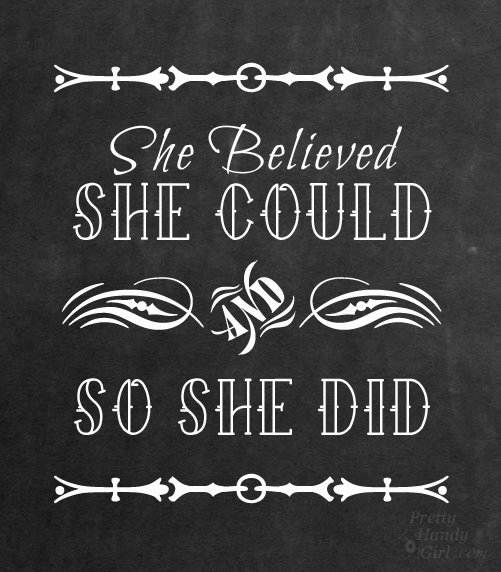
Don’t let someone rob you of your self confidence. If you are reading this post, know that you are an intelligent human being who is capable of much more than you give yourself credit for. Grab that wall and pull it down. Believe in yourself and tackle that DIY project. I’m here if you have questions. I’m here to give you positive encouragement. Just think to yourself, “What Would Pretty Handy Girl say?” and build up a platform of positive thoughts and messages so you can dive off the top of that wall of crap!
What’s the worst that can happen if you do try to fix or build something? If you screw it up, so what! Call in that professional. But, stick right by his or her side and watch how they fix it. Don’t be afraid to ask questions. AND hopefully they will keep their butt crack inside their pants. Should you succeed at the project, rejoice! Celebrate and share with your girlfriends. Let’s break down the stereotype wall together.
Feel free to leave a comment below about that time you were talked down to or someone made a condescending remark. Let’s all lift each other up and reassure one another that we can do it! High fives all around!
![]()
P.s. This post is dedicated to my blogging friend and fellow power tool wielding DIY Rock Star! You go girl!