Hey all, I’m safely at Blissdom now and meeting many other inspiring bloggers. Unfortunately, there is one blogger who, sadly, I won’t be meeting. Jessica from Decor Adventures. She is as sweet as can be and a real kindred spirit when it comes to DIY projects. Instead she’s staying home to kick DIY butt in her basement, but agreed to take some time to meet you all in my absence. Take it away Jessica!
Jessica

Hello Pretty Handy readers! I’m Jessica from Decor Adventures, a professional by day and project addict by night, decorating my new 111 year old house. Today I want to share with you how to hang plates on a wall.  It’s so simple, with no visible hardware, you’ll be hanging them up in no time.

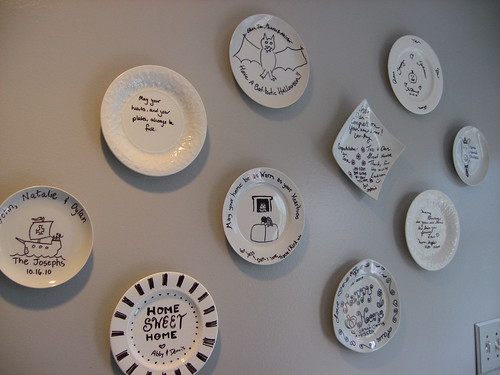
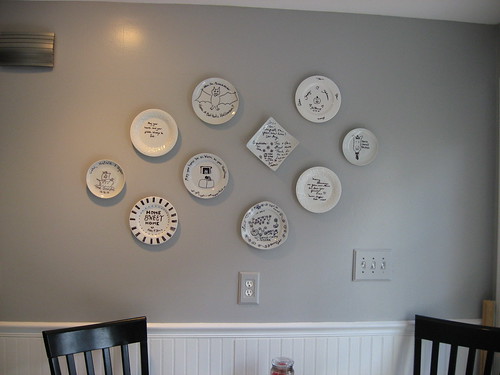
When we had a housewarming party last fall, we made our guests participate in a fun little activity while helping to decorate all at the same time. I got some inexpensive plates at the thrift stores and asked our guests to freestyle it!  We had them decorate plates to hang in our house with their well wishes for our first place.
Kitchen

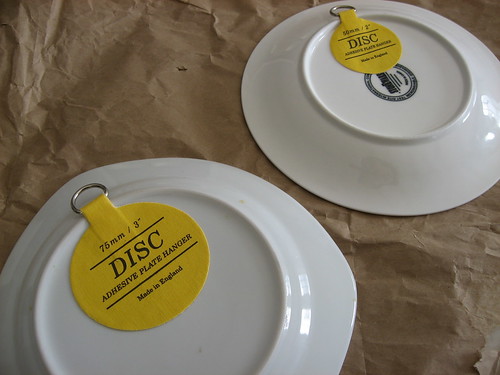
First the secret is Dischangers. They are easy to order online, ship super quick and come in different sizes to hold various weight.

To use them, moisten the disc and secure it to the back of your plate then let it dry overnight. Make sure you wait, even if you want them up right away. You don’t want any plates crashing to the ground because the glue is wet!
Plates

To make my arrangement I used a technique I saw online where you make a grid of your art on a piece of paper, hang it on the wall, nail in the holes, hang up your art, pull the paper away and presto! Art on the wall. This actually can be done with different wall arrangements, plates, art or photos, etc.

To get started I pulled out a piece of packing paper that came in box from an item I ordered. I was that thick butcher paper. I laid it out on the counter space which was just about as big as my wall area.

Then I arranged the plates on the paper how I wanted them to look on the wall. This way I could move them around without having to hammer a new hole in the wall.
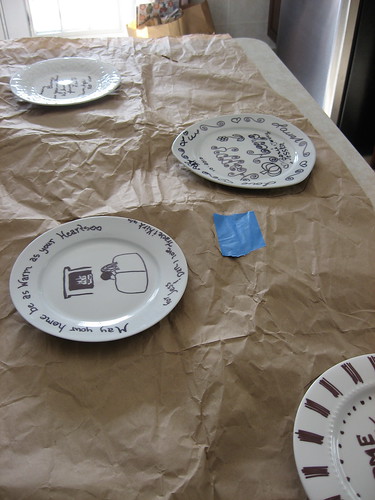
Plates

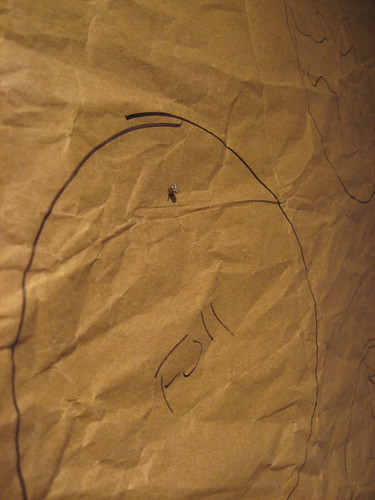
Then I traced each plate onto the paper with a sharpie, making sure it didn’t bleed onto the counter underneath. You can write on the plates or art which piece it is. This will help to see what you’ve got going where.
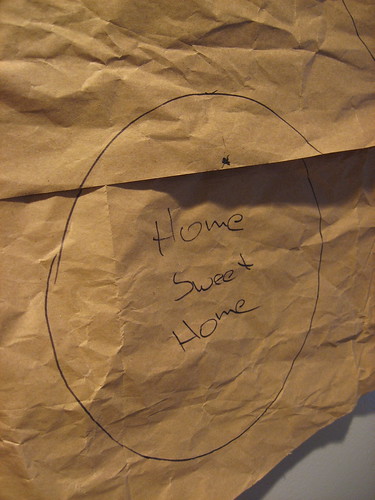
IMG_8563

Then I removed the paper from under the plates and hung it up on the wall with painter’s tape. Now you’ll see the placement of your art/plates.
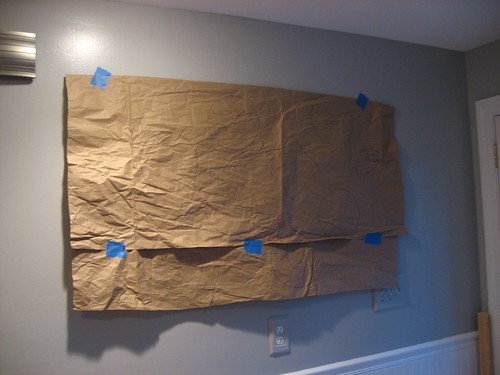
IMG_8561

After that, measure where each nail hole goes,
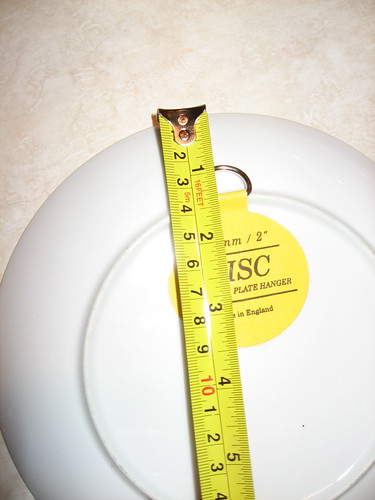
IMG_8562

mark that spot on your “plate” on the wall,

IMG_8563

and hammer one in!

IMG_8565

Once you carefully remove the paper, you’ll have your nails all ready to go.
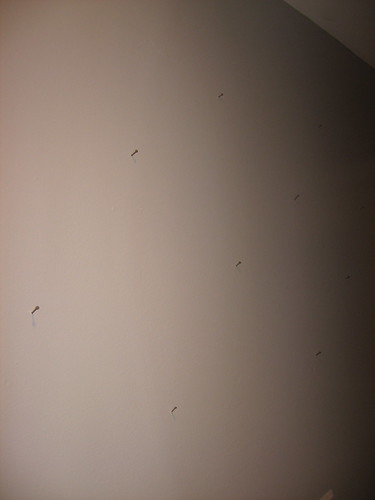
IMG_8566

Lastly, simply hang up your art and you’re done.
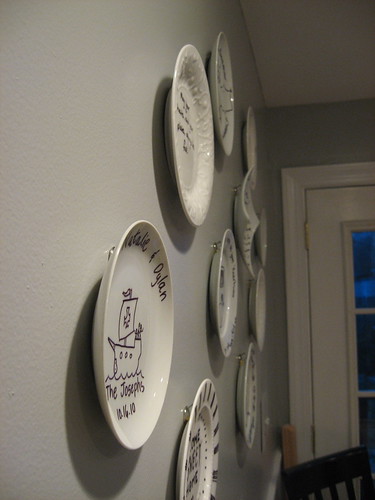
IMG_8570

Plates

This is the little bistro corner in our kitchen. So when our friends come over they get to see their handiwork.
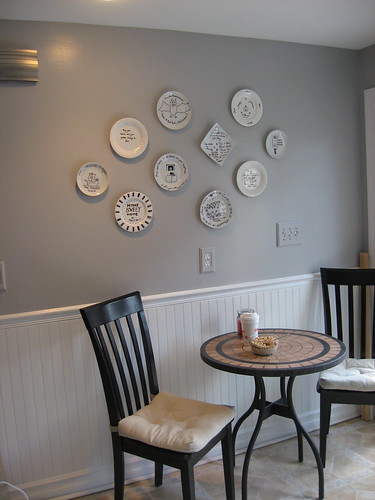
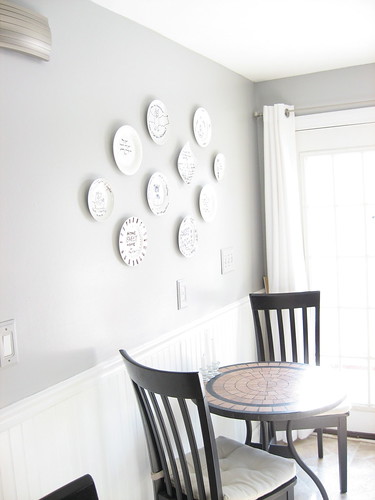
Kitchen

IMG_8812

Hoped you learned something today with my plate art. Do you have a technique for hanging things up on the wall? Any tips you want to share?

Thanks again to Pretty Handy Girl for letting me visit!

Please give Jessica a round of applause. Wasn’t that a great tip for hanging plates? I think I’ll be using this technique to hang our family photo wall soon!
You should hop over to her blog where she and her husband are doing some crazy renovations to their home.

When Miss Mustard Seed and I were junkin’ on Black Friday, she asked what I was looking for. I immediately answered rustic, rusty, and anything that looks aged and has a story to tell. I am so wacky like that, I could care less how well something is made or if it is an expensive antique. When I die, my kids are going to be sadly disappointed that all these antiques I’ve collected over the years aren’t worth a dime. C’est la vie, right?

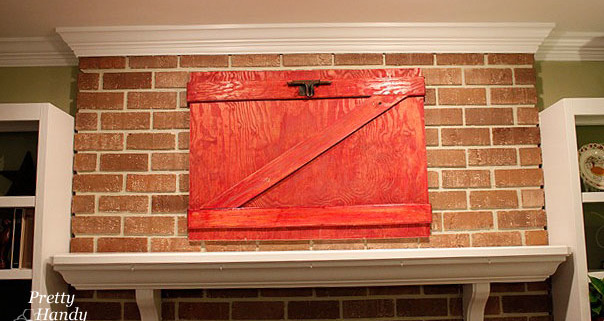
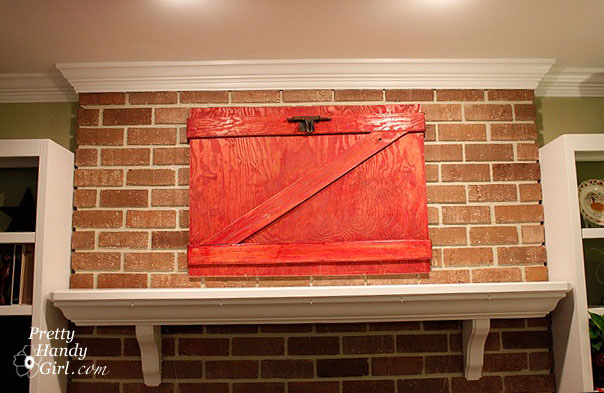
So, this year for our Christmas décor, I decided to create a natural rustic country inspired theme. What better way to invoke that spirit than with an old barn door. The only problem was that I didn’t own one. No problem, I’d just make one!

Materials:
Plywood board – painted or stained red
3 – 1″ x 4″ boards – painted or stained red
Nails or screws
Wood glue
D-ring picture hangers
Picture Wire
optional: Rusty door parts

In my “I can’t throw anything away scrap pile” I took some old plywood scraps that had been stained with red stain.

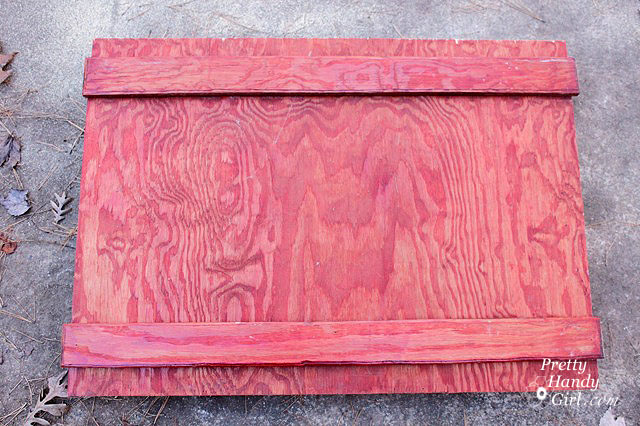
You will need to measured the space above your mantle, subtract a few inches from the top and bottom, then cut the plywood down to size (using a circular saw or table saw.)

Lay two 1″ x 4″ strips of plywood as cross pieces.

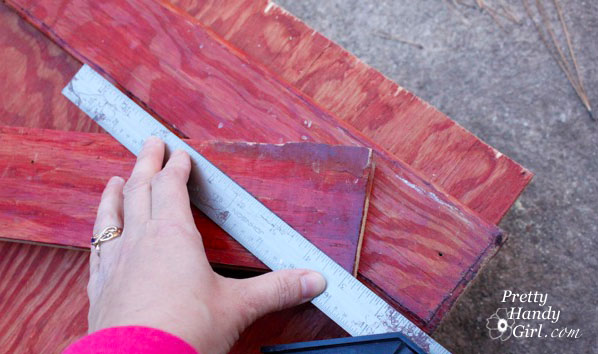
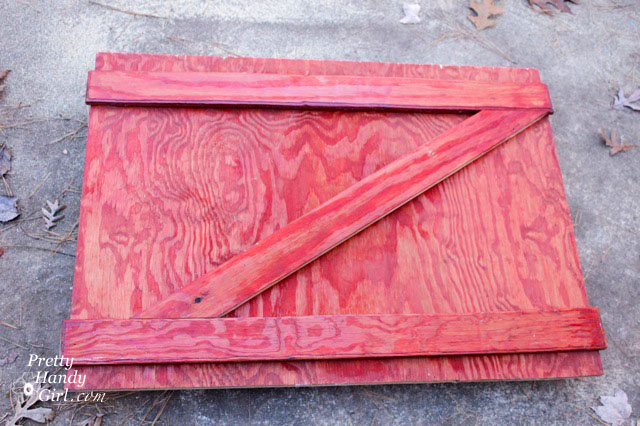
And one 1″ x 4″ piece at an angle. Draw a line where the horizontal pieces intersected with the diagonal piece.

Use a miter saw, circular saw or jig saw* to cut the angled cuts.

Liberally appy glue to the back of the 1″x4″ strips to secure them to the plywood base and then nail some finish nails into the strips to secure them. You can use a pneumatic nailer* if you have one, but screws or regular nails hammered in will work just as well! No need to buy any new tools for this project.

Hopefully you have a nail or hook already installed on your fireplace. Luckily I did, but in the past I have also just leaned artwork against the brick. So, if you choose to lean, ignore the next few steps.

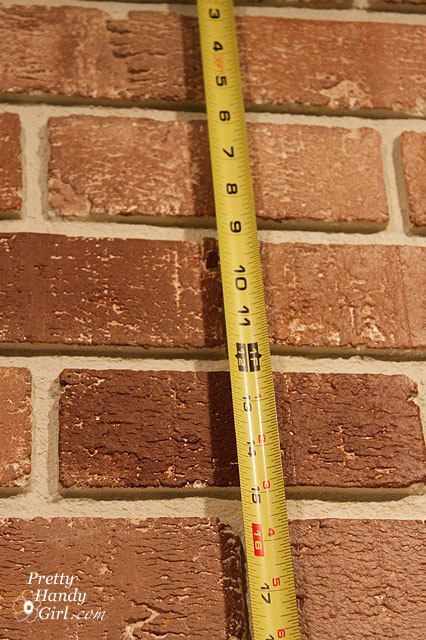
Measure the location of the hook on your mantle. For example, if the hook is 20 inches from the ceiling, and you want your barn door’s top to hang 12 inches from the ceiling, then you will need to install the hooks 9 inches down from the top of the barn door. This will allow an inch for the wire to slack. Get out your D shaped picture hooks and screw them to the back of your barn door using a cordless drill* or just a screw driver and some muscles. Repeat on the opposite side.

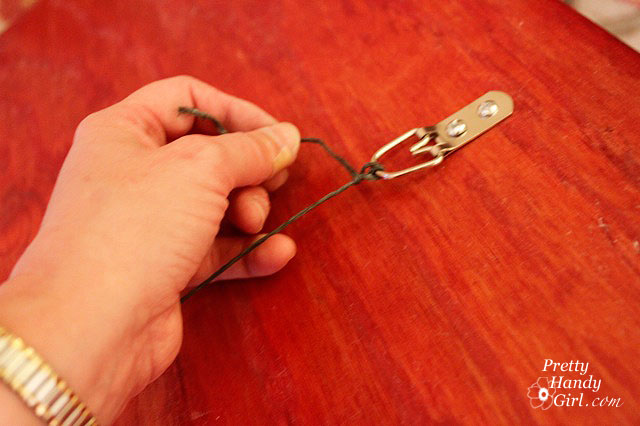
Feed some metal picture wire through one D ring. Twist once…

…then feed the wire back through the D ring and twist the rest of the wire tightly against itself.

Pull the wire taught and repeat on the opposite side.

This is the best way to attach picture wire so it doesn’t slip. If you are hanging something super heavy, you might need to loop the wire back through the D rings a few more times.

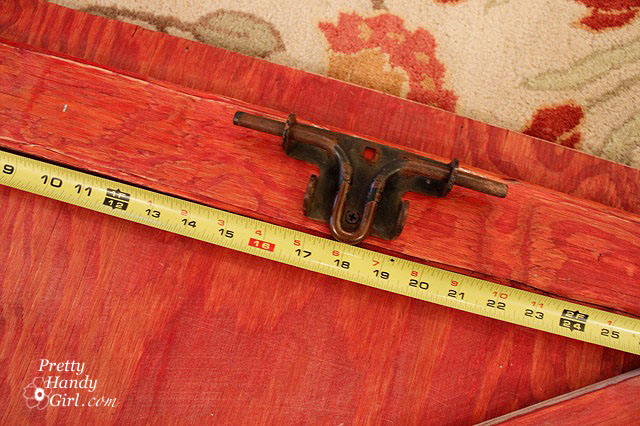
If you have some old gate handles, hinges, or latches, attach them to your door. I screwed this old RUSTY gate lock to the top of my barn door. It makes a convenient hanger for…

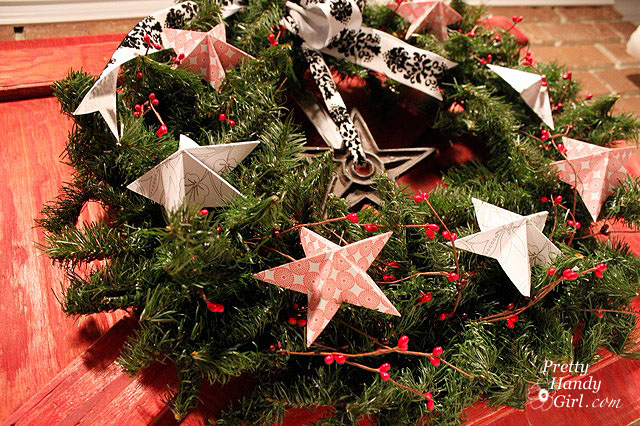
…my Christmas wreath!
That’s all I’m going to show you of our mantle today.

Did you like this post? Want to be notified when there are more fantastic tutorials by Pretty Handy Girl? Sign up to receive emails in your inbox:

Enter your email address:


Delivered by FeedBurner

Or follow me on Twitter or Facebook so you can be the first to know!