
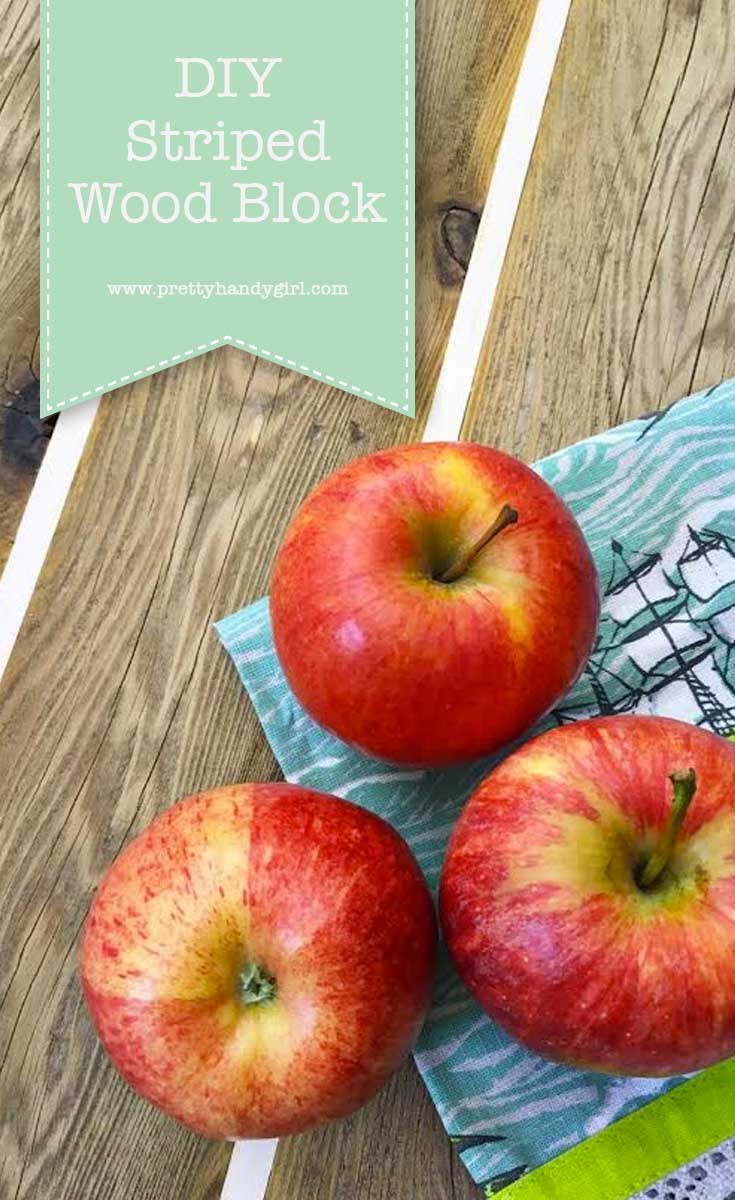
How to Make a Striped Wood Block
I’ve always wanted to experiment with different color woods and make a striped wood block. Normally this technique is used for creating beautiful cutting boards. But, you can use this technique for much much more! Ready to learn How to Make a Striped Wood Block?
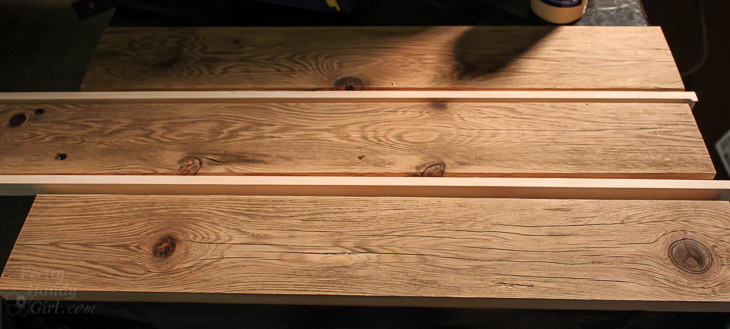
Begin by choosing your wood. All the wood should have the same thickness. I worked with some weathered cedar and new pine boards to get beautiful contrasting gray and white colors on my board.
Squeeze a liberal amount of wood glue onto the wood edges being glued together.
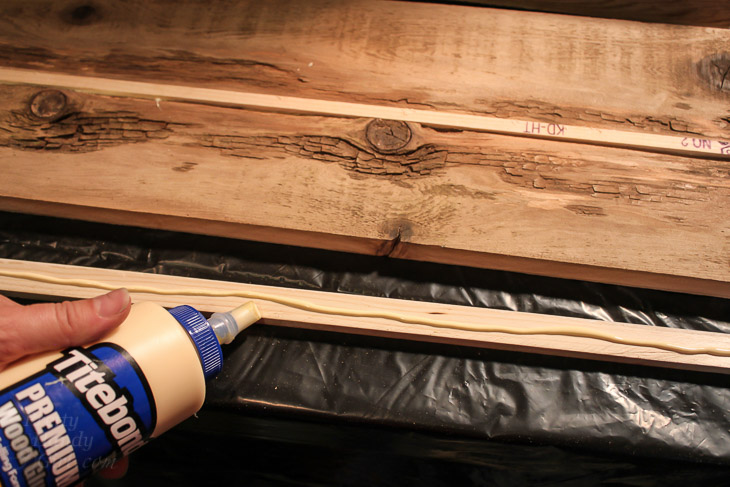
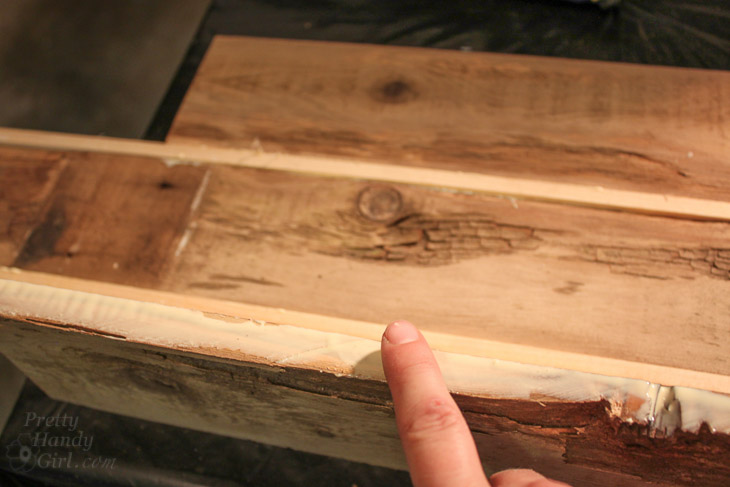
Spread glue along the entire edge of each board with the exception of the outside edges.
Clamp the boards together. Wipe off any excess glue that squeezes out.
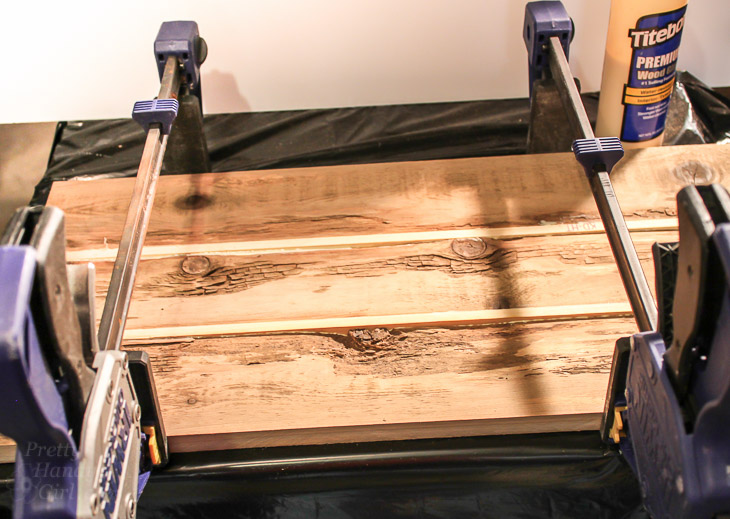
Let the glue dry overnight and remove the clamps in the morning.
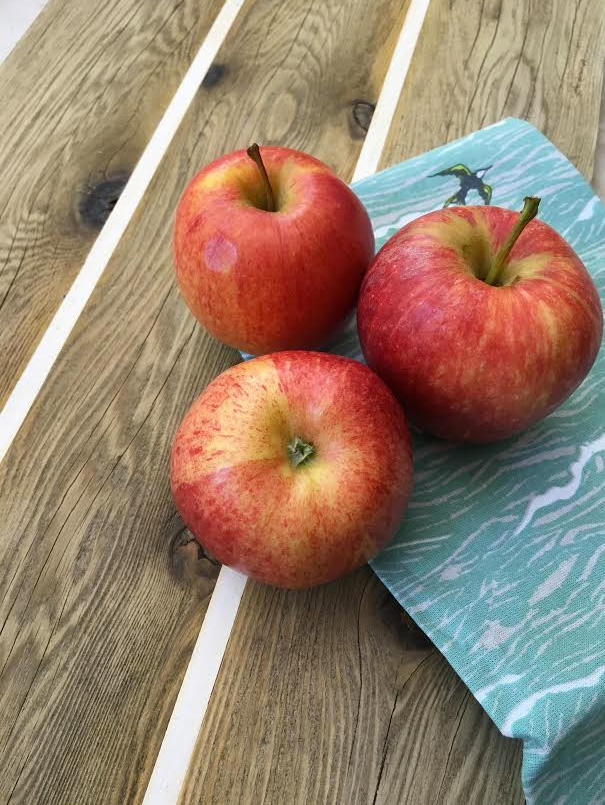
What’s left is a beautiful striped wood block. This could be a tray, a backdrop, a plank or board for building and much much more!
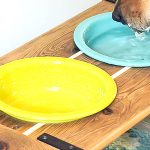
I can’t wait to show you what I made with this striped block. Can you guess? You’ll have to check back on Monday to find out.
![]()
Pin for later!

We use to do something similar to this in wood shop class in school but we would use the same color wood with the same steps to make larger sized boards. The only difference we would run it through a planer and you could not see ANY seams even close up. I would love to try it combining your method and that one to get the different color effect! Thanks for the idea!
Did you square dowel type wood? It looks like it. But wanted to be sure
Come on Monday. . .
It’s live! https://prettyhandygirl.com/industrial-dog-bowl-feeder-stand/
Could not make out the results to good, but I love what I saw. You do really great work.
You should be able to see the results better in today’s post: https://prettyhandygirl.com/industrial-dog-bowl-feeder-stand/
Looks great, I’m guessing you made a cutting board!
Ahhh, good guess but no. The results are live now: https://prettyhandygirl.com/industrial-dog-bowl-feeder-stand/
Did you run this through a planer after you glued it? It looks level in the end shot but not in any of the progress shots.
Eliza, I didn’t but that’s because no one will see the uneven side. You can see the final project here: https://prettyhandygirl.com/industrial-dog-bowl-feeder-stand/