Painted Chandelier Sleeves | Pretty Handy Girl

Painted Chandelier Sleeves | Pretty Handy Girl

When you were perusing my holiday tablescape post did you see my fancy copper chandelier sleeves? My chandelier was looking a bit dingy with the aged yellowing sleeves. I decided to spray paint them copper for a new look.

To update chandelier sleeves, you can paint them any color you like.

Simply remove the light bulbs.

Painted Chandelier Sleeves | Pretty Handy Girl

Lift the sleeves off.

Painted Chandelier Sleeves | Pretty Handy Girl

Wash the sleeves off and dry them.

Painted Chandelier Sleeves | Pretty Handy Girl

Then pick your favorite spray paint color and spray paint them. I used Rust-Oleum High Heat Ultra Enamel Spray – Aged Copper to paint mine.

Painted Chandelier Sleeves | Pretty Handy Girl

That update was so easy, I might spray paint them again in a year. I’m thinking light blue or silver next time. What do you think?

PHGFancySign


Pin for later!

See how Pretty Handy Girl updated her dingy, aged yellow chandelier sleeves with copper spray paint! | Lighting DIY | Pretty Handy Girl #prettyhandygirl #DIY #lightingDIY #chandelierDIY

Quick Kitchen Cart Makeover with BB Frösh Chalk Paint Powder

Quick Kitchen Cart Makeover with BB Frösh Chalk Paint Powder

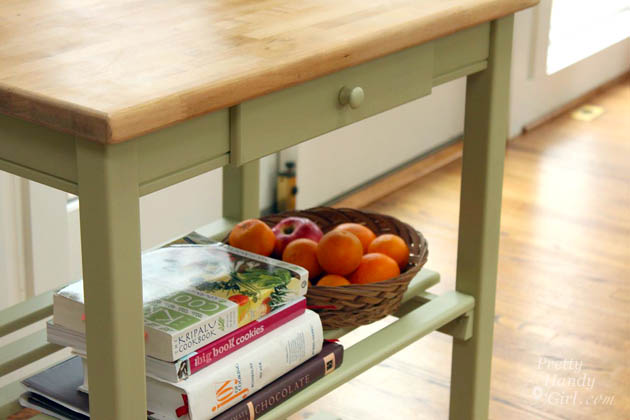
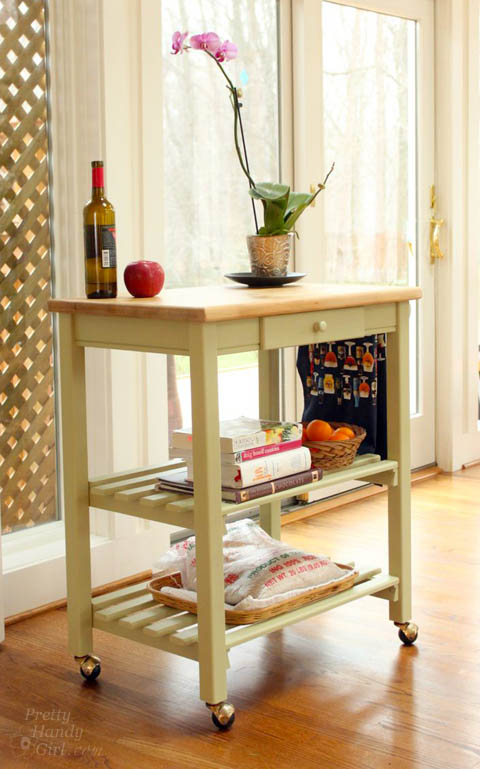
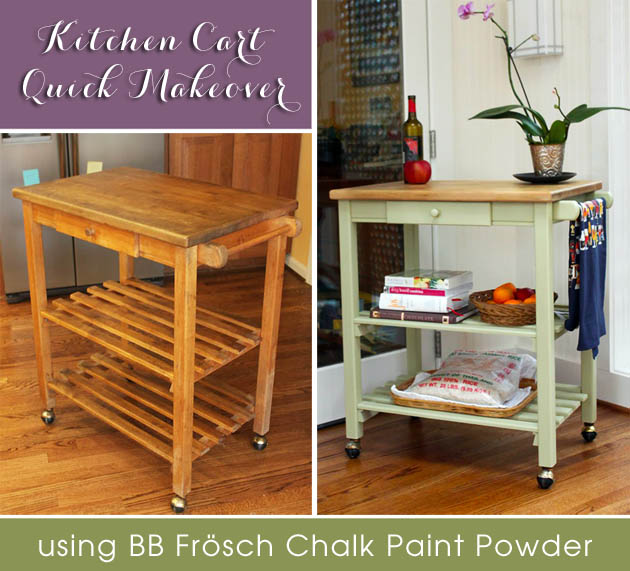
It seems I have a penchant for painting my late grandmother’s old furniture. You may remember the coffee table I wrote on of her’s. This kitchen cart was Grandma’s, but it had seen better days. It has been hanging out in my Dad’s kitchen for years now. My sister Caitlin decided to rope me into giving this kitchen cart a quick makeover over the holidays.

Quick Kitchen Cart Makeover with BB Frösh Chalk Paint Powder

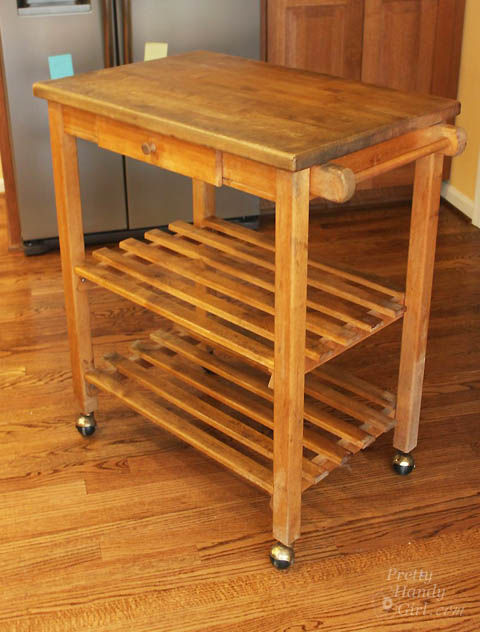
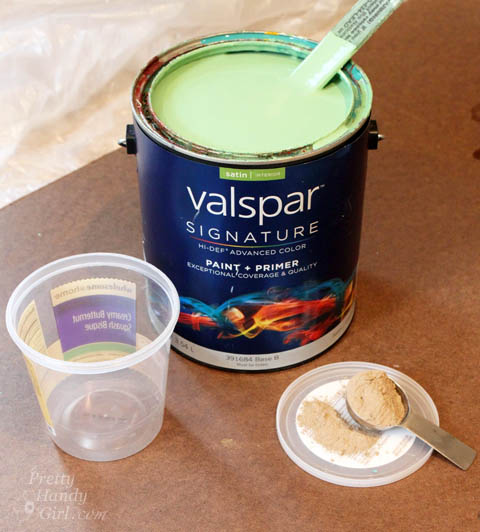
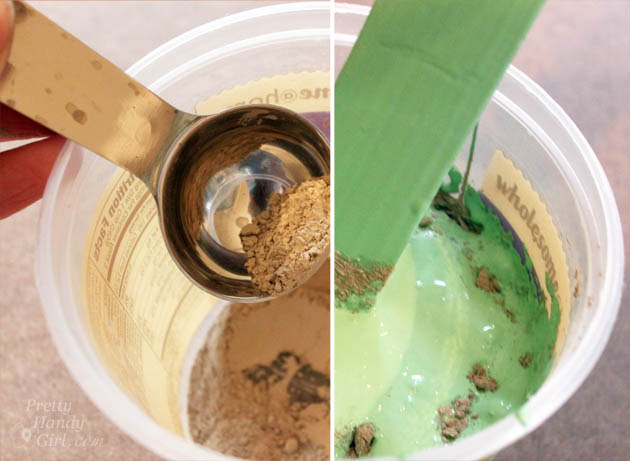
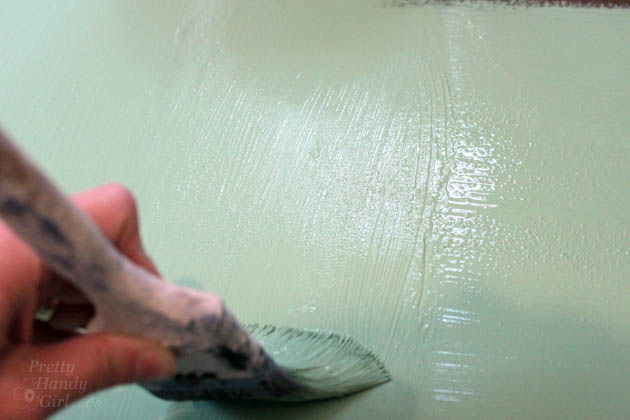
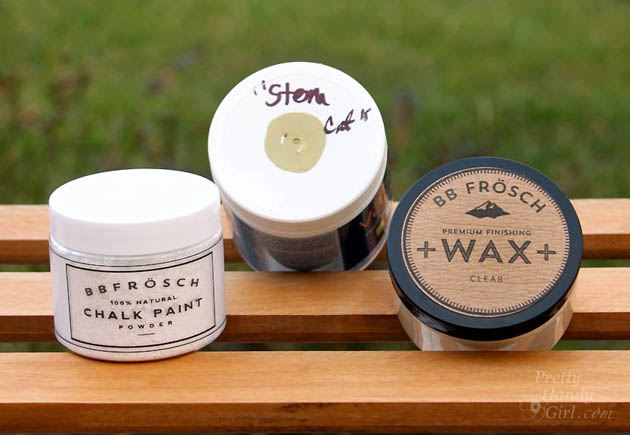
It actually turned into the perfect opportunity to try BB Frösch Chalk Paint Powder. The powder is mixed with water first and then any flat latex paint to create a smooth, durable chalk paint that can be painted directly over any surface regardless of whether it is bare wood, metal, or previously painted. Primer is not needed! For a soft durable finish, you can add a coat of BB Frösch Clear Wax.

Quick Kitchen Cart Makeover with BB Frösh Chalk Paint Powder

I can’t wait to show you how this chalk powder works and how quickly you can give furniture a makeover.

Materials:

(I’ve included affiliate links for your convenience. I earn a small percentage from a purchase using these links. There is no additional cost to you. You can read more about affiliate links here.)

Quick Kitchen Cart Makeover with BB Frösh Chalk Paint Powder

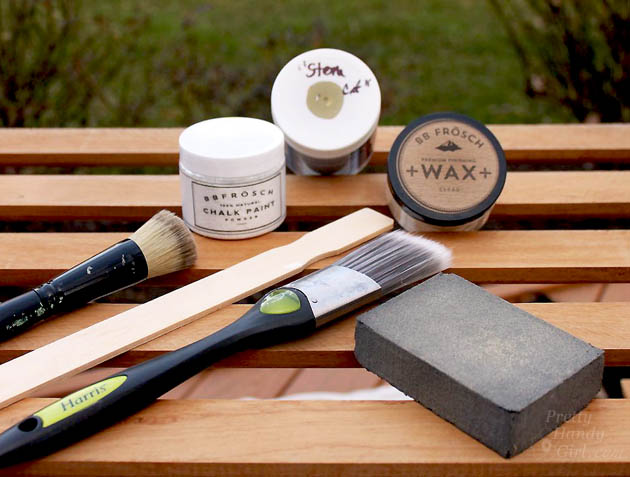
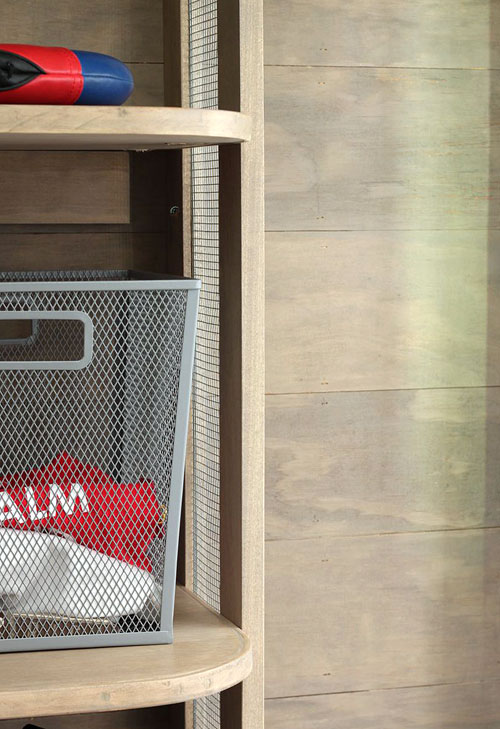
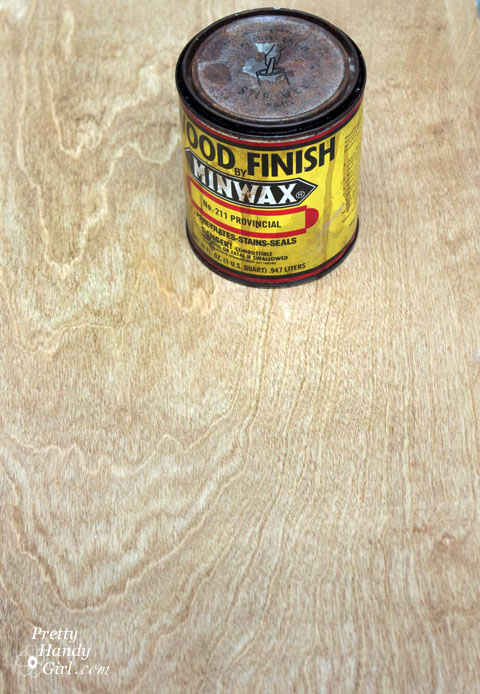
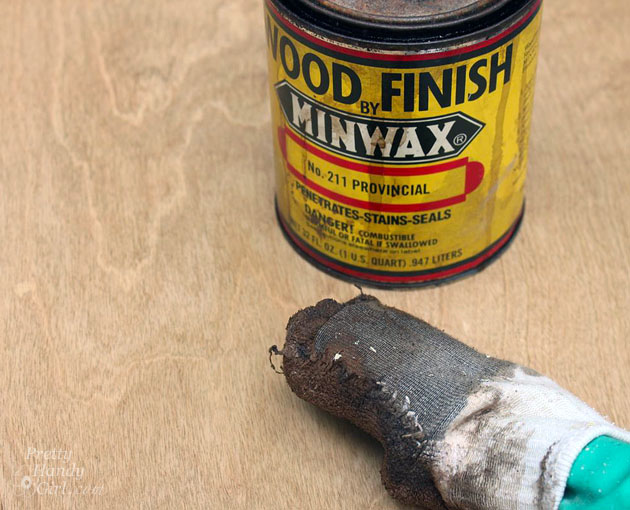
Optional (for butcher block top):


Instructions:

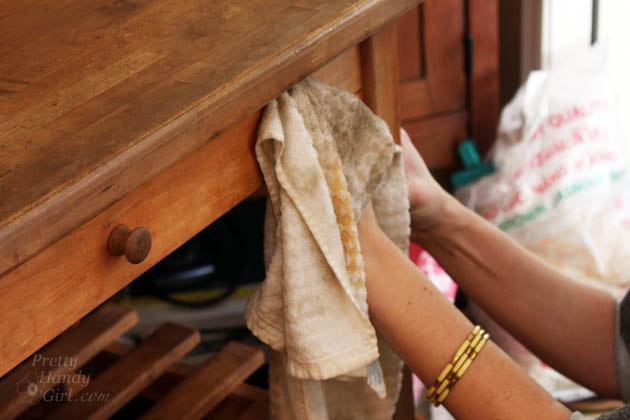
Begin by wiping off your kitchen cart with the damp rag.

Quick Kitchen Cart Makeover with BB Frösh Chalk Paint Powder

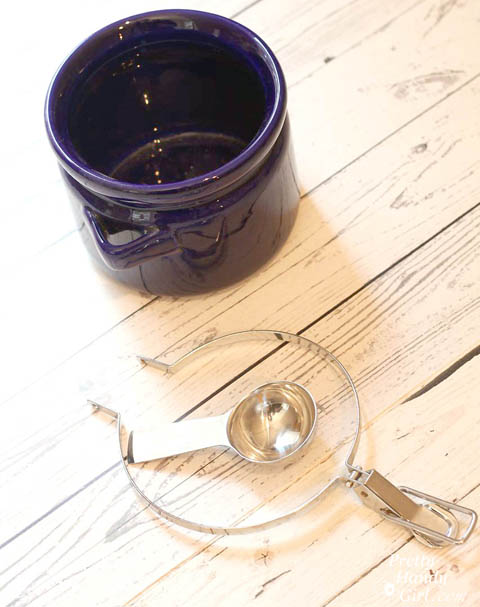
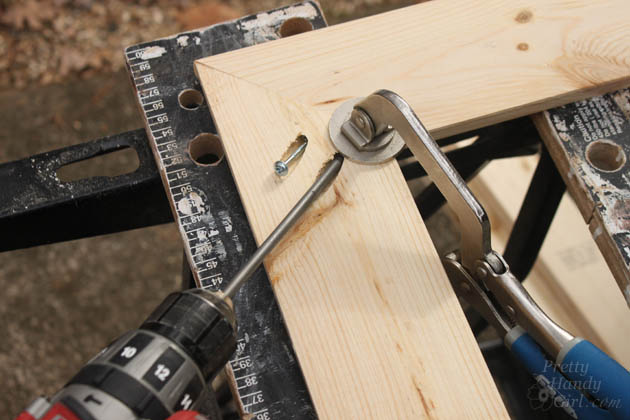
To remove the butcher block top, turn the cart upside down and remove the screws holding the top in place.

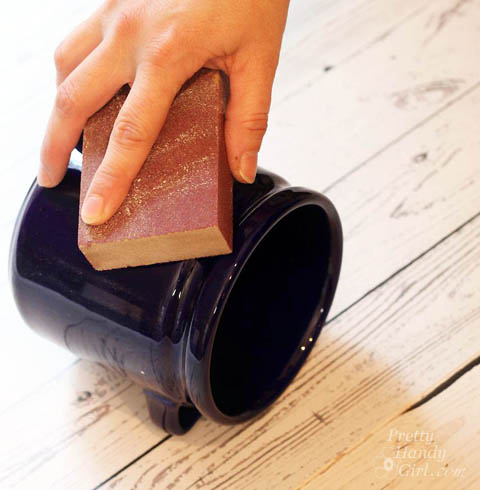
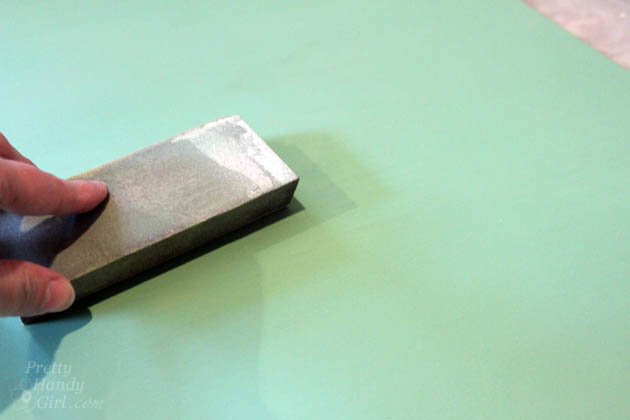
Lightly sand the rest of the cart with a sanding block. It helps to enlist the help of one adorable niece for this step. Read more

Metallic Color Block Canisters | Pretty Handy Girl

Metallic Color Block Canisters | Pretty Handy Girl

I’m back with another easy Lowe’s Creative Idea this month. When you get tired of your cobalt blue canisters you can easily spray paint them with a metallic color block pattern. That’s exactly what I decided to do with my thrift store canisters.

I’ve been on a major mission to purge things I no longer use or love from my house. I have almost completely filled our dining room with things to donate. I had contemplated donating my cobalt kitchen canisters because the color wasn’t making me happy anymore. But, then I realized that I could give them an entirely new look with some spray paint.

Materials:

Instructions:

Remove the lids, the metal ring, and spoons from your canisters.

Metallic Color Block Canisters | Pretty Handy Girl
(Wood plank photo backdrop courtesy of Leen the Graphics Queen.)

Use a sanding block to lightly rough up the surface of the canisters. Wipe all the sanding dust off with a damp rag.

Metallic Color Block Canisters | Pretty Handy Girl

Spray the outside and base of the canisters with Valspar Premium Primer. Read more

Build Your Own Giant Chalkboard | Pretty Handy Girl

Build Your Own Giant Chalkboard | Pretty Handy Girl

Have you scoured antique stores or Craig’s List looking for a big giant vintage chalkboard? Those vintage school green chalkboards are highly sought after. But, hard to find. I have good news for you! You can build a Giant Chalkboard any size you want! (Although, typically you’ll be restricted to 4′ x 8′ if you want to use a sheet of masonite.) And you can mix your own chalkboard paint in any color.

Take out your notebooks, your pencils, and get ready to take notes.

Materials:

  • Masonite sheet cut to desired size (mine is 22″ x 48″)
  • 1×4″ pine boards for frame
  • 1 cup flat latex paint in color you desire
  • 2 tbsp. of unsanded grout
  • Pencil
  • Stain
  • White paint
  • Paint brush
  • Sanding block
  • Container to mix paint in
  • Kreg Jig
  • Drill
  • 1 1/4 inch pocket screws
  • Staplegun
  • 1/2″ staples

Instructions:

Build Your Own Giant Chalkboard | Pretty Handy Girl

Pour 2 tbsp. of unsanded grout into your empty container. Add 1 cup of flat latex paint and stir well. (Yes, I used satin and it still worked.)

Build Your Own Giant Chalkboard | Pretty Handy Girl

Paint the masonite with the chalkboard paint. Pull your brush in one direction. Then smooth out the paint by dragging the brush in a perpendicular direction.

Build Your Own Giant Chalkboard | Pretty Handy Girl

Let the paint dry. Lightly sand and add a second coat of chalkboard paint.

Build Your Own Giant Chalkboard | Pretty Handy Girl

Let that coat dry and sand smooth.

Assembling the chalkboard frame: Read more

Gray Restoration Hardware Stain Recipe | Pretty Handy Girl

Gray Restoration Hardware Stain Recipe | Pretty Handy Girl

I’ve fallen in love with the Restoration Hardware Salvage Gray wood stain. But, try as I might, I haven’t found a pre-mixed stain that produces the same look. That never deterred me, and I don’t like to give up. Therefore, I created my own recipe for approximating that Restoration Hardware Weathered Gray stain. You may have seen this beautiful gray stain on my Sports Gear Storage Shelves the other day. Because I love you and I love to share, here is the DIY Restoration Hardware Weathered Gray Stain Recipe.

Materials:

Glaze: 

DIY Restoration Hardware Weathered Gray Stain Recipe Instructions:

Premix your glaze in a jar or bottle. 1 Part Valspar Arid Plains with 3 parts Valspar clear glaze.

Sand your wood smooth. Put on a rubber glove and slip an old sock over the glove. Dip you hand into the stain and wipe the stain onto your wood. Always wipe on stain with the grain.

Gray Restoration Hardware Stain Recipe | Pretty Handy Girl

After the first coat has dried, repeat by adding a second coat of Minwax Provincial stain. Let the stain dry.

Gray Restoration Hardware Stain Recipe | Pretty Handy Girl

Lightly sand the wood before applying the glaze. Read more