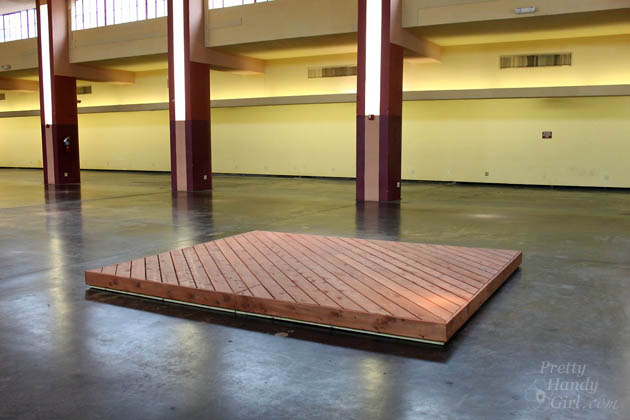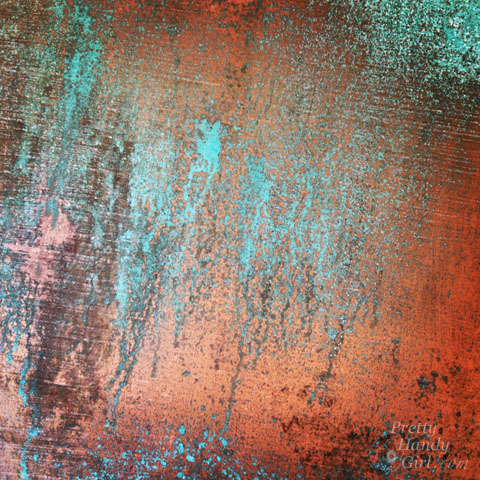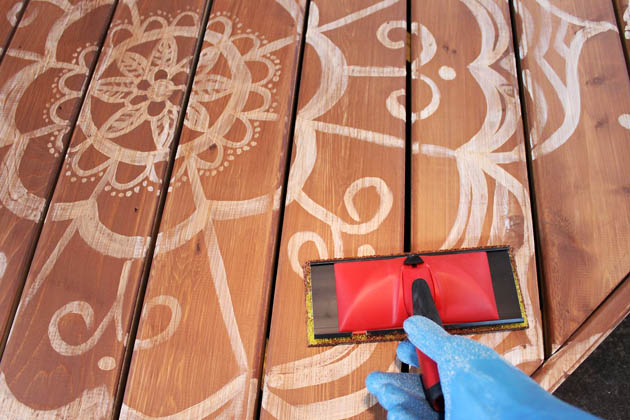

As promised, I’m back today to show you how to paint a giant mandala tattoo on your deck. Painting a design on your deck can turn an ordinary deck into a beautiful retreat. Add a few colorful accessories and you’ll have a backyard Bali getaway! Creating the mandala is a lot easier than it looks. Ready to get started?
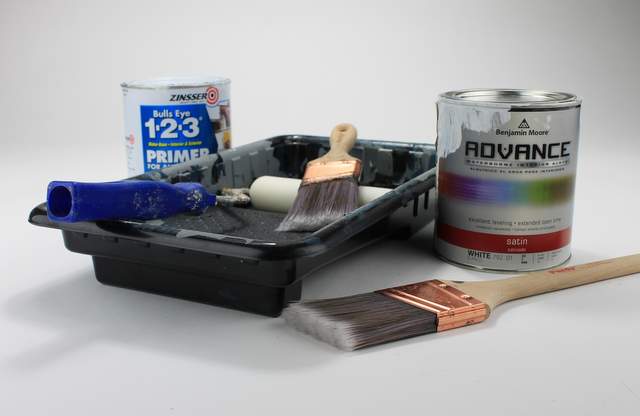
Materials:
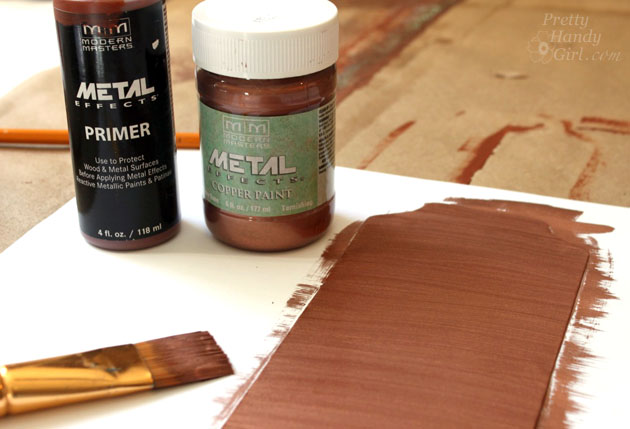
- Thompson’s Water Seal Semi-Transparent Deck Stain – Acorn Brown
- Chalk
- Tape measure
- Circle object to trace (dinner plate, paint can, etc.)
- Push pin
- String
- Damp rag
- White Farmhouse Paint (Or other chalky paint)
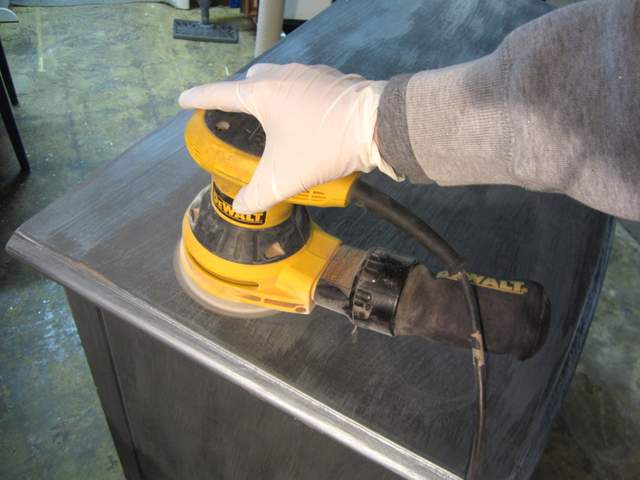
- Sander
- Small and medium round paint brushes
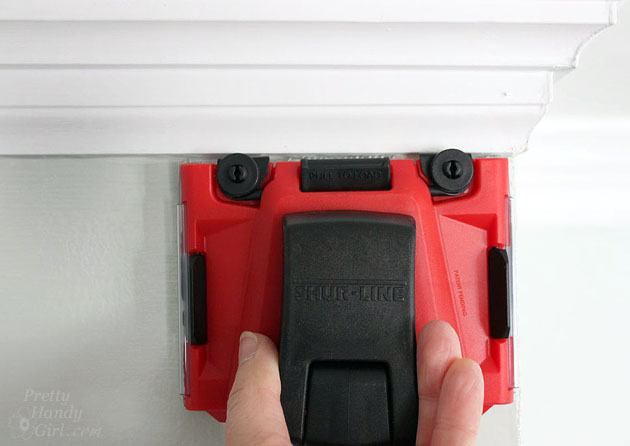
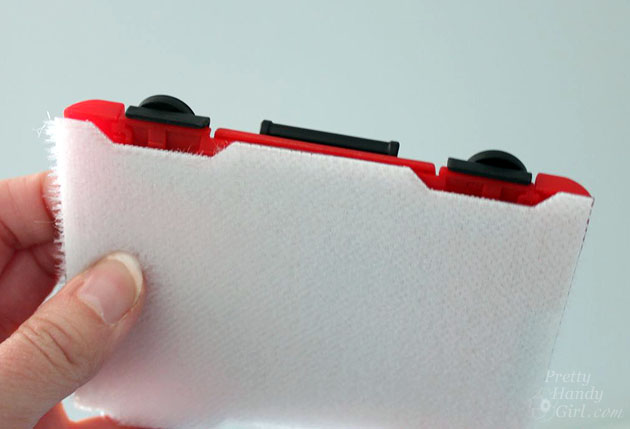
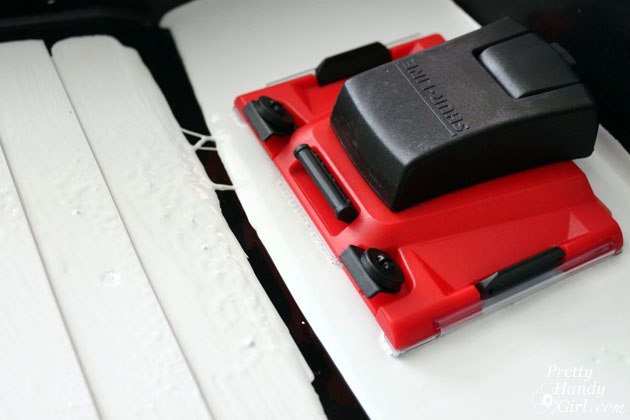
- Deck Stain Pad
Instructions:
Pre-stained your deck with one coat of Thompson’s Waterseal Semi-transparent stain. (I used Acorn Brown.) Allow the stain to dry.

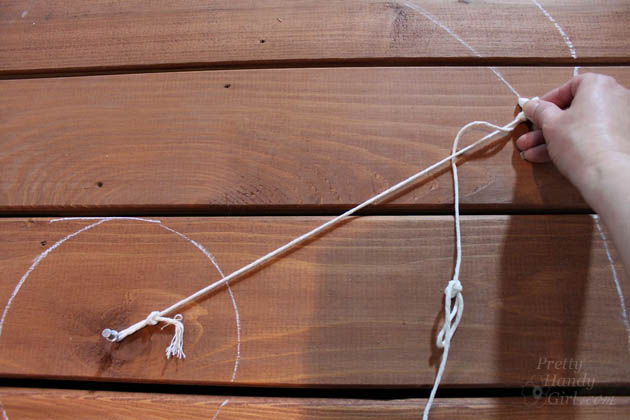
Choose the location for the center of your design. Trace around a small circular object or use the tack and string to trace a small circle.
Place the thumbtack in the center of the small circle and draw circles radiating out from the center. Try to add more distance from the previous circle as you go outward. (i.e. 3″ from the center, 6″ from the inner circle, 10″ from the 2nd circle.)
Divide your inner circle into eight sections and make a chalk tick marks. Read more