Millie’s Remodel: Framing, Electrical, & Plumbing – Oh My!
Millie’s Remodel: Framing, Electrical, & Plumbing – Oh My!
Come take a peek into the Millie’s Remodel project house and see the progression as I start to build back after demolition. Did I say demolition is finished? I thought it was, but looks like there might be a tad more. Let’s take the tour.

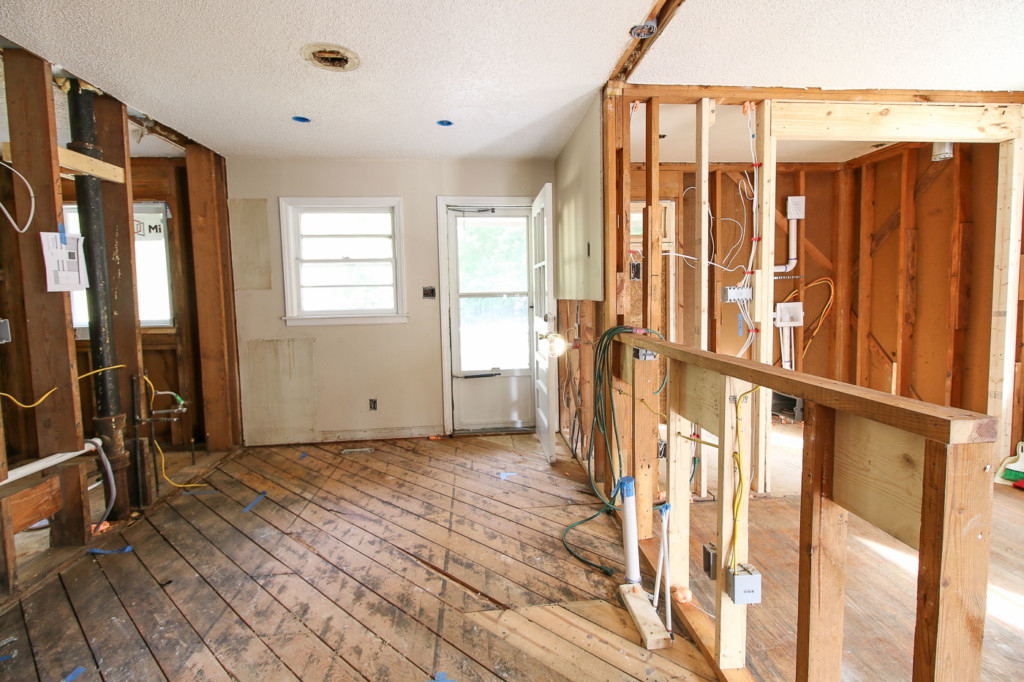
It’s been a busy few weeks since the demolition. But I want to give you a little tour and show you what’s happened at the Millie’s Remodel project. There’s a lot of change and the new plumbing and electrical is going in.
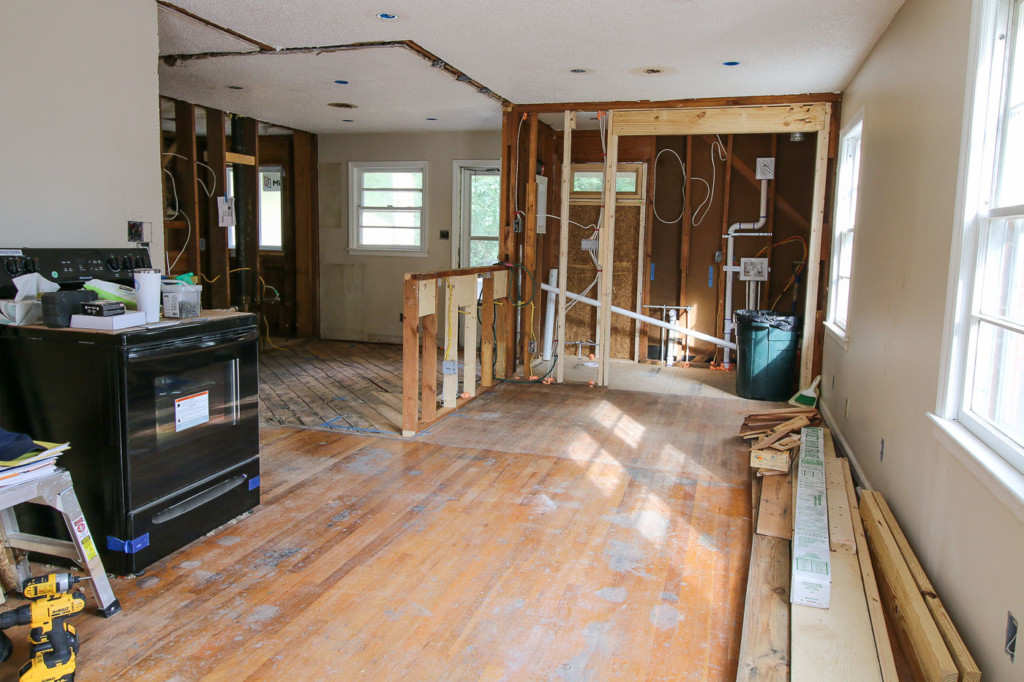
While the electrician and plumber were running the new lines, I spent my time framing the pocket doorway opening and adding blocking to weak areas under the floor. And although I thought demolition was done, I was only dreaming.
Want to see the video tour and updates? Watch my video filled with behind the scenes footage and a tip below:
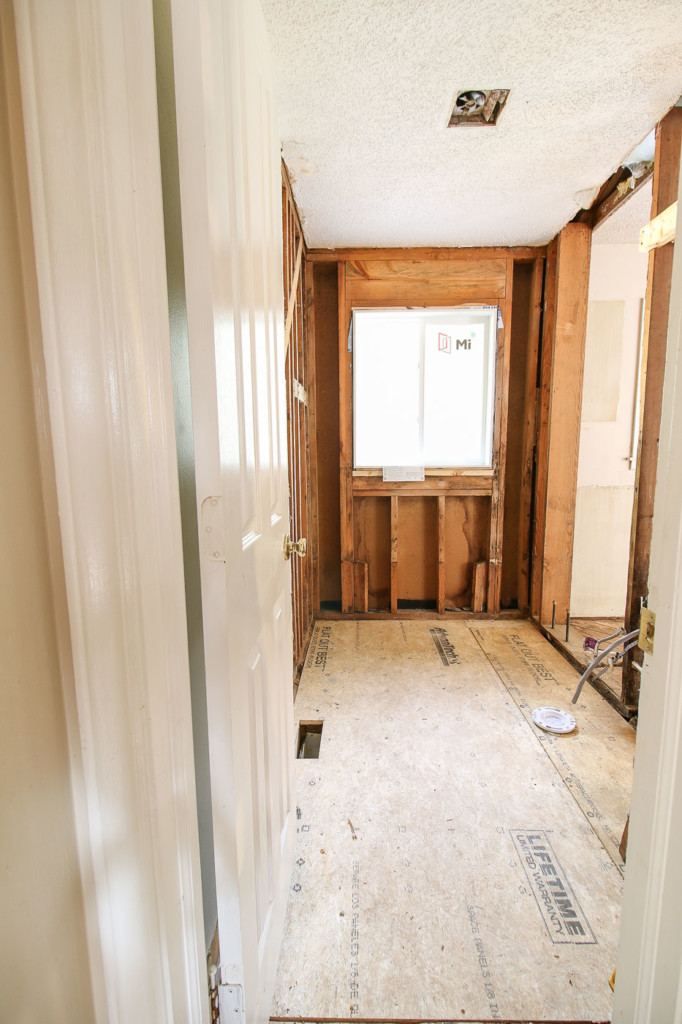
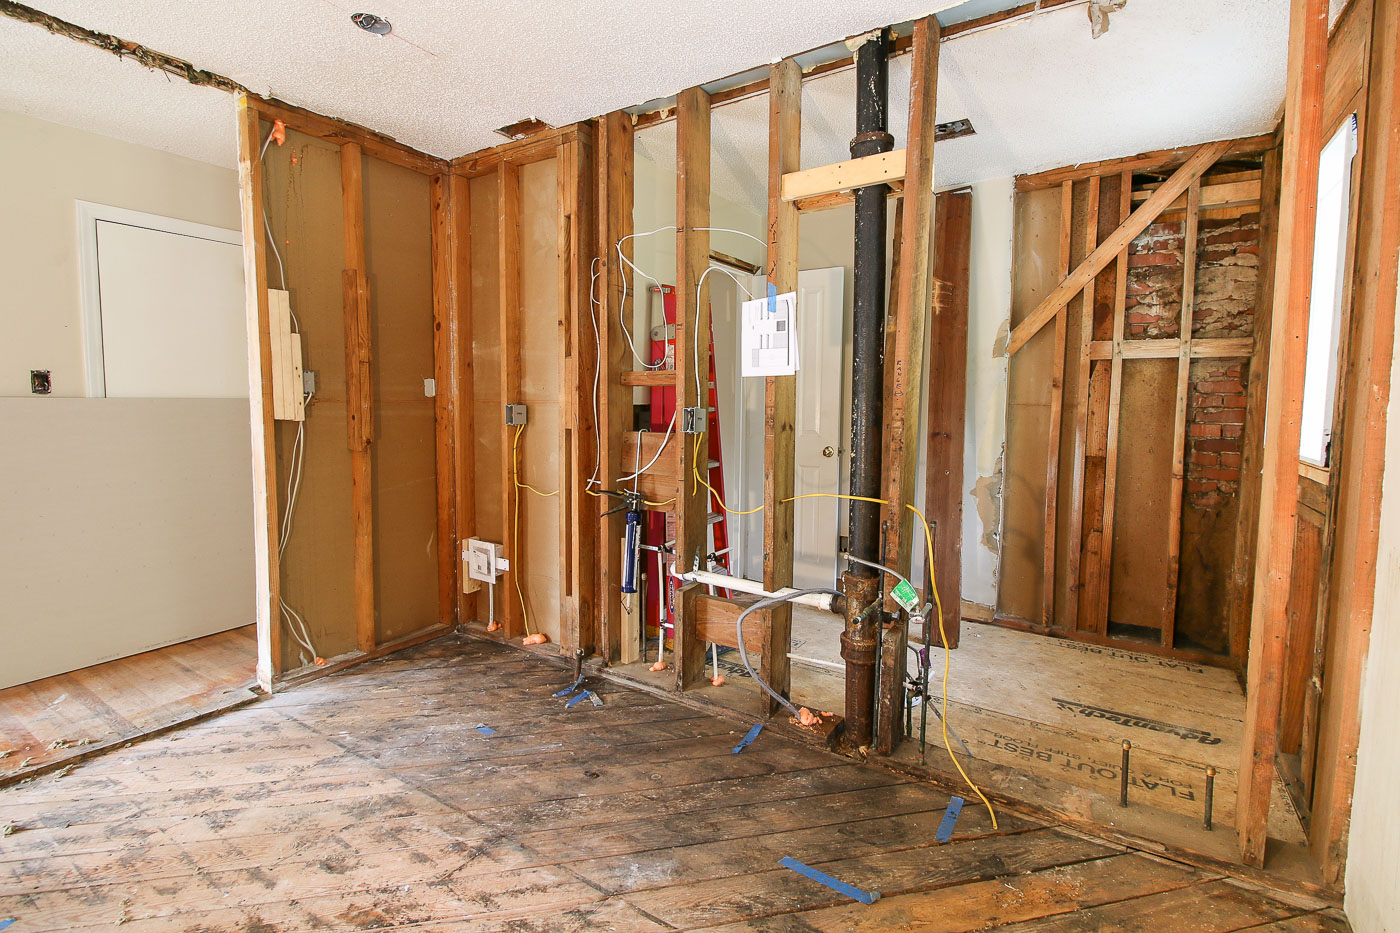
You can see my plumber has been busy running the new plumbing in the shared powder room and laundry room. I still need to frame the header for the sliding door, but first let me take you on the rest of the tour.
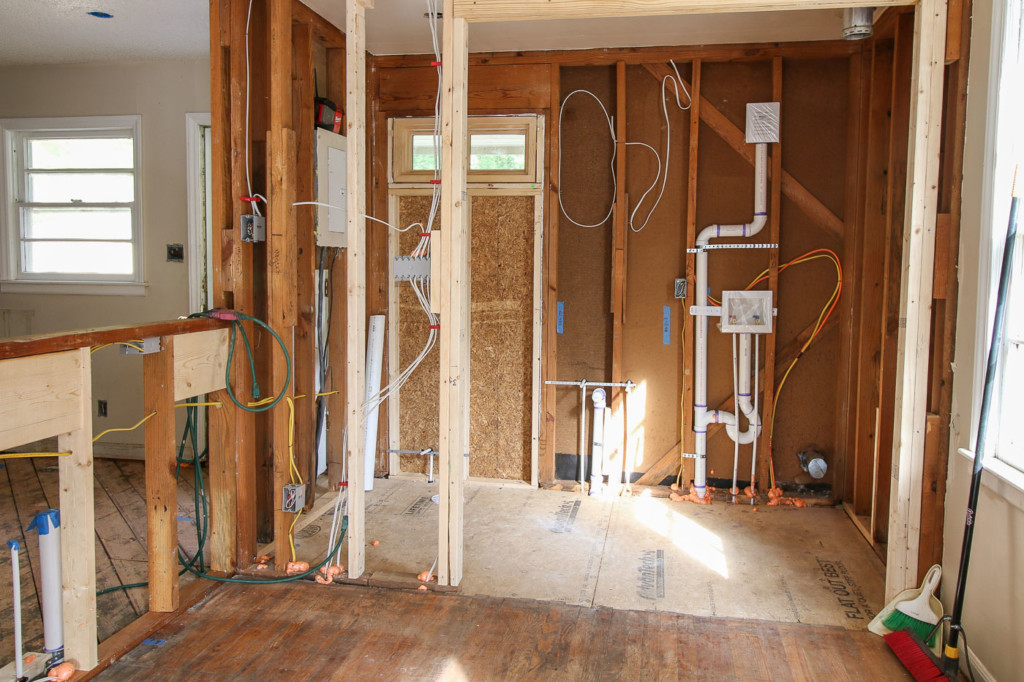
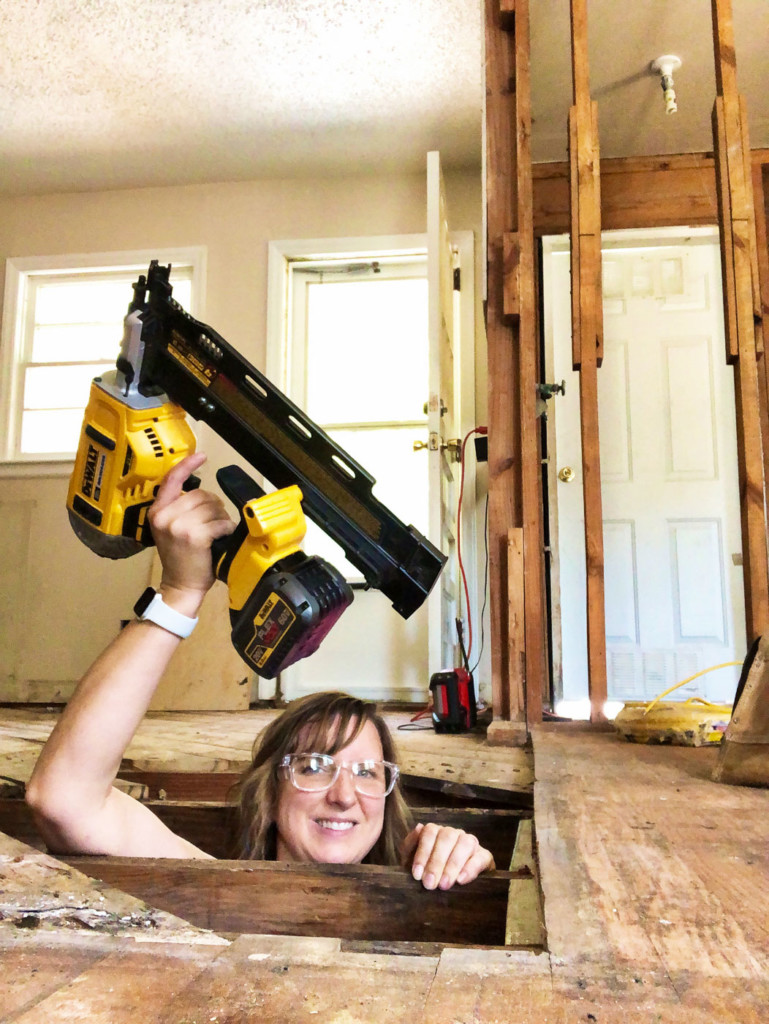
I probably spent the better part of the day adding blocking under this section of flooring and other areas where the subfloor was weakened by water damage or where an air duct was added (without additional support for the flooring that was cut.)
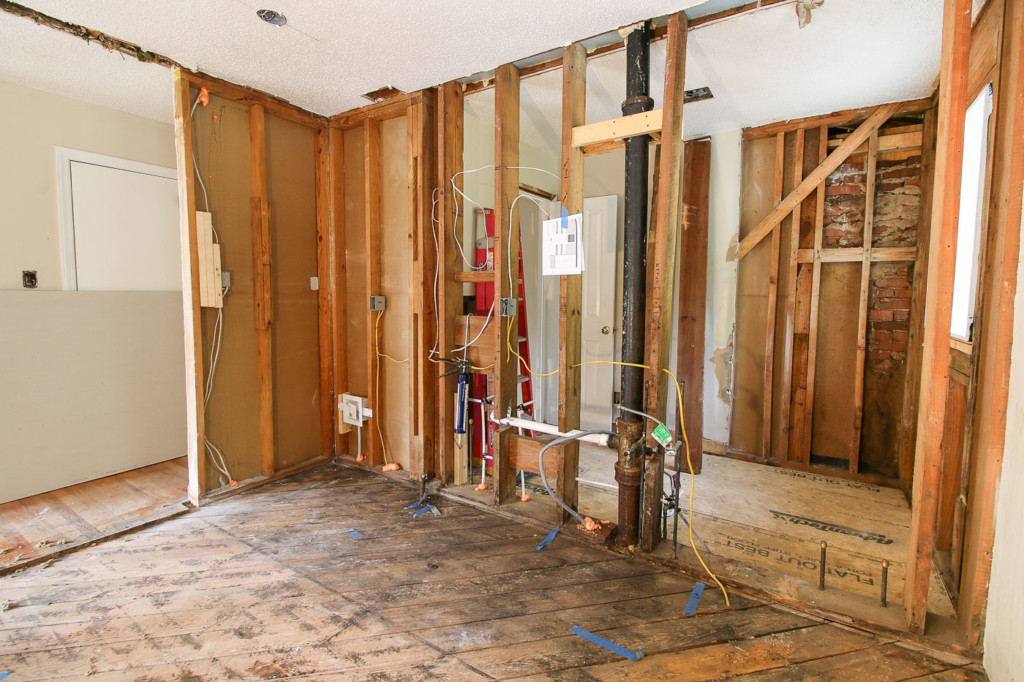
My plumber has already tied into the old cast iron vent stack. We decided to leave it instead of having to patch the roof where the stack exits the house. My plumber and electrician did work together to remove the insanely heavy old cast iron tub. I don’t know what I’d do without these guys.
My siding contractors, Stephanie, and I worked together to install the new bathroom window. The old one was wooden with see-through glass. This new window has obscure glass and is made mostly of PVC.
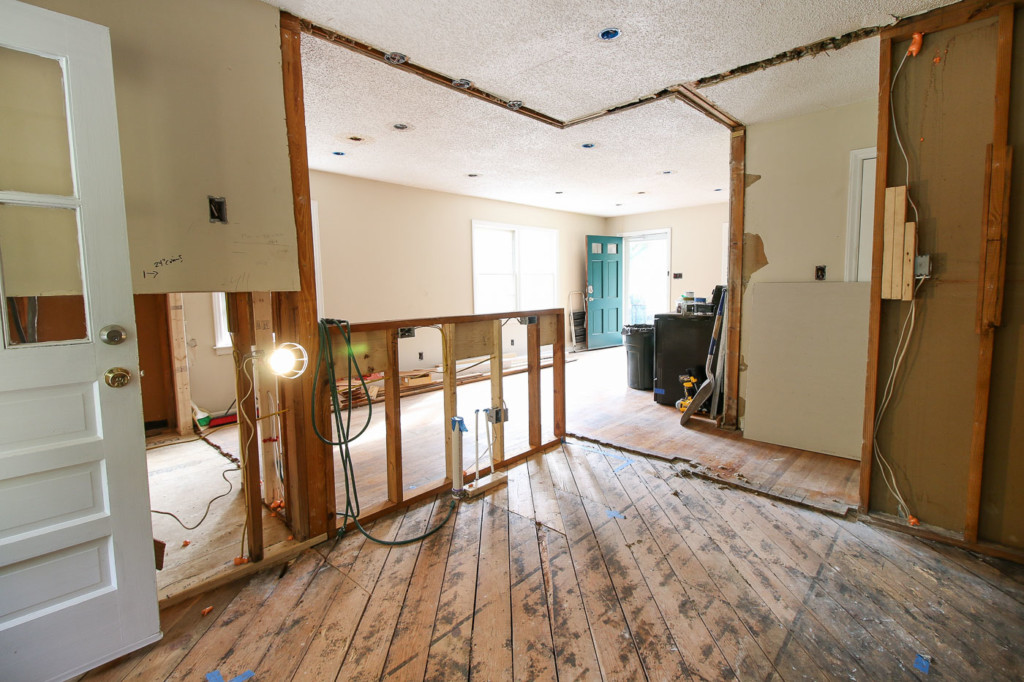
In the kitchen, after patching the subfloor, I framed up the half wall for bar seating on the other side of the kitchen. I’m definitely excited to see this new layout come together.
I worked with Elizabeth Burns, a local designer, to help me with kitchen floor plan ideas.
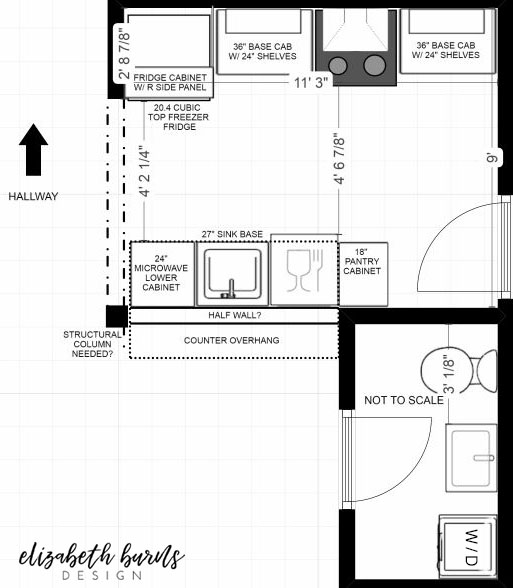
She designed a galley style kitchen and I’m thrilled with the plans. I can’t wait to see it in reality!
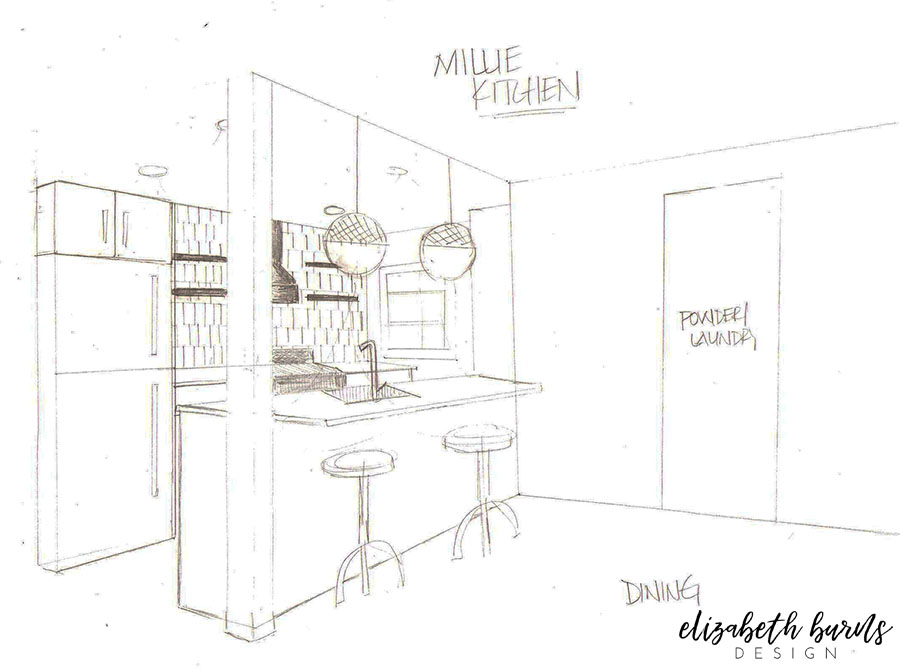
It’s going to be a beautiful light-filled kitchen!
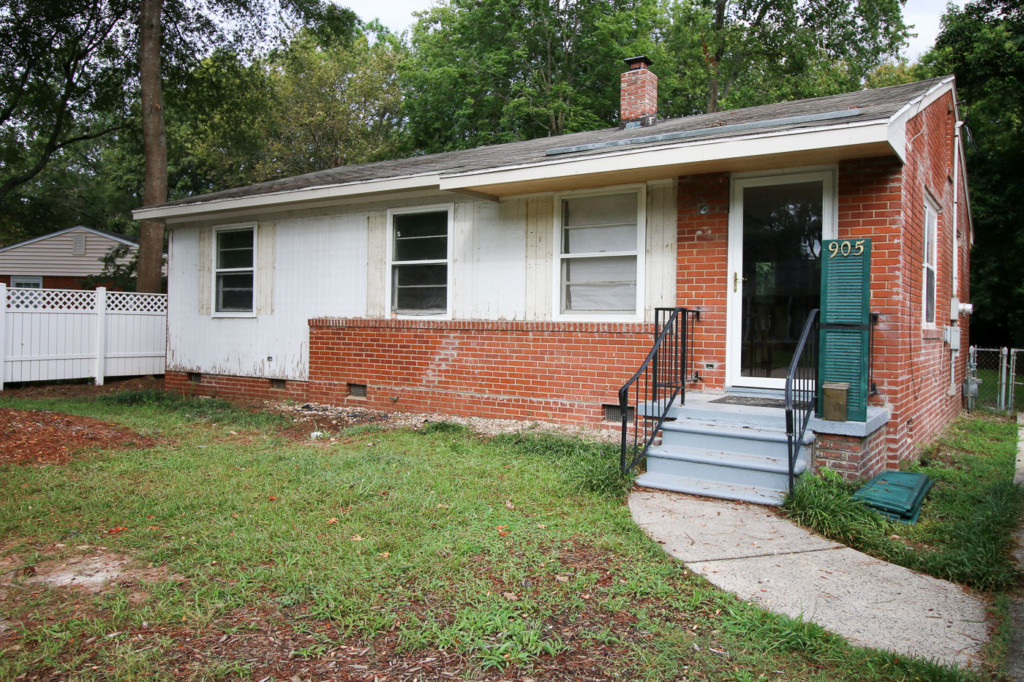
Out front, you can see the old vinyl siding has been removed and my siding contractors are adding new fascia board and soffits. Remarkably the original wood siding (that was under the vinyl) is still solid. I’m planning on cleaning off some of the flaking paint and repainting it.
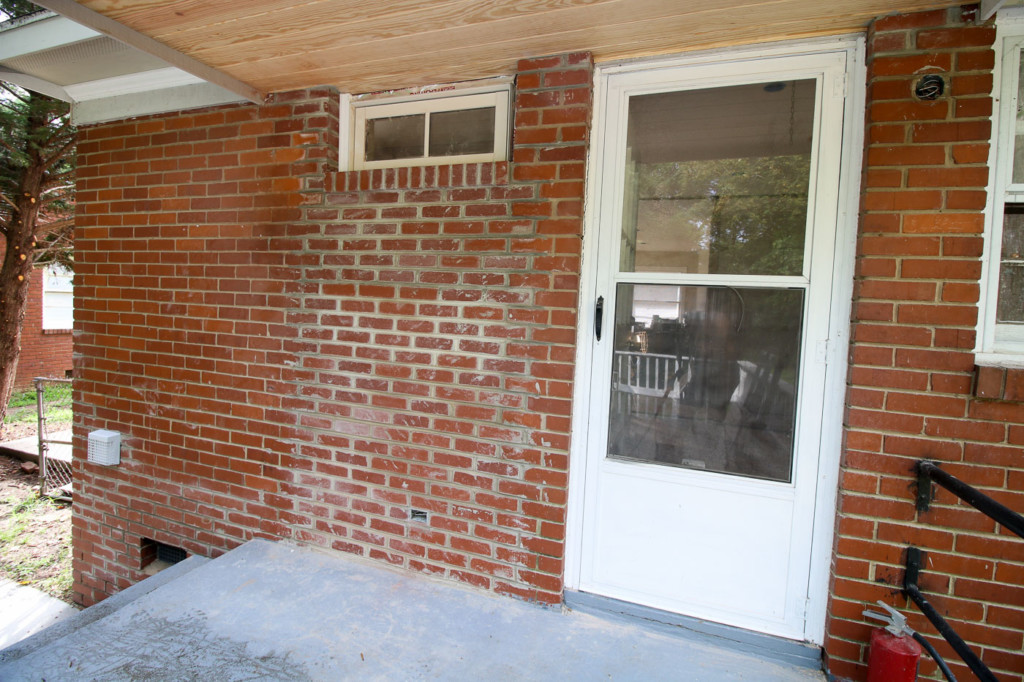
Off the back porch, you can see where my brick mason closed up the old doorway into the laundry room. We installed the transom window at the top of the old doorway and I’m excited to have a little bit of natural light coming into the powder room/laundry room.
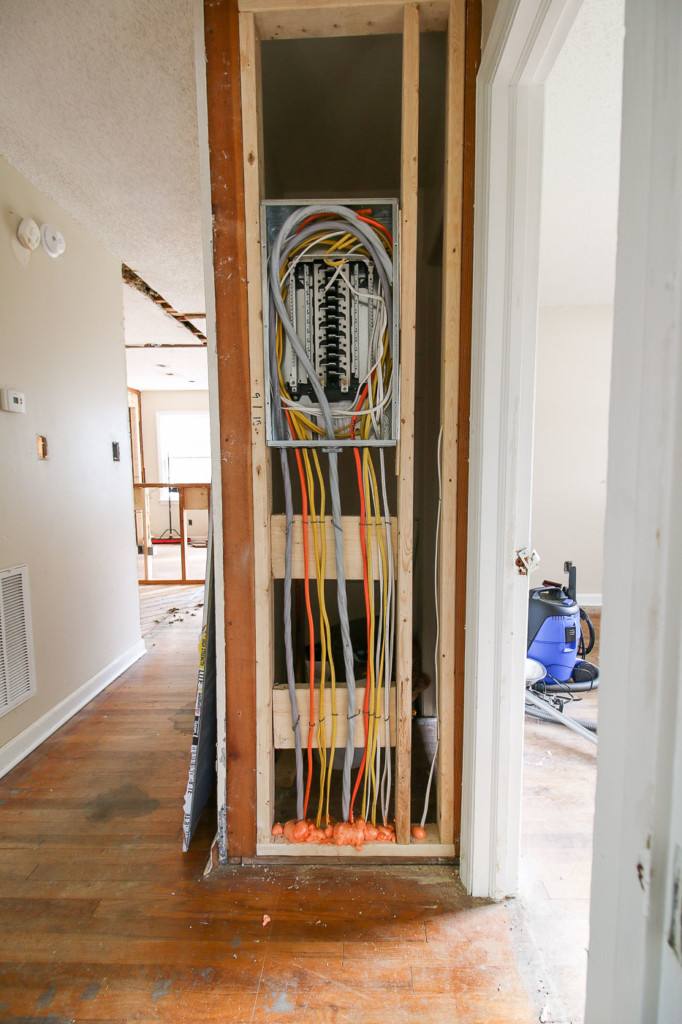
Because the old subpanel was in the room that is becoming the new powder room and laundry room, we had to move it to meet building codes. I framed up this little wall, so we could install the subpanel. The other wall had all the studs turned sideways so we didn’t have the depth we needed. But now we do. And we have a new subpanel and wiring installed. Isn’t it beautiful?
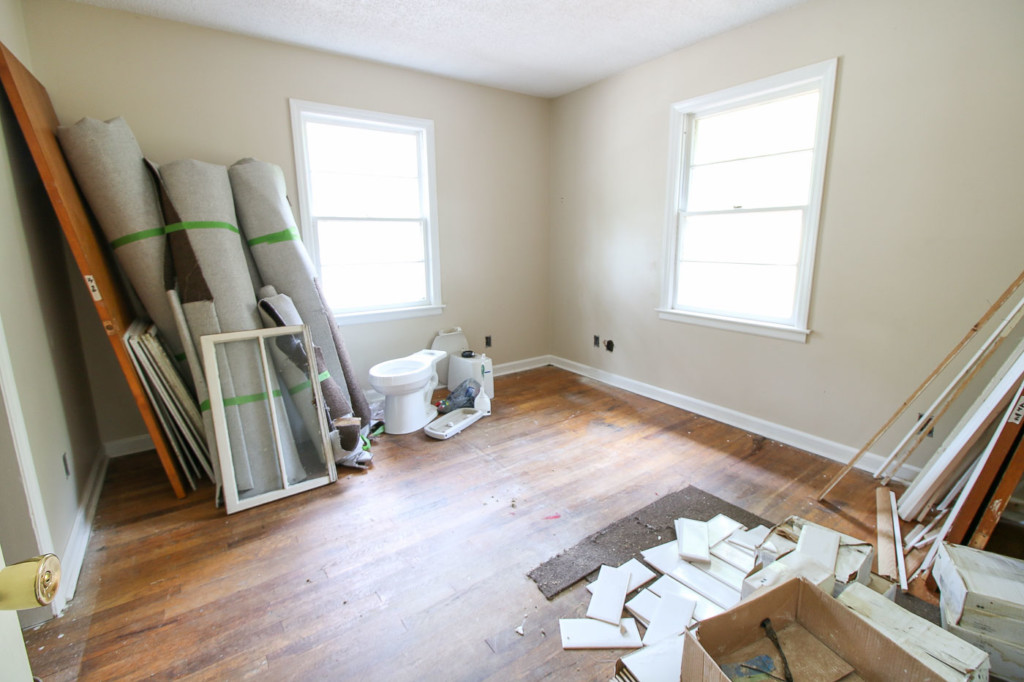
For now I’ve been using the back bedrooms to store the salvaged materials and tiles. Thank goodness I have a roof and walls in this house as opposed to the Saving Etta house. To store materials at Etta, I had to buy a storage trailer.
I hope you’re enjoying the Millie’s Remodel updates. Getting the framing, electrical, and plumbing finished is a big step forward. After we pass the rough-in inspection, I should be able to get my drywall contractor in to start putting the walls back up! Hooray!
Stay tuned for more updates soon.

A special thank you to the Millie’s Remodel Sponsors:
The Millie’s Remodel project sponsors have donated materials for the Millie’s Remodel project. As you know I am very particular about the brands I work with and recommend. As a general contractor, I choose the products used on my projects wisely to make sure they last a lifetime. Therefore, I have no reservations putting my name behind each and every one of these sponsors.




Oh, good, because I’m trying to figure out how you could make any money on these “restorations.” I was just looking at your list of Kichler light fixtures for mcm inexpensive small ranch houses with 500.00 and 300.00 lighting fixtures. I know you are not paying for them, but not a good purchase for anyone who buys that kind of home.
This is actually a desirable neighborhood where young people pay extra to live close to downtown. I would still have chosen higher end lighting because I believe lighting is like the jewelry on an outfit. It sets the tone of the design and therefore I’m willing to splurge more on lighting to help make the house sell or rent faster. But, I completely understand if it’s not in your desired budget. I will also say, I learned the hard way, you get what you pay for with lighting. The last house I did, I purchased some knock off inexpensive lights and every one had issues when we tried to install them. Never again!
I would love to know expenses as you go along.
I’m contemplating doing a post about the expenses at a later date.