How to Make a Modern Address Number Sign (and Hang it On Brick)
Finally, I’m back with another Millie’s Remodel project and this one is simple enough anyone can make it. Learn How to Make a Modern Address Number Sign and then learn my tips for hanging things on a brick wall.
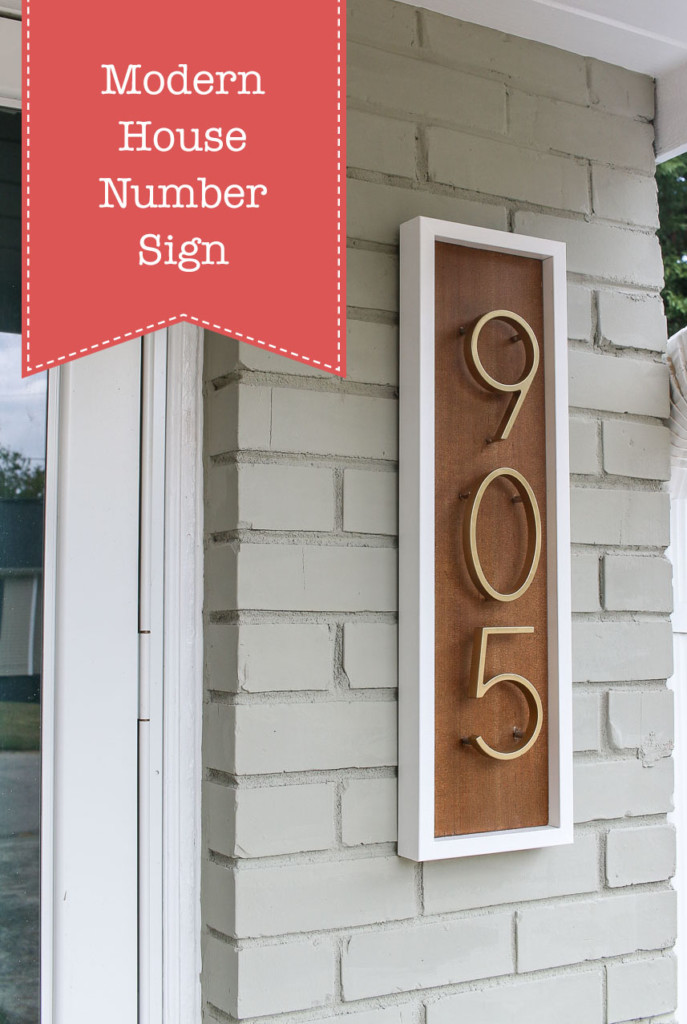
How to Make a Modern Address Sign (and Hang it On Brick)
(I’ve included affiliate links for your convenience. I earn a small percentage from a purchase using these links. There is no additional cost to you. You can read more about affiliate links here.)
The address sign numbers at the Millie’s Remodel project were hung on the old vinyl shutters before. And if you look closely you’ll see the zero is upside down. Can you spot the other upside-down thing on this house? It must be a theme here.
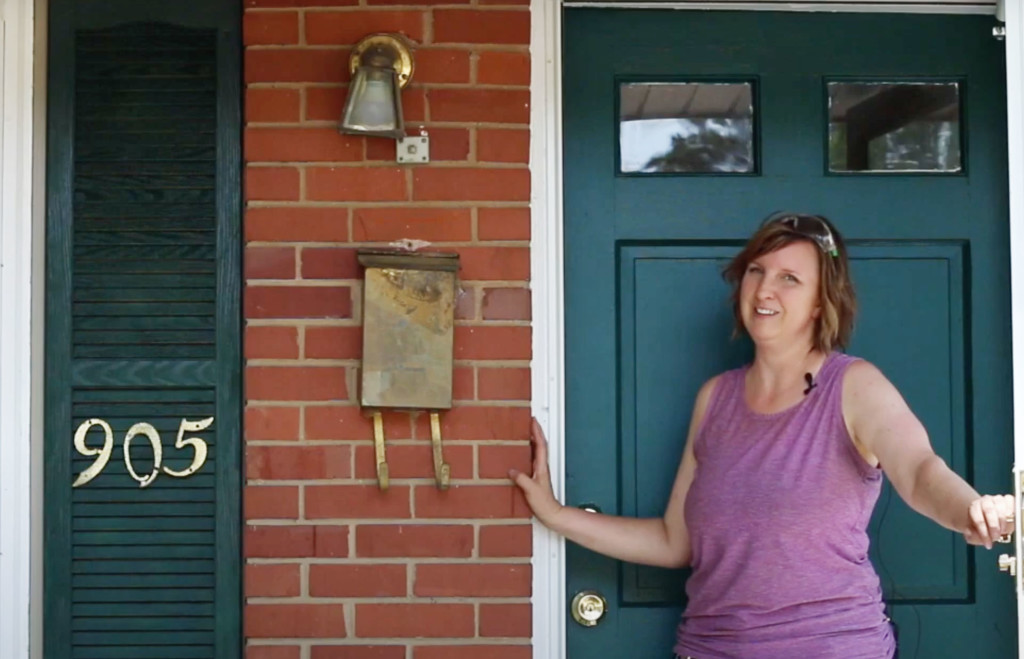
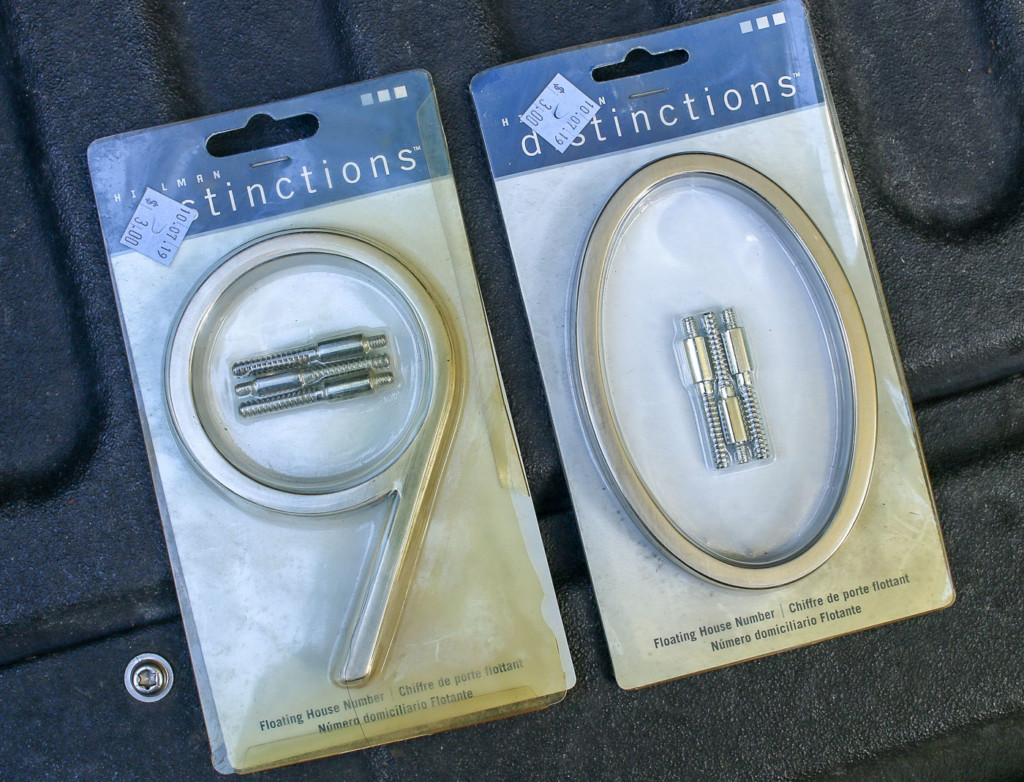
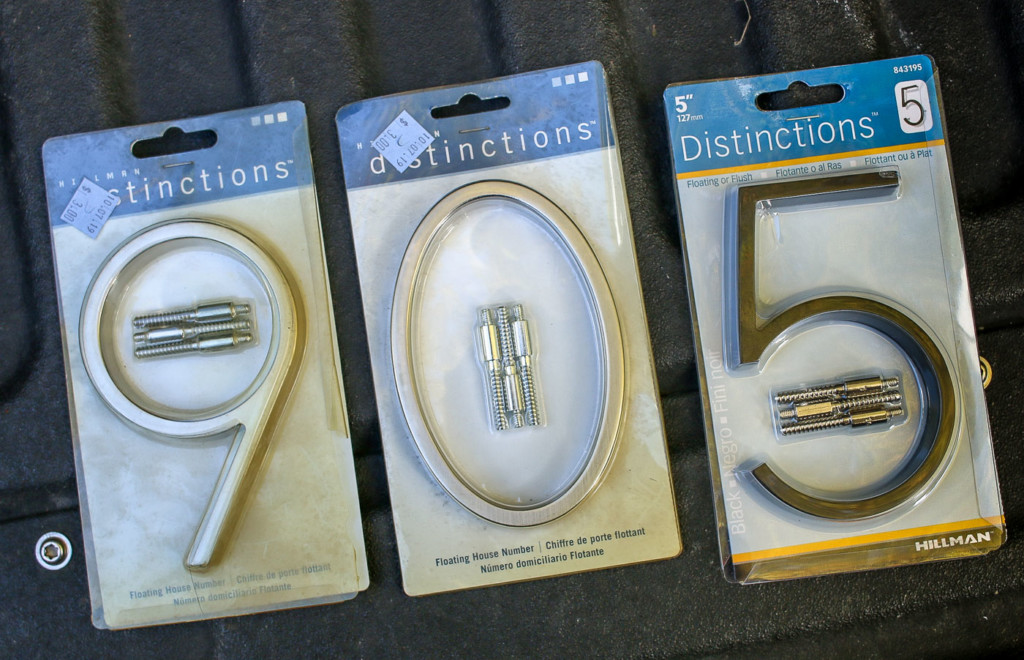
As you can see, poor Millie really needed an updated address number sign. In one of my many trips to the Habitat ReStore, I scored these two modern numbers for $3 each! Given that they are usually $11 new, this was a real steal. But, I still needed the number 5. Luckily, I purchased a number 5 on Amazon.
But wait, did I screw up and order the wrong finish? Come on, you all know me better than that! I have plans to make them match with a new beautiful gold finish.
How to Repaint Metal Hardware:
Before repainting any metal hardware (numbers, handles, hinges, hooks, knobs, or other metal hardware), you need to complete a little bit of prep work. Start by lightly sanding the hardware with a fine-grit sandpaper. This will give the finish a little tooth for the paint to stick to.
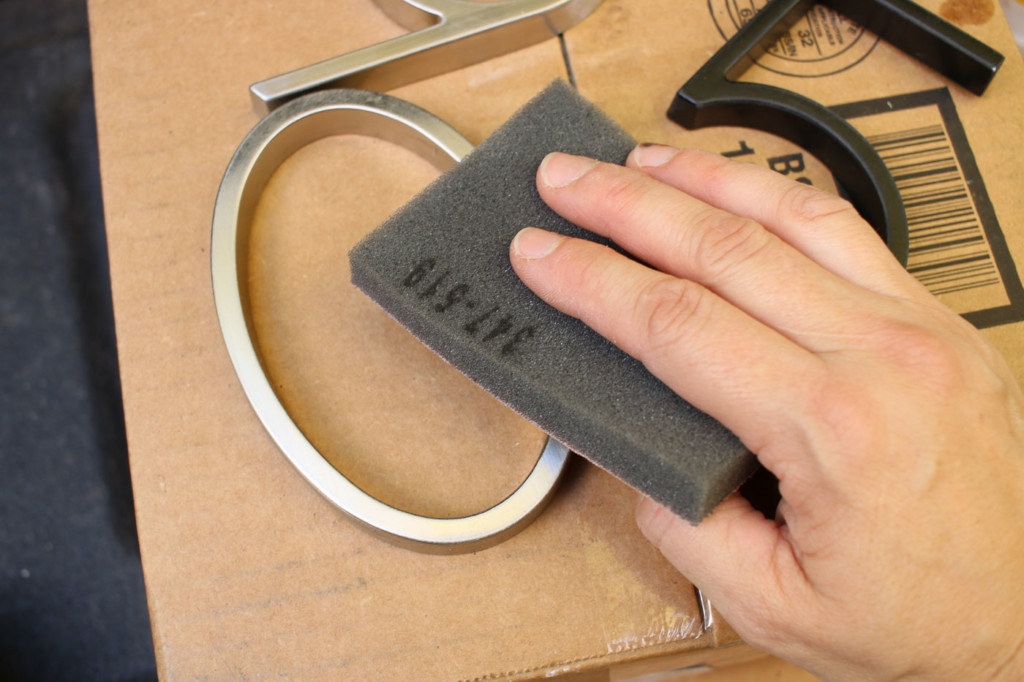
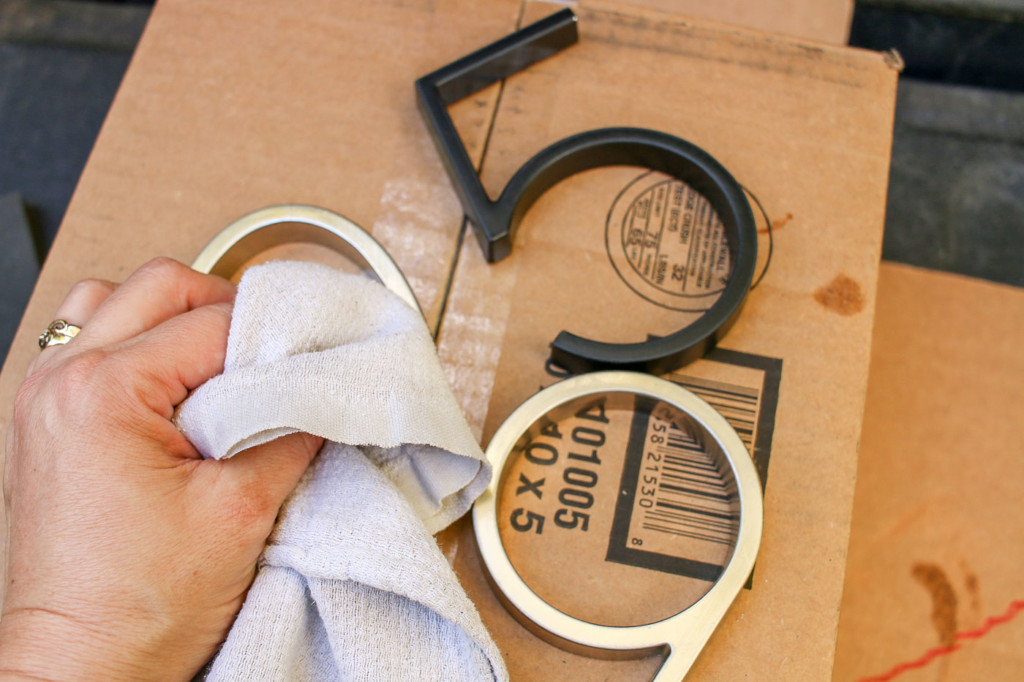
Alternatively, you can use a liquid sander deglosser. Just wipe it on and then buff with a clean cloth.
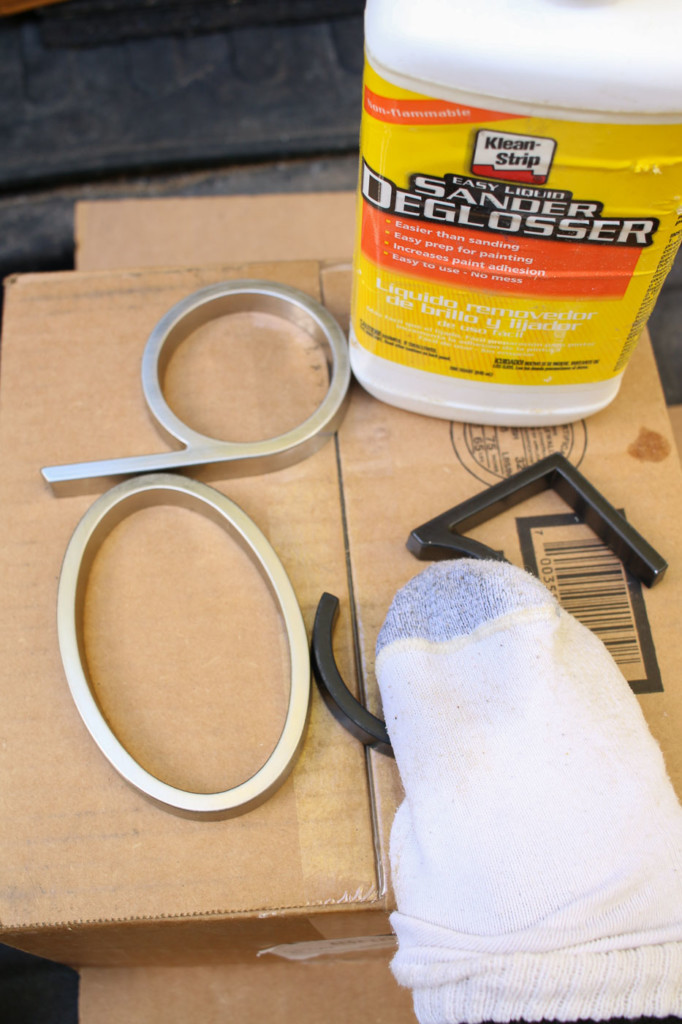
Set up your numbers outside or in a well-ventilated area. Raise the numbers on shims or scraps to keep the paint from puddling underneath. I chose to use Rustoleum, Bright Coat Gold paint on these numbers.
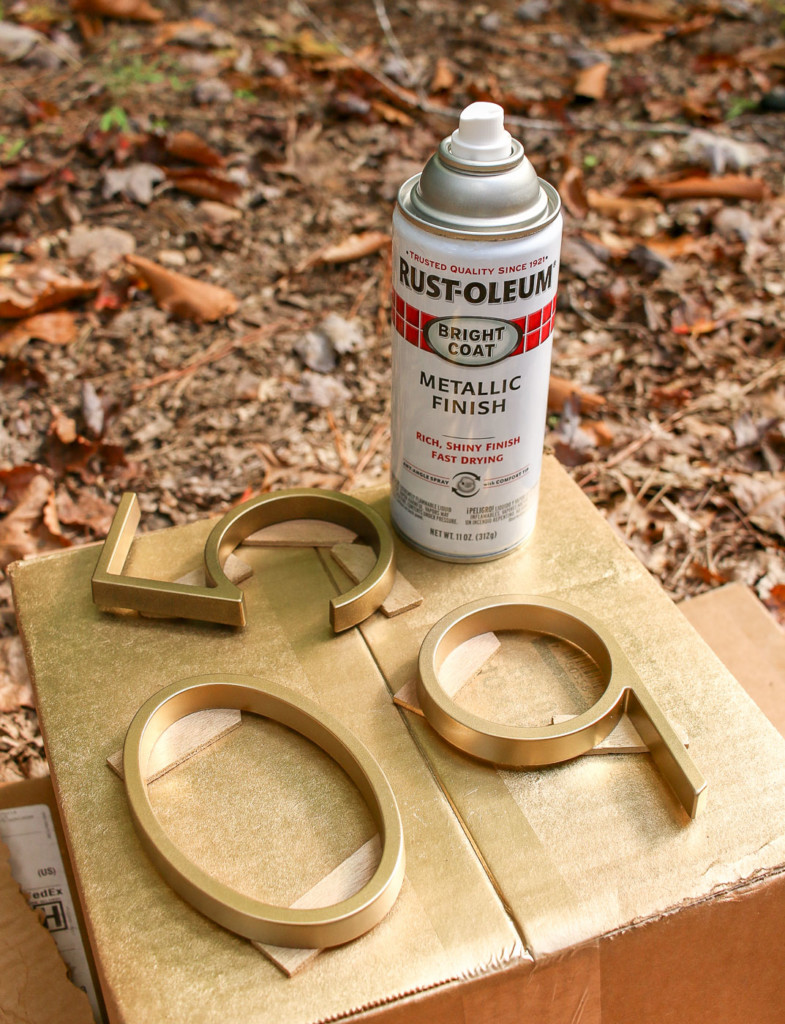
Spray the numbers with several light coats, allowing each coat to dry before the next one. Avoid the temptation to spray a thick coverage coat, you’ll get better and longer lasting results with several thin coats.
Building a Modern Address Number Sign:
Now it’s time to build that sign. Let’s improve your curb appeal with this easy Modern Address Number Sign!
Materials:
- 1″ x 6″ piece of lumber at the length you need
- 1″ x 2″ PVC trim pieces
- Modern Address numbers
- Stain
- Exterior Top Coat
- Miter Saw
- Sander
- Tape Measure
- Drill
- Nailgun (or finish nails)
- Pencil
- White paintable caulk
- Clear silicone caulk
- Paintbrush
- Scissors
- D hooks for hanging
Instructions:
Lay your numbers on a piece of 1″ x 6″ wood.
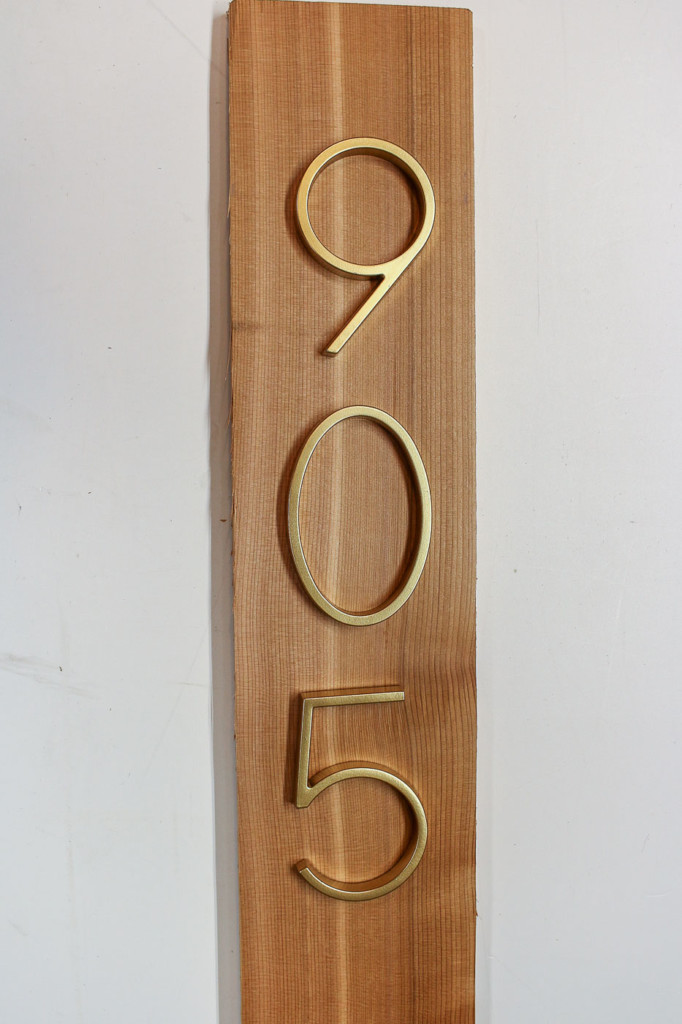
Figure out how tall you want your number sign to be. You can also make this sign with a horizontal orientation if you prefer. I chose a cedar 1″ x 6″ board (actual dimenisons are 3/4″ x 5.5″ wide by 22″ tall before adding trim).
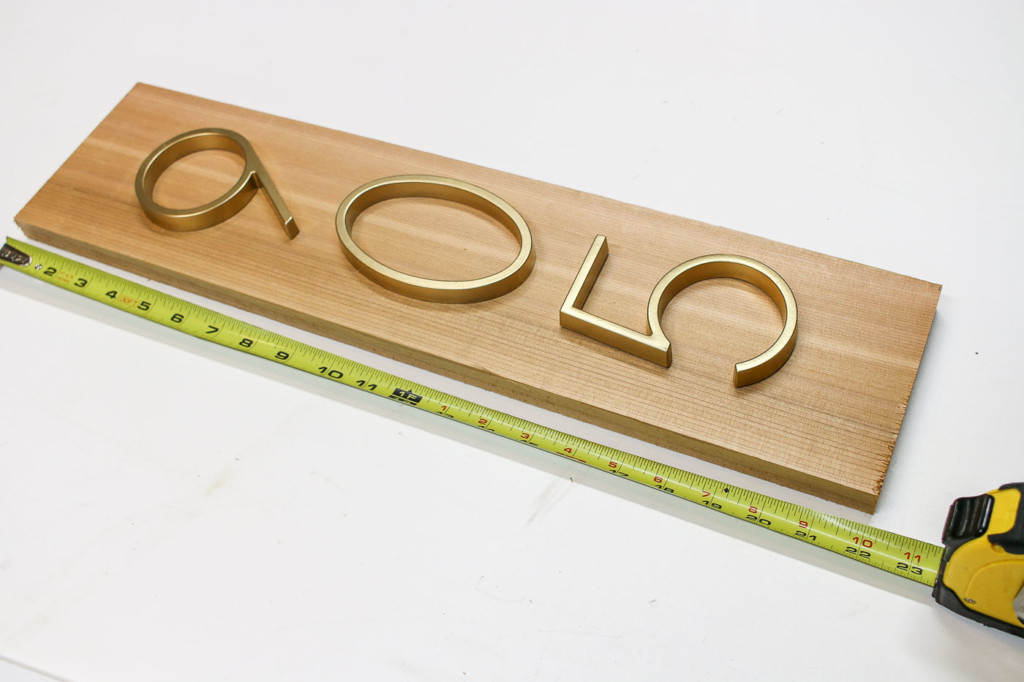
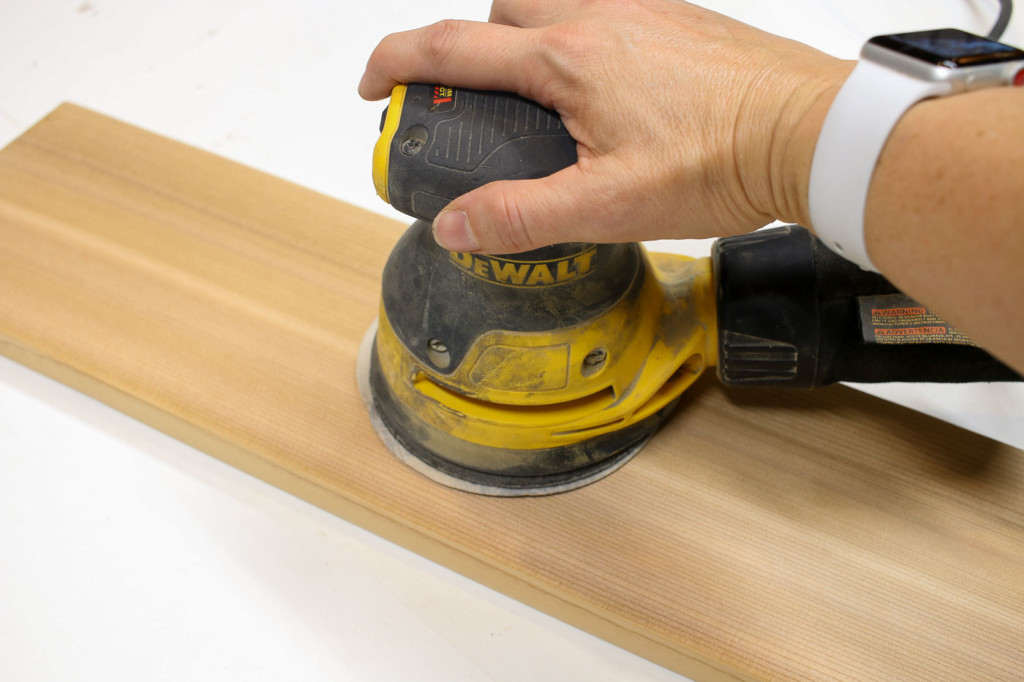
Cut your board to size and sand off any rough edges.
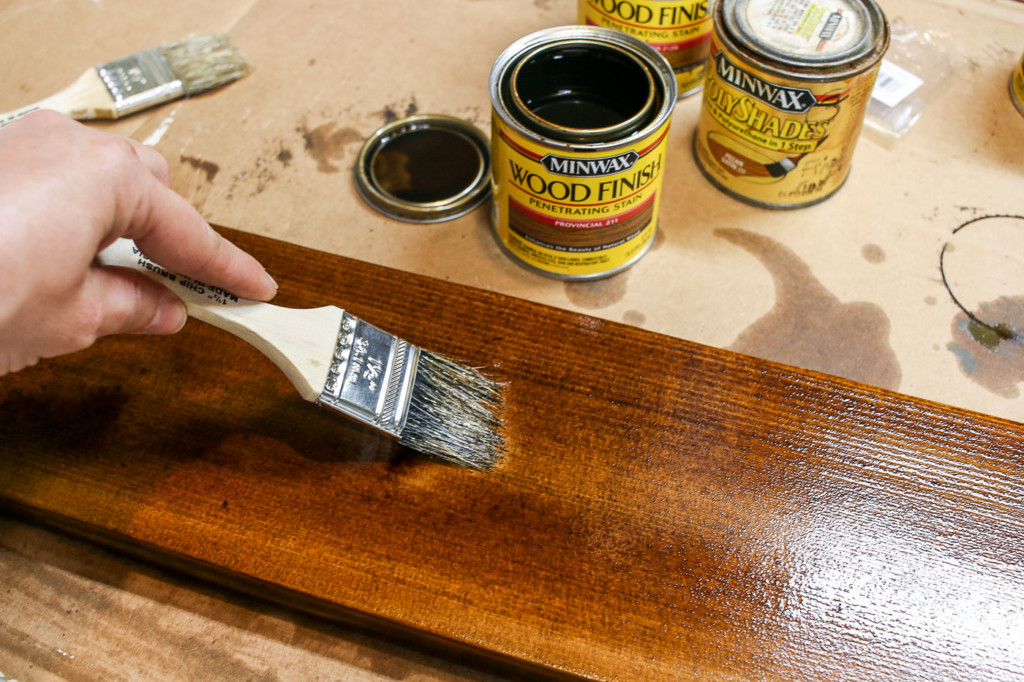
To give the wood a darker mid-century modern color (and to create more contrast between the numbers and the wood) I stained the cedar plank with a combination of Pecan and Provincial stain from Minwax. After brushing the stain on, let it sit for a few minutes and then wipe off any excess with a clean dry cloth. If you want a darker stain color, repeat this process.
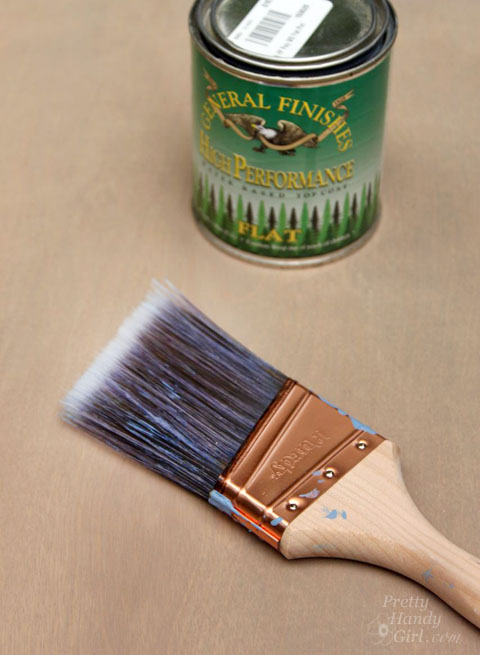
After the stain dries, finish your board with an exterior grade topcoat. I prefer this General Finishes top coat in flat, to allow the grain to show and downplay any glossiness.
Adding the Numbers:
Remove the templates from the number packages. Cut, them out.
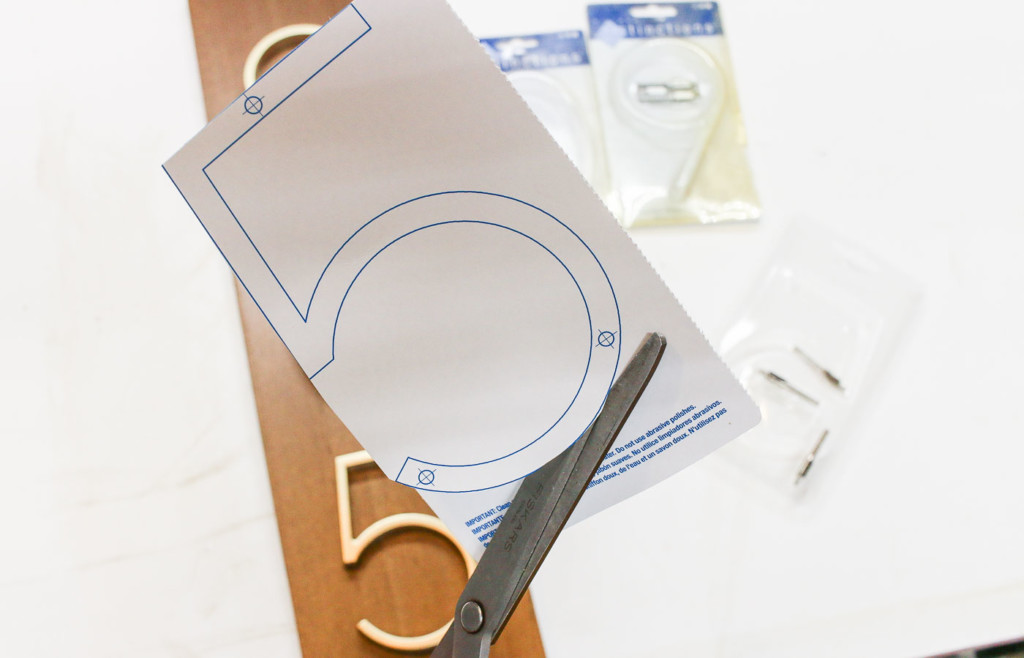
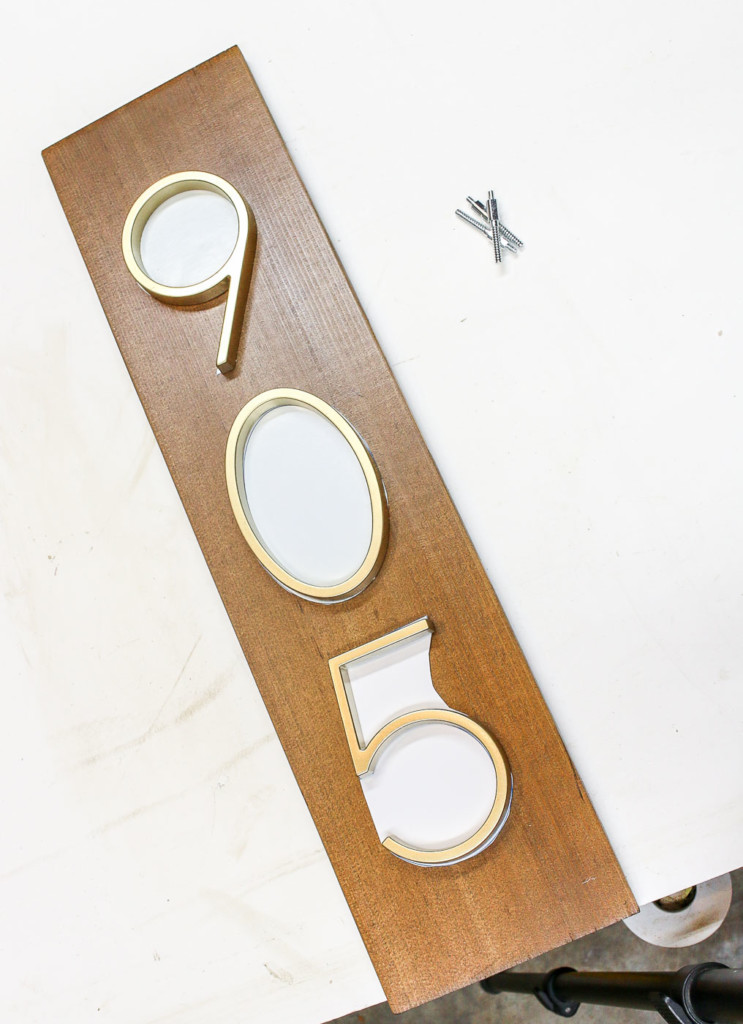
Layout the numbers and the templates on the board until you get the desired layout.
Remove the numbers and use a nail, screw (or another sharp object) to make in indent where the hardware posts are located.
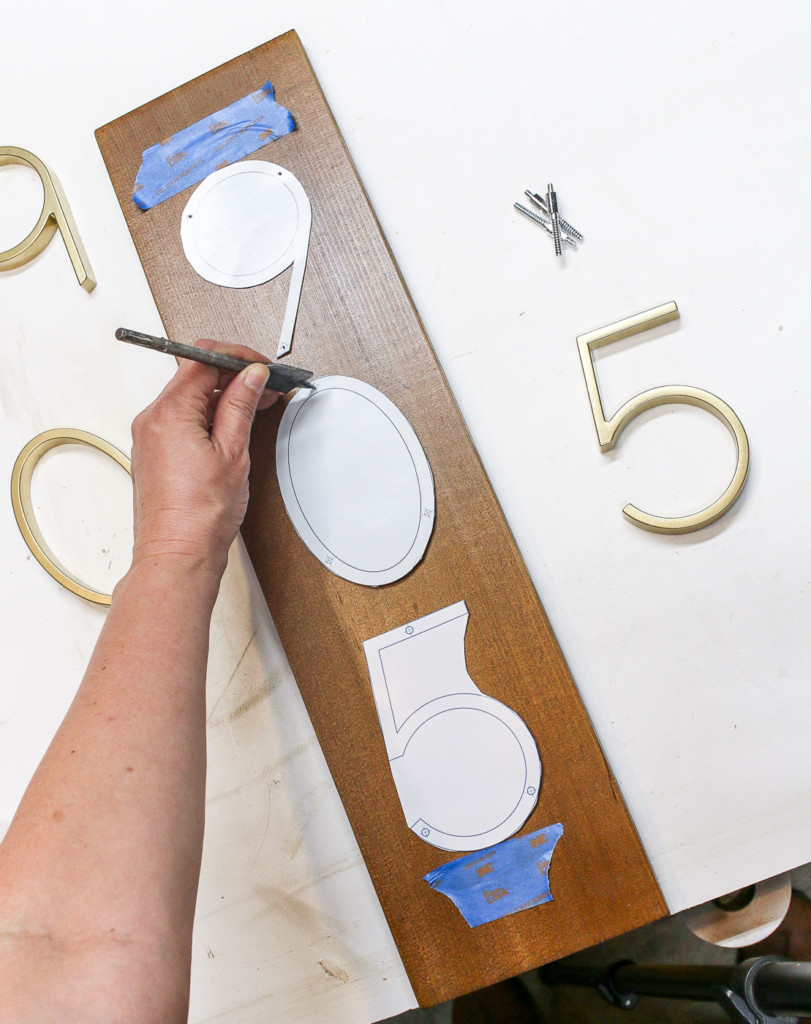
These are denoted on the template as circles.
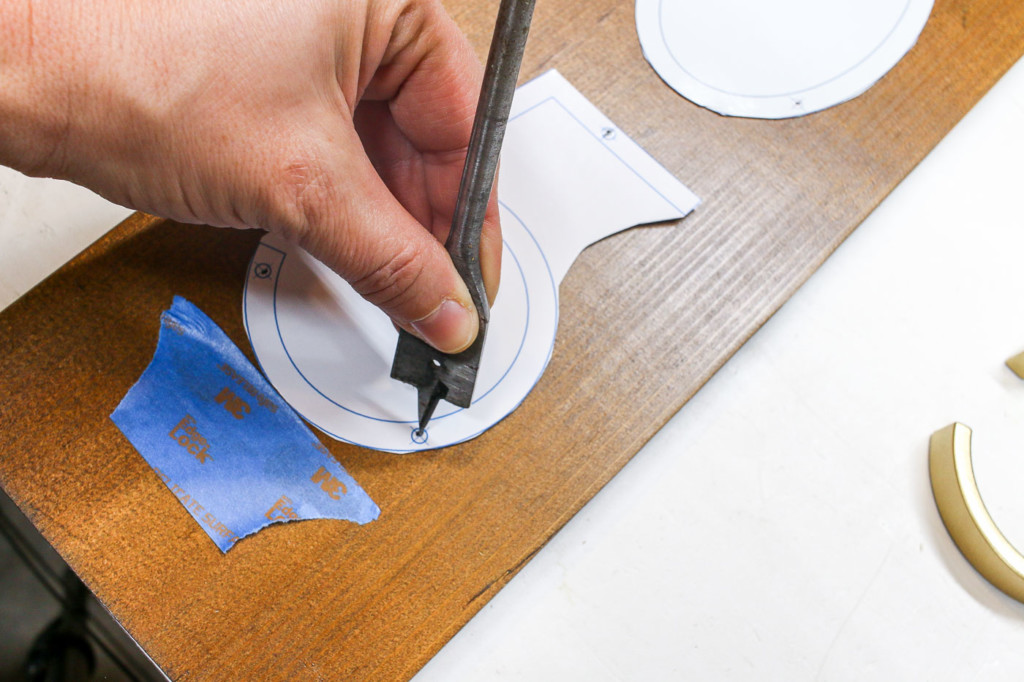
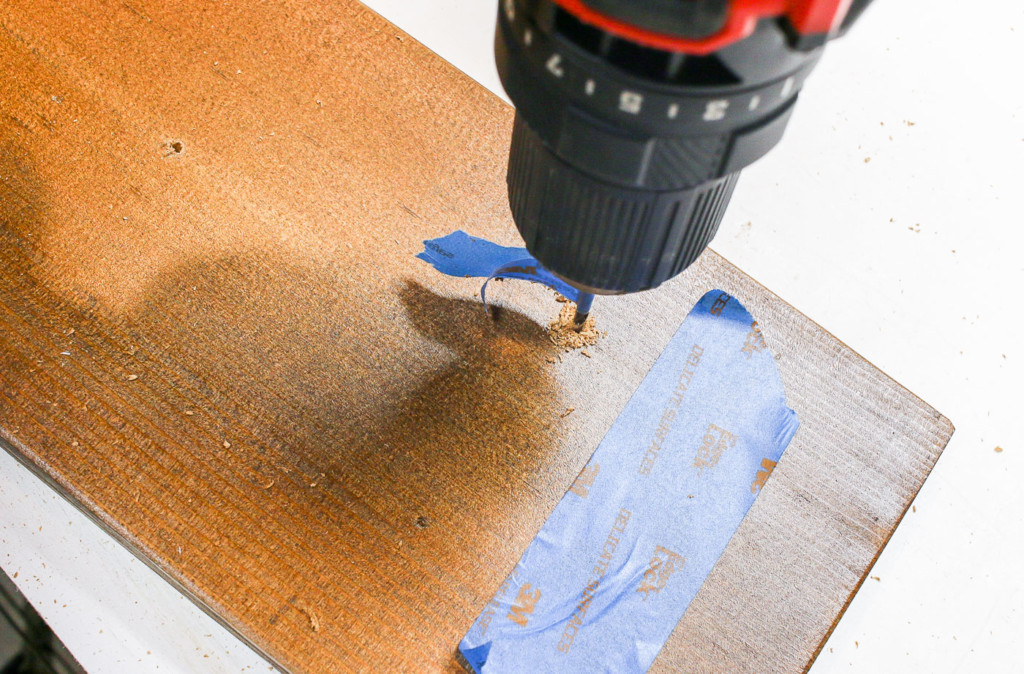
Select a drill bit the same width (or slightly smaller) than the posts. Remove the templates and drill into the board at the indents. (I use a piece of painter’s tape on my drill bit to mark the appropriate depth to drill.)
After the holes are drilled, insert the posts into the back of the numbers.
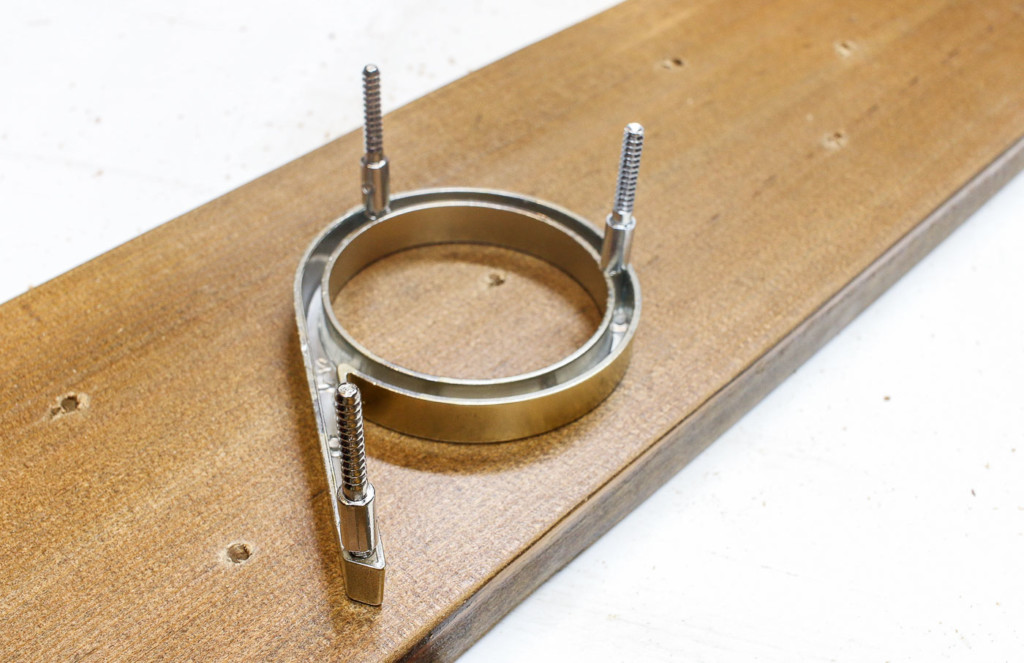
For exterior use, you may want to add a dab of clear silicone into each hole. This will seal the hole and prevent water from seeping into the holes.
![]()
Set the numbers into the holes and gently press them into the sign.
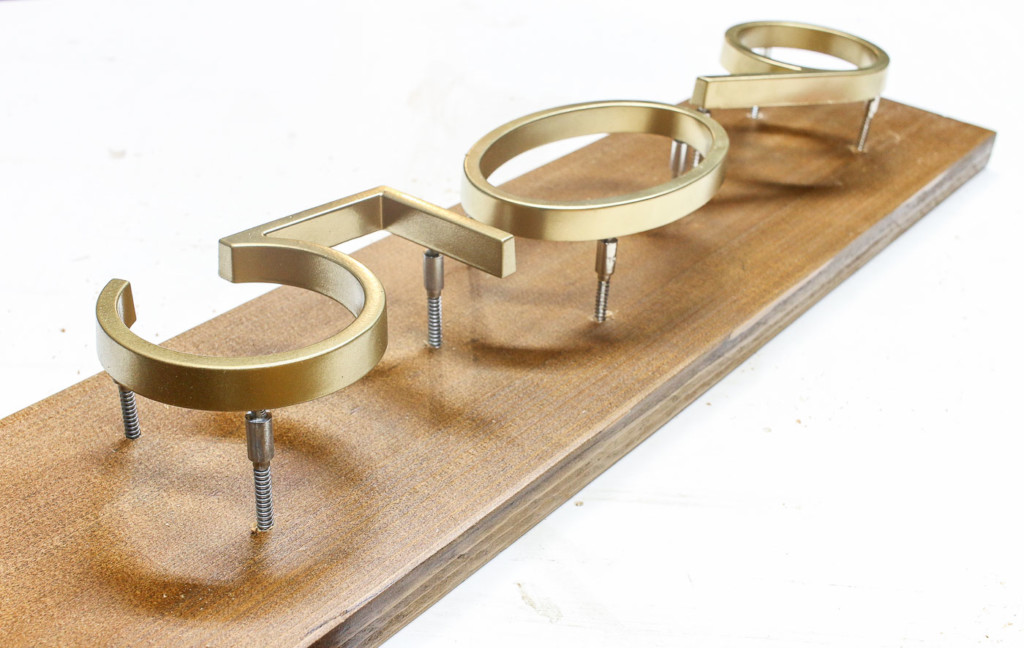
Note: The numbers I used have a 1″ threaded area at the bottom. I ended up pushing the posts through the back of the 3/4″ board to hide the threaded area later. If you are making this sign, you might choose to use a true 1″ board, or you might want to position the frame to cover the excess post poking through the back of the sign.
How to Cut Perfect Mitered Trim:
I try to use rot-resistant materials for exterior use, therefore I chose a PVC 1″ x 2″ trim to frame the house number sign.
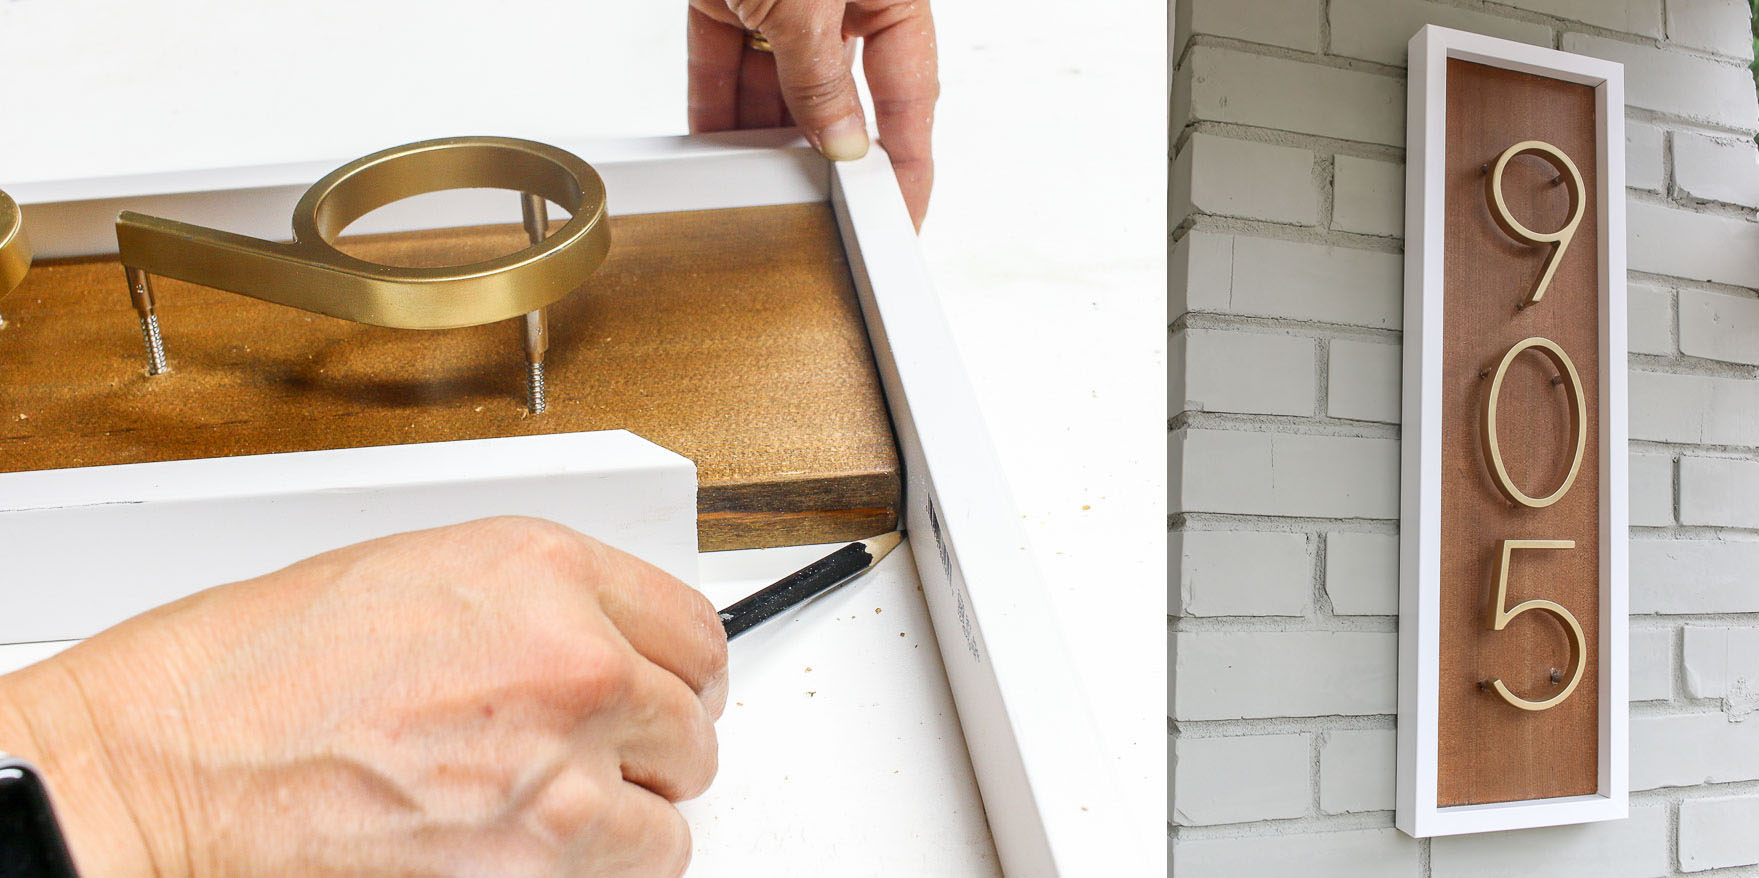
Start by cutting two pieces at a 45-degree angle (for one corner, cut each end at opposite angles). Set the trim onto one corner of your sign. Mark the inside corner for the opposite corner.
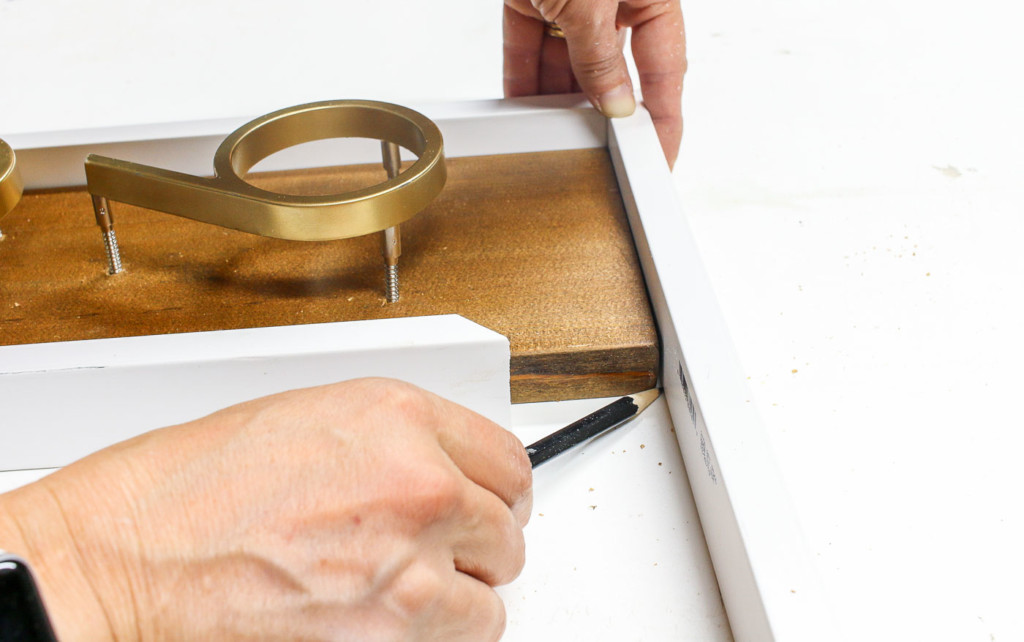
Line up your saw blade on that interior mark and cut. It’s better to cut it a tad long and “sneak up” on the angle. As you can see below, there’s a gap against the sign. Simple make another mark and cut again until you get a nice tight fit.
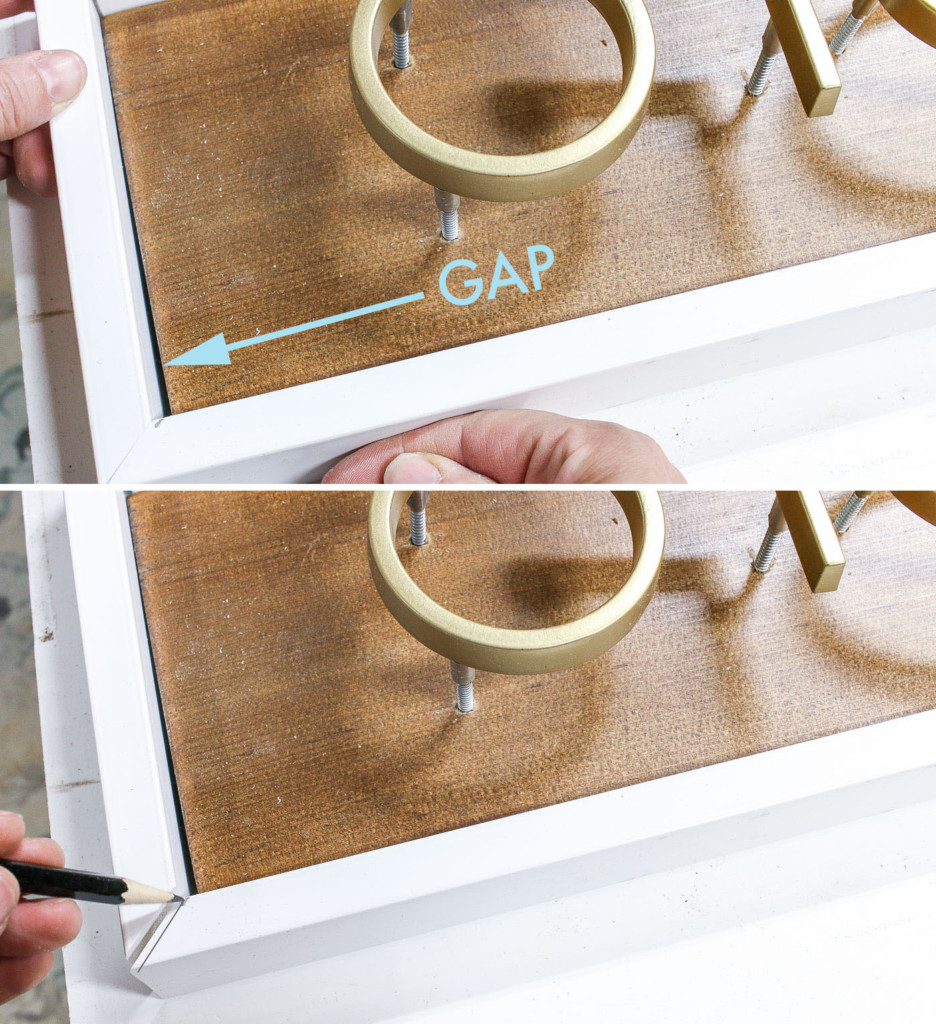
Cut your other sides and dry fit them together around the sign. Perfect mitered corners!
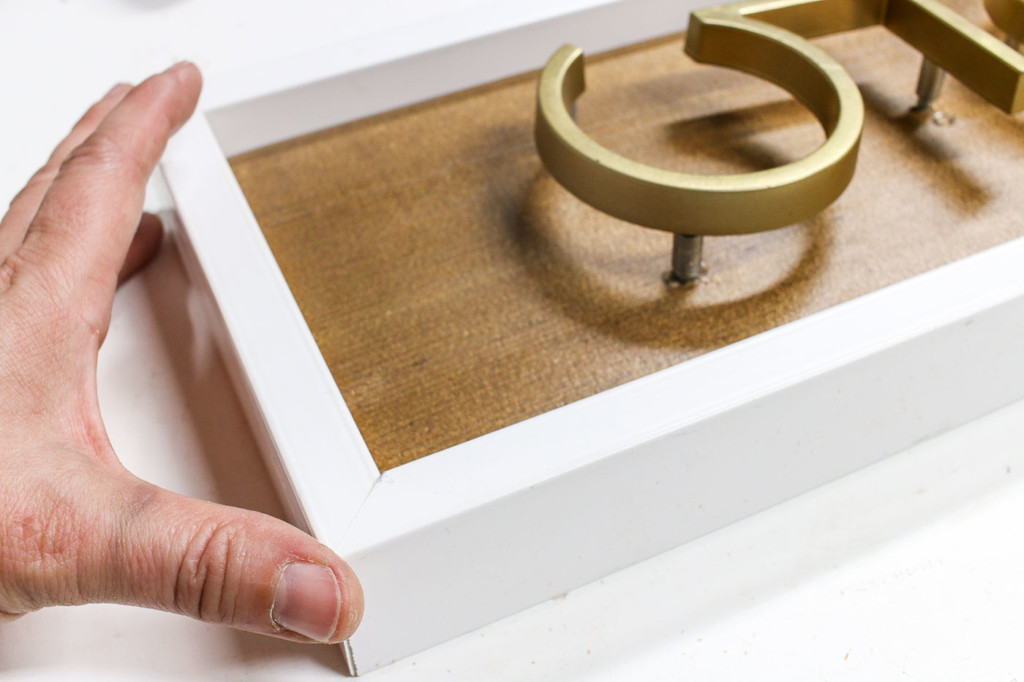
Secure the trim to the sign, and then add a nail or two into each corner.
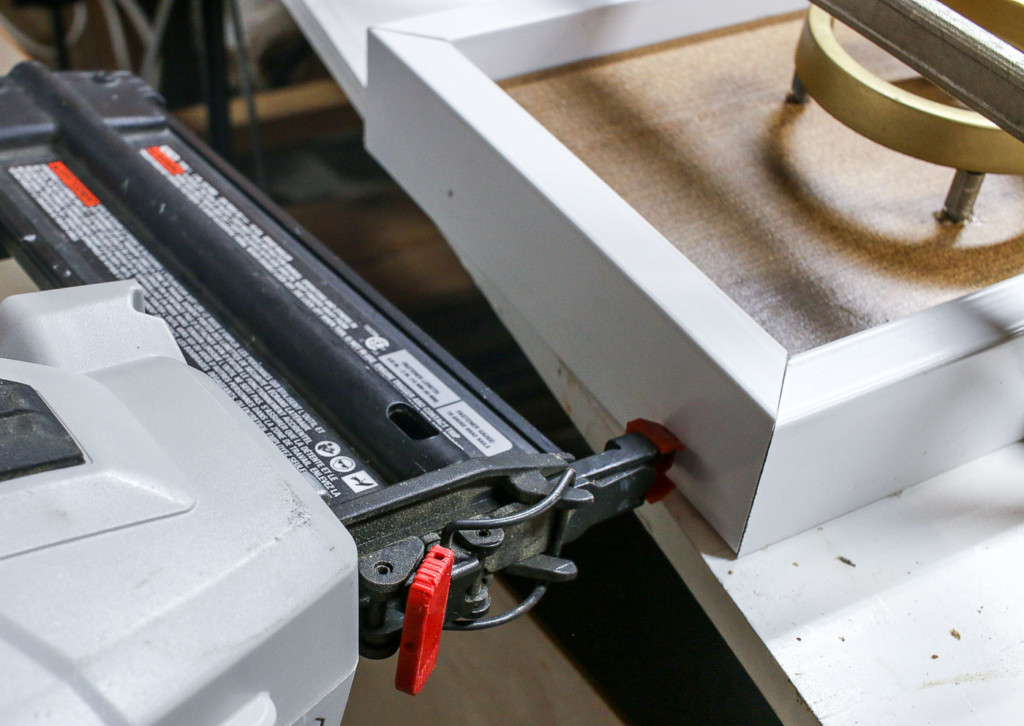
To get a beautiful corner before painting, run a bead of white caulk over each miter. Wipe off any excess.
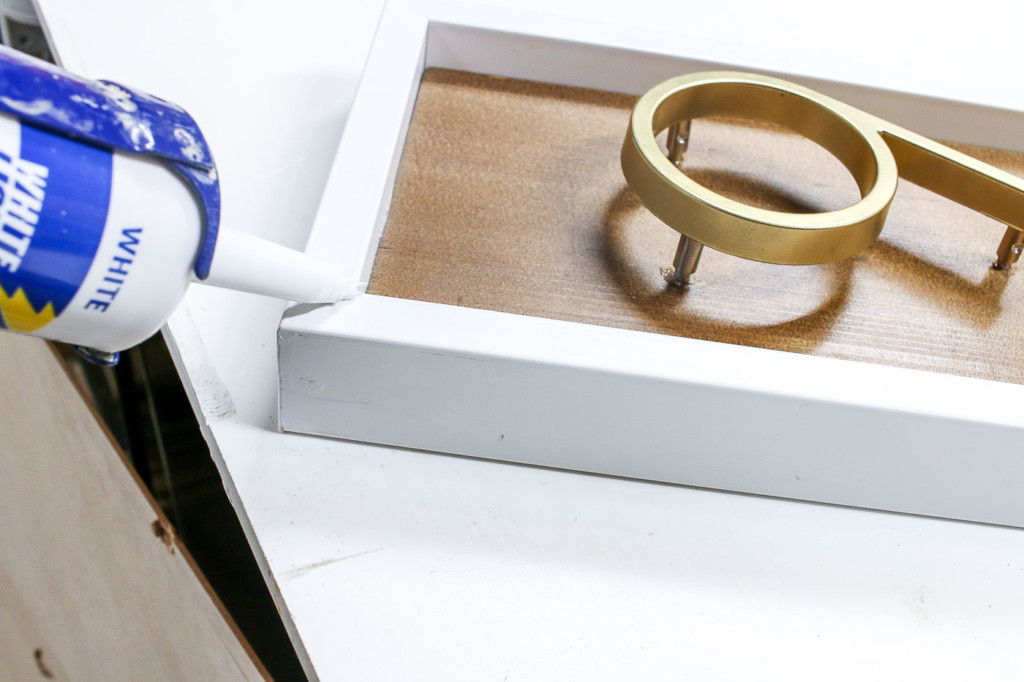
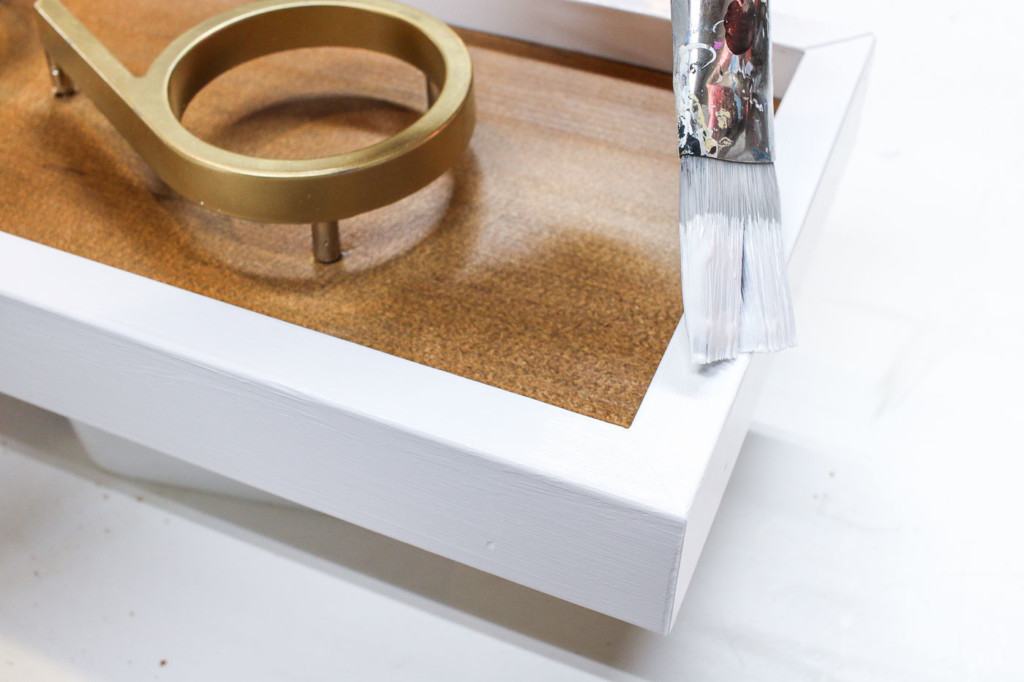
Use an exterior grade paint to paint the trim and make it look top-notch!
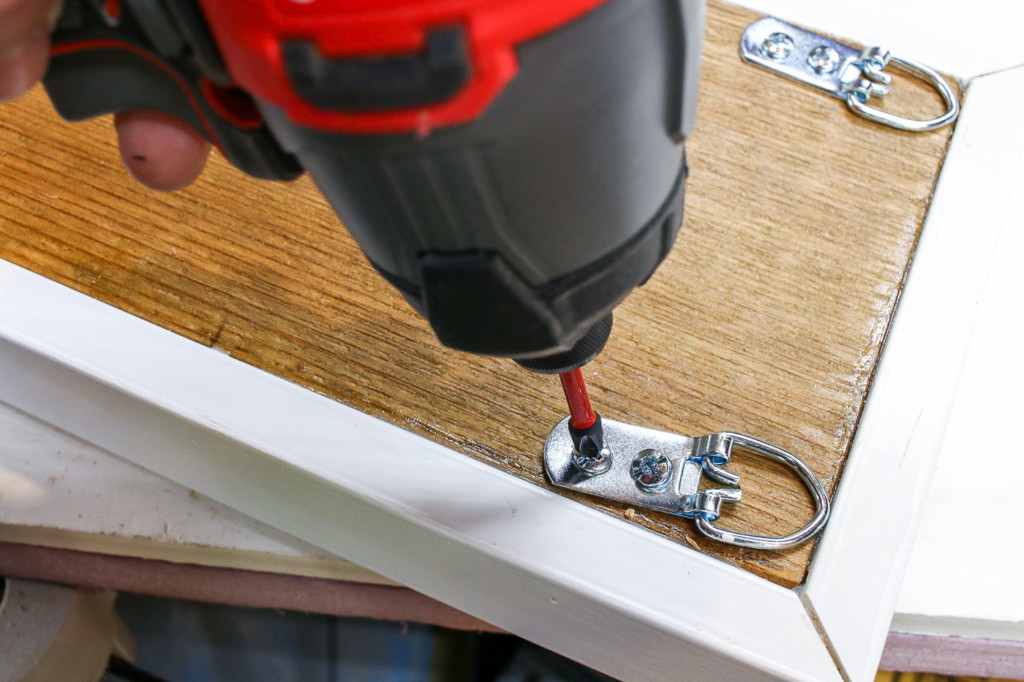
To hang your modern address number sign, add D hooks to the top of the back of the sign.
2 Ways to Hang Things on a Brick Wall:
Watch my video to learn the easiest way to hang something on brick.
This street number sign is the perfect amount of modern Millie needed.
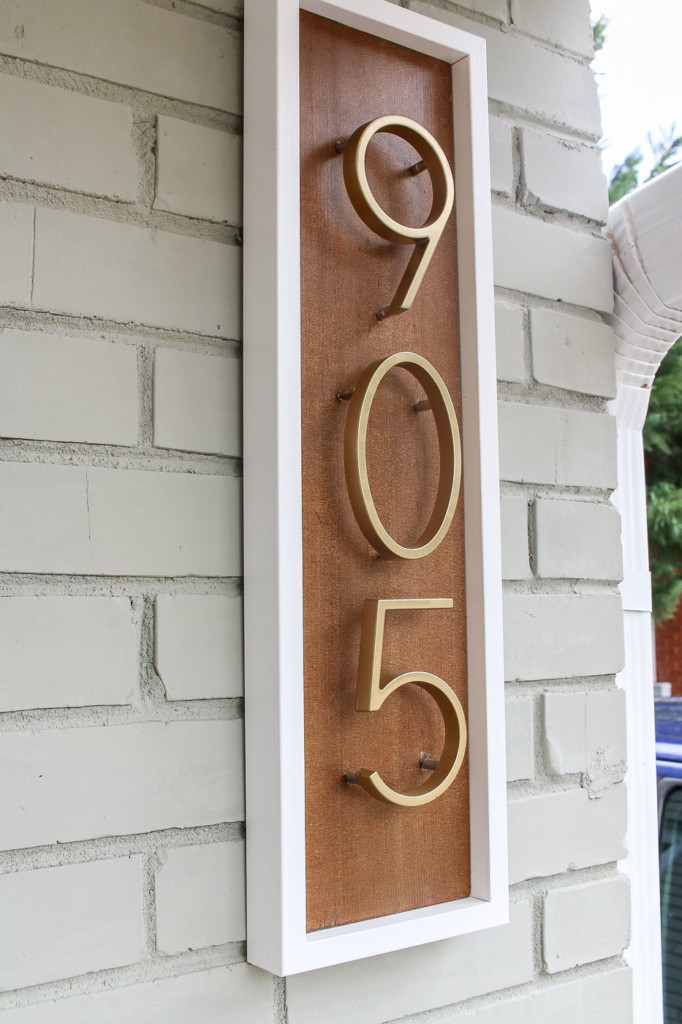
Well well, I’d say this was a huge improvement. Miss Millie is certainly looking much better!
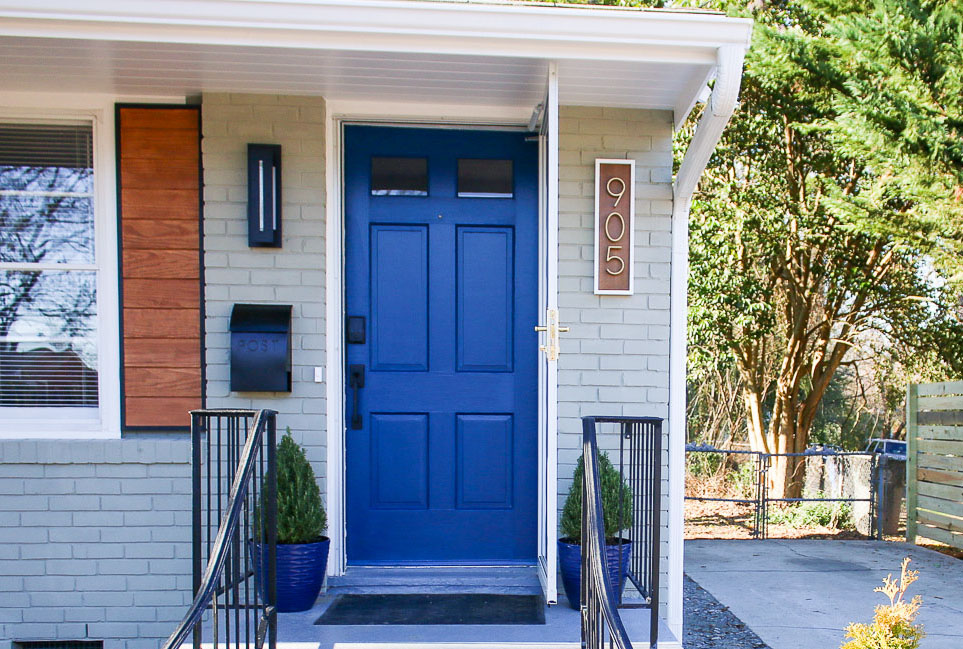
I’ll share how to build those modern shutters in the near future. Stay tuned.



Love it! I have a white brick mid century too so I’m totally going to do this!