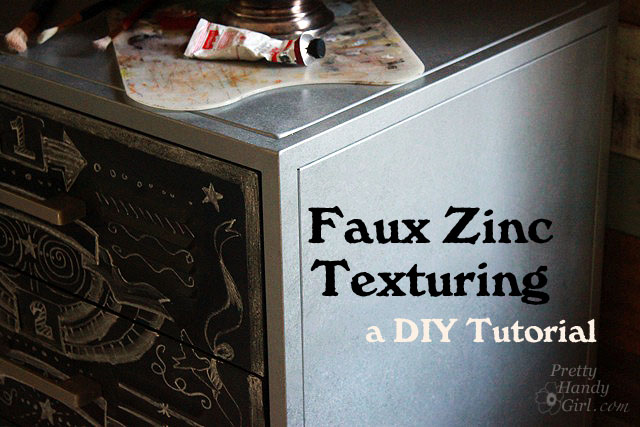
Faux Zinc Painted Chalkboard File Cabinet
This summer I was thrifting with a few friends and stumbled across an ugly cabinet at the Goodwill. The metal chest had extra wide and deep storage, but the worst colors imaginable! The hot pink and mint green were disguising the true potential of the chest, but like a color-blind dog, I was able to see beyond its garish appearance. In my mind, I pictured a vintage metal cabinet with a faux zinc side and chalkboard drawer fronts.
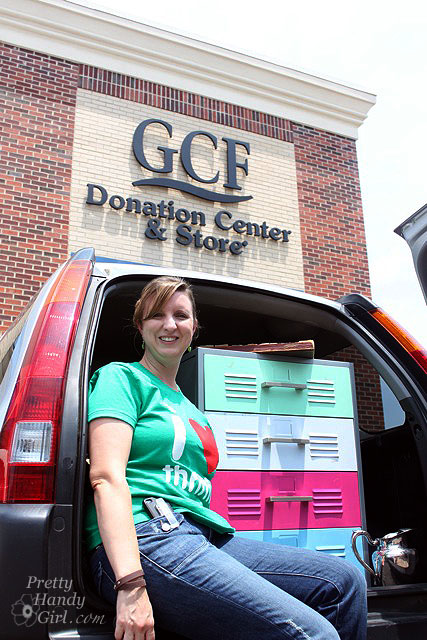
I scooped it up and brought it home. Then the poor chest sat in our garage for months and months until I had a chance to work a little spray paint magic and turned it into….this thing of beauty:
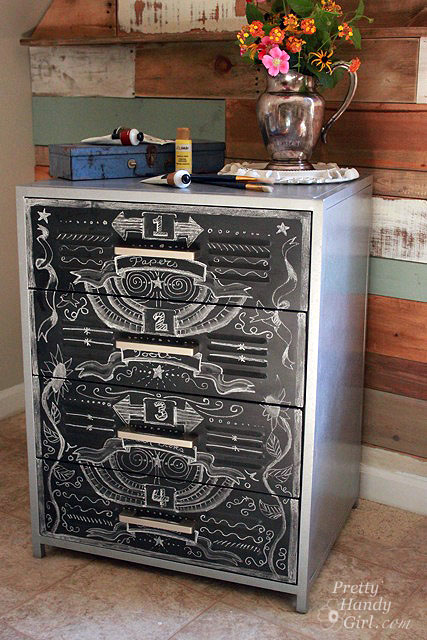
Yes, that is the same chest of drawers! You could do the same transformation.
Materials:
(I’ve included affiliate links for your convenience. I earn a small percentage from a purchase using these links. There is no additional cost to you. You can read more about affiliate links here.)
Instructions:
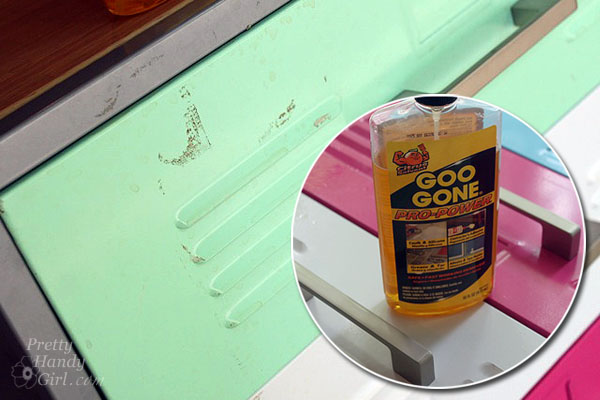
Clean off the drawers. Remove any dirt or debris (I actually had to use a little Goo Gone to get rid of some sticky residue. But, lemon essential oil will also work for this task.)
Remove the drawers from the chest. Tape over the drawer glides and slides. Mask off the drawer sides and insides by covering the drawers with tape and craft paper, leaving only the drawer fronts exposed.
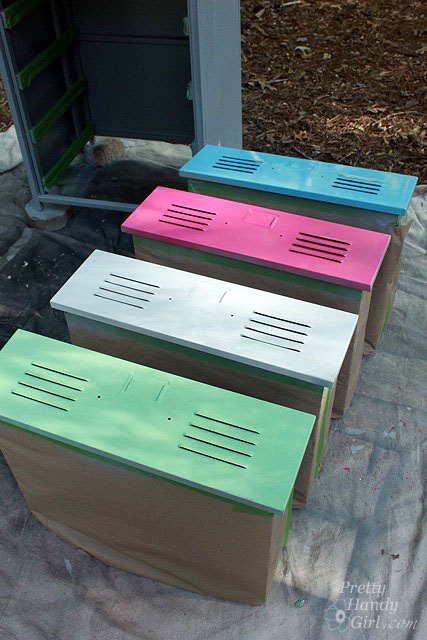
Spray paint the chest and drawers with automotive primer. (I prefer the automotive primer because it sticks to metal and can withstand a lot of abuse.) Let it dry.
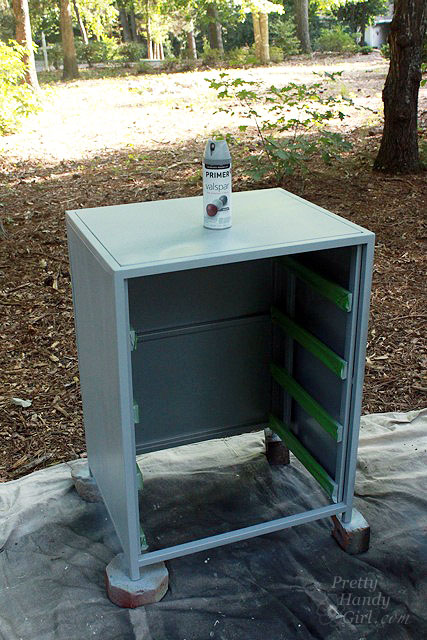
Spray paint the drawers with chalkboard paint. (Use three fine coats of paint instead of one or two heavy coats.) Set them aside to dry.
Adding a Faux Zinc Texture:
This is the most exciting part of the tutorial. I created this technique by trial and error and I’m excited by how well this method works for creating a faux zinc texture.

Getting a faux zinc texture is really easy. Just have some gloves on and use a crumpled up piece of craft paper. (A loose crumple works best.)

Spray paint the chest with a thick coat of the hammered silver spray paint, (but not so thick that it runs). Let the paint get tacky by waiting a few seconds. Then use the crumpled piece of craft paper to blot into the wet paint.
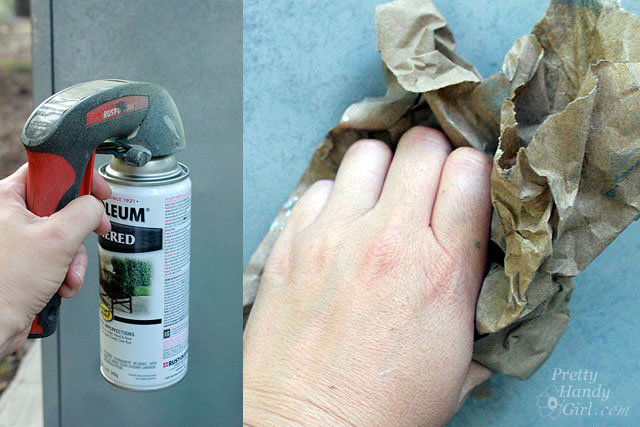
Work in small 1 foot sections and pounce the paper a few times. (Too much pouncing and you’ll lose the large textured pattern.)
Let the cabinet dry thoroughly.
Insert the chalkboard drawers back into the cabinet frame.
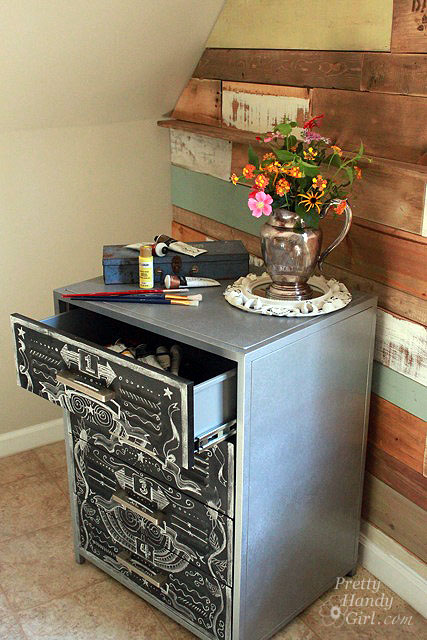
Add chalkboard art to your drawer fronts.
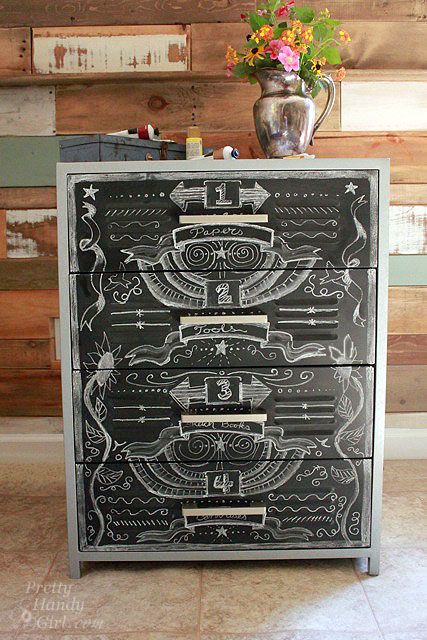
This metal chest of drawers is the perfect size for my large tablets of art paper.
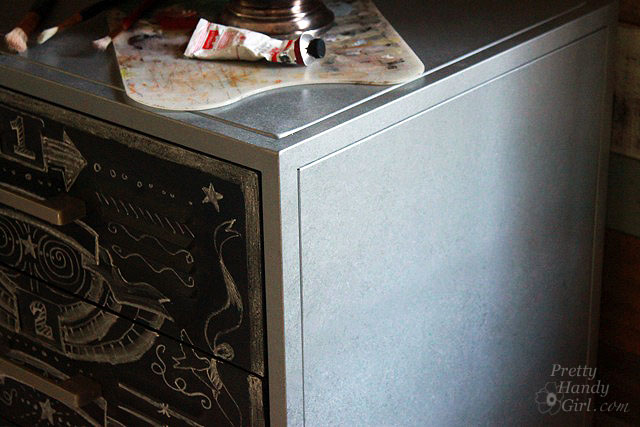
The cabinet has a wonderful texture now.
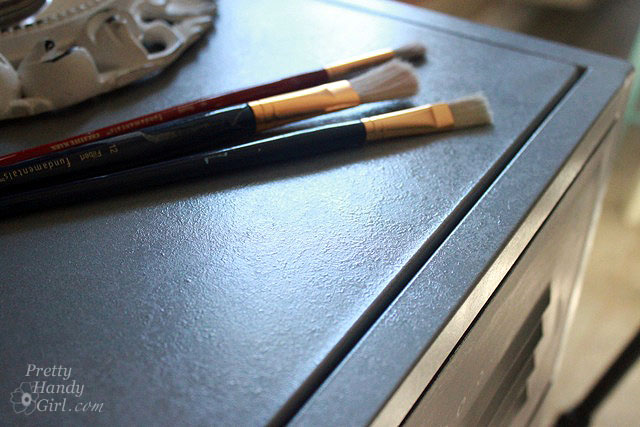
I have the flexibility to move my art supplies around and just change the chalkboard label.

Did I mention this little chest is the perfect height to rest my palette on while painting.
I’m soooo thrilled with the results!