TGIF, TGIF, TGIF! Can you hear the crowd chanting? Yup, it’s Friday and today we have a real powerhouse of a DIYer in the Talent Parade. Here comes Gina with her baton in hand, she has the crowds on their feet and they are ready for a super transformation.

Before she gets to the grandstand, let me tell you about Gina and her blog: The Shabby Creek Cottage. Gina has single-handedly transformed her mobile into a beautiful cottage space for her family to live in. Seriously, you would never guess that this was a mobile home would you?
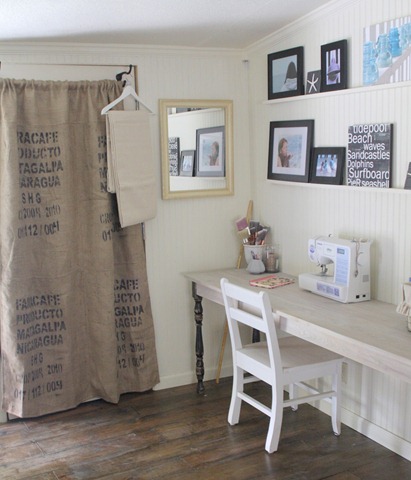
Gina’s home is one of my favorite online homes. She uses aquas and whites to create stunning magazine worthy rooms. She is ultra creative and always amazes me with her ability to design unique decor and furnishings.
But here comes that Queen of Transformations herself, so direct your attention to the parade route.

Hi! I’m Gina from The Shabby Creek Cottage – my blog where I share the adventures of transforming our shabby little cottage by the creek. I’m so excited to be hanging out with Brittany today – in real life (at SNAP) and here on Pretty Handy Girl – it’s truly an honor!
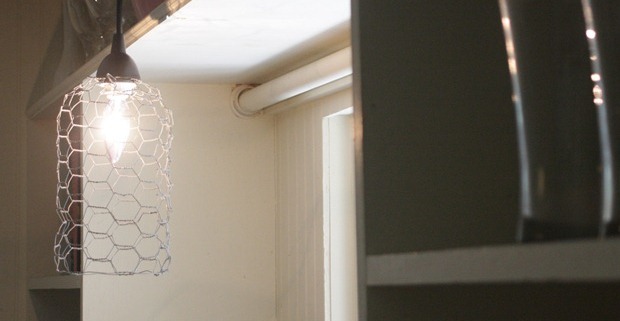
 This little light over our kitchen sink was a case of budget over beauty. I dreamt of one of those delicious Anthropologie lights, oozing with quirky style. However we had about $20 instead of $200, so we bought a Home Depot pendant and put a bucket on it – cute, but not quirky.
 I channeled my inner Pooh Bear, and did a little thinking. What did I have that would be me? Quirky, farmhouse, vintage inspired me? Then I remembered the roll of chicken wire I bought for $1 at my local Habitat Restore. Jackpot. The only tool I used was a pair of side cutters.
 I cut a piece of the wire off the roll, about 10 inches by 12 inches. Cutting on the lines, I tried to keep the long twisty parts between the “combs” as long as I could to make the next step easier. I cut from the finished outer edge, so it could be the bottom of my shade.
 I lined up the full first full roll of combs on each side to make a cylinder. I took the long twisty pieces where I cut, and wrapped them around the ones on the other side.
 Once my cylinder was secure, I carefully started making a dome by pushing the unfinished edges towards the center. Kinda smush it with your hands to get the shape better.
You’ll need to make the hole in the middle work around the sleeve for the light bulb, which is kind of trial and error. Just take the coupler off that holds on the shade, then slide on the chicken wire and replace the coupler.
 You can make it look like a cloche, or smush it all wonky and make it more distorted – totally up to you.

A 10 minute DIY makes my Anthropologie lovin’ heart flutter…

It might not be so cute anymore, but it sure is a bucket load of quirky.
Thanks, Brittany, for letting me share my tutorial today!
Seriously, that pendant light is adorable and Gina makes it so easy to replicate! I’m off to reclaim some wire from the chickens. Wait, I don’t have chickens, guess I’ll be heading over to Home Depot.
How are you enjoying the parade this week? Are you ready for more DIY Talent next week? Come back on Monday to see who’s marching down the street. And don’t forget to join the parade with your own talent on Friday with a special DIY Talent Link Party.


a.jpg)