How to Repair a Leaky Shower or Tub Faucet
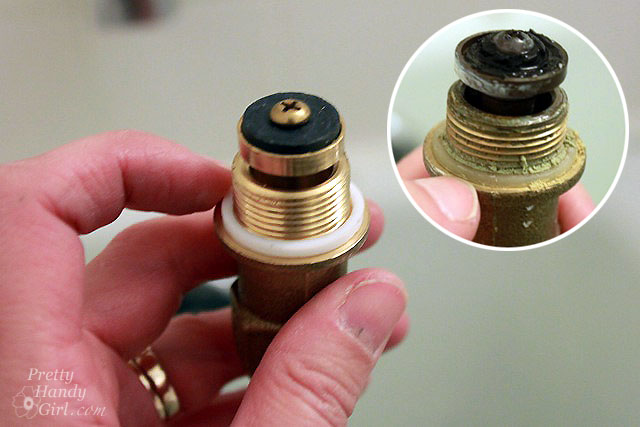
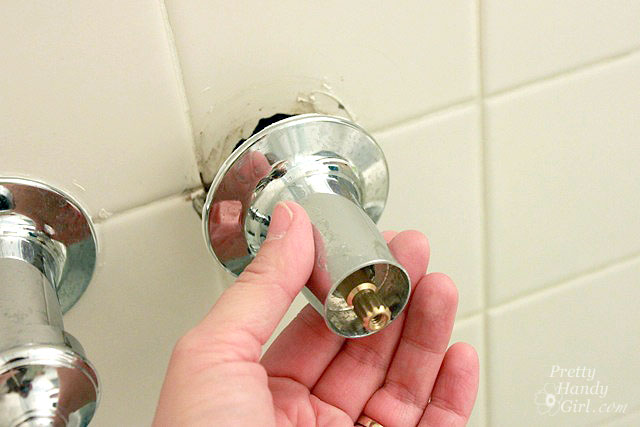
You know that saying, when it rains it pours? That statement has become an actuality in our home. While we are trying to build back from the plumbing leak, one of our tub faucets developed a leak. When I tried to tighten the handles to stop the dripping, this is what happened:
Oops. Luckily, I knew the fix was an easy one, if you can screw in a light bulb, you are qualified to fix a leaky faucet!
I’ve solved this problem in a few tubs and showers (including one on the day I went into labor with my youngest.) Yup, you could say that the faucet wasn’t the only thing that sprung a leak. LOL.
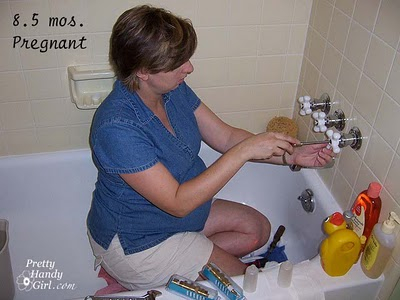
My main complaint is that this was just one more project keeping me from the kitchen.
Leaky Shower or Tub Faucet Tools:
(I’ve included affiliate links for your convenience. I earn a small percentage from a purchase using these links. There is no additional cost to you. You can read more about affiliate links here.)
- IRWIN Vice Grip Pliers
(or monkey wrench)
- Philips head screwdriver
- Flat head screwdriver
- Jar gripper
- Rag
- Optional: bath and tub caulk
Leaky Shower or Tub Faucet Instructions:
Before performing any work on your tub, locate the water shut off and turn off the water to the house! After the water is shut off, turn on the water in the tub to drain any water inside the pipes.
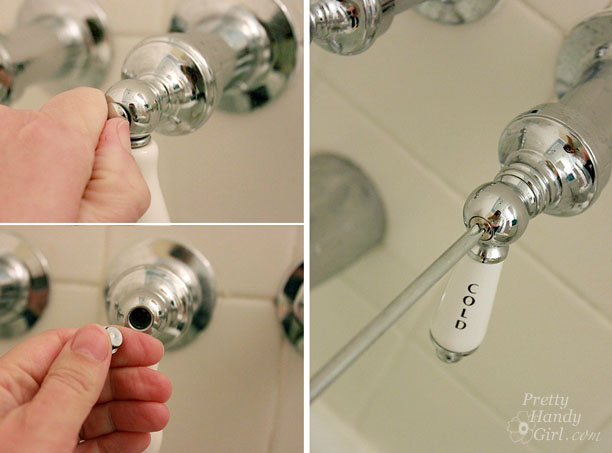
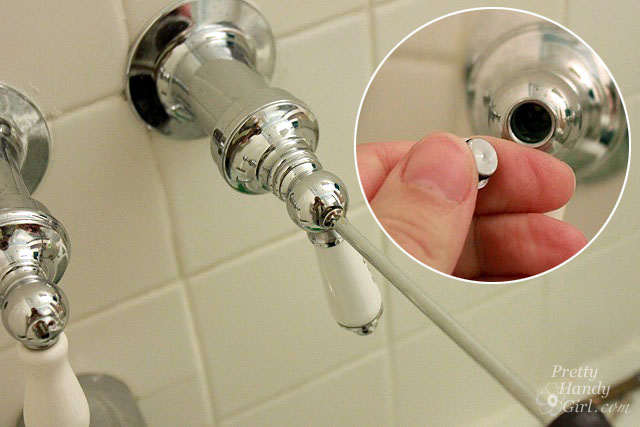
Locate the screw on the faucet handle. Sometimes it is exposed. Sometimes you have to pry the center off the faucet handle. Use your fingernails or a flat head screwdriver to remove the cover.
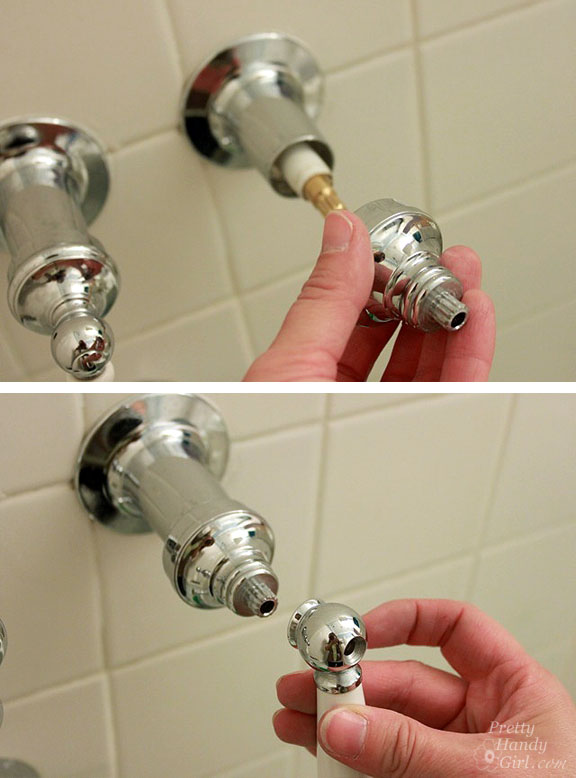
Remove the screw holding the handle on and pull off the handle. (Our shower handles have a collar just below the handle that needed to be removed as well.)
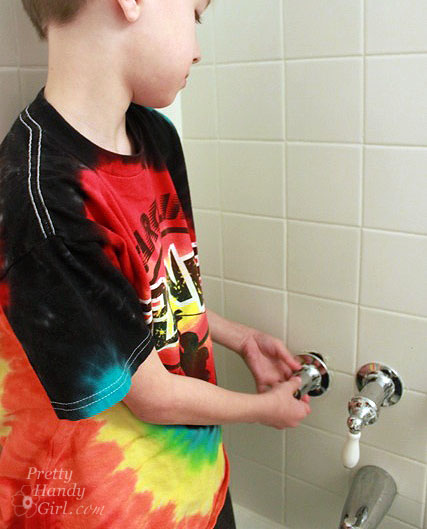
Unscrew the escutcheon (the collar that fits against the wall.) By the way, this repair is a great little plumbing project that your child can help with. It is easy for him or her to help unscrew the parts once they have been loosened.
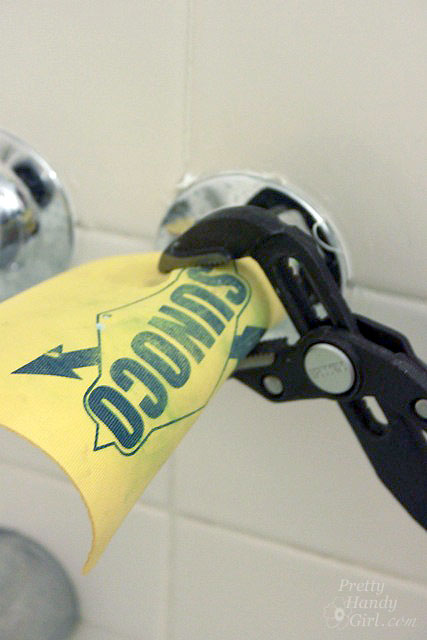
If the escutcheon is stuck on tight, cover it with a jar gripper and use the pliers to loosen it without marring the metal.
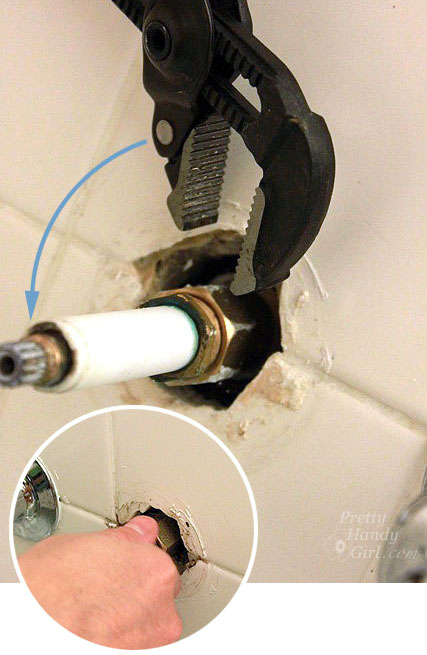
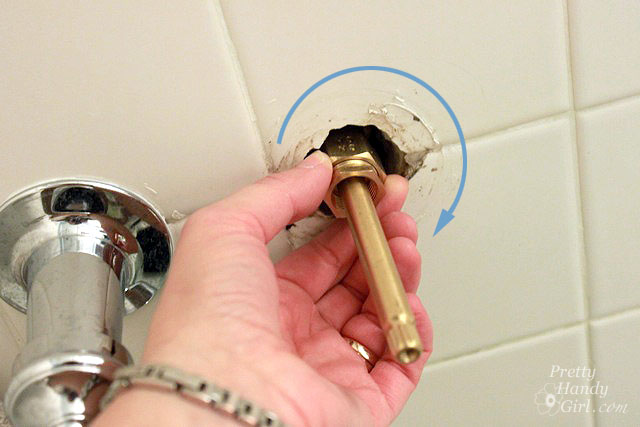
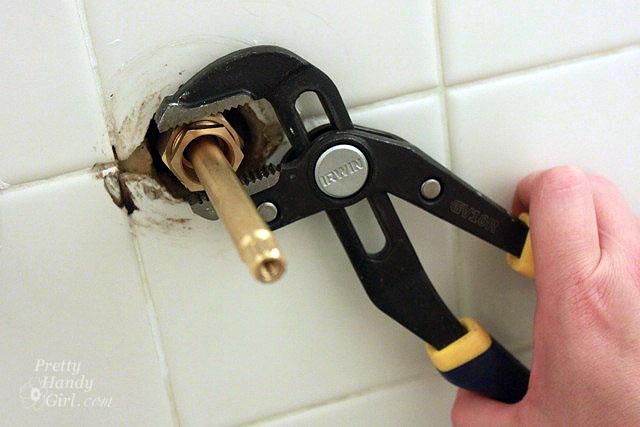
After the escutcheon has been removed the stem will be exposed. Position the pliers over the rear nut and turn the stem counterclockwise. Once it is loose, you should be able to unscrew it by hand.
If the stem hex nut is recessed into the wall, you will need a stem wrench to reach into the wall.
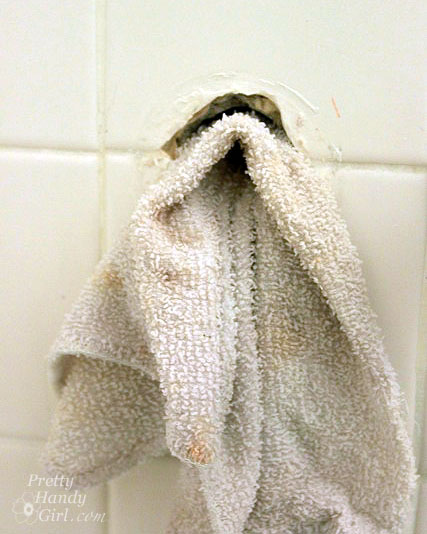
Have a rag ready to shove into the hole once the stem has been removed. This will prevent any remaining water from dripping into the wall cavity.
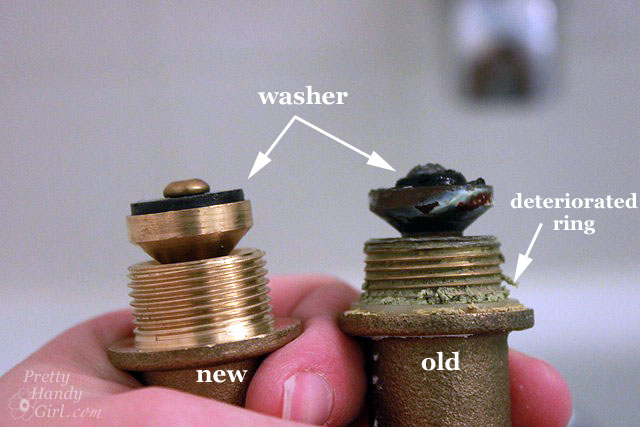
Take the old stem to the hardware or plumbing supply store and purchase a new stem that is identical to the one you removed. The part that wears out most often are the two washers. There is one at the end and one around the threaded portion. You could simply replace just the washers, but new stems aren’t expensive and in my case the stem was really showing excessive wear and tear.
Slip the enclosed washer ring onto the new stem.
Gently thread the new stem into the wall. Do not force it or you could damage the threads in your plumbing. Hand tighten the stem.
Use pliers to tighten the stem. (I usually tighten about 1/2 – 3/4 of a turn more.)
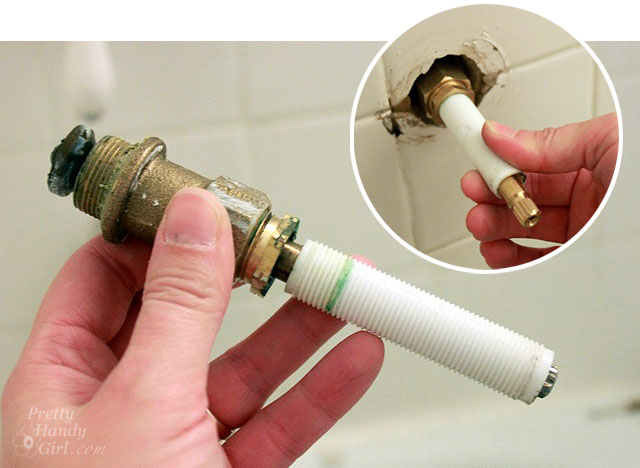
Reuse the threaded tube from the old stem on the new one. This is what your escutcheon threads onto.
Thread the old escutcheon back on. Be careful not to over tighten or you risk cracking your tile. For an ultra-tight waterproof seal, spread a thin layer of caulk where the escutcheon meets the wall.
Replace the handle assembly.
Replace the screw holding the handle on and replace the cap if necessary.
Turn the water back on and test the tub or shower faucet. Your leak should be fixed!
If you have the single handle style shower or tub, you might want to look at this tutorial from Family Handyman.
Now, tell me the truth, that doesn’t look so hard does it? Next time you have a leaky shower or tub, save the money you would have paid a plumber and do it yourself. You can also check out other easy plumbing repair tutorials here:
See you in a few..


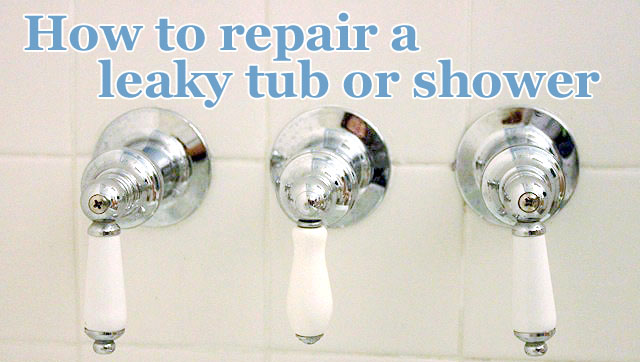





This is so discouraging.
Day 1: Hours spent removing the escutcheon. Took turns with the disinterested teen. The installer had been a bit overzealous with caulking. Note: I now need a new jar gripper.
Day 2: Got no help at Home Depot matching the stem, because I’m too old to be attractive, and too young for the lovable grandma vibe. Found one that looks like the right one. Called home to verify with teenager that it’s the right brand, but the teen can’t be bothered to answer the landline or new Iphone. (Only mention this, because I’m using an ancient cell phone that can’t even do text messaging, and the credit card statement with the bill for the new phone just arrived.) Removed the old caulking from the escutcheon and wall. Note that directions here refer to “enclosed washer ring”… My packaging includes no washer ring.
To be continued. 🙁 🙁 🙁 🙁
Ahh Betti, I feel your frustration. I hope you got it fixed! Normally I shut off the water and remove the old valve and bring it with me to the plumbing supply store.
Thank you for your easy fix it post! I will try it tomorrow!!
Great post, really easy to understand how to step by step change the fixture!
Thanks for the post, keep up the good work!
IF I want to change out the faucets while doing this … is the process the same?
Yes!
A leaking shower faucet will cost you money on your water bill. However, you don’t have to spend additional money on a professional plumber to get it fixed. Following a few simple steps will allow you to get the job done on your own. The following explains how to fix a shower faucet.
Here are some steps that you can follow to fix the problem:
1. Cover shower drain with rag to prevent dropped screws from falling down the drain.
2. Remove handle from shower valve.
3. Unscrew escutcheon plate from the shower valve.
4. Inspect rear of escutcheon for water stains; check condition of gasket.
5. Remove old gasket and apply plumber’s putty around back of escutcheon.
6. Screw the escutcheon plate back onto the shower valve, then remove excess putty.
7. Check all horizontal surfaces in shower stall, such as soap dishes and shelves, for cracks.
8. Inspect seams between shower stall and walls; seal all cracks and holes with silicone caulk.
9. Use a strap wrench to unscrew shower arm from wall.
10. Clean threads on shower arm, then wrap the threads with Teflon tape.
11. Thread shower arm back into wall.
12. Turn on shower and test for leaks.
f the leakage persists despite fixing the shower head and the faucet, chances are that your existing faucet is simply beyond repair and you need a new one.
Thank you! This was so easily explained and your photos made the job very easy to follow!
Very nice and informative post. I was able to repair my leaky shower with my kids. They were very happy when we fixed it.
Any suggestion on how to remove the collar – we have the same exact model and mine appears to be stuck.