Fall Decor in a Rustic Farmhouse Kitchen | Pretty Handy Girl

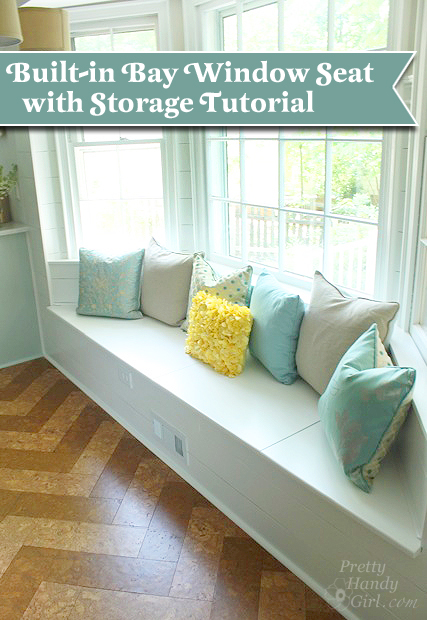
built in bay window seat with storage tutorialBuilding a Window Seat with Storage in a Bay Window

You know when you dream about the finished product on something that you’ve been planning for a long time? And then you finish and your dream becomes a reality? And you think to yourself, am I still dreaming? All those sentiments and more have been going through my head since I finished the building this built-in window seat with storage in our bay window. This window seat is divine! In fact, I’ve begun calling it the Queen’s seat in the hopes that it will deter any male folks from claiming it in our household.
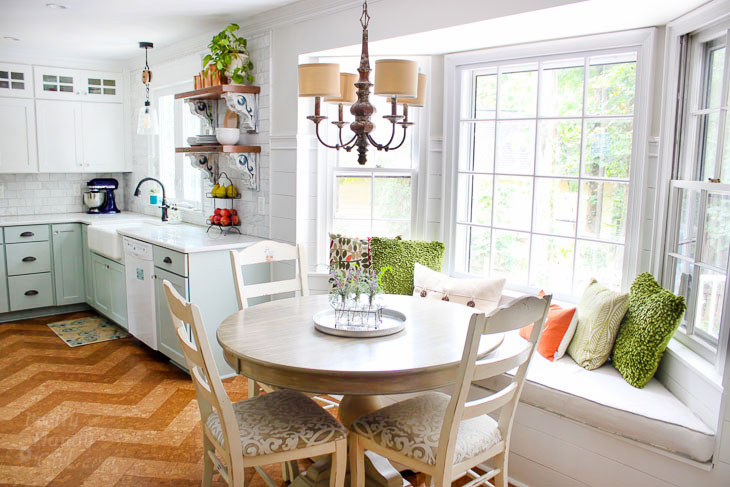
Love this kitchen decorated for fall. You have to see the rest!

Several of you have asked for the tutorial to build the window seat. I have that for you, but I want to mention that this is a slightly more advanced project. Halfway into writing this tutorial, I realized there was no way I could show you each and every cut, step, and trick without this being the world’s longest blog post/tutorial. If you have some basic carpentry skills (you know how to hammer, nail, use some power tools and you know how to attach a 2×4″ securely to a wall), you should be able to handle this. With that being said, I do want to offer any help if you should have any questions during the process of building this bench, please feel free to email me and I will do my best to help you.

I also want to mention that I did have to move the HVAC vent forward so it came out the front of the window seat. Here’s the tutorial to move a floor vent. I do want to caution you against building over a vent. We have a bookcase that was built over the register and the wood inside grew mold because there wasn’t enough force to blow the air and moisture out the front of the bookcase. Just a warning, don’t take the easy way out.
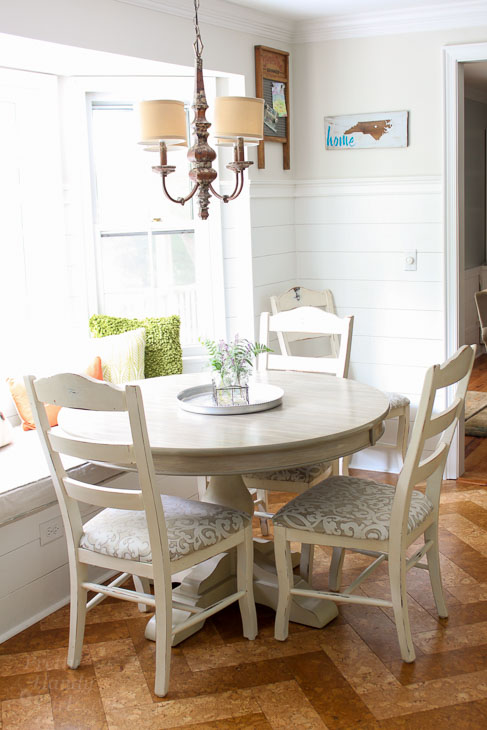
Basics for Building a Built-in Window Seat in a Bay Window: Read more

How to Install Planked Walls - a tutorial by Pretty Handy Girl

Today’s post is all about filling in the plank and how to plank walls! I love a good play on words…and I love the planked wall look which harkens back to a simple country farmhouse look. Previous to the water leak we had beadboard walls that I had installed shortly after moving into our house. But, I was tired of the beadboard and really wanted a look that was casual, cozy and all about the farmhouse look. I’d fallen in love with The Lettered Cottage’s guest room walls:

Those lucky ducks uncovered the planks under the drywall! I knew we wouldn’t be lucky enough to find anything but termite damage under our drywall. Then I saw the House of Smith’s installed their own gorgeous planked walls using ripped plywood planks and two nickels:

I decided I could do it for cheaper, so I used two pennies. LOL. Get it? Cheaper than two nickels. 😀

The process of installing plank walls is really very simple. And the planks are great for covering a multitude of sins on your wall. (Like previously glued beadboard walls.) Read more

DIY Beadboard Picture Frames

DIY Beadboard Picture Frames

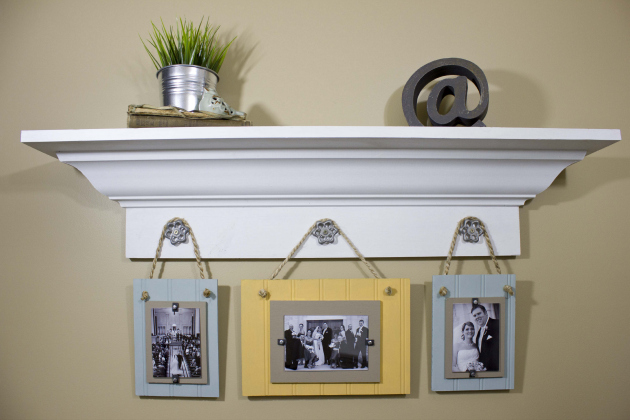
Last month Matt showed you all how to build a decorative shelf with crown molding for our half bath. The shelf is perfect for the space and I love it. Unfortunately something felt like it was missing from the shelf. After some thought I decided that our shelf needed picture frames! Beadboard picture frames to be exact.

DIY Beadboard Picture Frames

Today I am going to show you how to DIY your own beadboard picture frames! Read more

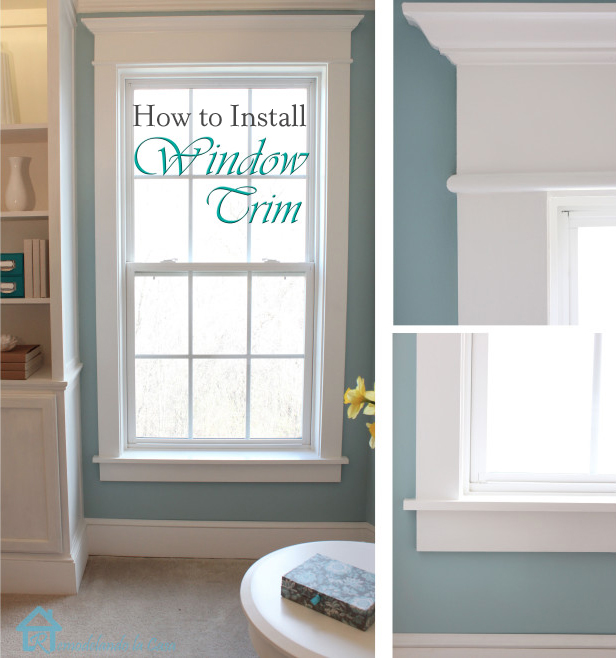
How to Install Window Trim

Hi everyone, I’m Cristina from Remodelando la Casa, and I’m beyond excited to join the team of Pretty Handy gals and guys!  I’m still pinching myself at such a wonderful opportunity.

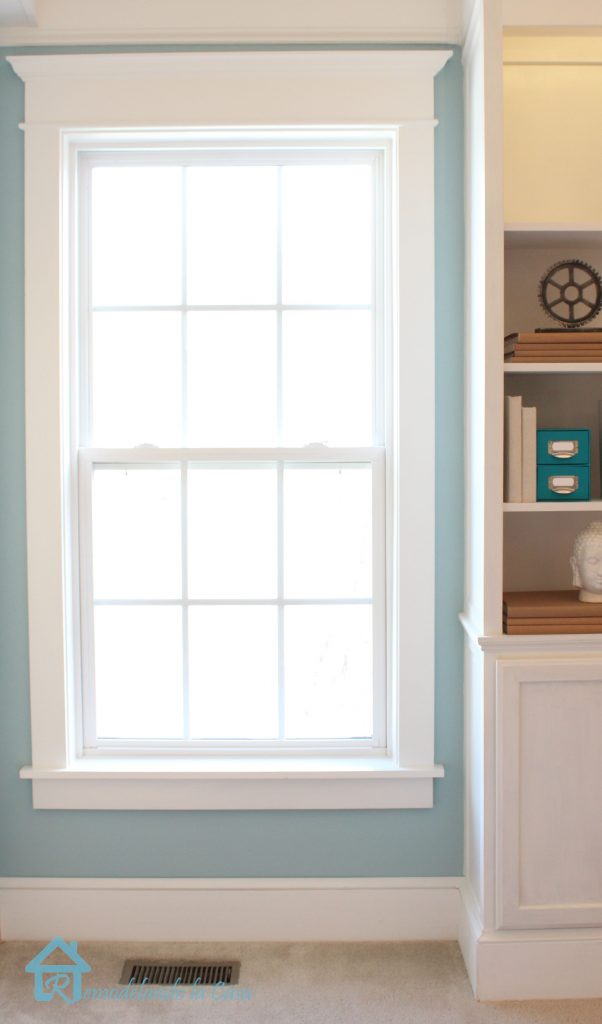
Today I’m going to show you a fairly easy way to transform your builder grade windows from plain and boring to beautiful with loads of character and with a more finished appearance.

trimmed left window lg

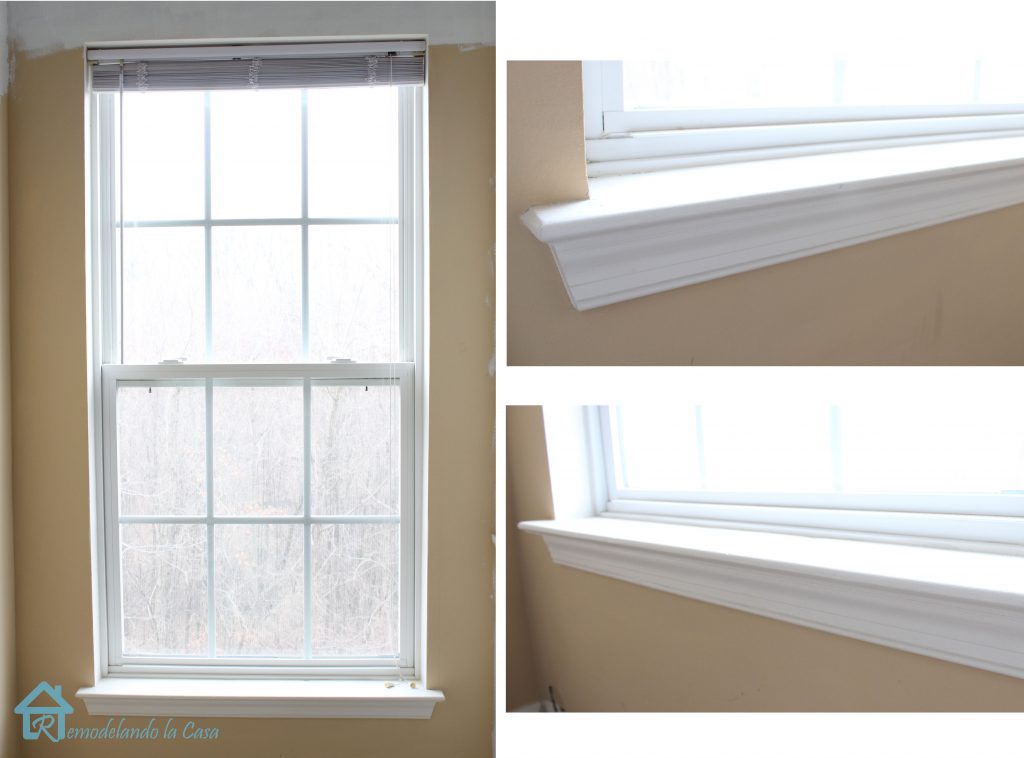
Right now I’m working on updating my bedroom, where I have a couple of these windows.

small window sills lg

 They look  like they are wearing skirts, but forgot to put on the tops! 🙂  Yeap, naked!

plain builder's windows lg

Let’s change that by dressing up those windows! Read more

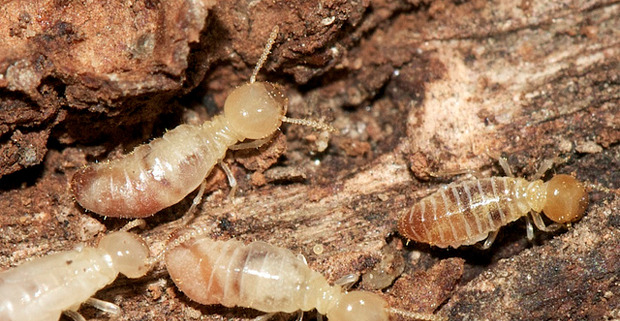
learn-about-termite-damage

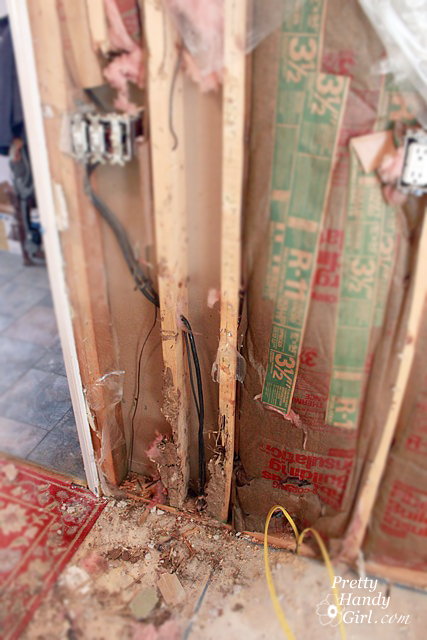
There we were, Harvey the electrician and I were happily making progress on the kitchen renovation. Harvey was just finishing up on the last row of outlets when his hand disappeared into the wall. “Ummm, Ms. Bailey, I think there’s something wrong with this stud.” I looked over to see him pulling wood shavings out of the hole he had cut for the outlet. “What the…..?” (I repressed my urge to curse.) Within five minutes of his discovery, we had pulled down the sheetrock around the suspicious stud and were glaring at a poor excuse for two framing members and the wall’s bottom plate.

termite_damaged_studs

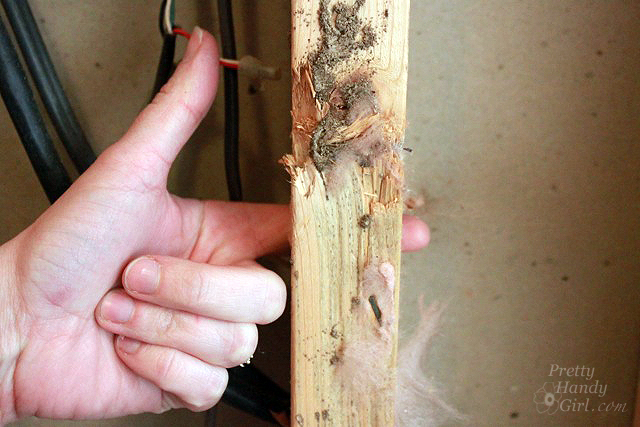
The two studs were so brittle and destroyed that I was able to poke my entire finger through them. (Let’s see you do that to a solid 2×4, Mr. Houdini!)

finger_through_termite_damage

Not good…not good at all. I had to make the unfortunate call to Pretty Handsome Guy to tell him the bad news. But, I broke it to him lightly, “Honey, what is the one home disaster we HAVEN’T had to deal with yet?” He guessed tornado (Shoot, forgot about that one.) “No, Termites! But, the good news is that there is no live infestation.” See, it always helps to temper the bad with some good news. 😉

The next few days were fraught with nail biting, lightly walking around that wall (for fear it might topple over), and multiple phone calls to the termite company, our building inspector and a structural engineer. To make this long story short, the structural engineer was the most helpful and advised us to fur out our walls to carry the wall load over the remaining perfectly good rim joist. If that sounds Greek to you — no worries — I really want to share with you what I’ve learned about TERMITES instead! Read more