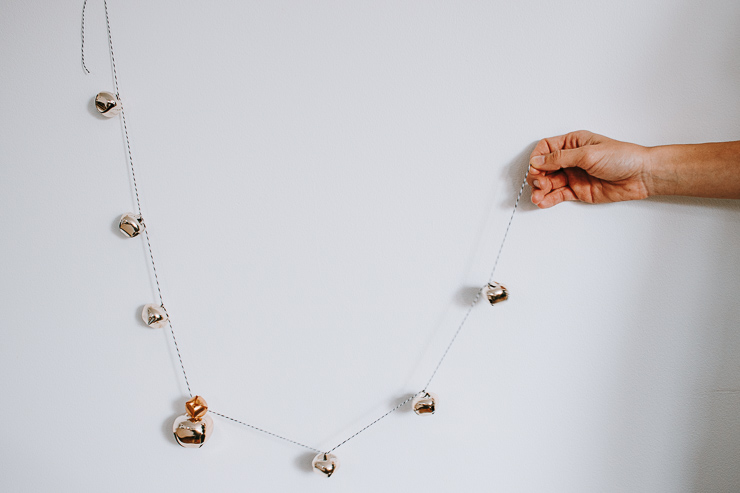
I’m always looking for ways to simplify my holiday decorating and re-use what I have. This DIY Jingle Bell Garland project is perfect for that!  Perusing the holiday collections at my favorite home stores gave me the idea of making this simple bell garland. It’s a lovely nod to Scandinavian decor if you like that style.

Hello, Pretty Handy Girl Readers! Now that the holiday season is upon us, I thought it would be fun to share an easy DIY project to help you decorate your homes this year.

All you need are two inexpensive items to make this. (You might even have them already. Hint: Look in your gift wrap stash!)

That’s right – these bells are actually cheap gift toppers from Target.  Yes, they are functional and they sound beautiful (like Jingle Bells!)

This garland will take you all of ten minutes to create, and another five to hang it up. How’s that for simple, inexpensive, and quick!

Let’s get creating!

Materials:

(I’ve included affiliate links for your convenience. I earn a small percentage from a purchase using these links. There is no additional cost to you. You can read more about affiliate links here.)

Instructions:

Follow these steps to make lovely little bell garlands. I’ll include tips for hanging, decorating, and storing as well.

Step 1: Cut a long piece of string

Whether you are using baker’s twine, jute, or ribbon, cut a long piece to get started. My piece ended up being about 30 inches long. You can always snip any excess off at the end.

Step 2: Thread your bells on your string:

Time to thread those bells on! My gift toppers came with a little loop to attach them. I’m sure your bells will, too. All you need to do is tie a little knot to make sure they stay. You don’t want the bells sliding all around on you.

I decided to space my bells out a bit, but you can also string them close together. But, if you do, you’ll need more bells!

Step 3: Hang up your garland

Once all your bells are knotted and secured on the string, it’s time to hang it up.

Initially, I was using scotch tape. However, my garland kept falling! (Consequently, I’ve been hearing a lot of fallen jingles in this house today). I ended up using 3m clear light clips and they are not falling anymore. You can tie both ends of garland onto the light clip and hang it up that way. If you are also decorating with garland, this helps to hide the clips as well.  It has not fallen since! Yay!
 

Where to hang your bell garland?

Call me traditional, but I like these bell garlands draped across a window or hung from a mantel. They feel so Christmas-y to me!

Some other ideas would be to drape them across a mirror or over a pretty piece of artwork.
Have open shelving? Drape them on your open shelving like it was a mantel!

What about storing your garland?

After the holidays are over, it’s time to pack up all the decor! But wait — how do I store this garland without it getting tangled?

So glad you asked! I found the simplest way to store these garlands is to tape one end to a piece of sturdy cardboard, then wrap the garland carefully around the cardboard and finish by taping the other end.
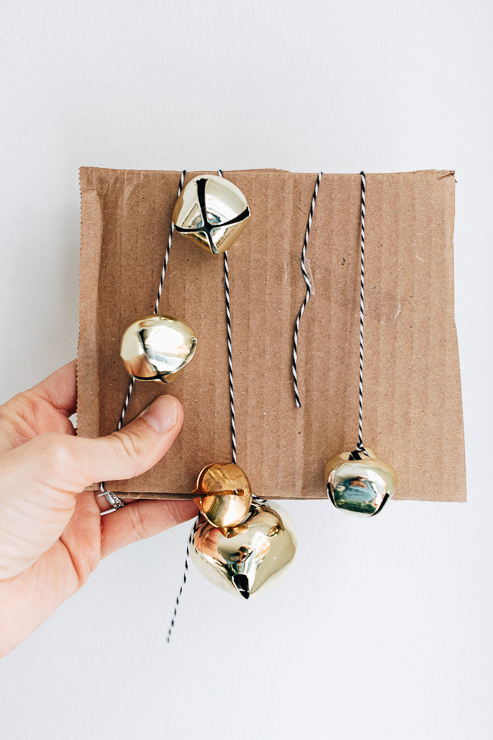
It’s secure and it won’t tangle on you! You might also appreciate these 9 Holiday Storage Hacks for your other holiday items!
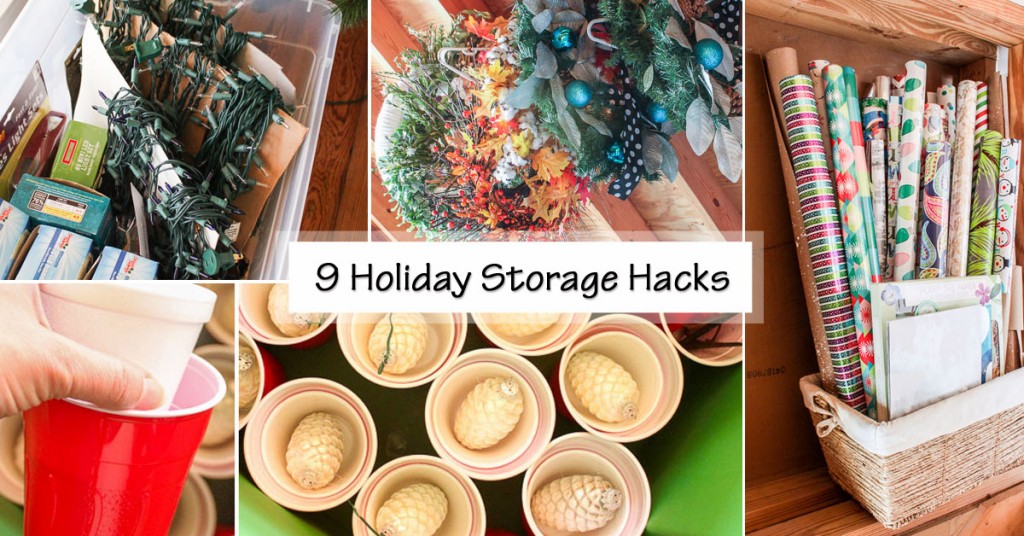
9 holiday storage hacks social media image

I love the way this bell garland turned out. However, I think a nice satin ribbon in red or white might be my go-to for next year. I love the contrast between the gold bells and the silky ribbon. In the meantime, pin this tutorial to share with a friend!

Looking for more Holiday Decorating Ideas? Check out these DIY frosted votive candle holders and this rustic Christmas tree crate.

I hope you are all having a wonderful Holiday Season so far! See you right back here next month.

 

karen signature

~ See More of Karen’s Tutorials ~


karen from decor hintHello!  I’m Karen, the creator of the Home Decor and DIY Blog: Decor Hint. I’m a Native of the East Coast, but I currently live in beautiful Seattle with my hubby, our two wonderful children, and our spunky wheaten terrier.

You can usually find me with some sort of craft in one hand and a coffee in the other. And I’m always rearranging furniture or moving lamps from room to room. I have a passion (read: obsession) for decorating, DIY, and gardening. In short, I love making my house into a home.

Like many, I’m inspired by what I see in home decor magazines, but I’m not so inspired by the price tags.  Consequently, I love finding and creating beautiful budget-friendly home decor items. In a head to head competition, I bet you’d never know the difference between the designer items and my DIY creations!  Many of my DIY projects focus on sewing, crafting, upcycling and organizing. Some of my favorite projects have been making pretty wreaths, sewing my own tassel hand towels, and crafting these trendy wood bead garlands. I can’t wait to inspire you and spark your creativity through my DIY projects.

You can always connect with me on Pinterest, Twitter or Instagram.
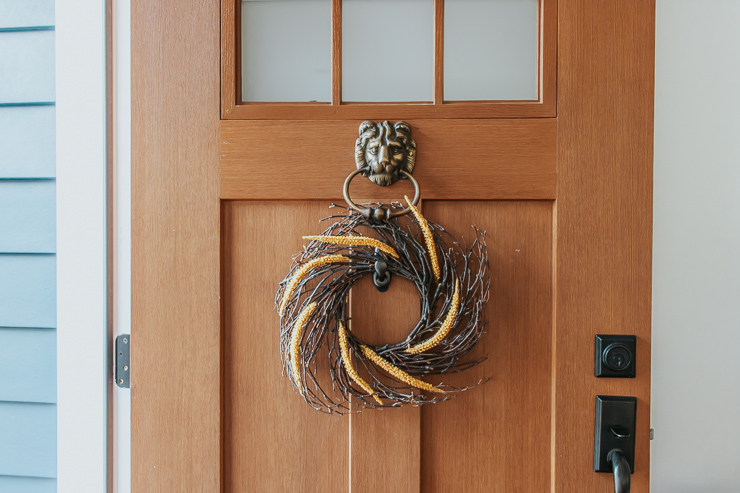

DIY Simple Fall Wreath for Less than $10

Hi everyone!  Happy Fall!

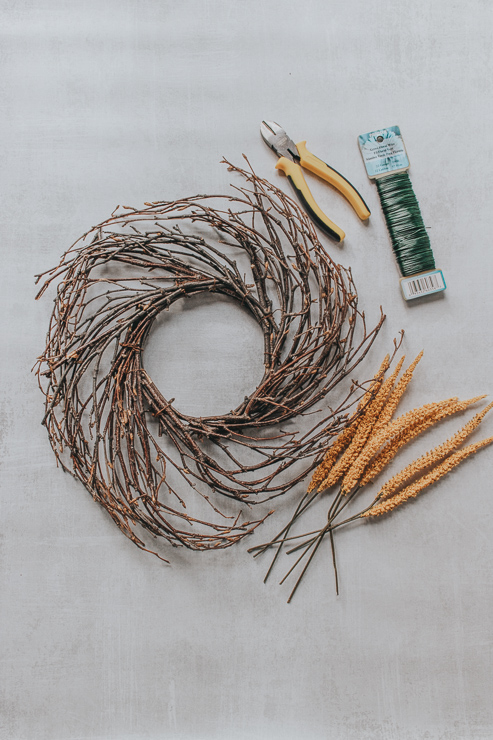
Today I’m back with this super simple wreath idea that will cost you less than $10 all in! It includes using an inexpensive starburst twig wreath from Amazon and some cattail bunches that I picked up at Dollar Tree for a buck each.

I happened to see this twig wreath from Amazon and it was only $7. I knew I wanted to make a Fall wreath with it. That’s what started this whole project! The nice thing about using twig wreaths is that they help to “fill out” your wreath. You don’t need as many floral/greenery accessories because the twigs add bulk.

I love making wreaths. It’s one of my favorite crafts. Lately, I’ve gravitated toward very simplistic, almost minimalistic looking, wreaths. And that’s how I wanted to design this one.

The cattails add a nice pop of color.

Let’s get started!

Materials:

(I’ve included affiliate links for your convenience. I earn a small percentage from a purchase using these links. There is no additional cost to you. You can read more about affiliate links here.)

Instructions:

Follow these three simple steps to creating your Fall wreath.

Step 1: Cut off Individual Cattails.

Since my cattails came in bunches, I started off by snipping each individual cattail from the stems. I left a bit of a stem on each one.

Step 2: Use floral wire to attach Cattails to your Wreath Form.

Using small pieces of floral wire, attach your cattails to your wreath form. You can twist the wire in the back to secure each cattail. I wanted my cattails to follow the twisted pattern of the wreath.

You can also try inserting the cattails through the twig wreath wire. Just be careful not to loosen or break the twigs from the wreath.

Step 3: Hang up and enjoy it!

After all your cattails are attached, you just need to hang up and enjoy it!

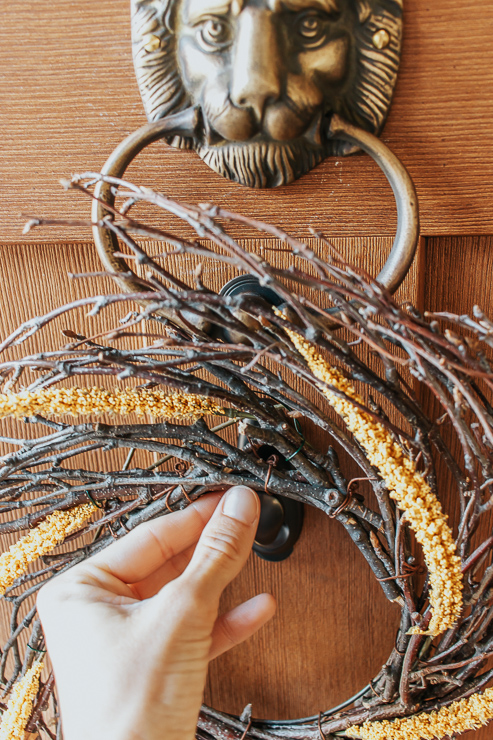
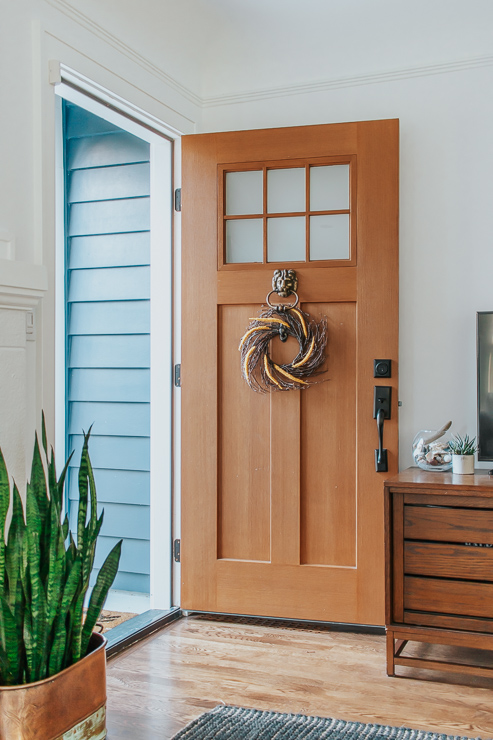
I like to use a 3m wreath hanger to hang them on my front door. If you have a glass door, you can buy a suction door wreath hanger that comes with a little hook.

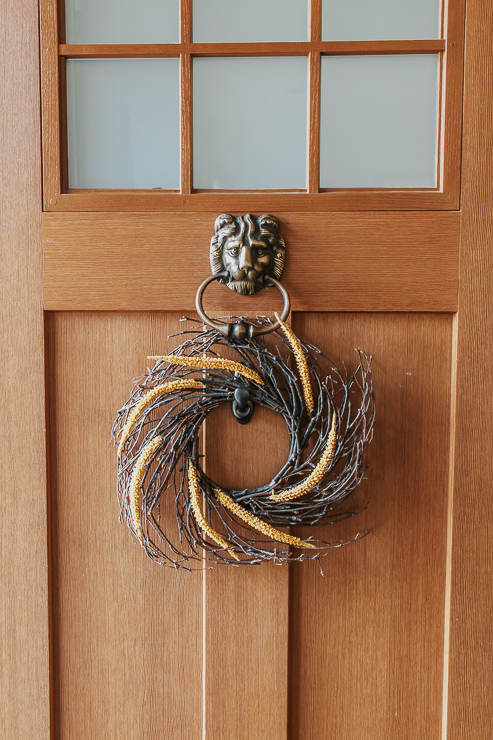
These wreath hangers allow me to hang it anywhere on the front door and not block the windows. I like to hang my wreaths directly under our new lion doorknocker.

But you can also hang your wreath indoors. I especially love using wreaths for jazzing up an interior door or wall and I love hanging one from our kitchen vent hood around the holidays.

You don’t have to spend a lot to add some Fall Decor to your home. Dollar Stores are a great place to pick up a few florals and keep the cost low. You can always reuse the twig wreaths too!

For more wreath ideas, check out this modern hoop wreath tutorial here.

Until next time!

karen signature

~ See More of Karen’s Tutorials ~


karen from decor hintHello!  I’m Karen, the creator of the Home Decor and DIY Blog: Decor Hint. I’m a Native of the East Coast, but I currently live in beautiful Seattle with my hubby, our two wonderful children, and our spunky wheaten terrier.

You can usually find me with some sort of craft in one hand and a coffee in the other. And I’m always rearranging furniture or moving lamps from room to room. I have a passion (read: obsession) for decorating, DIY, and gardening. In short, I love making my house into a home.

Like many, I’m inspired by what I see in home decor magazines, but I’m not so inspired by the price tags.  Consequently, I love finding and creating beautiful budget-friendly home decor items. In a head to head competition, I bet you’d never know the difference between the designer items and my DIY creations!  Many of my DIY projects focus on sewing, crafting, upcycling and organizing. Some of my favorite projects have been making pretty wreaths, sewing my own tassel hand towels, and crafting these trendy wood bead garlands. I can’t wait to inspire you and spark your creativity through my DIY projects.

You can always connect with me on Pinterest, Twitter or Instagram.


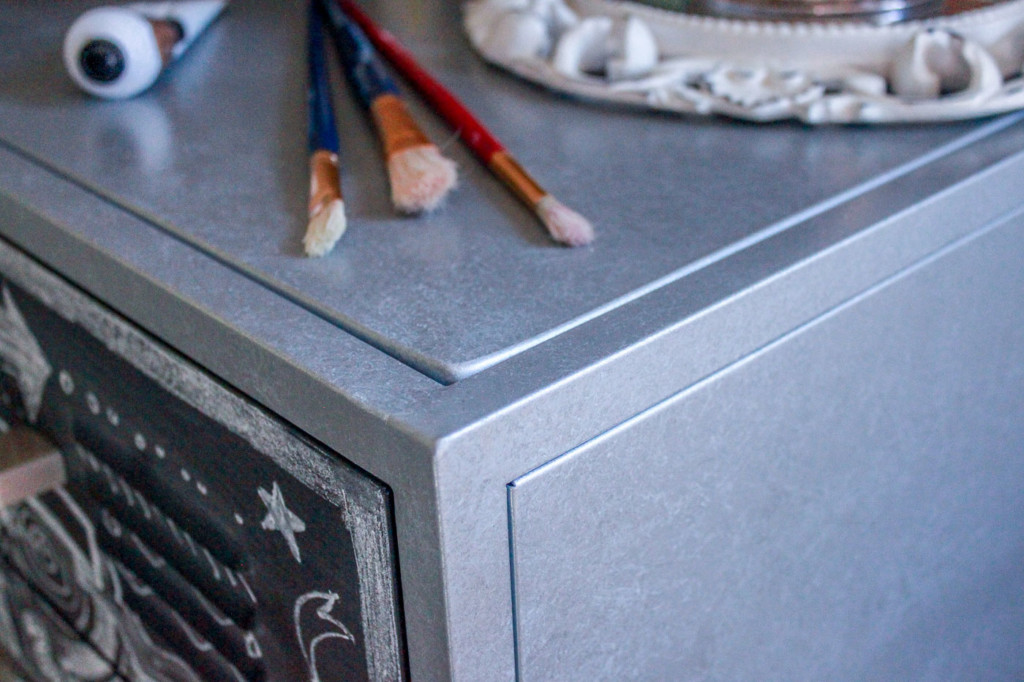
Want to give something the look of zinc metal without spending money on zinc metal? You can create the look with spray paint and this technique.

How to Create a Faux Zinc Texture (with Spray Paint)

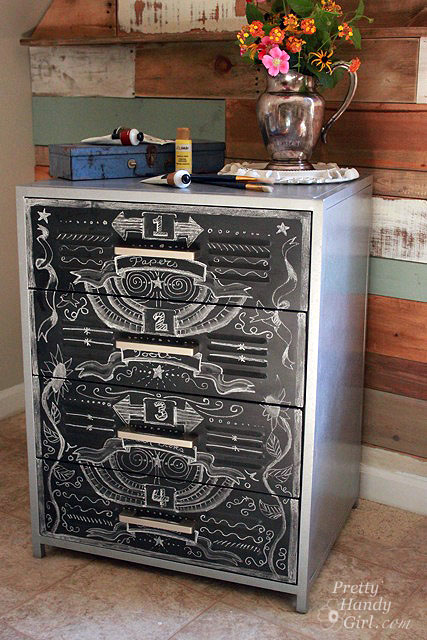
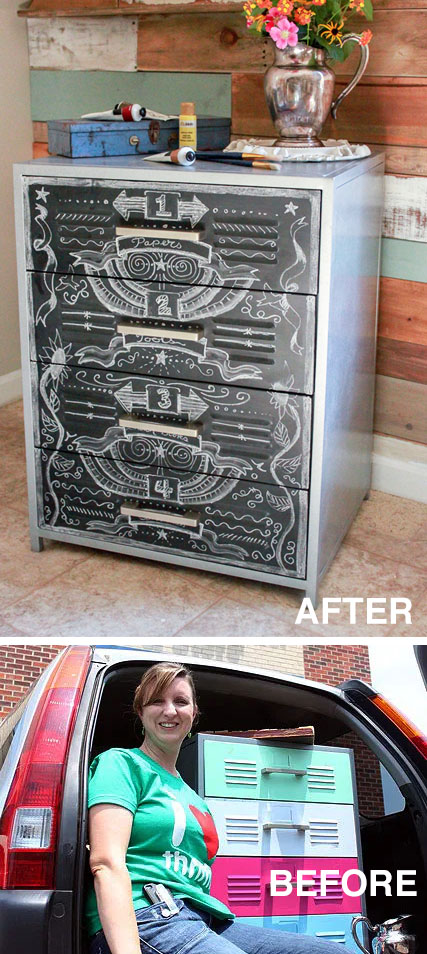
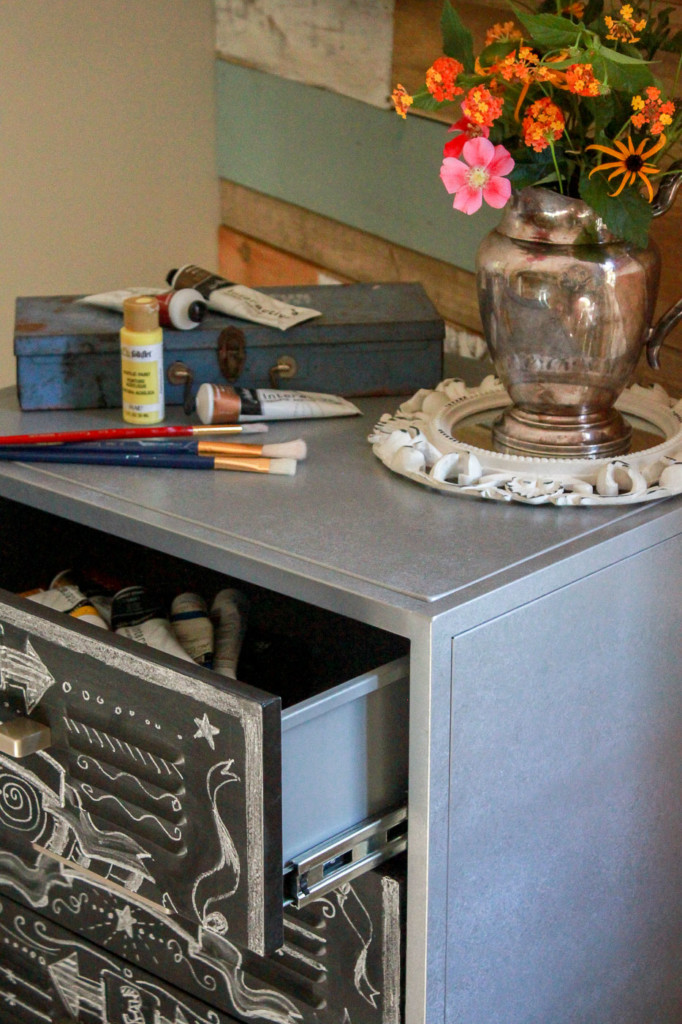
A while ago I was thrifting with a few friends and stumbled across an ugly cabinet at our local Goodwill. The metal chest had extra wide and deep storage, but the worst colors imaginable! The hot pink and mint green were disguising the true potential of the chest. Like a color-blind dog, I was able to see beyond its garish appearance. In my mind, I pictured a vintage metal cabinet with a faux zinc side and chalkboard drawer fronts.

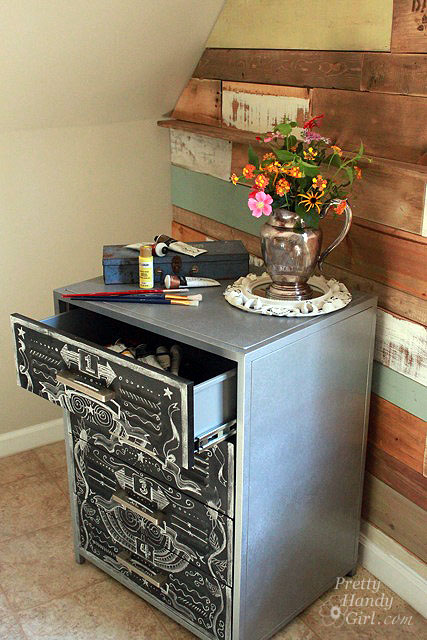
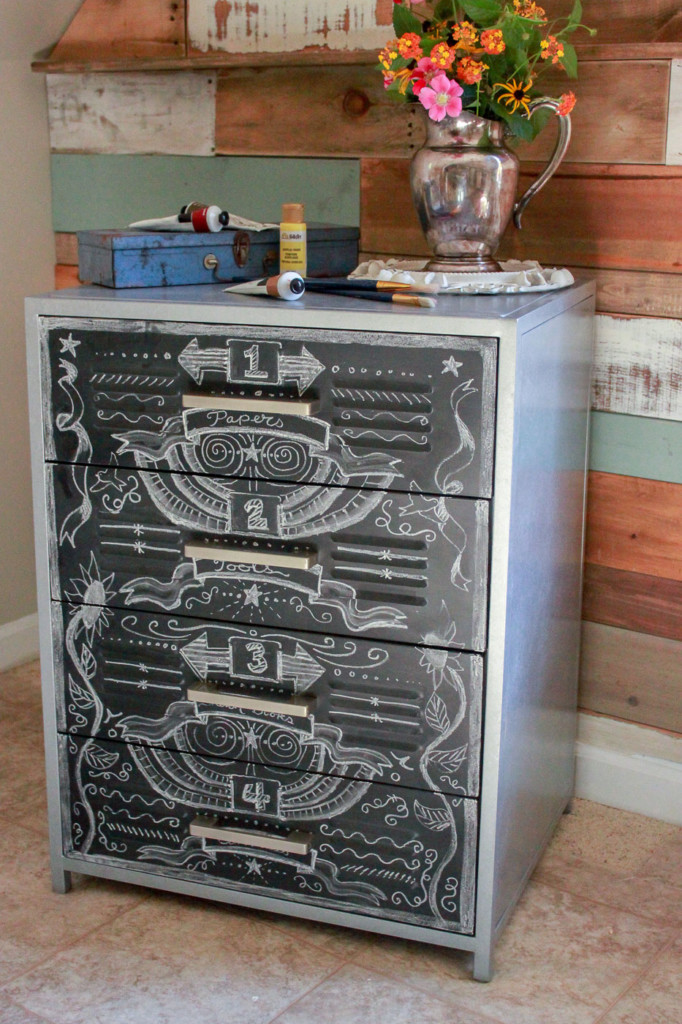
I scooped it up and brought it home. Then the poor chest sat in our garage for months and months until I had a chance to work a little spray paint magic and turned it into….this thing of beauty:

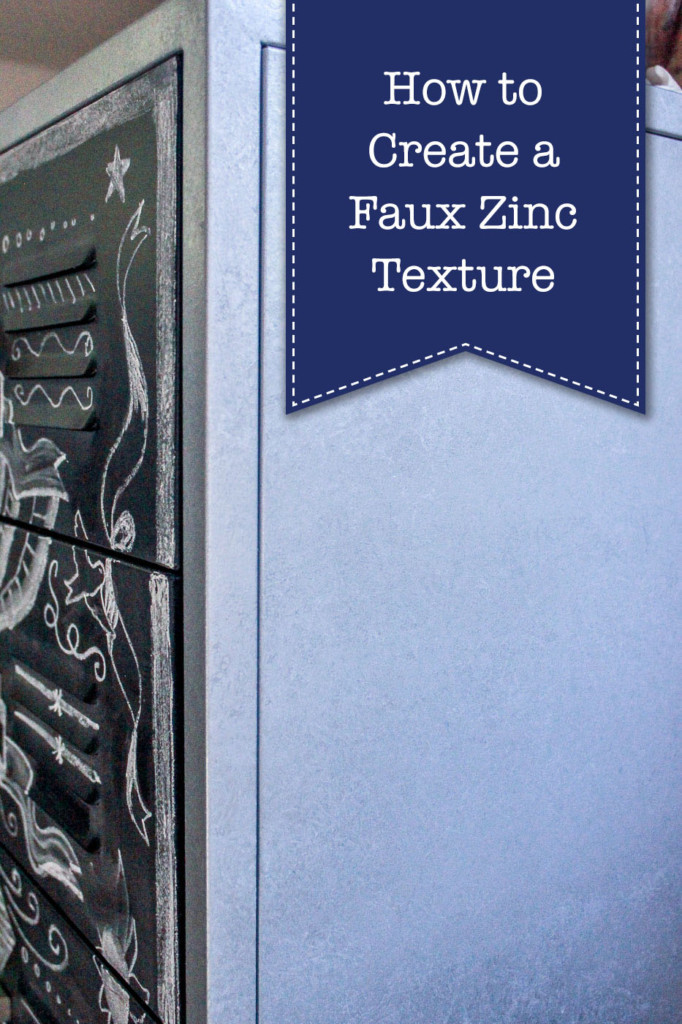
Yes, that is the same chest of drawers! You could do the same transformation. Let’s learn How to Create a Faux Zinc Texture!

Materials:

(I’ve included affiliate links for your convenience. I earn a small percentage from a purchase using these links. There is no additional cost to you. You can read more about affiliate links here.)

Instructions:

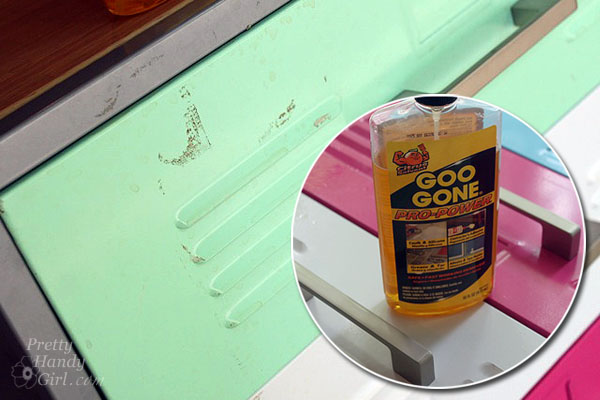
Clean off your furniture piece really well. Remove any dirt or debris (I actually had to use a little Goo Gone to get rid of some sticky residue. But, lemon essential oil will also work for this task.)

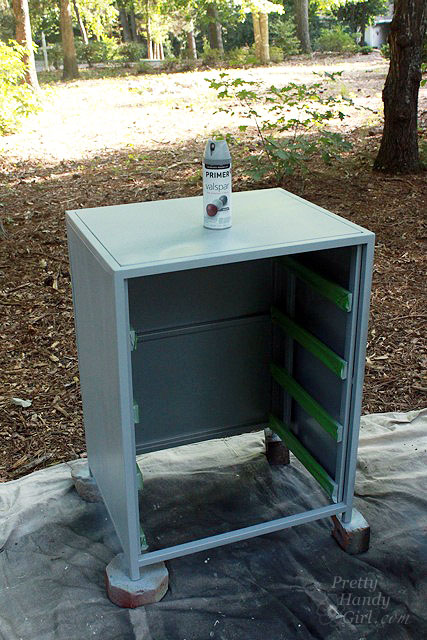
Spray paint your object with automotive primer. (I prefer the automotive primer because it sticks to metal and can withstand a lot of abuse.)

Let the primer dry.

Adding a Faux Zinc Texture:

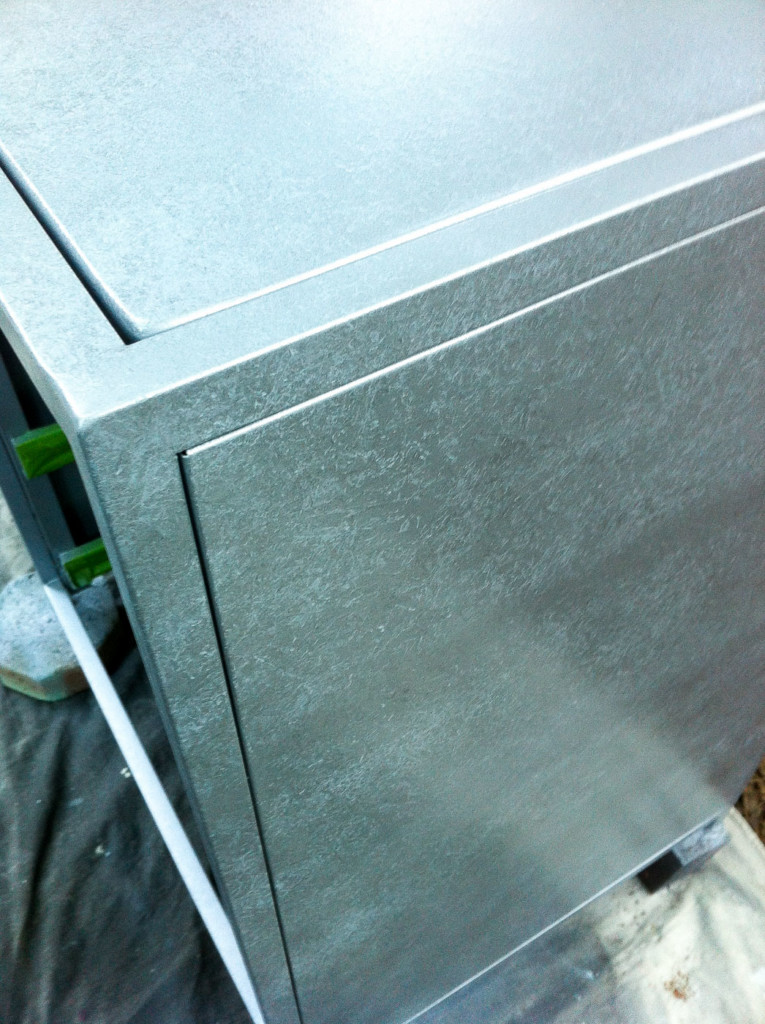
This is the most exciting part of the tutorial. I created this technique by trial and error and I’m excited by how well this method works for creating a faux zinc texture.

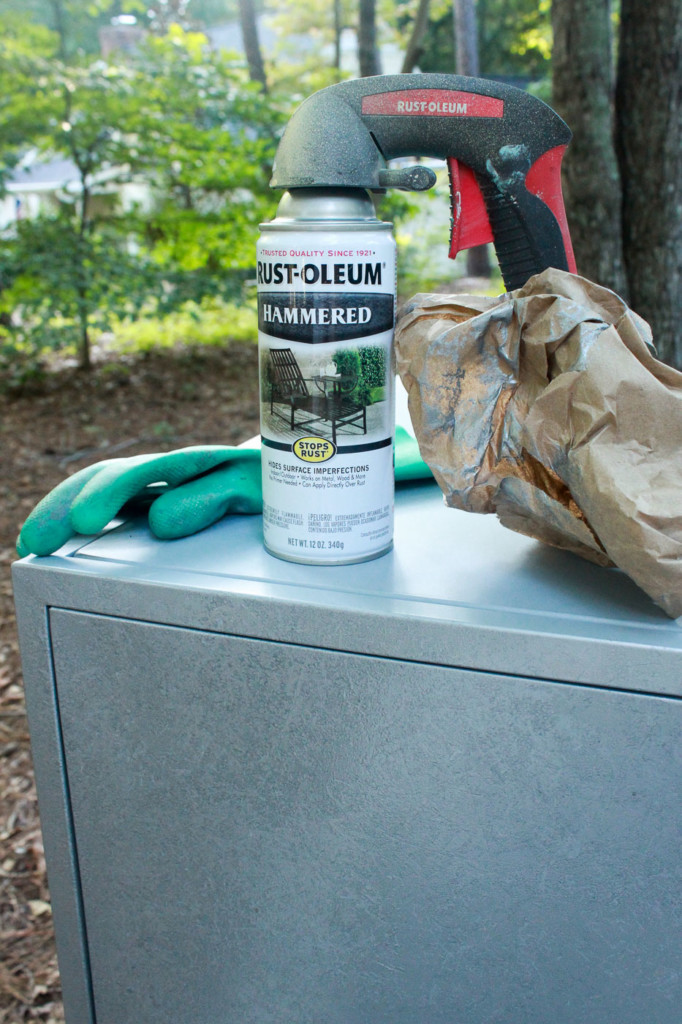
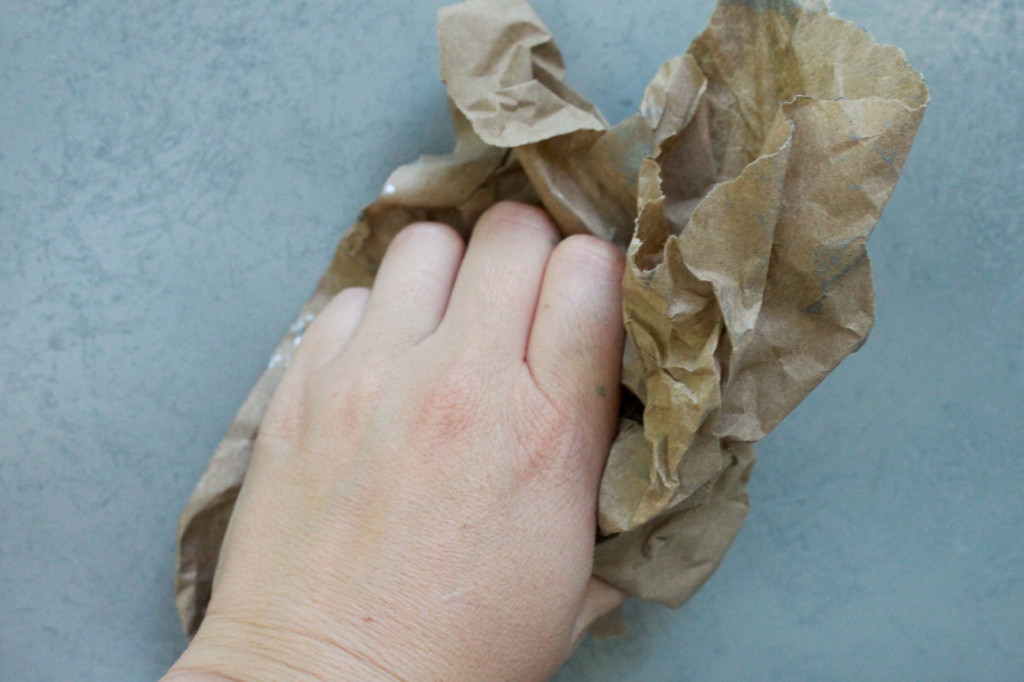
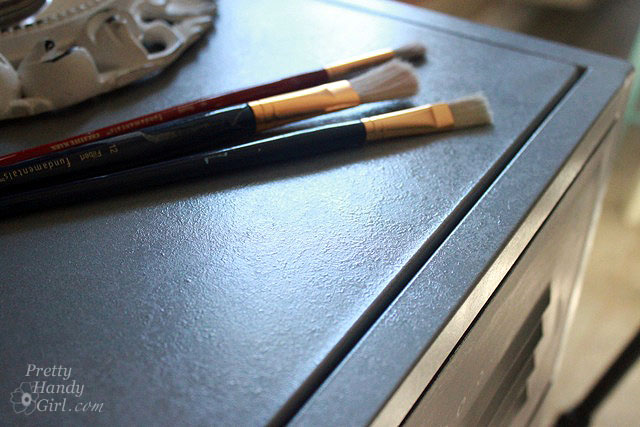
Getting a faux zinc texture is really easy. Just have some gloves on and use a crumpled up piece of craft paper. (A loose crumple works best.)

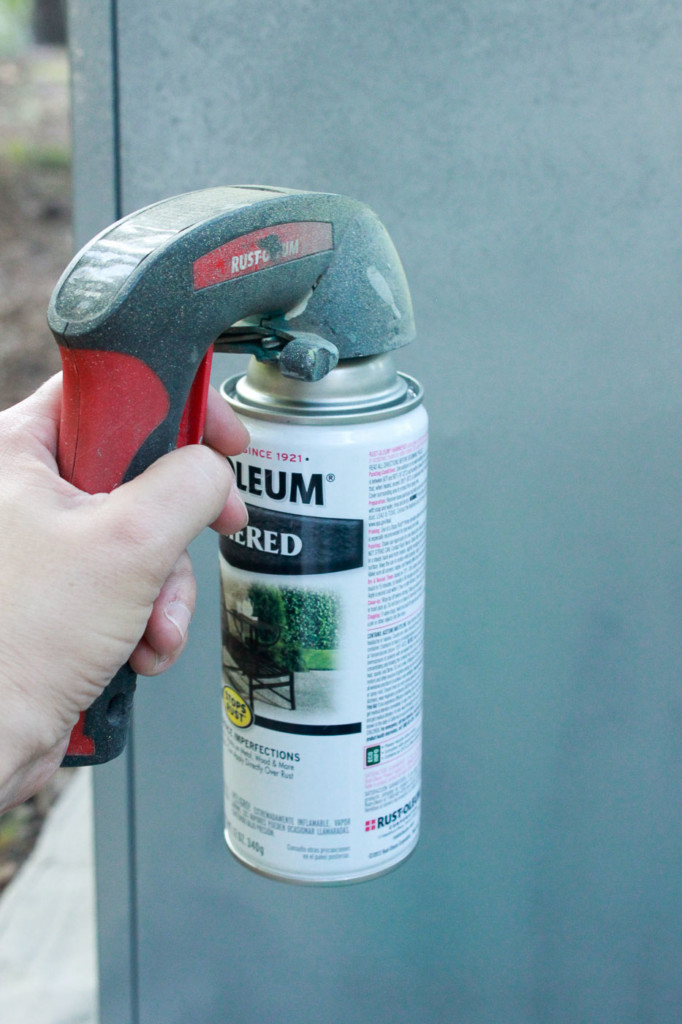
Spray paint your object with a thick coat of the hammered silver spray paint, (but not so thick that it runs). Let the paint get tacky by waiting a few seconds.

Then use the crumpled piece of craft paper to blot into the wet paint.

Work in small 1 foot sections and pounce the paper a few times. (Too much pouncing and you’ll lose the large textured pattern.)

Let the paint dry thoroughly. Then enjoy your beautiful faux zinc paint job!

Chalkboard Painted Metal Drawers:

For my cabinet, I chose to paint the drawer fronts with chalkboard paint for a nice contrast.

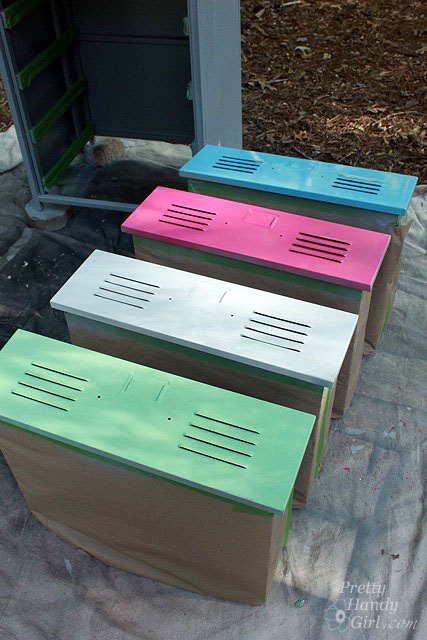
Remove the drawers from the chest. Tape over the drawer glides and slides. Mask off the drawer sides and insides by covering the drawers with tape and craft paper, leaving only the drawer fronts exposed.

Spray paint the drawers with chalkboard paint. (Use three fine coats of paint instead of one or two heavy coats.) Set them aside to dry.

Insert the chalkboard drawers back into the cabinet frame.

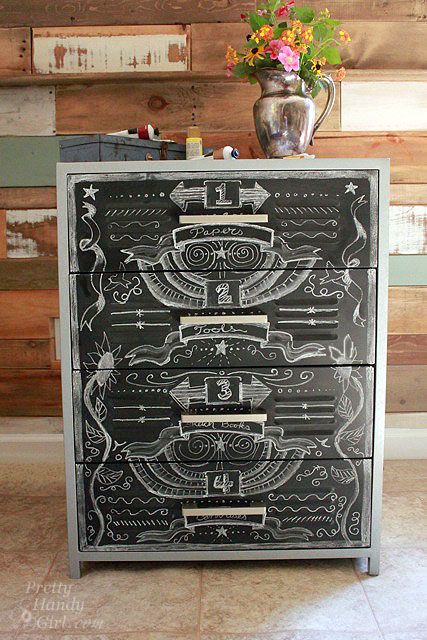
Add chalkboard art to your drawer fronts.

The thrifted cabinet has a wonderful texture now and the black and zinc colors work with any color scheme.

The chalkboard drawer fronts allow the flexibility for me to store and label other items inside.

I’m so thrilled with the results! I hope you try to transform your own object, now that you know how to Create a Faux Zinc Texture.

If you use this tutorial, I’d love to hear about it. Better yet, will you send me a picture?

Share this with a friend! Pin this image:

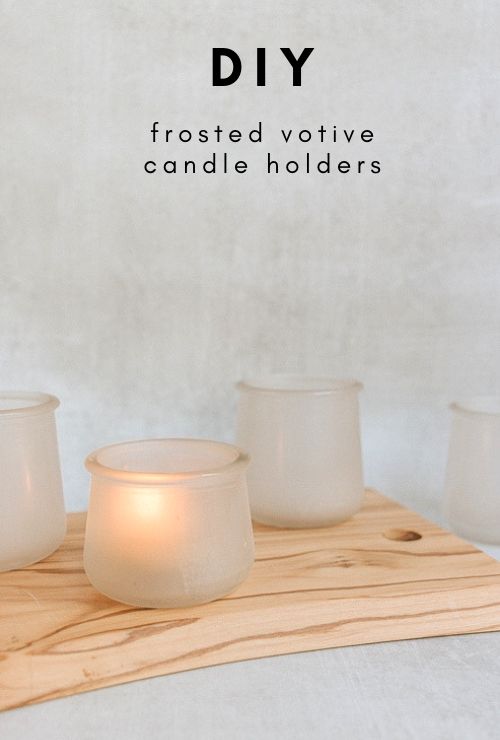
DIY Frosted Votive Candle Holders

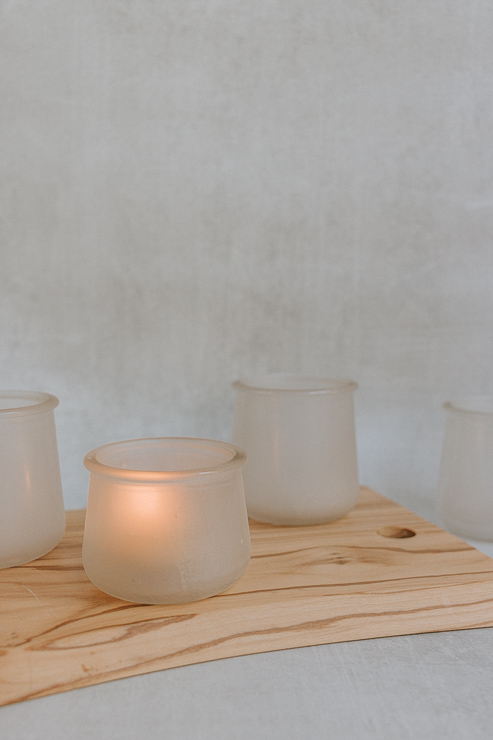
Hi, Pretty Handy Girl Readers! I’m back today with a super simple and inexpensive project that you can use for the upcoming holiday season. Or anytime, really!  These DIY frosted votive candle holders are made from old yogurt jars (Yoplait by Oui jars).

This brand of yogurt comes in the cutest little glass jars and I’ve found so many uses for them, like my fairy jar macrame hangers and cinnamon stick candle holders.

Here’s how to make these DIY frosted votive candle holders:

Materials:

(I’ve included affiliate links for your convenience. I earn a small percentage from a purchase using these links. There is no additional cost to you. You can read more about affiliate links here.)

Instructions:

Follow these simple instructions to make these pretty votive candle holders!

Step 1: Clean your Jars

Here’s the easiest way to clean the jars. Place the jars in a bowl filled with hot, soapy water. Let them soak for a bit.

Wash jars in hot soapy water and dry

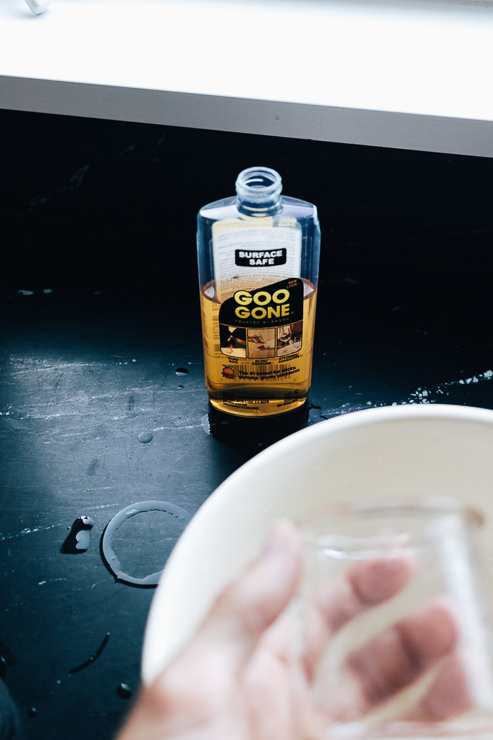
After soaking, use a tea towel to dry them and help remove most (if not all of the) sticker residue. Use Goo Gone to remove any remaining sticker residue.

You will find at this point that most of it will just rub right off. If not, put the jars in the dishwasher to get them nice and clean.

Step 2: Spray Paint your Jars

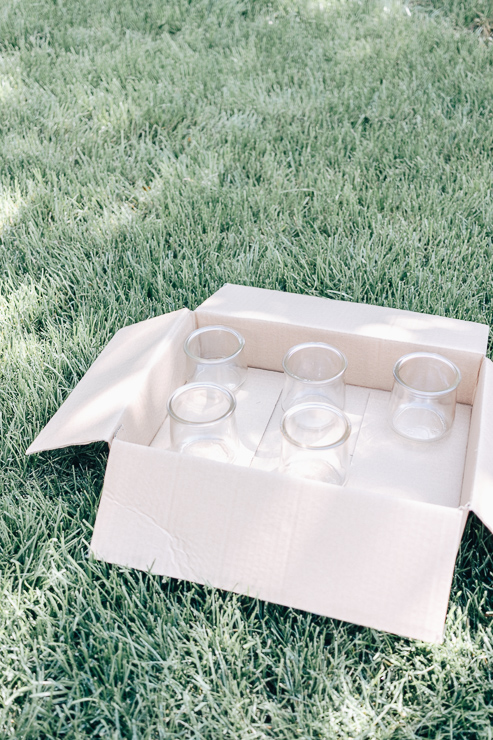
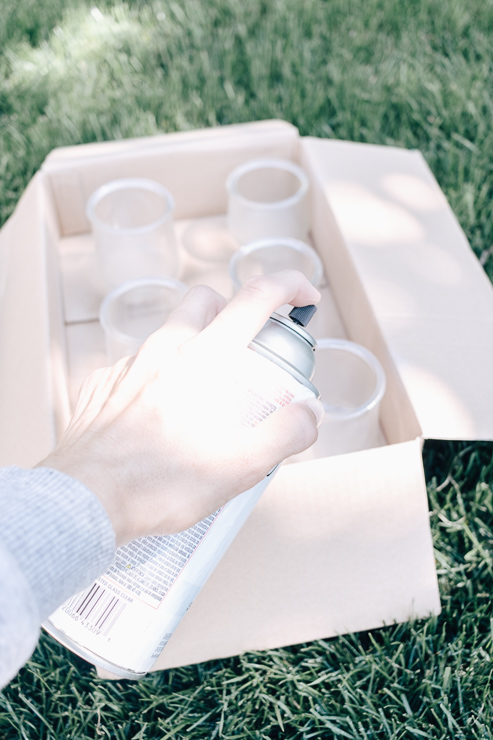
Place jars in a box to prepare for spray painting

As with all spray painting and painting projects, it’s best to spray outside in a well-ventilated area (and use protective eyewear and a mask).

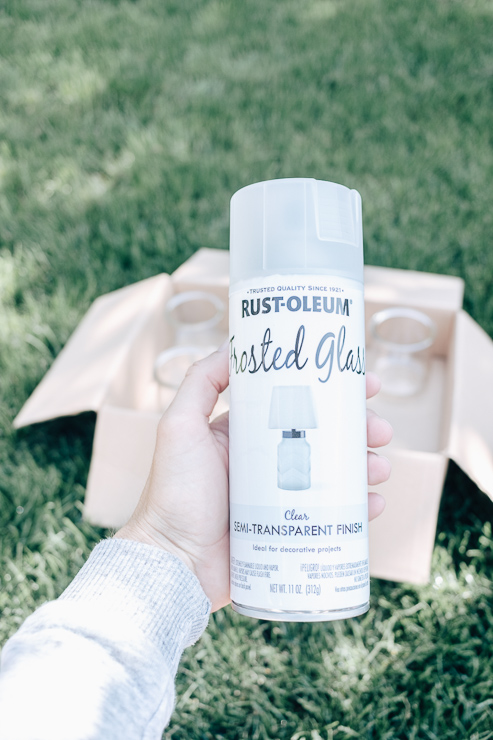
Spray your jars using light and even coats to avoid drips and runs in your paint. It’s best to go easy and commit to building up the paint over time. This spray paint dries in just 5-10 minutes! You will be able to tell where you might need more spray paint after giving it time to dry. Spray your jars with 2 coats for the best coverage.

I spray painted both the inside and outside of my jars, but that might not be necessary depending on the look you want.

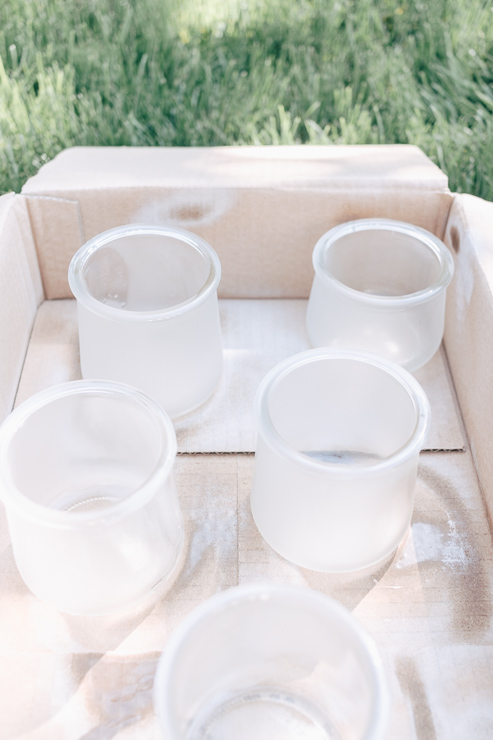
Jars become more frosted looking as they dry (2)

As this paint dries, it becomes more opaque and frosted looking. It’s really cool to watch the paint magic happening before your eyes!

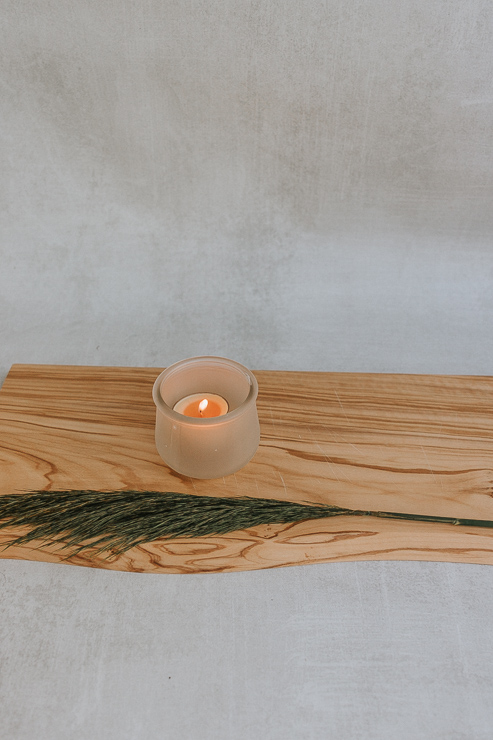
Completed Frosted Votive Candle Holders

Step 3: Enjoy your Jars!

Once your jars are fully dry, you can decorate with them! I love these frosted jars with tea light candles. But you could also use fairy lights for a unique look.

Frosted Candle Holders hold fairy lights too

Buy tea candles in bulk from stores like Amazon or IKEA. You can also pick up seasonal candles from places like Target if you wanted a nice Fall or Holiday scent.

DIY Frosted Votive Candle Holders (1)

Another idea?

I’m a huge fan of the flameless candles, as long as they are realistic and cast a warm glow (not a fake orangey one!) You can buy flameless tea light candles just about anywhere these days. If you want my personal opinion, Pottery Barn and Luminara make pretty realistic ones and the light is very warm and pretty. Amazon is chock full of options for flameless tea lights.

DIY Frosted Votive Candle Holders (3)

If you are planning a holiday get together or a party (even a wedding), these candles will be the perfect finishing touch for your tables and decor. Bonus: they are so inexpensive and easy to make.

I hope you guys have fun with this one! And I hope Yoplait never stops making this yogurt because I love these little jars!

For even more ideas, check out these festive votive candle holders right here on Pretty Handy Girl!

See you all next month!  Thanks for reading!

karen signature

~ See More of Karen’s Tutorials ~


karen from decor hintHello!  I’m Karen, the creator of the Home Decor and DIY Blog: Decor Hint. I’m a Native of the East Coast, but I currently live in beautiful Seattle with my hubby, our two wonderful children, and our spunky wheaten terrier.

You can usually find me with some sort of craft in one hand and a coffee in the other. And I’m always rearranging furniture or moving lamps from room to room. I have a passion (read: obsession) for decorating, DIY, and gardening. In short, I love making my house into a home.

Like many, I’m inspired by what I see in home decor magazines, but I’m not so inspired by the price tags.  Consequently, I love finding and creating beautiful budget-friendly home decor items. In a head to head competition, I bet you’d never know the difference between the designer items and my DIY creations!  Many of my DIY projects focus on sewing, crafting, upcycling and organizing. Some of my favorite projects have been making pretty wreaths, sewing my own tassel hand towels, and crafting these trendy wood bead garlands. I can’t wait to inspire you and spark your creativity through my DIY projects.

You can always connect with me on Pinterest, Twitter or Instagram.
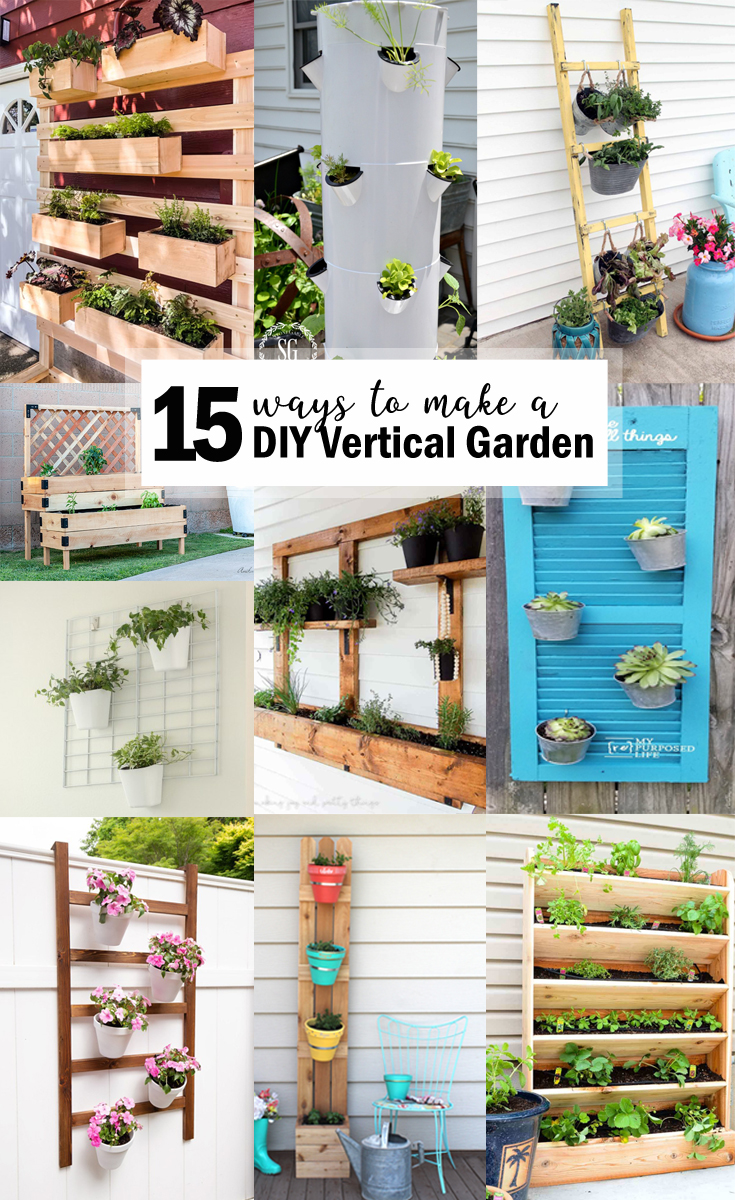
15 ways to make a DIY vertical gardenA vertical garden can be a perfect solution for a small porch, apartment, or any other space-limited space that needs a little sprucing up. You can build one to plant herbs, succulents, flowers or whatever else you want to use to bring a little greenery to your space. And if you create one indoors you can enjoy your garden year round! Here are 15 Easy Ways to Make a Vertical Garden to inspire you and give you ideas on how to can customize the perfect vertical garden for your home.

diy vertical garden with drip watering system by houseful of handmade

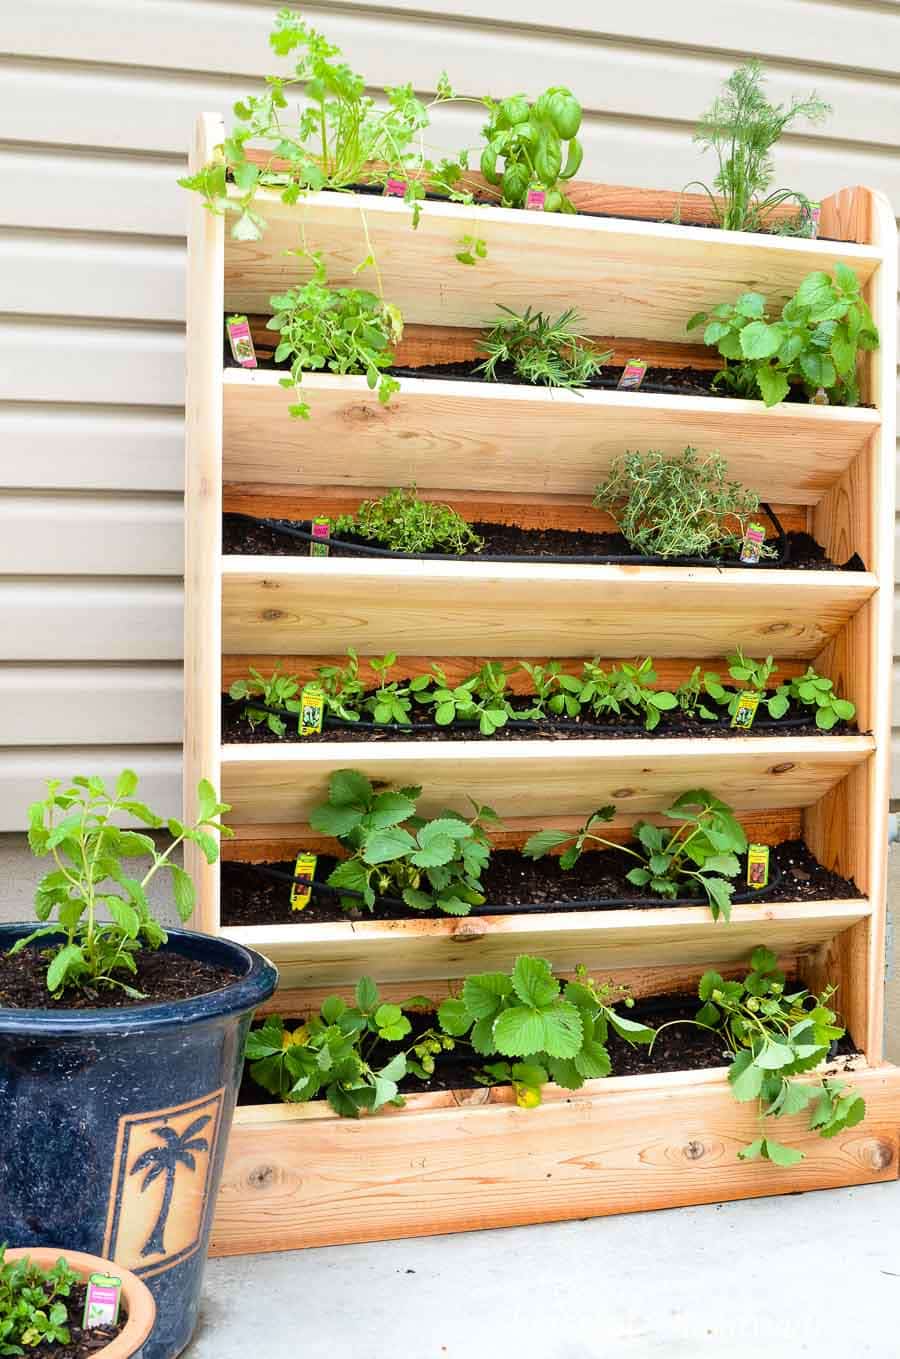
Build a large vertical garden for herbs and plants that includes a drip watering system.
 

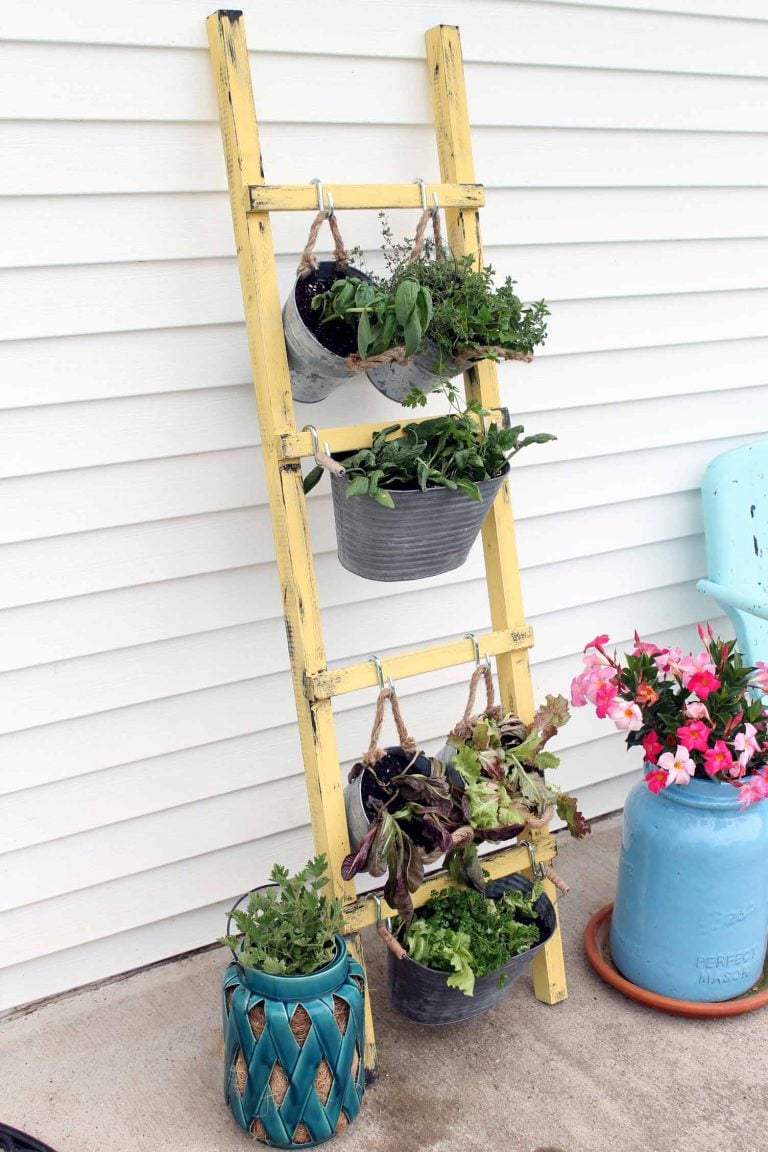
diy vertical gardenRepurpose an old ladder an some galvanized buckets to create this rustic vertical garden.
 

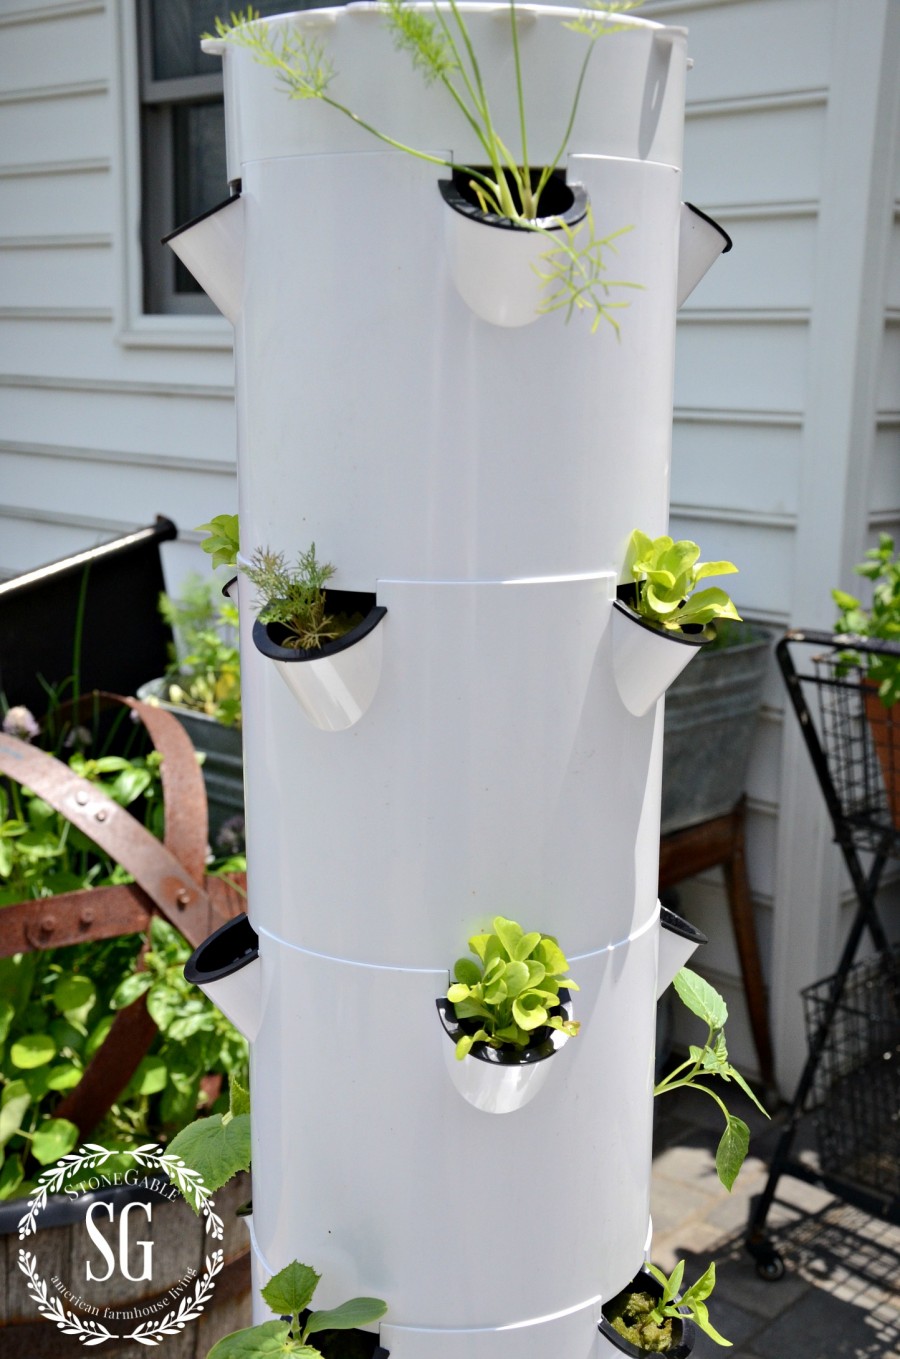
tower garden

Give your garden some modern style by creating this unique DIY Tower Garden.


Repurpose an old shutter then add hooks and small buckets to create this whimsical vertical garden for succulents.


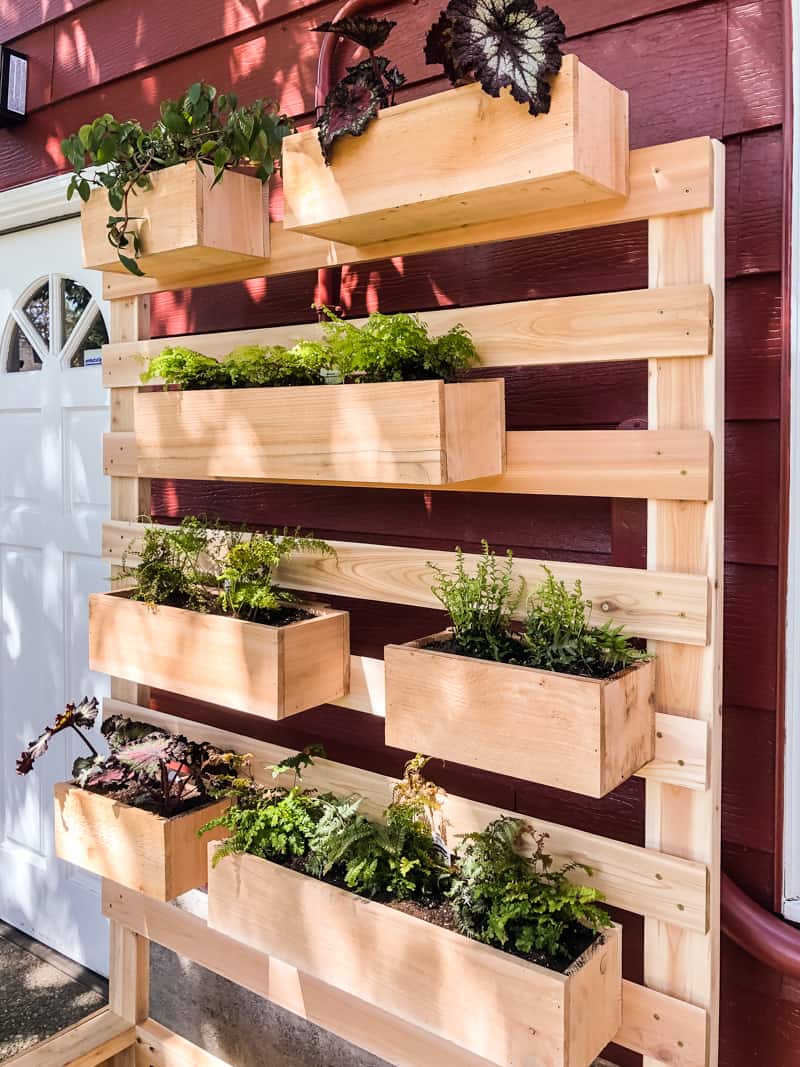
Build this amazing DIY Vertical Garden Wall Planter using cedar boards and french cleats.


diy wall planterOld wire shelving is the perfect material to repurpose to make this modern DIY Living Wall Planter.


vertical herb garden planter

Use some boards and metal brackets to create this amazing rustic Vertical Herb Garden Planter.


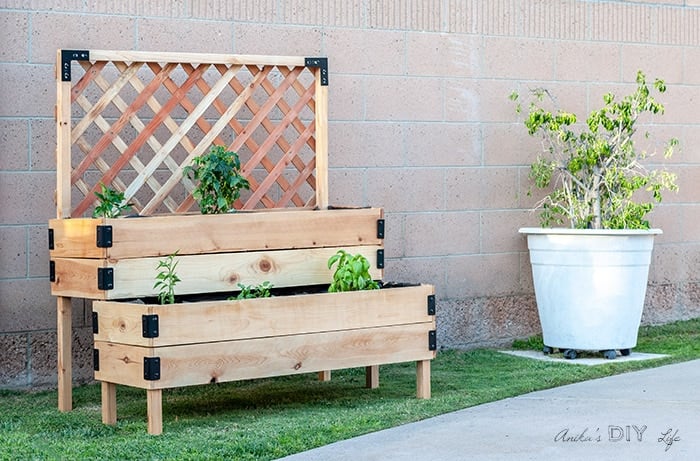
tiered garden planterWith lumber, lattice and corner braces you can make this beautiful DIY Tiered Garden Bed.


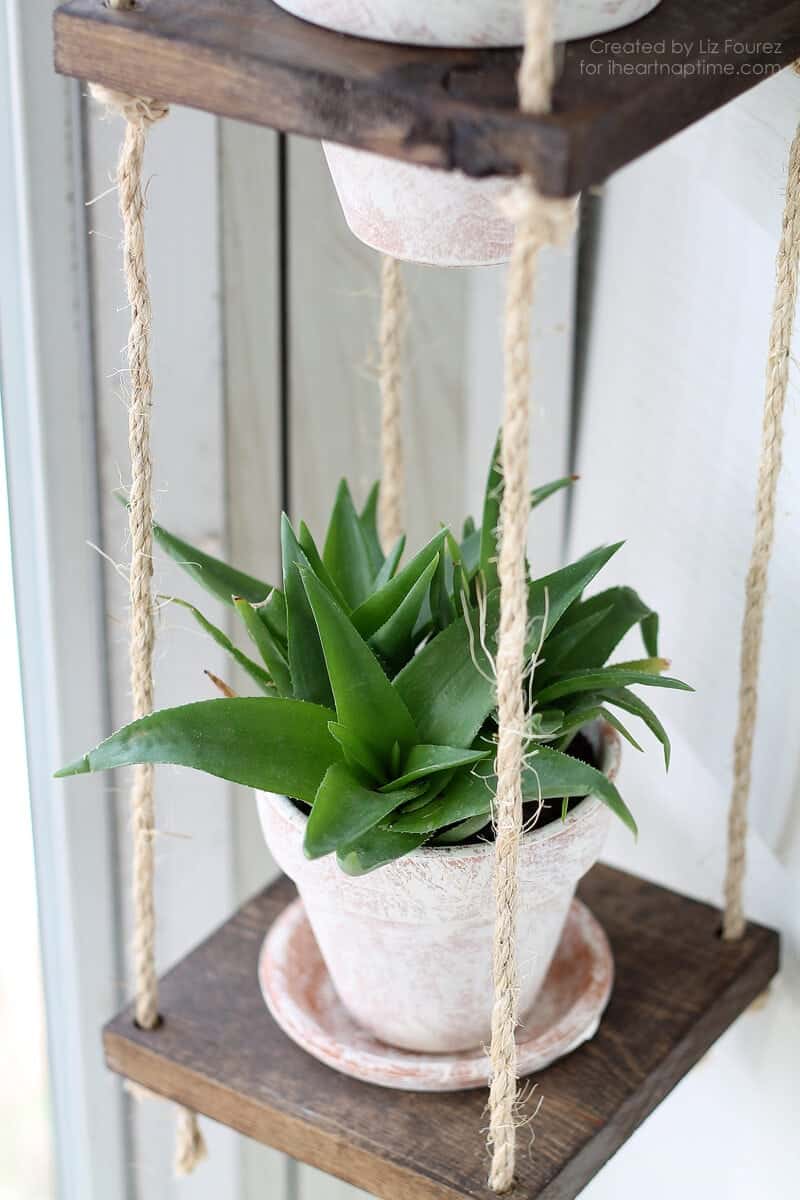
Make a chic DIY Vertical Plant Hanger with a board and some terra cotta plants.


hanging herb garden

Make a Custom Potted Hanging Herb Garden for any room of your house.


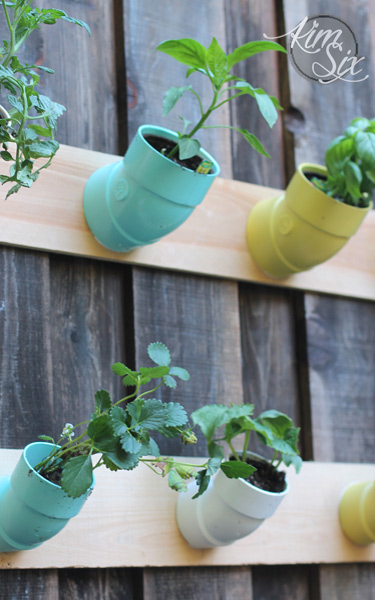
pvc pipe vertical planterCreate this unique colorful vertical garden using PVC pipes.


Build this rustic DIY Wooden Hanging Planter to hold any number of plants or succulents.


Make this simple and pretty DIY Wall Planter Ladder and add gorgeous flowers to any fence.


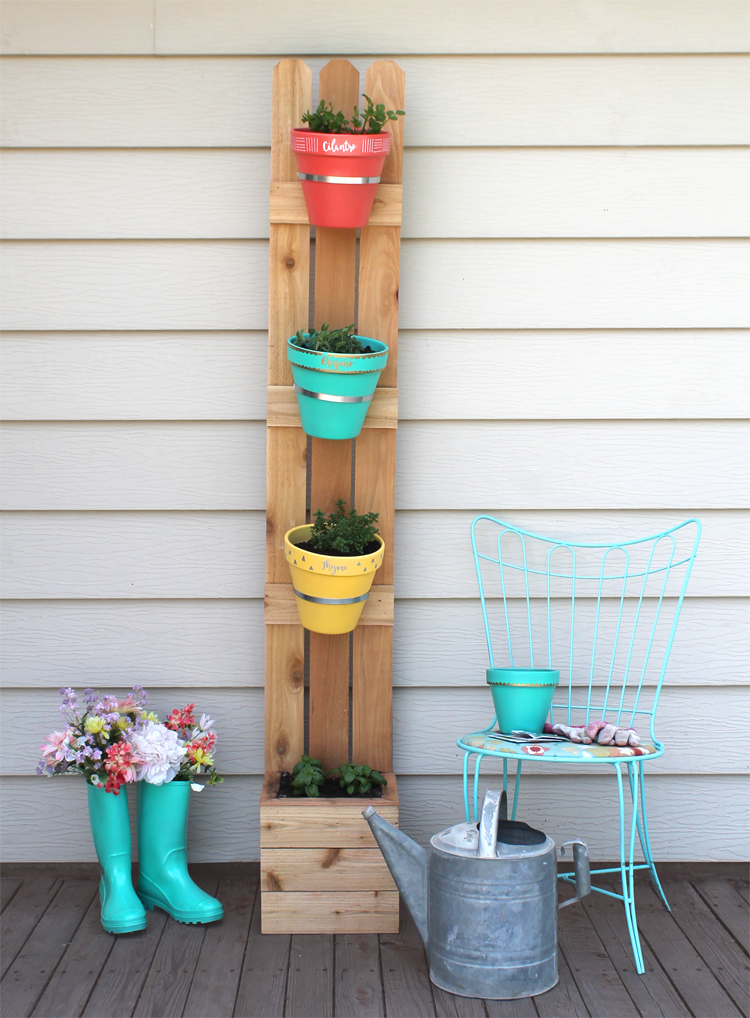
Build this tall and skinny DIY Vertical Planter with a strong base and fun, colorful pots.


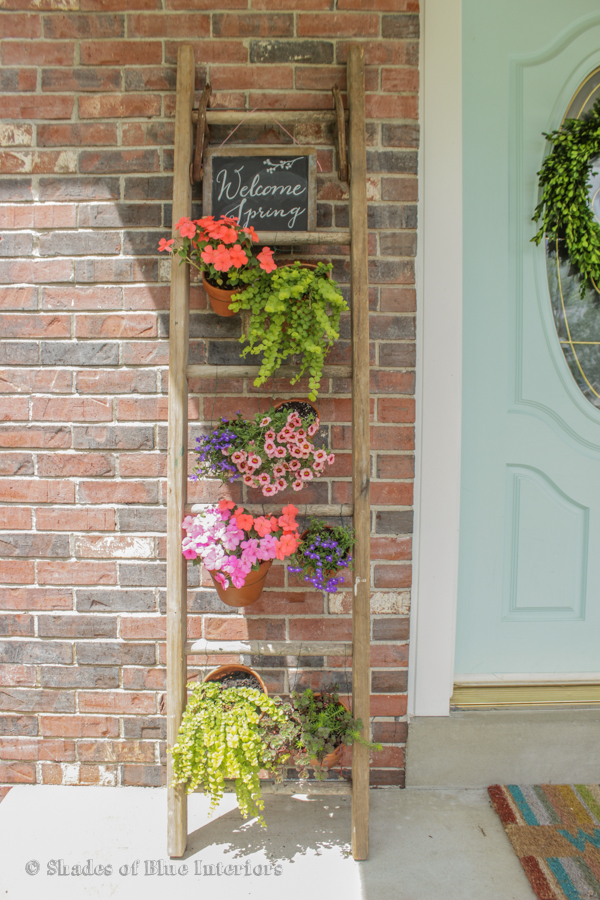
Use a rustic old ladder and make this lovely DIY Vertical Ladder Flower Garden.


I hope you loved these ideas and found inspiration on how you can create something similar for your home. Comment and let me know what you think! Which is your favorite?

Hi, I’m Sheri from Hazel + Gold Designs. Here are a few fun stats about me: I like love chocolate and peanut butter (together of course.) If you like stats, I have been crocheting for about 16 years, crafting for 20, and woodworking for about 4 years. I found a passion in making and being creative and began documenting my projects online at Hazel + Gold Designs.

When not working on projects, I enjoy spending time with my husband, four children, perfect dog, and ornery cat. You can find me on Facebook, Pinterest, Instagram and Twitter.

Read all of Sheri’s tutorials.

~Find more of Sheri’s projects here ~