Hang up your Mini Macrame Wall Hanging

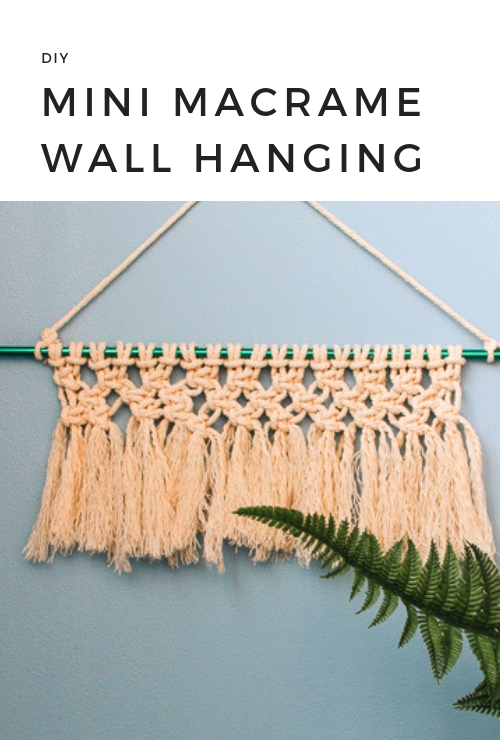
Learn how to make a mini macrame wall hanging - you can hang this anywhere and it only takes 20 minutes to make!

How to Make a Mini Macrame Wall Hanging

If there’s one hobby that has become quite the obsession for me – it’s macrame! It’s really fun to create and the projects are inexpensive to complete.  Right now macrame wall hangings are all the rage, and add an eclectic look to your decor.  Today I’m showing you how to make a mini macrame wall hanging.  So chic!

If you’ve been wanting to start macrame—but are intimidated—you’re in luck! This project is small, simple, and can be completed in about 30 minutes!

This mini macrame wall hanging is a subtle nod to bohemian decor and it will look great pretty much anywhere in your home! Hang in your bathroom on in your office. Or, include it with a grouping of gallery wall prints for a more collected feel.

Here’s how to make it …

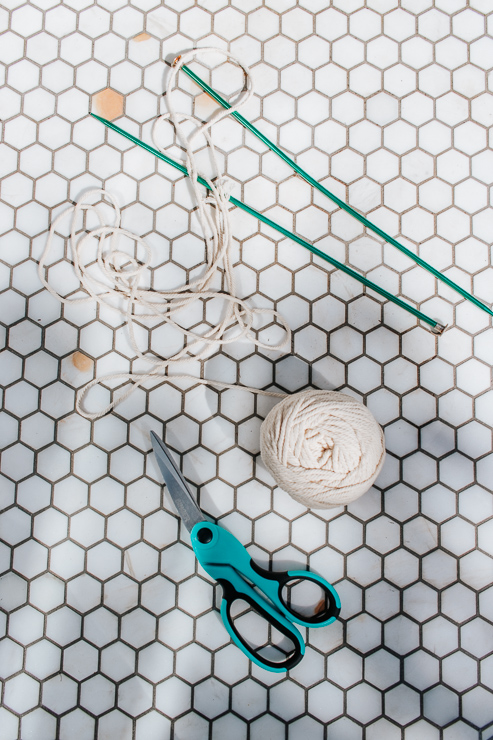
Materials:

(I’ve included affiliate links for your convenience. I earn a small percentage from a purchase using these links. There is no additional cost to you. You can read more about affiliate links here.)

Materials Needed for Mini Macrame Wall Hanging

Instructions:

Step One – Cut your Cords

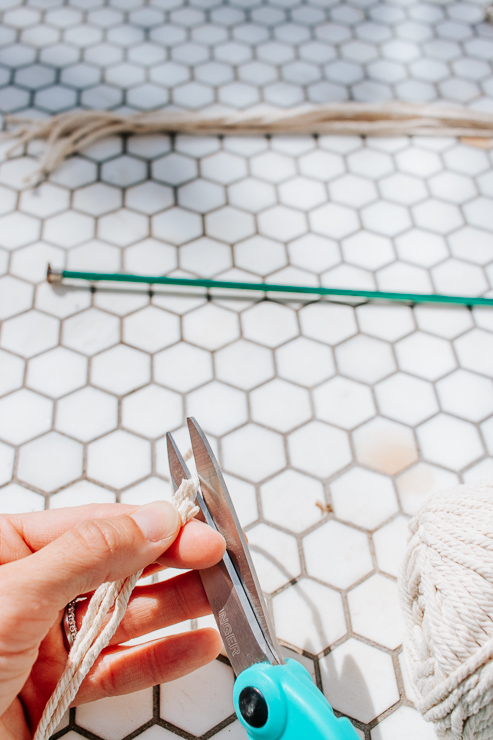
Measure and Cut Macrame Cording to Size

Start by cutting your macrame cording. You will need 20-20 inch cords for this project. (20″ will make a mini wall hanging. After you get the hang of this, you can make your macrame art skinnier or longer. Whatever your heart desires.)

Step Two – Attach with Lark’s Head Knots


Once you have your cords cut, you want to attach the cords by creating 20 lark’s head knots. Here’s a quick video to show you how to make a lark’s head knot:

Take your cord and fold it in half. Take the loop part and fish it under your rod. Loop the ends of the cords through the cord – and pull tight! Now repeat this 19 more times with the rest of your cords.

Step Three – Make a Row of Square knots

Now that your cords are all attached, we are going to make Square Knots and Alternating Square Knots. Here’s how to make a square knot:

To make a square knot – take the first four adjacent cords and do the following:

  1. We are going to take the outer left cord and cross it over the two middle cords. Now take the outer right cord and place it on top of the left cord and UNDER the two middle cords.
  2. Loop it through the hole on the left side.
  3. Now pull to tighten the knot.
  4. Now take the outer RIGHT cord and cross it over the two middle cords.
  5. Take the outer left cord and place it on top of the left cord and UNDER the two middle cords.
  6. Loop it through the hole on the right side.
  7. Now pull your cords tight.

You have completed the full square knot.

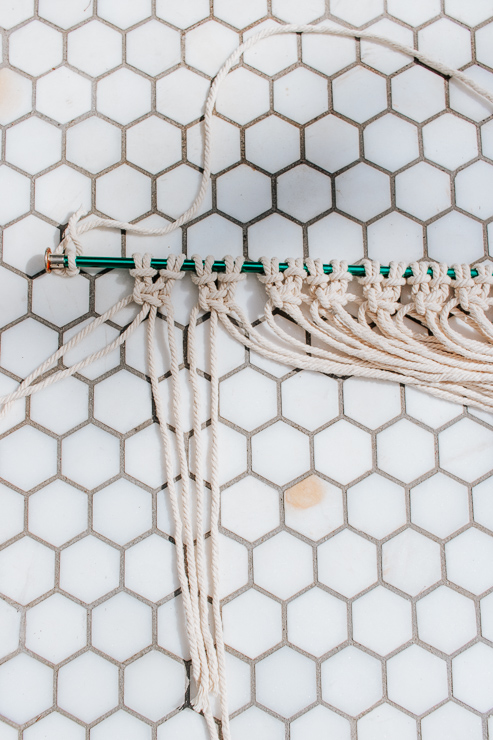
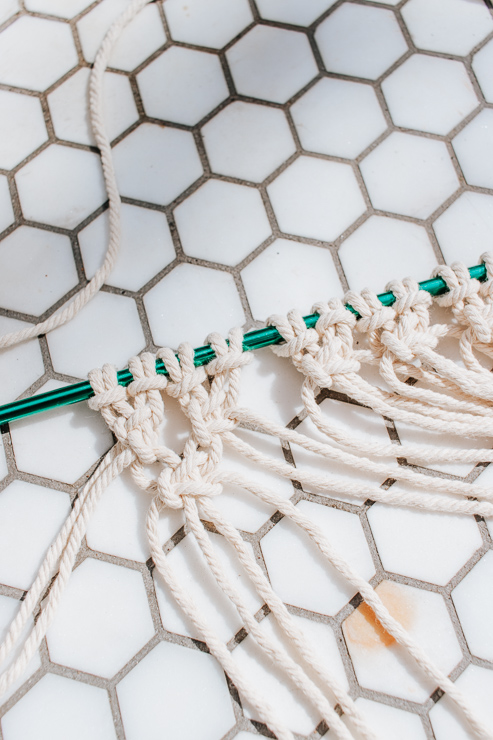
You want to keep working the next four adjacent cords to make a row all the way across of square knots.

Step Four – Make a Row of Alternating Square Knots.

Our next row is going to be alternating square knots.

To make these knots – follow the same steps as above, however skip the first two adjacent cords – start with the third cord and work the adjacent 3 cords.  Continue all the way across the row!

Step Five – Make a Row of Square Knots Again

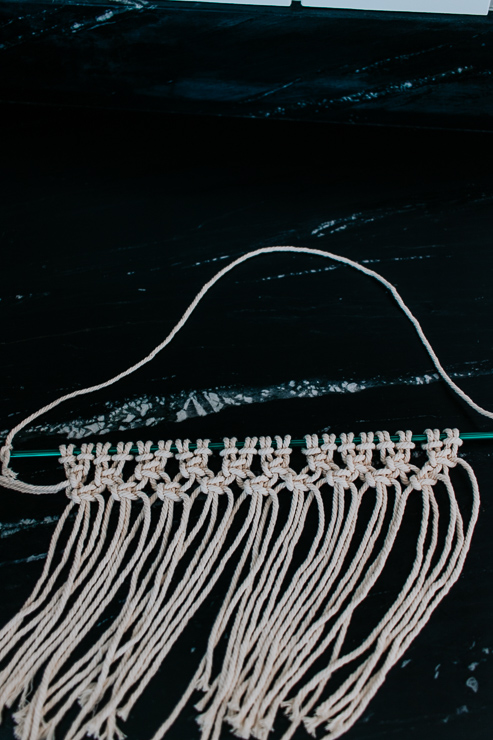
To complete our mini macrame wall hanging, our last row will be a row of square knots – so follow Step 3 again.

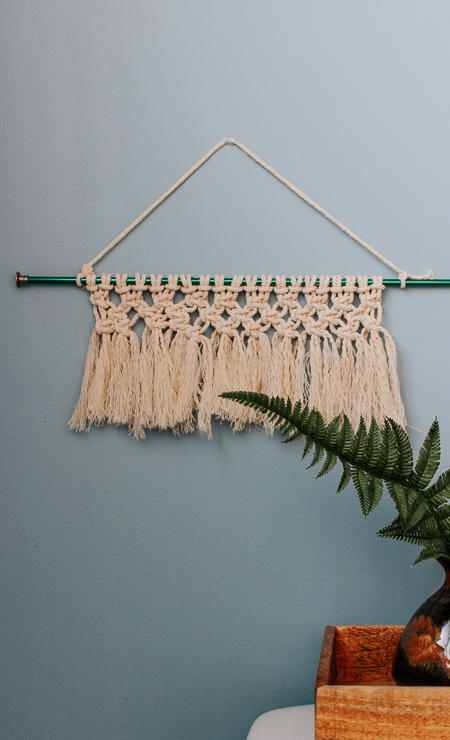
You should have something that looks like the photo below.

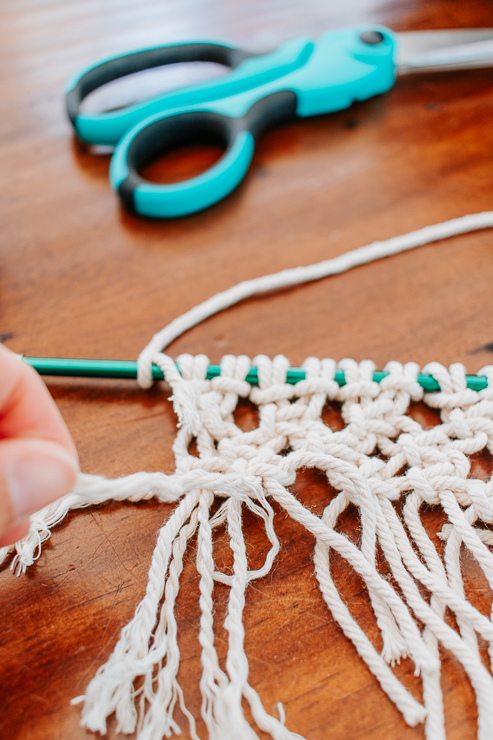
Trim the bottom of the wall hanging to even it up

Step 6 – Cut and Fray the Ends of your Wall Hanging

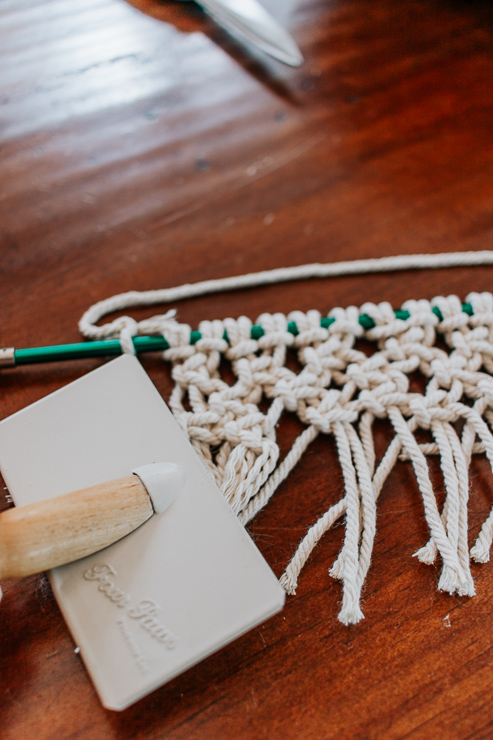
Take your scissors and cut straight across to create an even line of fringe. Take each cord and unravel it with your fingers.

Now, take a wire brush and carefully brush through the unraveled cords to fray them.

All done!

Hang up your Mini Macrame Wall Hanging

Now all you have to do is hang it up and enjoy your beautiful work.  Can you imagine how pretty these would be if you made a trio of mini macrame wall hangings for a cohesive collage.  I really love that idea.

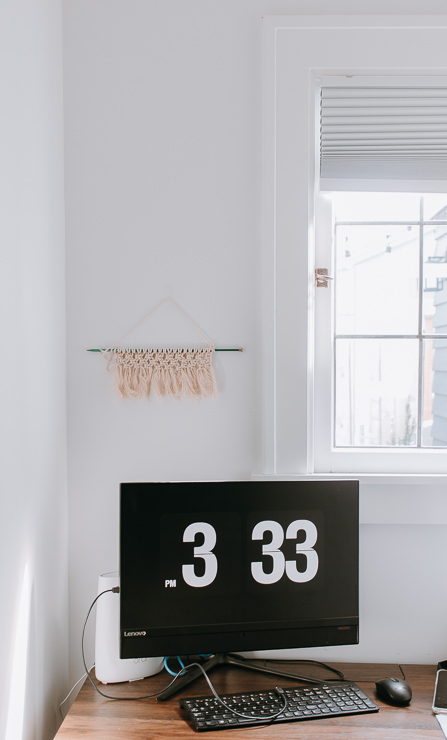
I hung my mini macrame over the computer for some style and texture in this little corner.

Mini Macrame Wall Hanging in an Office

If you want some additional help and projects – go to my blog and check out my Step by Step Basic Macrame Knots Guide.  And check out the cool macrame planter hanger here on Pretty Handy Girl for another cool project!

DIY Macrame Plant Hanger

Once you learn how to make the most basic knots – you can create all kinds of cool projects for your home. Such as Macrame Pillows, Mason Jar Covers, Jar Candle Hangers, Macrame Feathers – I could go on and on!

Feel free to leave me any questions or comments below – I hope this inspired you try Macrame if you haven’t yet.

I’ll see you right here next month with another awesome project for you.

karen signature

~ See More of Karen’s Tutorials ~


karen from decor hintHello!  I’m Karen, the creator of the Home Decor and DIY Blog: Decor Hint . I’m a Native of the East Coast, but I currently live in beautiful Seattle with my hubby, our two wonderful children and our spunky wheaten terrier.

You can usually find me with some sort of craft in one hand and a coffee in the other. And I’m always rearranging furniture or moving lamps from room to room. I have a passion (read: obsession) for decorating, DIY, and gardening. In short, I love making my house into a home.

Like many, I’m inspired by what I see in home decor magazines, but I’m not so inspired by the price tags.  Consequently, I love finding and creating beautiful budget-friendly home decor items. In a head to head competition, I bet you’d never know the difference between the designer items and my DIY creations!  Many of my DIY projects focus on sewing, crafting, upcycling and organizing. Some of my favorite projects have been making pretty wreaths , sewing my own tassel hand towels, and crafting these trendy wood bead garlands . I can’t wait to inspire you and spark your creativity through my DIY projects.

You can always connect with me on Pinterest , Twitter or Instagram.

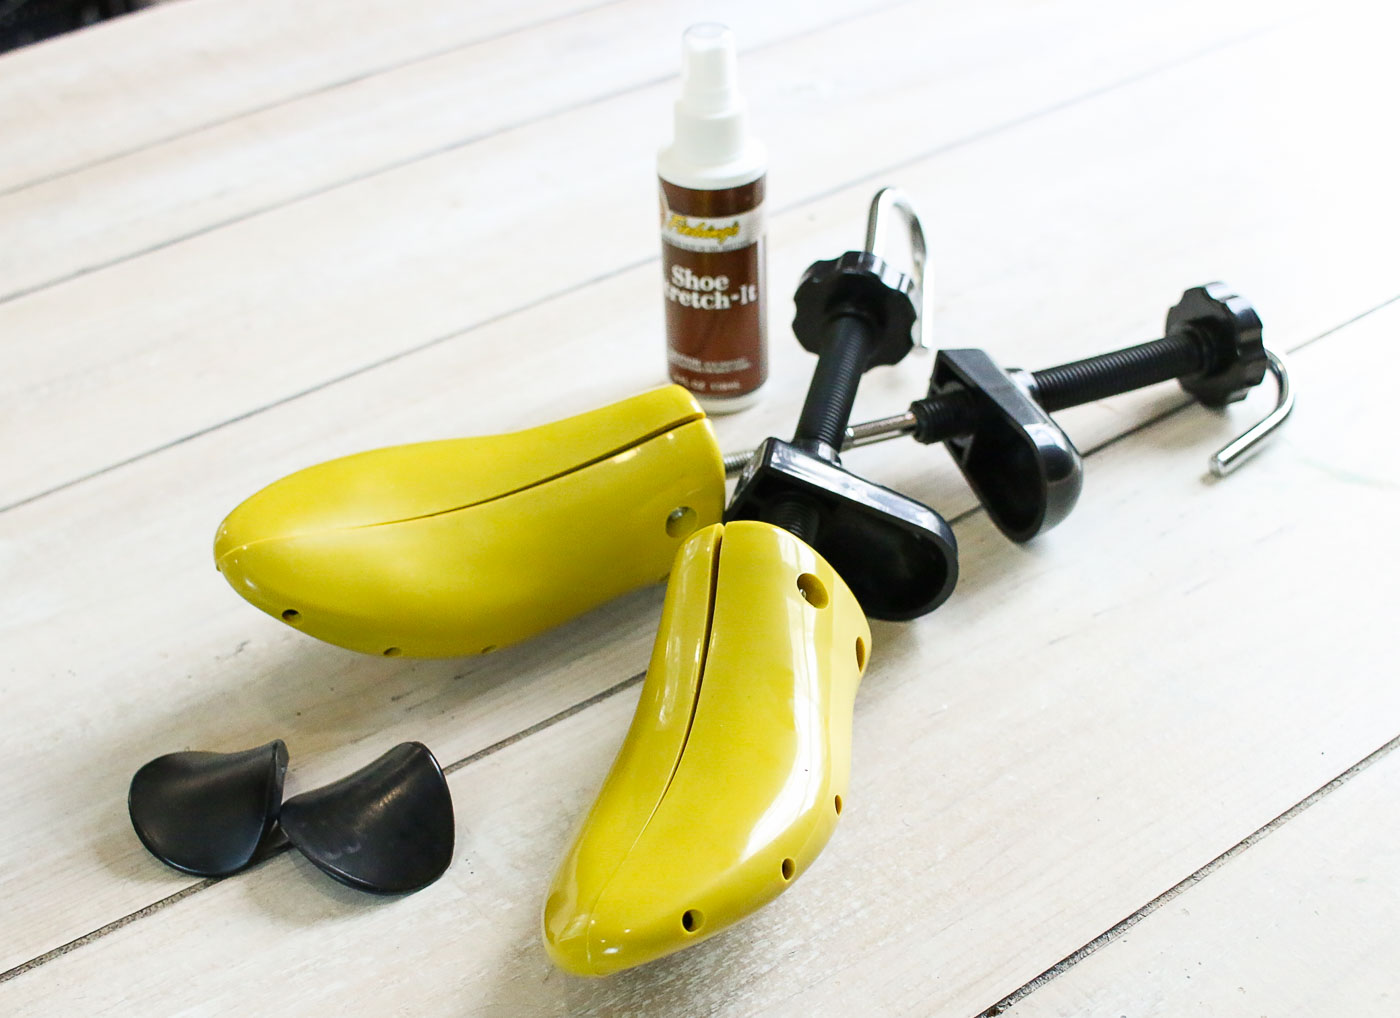
shoe stretcher materials

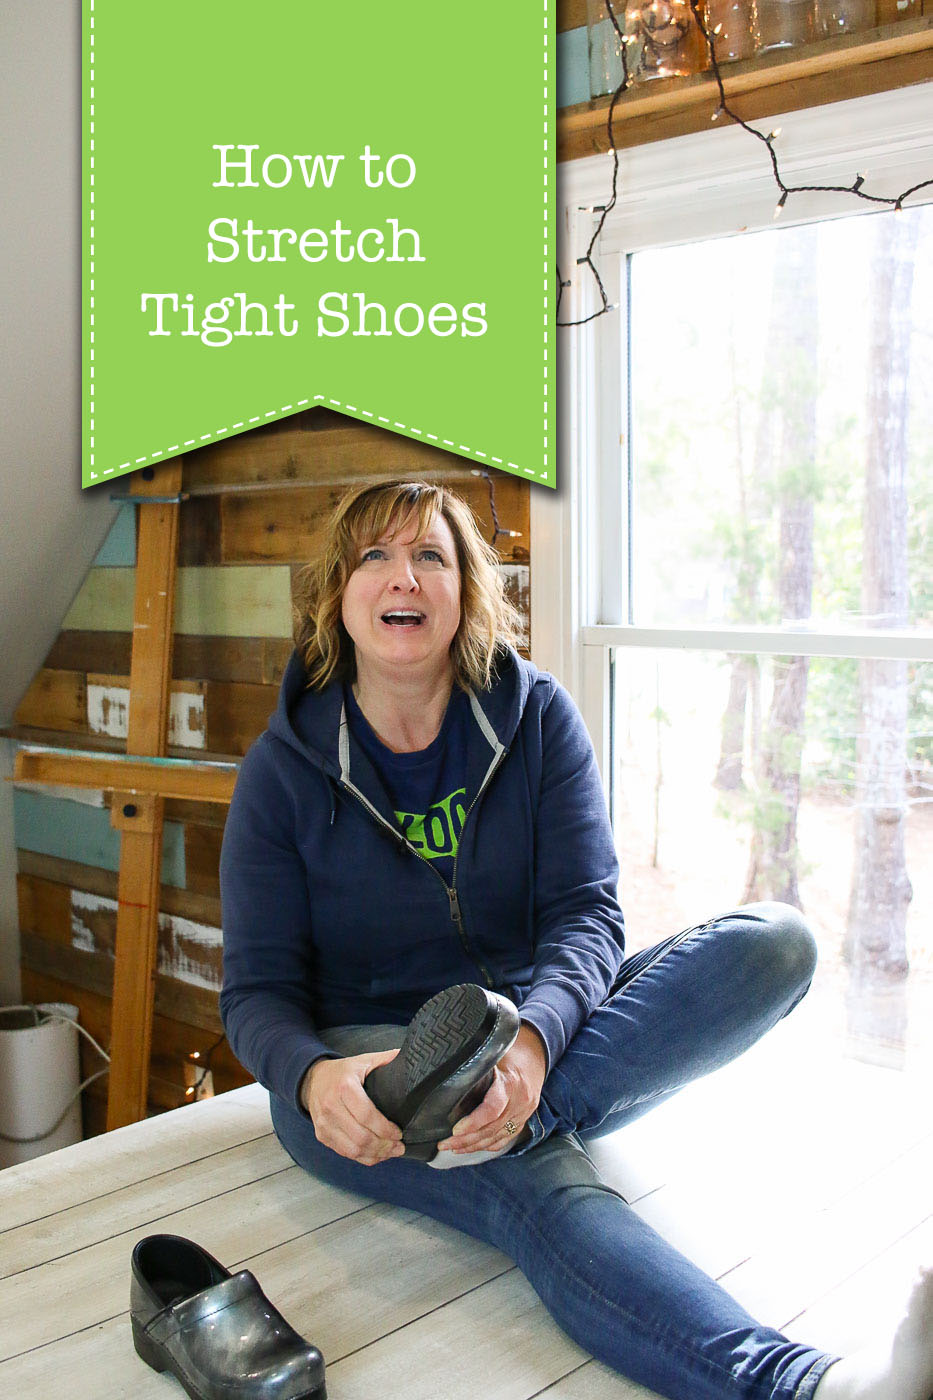
How to Stretch Tight ShoesHow to Stretch Tight Shoes

Have you ever bought a pair of shoes because they were super cute, but they were a tad too tight. If you’re like me, you probably bought them and thought, “They’ll stretch out if I wear them enough.” Then a year or two later you put them on and remember why you don’t wear those shoes. They are just too tight. Frankly life is too short to wear uncomfortable shoes!  I’m sure you are thinking, “Are you telling me to get rid of my uncomfortable shoes?” On the contrary, most too tight shoes can be stretched. Today I’ll show you how to Stretch those Tight Shoes and start wearing them comfortably!

Materials:

(I’ve included affiliate links for your convenience. I earn a small percentage from a purchase using these links. There is no additional cost to you. You can read more about affiliate links here.)

shoe stretcher materials

Instructions:

I created this short video for you to see how easy it is to stretch your own shoes. Let me know if you have any questions after watching the video.

Step 1: Determine Tight Areas

Determine where the tight areas on your shoe are. If your shoe stretchers have plugs, you can add them to the stretchers for maximum stretching in those areas.

Step 2: Use Stretcher

To loosen leather shoes, you may want to use a Shoe Stretching spray. Spray inside the shoe. Turn the knob on the stretcher to adjust the heel stretcher. Insert the shoe stretchers into your shoe. Tighten the heel knob. Then turn the metal rod until the stretchers are as wide as they can get in your shoes.

Step 3: Set in Warm Area and Wait

Set the shoes in the sun or leave them in a warm area for 24 – 48 hours. It’s a good idea to check your shoes after 24 hours. After 24 hours my shoes were still a little big snug. I left the stretches in for another 24 hours and set them in the sun because the heat helps stretch leather.

Step 4: Try Them On Again

Time to try your shoes on. If they are still too tight. Spray the stretching spray and turn the shoe stretchers to stretch more. Wait another 24 hours.

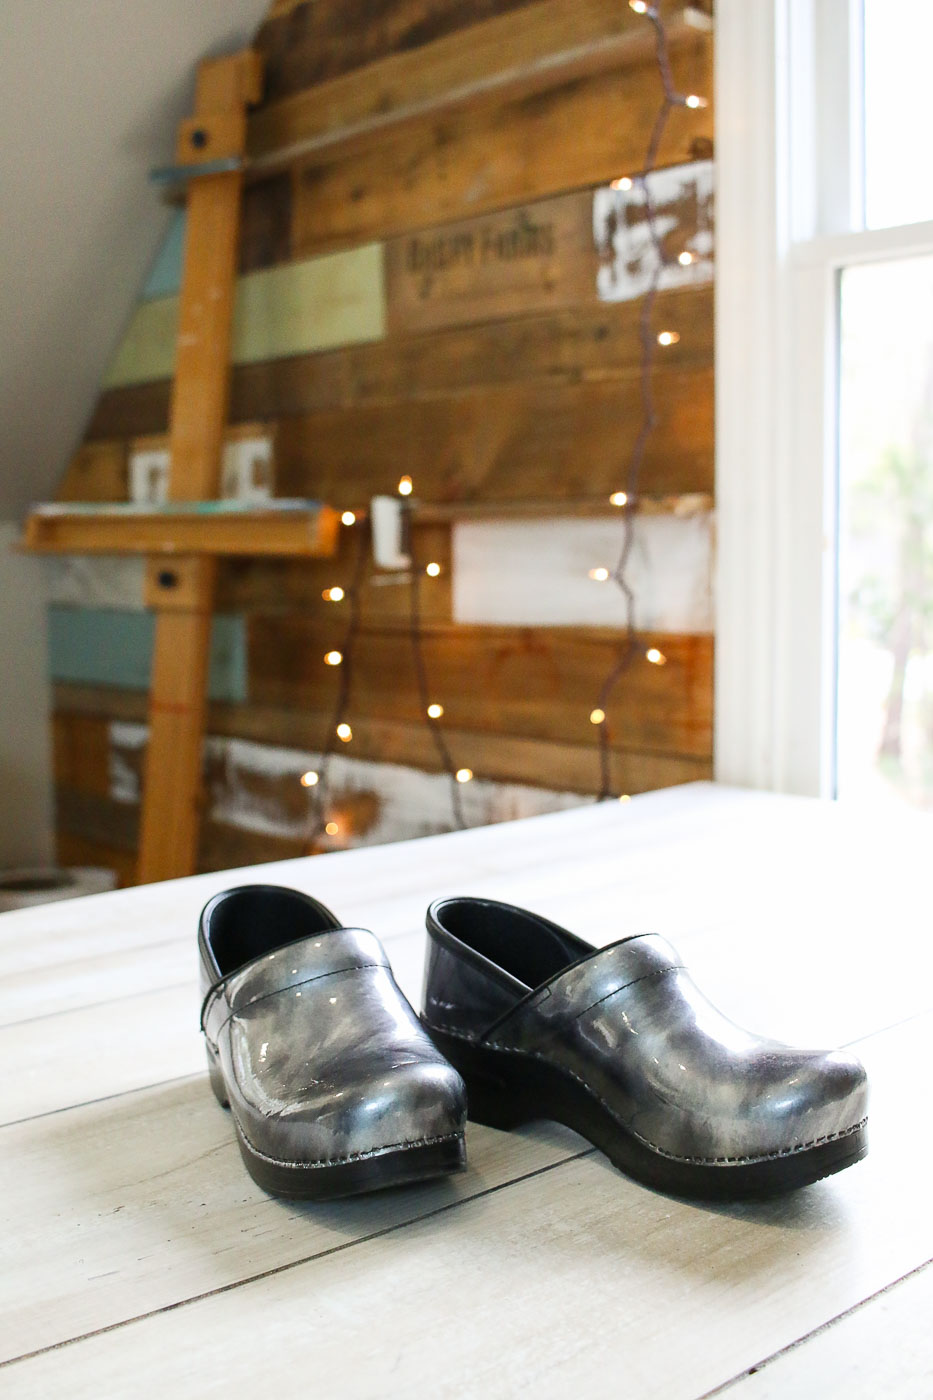
silver clogs on table

I’m so happy I can wear these clogs comfortably! And now I can stretch any future cute shoes I buy (within reason.)

Do you have a pair of tight shoes you want to try this on? Get to it, those shoes want to be worn.

signature

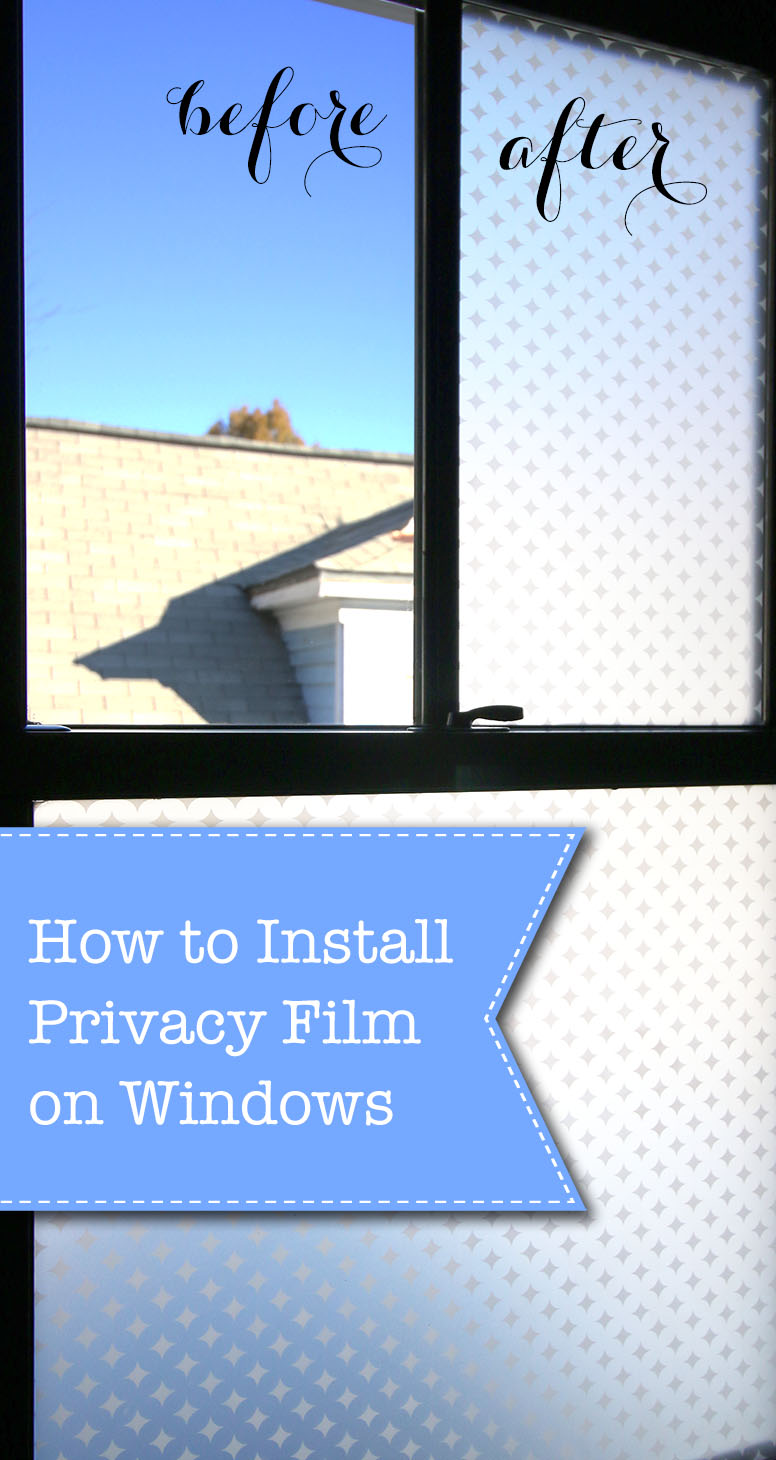
How to Install Privacy Film on WindowsHow to Install Privacy Film on Windows

Do you have a window in your house that puts you on full display? Or maybe your neighbor’s house is very close to your’s and you feel like they can see in your window (especially a bathroom or bedroom window.) Sure you can add curtains or blinds, but then you won’t get the natural light you want from your windows. Today I have the solution to your privacy needs without blocking the light. Let me show you how easy it is to install privacy film to your windows with professional looking results.

Materials:

(I’ve included affiliate links for your convenience. I earn a small percentage from a purchase using these links. There is no additional cost to you. You can read more about affiliate links here.)

About the Privacy Film:

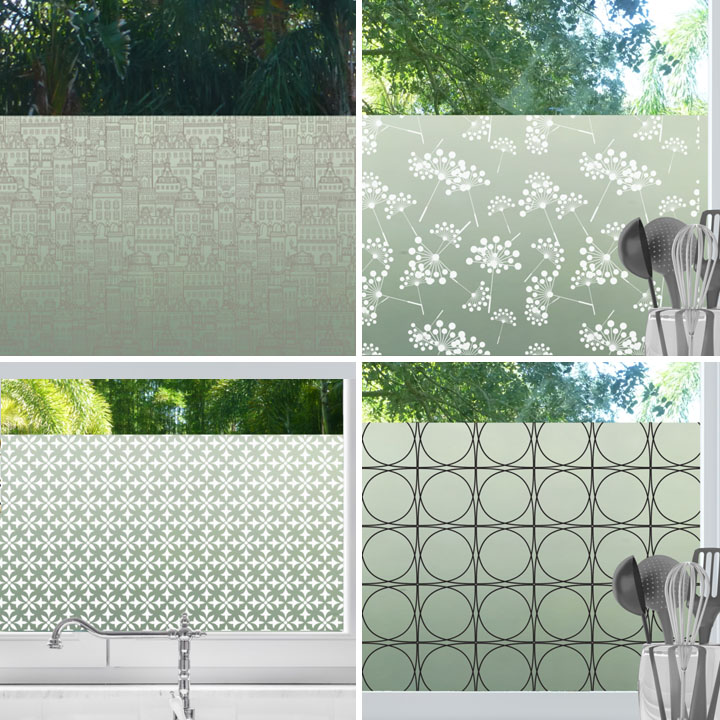
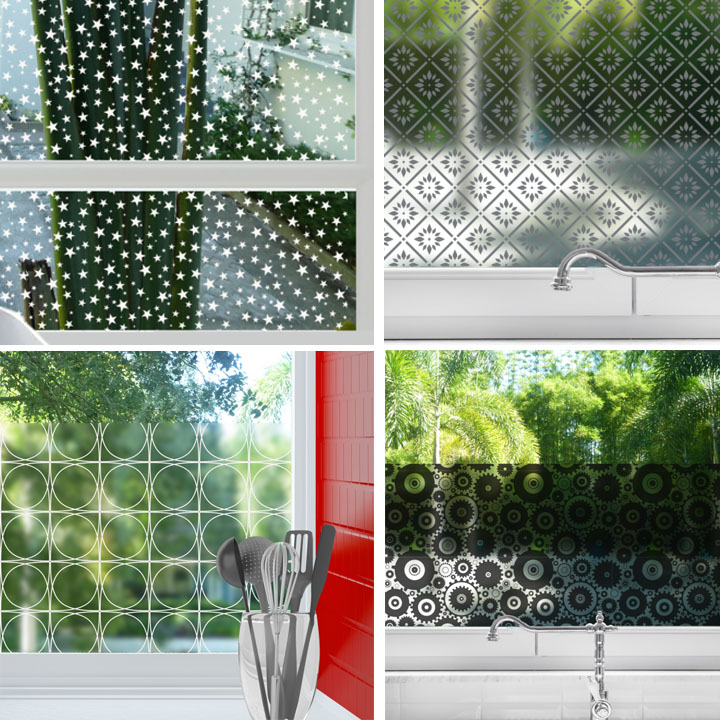
Before we begin, I have to tell you when Stick Pretty approached me about using their product I was thrilled to find they have some very attractive options for privacy film! Those of us that shop at the big home improvement stores know the options for privacy film are fairly limited. Feast your eyes on just a few of the beautiful adhesive film patterns Stick Pretty has to offer:

And there is a semi-transparent option for blurred viewing (less opaque.)

That’s not all. You can also order any of the patterns in a sheer adhesive film to dress up your windows. All the adhesive window films are customizable with white, fog, mushroom, or black designs.

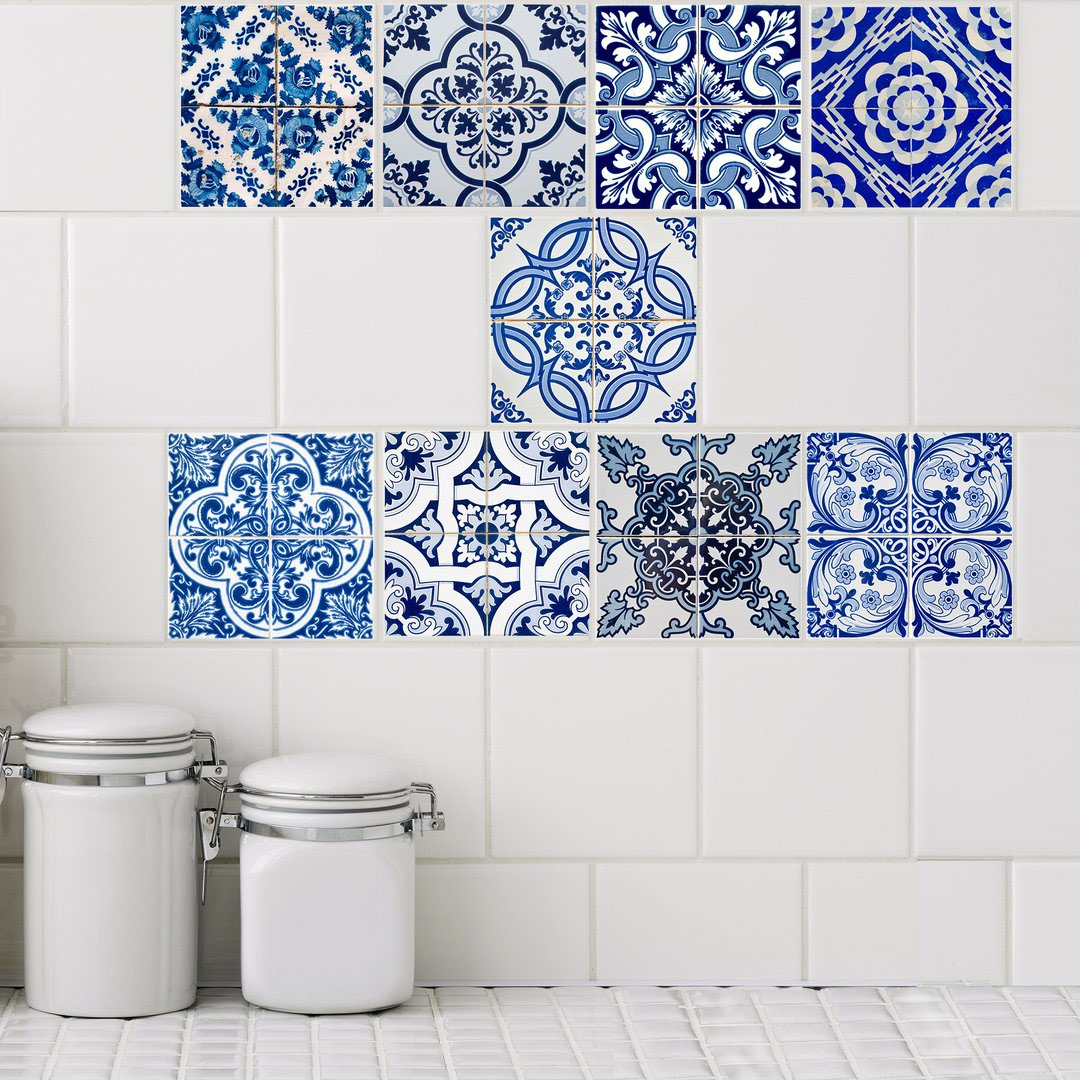
I’d be remiss if I didn’t mention Stick Pretty also sells tile decals (to brighten your tiles or cover up ugly tiles.)

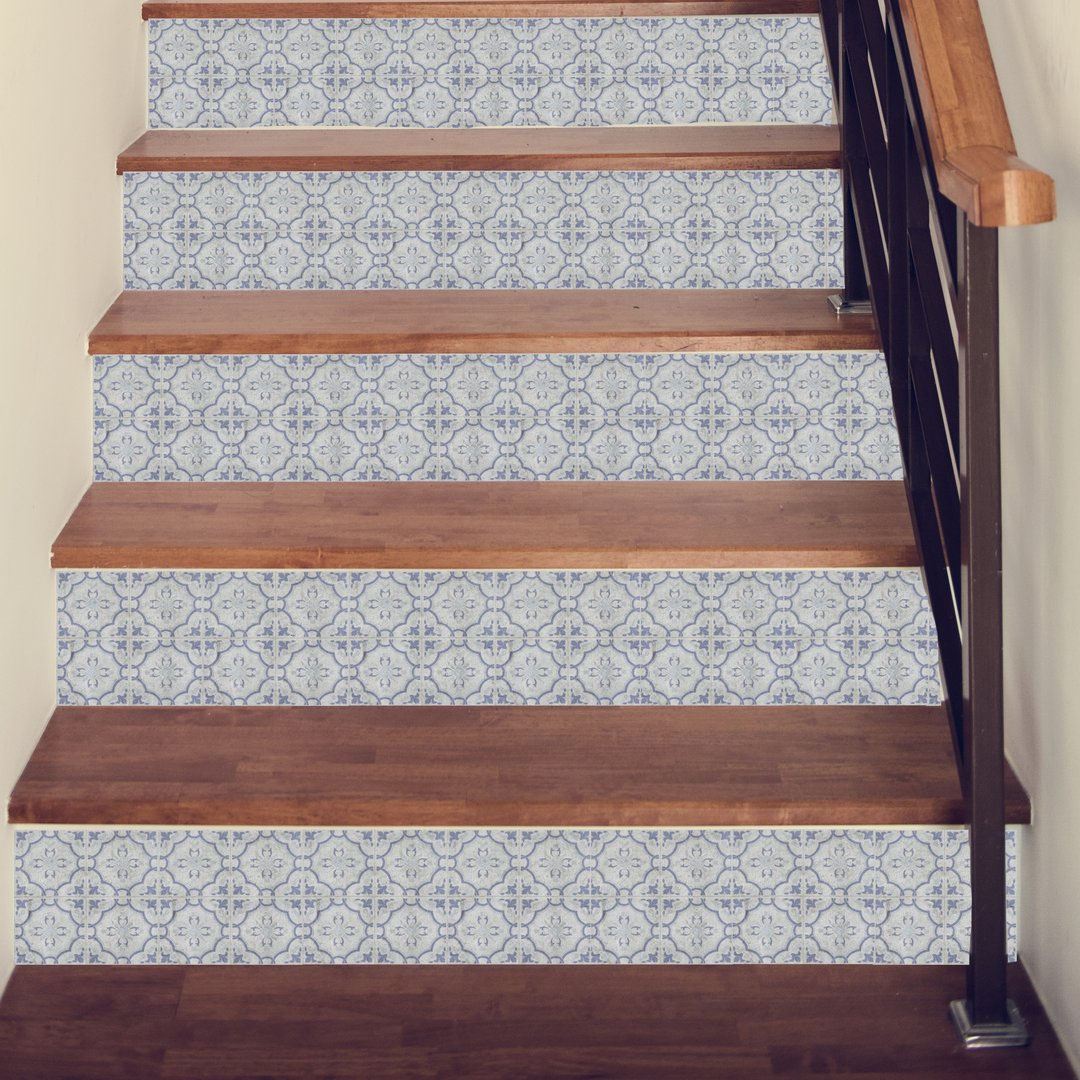
And they offer decorative adhesive panels for use on walls, furniture, or anywhere your imagination can think of.

If you find yourself falling in love with any of the products on the Stick Pretty website, don’t forget to get 20% OFF your order if you use the code: “PrettyHandyGirl” at checkout.

Now, on to the tutorial for installing privacy film on  your windows.

Instructions:

Watch this quick video to see how easy it is to install privacy film to any window.

Step 1. Clean

Use glass cleaner and a lint free rag to clean the window really well. Make sure there’s nothing on the glass that will stick under the adhesive film (which would stick there forever until you take it off).

Step 2. Measure & Cut

Measure each pane of glass on your window. Add 1/8 of an inch, because it’s better to cut the film too big. We will cut off the excess at the end.

Transfer your measurements onto the privacy film. Use a sharp x-acto blade and a metal ruler to guide your cuts. Apply gentle pressure as you cut the film.

3. Installing the Privacy Film

Carefully peel up your privacy film and take it to the window immediately. If you wait, dust can settle onto your film.

The key to a really good adherence of the film to the window (with no bubbles or wrinkles) is to use a mixture of water and a few drops of dish soap in a spray bottle.

It also helps to use a good squeegee.

Spray a liberal amount of the water and soap mixture onto the glass. If you find the film sticking too much to the glass, spray more of the mixture onto the glass.

Line up the film at the top. Using your hands, push from the center, down and out to set the privacy film. If needed, lift the film and reposition.

Use the squeegee to push out any water and air bubbles. Again, working from the center out and top down.

Use a clean rag and run it along the edges to clean up any water that has squirted out.

Step 4. Trimming Excess

If your film is too large and overlaps off the glass, take a sharp x-acto knife and cut off the excess. Peel off the trimmed excess.

Then squeegee the film again and clean it up any water from the edges.

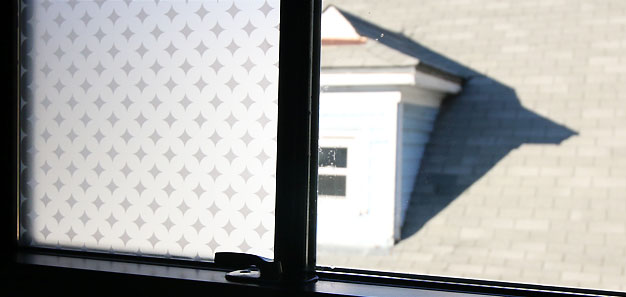
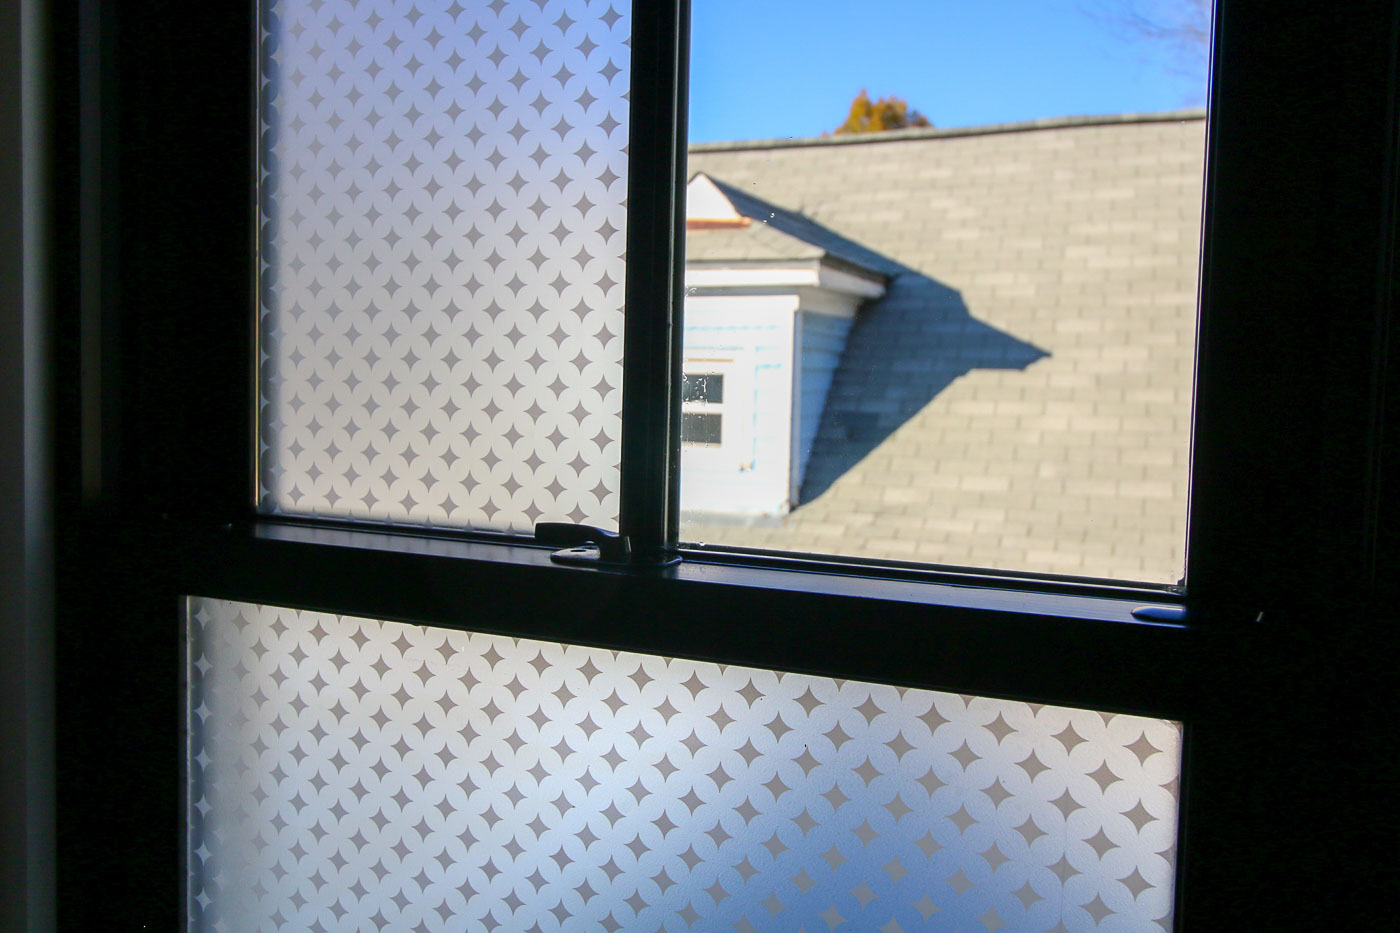
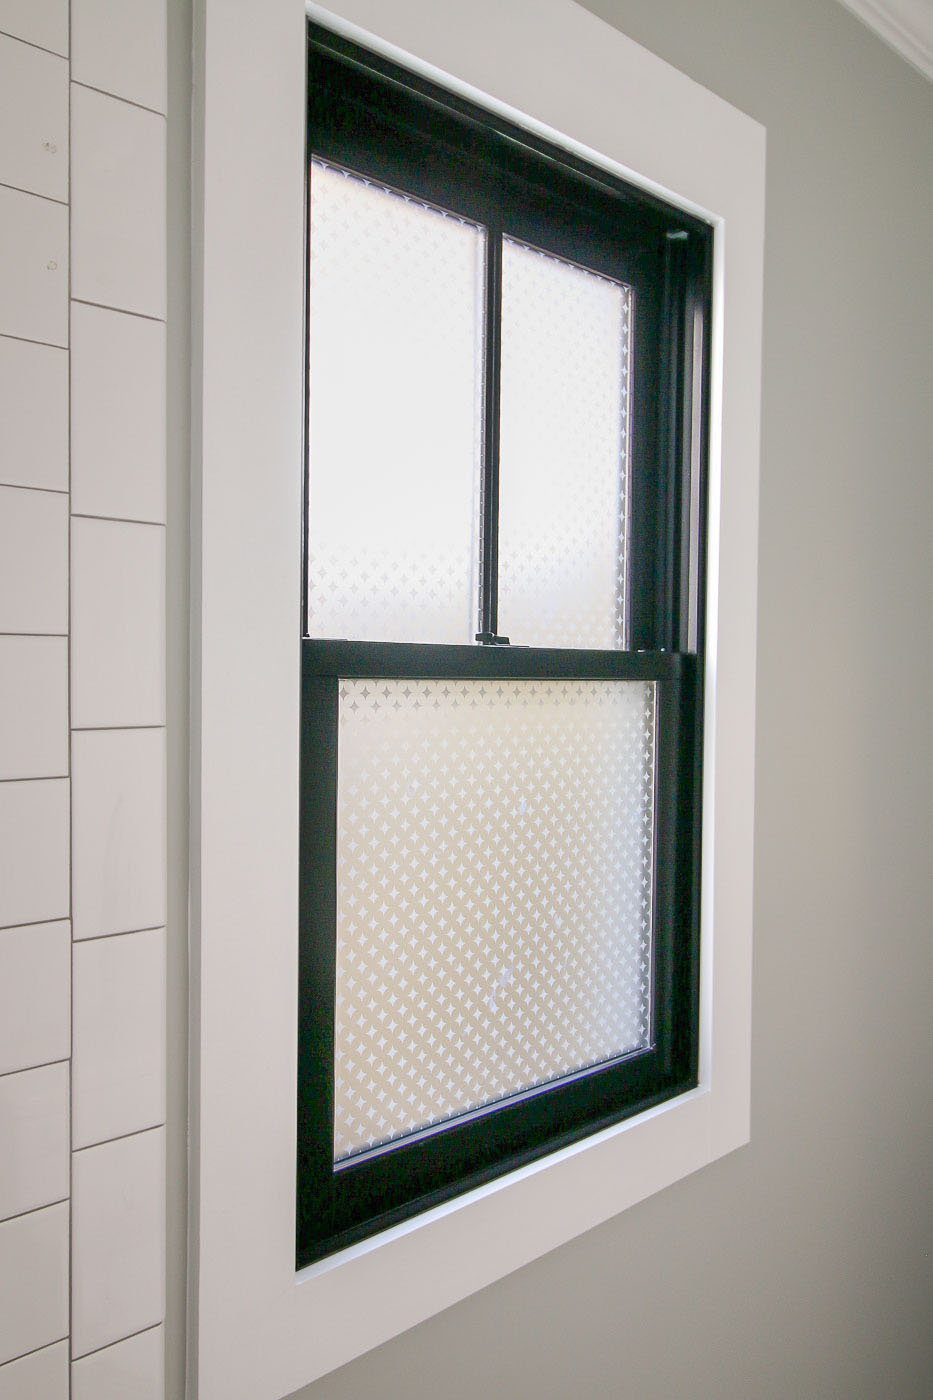
You can see the difference between the regular window glass and the glass with privacy film on it below.

Half installed window privacy film see the difference

After installing your privacy film, you may see some ghosting between the film and the window. As long as you have pushed all the air bubbles out of the film, the ghosting should go away after a few days. (Can you spot the ghost spots in the picture below? Within 48 hours they had disappeared.)

Hopefully this tutorial will help someone reclaim some privacy in their home without giving up natural light! Pin this image to share with a friend:

How to Install Privacy Film on Windows
Friends, I have a question for you:

I decided to let the video tutorial guide you through the process on this tutorial instead of the usual step-by-step photos. Let me know what you think and if you miss the photos when there is a video tutorial. Thanks for your feedback.

signature

Disclosure: Stick Pretty sent me the privacy film at no cost to try out on the Saving Etta project. I was not told what to say. All opinions are my own. If you use the coupon code: “PrettyHandyGirl” on the StickPretty.com website, you will receive a discount and I will receive a small percentage of the sale. As always, I am very particular about the brands I represent on this website and will always let you know if you are reading a sponsored post or if I received free materials.

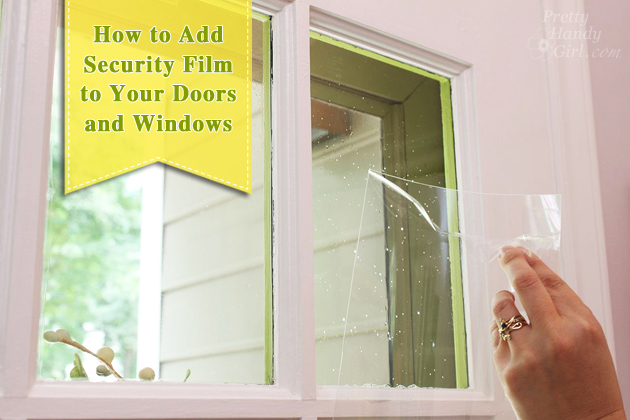
If you liked this tutorial and want to add a layer of security to your glass doors or windows, you’ll appreciate my tutorial for adding security film to your home.

How to Add Security Film to Glass Doors & Windows | Pretty Handy Girl

More Window Resources:

How to Install a New Construction Window

How to Install Traditional Window Trim or How to Install Decorative Window Casing

How to Clean Your Windows Like a Pro

Things to Consider When Choosing New Windows

Stop! Don’t Replace Your Windows Before Reading This

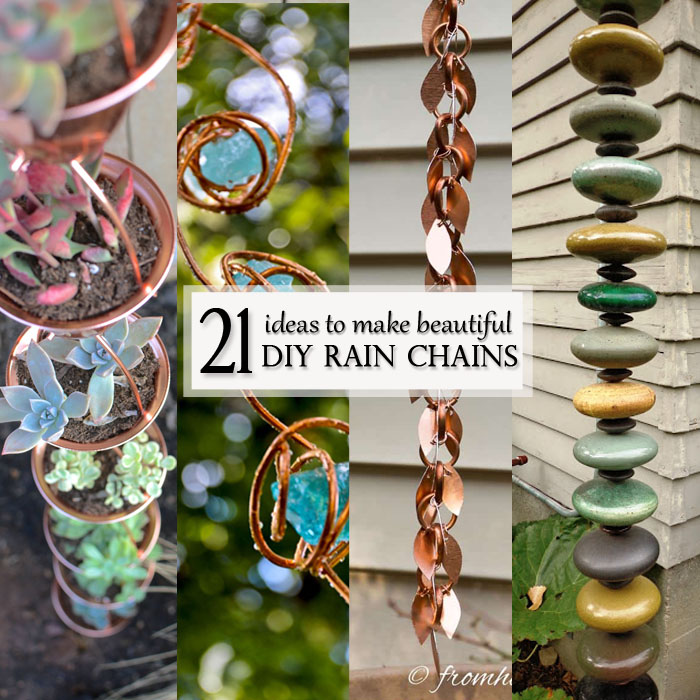
Beautiful ideas for DIY Rain Chains - Featured Image square

Beautiful ideas for DIY Rain Chains - Featured Image square

Make Your Own DIY Rain Chains

Do you know what a rain chain is? They are an attractive alternative to those boring downspouts connected to our home’s gutters. Downspouts are incredibly beneficial since they help direct the draining of water during a rain storm. But, let’s be frank, unless they are gorgeous copper round downspouts, they don’t look great. But, did you know there’s a more beautiful solution? Ladies and gentlemen, be prepared to be wowed.

Make Your Own DIY Rain Chains

What do you think about those pretty rain chains instead of a downspout? Love them? What if I told you it is possible to make your own rain chains using various materials that you may have lying around the house.

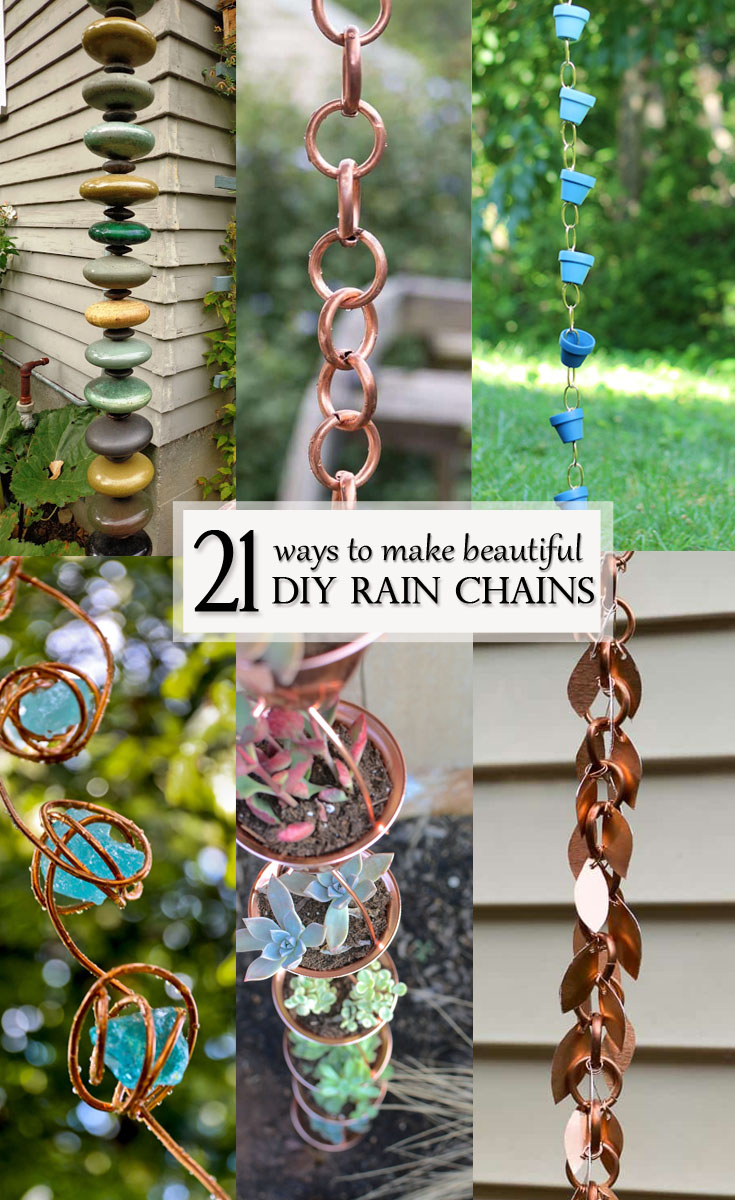
Here are 21 awesome DIY Rain Chains you can make!

DIY Copper Leaf Rain Chain

Make a beautiful copper rain chain with leaf shaped pieces cut from thin sheet metal.

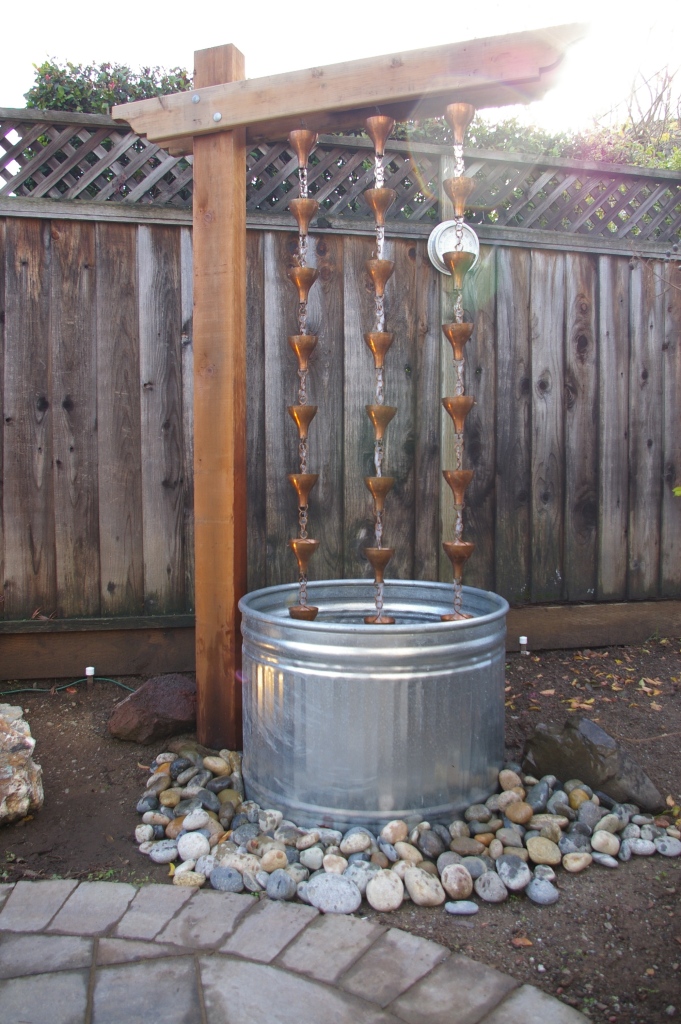
stock tank and rain chain by joes happy hour

Create this tranquil and pretty outdoor water feature using a stock tank and rain chains.

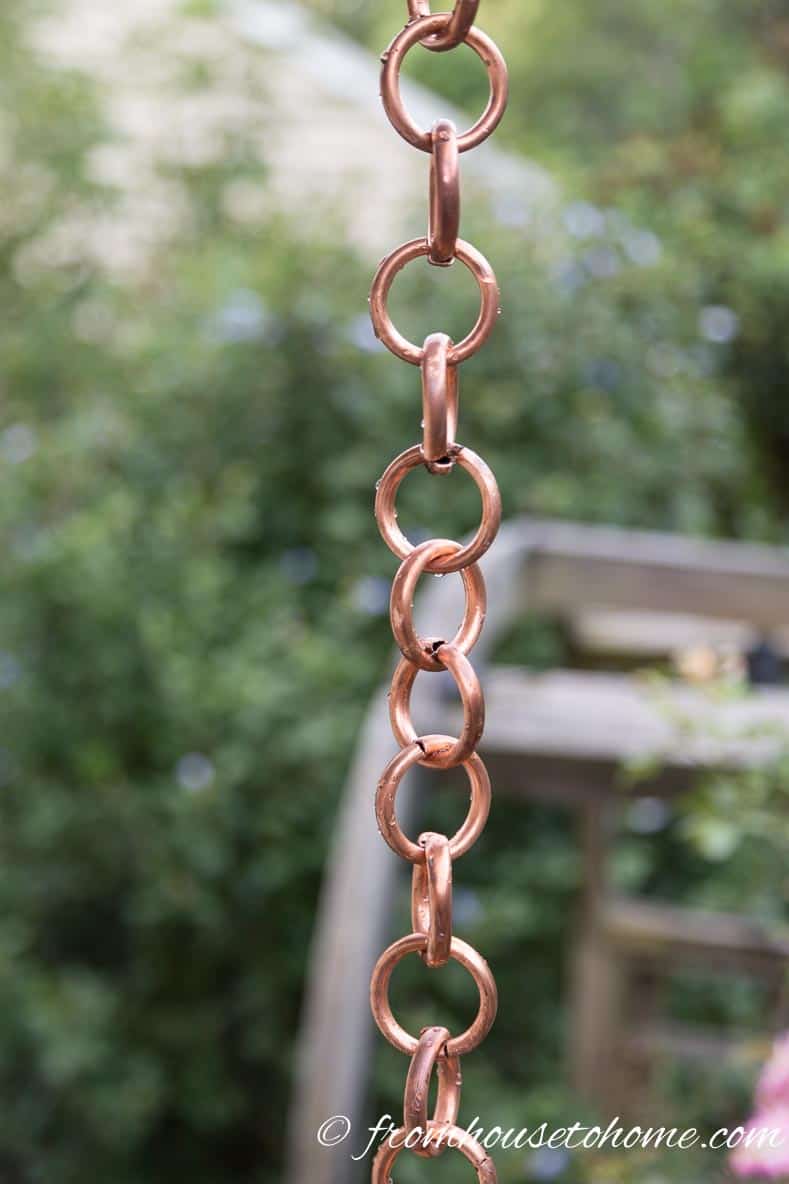
copper ring diy rain chain

Make this copper ring DIY Rain Chain using copper tubing.

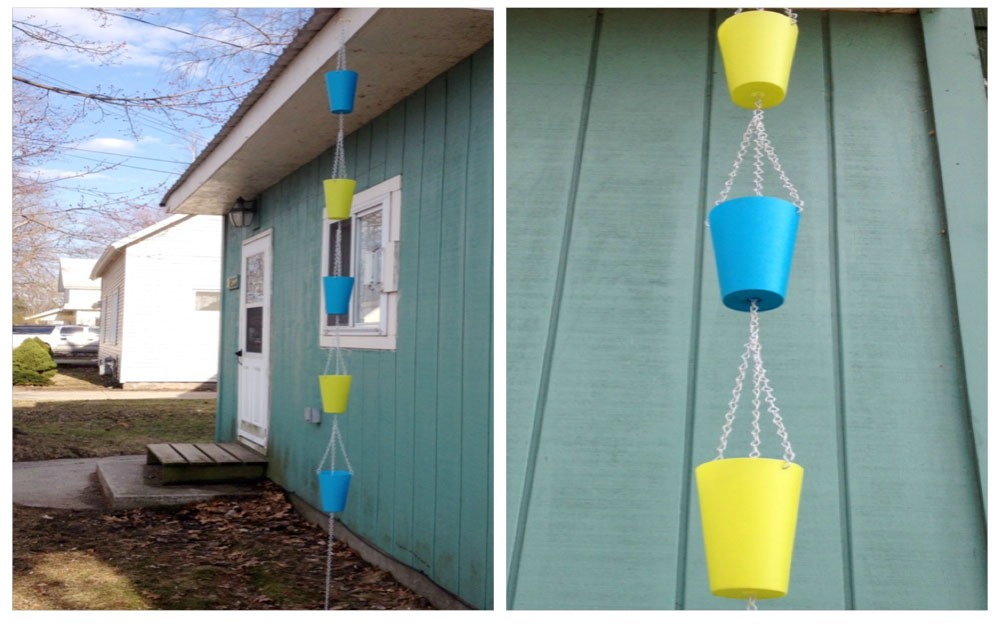
Rainbow painted terra cotta pot rain chain

Use mini terracotta pots to create this fun Rainbow Ombre Rain Chain.

diy cookie cutter rain chain

Add some whimsy to your yard with this DIY Cookie Cutter Rain Chain.

copper wire and stone DIY rain chain

Use copper tubing and stones to make this beautiful, natural rain chain.

galvanized buckets into rain chain

Turn these cute galvanized buckets into a DIY Bucket Rain Chain.

Dollar General Rain Chain buckets

If your budget is tight, consider making this DIY Plastic Cup Rain Chain.

glass and copper diy rain chain

Learn how to make this stunning DIY Glass and Copper Rain Chain.

DIY Funnel rain chain

Make this DIY Funnel Rain Chain using aluminum funnels and chain.

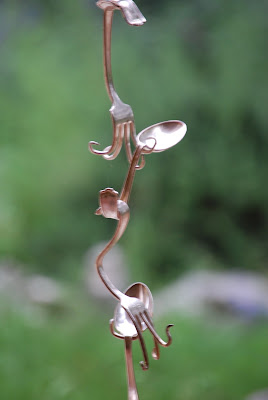
bent silverware rain chain

Repurpose old silverware by bending it and creating this funky DIY Silverware Rain Chain.

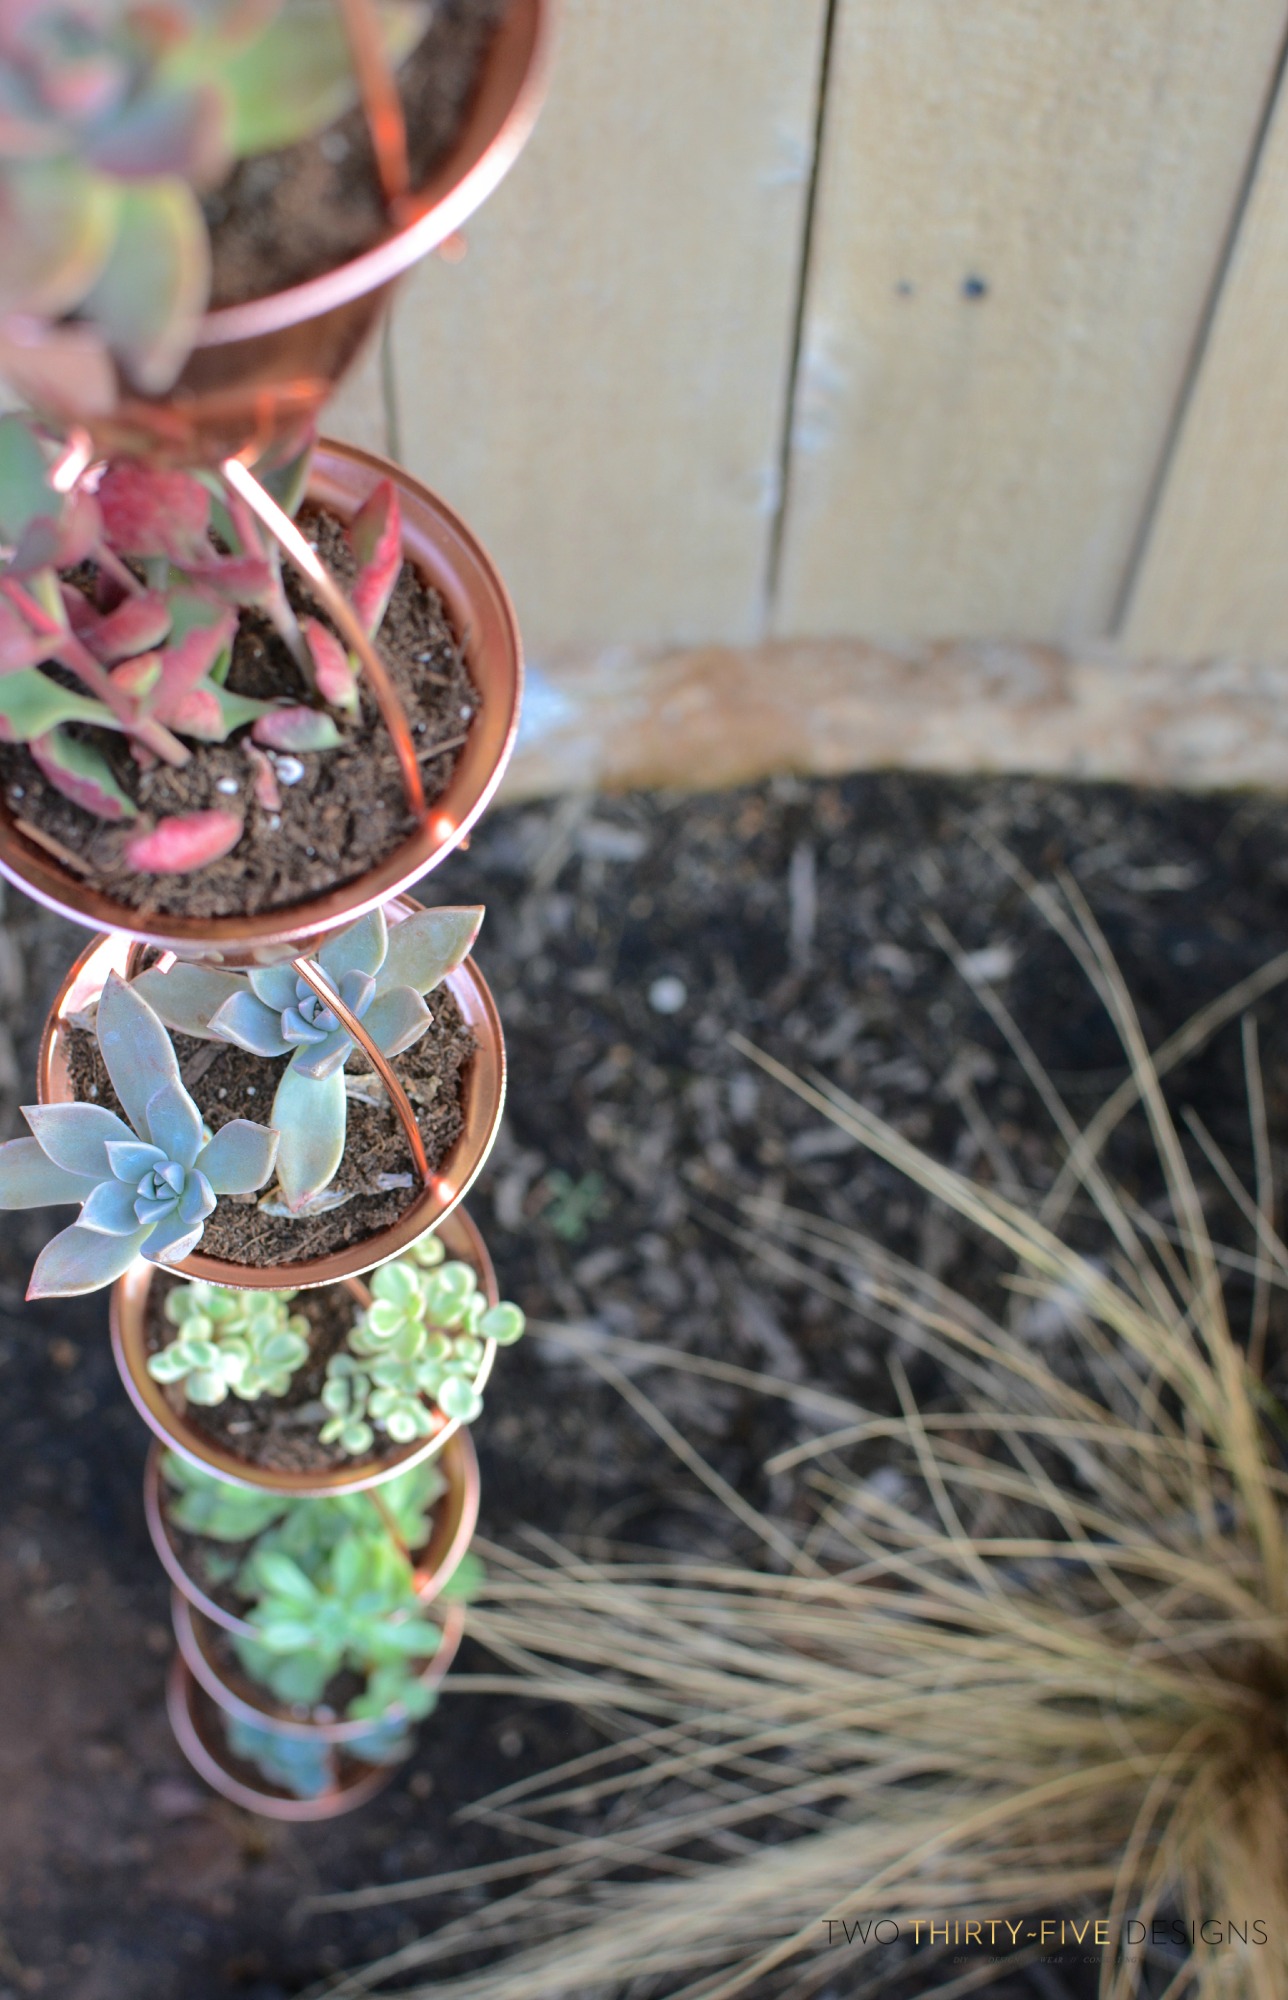
succulent rain chain

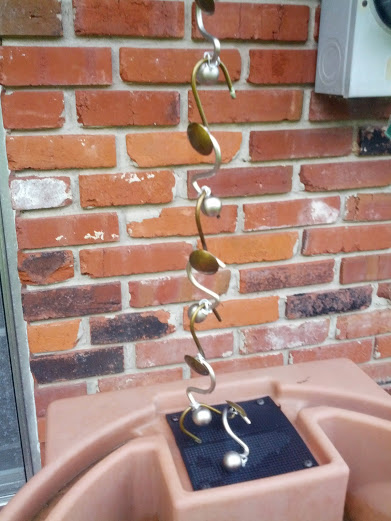
Do you love succulents? Add more to your life by making a DIY Copper Rain Chain Succulent Planter.

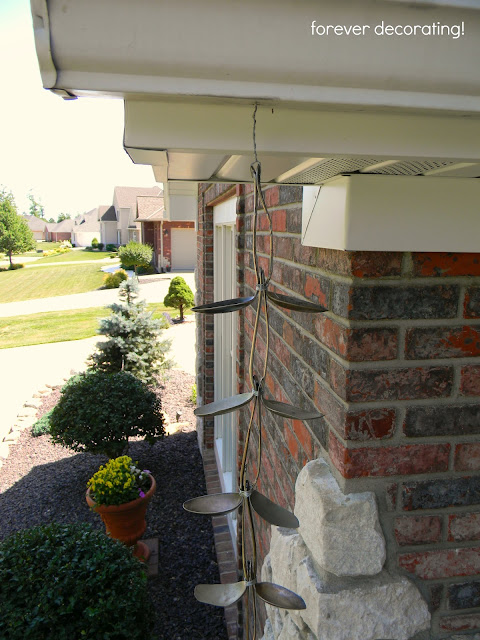
vintage spoons rain chain

Wire vintage spoons together to make this DIY Bent Spoon Homemade Rain Chain.

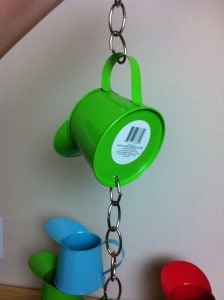
watering can rain chain

Create a fun and bright rain chain for your garden using dollar store watering cans.

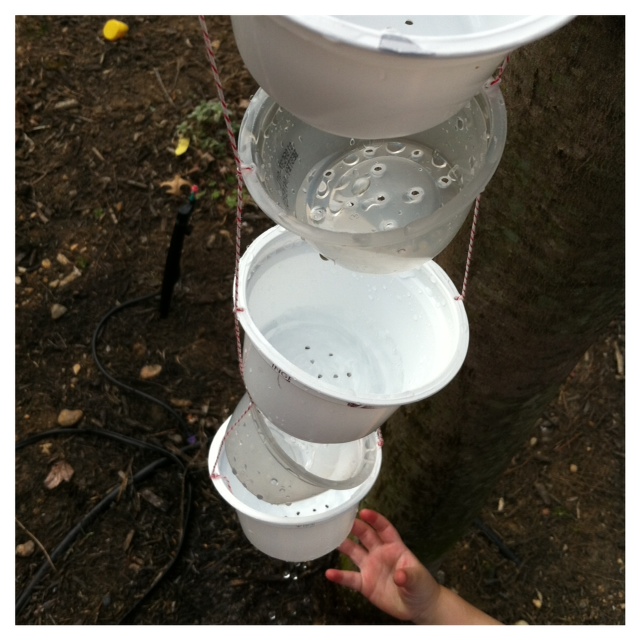
plastic yogurt cup rain chain

Have kids help you show your love for the environment by creating this DIY Reused Plastic Yogurt Cup Rain Chain.

Create a Key Rain Chain with a large collection of old keys.

shower hook rain chain

Use old shower hooks to create this DIY Hook Rain Chain. 

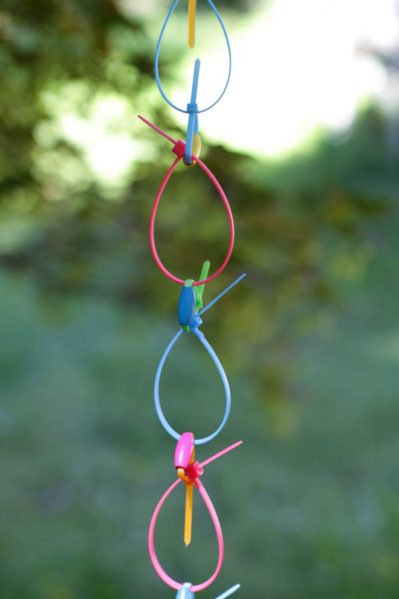
neon zip ties rain chain

Have extra zip ties lying around the house? Create this amazing Neon Zip Tie Rain Chain.

tart tins and colored glass beads rain chain

Add whimsy to your yard by creating this DIY Tart Tin Rain Chain with colorful glass beads.

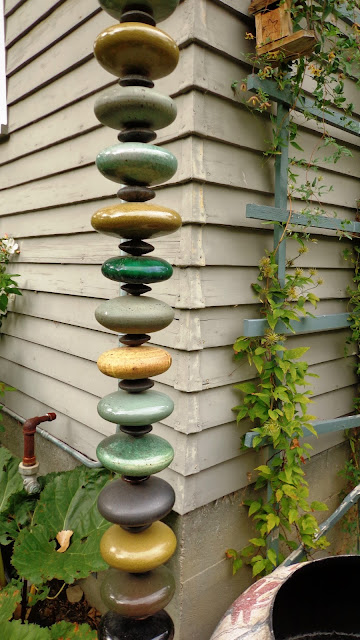
polished stone rain chain

Drill through polished stone to create this amazing DIY Polished Stone Rain Chain.

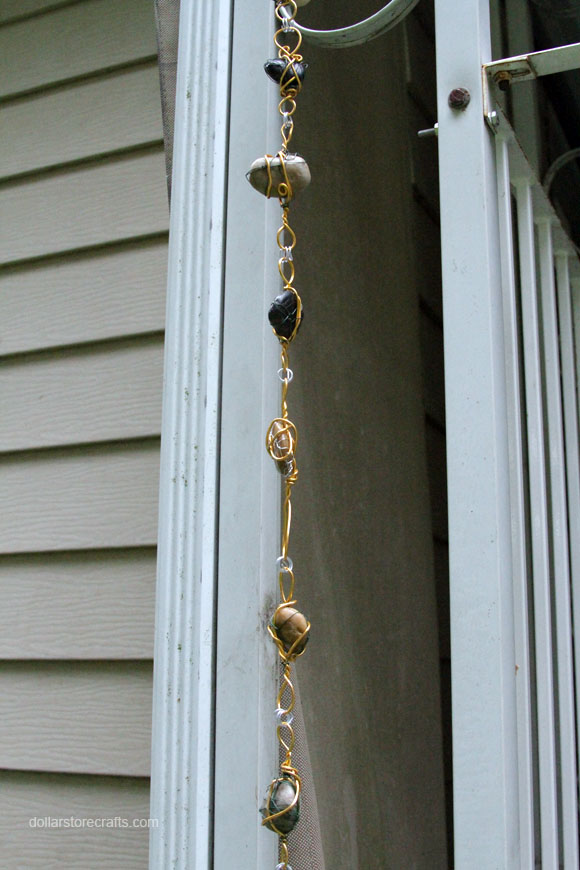
wrapped rock rain chain

Finally, here’s another Wire Wrapped Rock Rain Chain that would be gorgeous and easy to make.

I hope you loved this collection of ideas to make your own Rain Chain! Do you have other ideas for creating a beautiful rain chain for your home or garden?  I’d love to hear it! Let me know your thoughts in the comments.

If you liked this roundup of ideas, please share this image on Pinterest to get the word out!

Beautiful ideas for DIY Rain Chains - Pinterest Image


Tutorial for making these DIY oilcloth, water resistant drink coasters for Summer!

DIY Drink Coasters - Water Resistant fabric and perfect for Outdoor Use and Summer Parties!

DIY Oilcloth Drink Coasters

Hi there!  I’m so thrilled to be back today with this super quick and easy project.  The weather in Seattle has been totally amazing lately and it’s got me thinking about summer.  And, summer entertaining is on the brain! This project will look great on your patios and outdoor spaces. Bonus, it’s totally water resistant too. Let’s take a mini-break and learn how to make these adorable DIY oilcloth drink coasters for gifting or entertaining.

What in the world is Oilcloth?

Oilcloth is a type of fabric.  It has vinyl on one side and kind of a soft mesh of cotton on the other side.  Vinyl has a slippery and plastic-like feel to it. The best part about vinyl is you can wipe it clean and it’s water resistant! This makes oilcloth a perfect fabric choice for outdoor items like tablecloths, COASTERS, beach bags etc.

The other great thing about oilcloth is that it just happens to be made in a multitude of funky patterns and bright colors.  This fabric was made for Summer!  When you get a minute – run a google search for ‘oilcloth fabric’ and you’ll see what I mean.  Such pretty patterns!

So this is the perfect little accessory for all those Summer fiestas and BBQ’ s you have in the works.  Or even for gifting away as little favors.  Tie a cute burlap string around them and presto! You have a lovely handmade housewarming gift.

Perhaps you own a pool or live near the beach?  Or know someone who does?  These coasters make a fantastic DIY gift idea for them.

Here’s the best part: these stylish oilcloth coasters took me 10 minutes to make – start to finish.

Materials:

(I’ve included affiliate links for your convenience. I earn a small percentage from a purchase using these links. There is no additional cost to you. You can read more about affiliate links here.)

Gather materials needed to make oilcloth drink coasters

  • Oilcloth Fabric – I chose these hot pink stripes from Fabric.com
  • Sewing Machine
  • Pinking Shears – these are simply scissors with a serrated edge.  They are used to cut a zig zag pattern in fabric to prevent fraying.
  • Tape Measure (for measuring your coasters to a perfect square)

Instructions:

Start by folding your oilcloth in half.  We need two exact squares to make one coaster (both front and back will be the vinyl, water-resistant side).

Fold your oilcloth fabric in half

Step 1:  Measure out a perfect square on your oilcloth fabric.

measure out your coasters using a tape measure or ruler

I measured approximately a 4 inch square coaster.  (It’s totally up to you on sizing. Most drink coasters are between 3-5 inches square.  For fun you can also cut circles instead of squares. Use a bowl or circle template to make a perfect circle.)

Step 2 :  Use your pinking shears to cut out your measured square.

Cut out the two squares of oilcloth fabric that you previously measured

Since your fabric is folded in half – you can pretty much cut two squares at once.  You can also use regular scissors here and even them with pinking shears after sewing.

Step 3:  Line up your two squares and sew them together vinyl sides out.

sew both layers or oilcloth fabric together

Use use small binder clips (another little sewing trick I use a TON) to hold your two pieces of fabric together while sewing.  I wouldn’t suggest using pins because the holes will be visible even after removing them.

A straight stitch is fine, but feel free to try something fun like a zig zag stitch.

Tips for sewing and working with oilcloth fabric :

Gently feed oilcloth through your machine so it doesn't stick to the presser foot

  • Because oilcloth is vinyl and kind of plastic feeling, it will stick under your presser foot.  To combat this,  use two hands to feed the coaster through.
  • An alternative is to purchase a Teflon presser foot – they are fairly inexpensive and won’t stick to the vinyl fabric as easily.
  • DO NOT IRON OILCLOTH.  It will melt and the mess won’t be pretty.  If your oil cloth is wrinkled, lay it out and throw some heavy books on top for a few days. This usually presses the wrinkles out.  Oilcloth also “releases” more wrinkles when warmed up a bit.  Therefore you can try laying it by a sunny window.  Don’t microwave your oilcoth. 🙂

Step 4:  Use your pinking shears to clean up the edges of your coasters

Even up the edges of your newly sewn coasters with your pinking shears

Simply snip along the edge without cutting through the seam to straighten and clean up the ends.

Guess what?  All done!  See how fast it was making these DIY oilcloth drink coasters?

These coasters look so cute and are perfect for Summer! Pin this image to share with a friend:

Tutorial for making these DIY oilcloth, water resistant drink coasters for Summer!

I don’t know about you, but I may need to mix up a batch of margaritas tonight.  I hope you guys enjoyed this tutorial!

Tutorial for making these DIY oilcloth, water resistant drink coasters for Summer!

If you enjoyed this tutorial, you might want to check out my tutorial on DIY frayed napkins.  They also make a nice gift and pretty setting for your tables.  And for even more inspiration – be sure to check out Brittany’s amazing backyard and patio reveal, what a beautiful space!

Outdoor Garden Patio Party Decorating Ideas | Pretty Handy Girl

You may also like this tutorial for making mosaic tile coasters

Mosaic Tile Coasters | Pretty Handy Girl

…or DIY personalized wood slice coasters.

I’ll be back here next month and I’m looking forward to connecting with you all again soon.

karen signature

~ See More of Karen’s Tutorials ~


karen from decor hintHello!  I’m Karen, the creator of the Home Decor and DIY Blog: Decor Hint . I’m a Native of the East Coast, but I currently live in beautiful Seattle with my hubby, our two wonderful children and our spunky wheaten terrier.

You can usually find me with some sort of craft in one hand and a coffee in the other. And I’m always rearranging furniture or moving lamps from room to room. I have a passion (read: obsession) for decorating, DIY, and gardening. In short, I love making my house into a home.

Like many, I’m inspired by what I see in home decor magazines, but I’m not so inspired by the price tags.  Consequently, I love finding and creating beautiful budget-friendly home decor items. In a head to head competition, I bet you’d never know the difference between the designer items and my DIY creations!  Many of my DIY projects focus on sewing, crafting, upcycling and organizing. Some of my favorite projects have been making pretty wreaths , sewing my own tassel hand towels, and crafting these trendy wood bead garlands . I can’t wait to inspire you and spark your creativity through my DIY projects.

You can always connect with me on Pinterest , Twitter or Instagram.