So, you love making DIY projects but want to expand your talents further than squares and rectangles. I’m going to show you how to make DIY Circle Cutting Jig for the Table Saw. Yes!! Your table saw.

DIY Circle Cutting Jig for the Table Saw
Hello!! It’s Kristen, from In Her Garage, back again to bring you a super exciting and simple tutorial!
Making circles with the table saw sounds counterintuitive, right? Table saws are supposed to just rip straight lines, but table saws are one of the most versatile tools in your shop and with just a few pieces of scrap wood, you’ll be cutting circles and making gorgeous side tables and decor pieces in no time at all!! Let’s get started making this DIY Circle Cutting Jig for the Table Saw!
Materials:

(I’ve included affiliate links for your convenience. I earn a small percentage from a purchase using these links. There is no additional cost to you. You can read more about affiliate links here.)
- 3/4” plywood or MDF roughly 12”x12”
- 3/4” x 1/4” x 10” strip wood (usually ripped from scrap 1″ scrap lumber)
- 1″ x 2″ x 12” piece of scrap or something similar
- Several pennies
- CA glue
- 5/8” brad nails
- 1 ¼” brad nails or screws
- 1 ¼” nail for center rotation point
Tools:
Please read through the instructions in their entirety before making this project.
Safety! Before starting, UNPLUG your table saw and completely retract the blade below the level of the table.
Instructions:
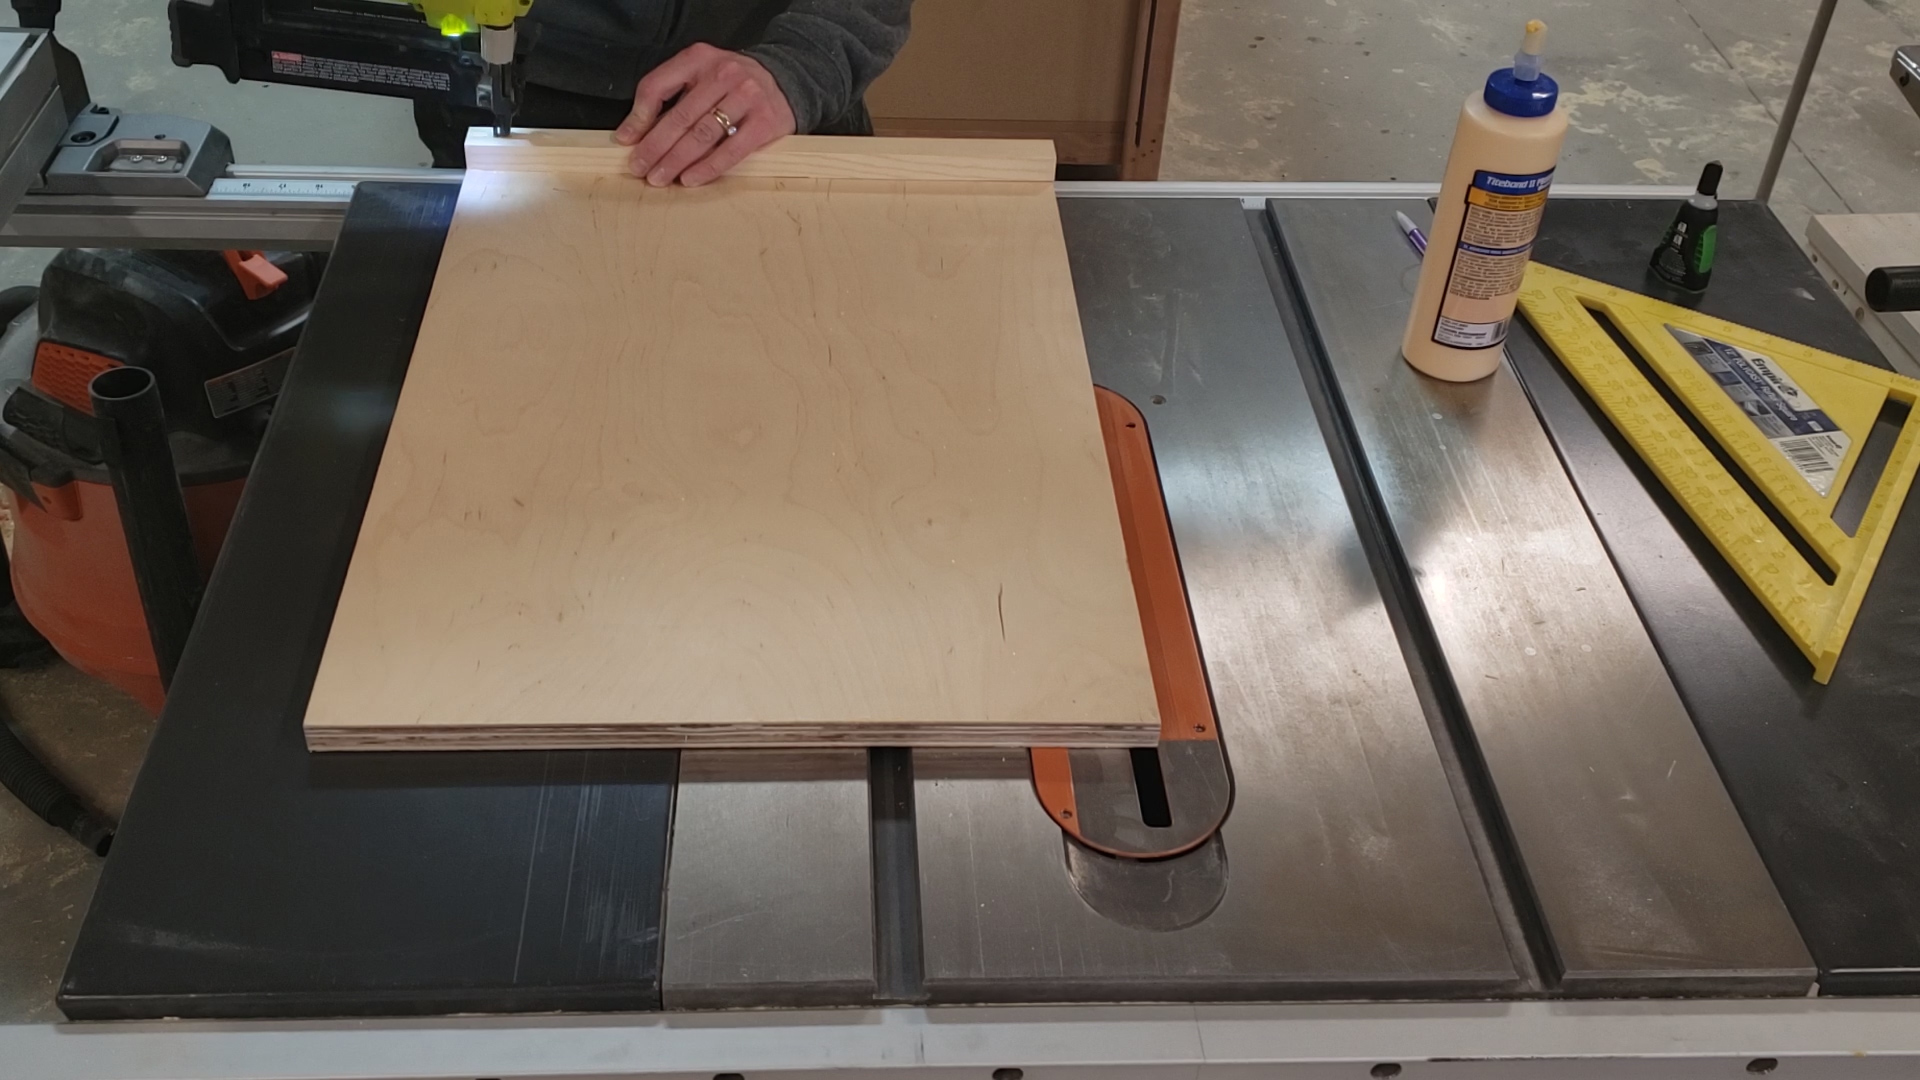
The 3/4”x 1/4” strip of wood will be used as a guide for the jig and will travel within the miter slot to the right of the table saw blade.
Standing at the table saw, place a few stacked pennies within the miter slot and lay the strip of wood over the pennies so it is just slightly above the level of the table.

Place a line CA glue on top of the strip of wood and place the plywood on top of it so that the plywood piece is covering the saw blade about ¼”.
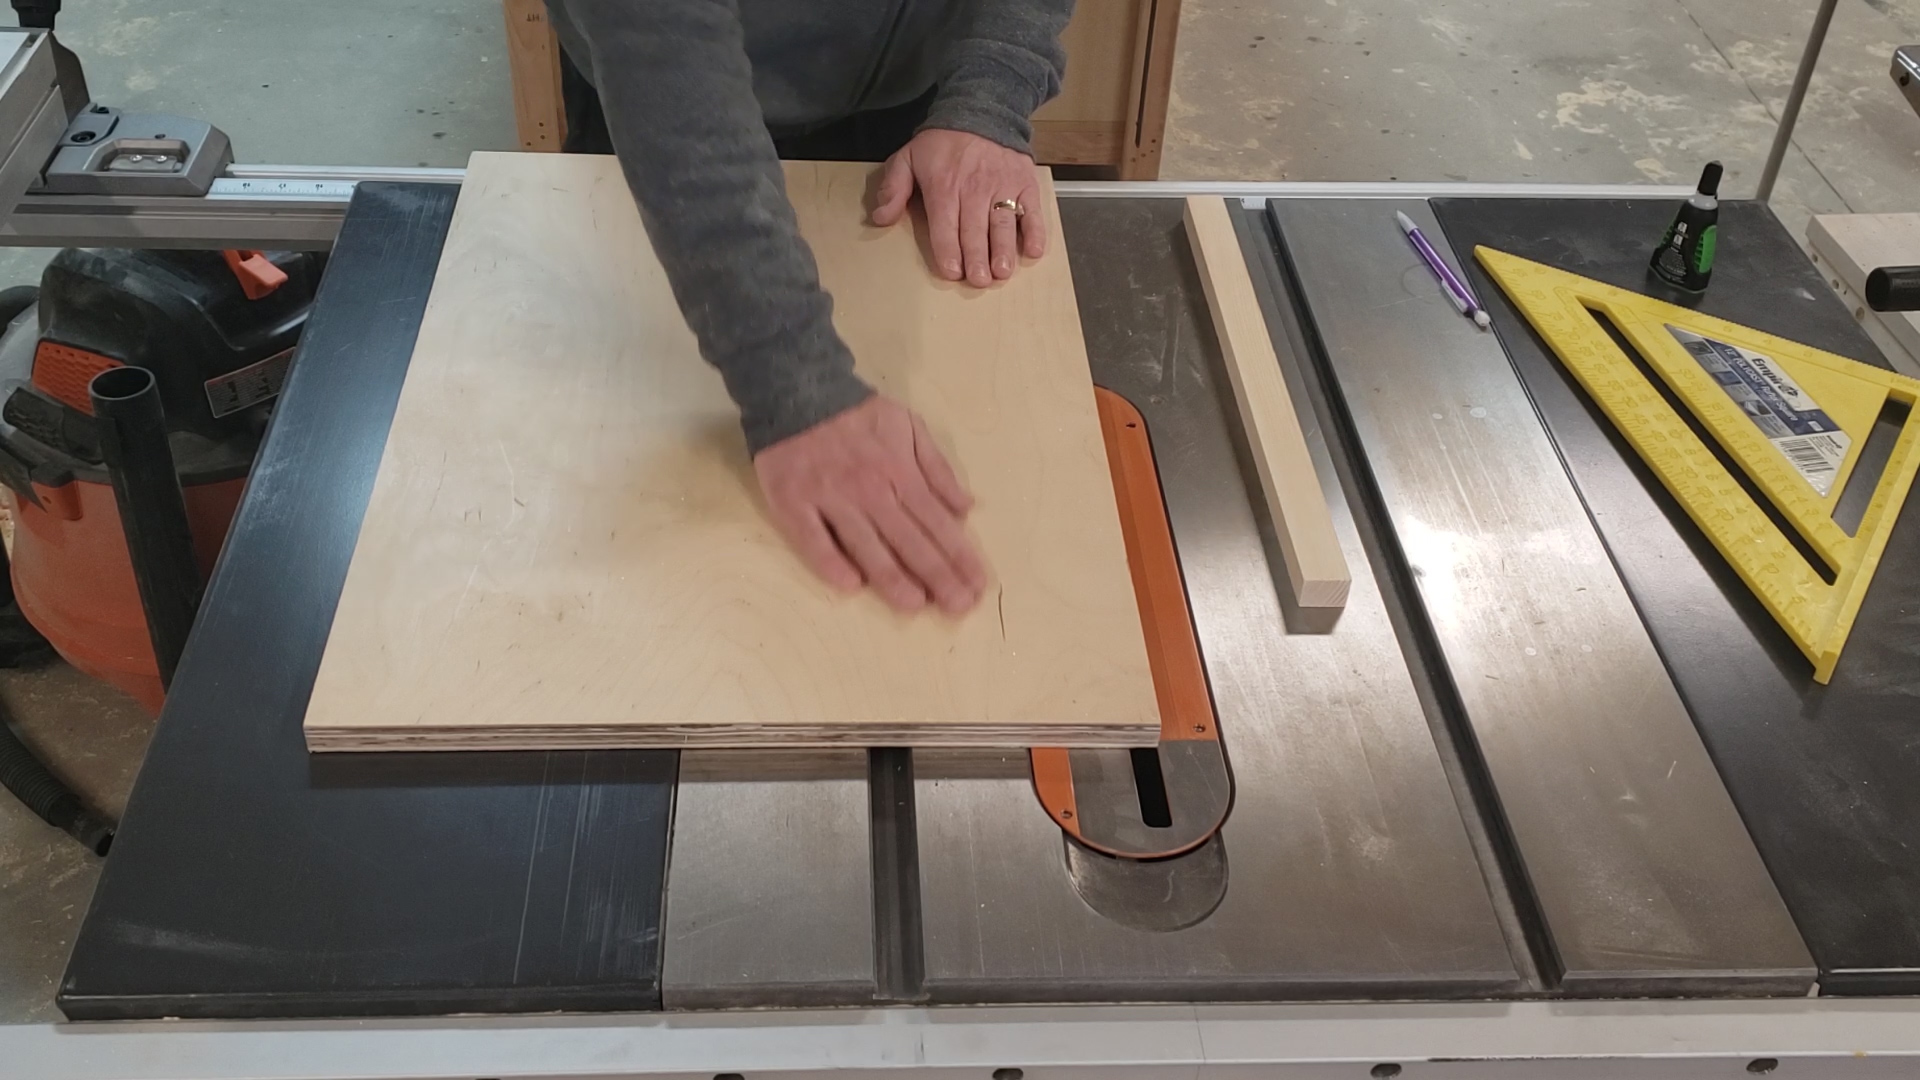
Apply weight on top of the plywood and wait for the glue to adhere to both the miter guide strip and the back of the plywood.
While you are waiting for the glue to dry apply the 12” piece of scrap wood to the front edge of the plywood. Simply apply some wood glue between the two pieces and nail it down with 1 ¼” brad nails or screws. This will act as the handgrip for the jig.
By now the plywood and the miter gauge strip of wood have adhered together. Gently lift the plywood and turn it over.
Using 5/8” inch brad nails or screws secure the strip in place being careful not to split it.
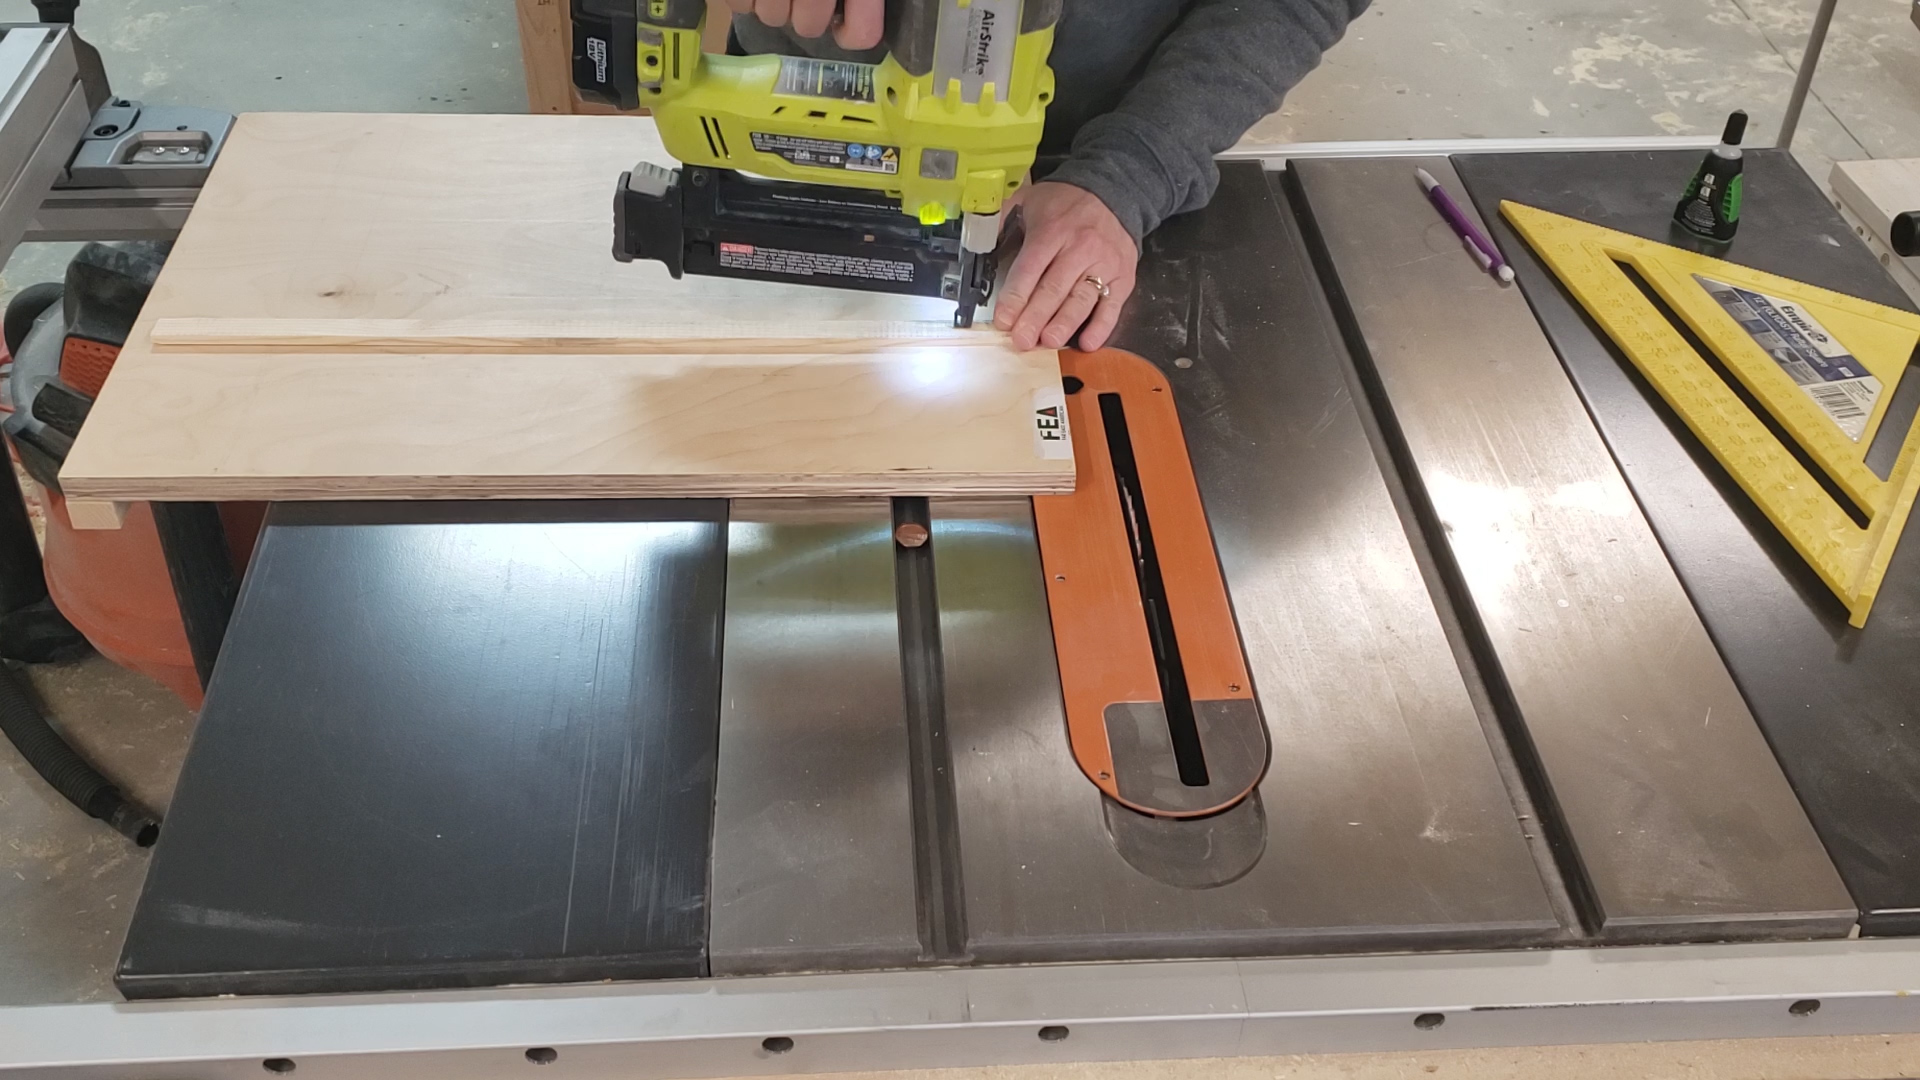
Remove the pennies from the miter slot.
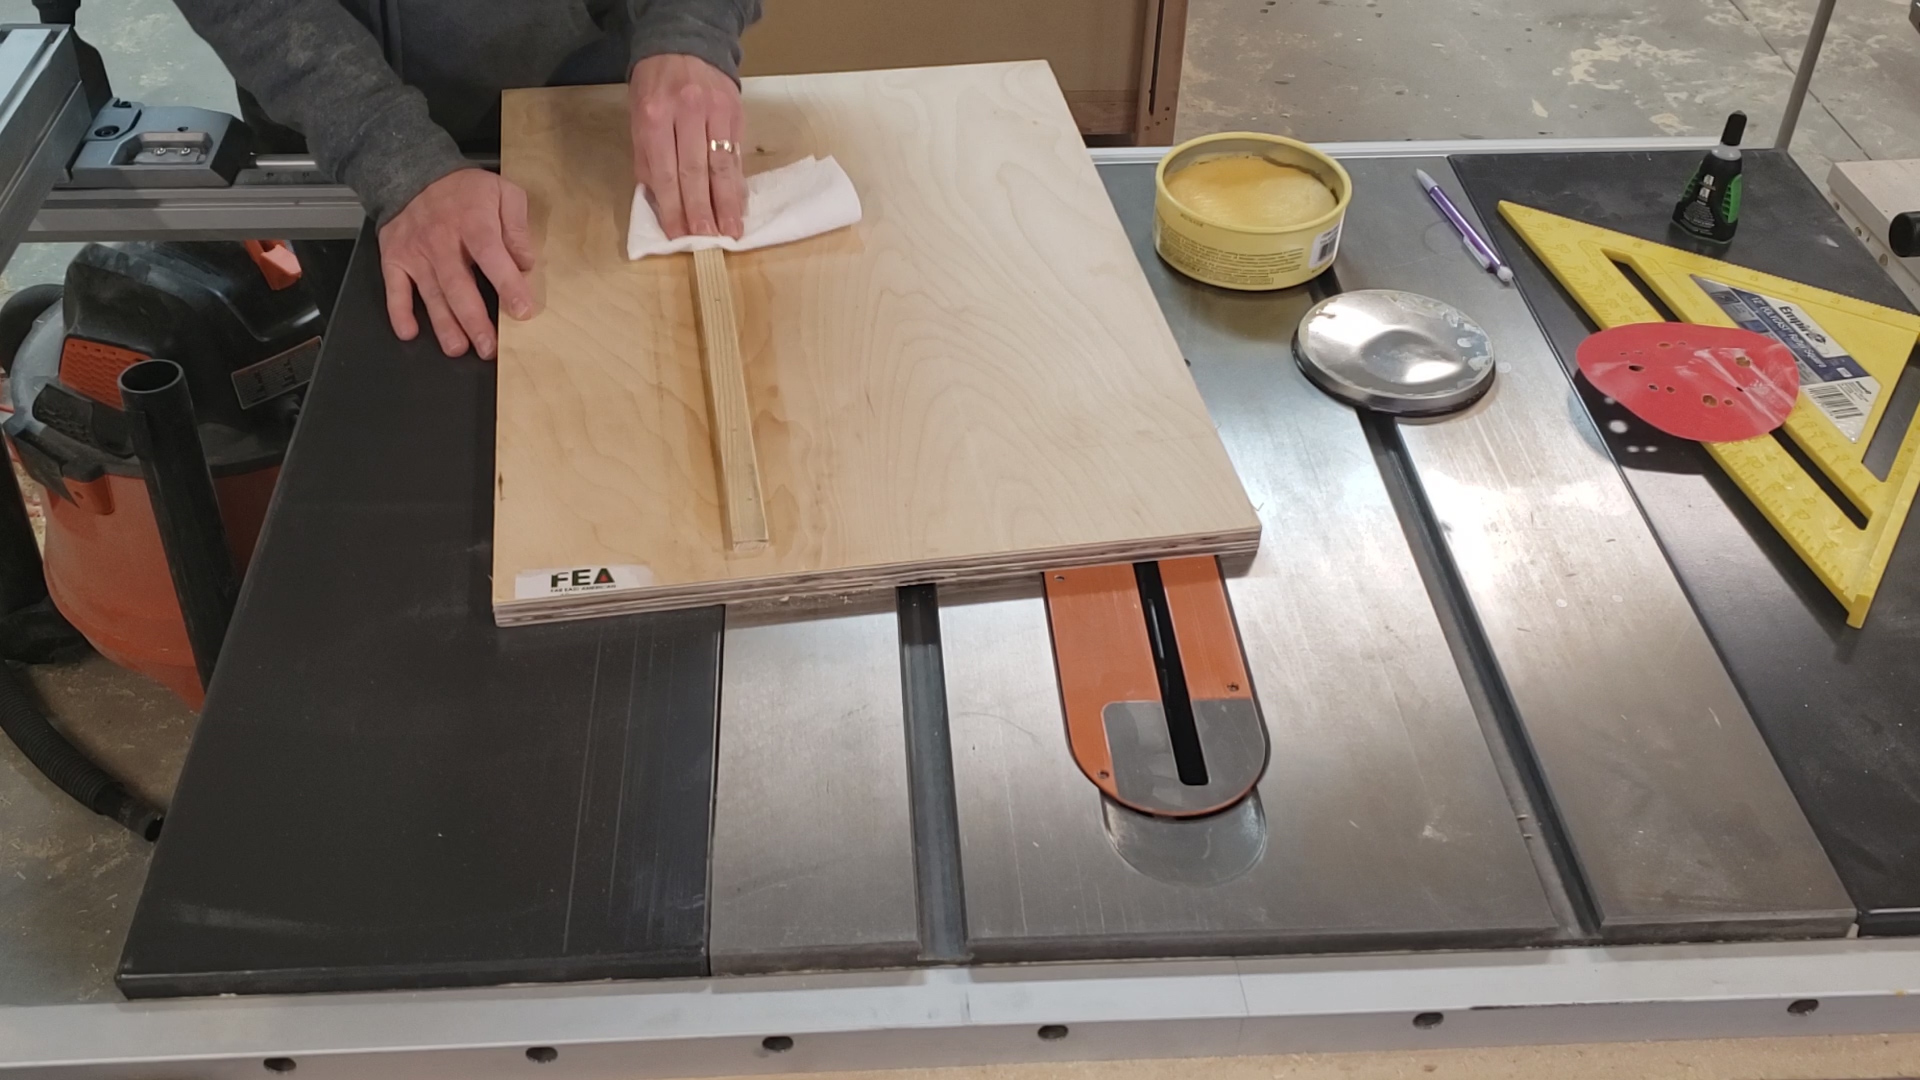
Use some fine-grit sandpaper to smooth out the edges of the miter guide strip to help the jig travel smoothly. Applying some paste wax to the bottom the plywood and miter guide strip will also help with smooth travel. (Not necessary, but will help with smooth movement.)
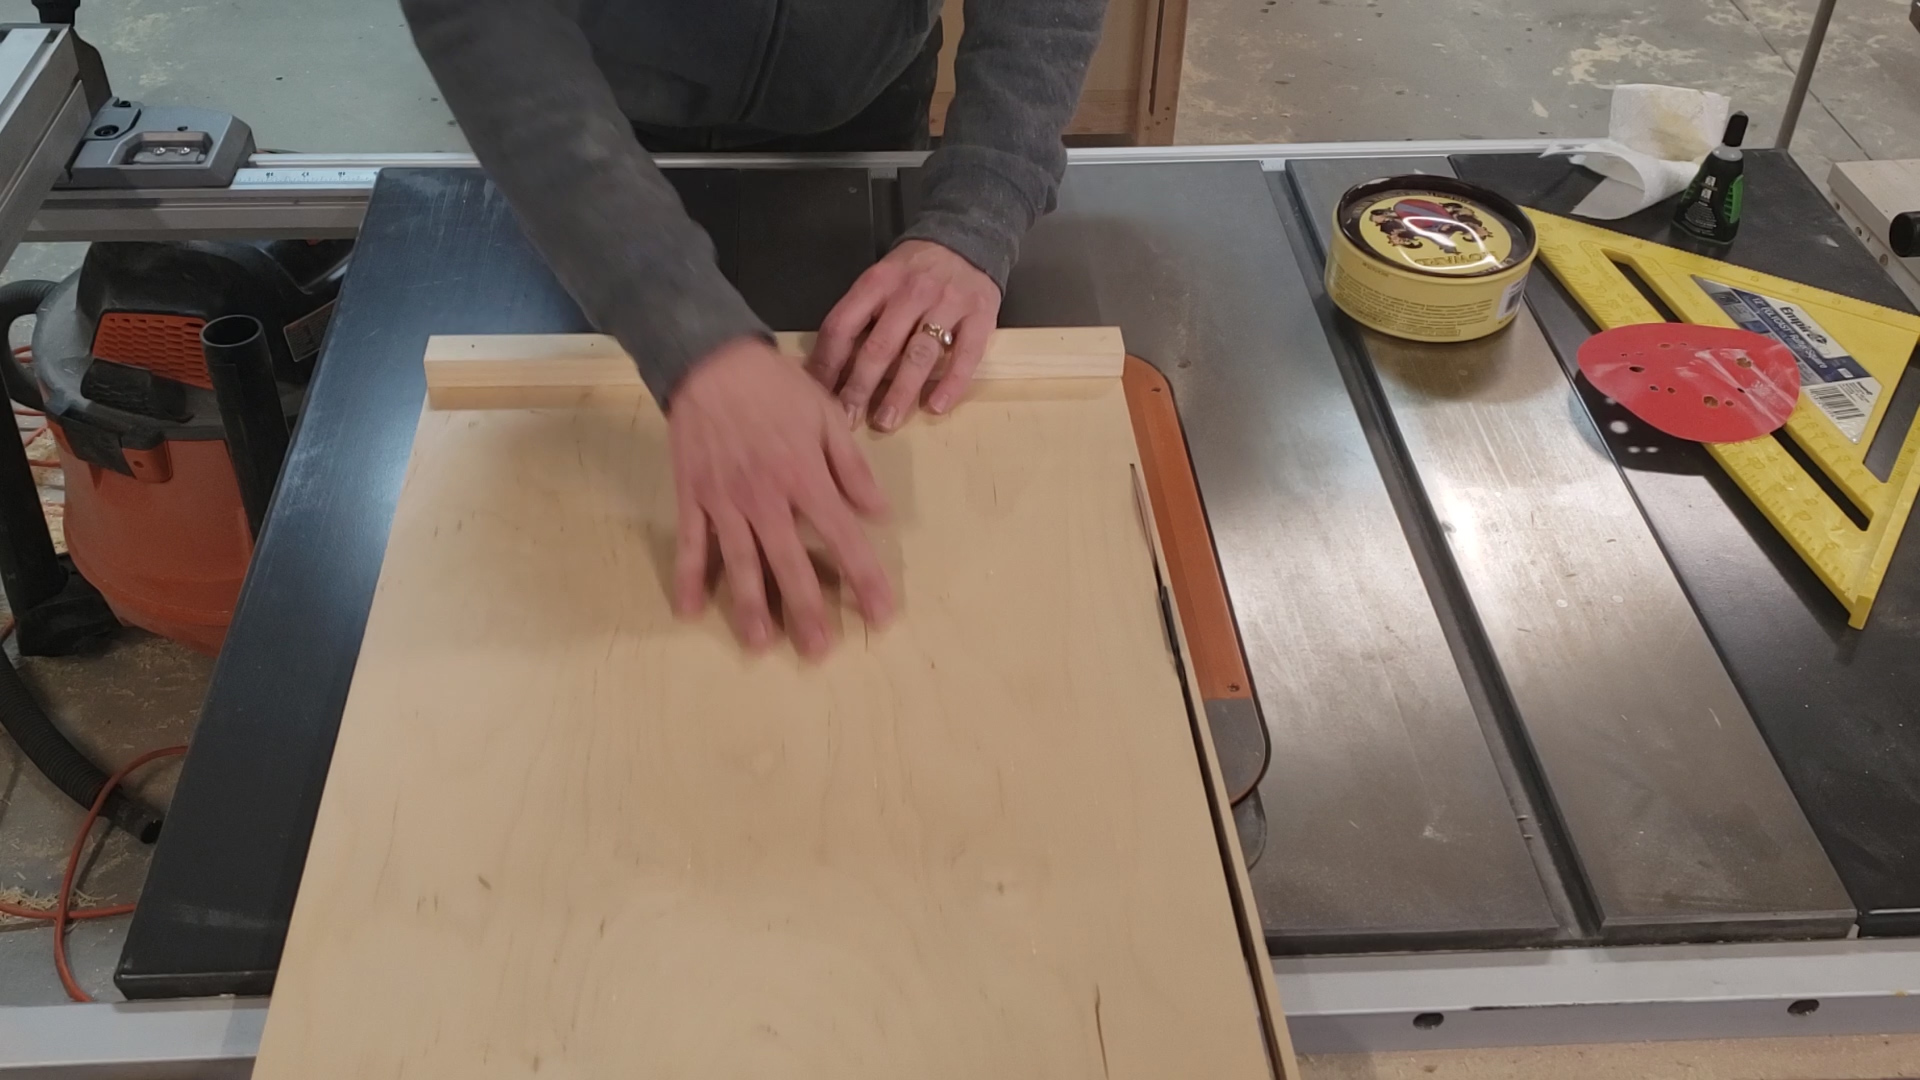
Flip the jig back over placing the guide strip in the miter slot.
Pull the jig back enough to raise the saw blade just above the level of the hand guide. Plug the saw in.
With the saw on push the jig forward to completely cut off the left side of the jig. This will make the jig perfectly in line with the blade and act as a zero-clearance for clean cuts.
Turn off the saw, lower the blade and unplug.
Circle Cutting Instructions:
Using your speed square draw a line in the middle of the jig perpendicular to the saw blade.
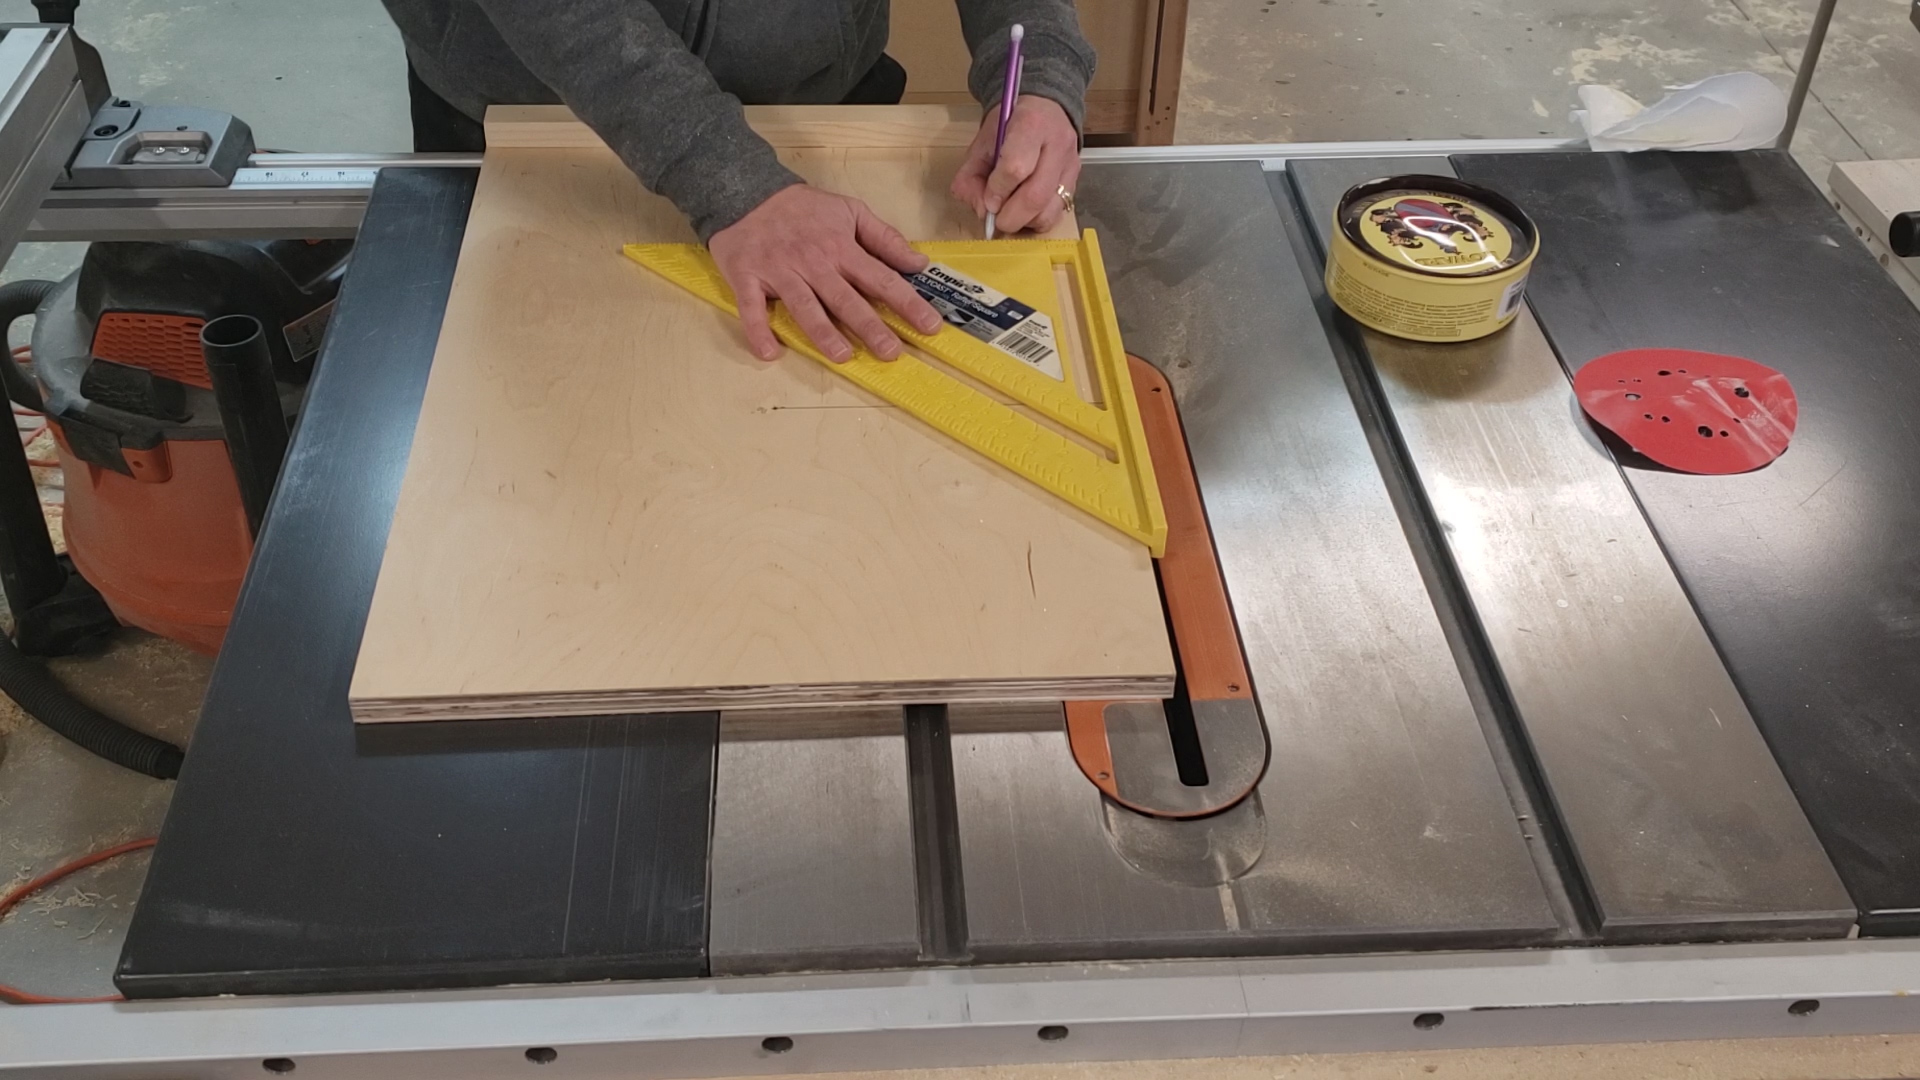
Now mark the radius measurement for the circle that you want to make on this line. For example, if you want to make a circle that is 10” in diameter measure to 5” with your speed square.
Tap a 1 ¼” nail into the mark.
Make a mark in the center of the square piece of wood that you’re wanting to cut into a circle. This is easily done by drawing two lines from each opposite corner. The intersection of these two lines in the center of the square.
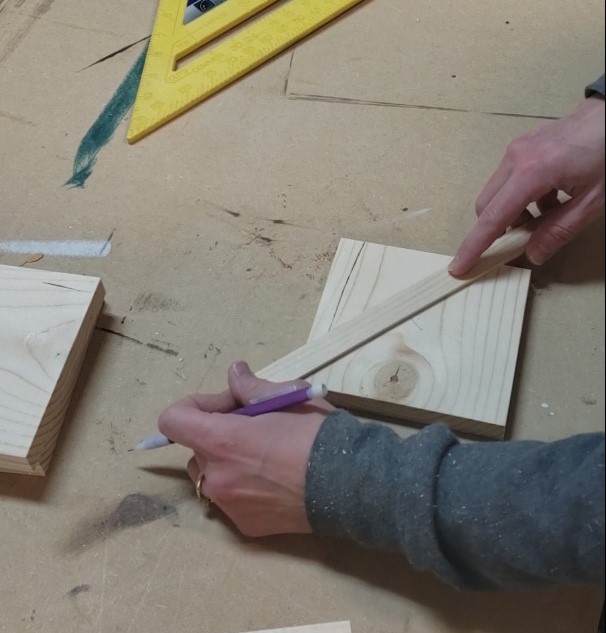
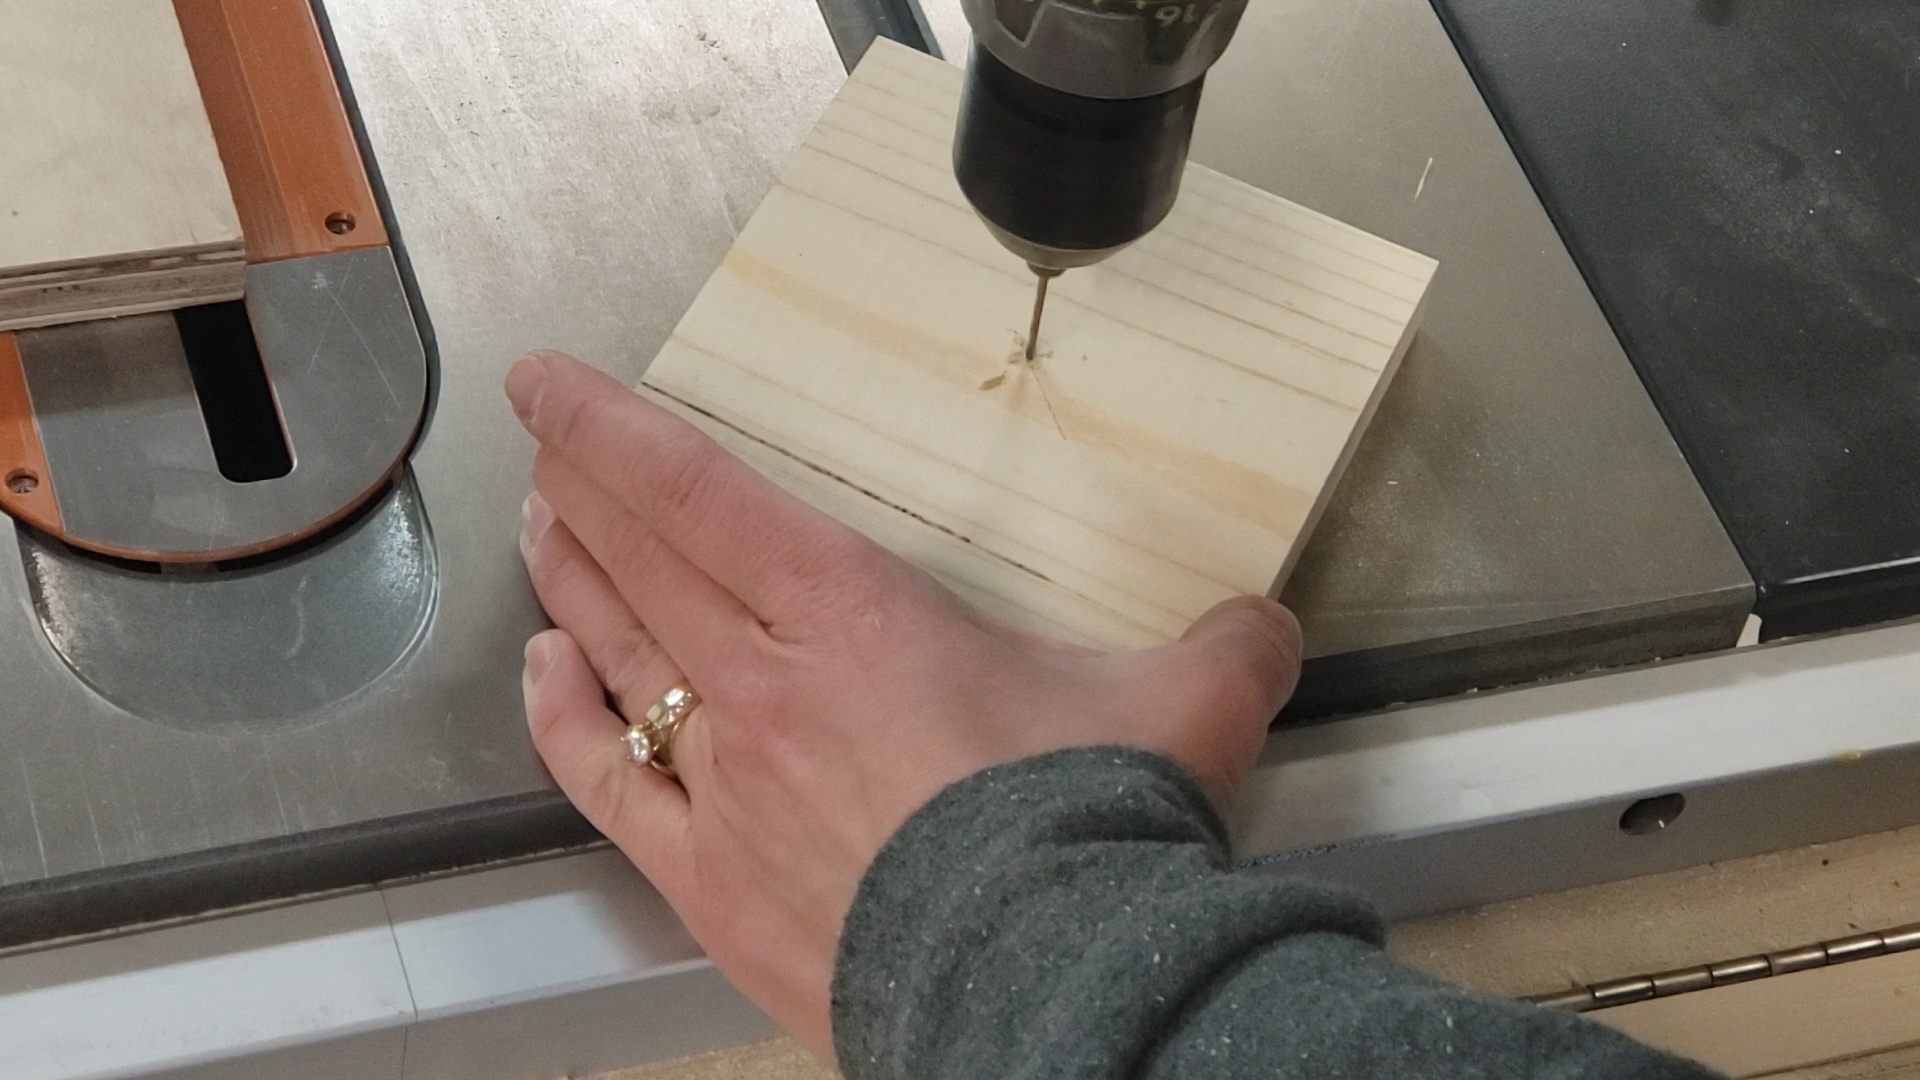
Drill a small hole through this center point.
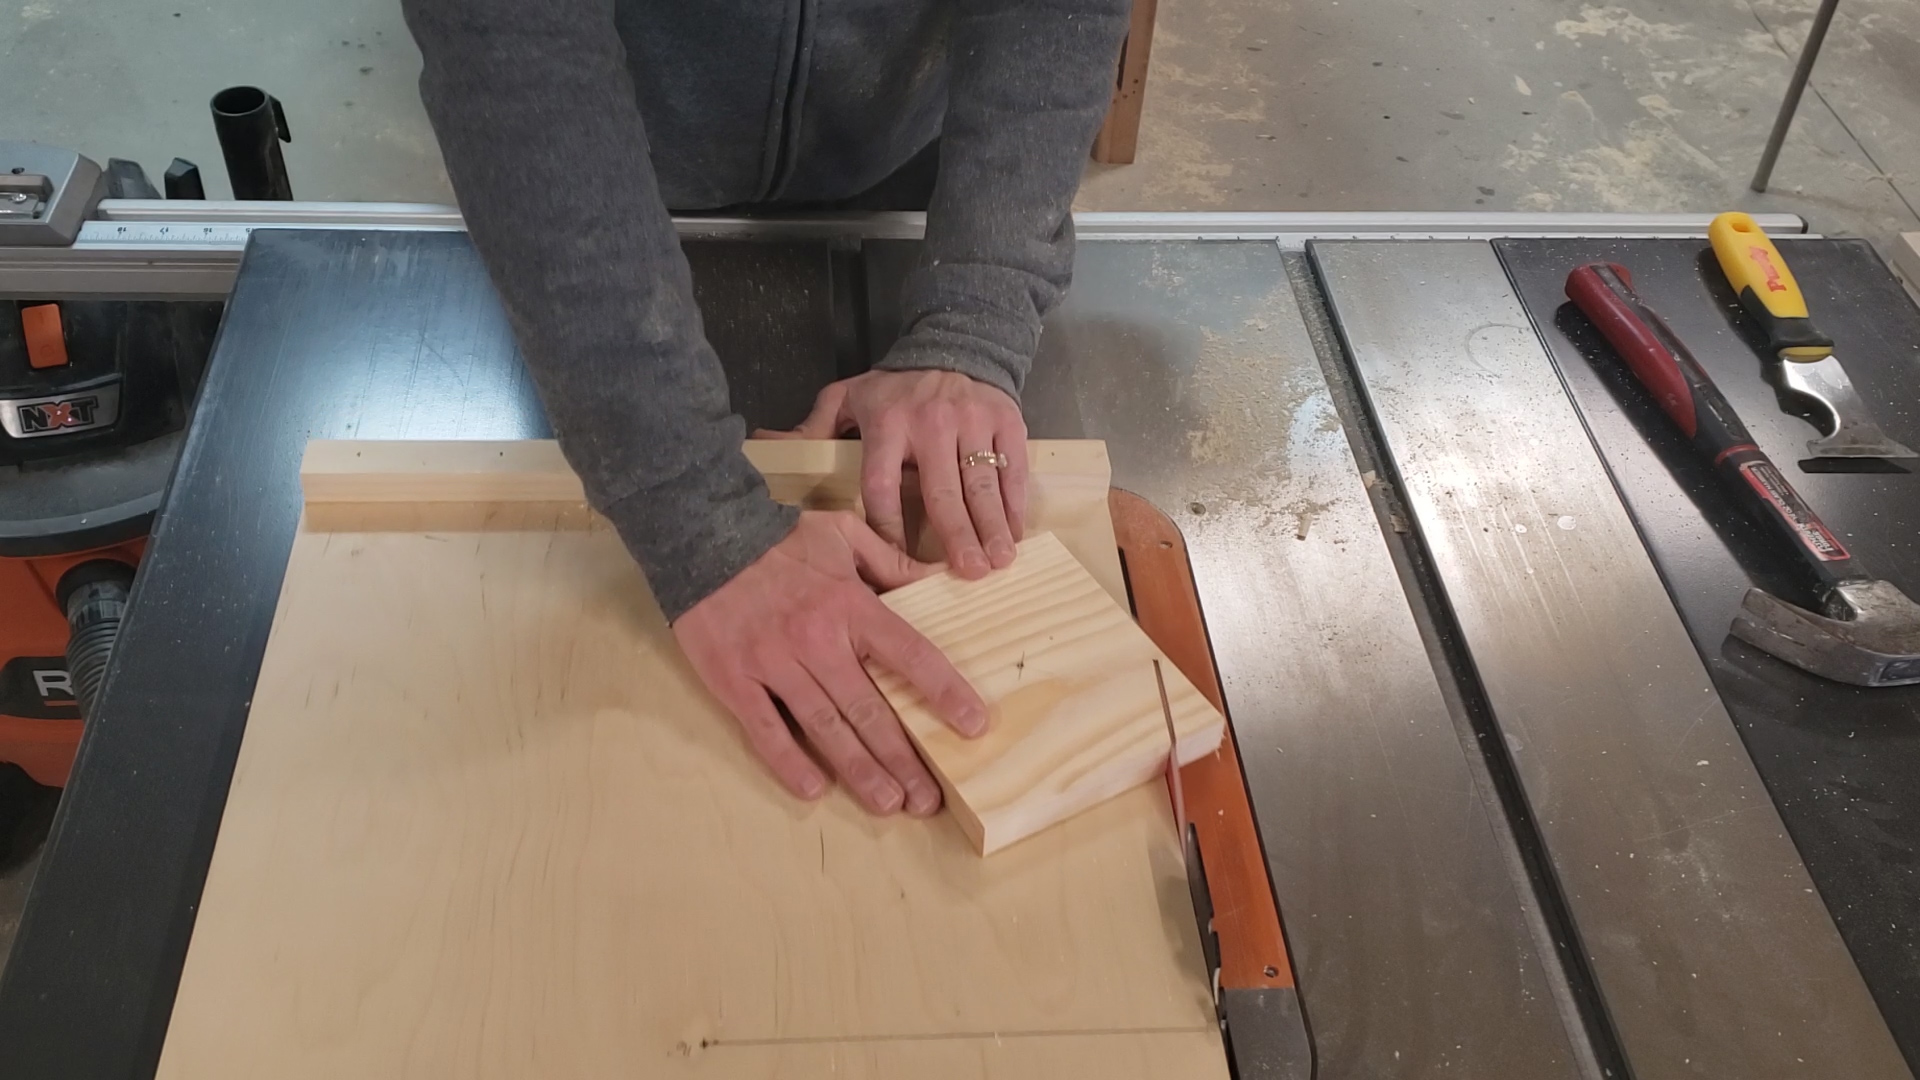
Place the 1 ¼” nail through the hole and into the hole on the jig and tap securely into place making sure that the square lies completely flat on the jig. Rotate the piece be sure it spins easily and securely.

Pull the jig back and raise the blade to just above the level of the square to be cut.
Plug the saw in. When operating a table saw always try to stand off to the right side and never directly in front of the blade.
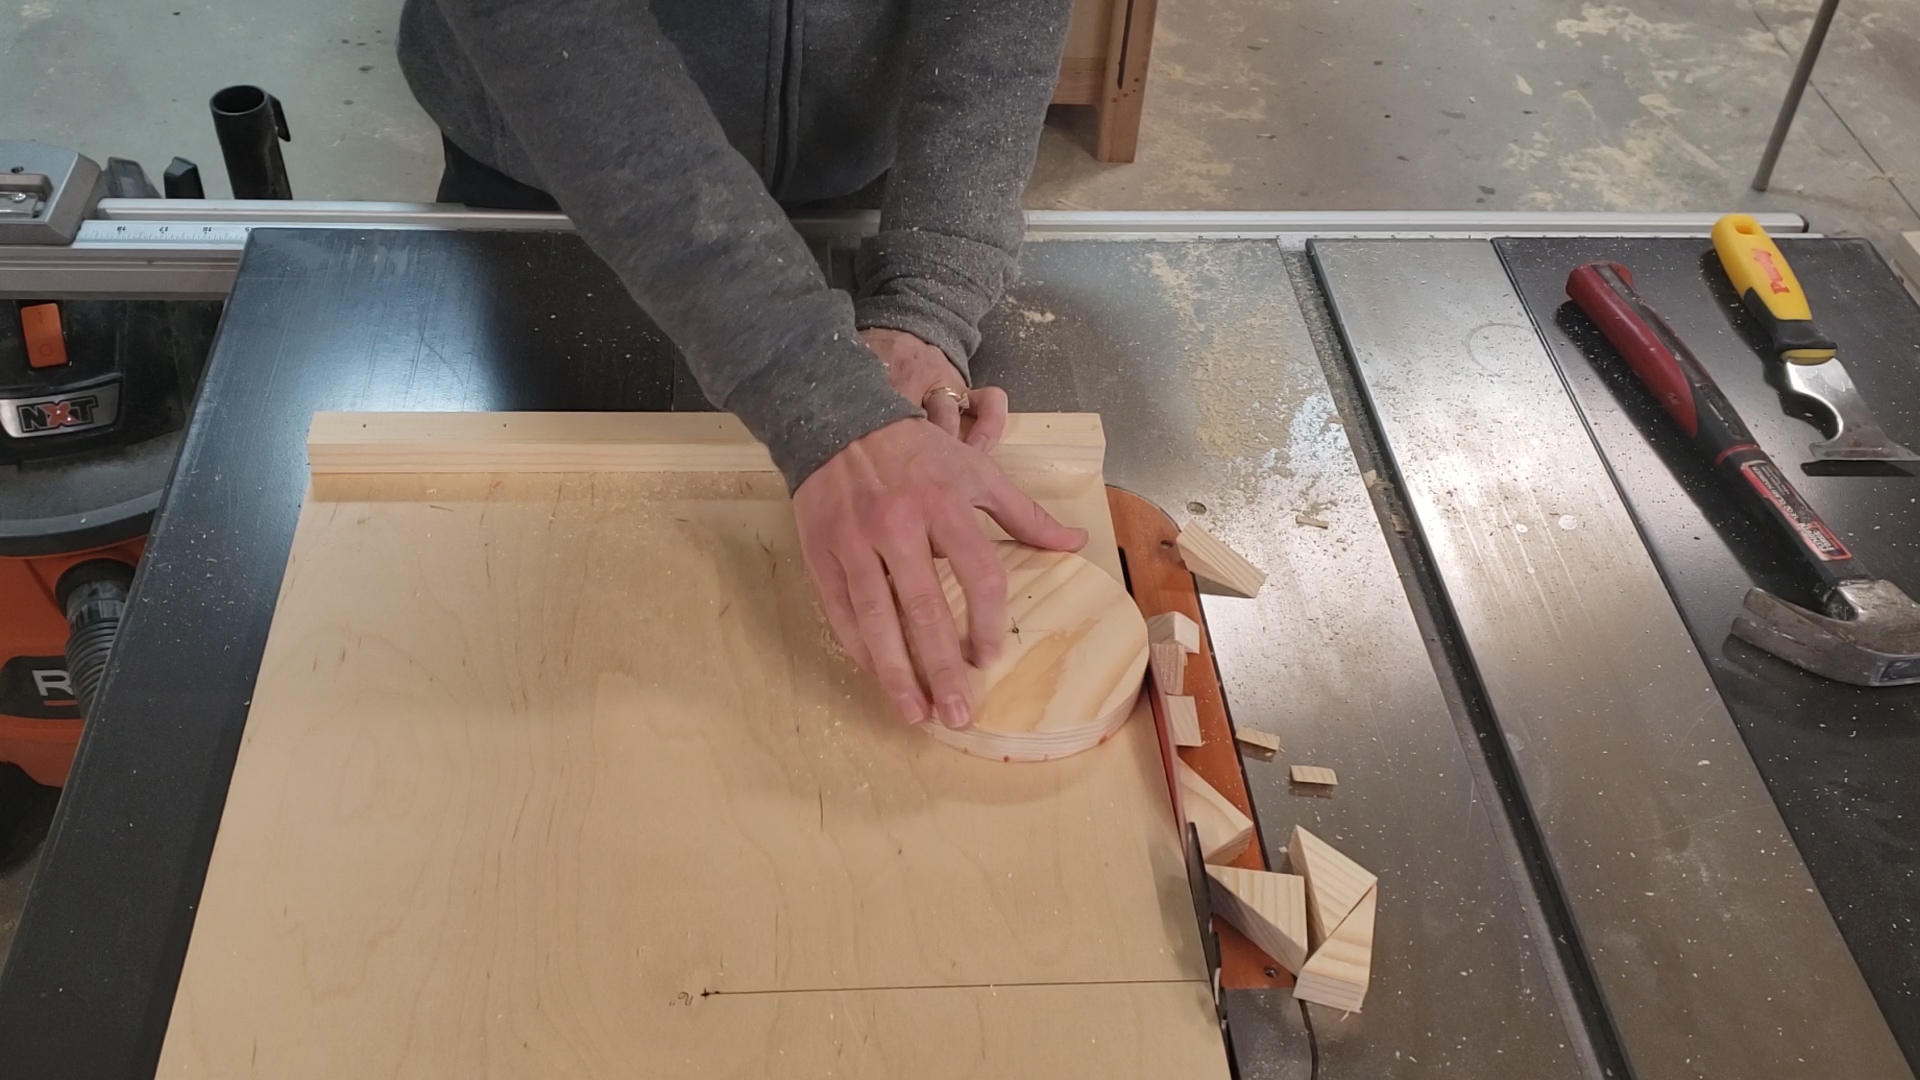
Rotate the piece 45 degrees so a corner of the square overhangs the jig. Turn the saw on and push the jig forward to cut off the overhanging corner. Pull the jig back.
Rotate the piece 90 degrees and repeat until all corners have been cut off.
At this point, you can turn the saw off and wait until the blade comes to a full stop so you can remove the scrap pieces from near the blade. I typically do this for larger circles.
Now continue to rotate the piece, pushing and pulling the jig back and forth until all overhanging corners have been cut off.
Once the piece of wood looks like a very rough circle push the jig forward until the bottom of the piece is in contact with the blade and rotate until the bottom has been cut into a circle.
Push the jig forward slightly and rotate the piece again making a full circle. Repeat until the top of the piece has been cut into a circle.
Pull the jig back and turn the saw off.
Wait until the saw blade has come to a full stop before removing the jig, the circle, or any scrap pieces.
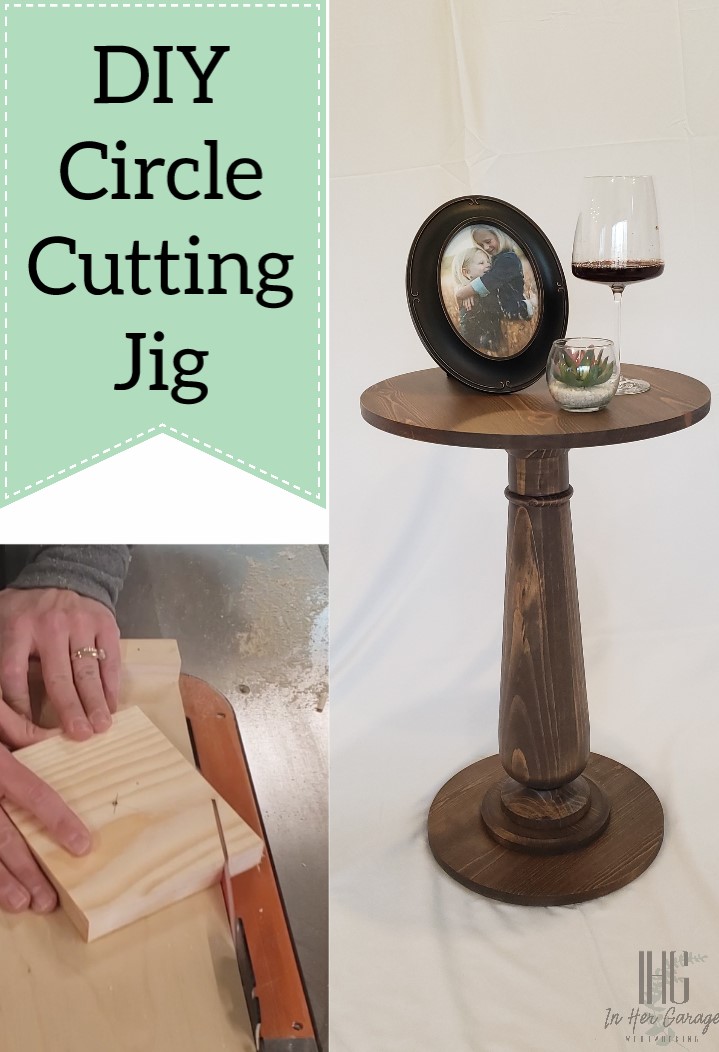
Pretty simple right?! After I made this jig I went on to cut 14 circles for a few tables I was building!!! It was so easy.
Now that you have a perfectly cut circle and a jig that you can use over and over what are you going to make?

![]()
 Hi! I’m Kristen, from In Her Garage, and I am a self-taught woodworker and DIY fanatic from Minnesota where I live with my husband and our two daughters. Between being a wife, mom and, registered nurse, I try to make as much time for DIY as possible. My love for building came after our family built our current home in 2015. After we moved in, we needed furniture and instead of spending massive amounts of money to order the pieces we wanted I decided that I would build them myself. I started with a buffet table plan from the fabulous Ana-white and quickly set out to remodel my entire home office.
Since then I have started a side business building furniture for the people in my community. I love hearing my clients talk about the pieces they wish they had whether it be a rustic buffet table, a one drawer side table, or a toy box and then making it a reality for them. While starting my small business it made perfect sense that I would document my building journey so I simultaneously launched the In Her Garage blog and I love sharing my plans, tips and tricks.
Making something beautiful with your own two hands through a little preparation and determination is an amazing feeling. I hope to bring inspiration and know-how to those looking to tackle a big or small project.
I am so glad that you found me here and please feel free to connect with me on Pinterest, Instagram, and Facebook to see what I am working on right now.
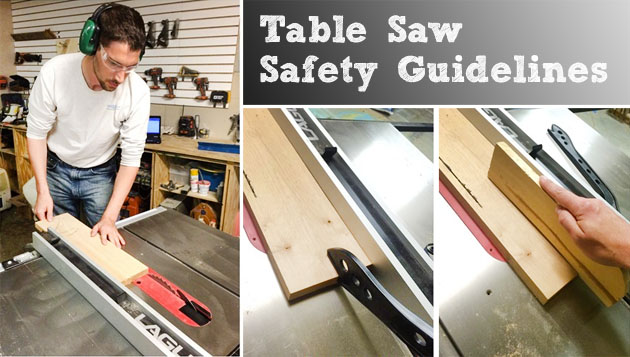
If you liked this post and want more tips about working with table saws then you’ll love this post on Table Saw Safety Guidelines.