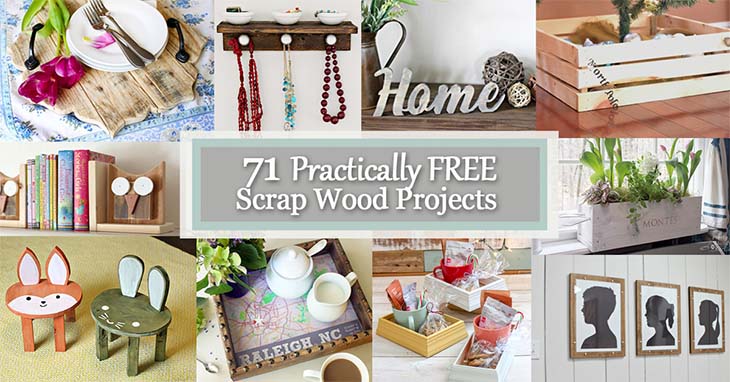
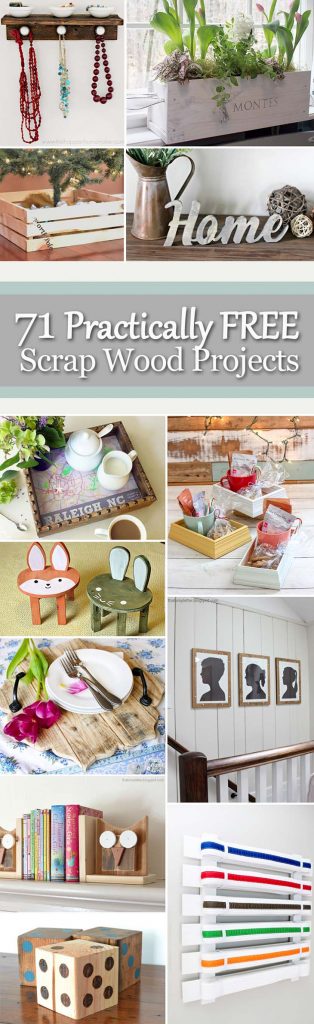
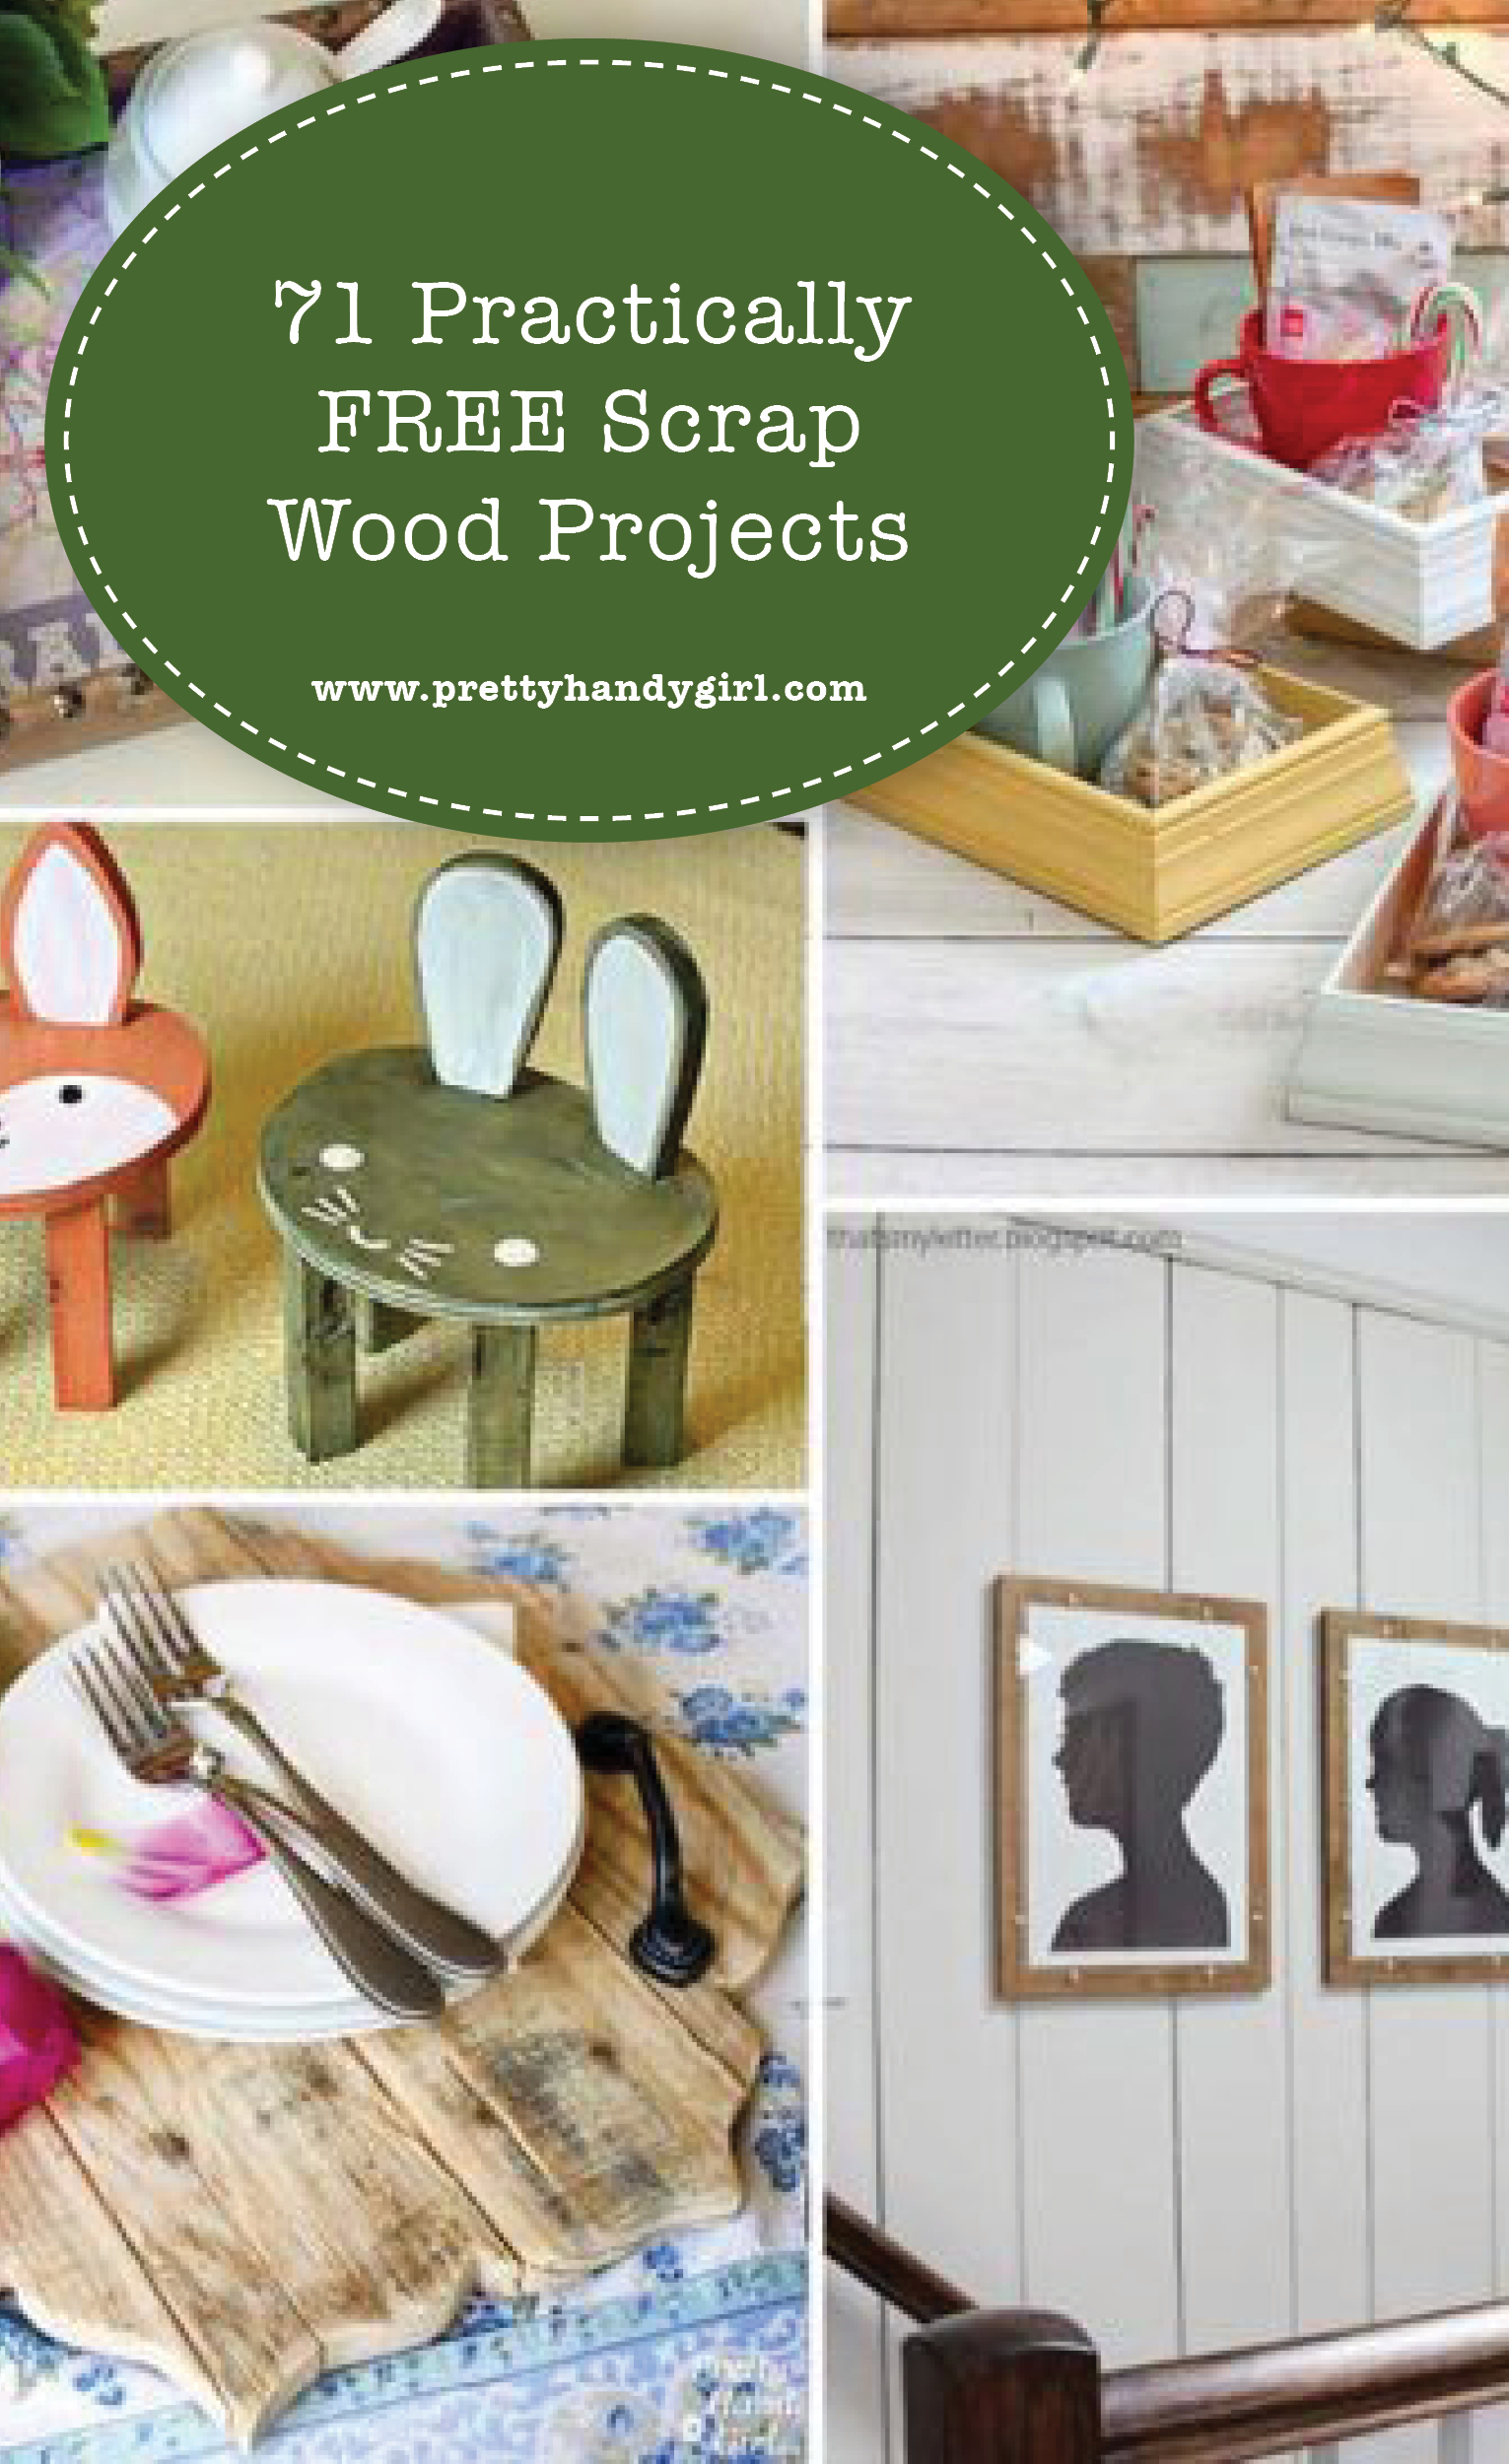
If you make things out of wood you know almost every project leaves scrap wood. Why not use up those scraps by making some of these 71 Practically FREE Scrap Wood Projects?
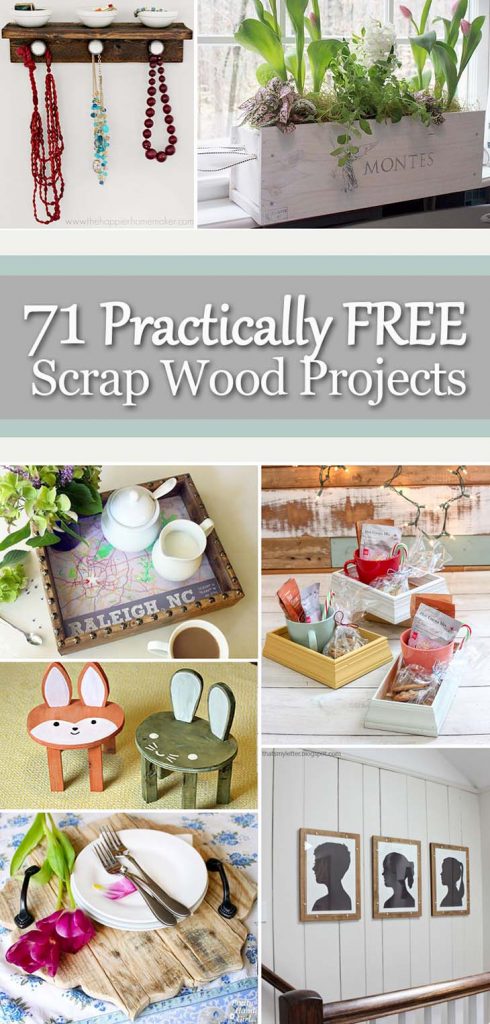 71 Practically FREE Scrap Wood Projects
These projects definitely won’t break the bank and they will keep the scraps out of the trash. As a bonus, most make a great gift idea. Enjoy!
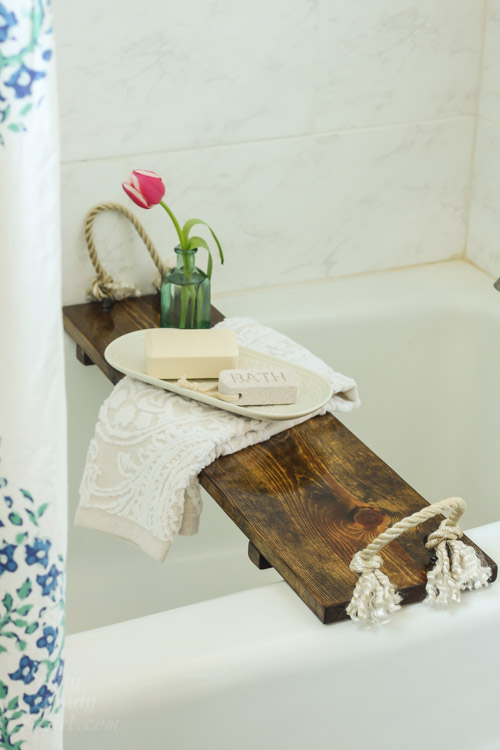 Relax in style with this Rustic Wood Bathtub Tray.
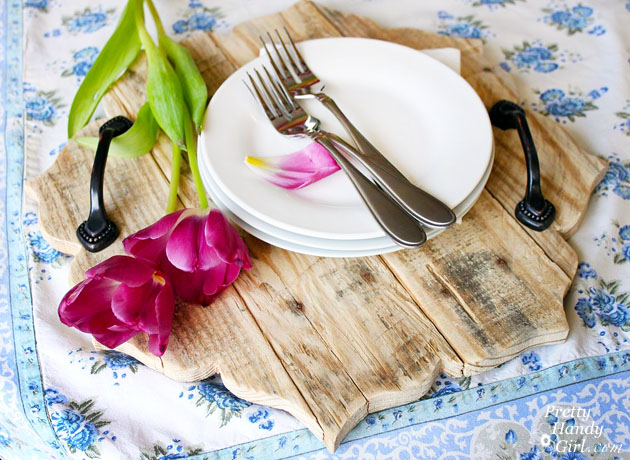
This Rustic Pallet Serving Tray is beautiful and functional.
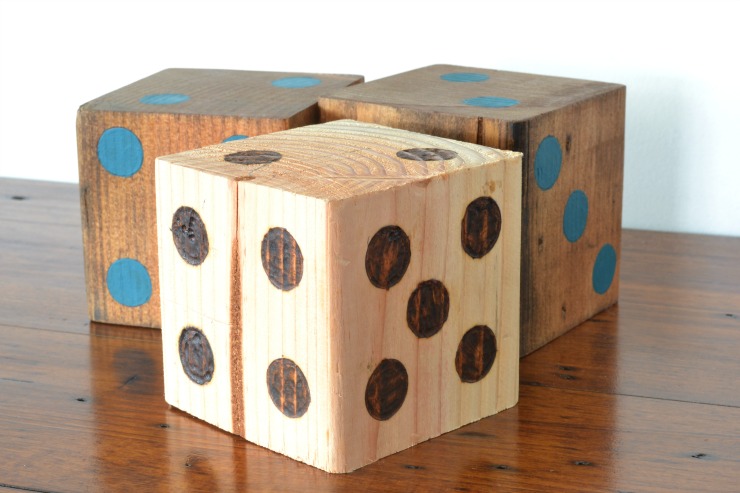 Have some family fun with these DIY Yard Dice.
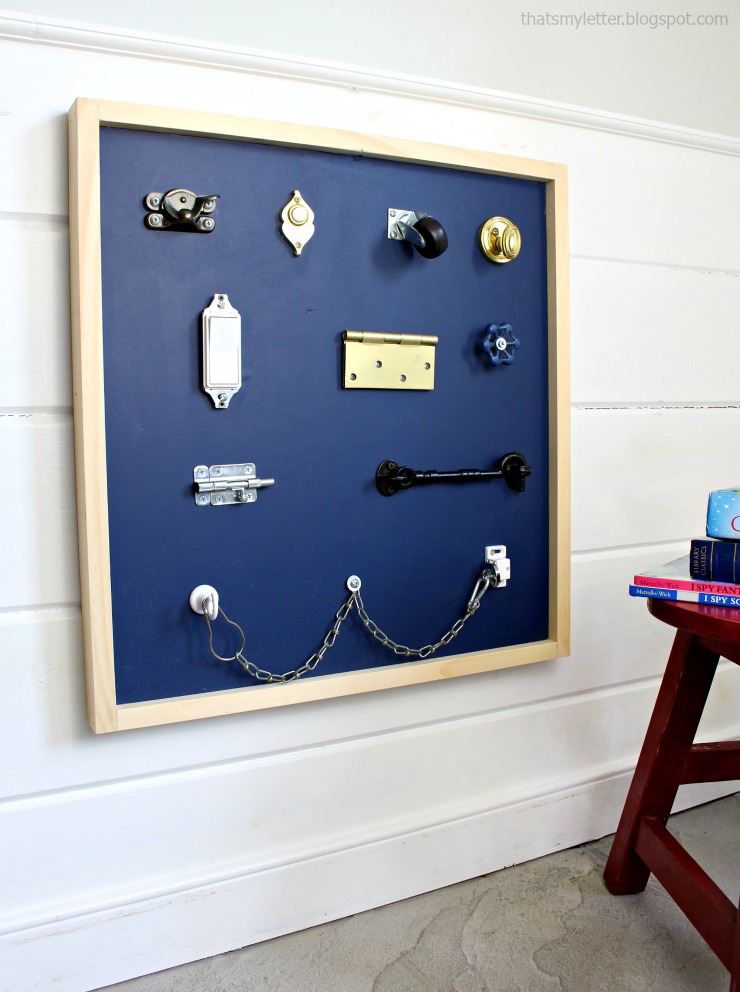 Make this Switches and Locks Playboard for a little one in your life.
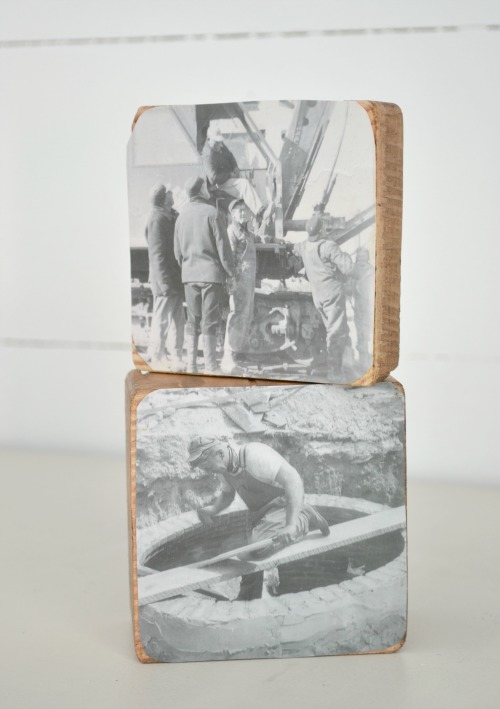
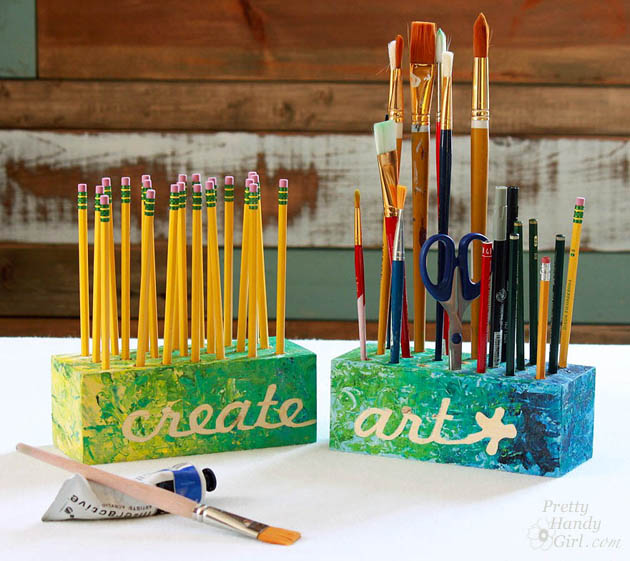 Simple Create Art Block Holders for your craft area or to give as a gift.
 Make this unique and clever DIY Feather Art using old yardsticks and scraps.
 This cute Rustic Wooden Caddy with Branch Handle can hold anything.
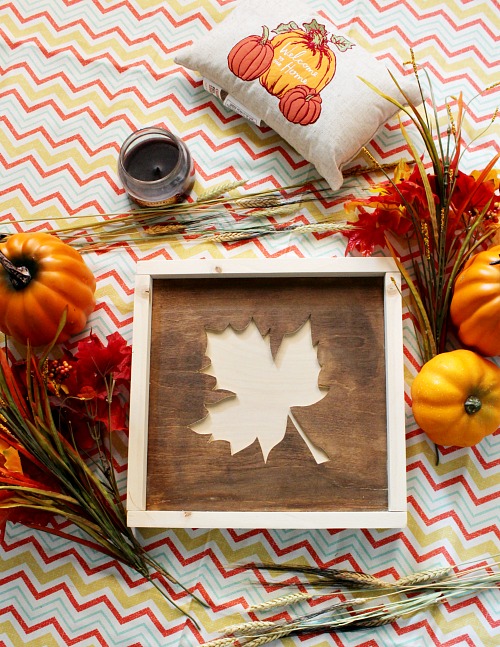
Celebrate fall with a beautiful DIY Fall Leaf Art Sign.
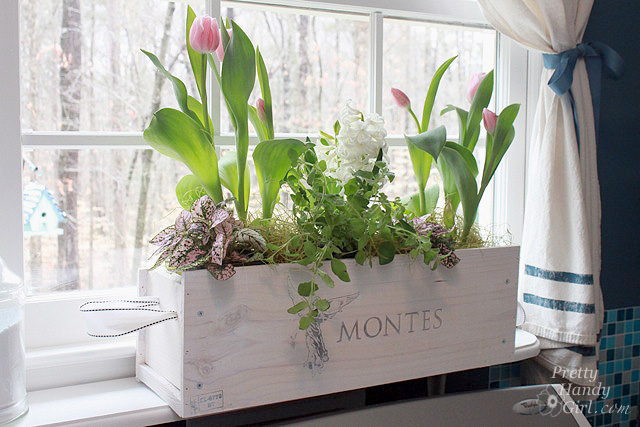 Make this White Washed Window Box from a discarded wine crate.
 Love your city? Create the perfect Coffee Serving Map Tray.
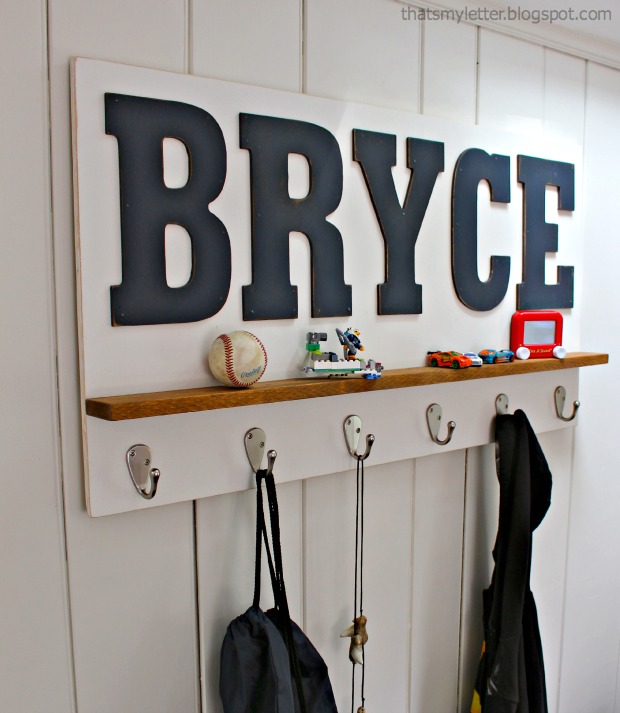 A few boards are all you need to make this Personalized Wall Shelf with loads of storage.
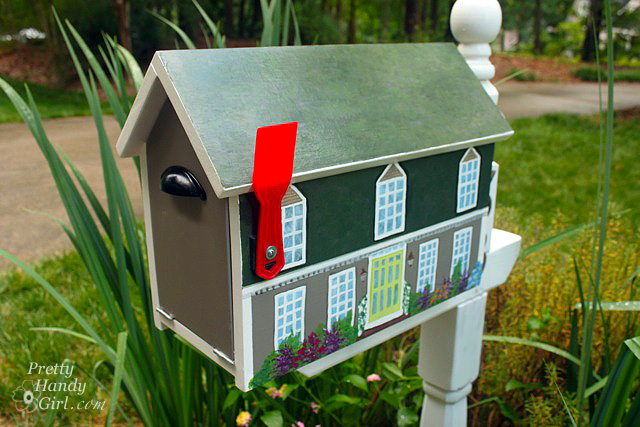 Build an adorable House-shaped Mailbox.
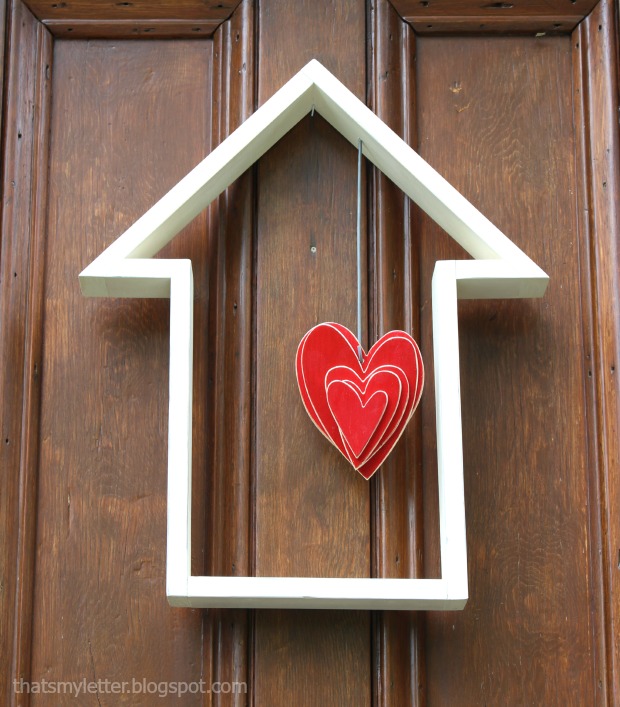 Forget a wreath, remind everyone that home is where the heart is with this House-shaped Door Decor.
 All these amazing Storage Options using just one board!
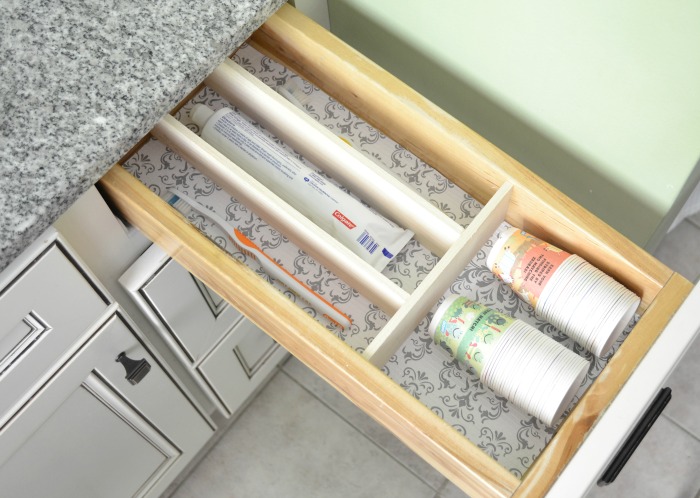 Get organized with these simple DIY Drawer Dividers.
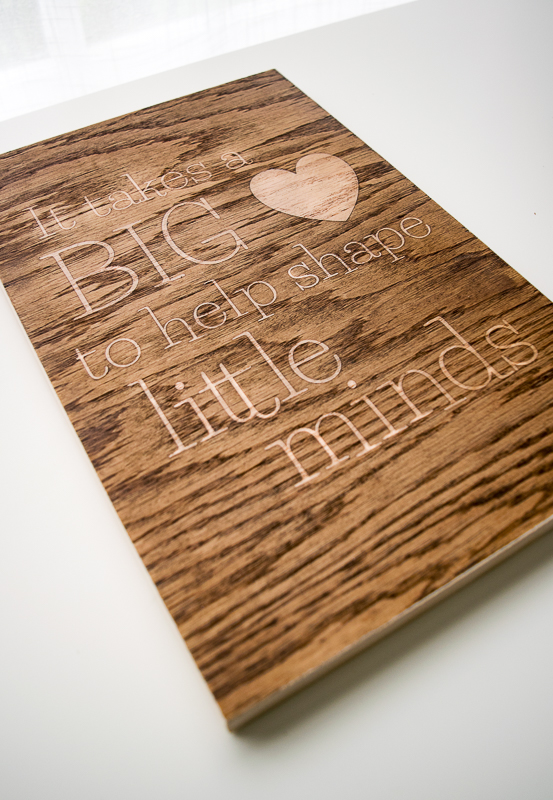 Show your appreciation to a teacher with this Wooden Sign Teacher Gift.
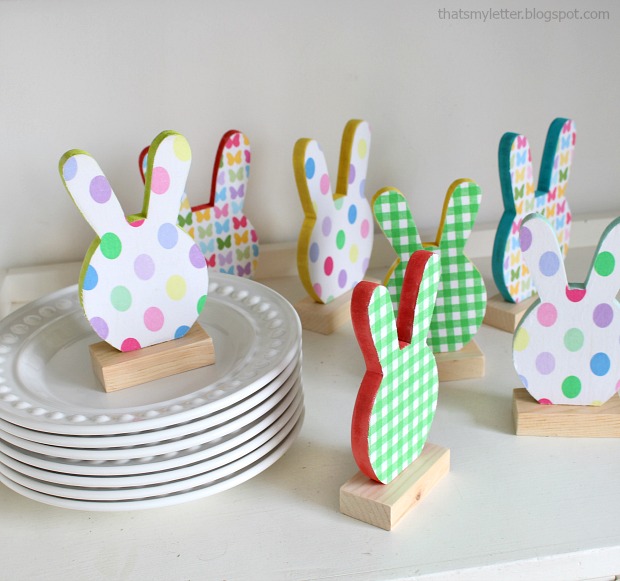 Brighten up your Springtime table with these Bunny Place Cards.
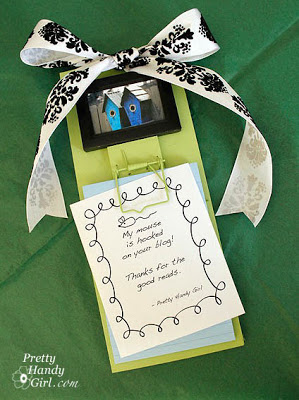 Repurpose and make a Mousetrap Memo Pad.
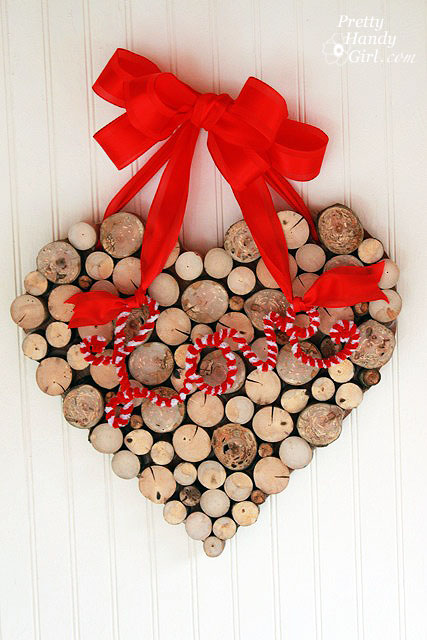 Make a Valentines Wreath from tree branches for a loved one.
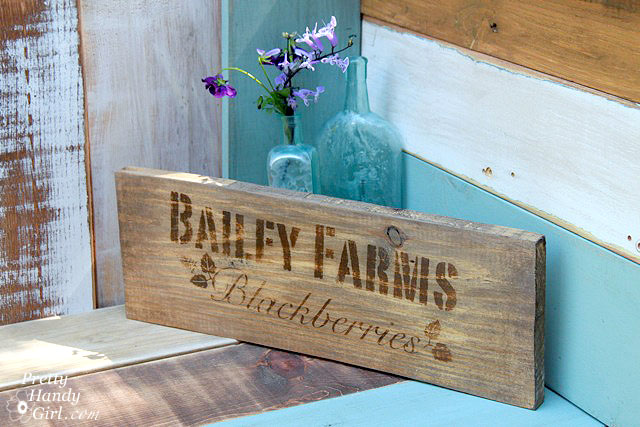 Customize this Rustic Farm Crate Sign for your home using new scrap wood (plus, learn how to age the wood.)
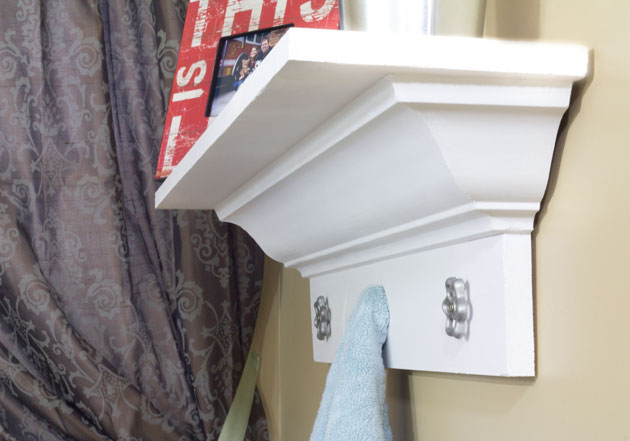 Make this Decorative Shelf using Crown Molding.
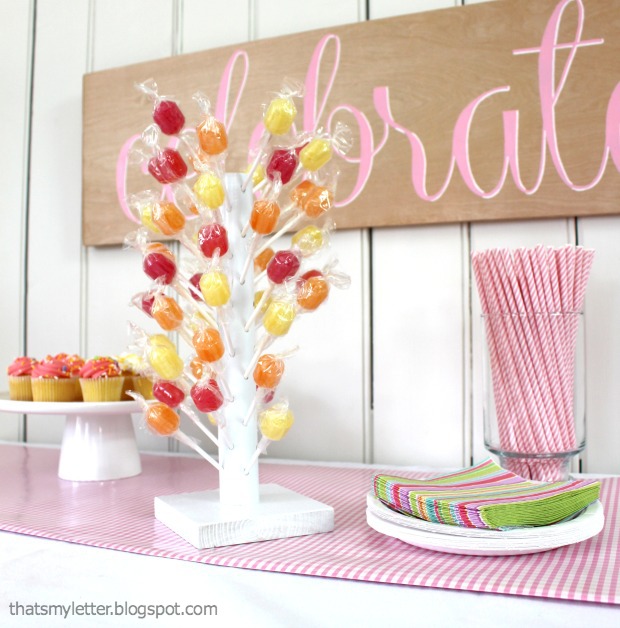 This DIY Lollipop Stand is sure to be a hit at your next party.
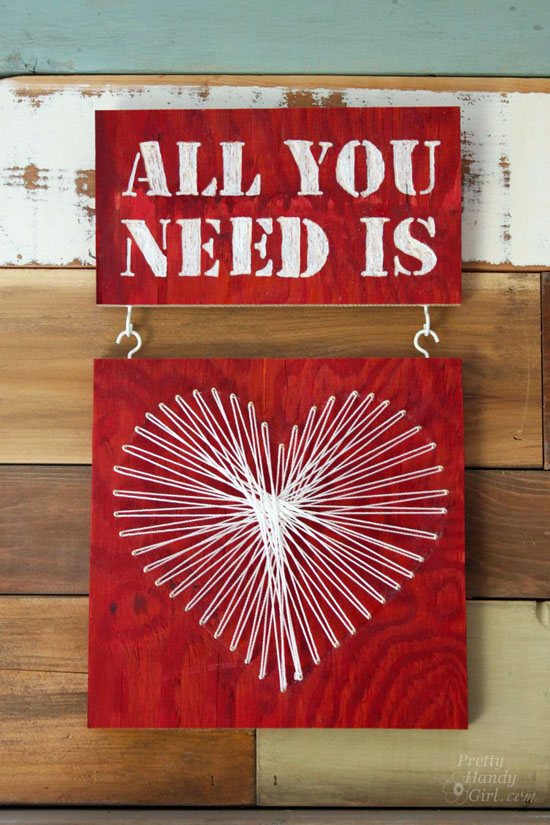 Share your love with this Valentine String Art Engraving.
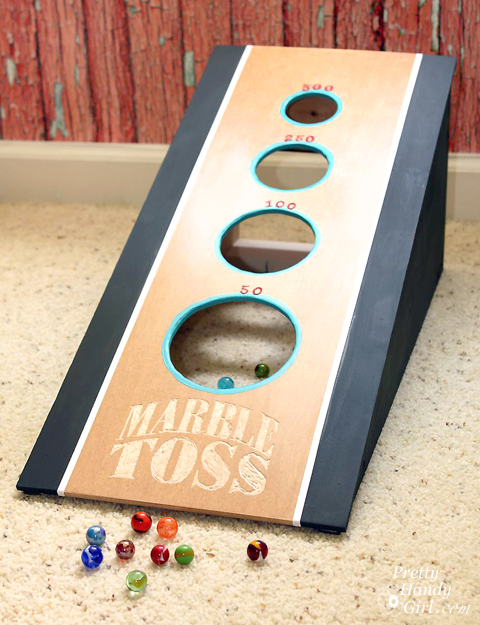 This DIY Marble Toss Game would be fun for anyone.
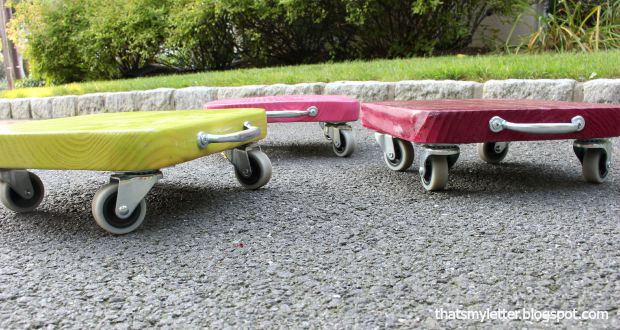 Be the coolest parent around by making these DIY Kids Scooters.
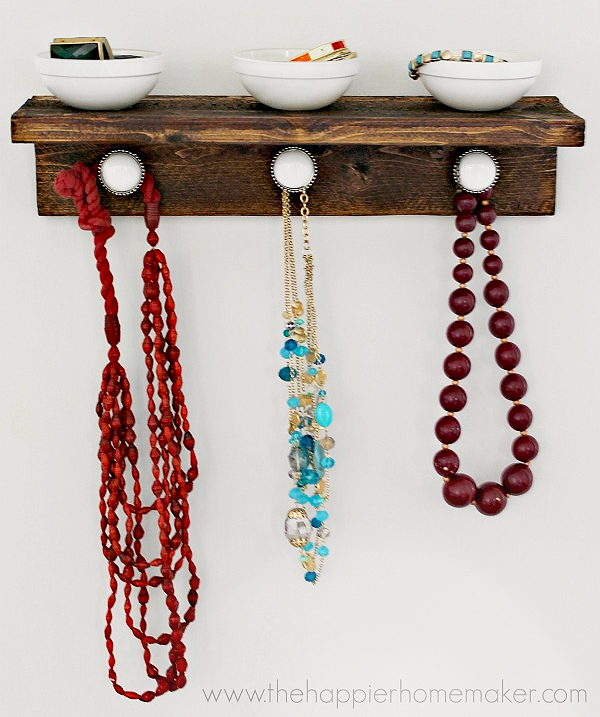 A Jewelry Organizer is simple yet a must-have.
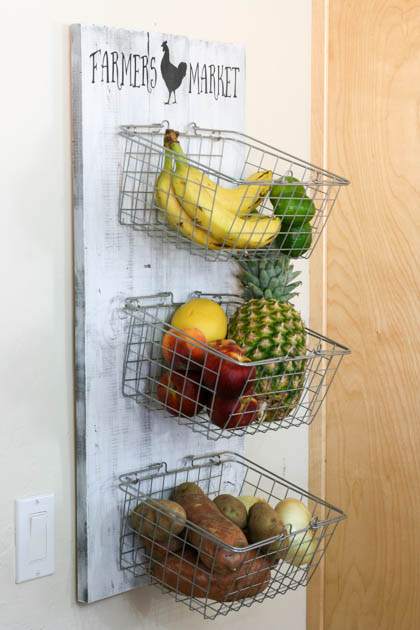 Organize your fruits and veggies with this DIY Produce Rack.
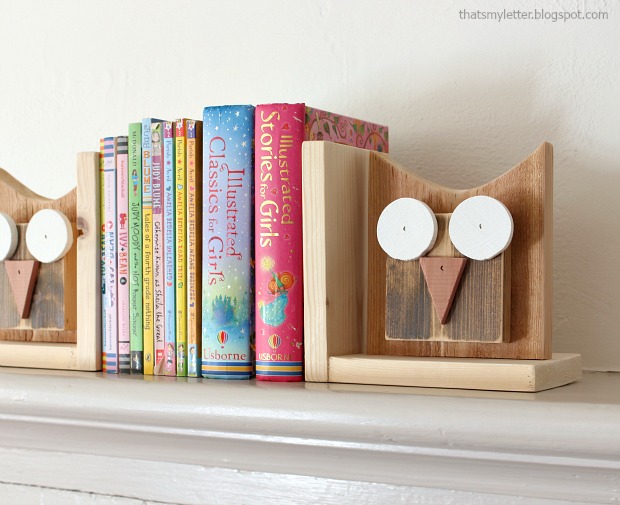 These whimsical DIY Owl Bookends add fun to any room.
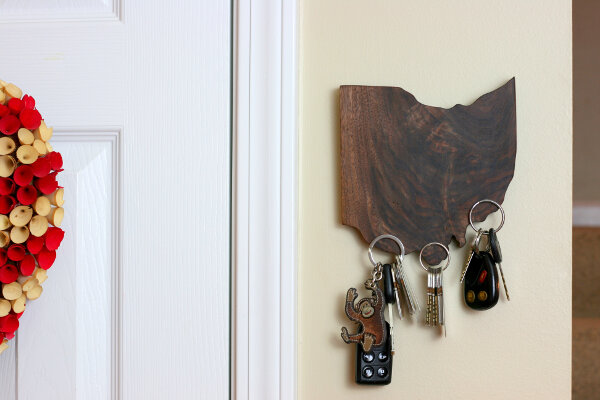 Keep your keys close at hand with this magic State Pride Magnetic Key Holder.
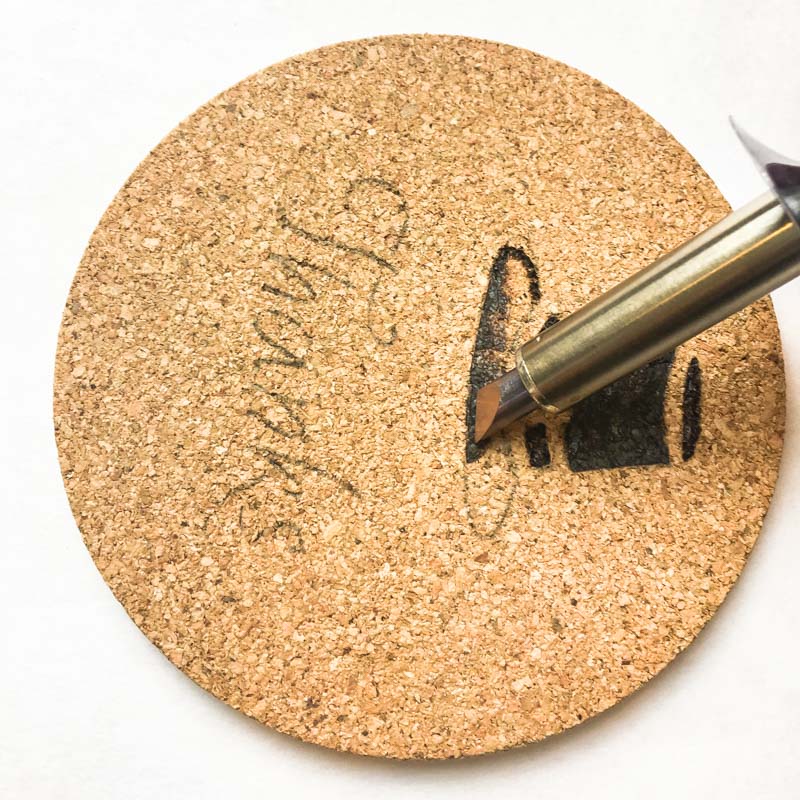
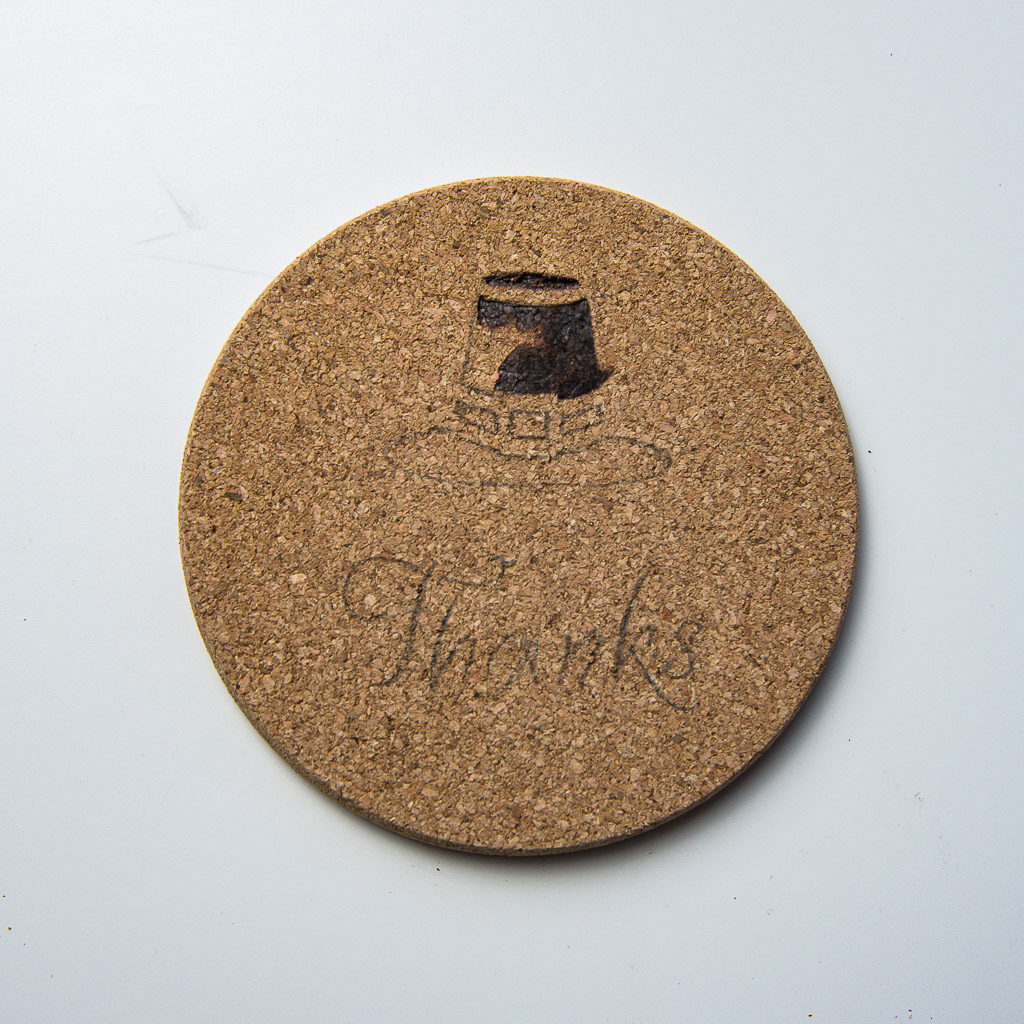
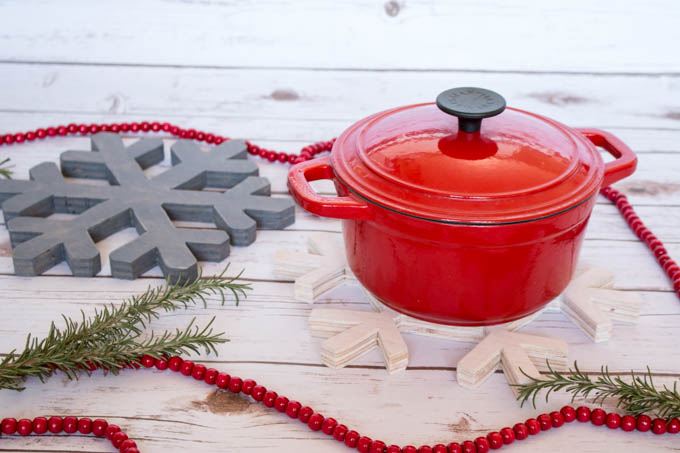 These Snowflake Christmas Trivets are perfect for your holiday dinner.
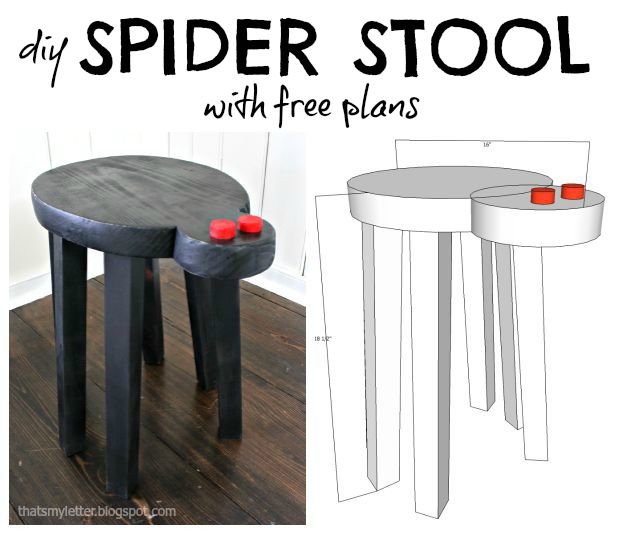
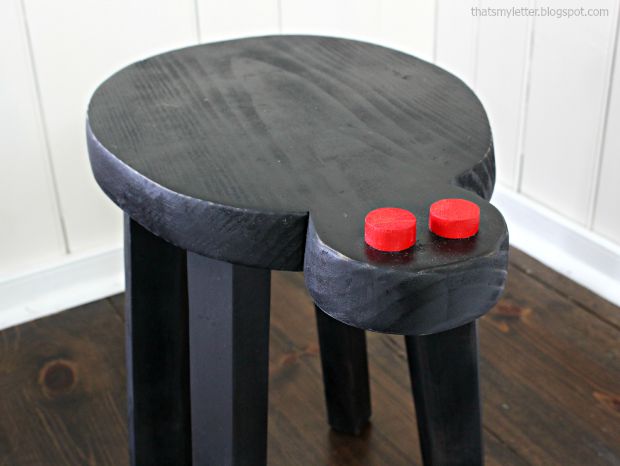 What kid wouldn’t love this DIY Spider Stool?
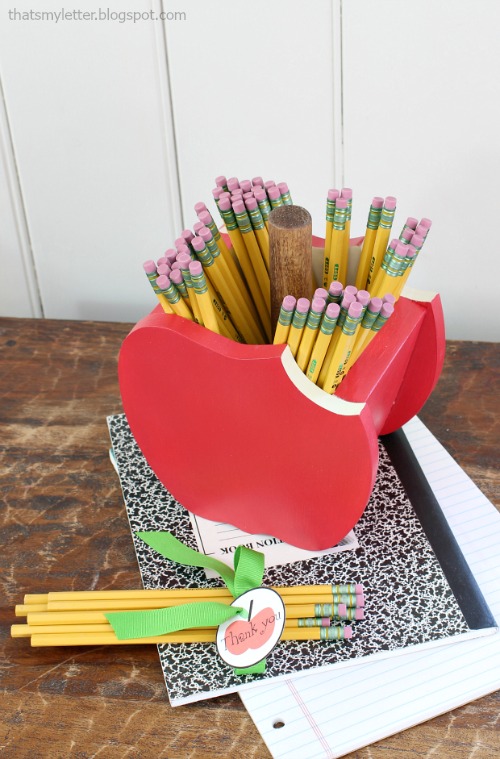 An Apple Pencil Holder would make a great gift for your favorite teacher.
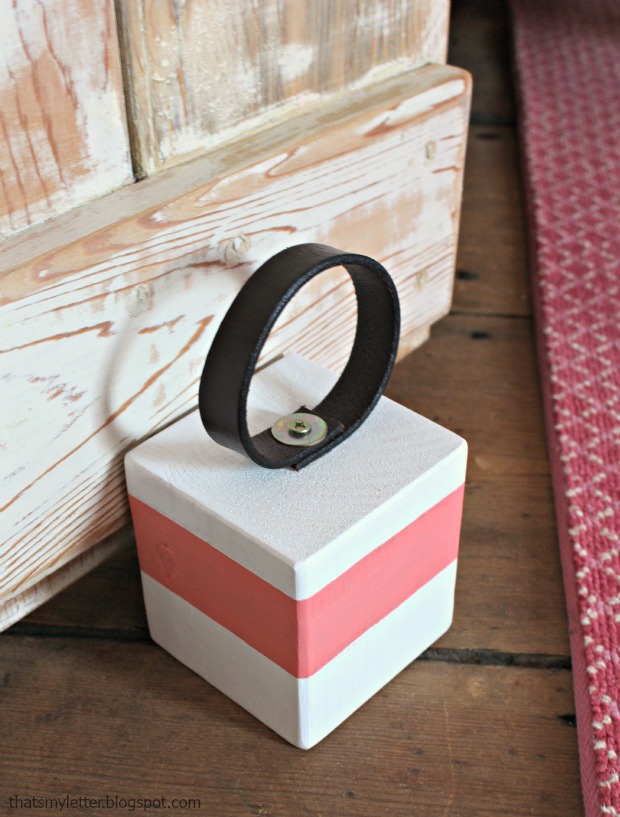 This Doorstop With a Handle makes an adorable stop that also helps keep your door open.
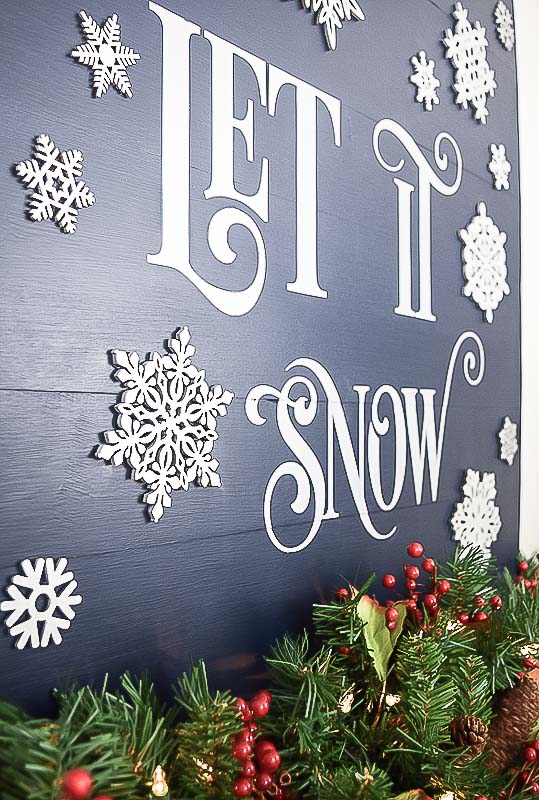
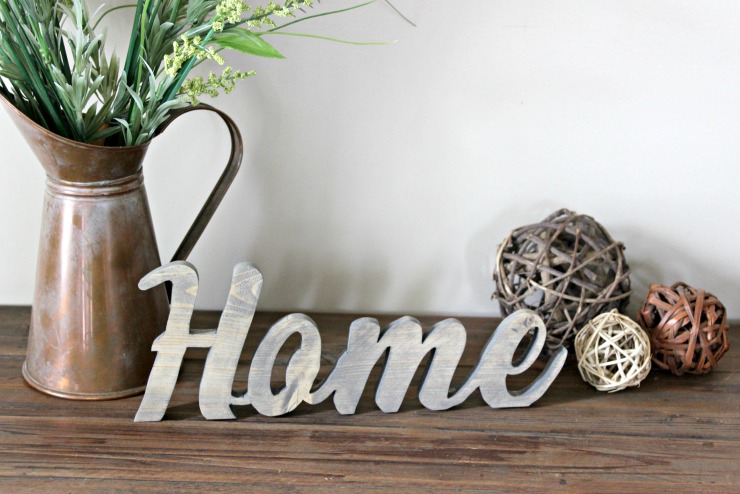 Super cute! This Rustic Home Sign can be made in any size using scrap wood.
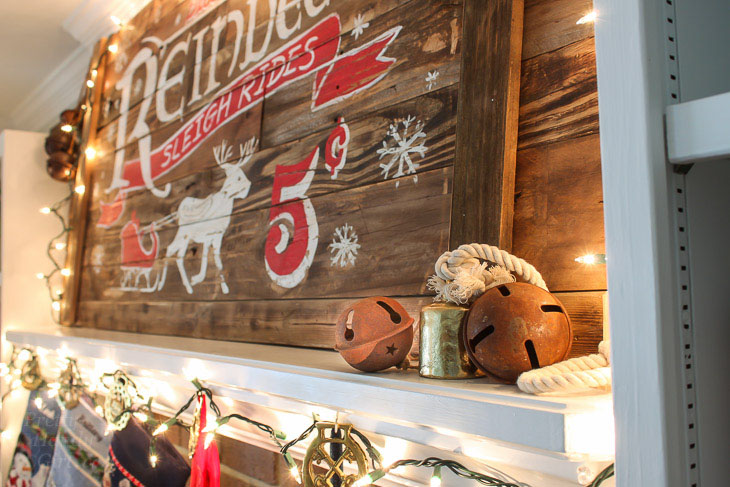 Create a Vintage Rustic Sleigh Ride Sign for perfect holiday decor.
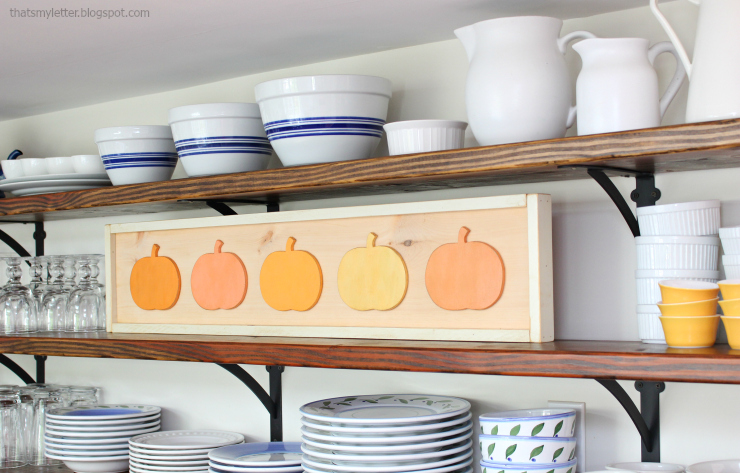 Add some character to your room this fall with Framed Pumpkins.
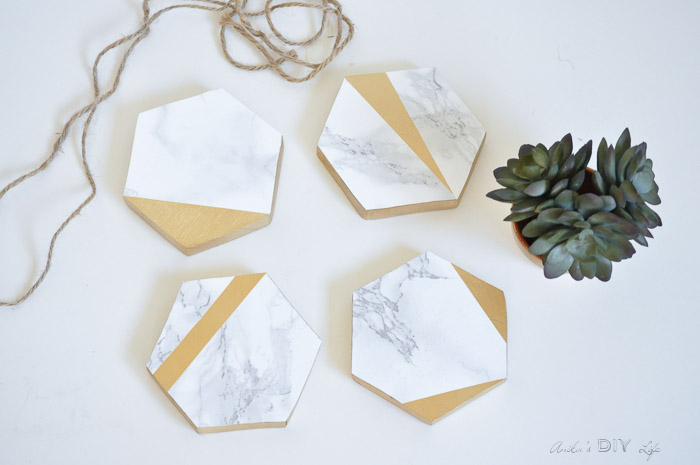 These Easy Gold and Faux Marble Coasters are modern, clean and you can make them with scrap wood!
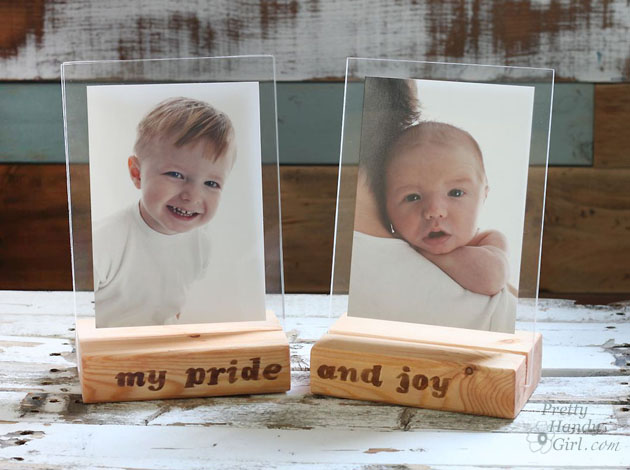
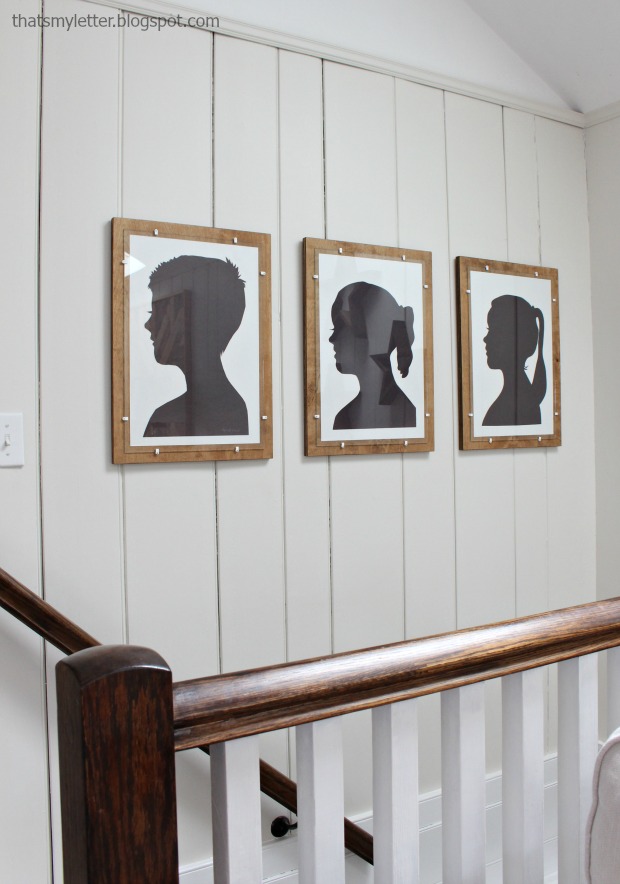
 Make these incredibly simple 4×4 Picture Frames to display your memories.
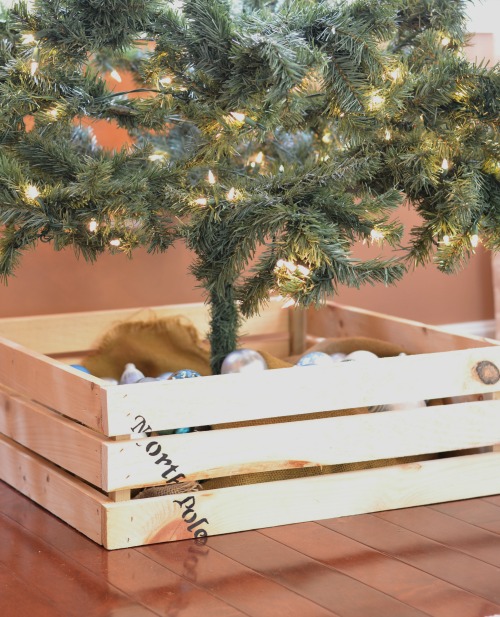 Forget the skirt, make a Christmas Tree Crate to hold your tree.
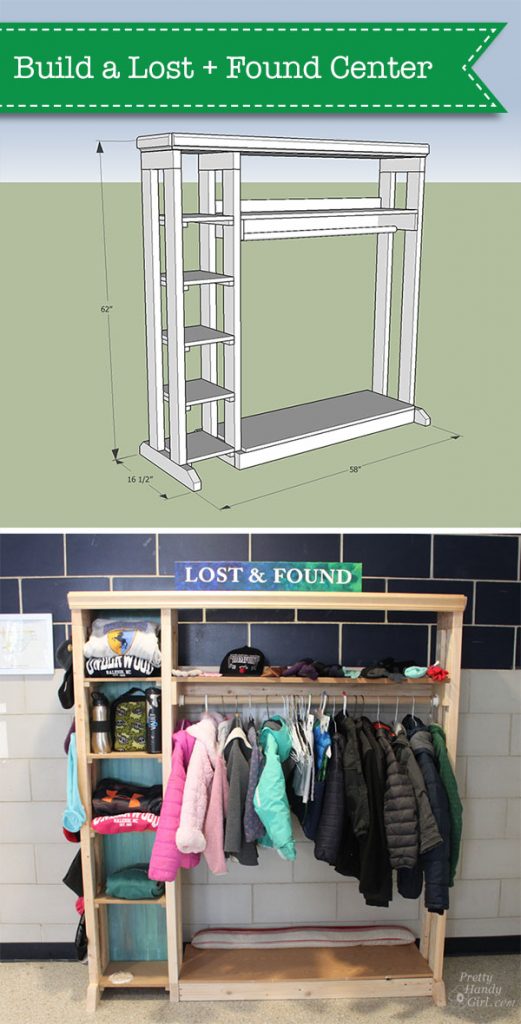 Have a fair amount of scraps? Make this Lost and Found Center for your local school.
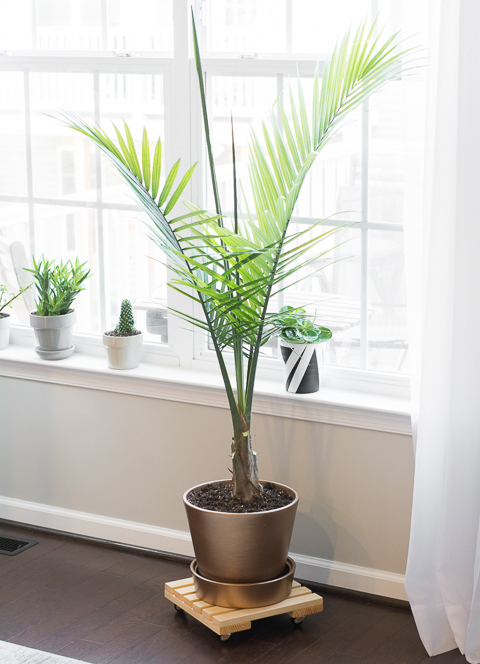 Make a Rolling Plant Caddy so you never have to carry heavy planters again.
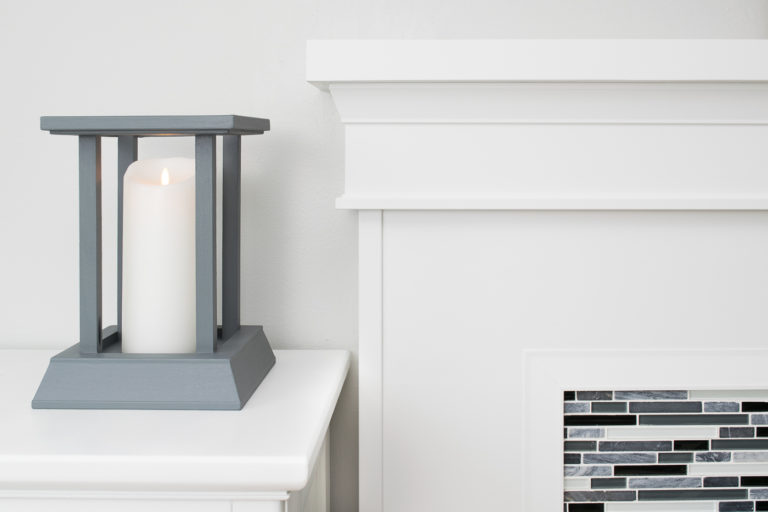 This Candle Lantern From Leftover Trim is sleek and modern.
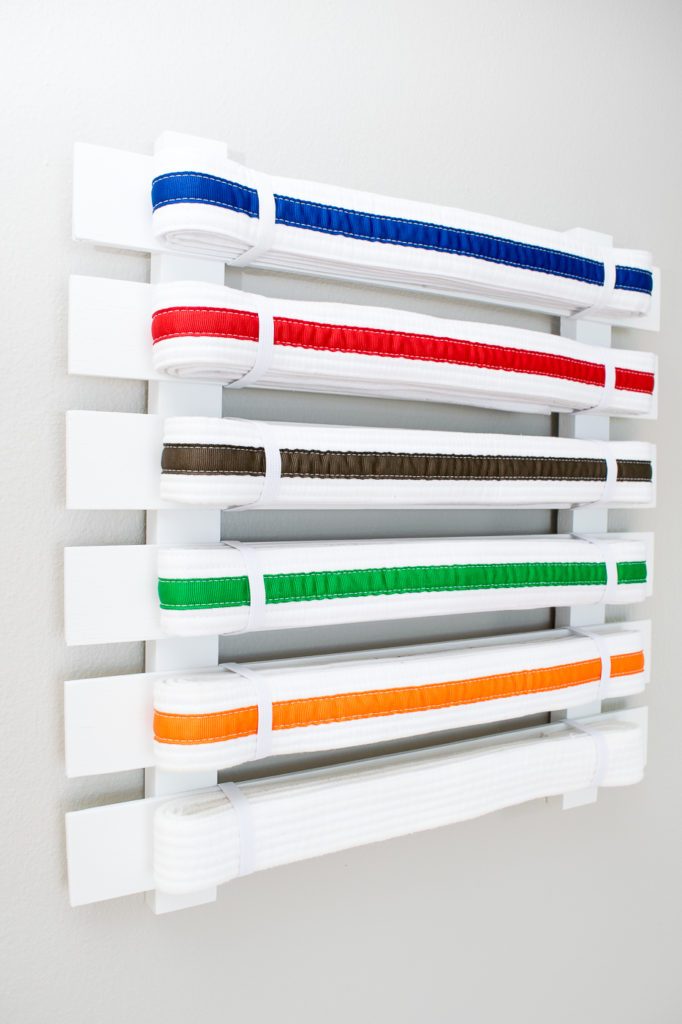 Does your kid need a DIY Karate Belt Display? Make one easily!
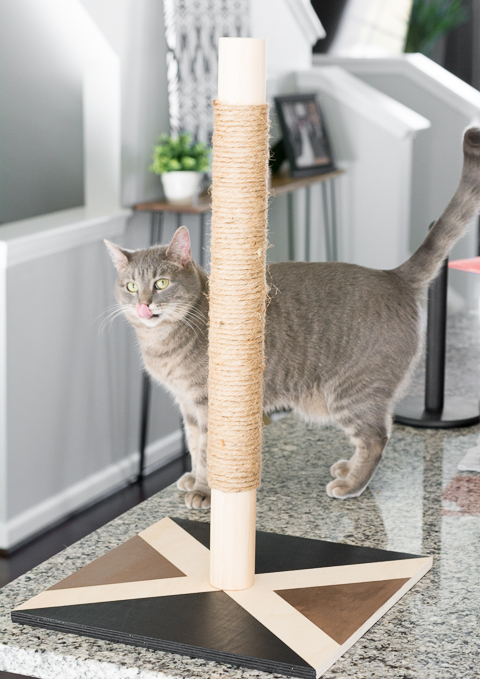 Your furry friend will love this DIY Cat Scratcher Post.
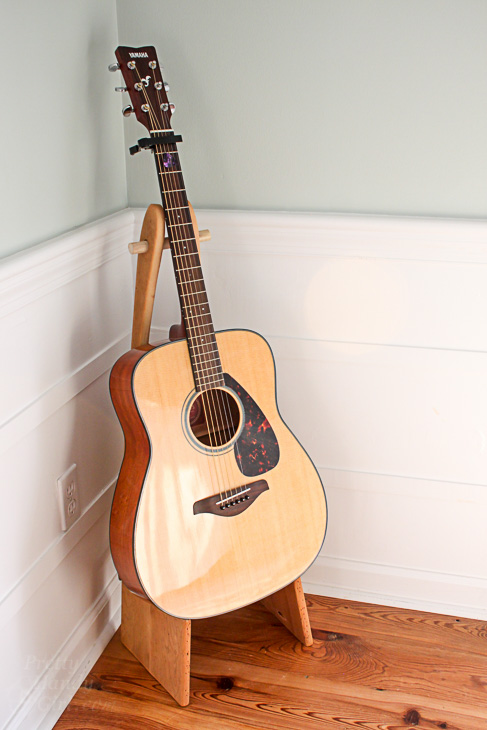 Make this Folding Guitar Stand to keep your instrument accessible.
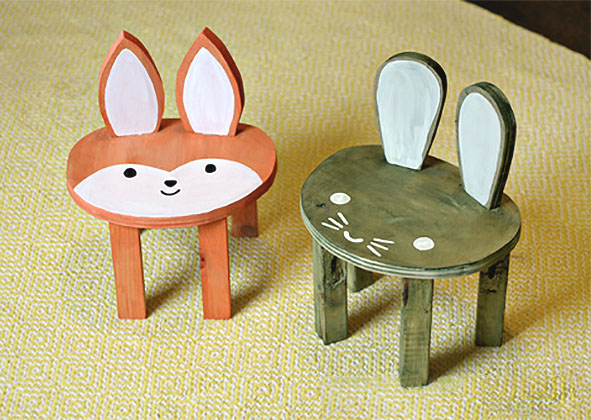 These adorable Toddler Animal Stools would be loved by any child in your life.
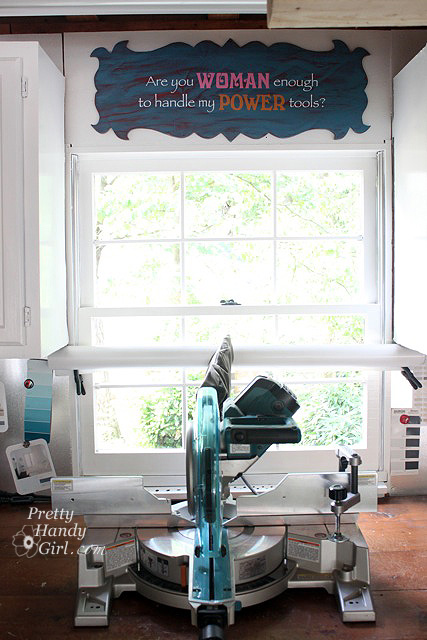 Make this Are you Woman Enough? Plywood Sign for your shop, or customize the wording easily.
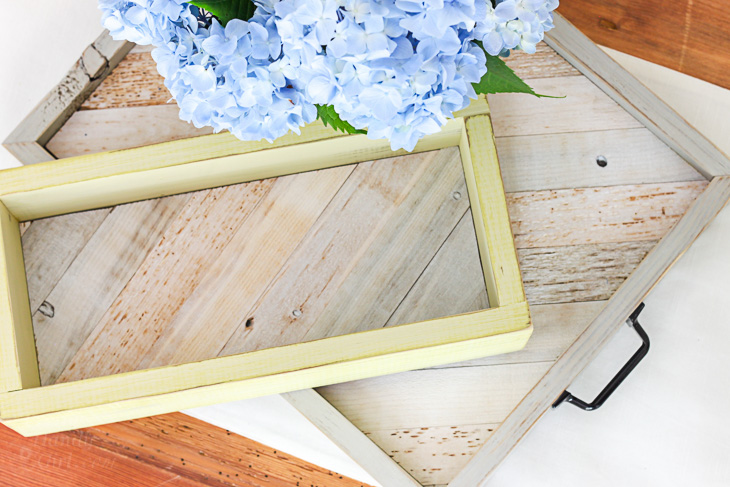 Make a Tray Gift Box for your next present.
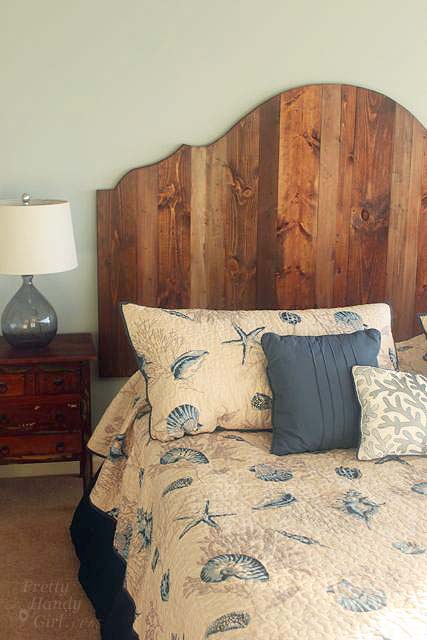 This Rustic Wood King Headboard is simple and affordable.
 Make this fun summer display for a party or lemonade stand. Who doesn’t love Giant Citrus Fruit?
 Let the kids play for hours with this Hot Wheels Car Racing Ramp.
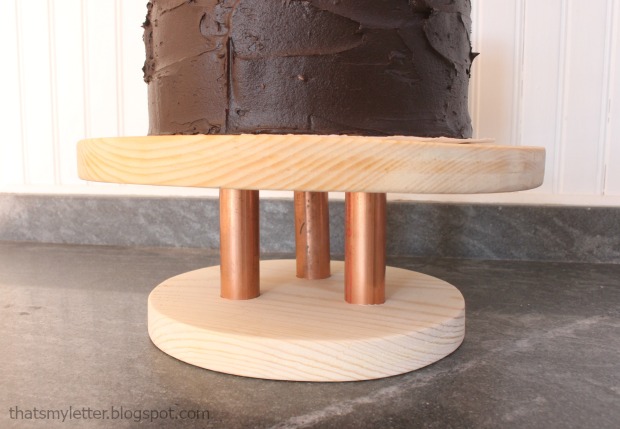 Create this Wood and Copper Cake Stand for an awesome display of your baking masterpiece.
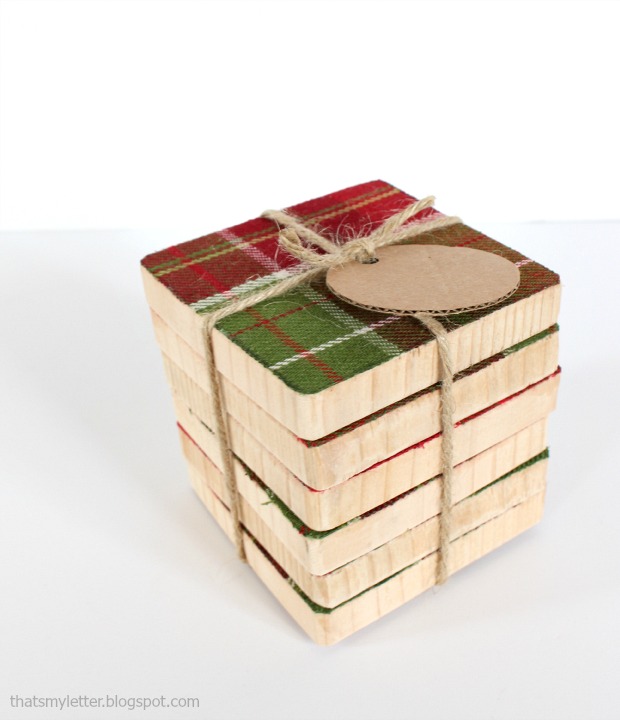 Rustic and soft Fabric and Wood Coasters are easy to make for gifts.
 Build some Rustic Wooden Box Crates for your cabinet or shelf.
 How sweet are these Floating Wood Block Picture Frames?
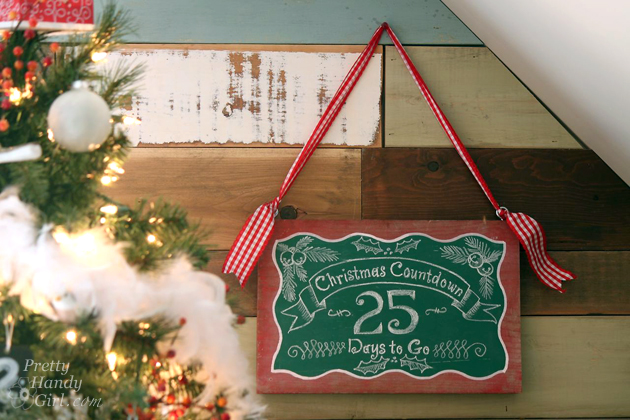 You can make this Easy Wooden Chalkboard Sign for any season.
 These Rustic Wood Lanterns are the perfect decor for any room.
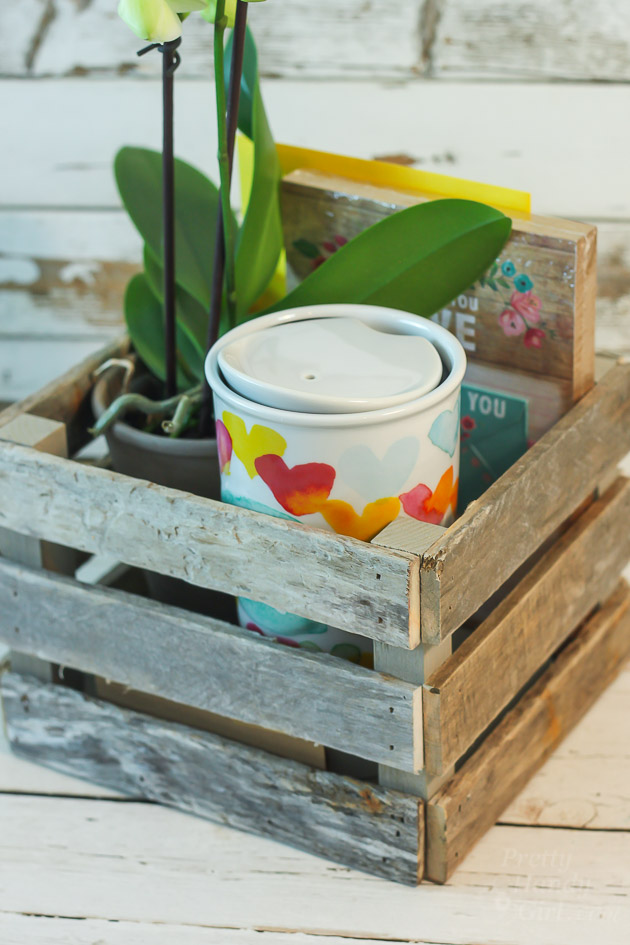
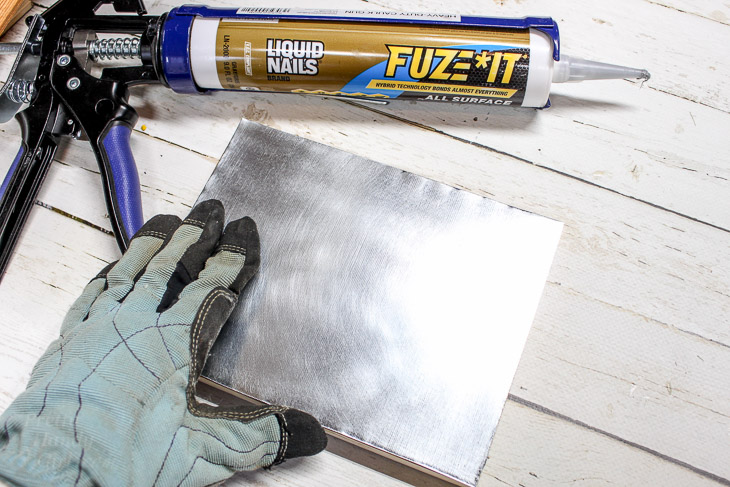
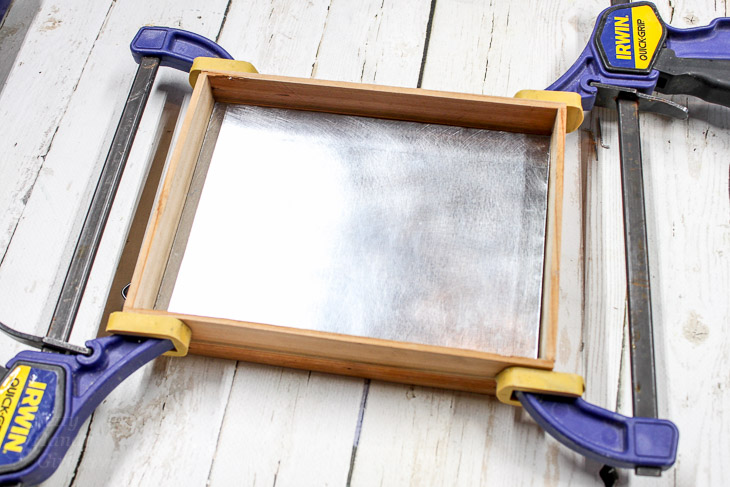
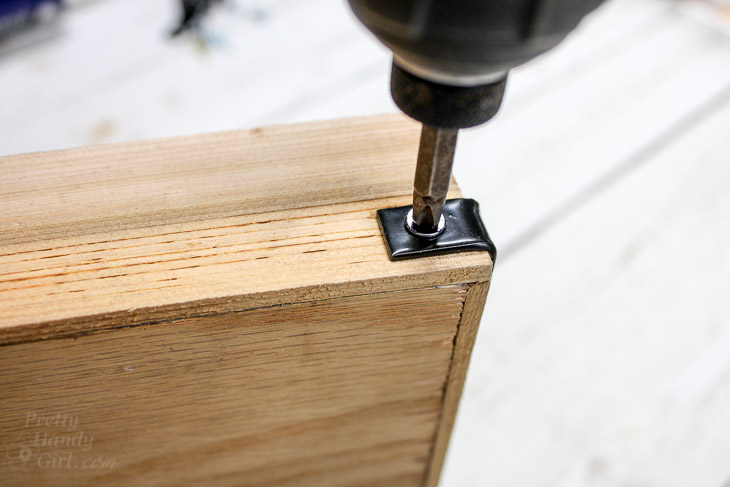
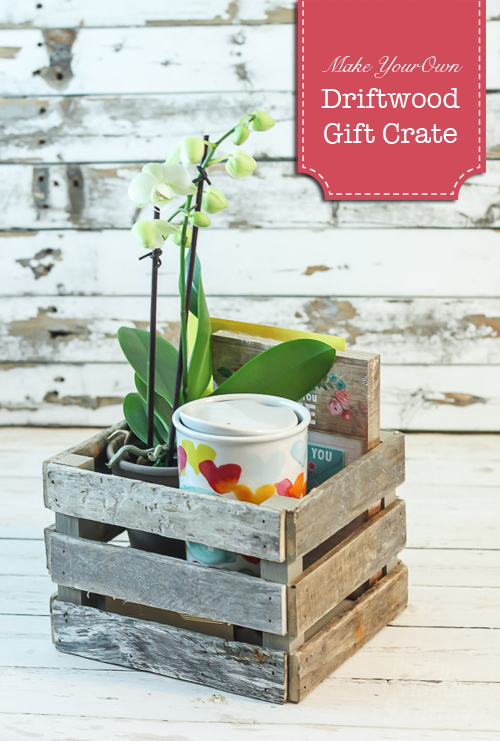
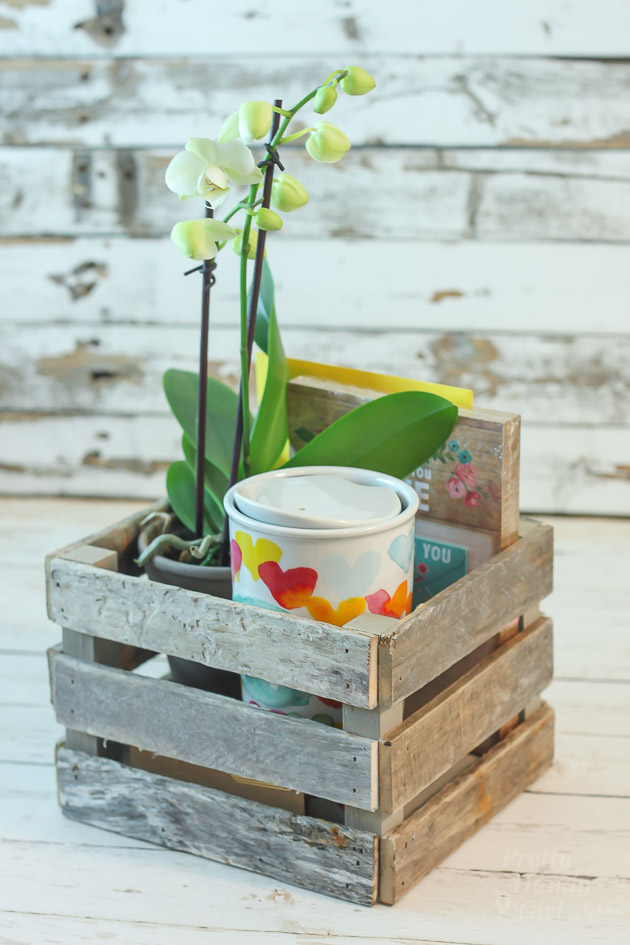 Find free driftwood at the beach and make your own Driftwood Gift Crates.
 Endless options with these Scrap Moulding Trays.
 Wow your visitors with these Plywood Frames with Glass.
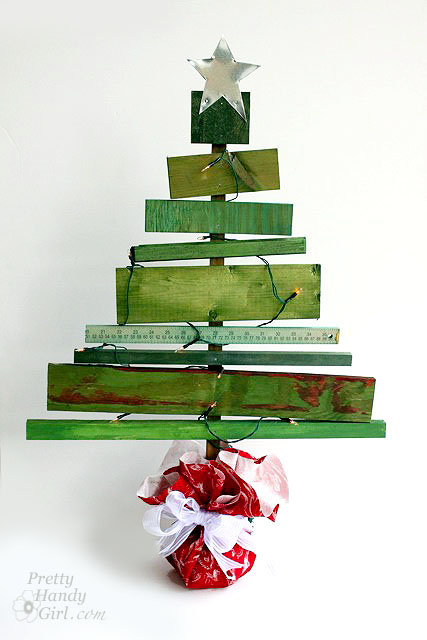 Use various scraps to make an adorable Scrap Wood Christmas Tree this year!
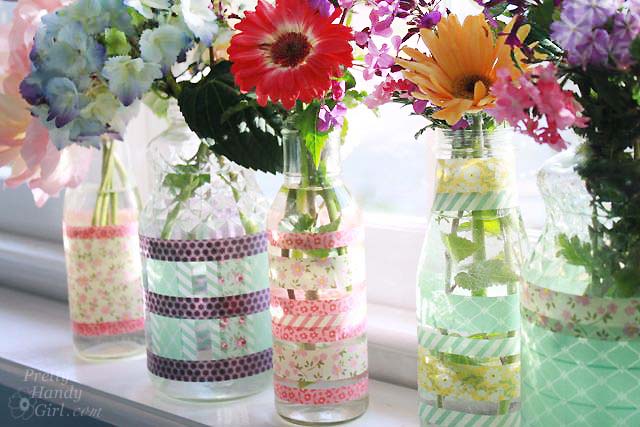
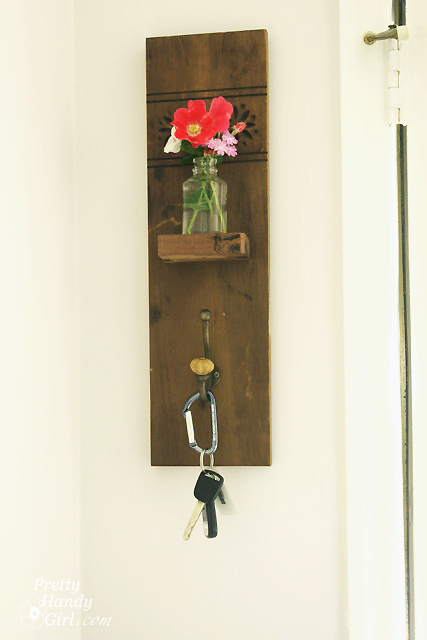 This Reclaimed Wood Wall Hook and Vase would look great in an entryway.
 With a bunch of scrap wood you could Install a Scrap Wood Wall.
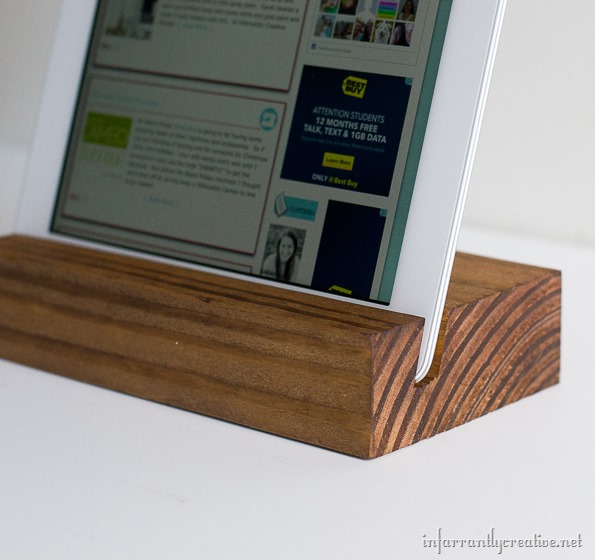 Keep your device upright with this Scrap Wood iPad Tray.
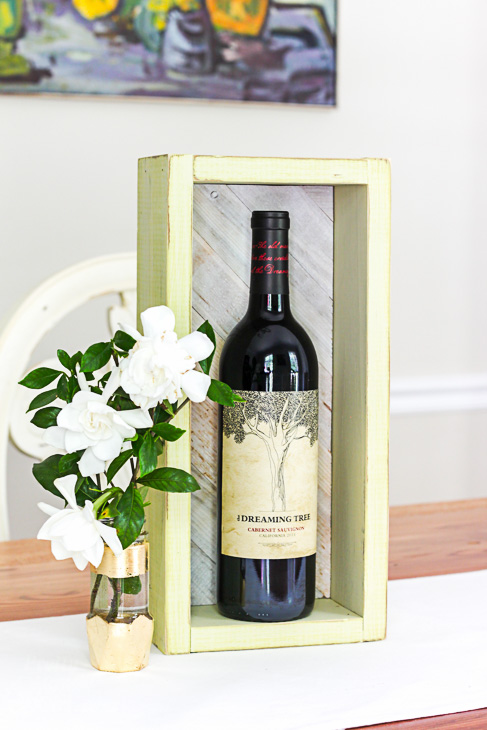
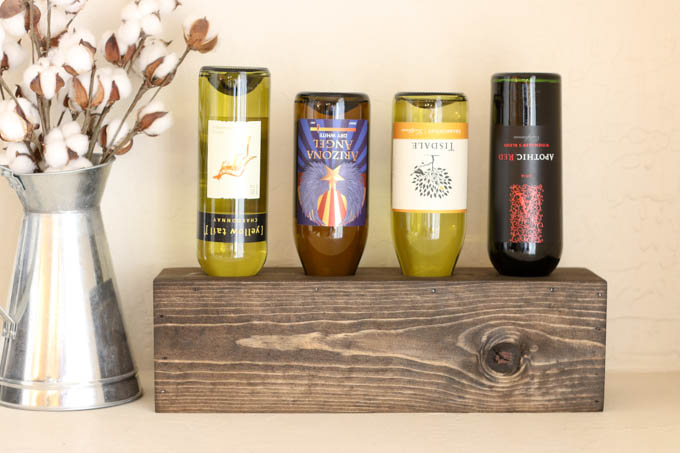 This Scrap Wood Wine Holder is simple, but oh so handy.
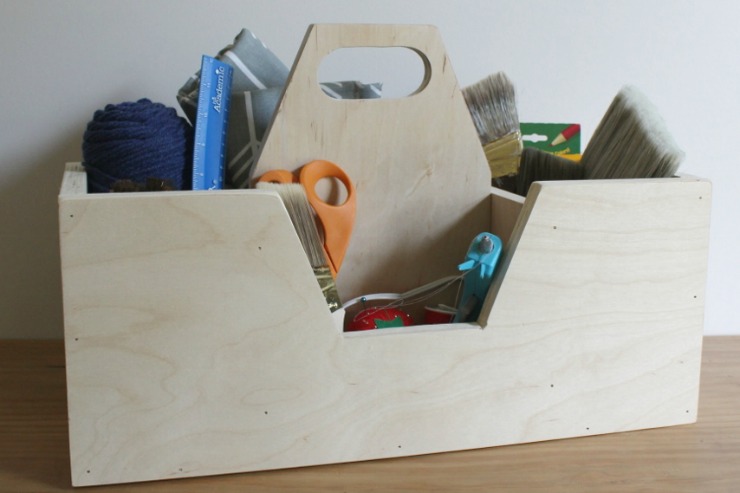 Keep your tools, cleaning supplies, and so many other things organized in this Scrap Wood Caddy.
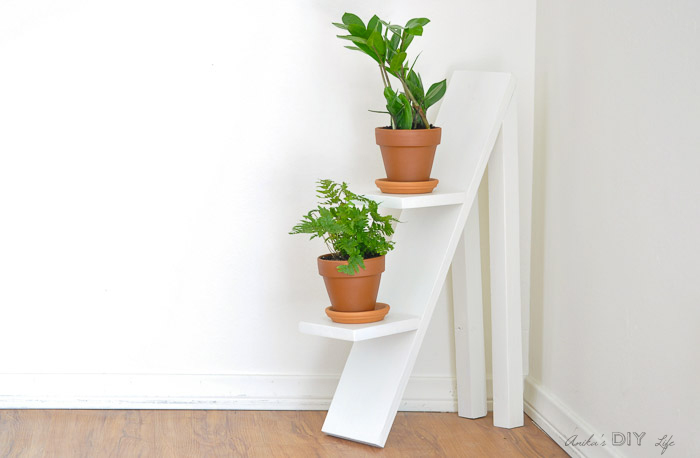 This Two Tiered Plant Stand is a modern and stylish way to display your plants.
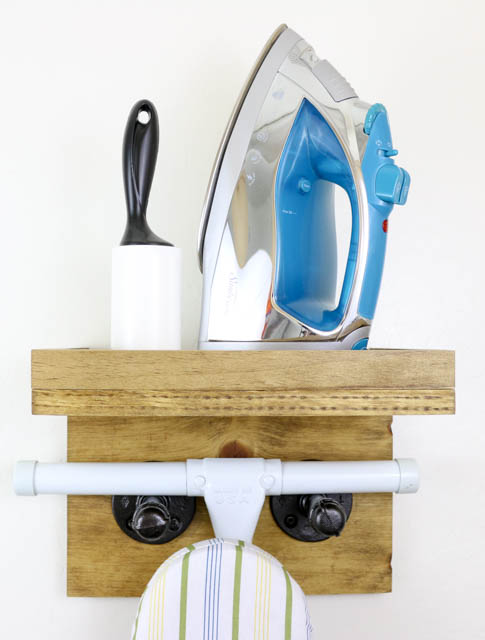 This Industrial Ironing Board Rack would save space and keep you organized.
 Display memorabilia in this awesome DIY Shadow Box Frame.
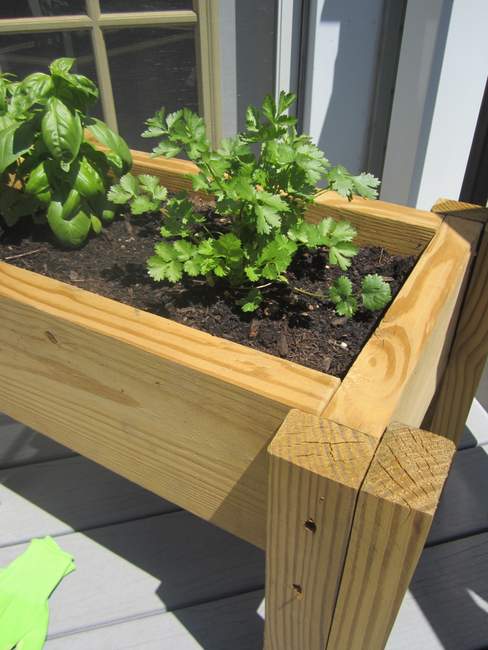 This Scrap Wood Planter Box is a quick and easy way to grow your own herb garden this year.
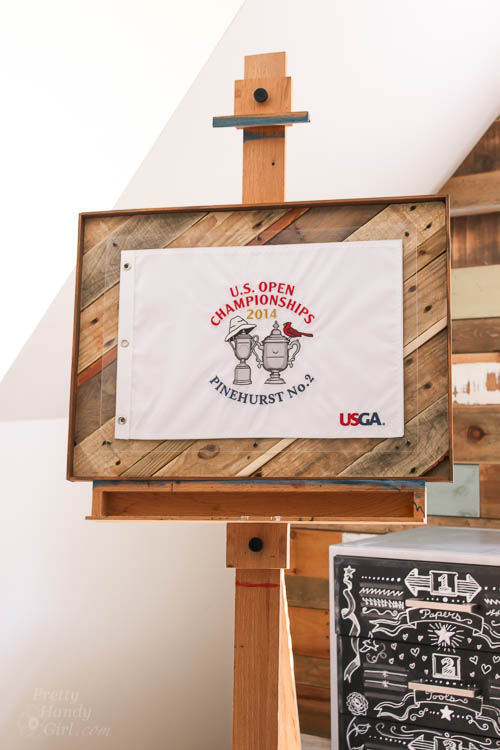
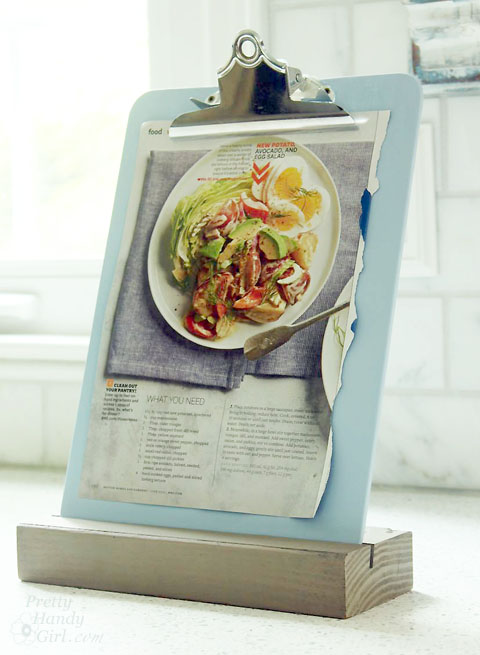 Keep your recipes or notes at eye level with this Easy Clipboard Stand.
If you like these projects, please share! Here’s an image you can pin it on Pinterest:
Which were your favorite scrap wood projects? And other ideas you have for using up scrap wood? I’d love to hear it.

Here are some other round ups you may like:
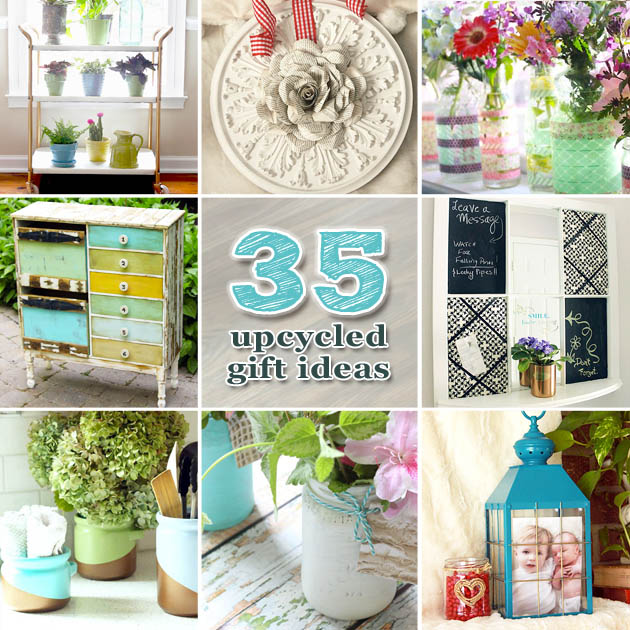
35 Upcycled DIY Gift Ideas
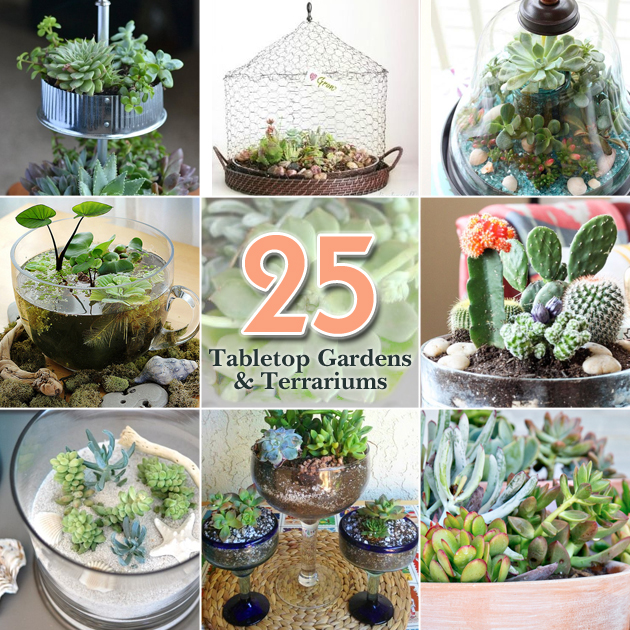
25 Ideas for Tabletop Gardens and Terrariums
Pin for later!

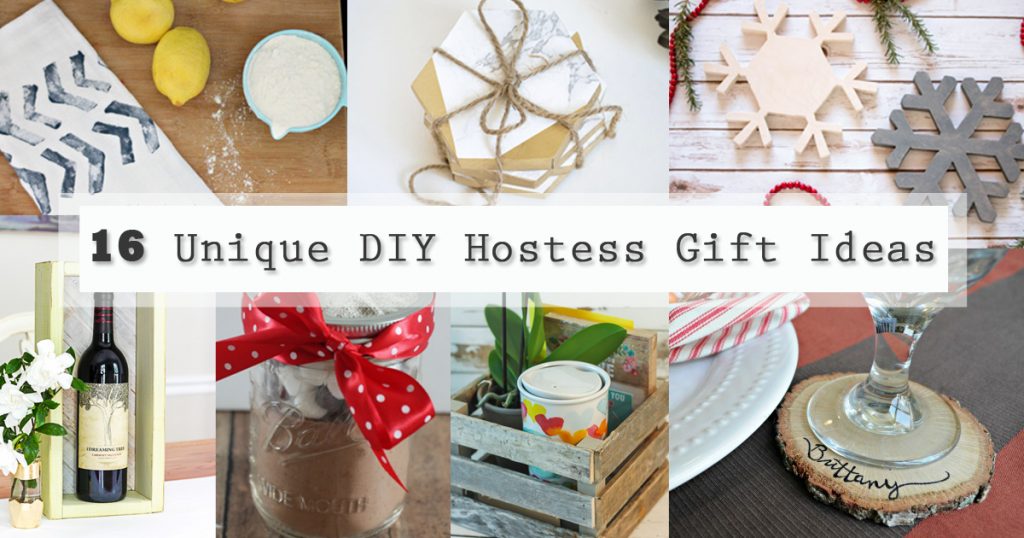 16 Unique DIY Hostess Gift Ideas

 Build a Driftwood Gift Crate and fill it with some items as a kind gesture.
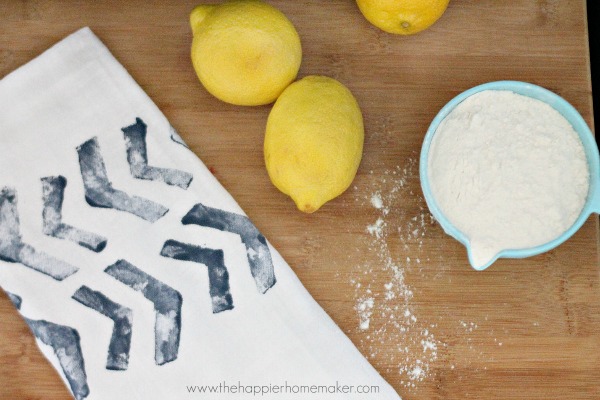 Does your hostess love to work in the kitchen? Make some custom Block Print Stamped Tea Towels.
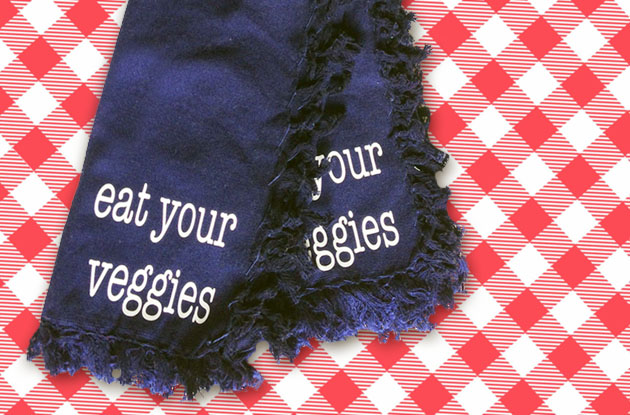 This “Eat Your Veggies” cloth napkin set is sure to be the perfect gift for the hostess with a good sense of humor.
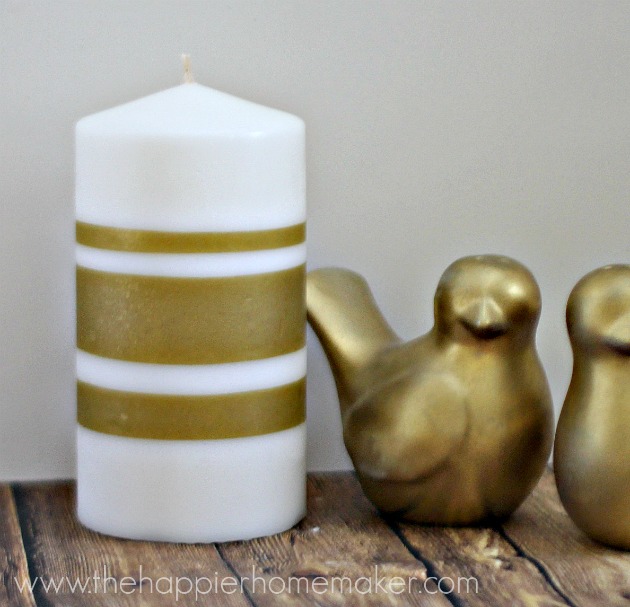 For a hostess who loves gold touches in her home decor, these Tissue Paper Candles would be a perfect thank you.
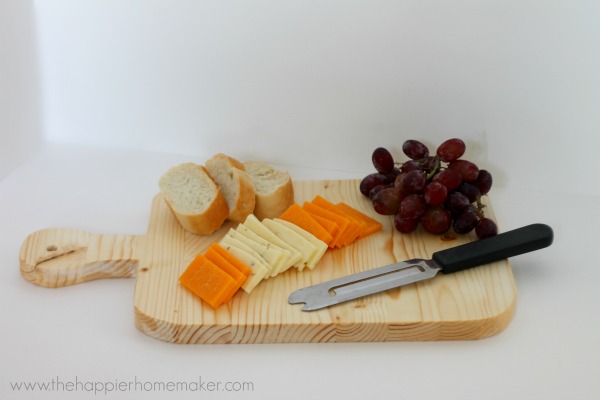 How about a custom DIY Cutting Board for your next hostess gift? Useful and beautifully crafted.
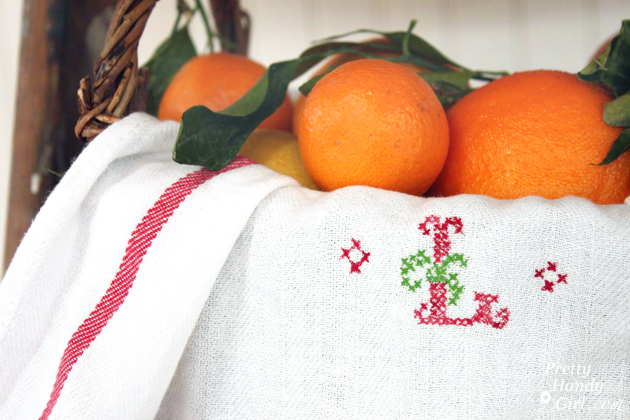 Impress your host with this adorable Faux Cross-stitch Tea Towel that is sure to make a lasting impression.
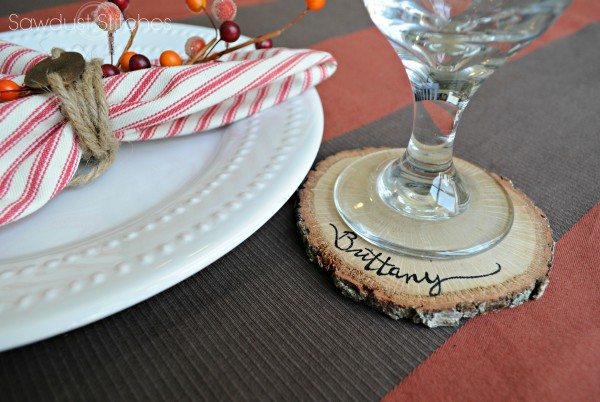
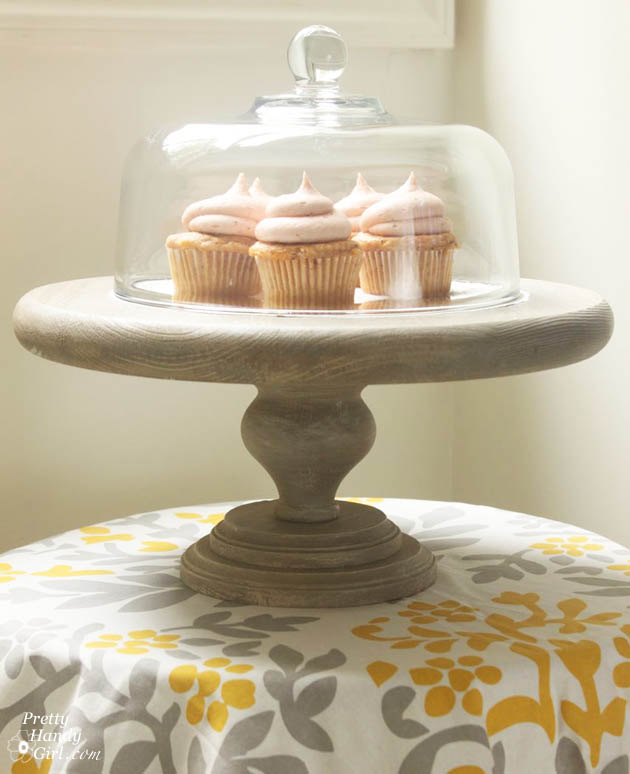 Does your hostess love to bake? Make this amazing Rustic Cake Stand!
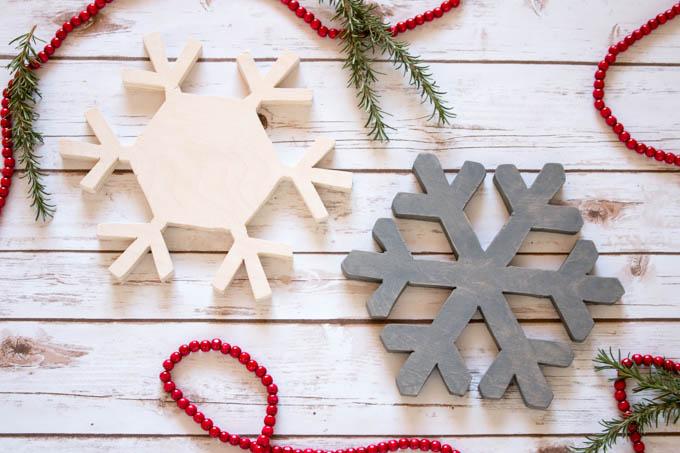

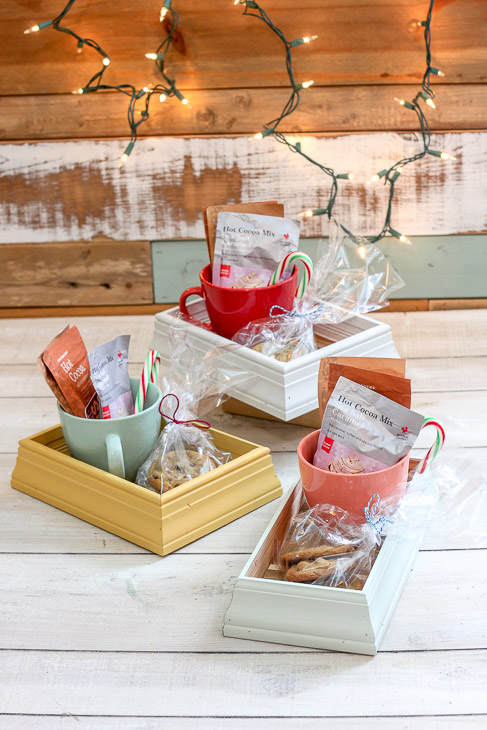
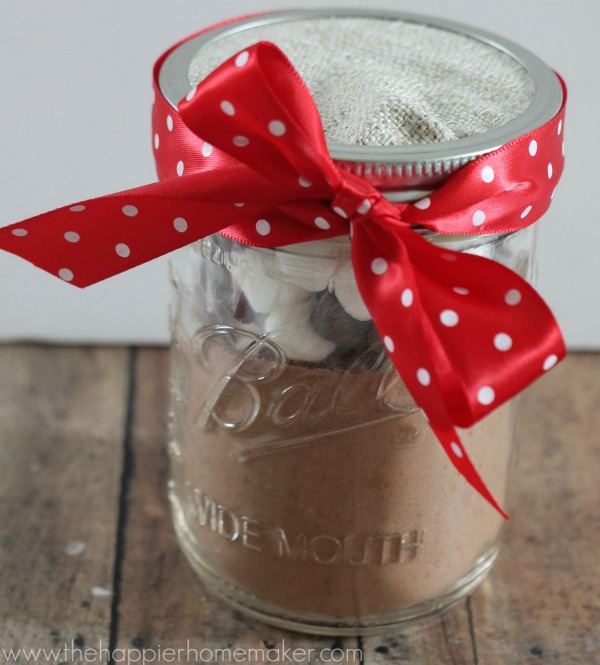 Make your dear friend some Hot Cocoa Mix in a Jar as a thank you for their next holiday gathering.
 Add some fun items to this Customized Gift Paint Can for a unique and fun gift! (This would also make a fabulous housewarming gift.)
 An adorable set of Chalkboard Painted Mugs would make the perfect gift for a holiday hostess.
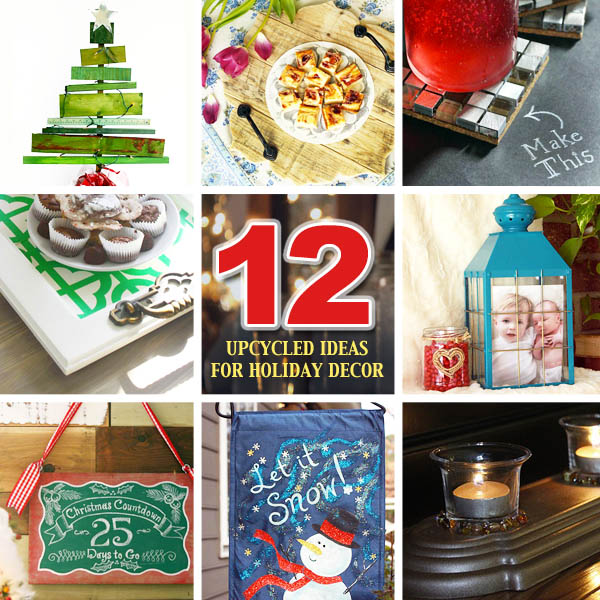 12 Great Upcycled Ideas for Holiday Decor
 21 Creative Gift Wrapping Ideas
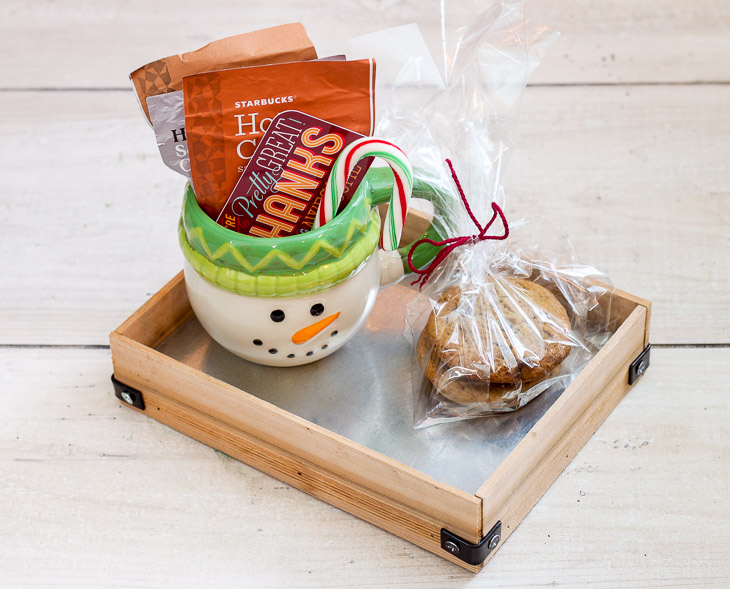
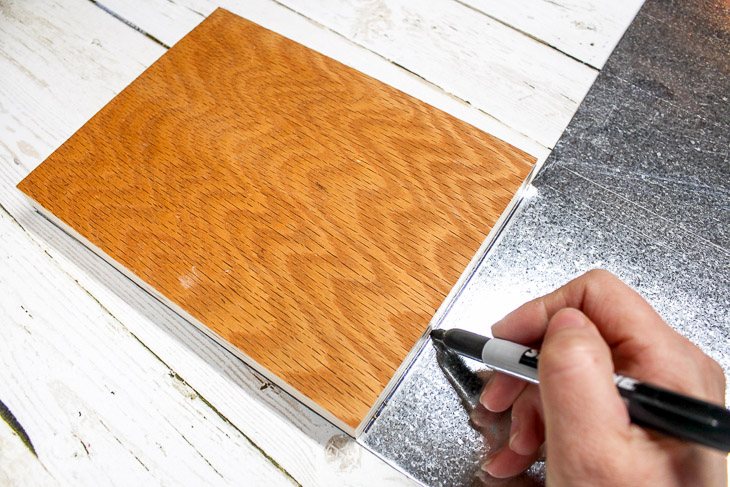
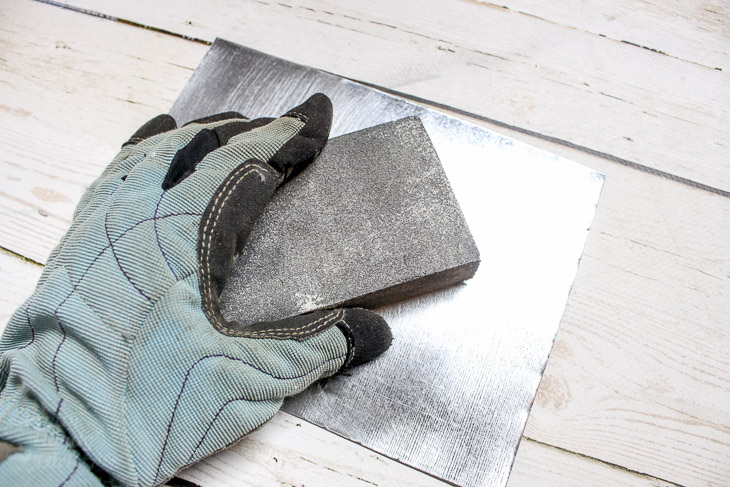
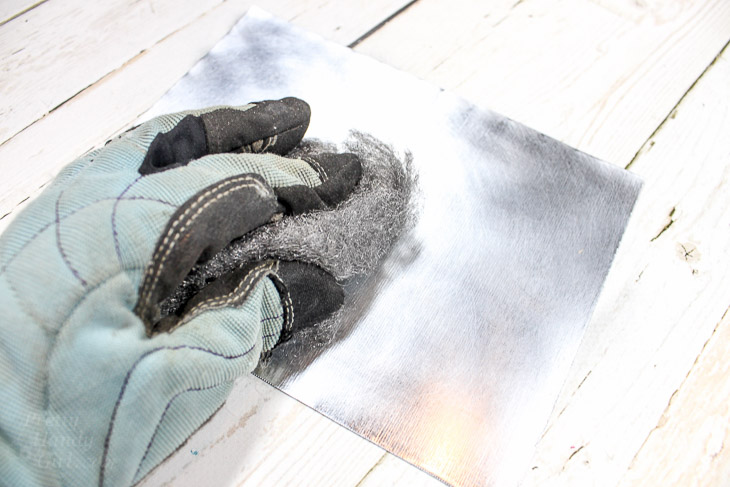
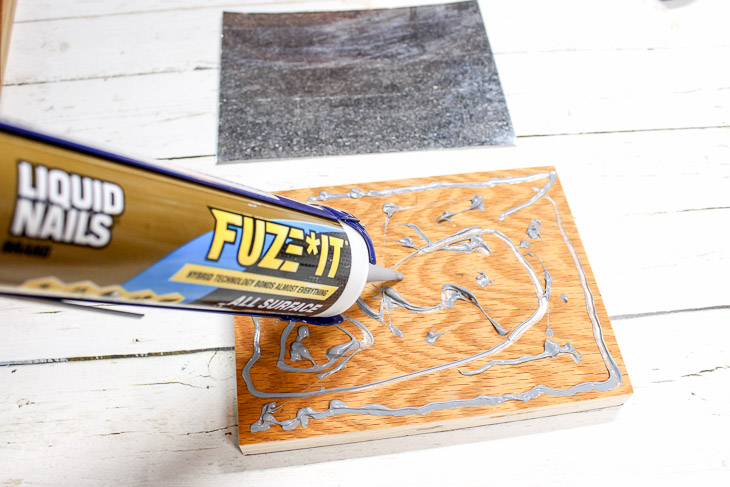
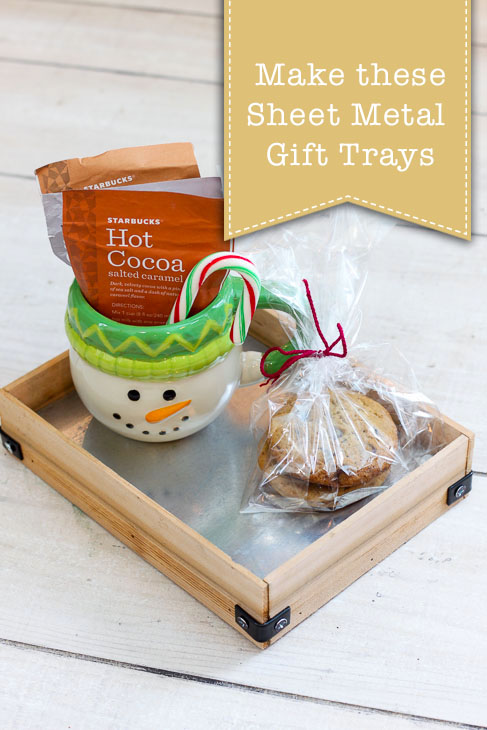 DIY Sheet Metal Gift Trays
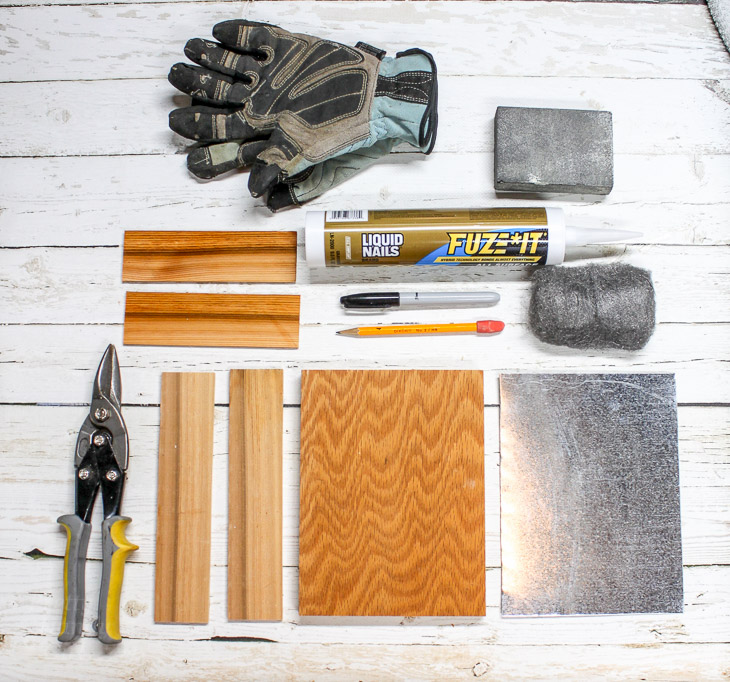
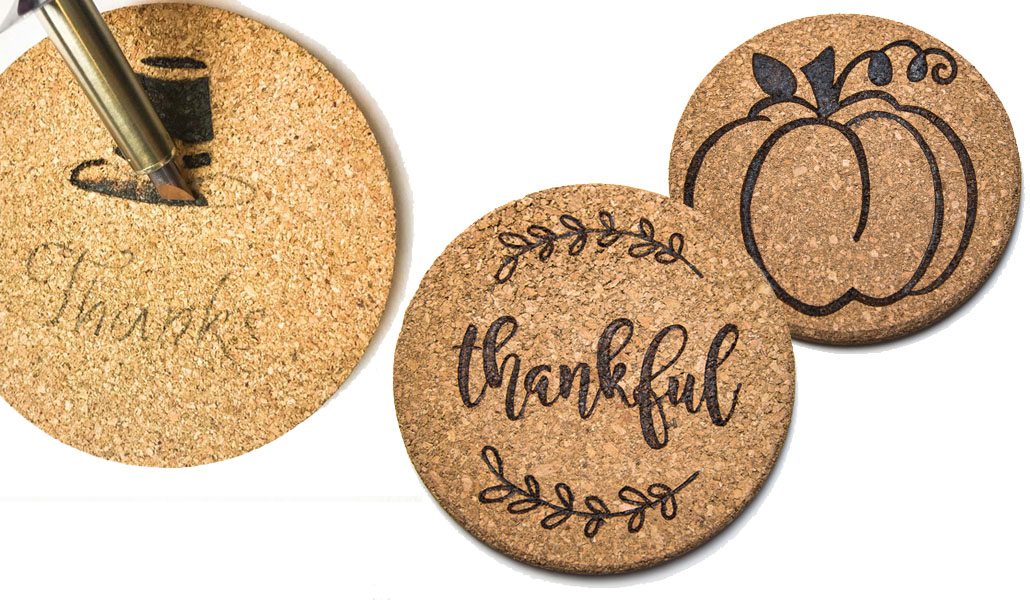
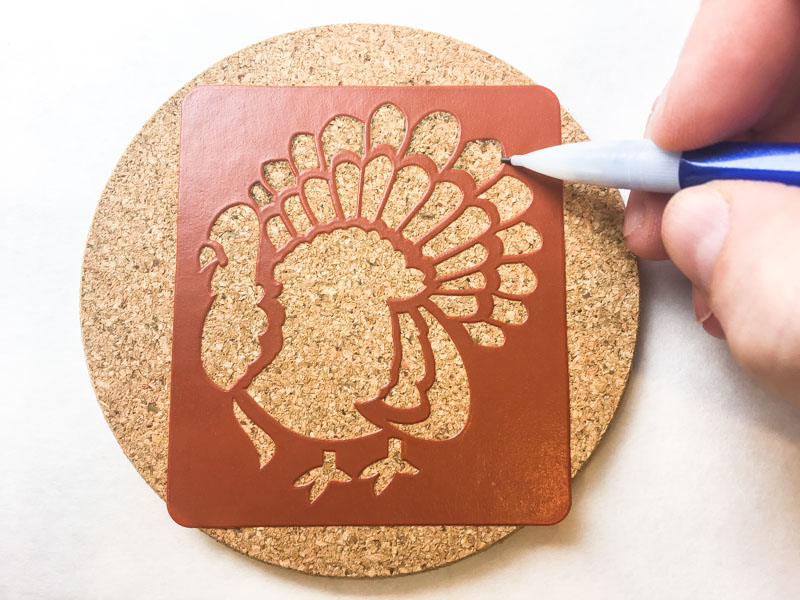
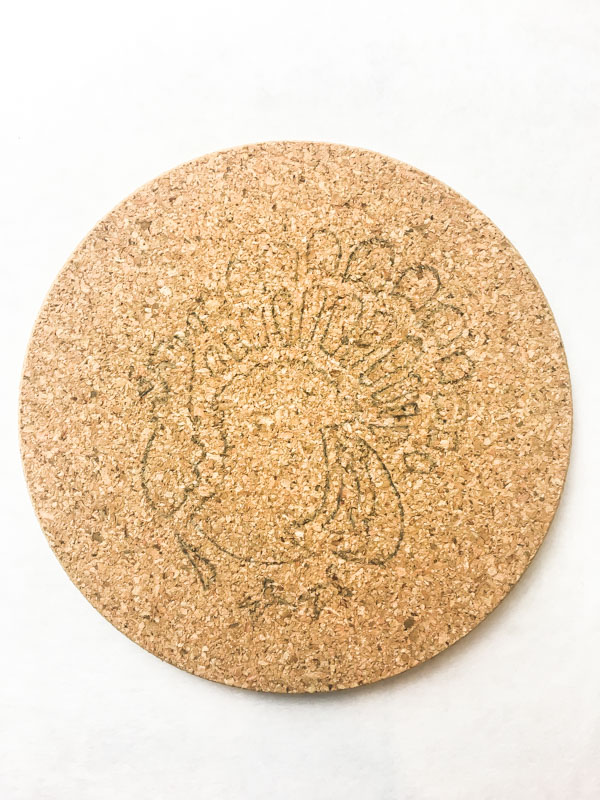
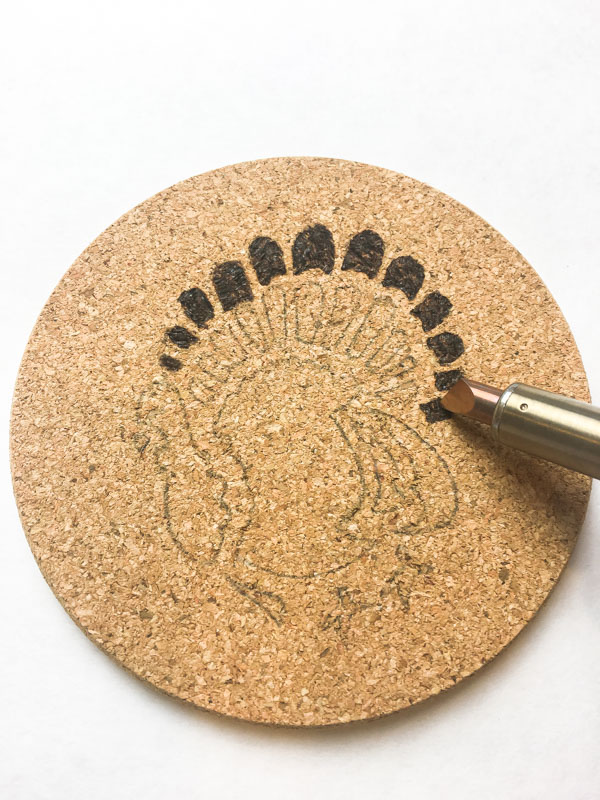
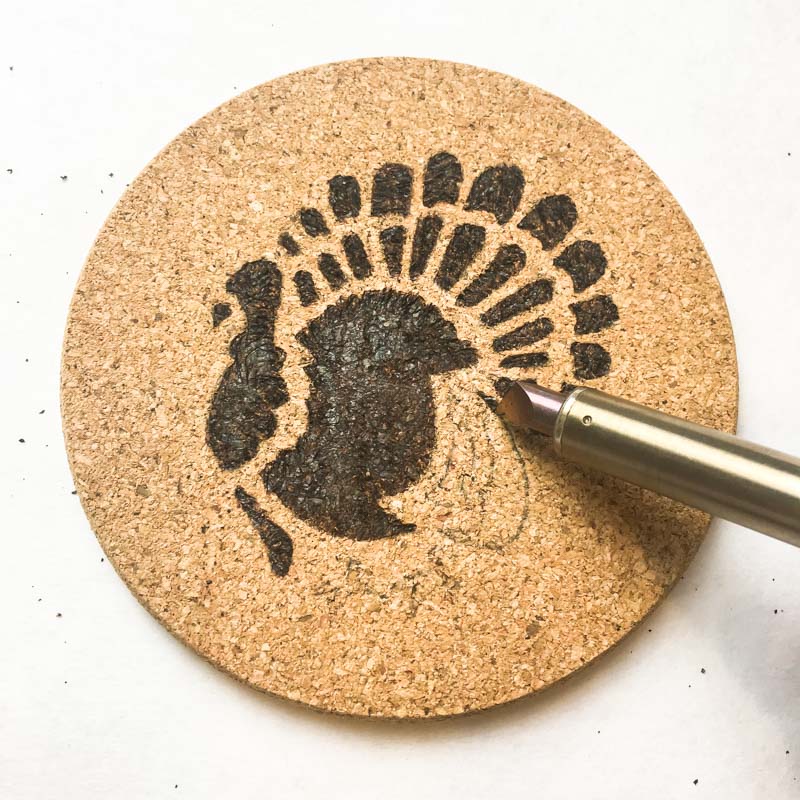
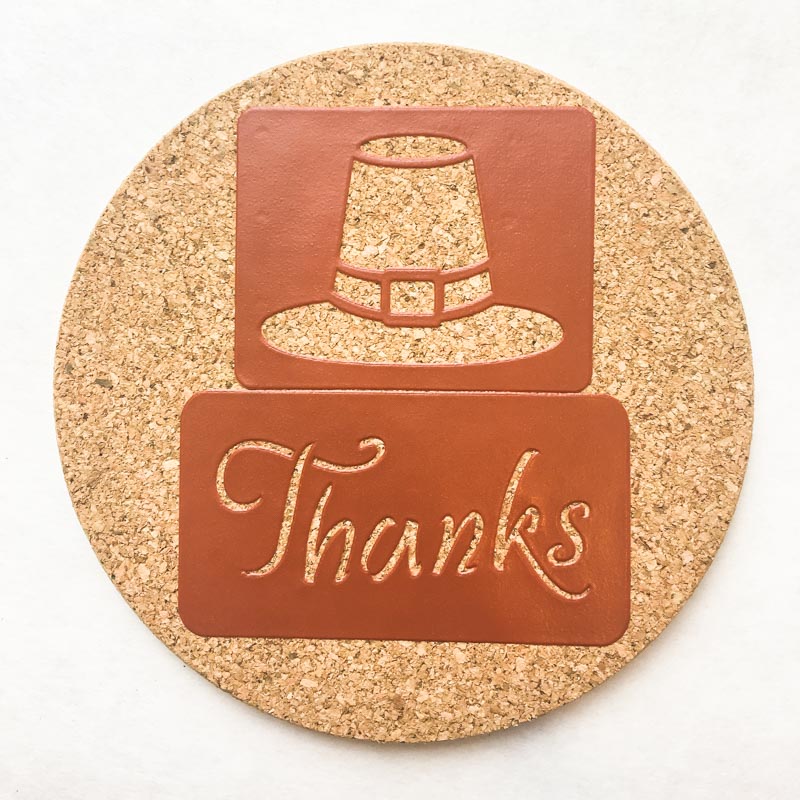
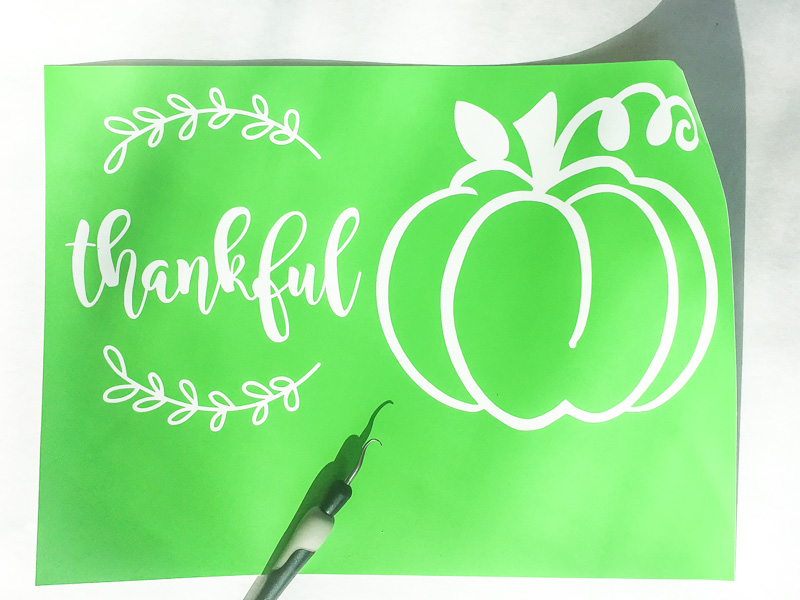
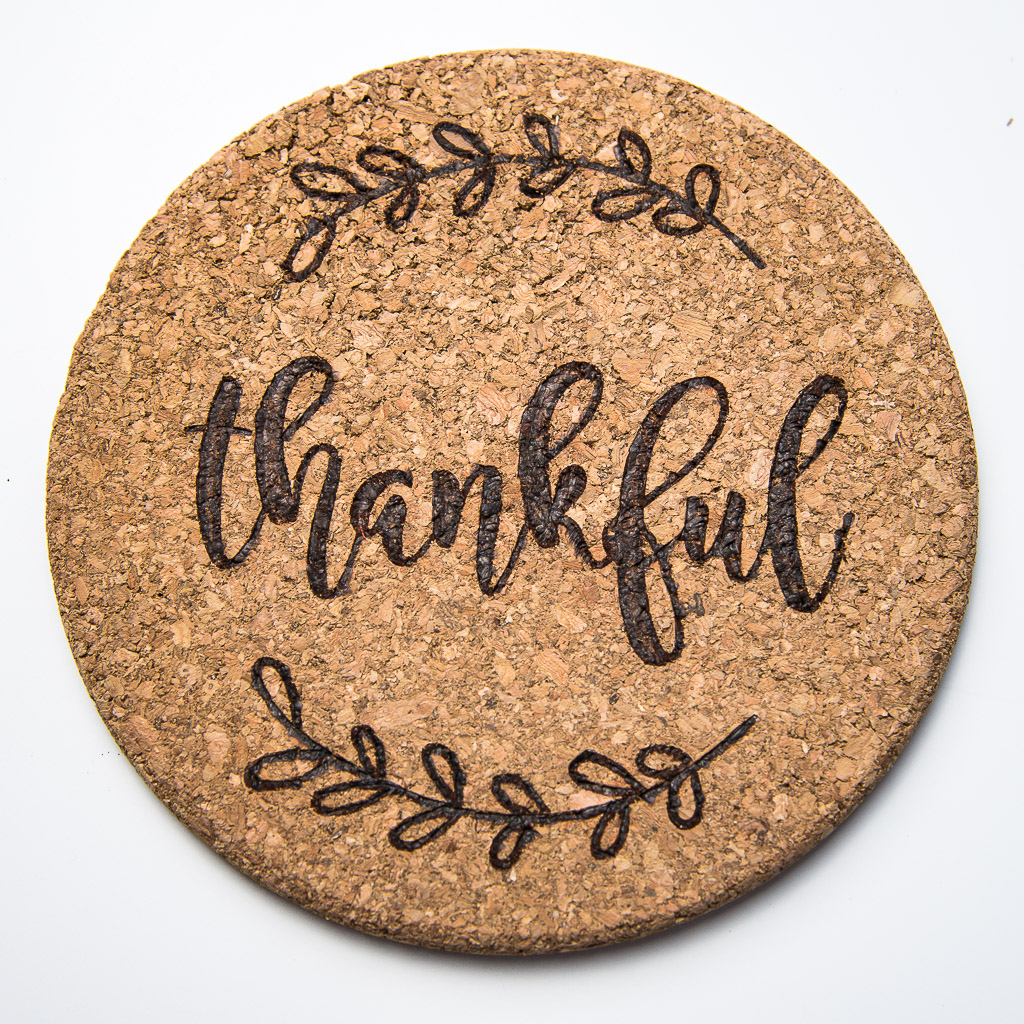
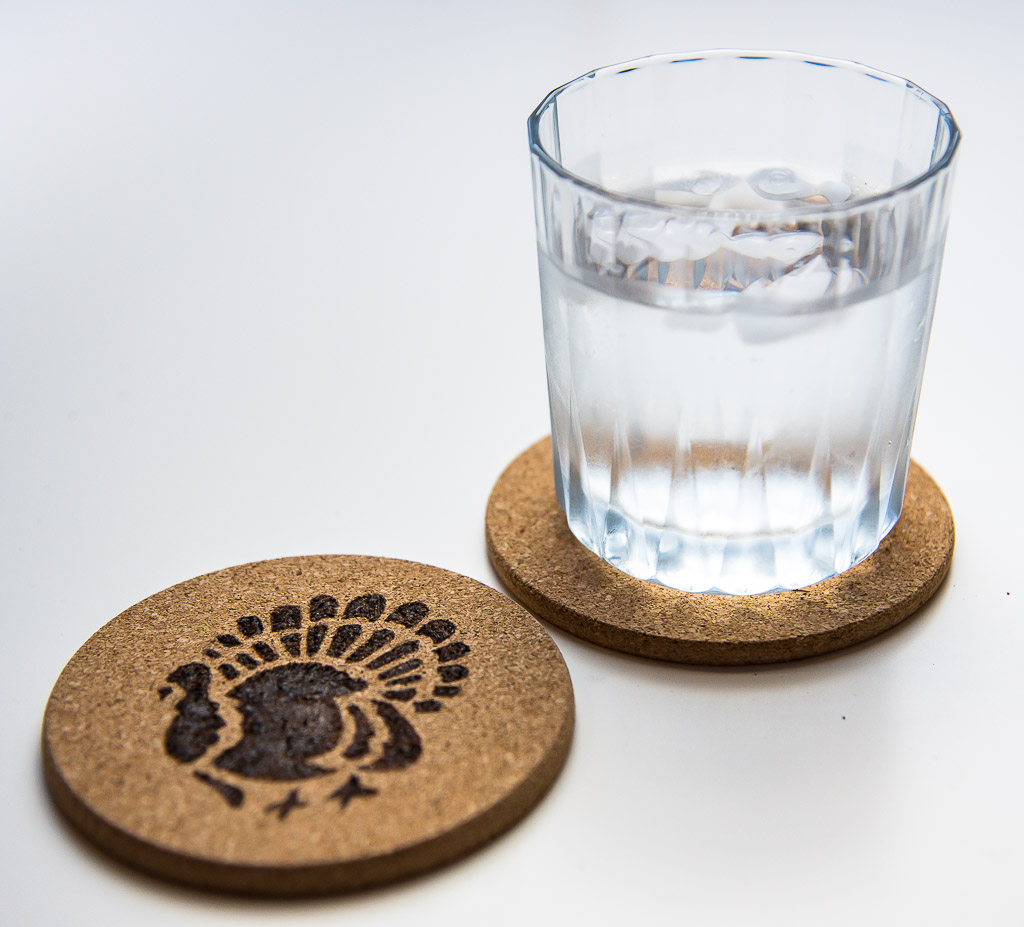
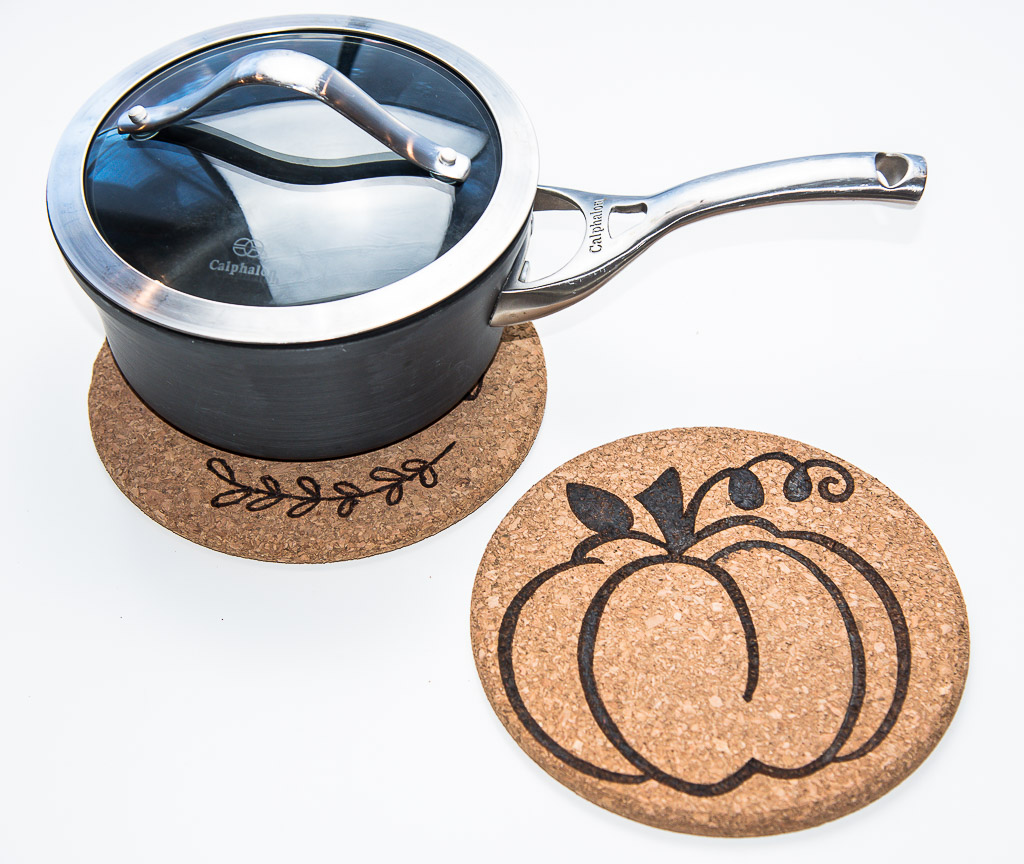
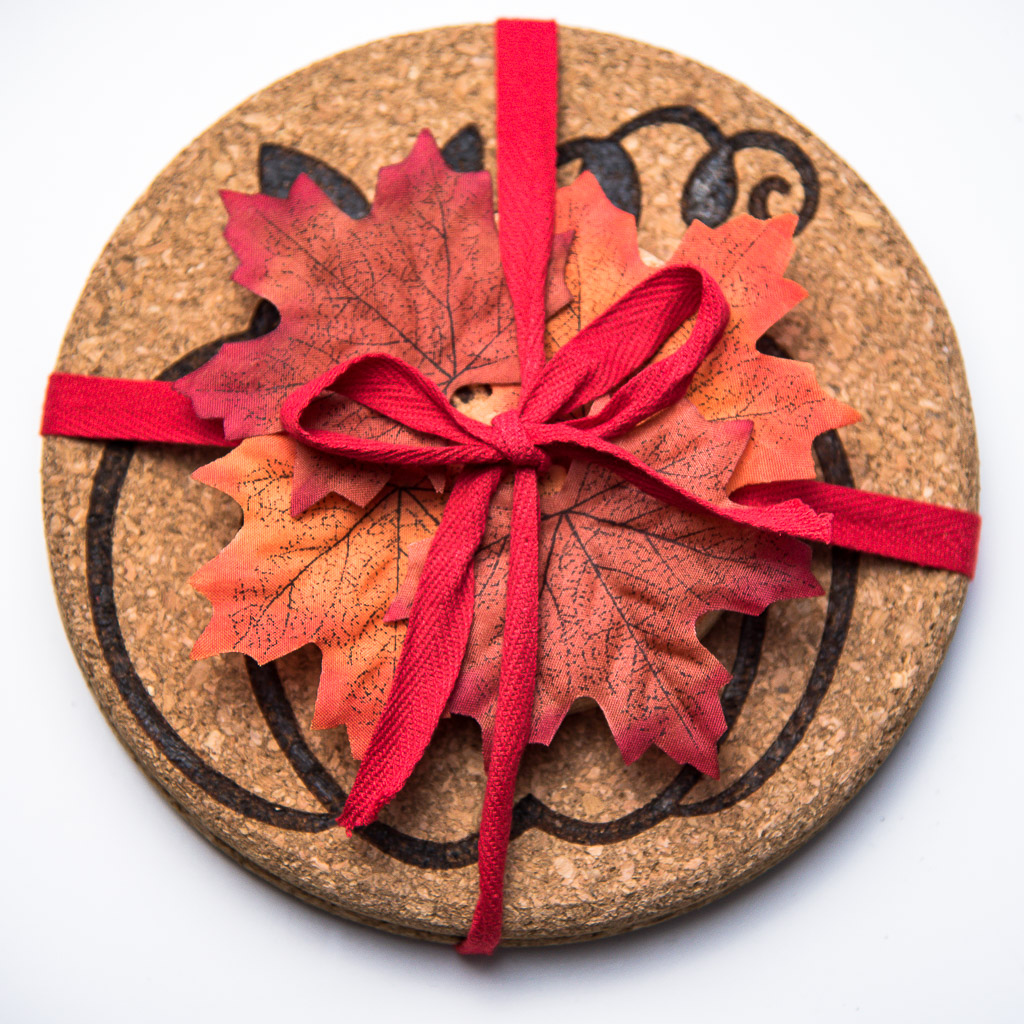
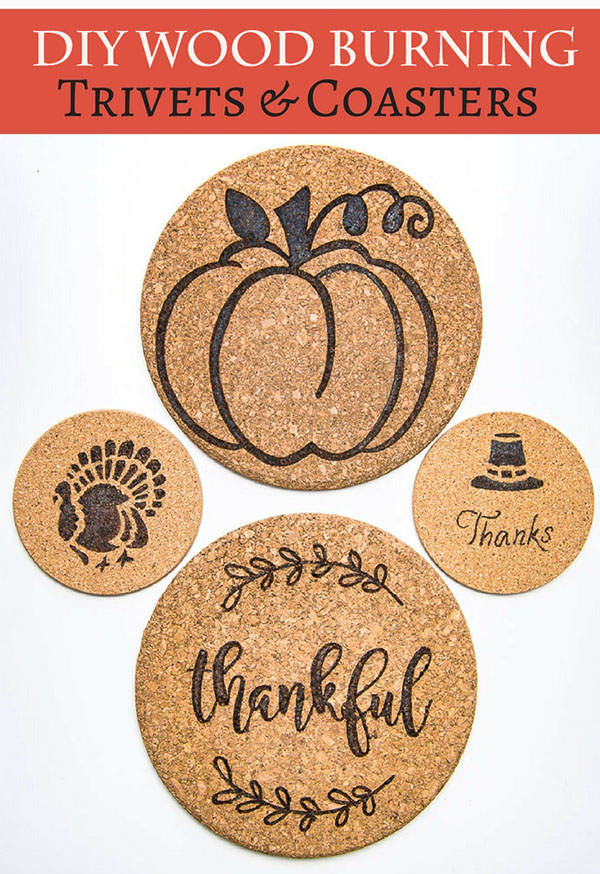 DIY Wood Burning Trivets and Coasters
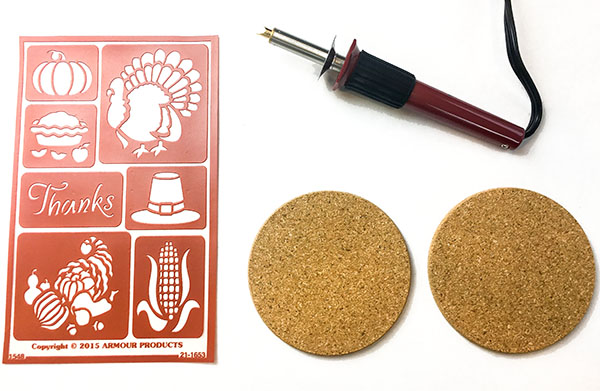


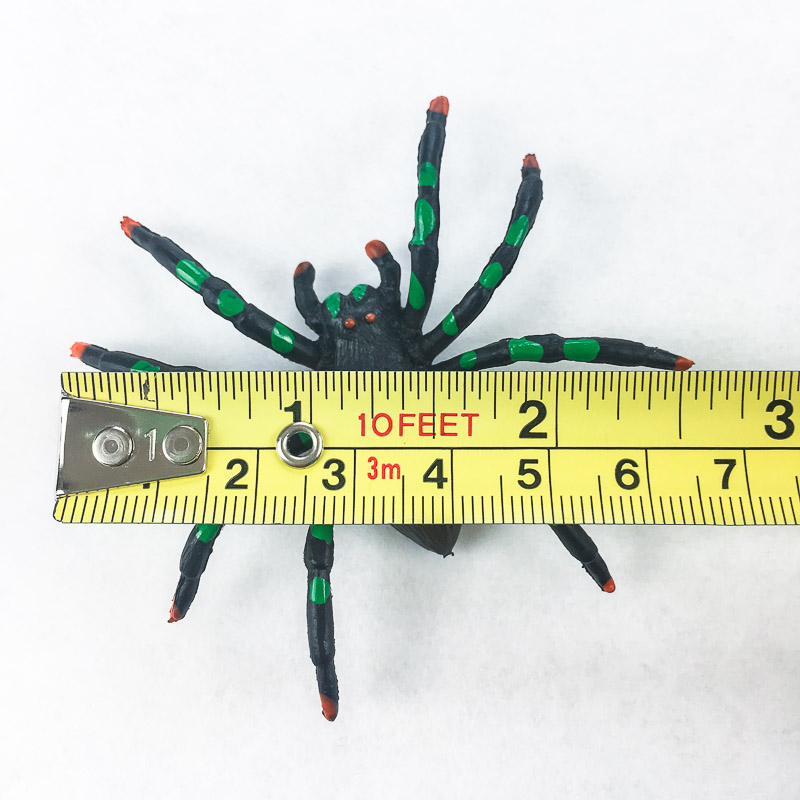
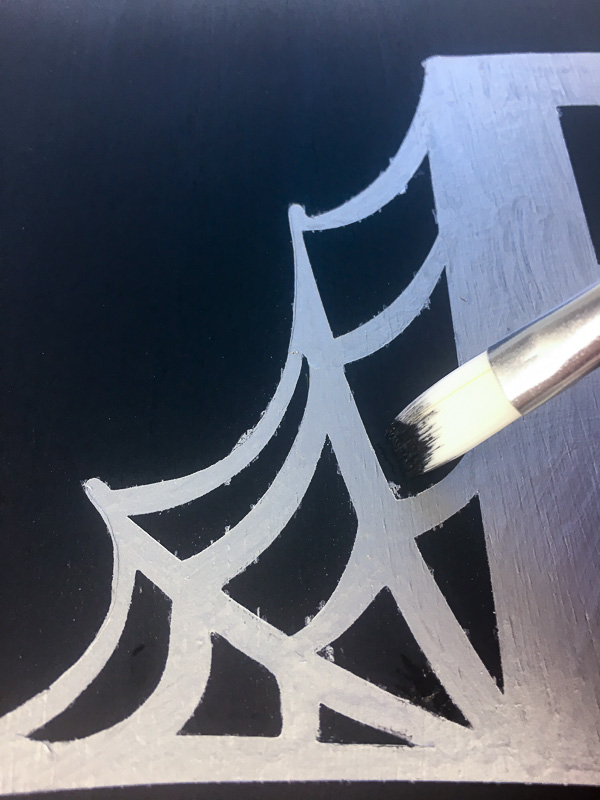
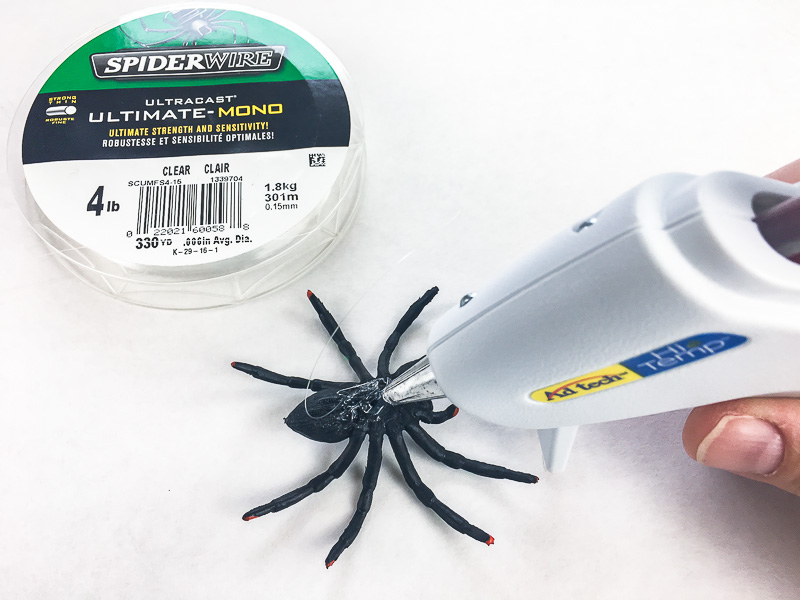
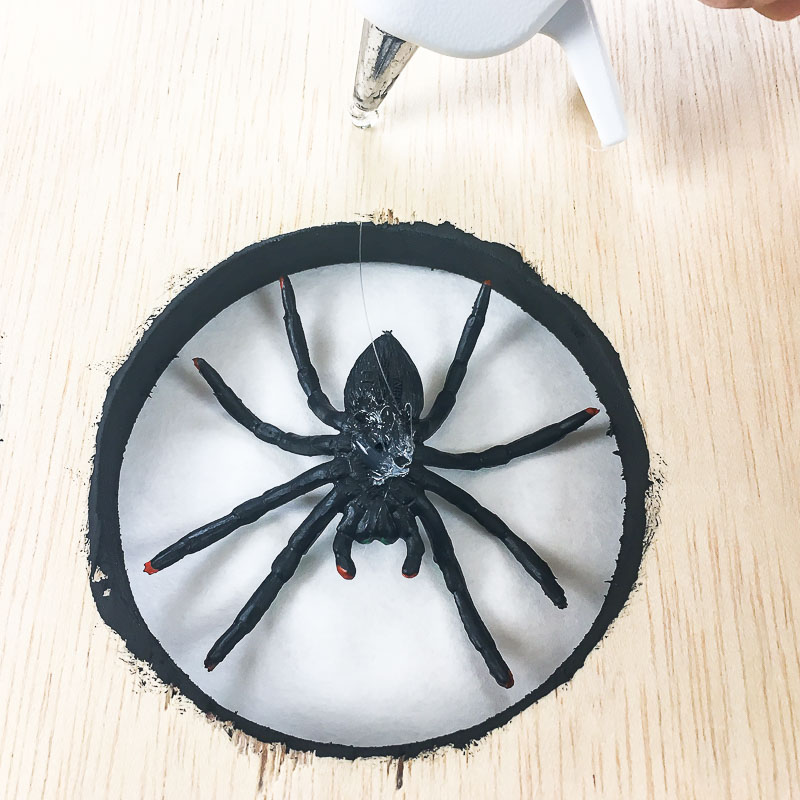
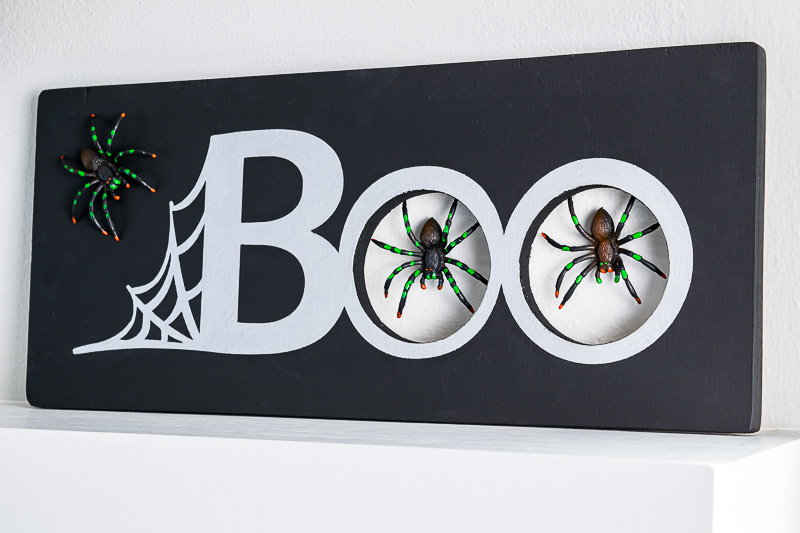
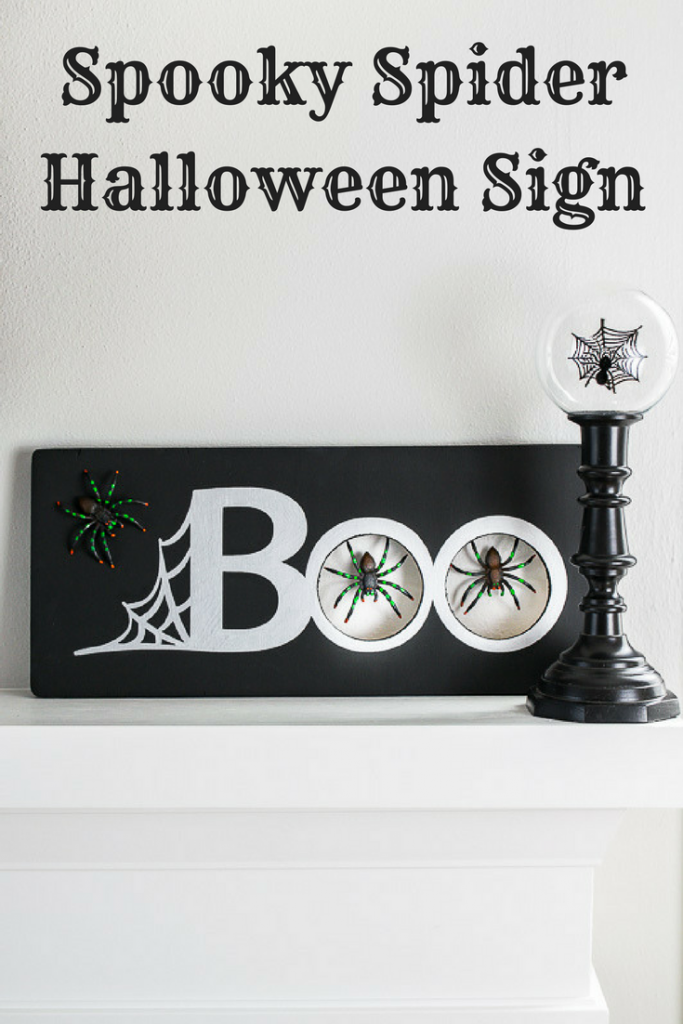 Spooky Spider Halloween Sign