
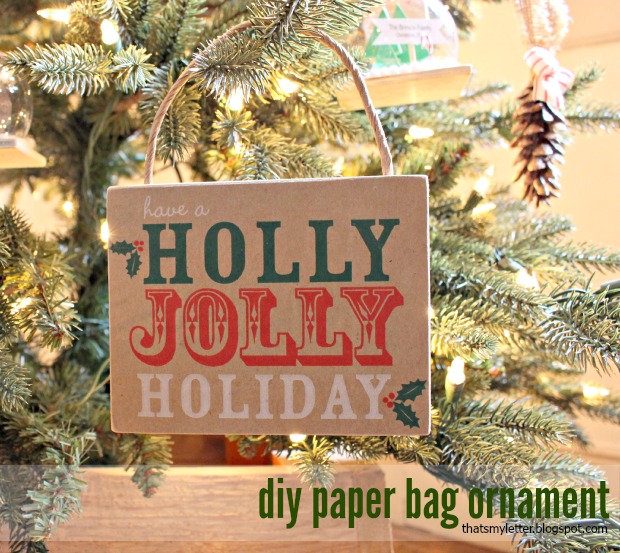
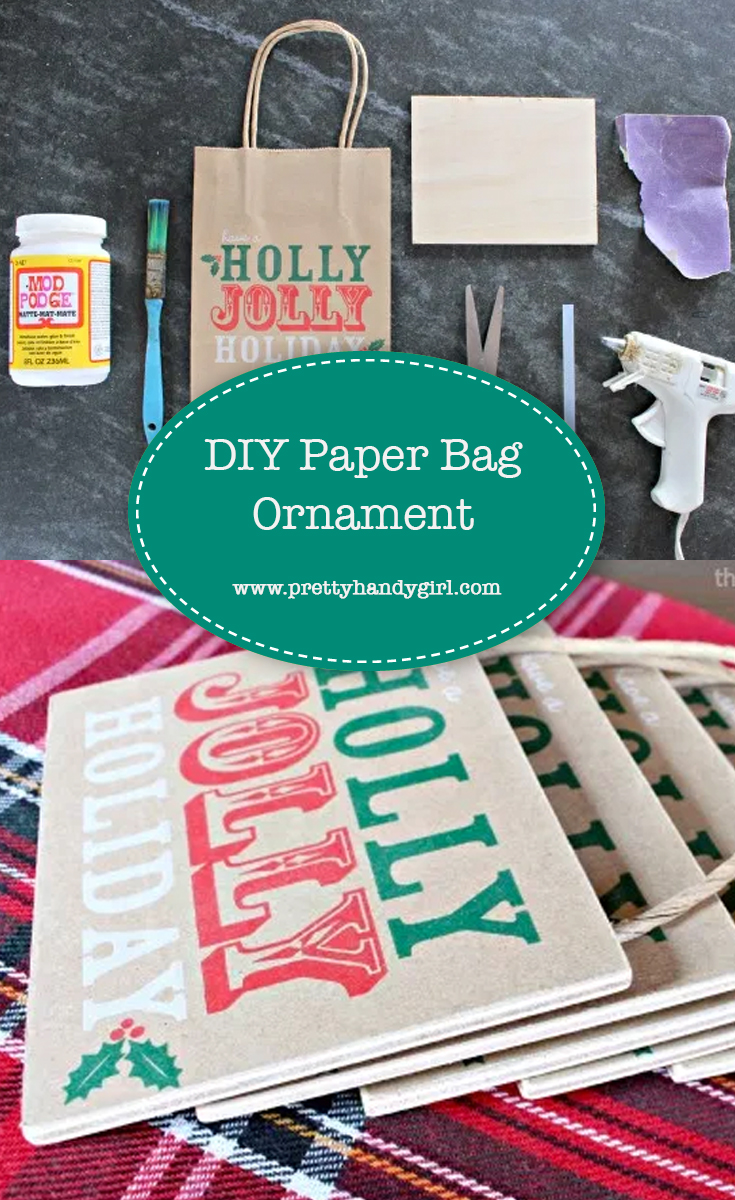
DIY Paper Bag Ornament
Looking for a fast and easy ornament or gift tag? I’m Jaime from That’s My Letter here to share a diy ornament you can make from a readily available paper bag. This project will have you looking at grocery and retail paper bags in a whole new light.
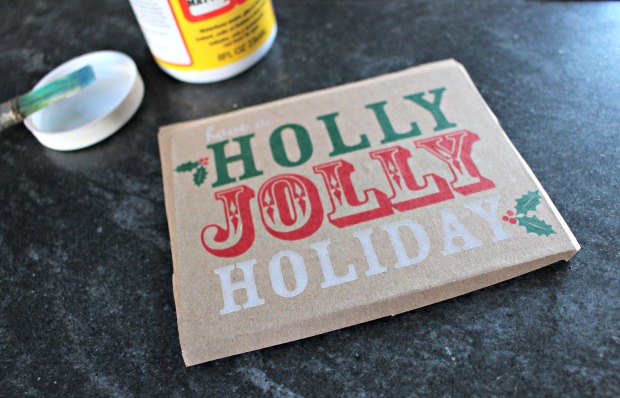
The graphics on retail paper bags make great ornaments and gift tags. Look for fun and festive holiday graphics on paper bags everywhere you go then you can repurpose those paper bags into ornaments.

Supplies:
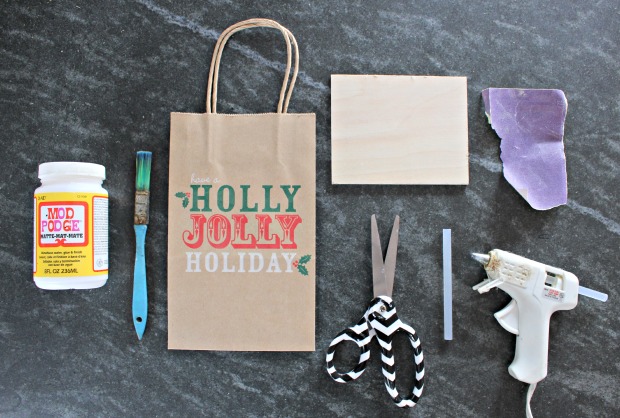
- paper bags (brown bags work best)
- 1/4″ plywood cut to size to fit your graphics
- mod podge
- paint brush
- scissors
- hot glue gun & glue sticks
- sandpaper
Instructions:
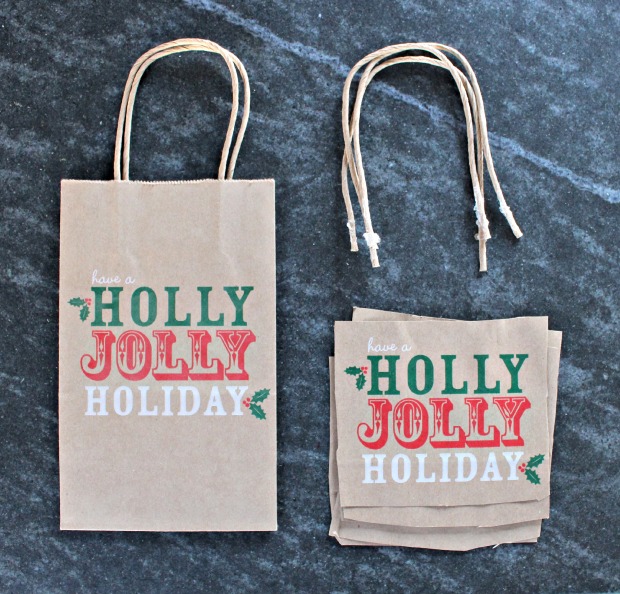
Step 1: Carefully cut out graphics from the paper bag and pry off handle pieces. You will also need small 1/2″ x 1″ pieces of paper bag to cover the cut ends of the handle hanger.
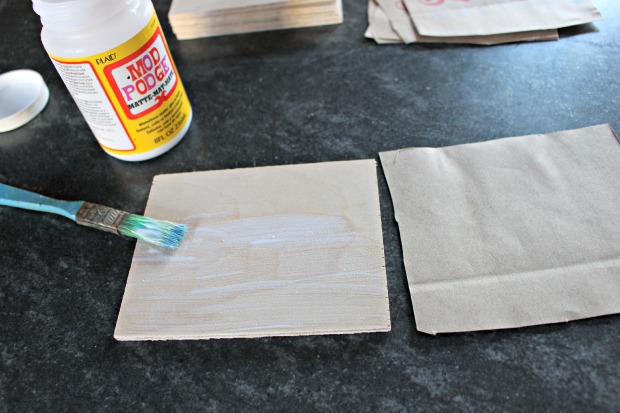
Step 2: Apply a generous layer of mod podge to plywood.
Step 3: Apply paper bag piece to wet mod podge. Be sure to center paper onto wood then press smooth with fingers and press excess paper over edges down slightly. Let dry and preferably stack heavy books on top to ensure good seal.
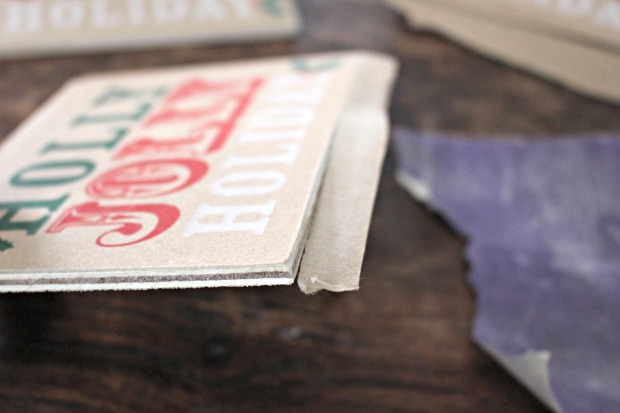
Step 4: Once completely dry use sandpaper to remove excess paper hanging over edge. At the same time this will smooth the rough plywood edge too.
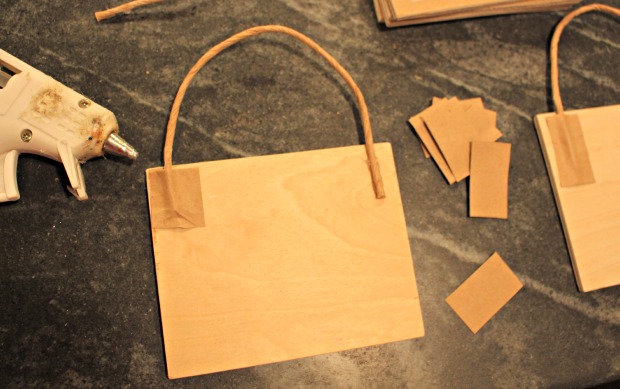
Step 5: Cut handle to desired length. Secure to back of plywood using hot glue then cover cut end with small piece of paper bag just to keep things neat. Repeat for other end of handle.
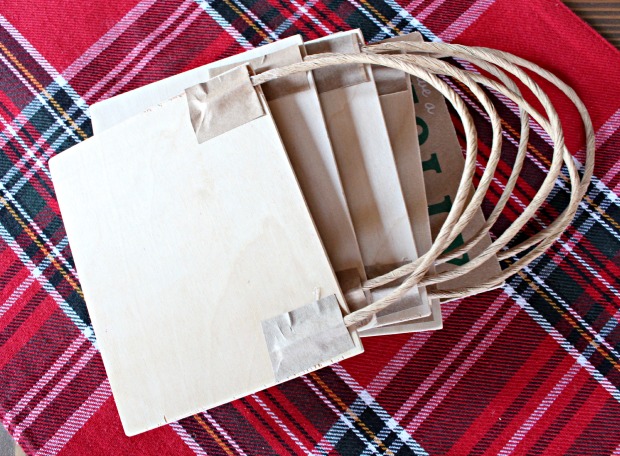
Repurpose paper bags into beautiful handmade ornaments or attach them to gifts as a gift tag. This is a great craft to do with the kids. Have a holly jolly holiday!

Pin for later!


Very clever Jaime, thanks for sharing this! Merry Christmas
Hi Jaime and Merry Christmas! These ornaments are super cute – and I’m thrilled that they’re basically from recycled and possible scrap material (you might consider submitting this to Mod Podge Rocks blog 🙂 I also love the wooden base around the tree, I might just try that…next year…I’m running out of time already!