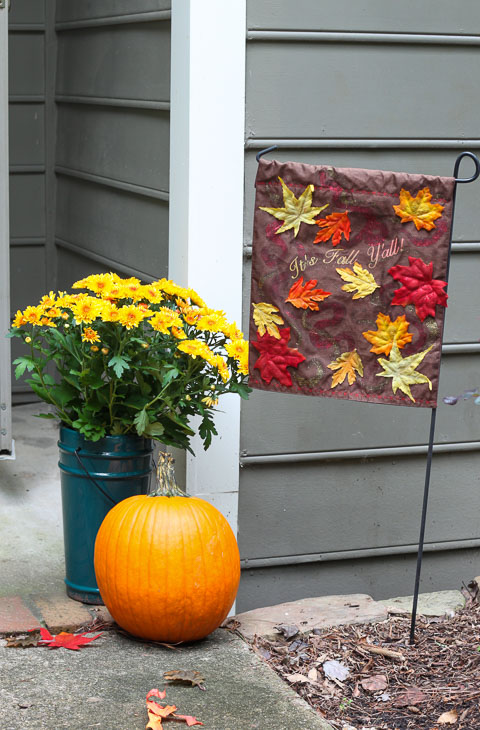
Make an inexpensive (but beautiful) Fall Leaves Garden Flag using a Dollar Store Placemat! Pull out your sewing machine (or skip the stitching and use your iron and some hem tape instead.) You can have a gorgeous fall garden flag in an hour or less. Plus, this is the perfect activity to do with the kids before school starts.

Sure, we’re in the thick of a heat wave here in Raleigh, NC. But luckily fall is around the corner and it’s time to start thinking about fall decorating! I like to create a beautiful garden flag for each season using a few simple supplies from the Dollar Store. Ready to make one? Great, let’s get to it.
Materials:

- Dollar Store placemat
- Brown, orange & red thread
- Sewing machine*
- Fabric paint
- Paper plate
- Letter stencils
- Stencil brush or stencil stipple sponge
- Silk leaves
- Glitter paint
- Paint brush
*Optional: hand sew or use hem tape if you don’t have a sewing machine
Instructions:
1. Fold over the top of your placemat 2 inches. Stitch across the edge. (I used a decorative stitch, but a straight stitch is fine too.)

2. Create a stencil using a Silhouette, other craft cutter, or use pre-cut letter stencils. Adhere the stencil to the placemat. (Place centers of letters if needed.)

3. Squeeze out a small amount of fabric paint onto a paper plate.

4. Pounce or use a stencil brush to dab paint over the stencil. For more colorful letters, use yellow on one side and orange on the other. Let the colors overlap in the middle.

5. Remove stencil. Allow the fabric paint to dry.

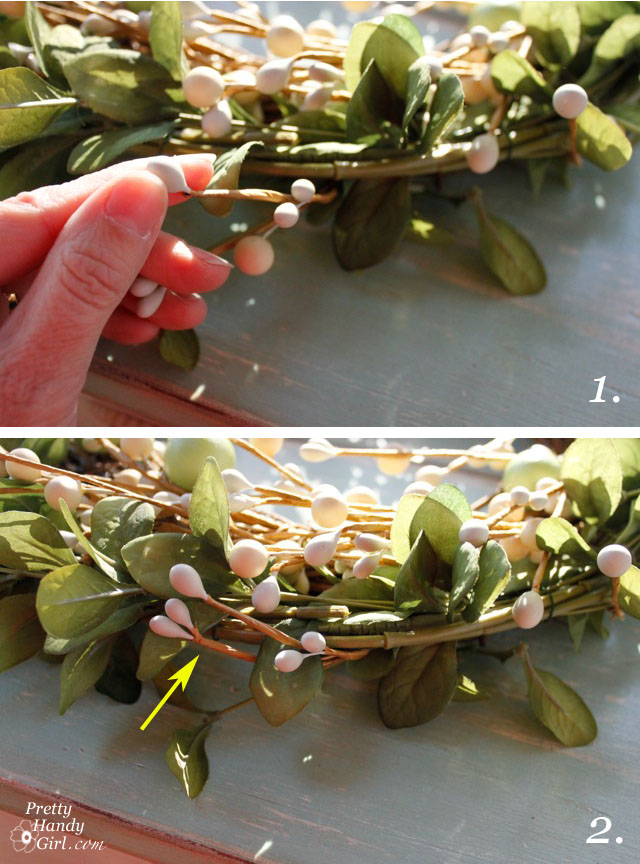
6. Arrange and pin silk leaves onto garden flag.

7. Stitch leaves onto the flag along the “veins”.

8. Trim the excess threads off the flag.

9. Lay flag out on a flat surface.

10. Paint on glittery curly trails to simulate the path of a falling leaf.

When the flag is dry, thread it onto a garden flag stand and place it by your entryway. At the end of the season, store the flag flat to keep it looking fresh for many years to come.

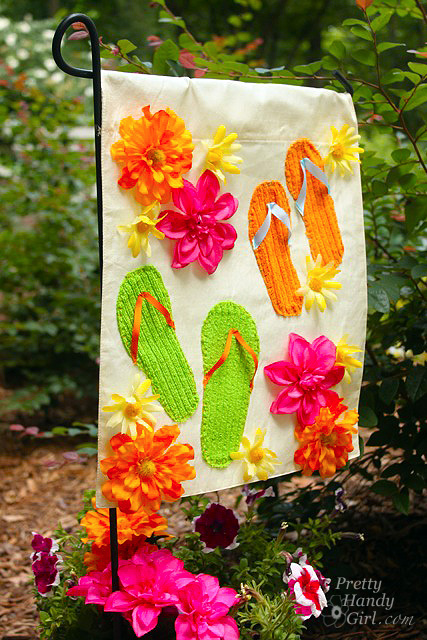
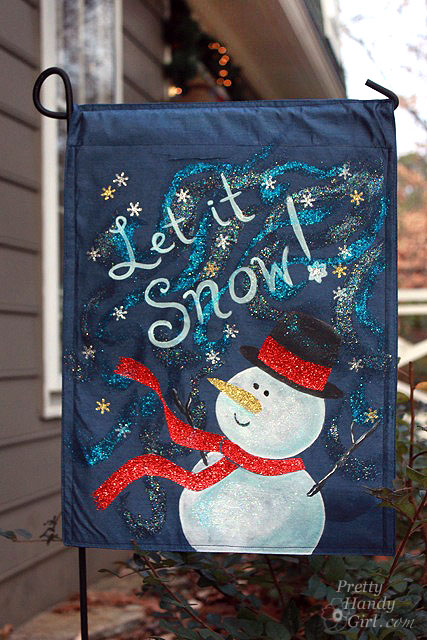
If you liked this tutorial you may like my other garden flag tutorials:

I hope you enjoy this fall season and experience beautiful fall weather soon!


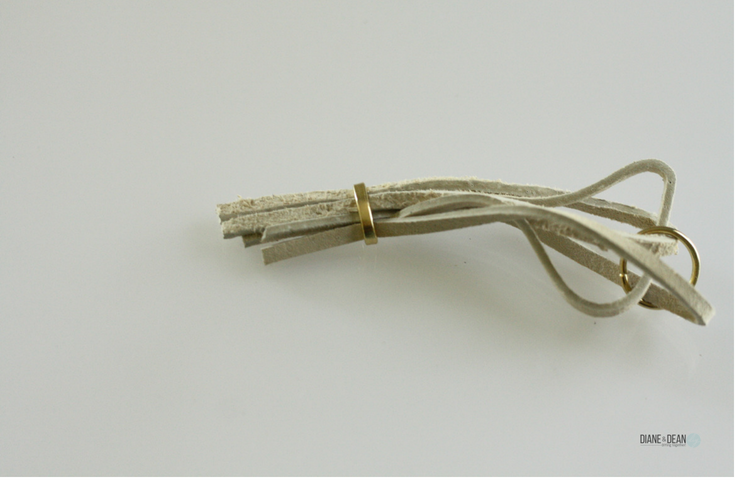
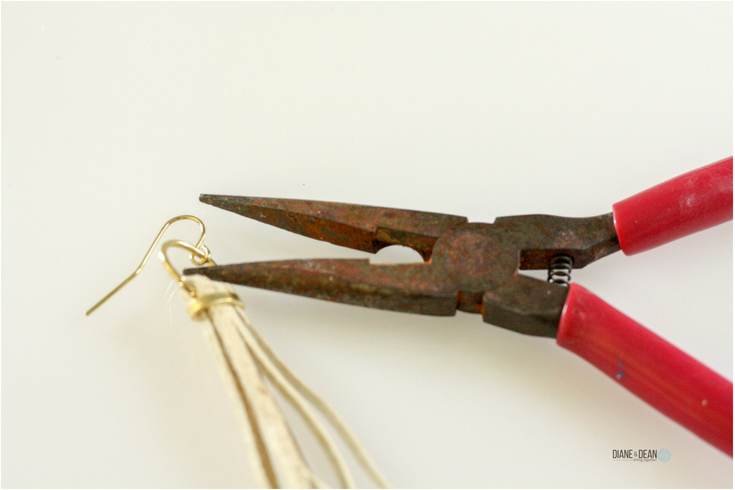
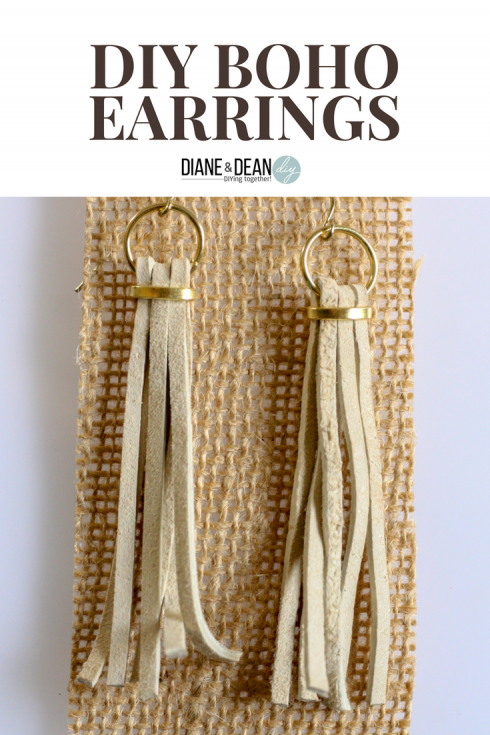 DIY Boho Style Earrings
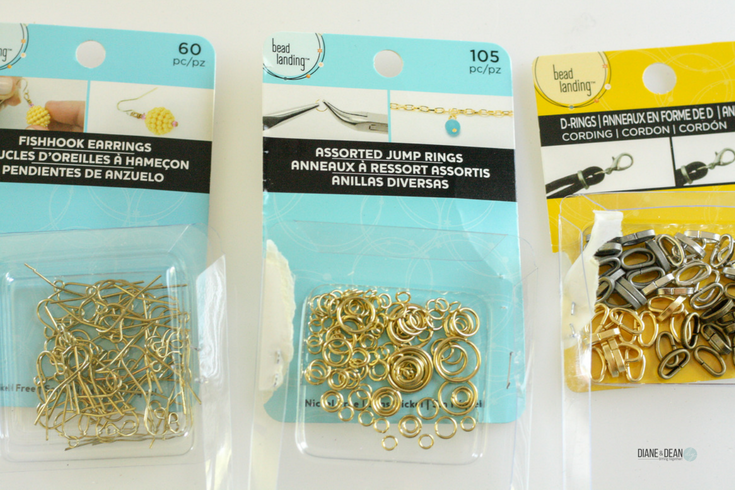


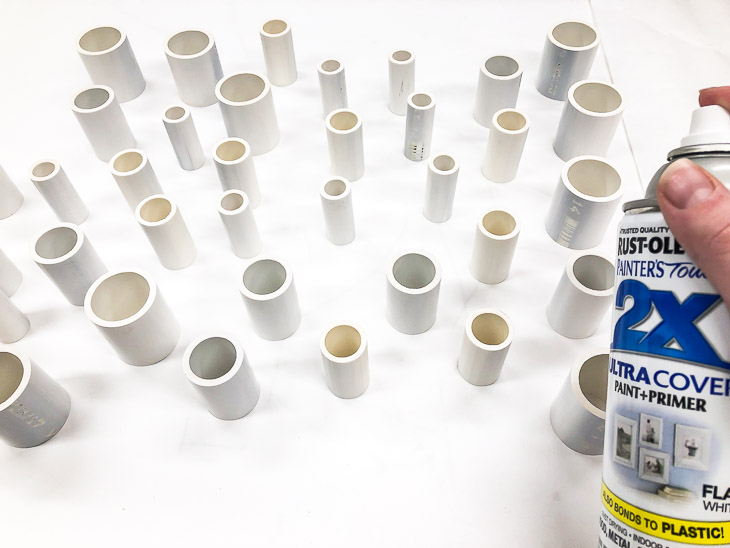
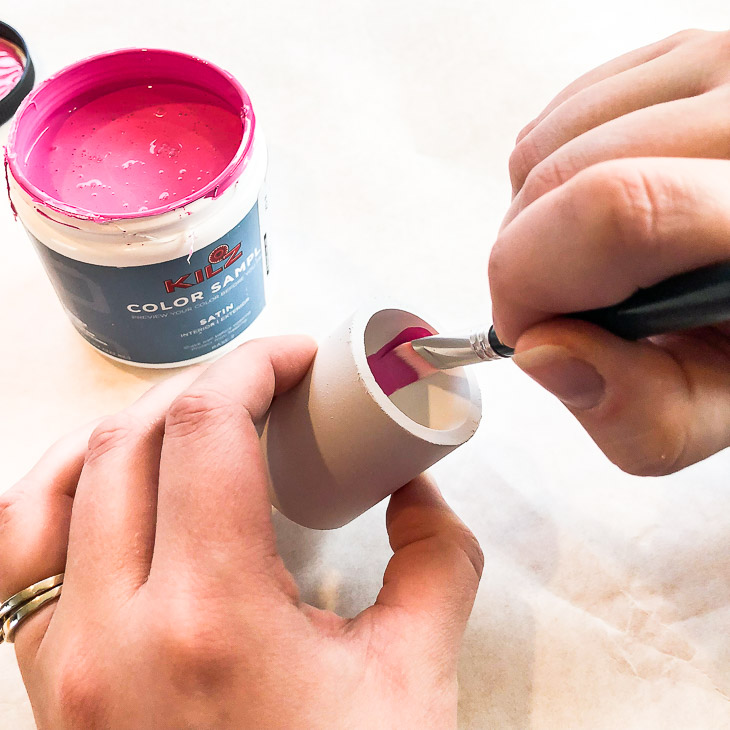
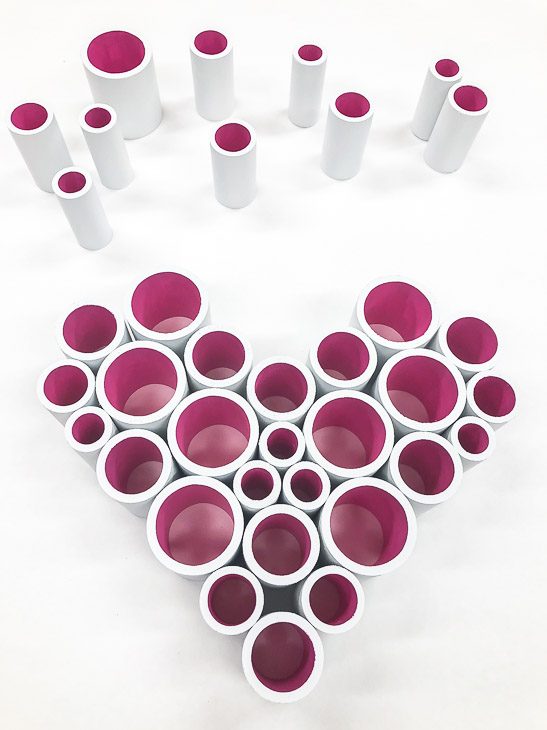
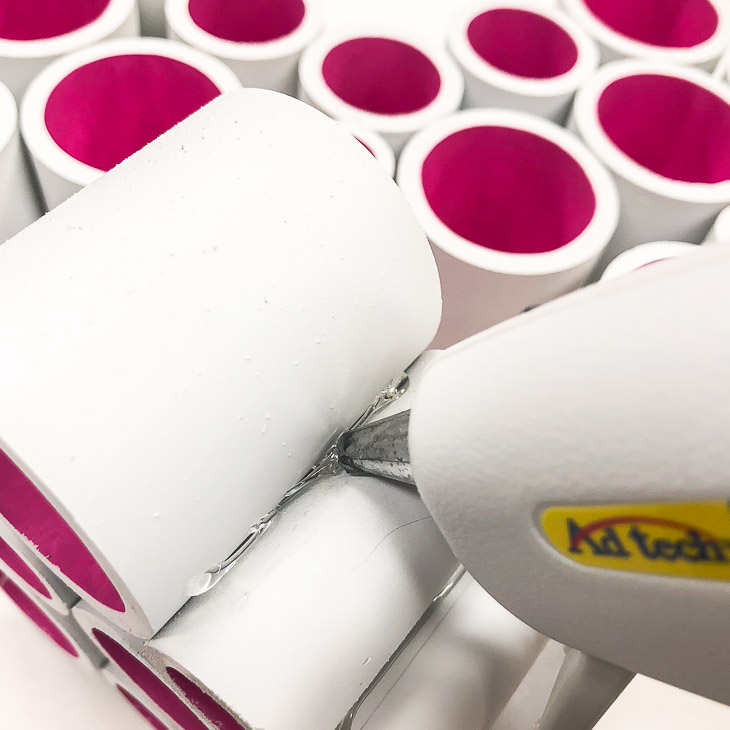
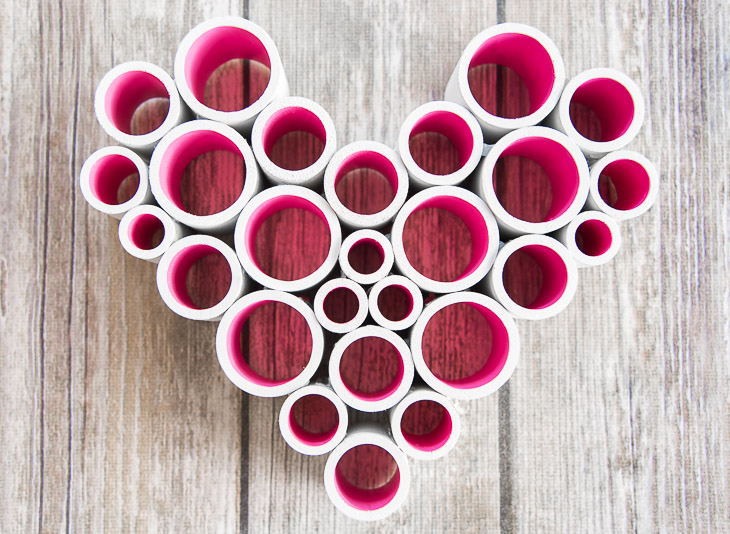
 PVC Pipe Heart Decoration