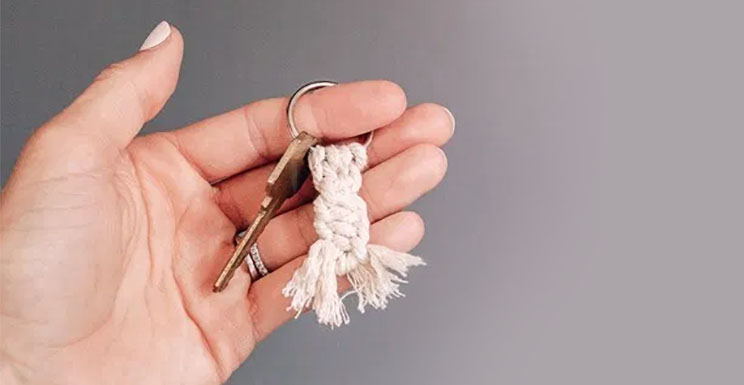
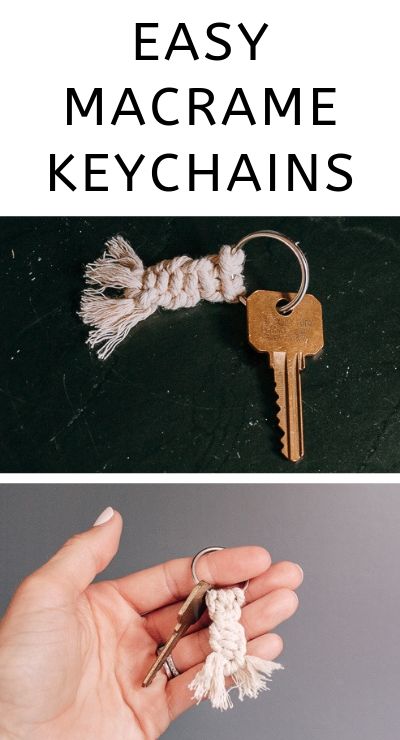
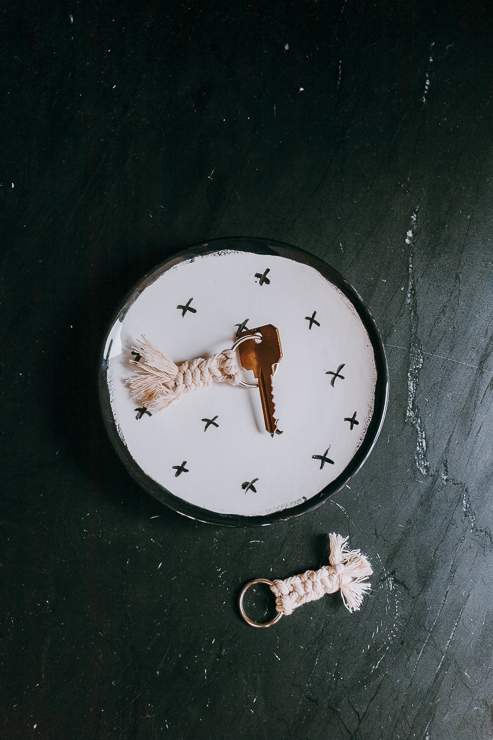
Make these Little Macrame Keychains in 5 Minutes
It’s Karen from Decor Hint and I’m back with another little macrame project for you. This project is actually more practical than just pretty to look at. Today we are making these cute little macrame keychains with fringe.
Macrame is one of my favorite activities. It’s like knitting and can be very stress-relieving and good for your mental health. I’m always looking for ways to incorporate a little more macrame into my life. The other day, I sat in the car waiting to pick up my daughter from summer camp and this idea popped into my head. I think my car keys were looking plain. LOL.
Macrame keychains!
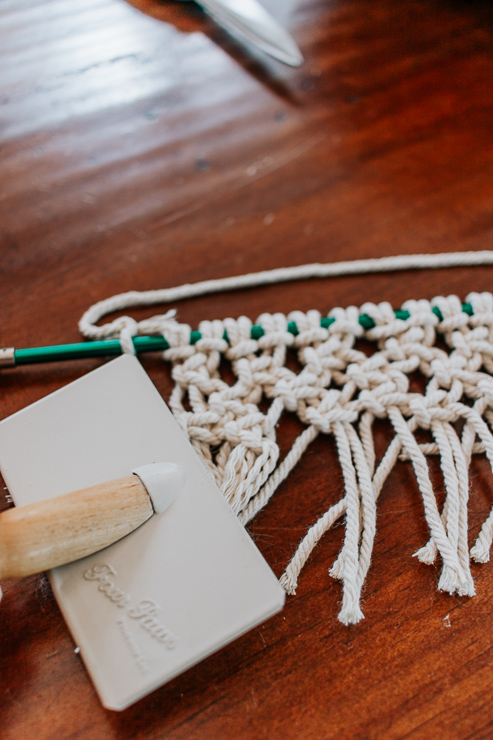
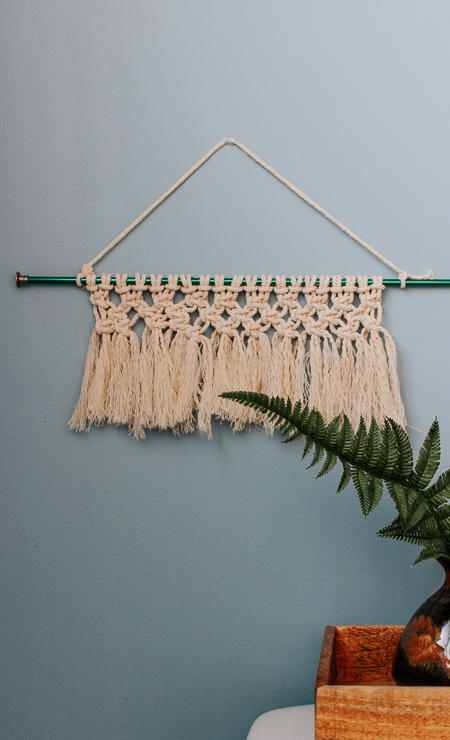
I know I’ve seen these keychains before but I never made any. Since I like to keep my macrame projects relatively easy and quick to complete, I designed this project using simple knots and an easy pattern. If you’re not too busy, check out my last macrame wall hanging post here.
So grab a cup of coffee and settle in for a quick and fun craft project!
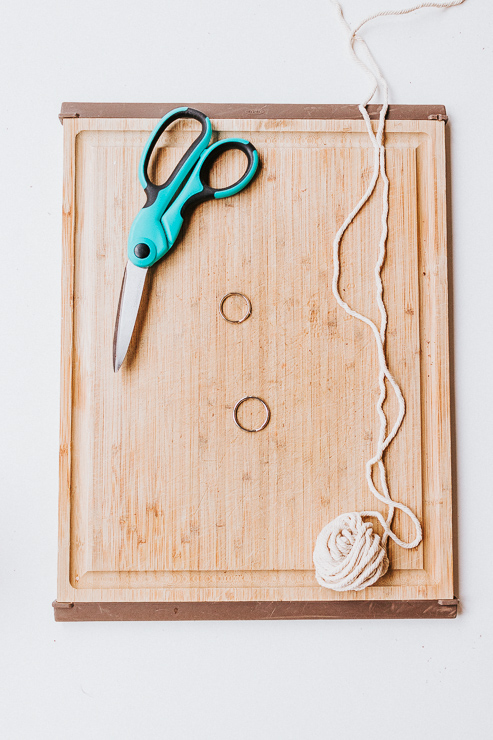
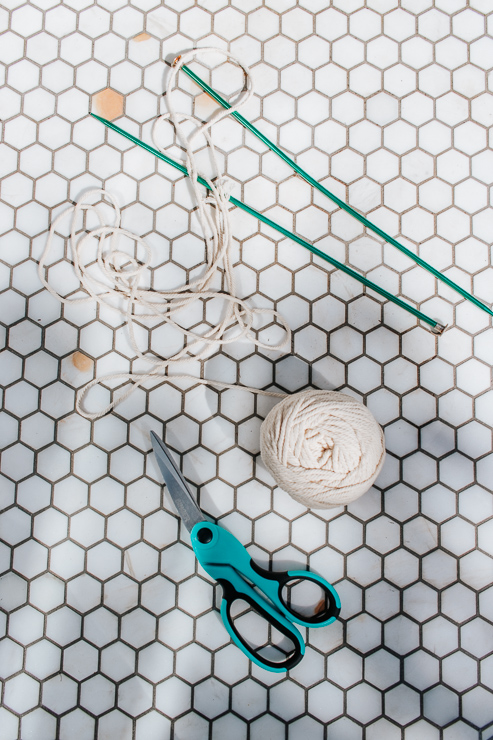
Materials:
(I’ve included affiliate links for your convenience. I earn a small percentage from a purchase using these links. There is no additional cost to you. You can read more about affiliate links here.)
- 3 mm macrame cording
- Scissors
- Key Ring (or use the one you already have!)
- Wire brush (for brushing out the fringe – not totally necessary but it does make some nice fringe)
Tape Measure (for measuring cords)
Instructions
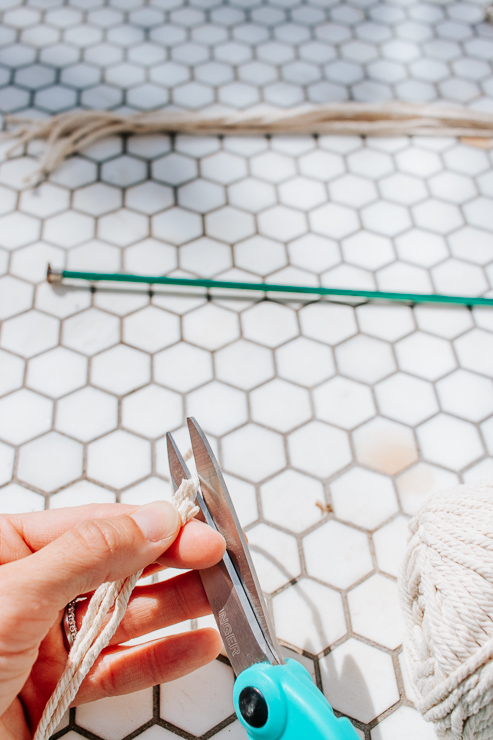
Step 1: Cut your Cords.
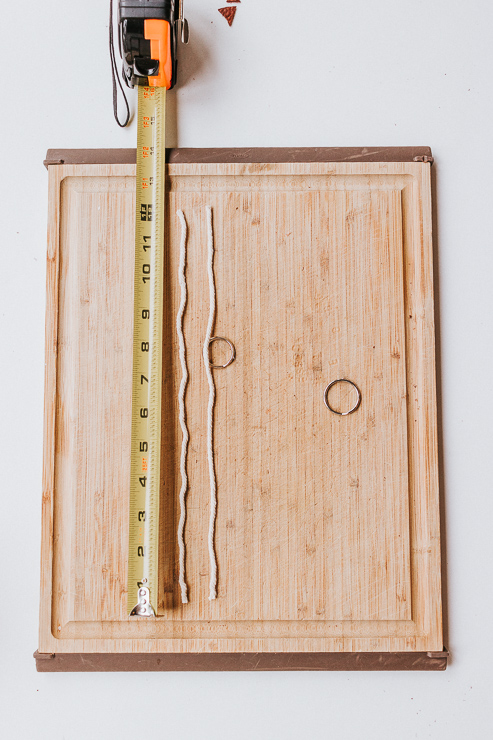
You will need 2 cords, 12 inches long for this project. Cut your cords at 12 inches.
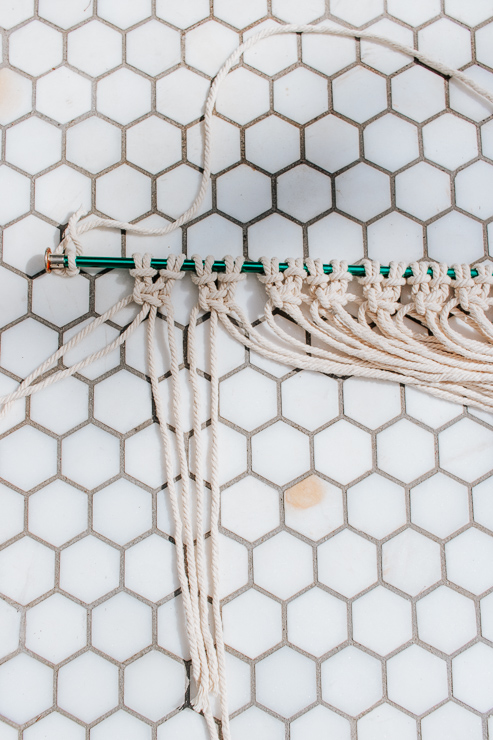
Step 2: Attach your Cords to your Keyring using Lark’s Head Knots.

Take one of your cords and fold it in half. Slide the loop part under the keyring and fish the two bottom pieces of the cord through the loop. Pull tight. Make sure you attach your cords on the side of the keyring that won’t interfere with you taking keys on or off.
Repeat this step with the other cord. You will have two Lark’s Head knots on your keyring and a total of 4 cords hanging down.
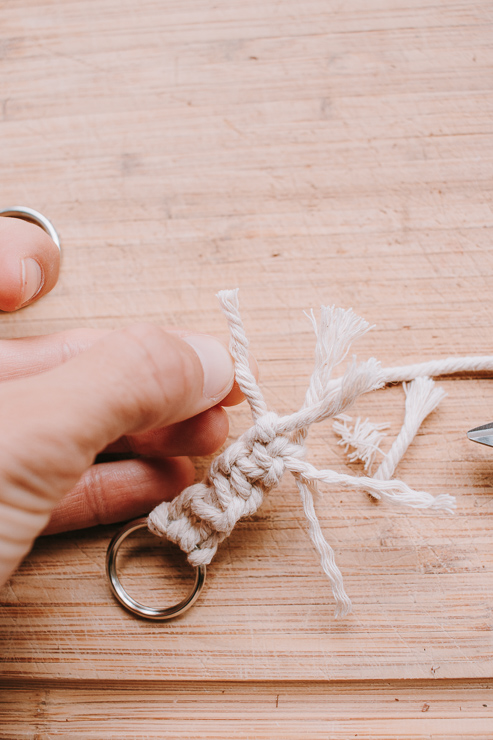
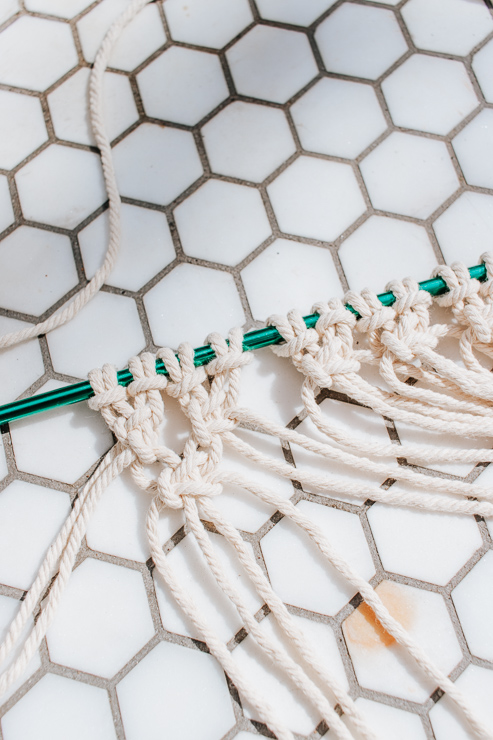
Step 3: Make Square Knots.
Using these four cords, make a row (or pattern) of three square knots.
Here’s a video showing you how to make a square knot …
Step 4: Tie a Few Knots to Secure the Pattern.
Right under your third square knot, tie a few regular knots to secure the cords. Yay! You are ready to make fringe!
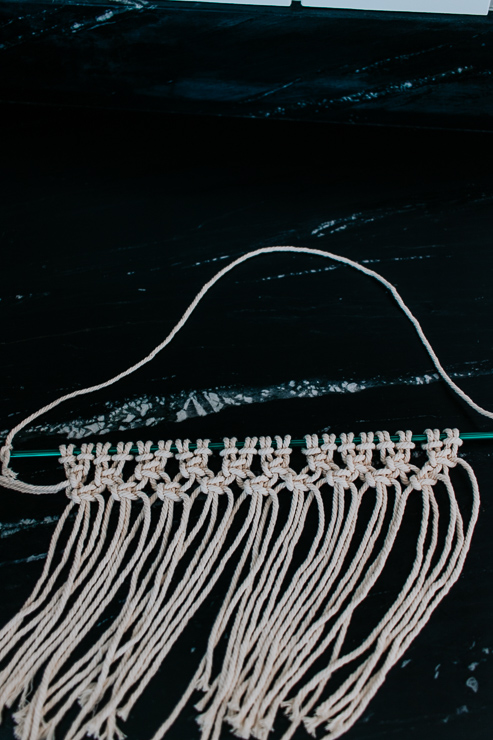
Step 5: Make Fringe!
Untwist each cord a bit to start unraveling, then use your wire brush to “brush” out the cords into a wispy fringe.
I don’t know why, but this part reminds me of those faux rabbit foot keychains. Remember those things? LOL.
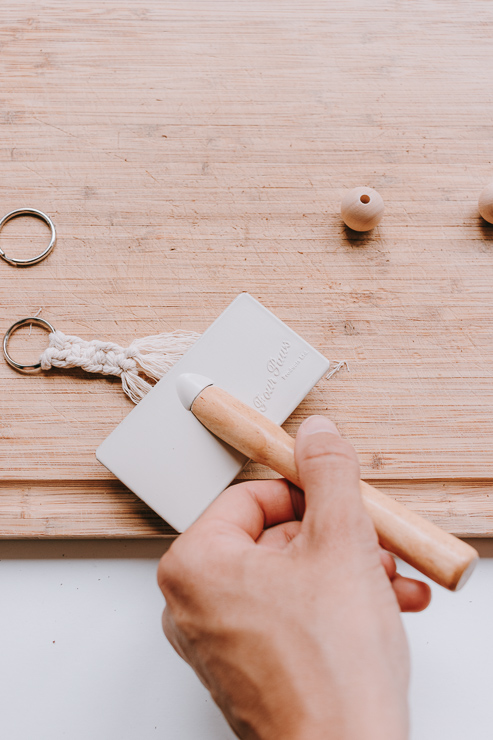
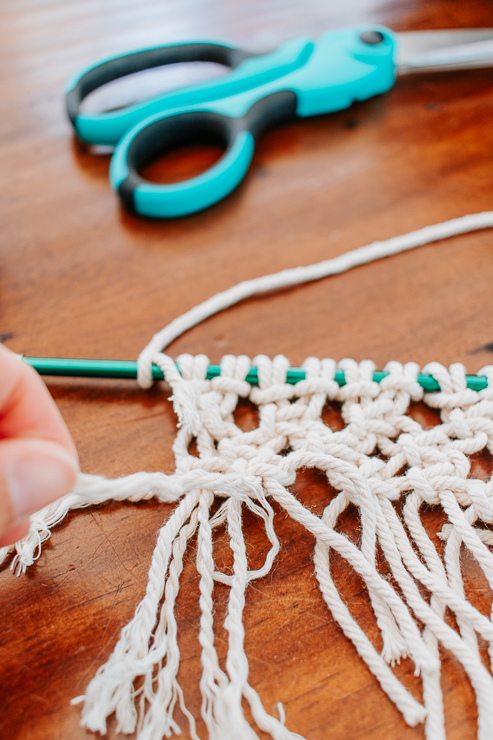
Step 6: Trim your Fringe.
Once you are satisfied with the length and the fringing, simply trim it up to give your keychain a neat appearance. All done!
And now you have a cute little macrame keychain!
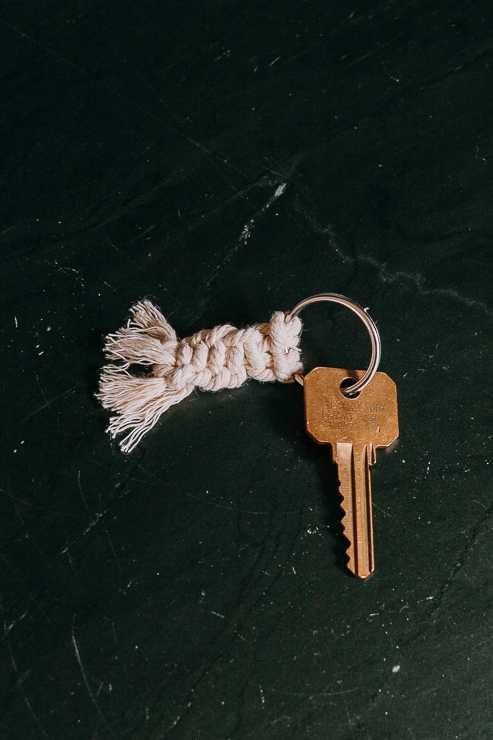
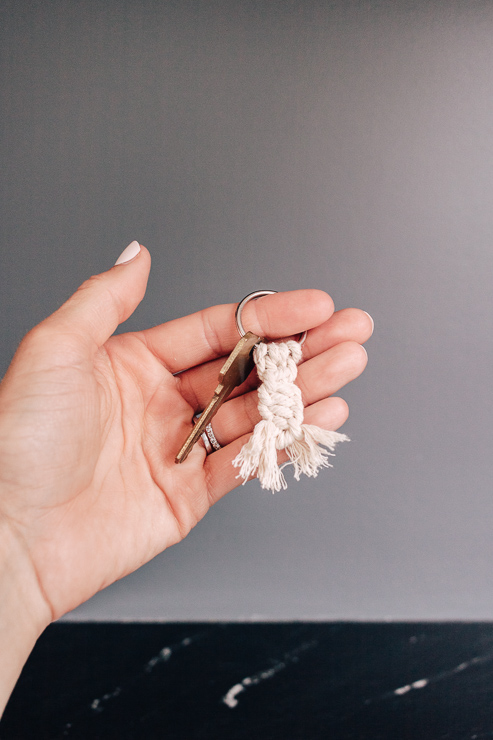
Make one for your kids or gift one to a friend. Use different color macrame cording for a colorful touch. Or start with longer cording and make a longer keychain. Really – the sky is the limit with macrame.
I hope you guys enjoyed this quick little craft! I’ll see you back here next month!

~ See More of Karen’s Tutorials ~

 Hello! I’m Karen, the creator of the Home Decor and DIY Blog: Decor Hint. I’m a Native of the East Coast, but I currently live in beautiful Seattle with my hubby, our two wonderful children, and our spunky wheaten terrier.
You can usually find me with some sort of craft in one hand and a coffee in the other. And I’m always rearranging furniture or moving lamps from room to room. I have a passion (read: obsession) for decorating, DIY, and gardening. In short, I love making my house into a home.
Like many, I’m inspired by what I see in home decor magazines, but I’m not so inspired by the price tags. Consequently, I love finding and creating beautiful budget-friendly home decor items. In a head to head competition, I bet you’d never know the difference between the designer items and my DIY creations! Many of my DIY projects focus on sewing, crafting, upcycling and organizing. Some of my favorite projects have been making pretty wreaths, sewing my own tassel hand towels, and crafting these trendy wood bead garlands. I can’t wait to inspire you and spark your creativity through my DIY projects.
You can always connect with me on Pinterest, Twitter or Instagram.


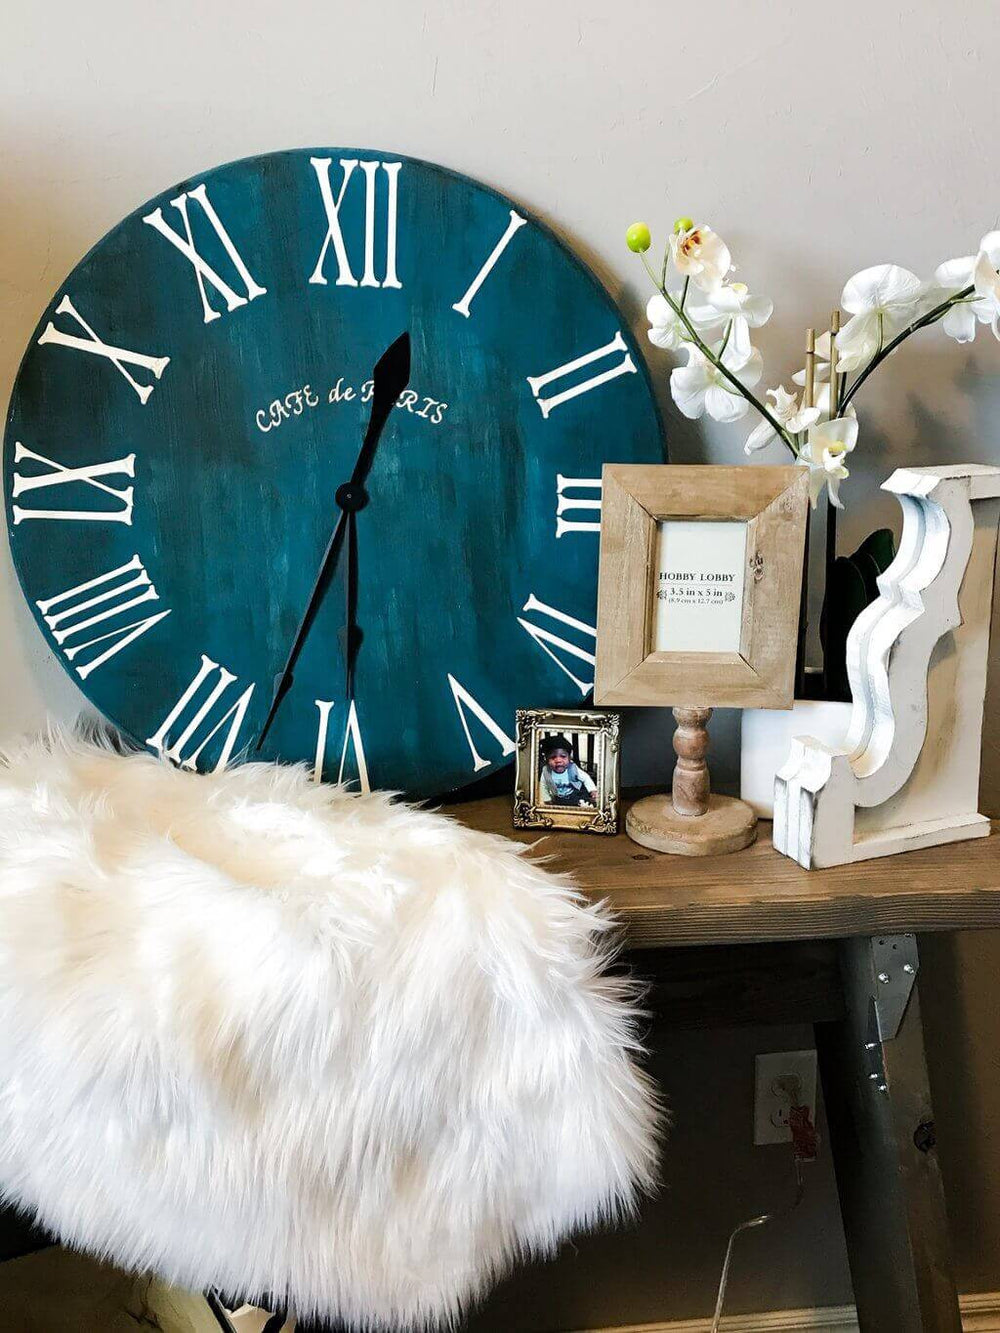 Make this DIY Rustic Roman Numeral Clock
 Build a Modern Farmhouse bench
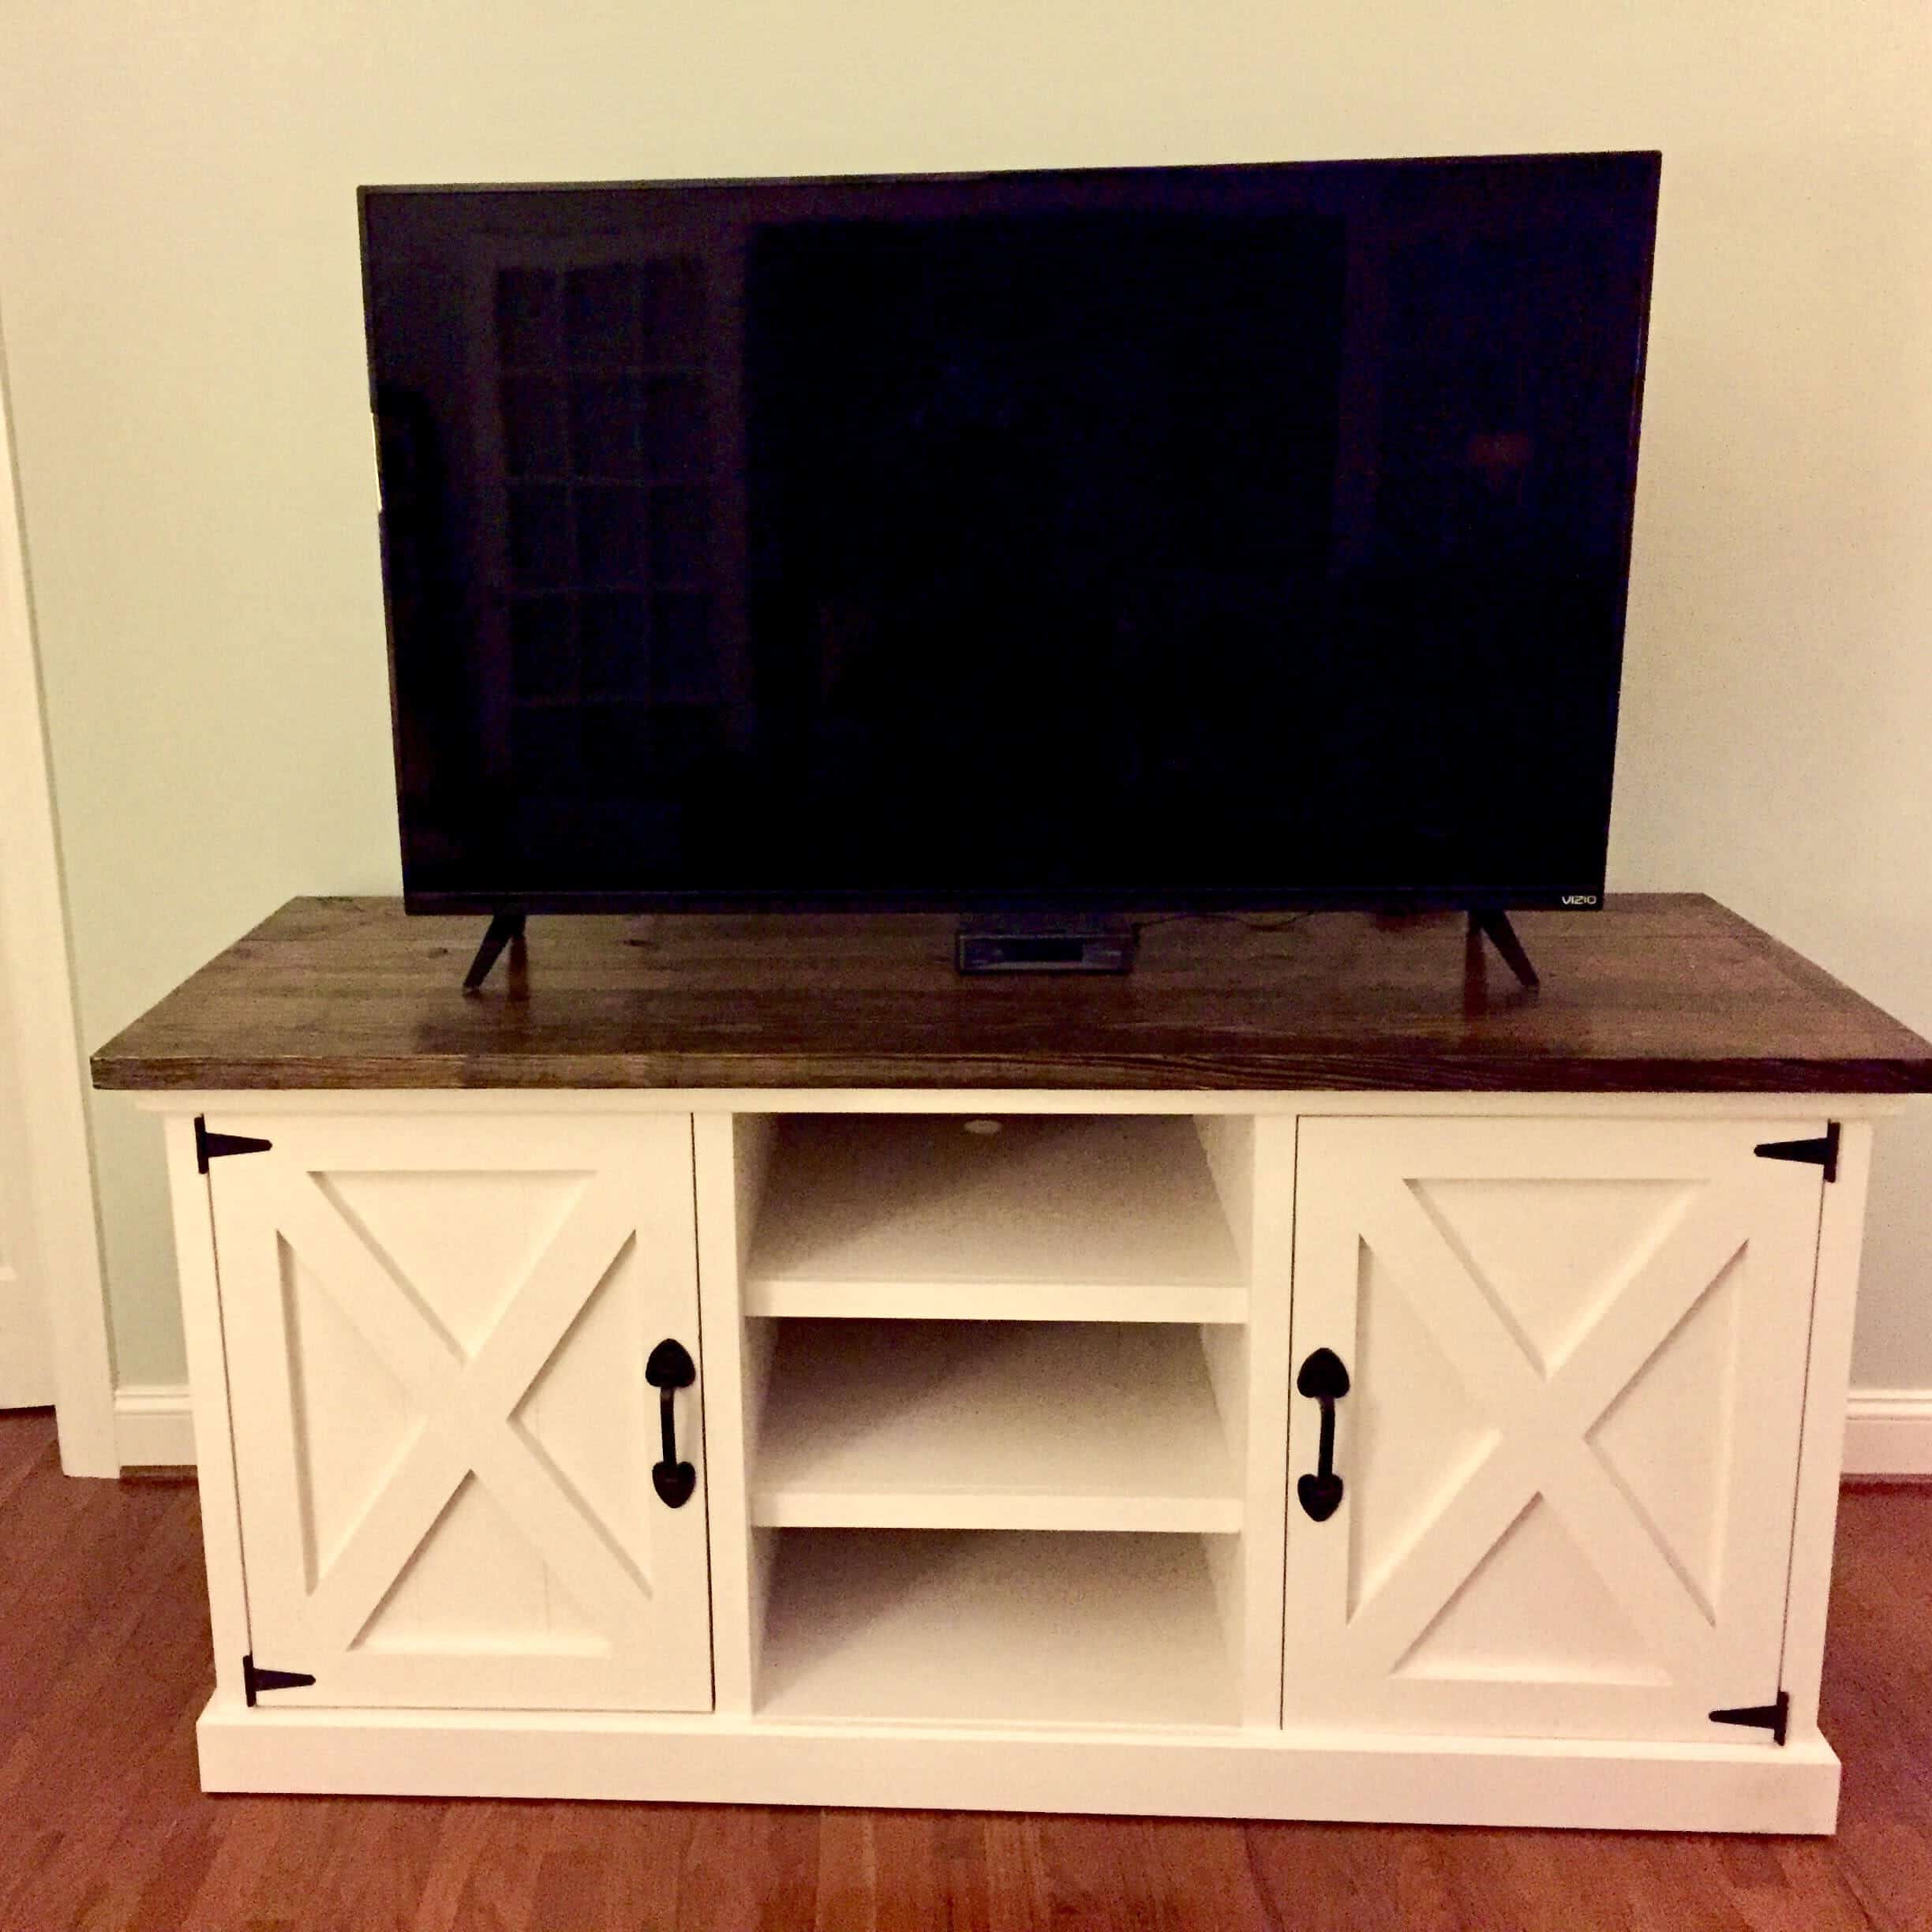
 Create this Rustic Caddy with a Branch Handle
 Create this Farmhouse Family Birthday Sign
 Build a DIY Side Table
 Create these cute animal shaped cutting boards
 Make a gorgeous cake stand
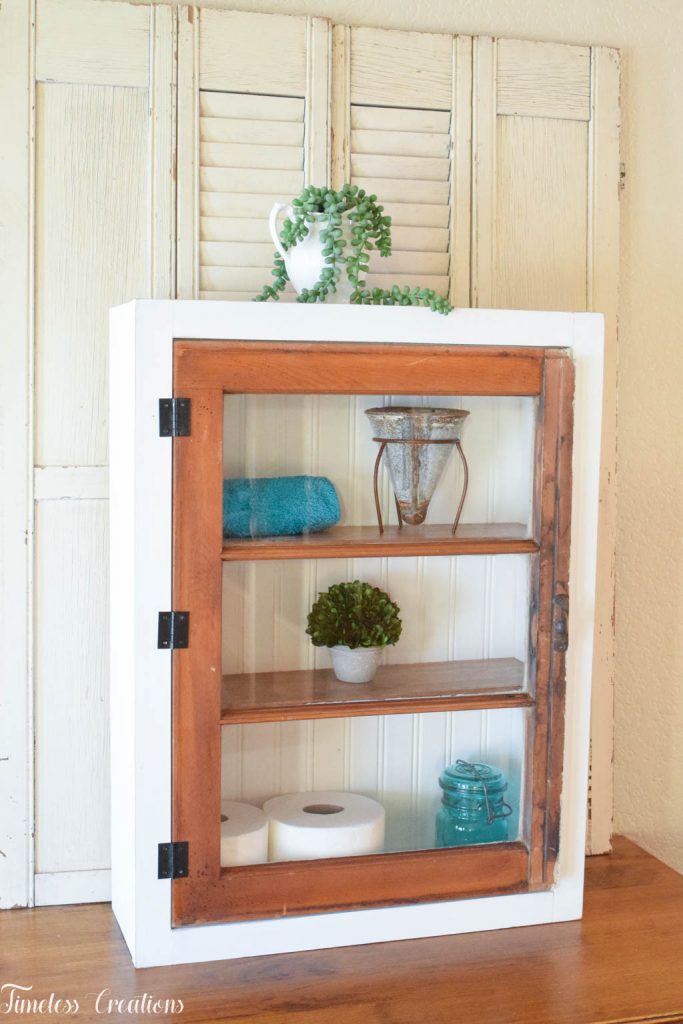 Build this DIY Window Wall Cabinet
 Create a Rustic Wood Headboard
 Add a DIY Farmhouse style Farmers Market Wooden Sign
 Add a Farmhouse Style DIY Flowerbox Centerpiece


 Build this DIY Rustic Media Center
 Make a Farmhouse Style Corbel Shelf
 Create this beautiful DIY Chicken Wire Memo Board
  A gorgeous DIY Herringbone Table


 DIY Wooden Lanterns


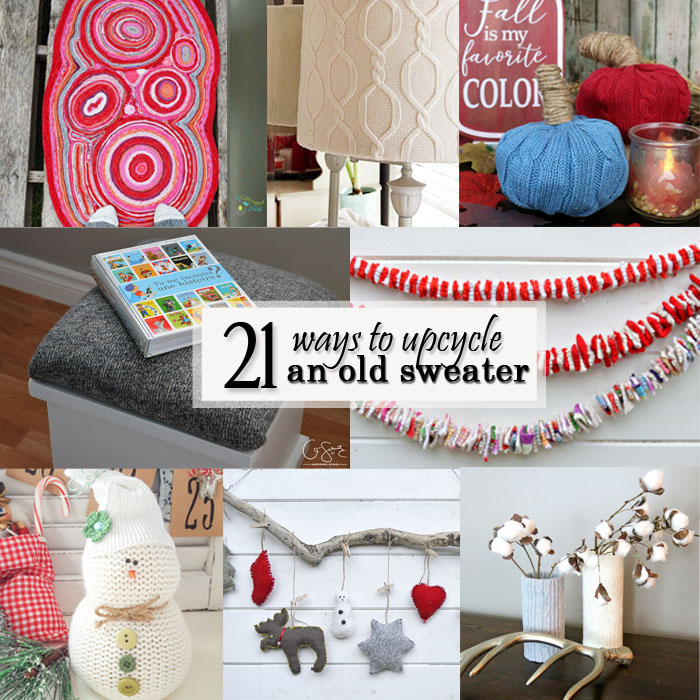
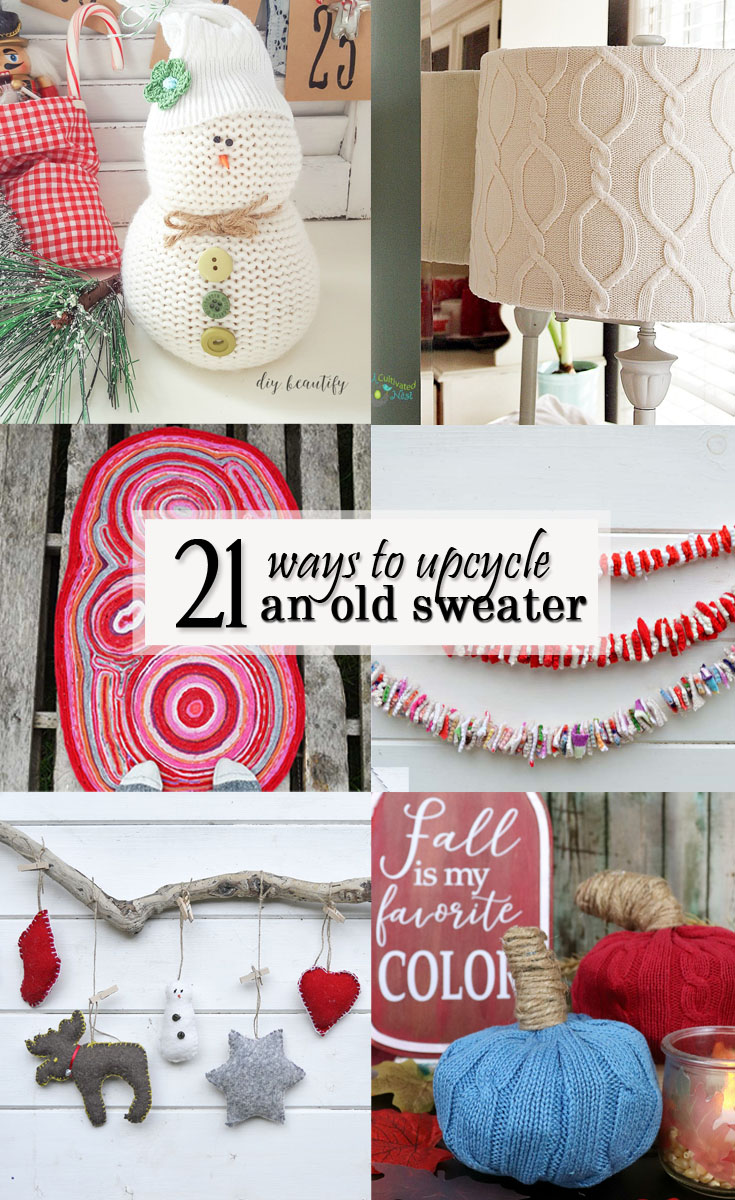
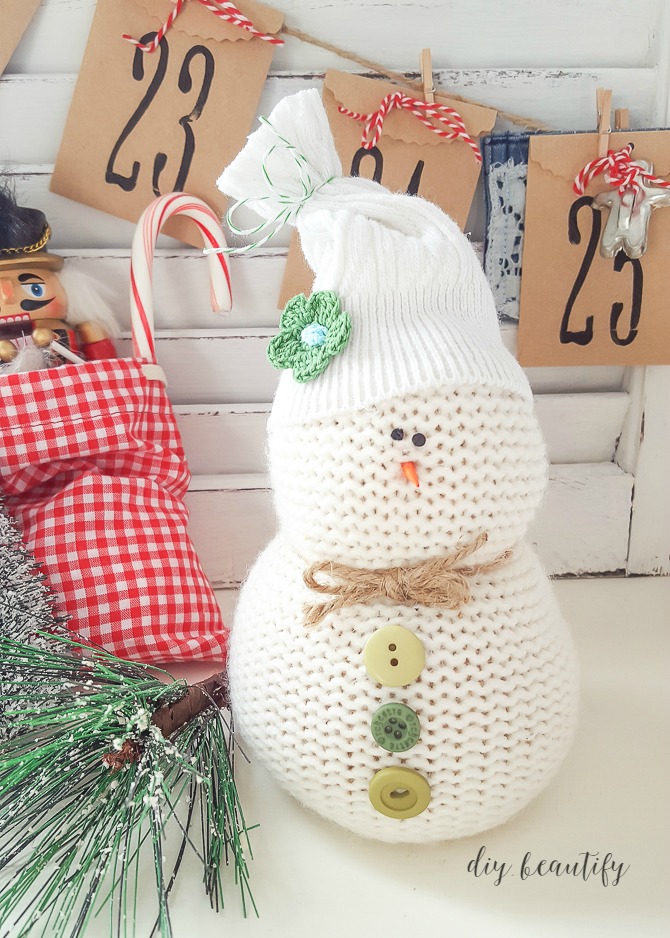 Create this adorable Snowman
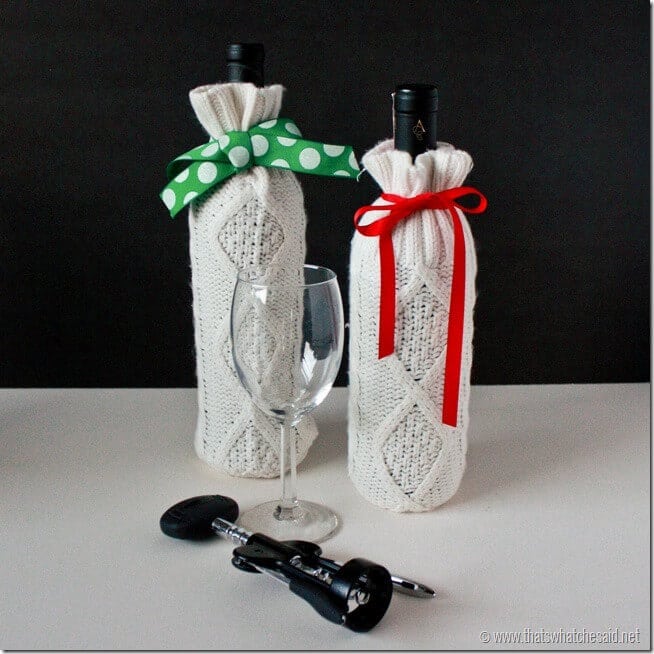
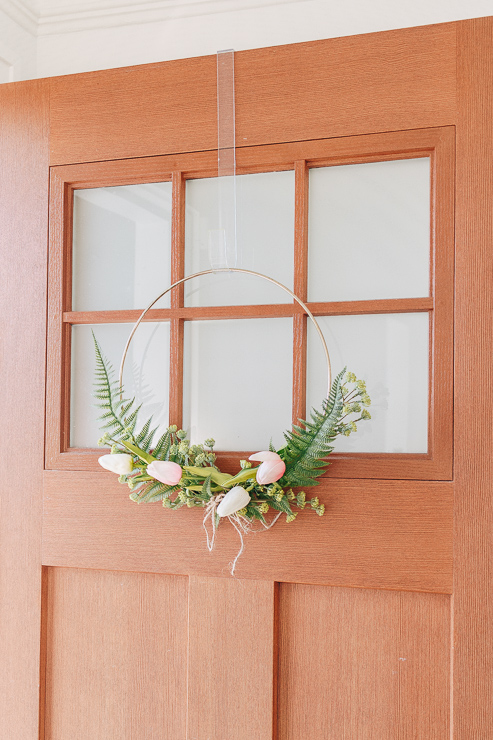
 Create a Fall Wreath from a sweater
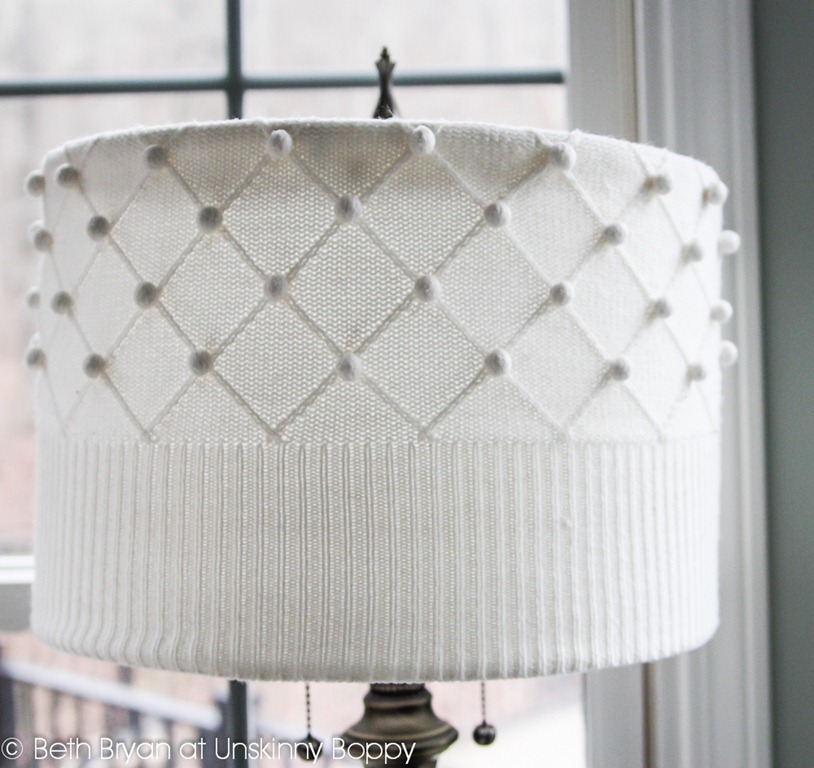 Make a gorgeous chic lampshade
 Create this 10-minute Tooth Fairy Pouch
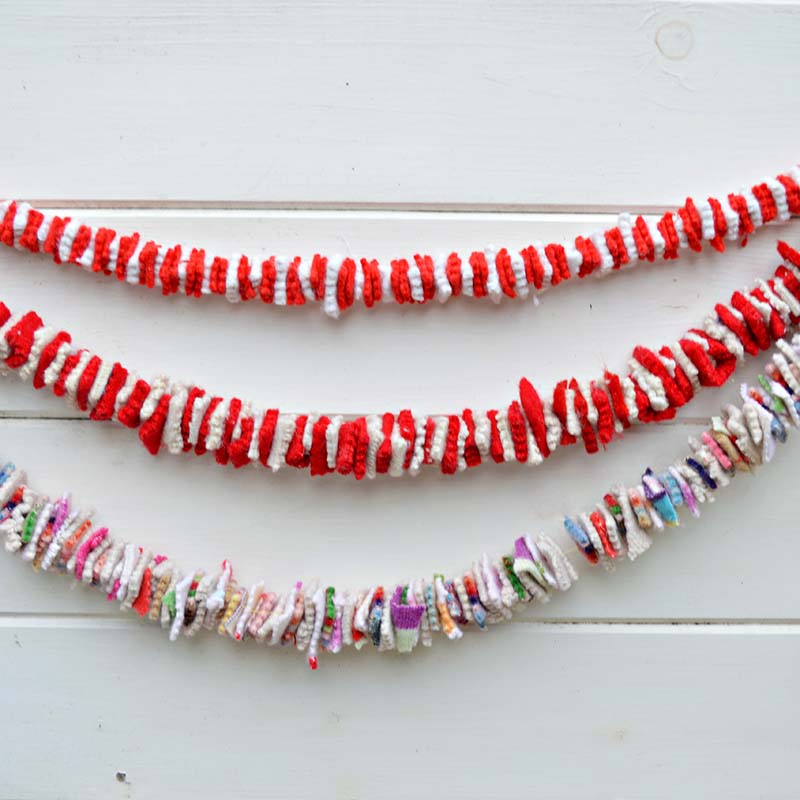 Make these gorgeous wool garlands
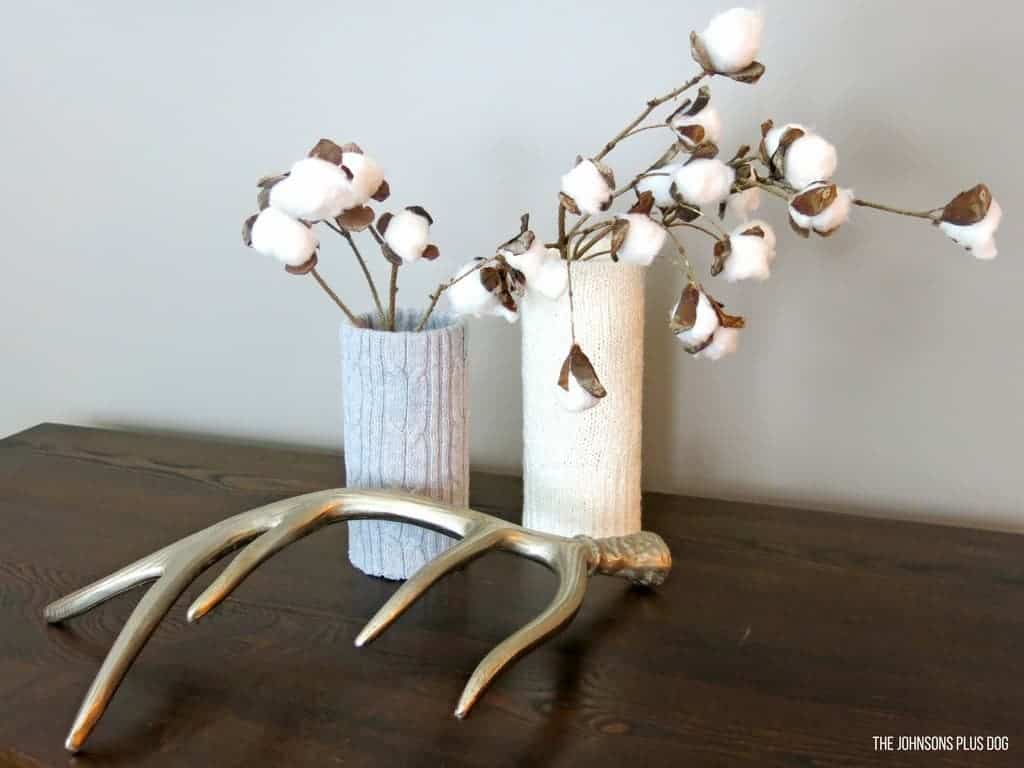
 How cute is this sweater vase
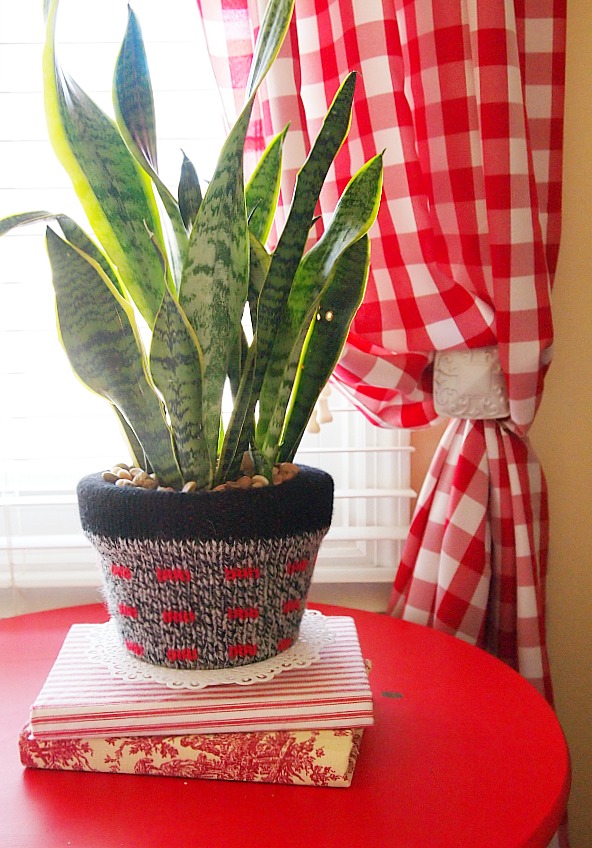 Use a patterned sweater
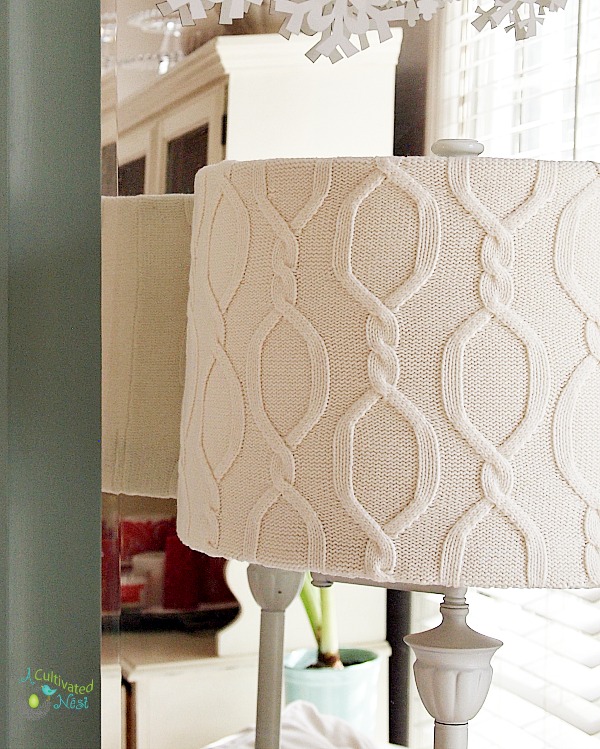 Create some coziness in your room by covering this lampshade
 These no-sew sweater pumpkins
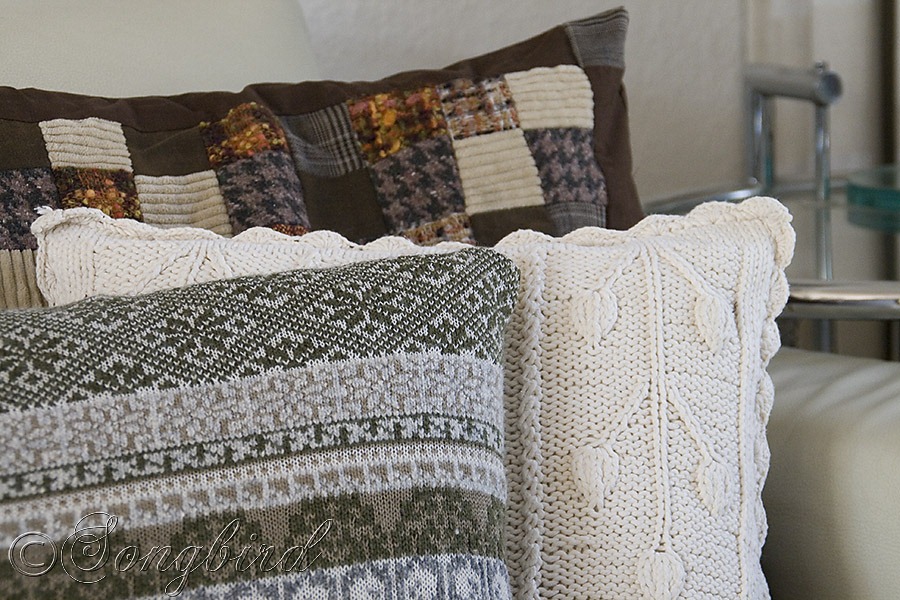 Create some DIY pillows using old sweaters
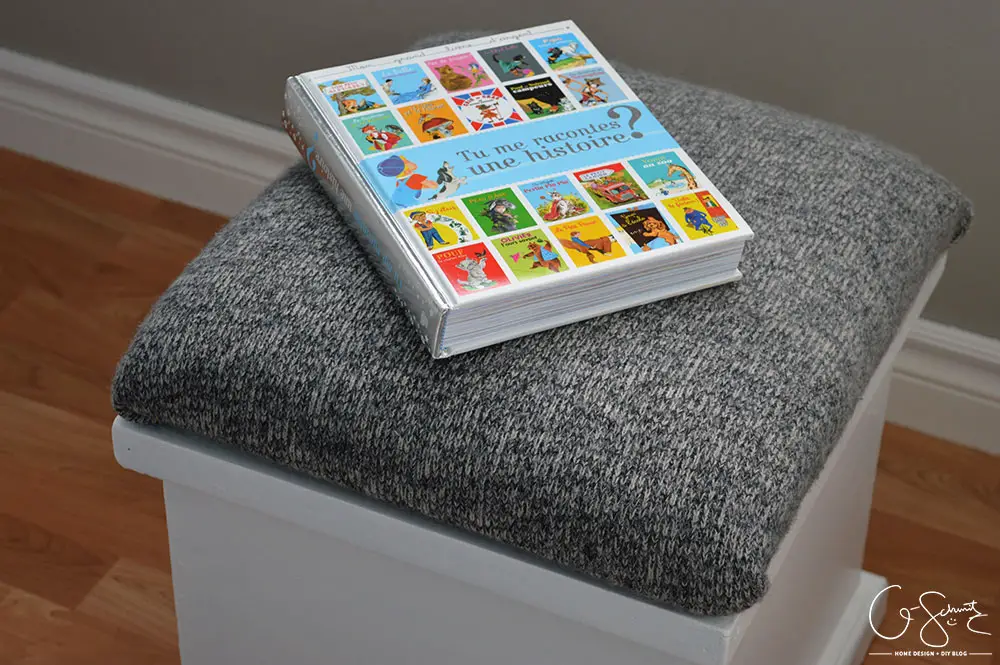 Makeover a storage ottoman
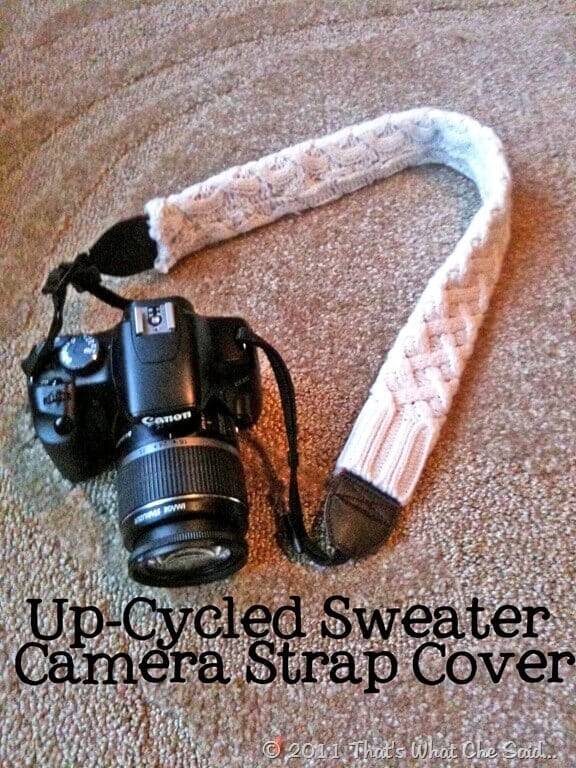 Cushion your camera strap
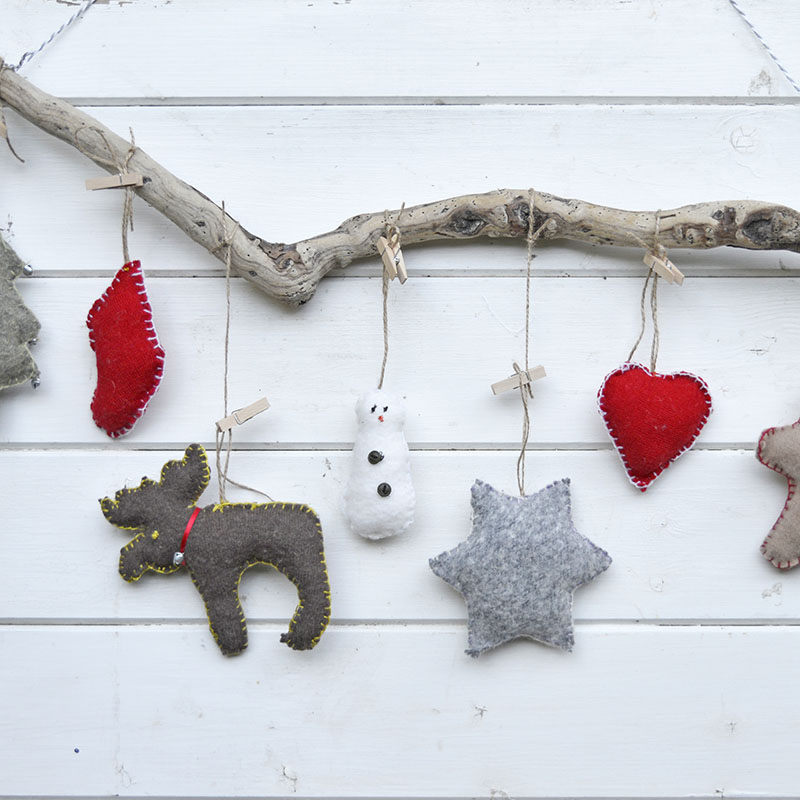 Use old sweaters to make these adorable christmas ornaments.
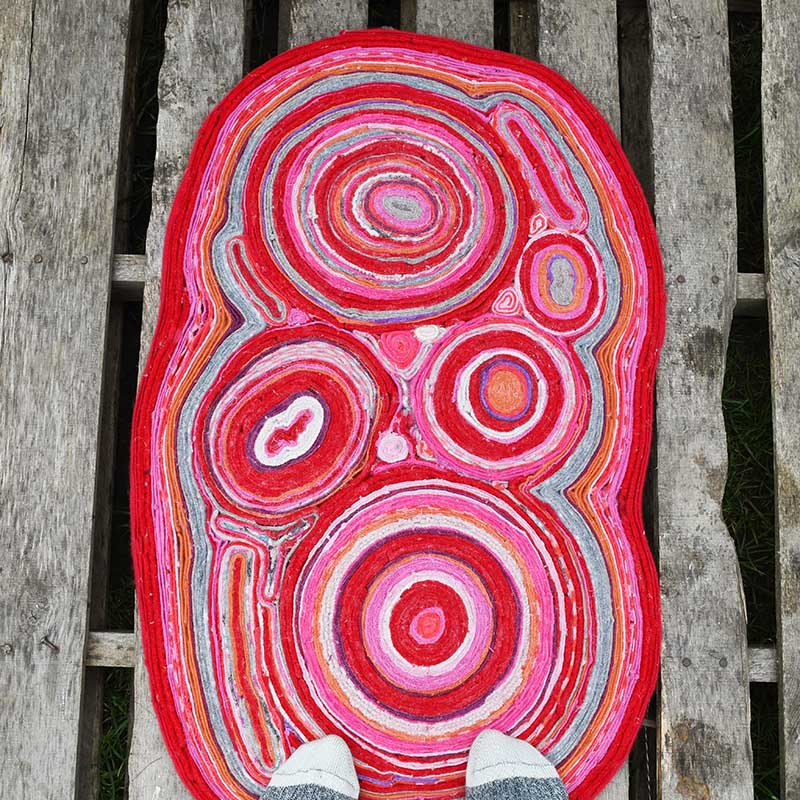 Create a psychedelic rug using
 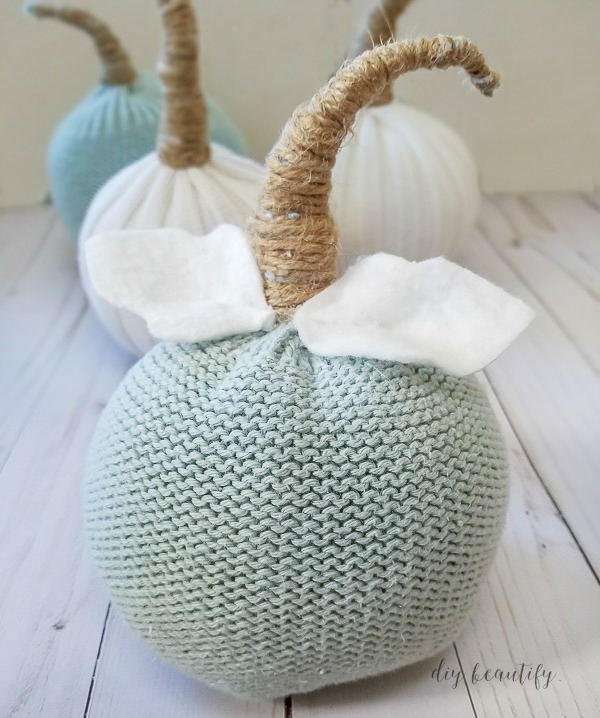 Turn sweater sleeves into these adorable pumpkins
 Re-size and Dress Up a sweater
 Make leg warmers really quickly