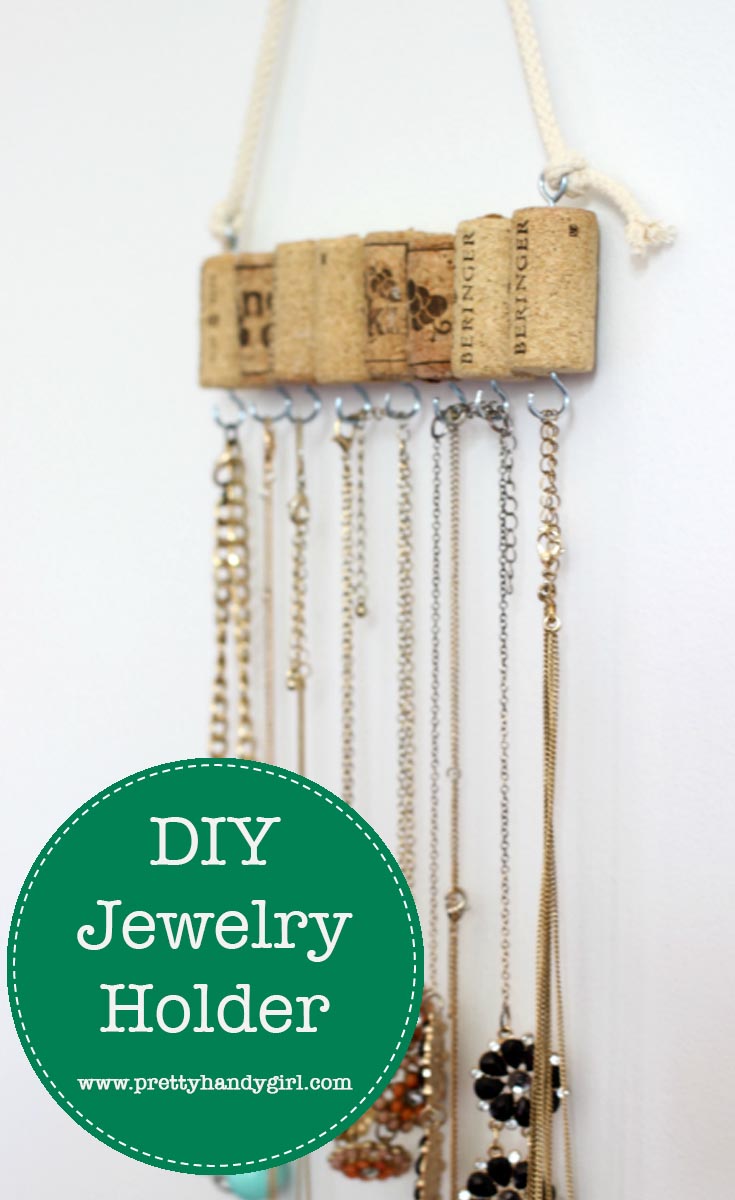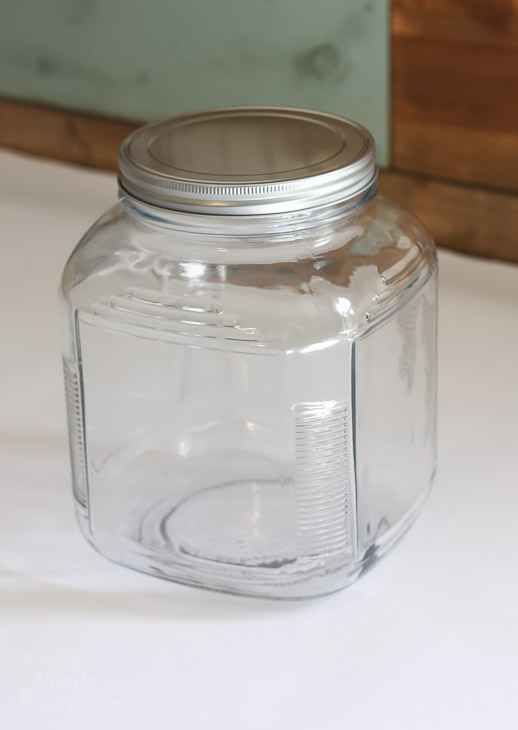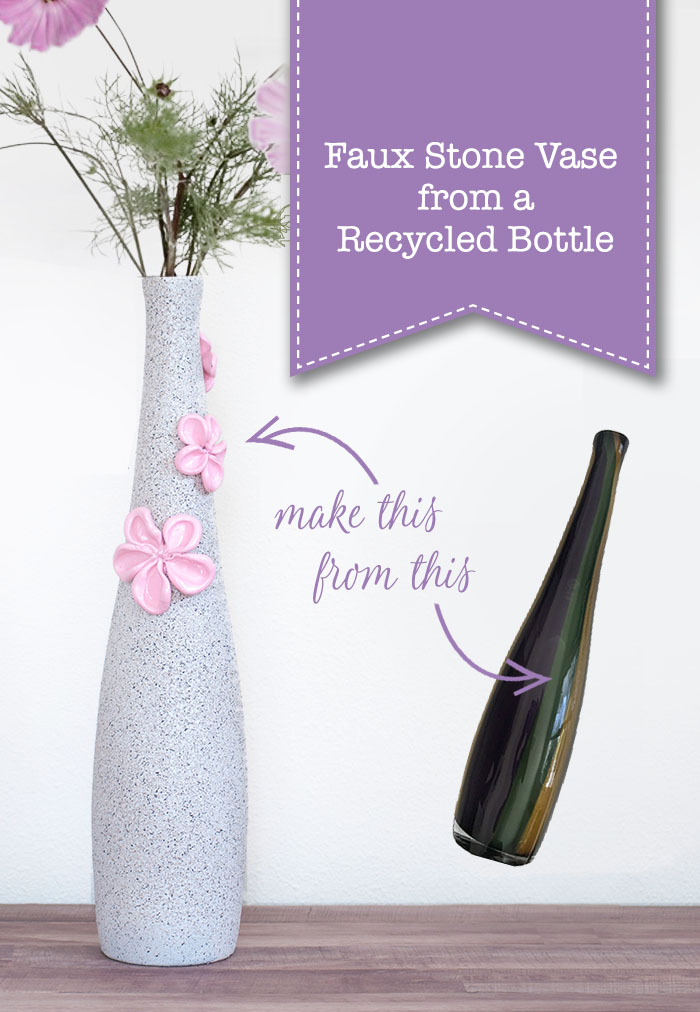
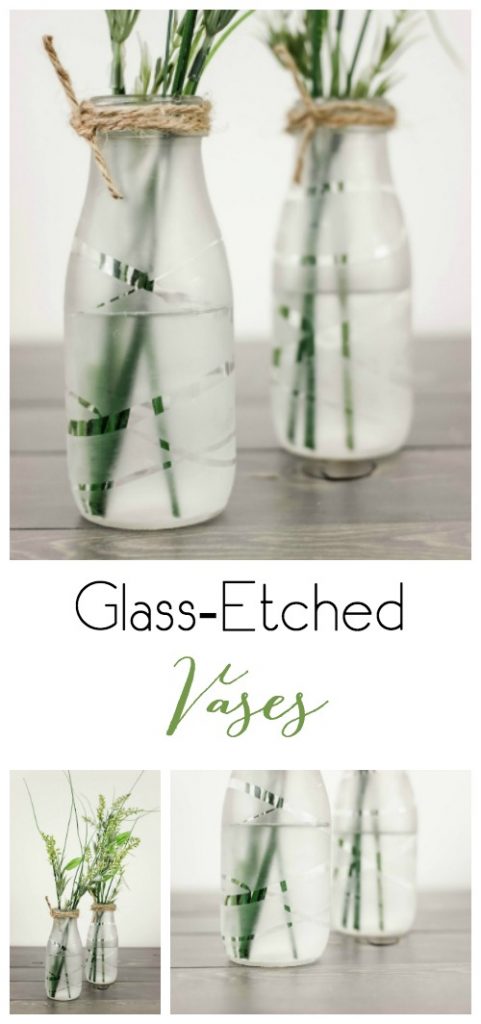
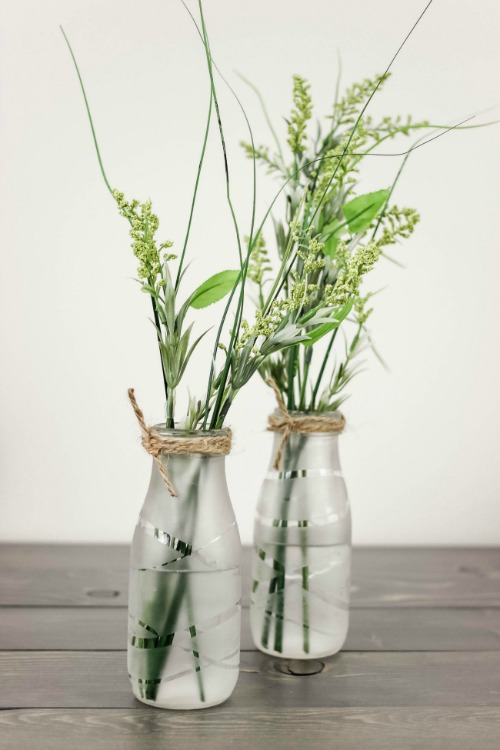
Hey, guys!! It’s Anika from Anika’s DIY Life back again with a quick and easy project. I hoard glass bottles and vases. My garage has an entire shelf full of bottles and I love giving them fun updates like this 5 minute marbled vase and the upcycled spice bottle “wind-chime”. Recently I turned my attention to this bottle vase and decide to make a Faux Stone Vase from a Recycled Bottle.
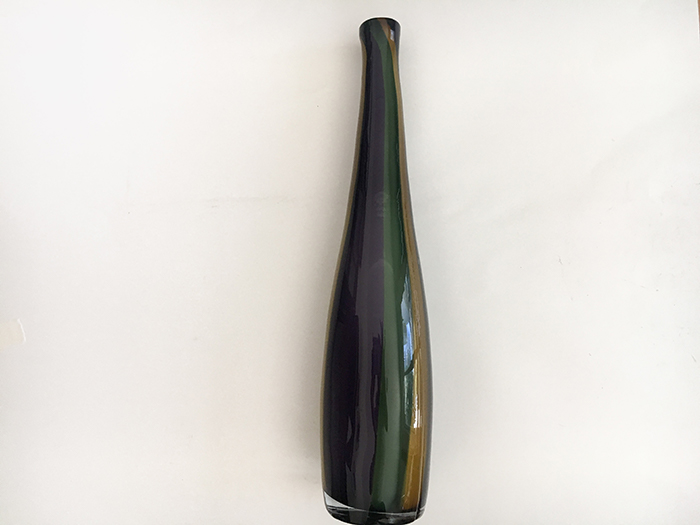
I bought the bottle vase at a yard sale about 8 years ago for $0.50. At the time, it “kind of” fit in with my decor, but over time it started to look out of place and needed an update. Nothing a little bit of spray paint and clay flowers can’t fix. Want to see how to create your own Faux Stone Vase from a Recycled Bottle with 3-D Clay Flowers?
Materials:
(I’ve included affiliate links for your convenience. I earn a small percentage from a purchase using these links. There is no additional cost to you. You can read more about affiliate links here.)
- Old vase of your choice
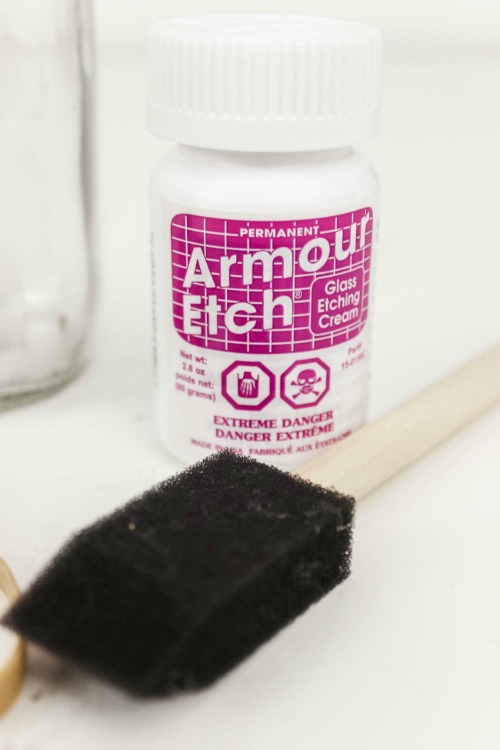
- White spray primer
- Stone spray paint (I used Charcoal sand)
- Oven bake clay
- Colored spray paint of your choice (I used Candy Pink)
- Hot glue gun
Instructions:
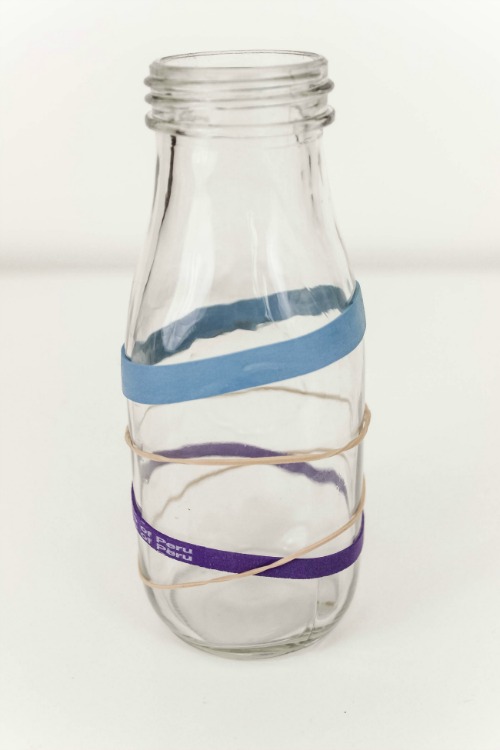
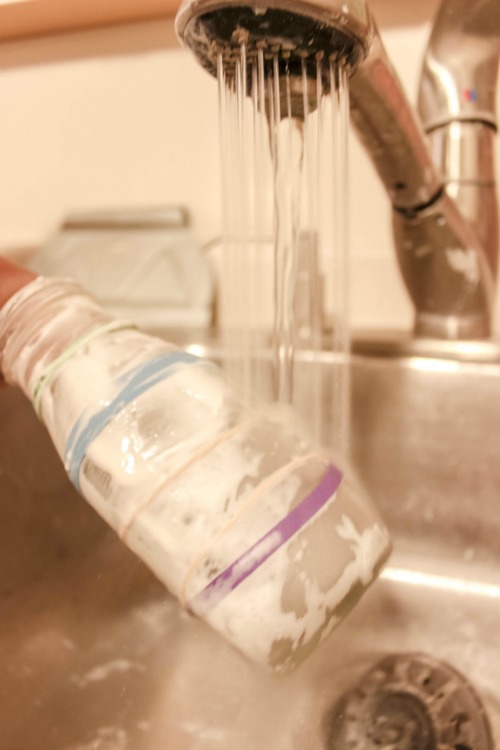
Step 1 – Use rubbing alcohol or lemon oil to remove any sticker residue. Clean the vase well with soapy warm water to remove any old dirt and grime.
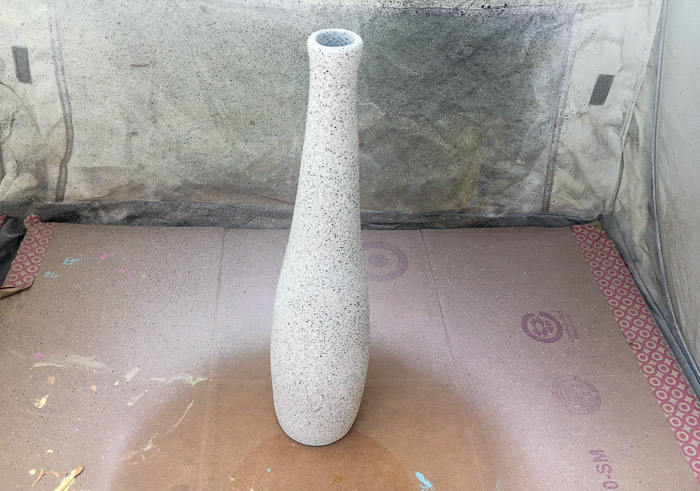
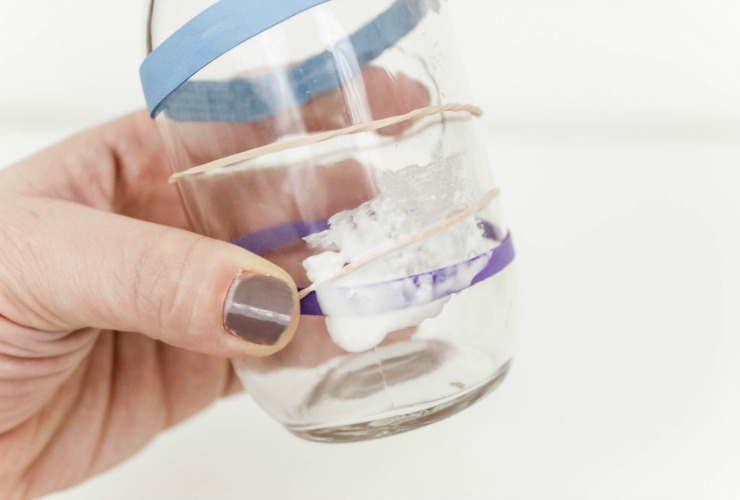
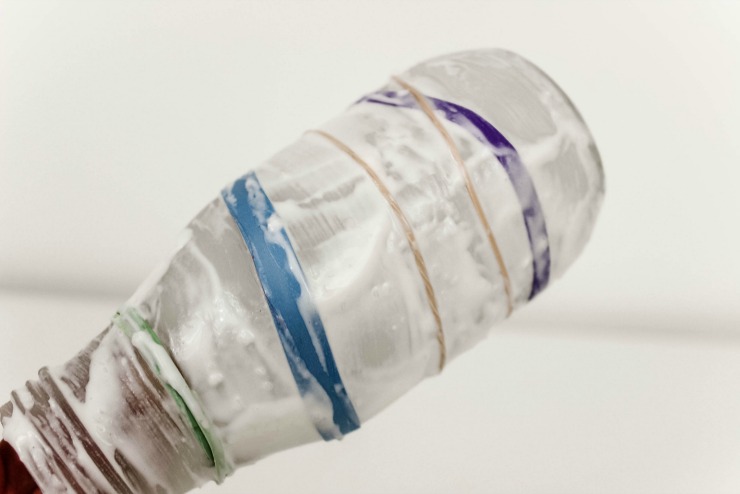
Step 2 – Give the bottle a couple coats of spray primer. Allow to dry. Coat the bottle with a few layers of stone spray paint. (Tip: when using the stone spray paint, use quick short bursts. This gives the best coverage and texture.)
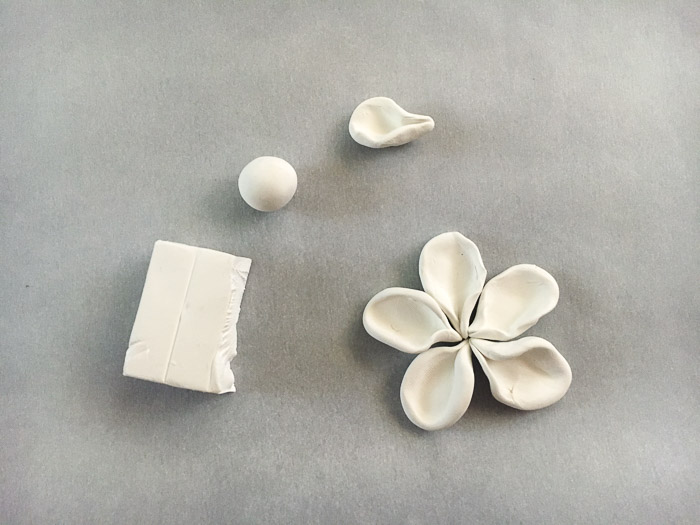
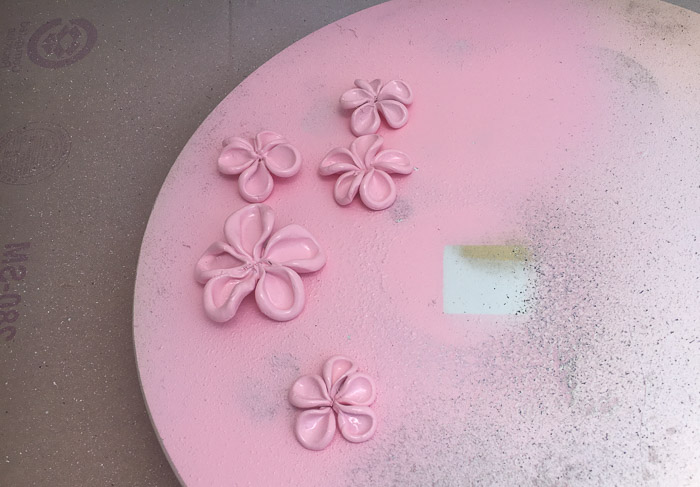
Step 3 – Mold the oven bake clay into flower shapes. You can make flower petals by rolling a ball, then press it between your fingers into shape.
Step 4 – Bake flower petals in the oven per manufacturer instructions. After they cool, spray paint them to your desired color (or leave them the color of your clay.)
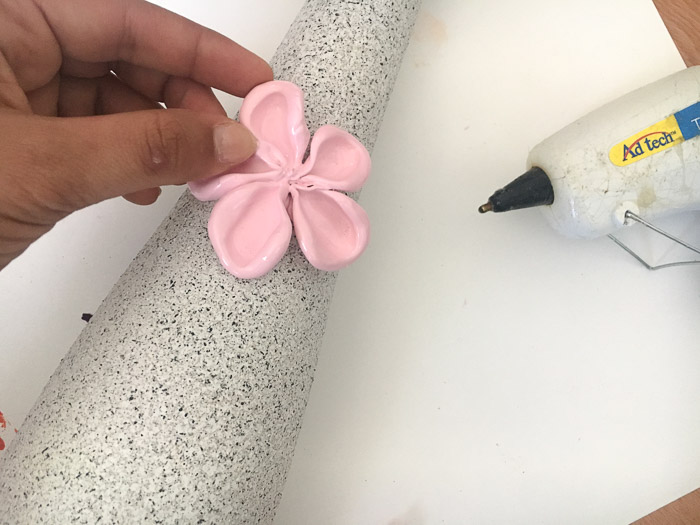
Step 5 – Glue the flowers onto the vase using hot glue.
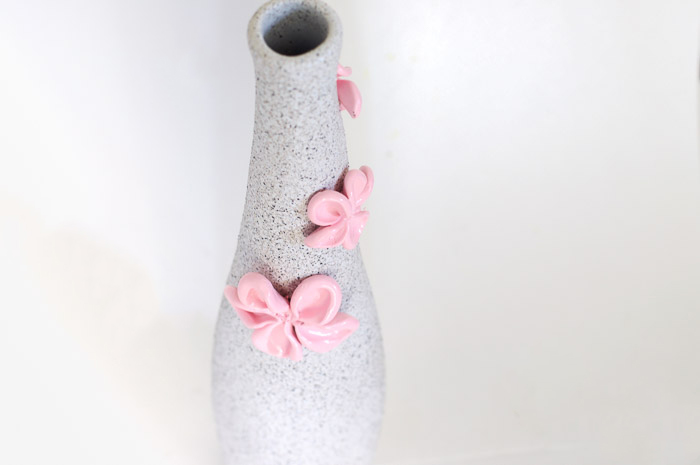
What do you think of the Faux Stone Vase from aRecycled Bottle? That’s a big change. I love the texture of stone and the chic vibe of the pink flowers!
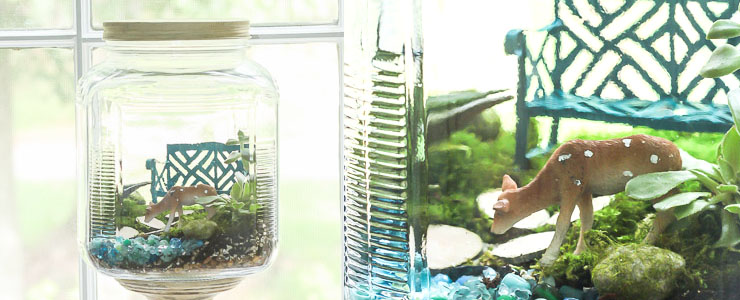
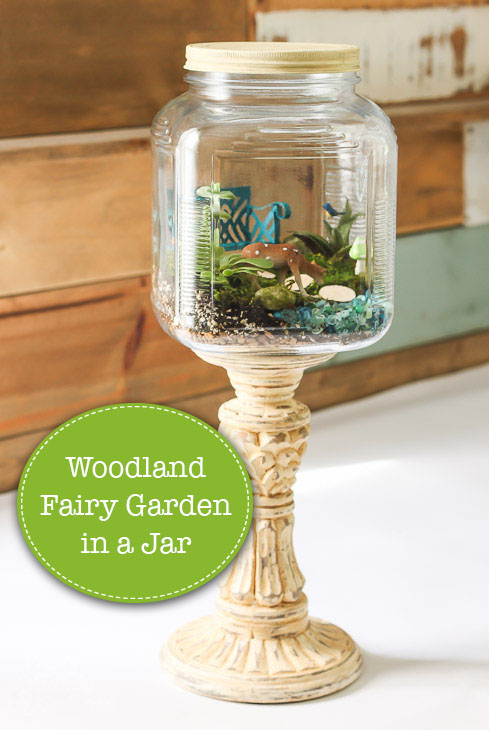
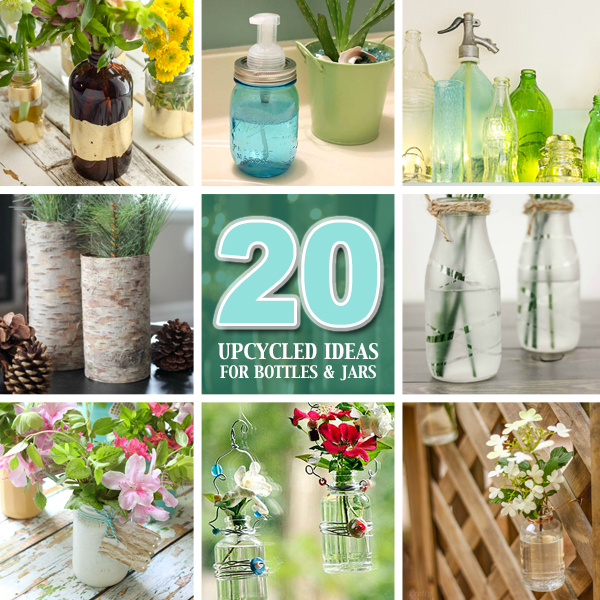
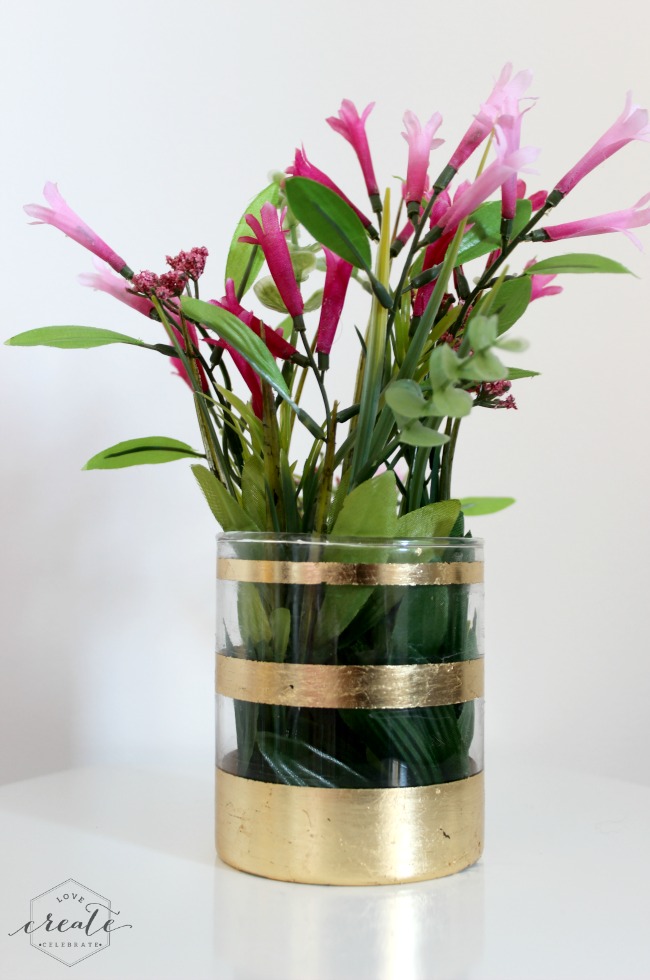
If you like hoarding recycled glass jars and bottles, you’ll love these 20 upcycled bottle and jar ideas:
Until next time,

~ Read More of Anika’s Tutorials ~


 ~
~