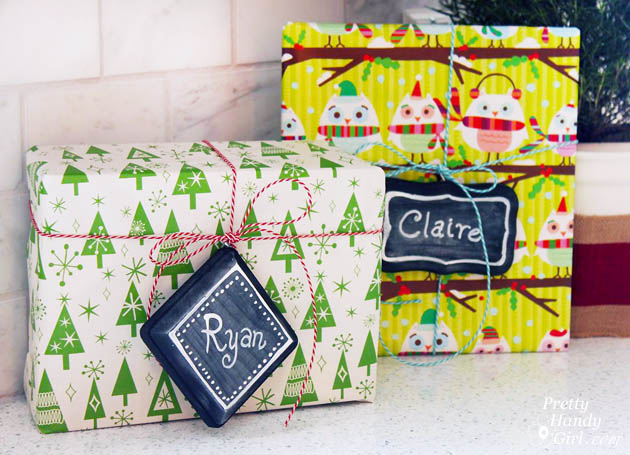
Want a great way to dress up gifts? Make these easy chalkboard gift tags for your holiday or birthday gifts. Purchase some inexpensive wood plaques or cut some masonite scraps and paint them with chalkboard paint.
Drill a few holes and thread them onto the ribbon on the gift. After the present has been opened the recipient can hang the chalkboard tag on their door or use them to label bins.
Materials:
- Unfinished wood plaques (I bought mine at Michaels)
- Small rectangular scraps of masonite
- Chalkboard paint (spray or brush on works fine)
- Screw eyes
- Pliers
- Drill
- Drill Bits
- Ribbon or rope
- Chalk
Instructions:
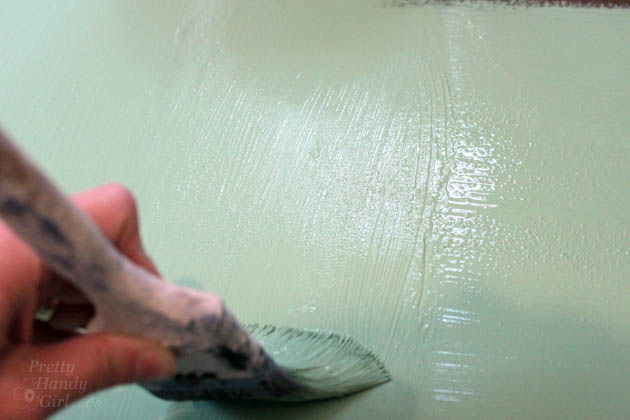
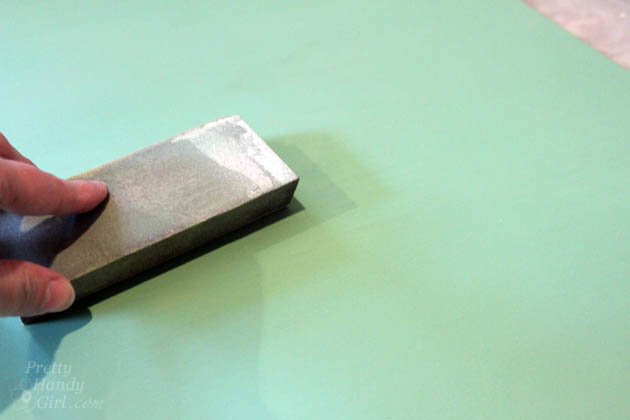
Prep your tags by painting them with chalkboard paint. Typically I like to use two coats.
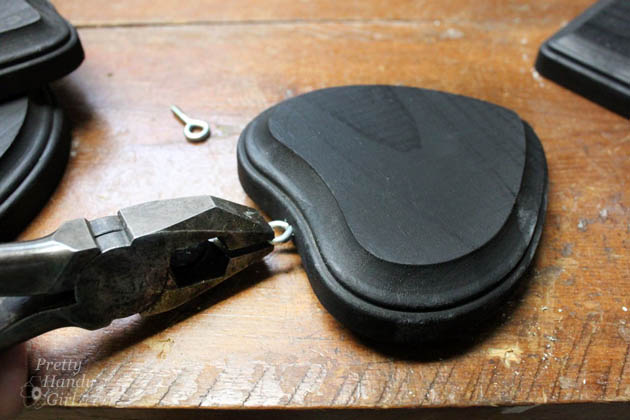
Drill holes in the top of the plaque (slightly smaller than the screw eye.)
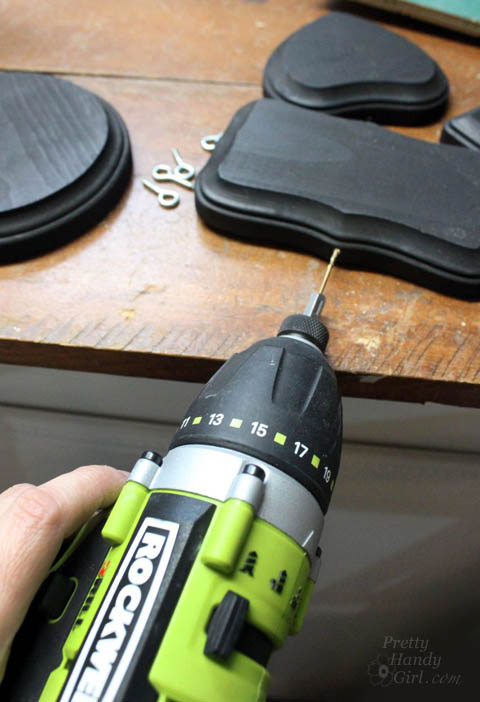
Turn a screw eye into the hole. Pliers are helpful when it gets tough to turn. Read more