PB Knock Off Monogrammed Bulletin Board

edited-0510

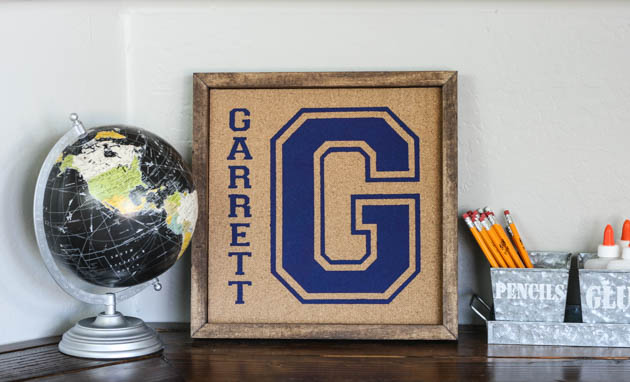
Hey everyone!  If you remember, last month, I shared with you how I updated my boys’ desk in our den with a wood plank desktop.  The den is just about ready for the big reveal and now I’m just working on adding little details.  This includes these fun personalized bulletin boards I made for each of my boys.  I was searching for desk organization ideas one day and saw these personalized pinboards on Pottery Barn Kids.  I knew they would be perfect for my boys and that I could knock them off pretty easily.  I made two of these pinboards, but my supply list will be for one pinboard.

Materials:

  • 12″ x 12″ wrapped canvas (mine was 3/4″ thick)
  • 12″ adhesive backed cork sheet
  • Adhesive vinyl
  • Transfer paper
  • Die-cutting machine
  • Acrylic aint
  • 2 – 1″ foam paintbrushes
  • 1″ x 2″ x 6′ pine board
  • Wood stain
  • Sander w/ 220 grit sandpaper
  • Miter saw
  • Brad nailer
  • 1″ Brad nails
  • 24″ Bar clamps
  • Hot glue gun

Instructions:

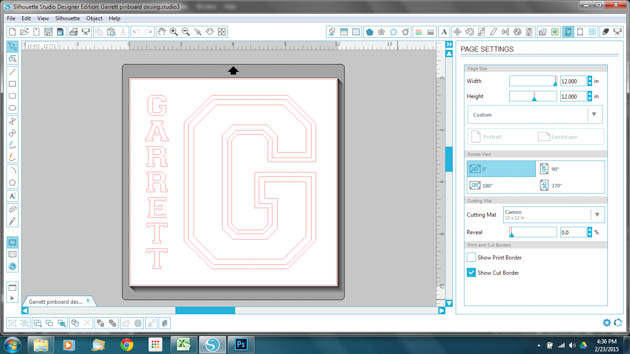
Start by designing your stencil.  To make it look just like the PB Kids version, use the Varsity font.  (FYI, the letters are all capitalized, but when you use the shift key or CAPS lock, it will add the outline.)

Knockoff Personalized Pinboard

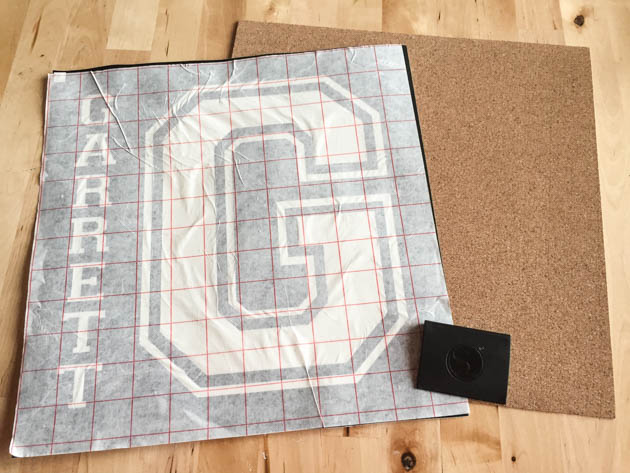
Cut your design out on the 12 x 12″ sheet of vinyl and weed the negative pieces out.  Remember that this is a stencil, so make sure to weed out the correct parts of your design.  Place your transfer paper over the design and use a scraping tool or a credit card to get out any air bubbles.

edited-7687

Peel the backing off of your vinyl and very carefully center it onto your cork sheet.  Use the scraping tool or credit card again to firmly adhere the vinyl to the cork sheet.  Carefully peel the transfer paper off. Stencil your design using the acrylic paint and foam brush. Read more

Inexpensive Faux Copper and Patina Metal | Pretty Handy Girl

inexpensive faux copper metal patina

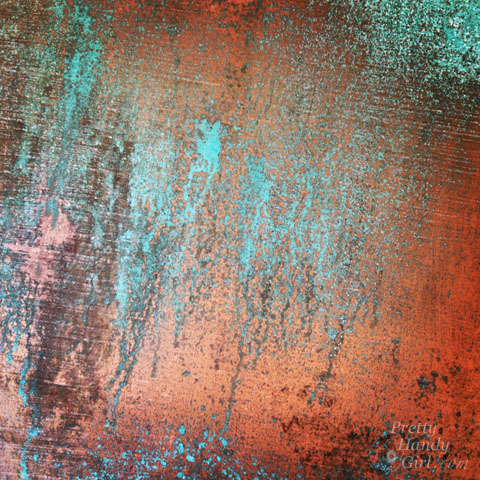
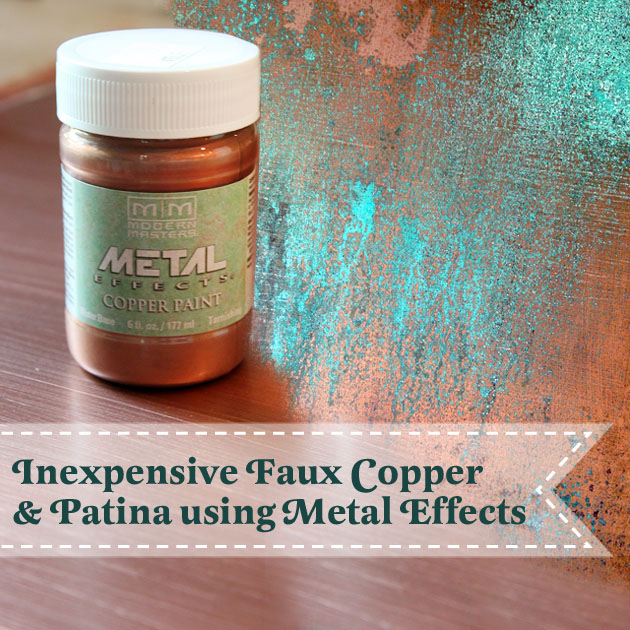
Do you love the look of copper, but the price makes your head whip the other way? Have no fear my dear! You can create inexpensive faux copper and patina for a fraction of the cost.

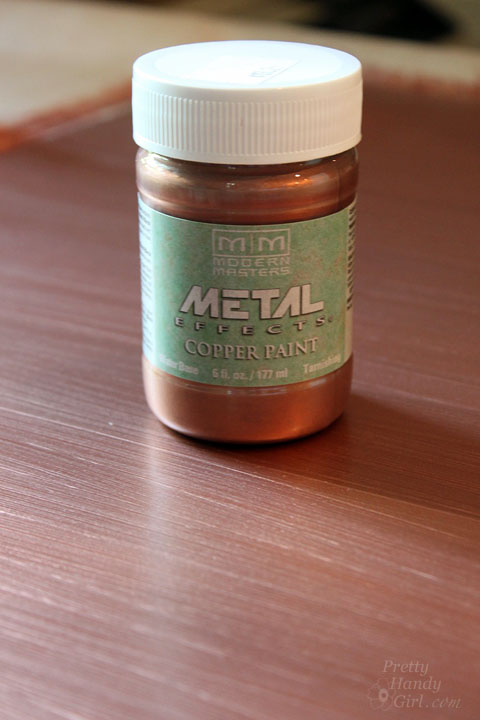
I was introduced to Modern Masters Metal Effects at Haven last year and the finish definitely fooled me. I honestly thought it was real copper. When I read up on the product, I realized that there are real copper particles in the paint which allows it to react and patina with the Metal Effects Green Patina Solution. (affiliate link)

Inexpensive Faux Copper and Patina Metal | Pretty Handy Girl

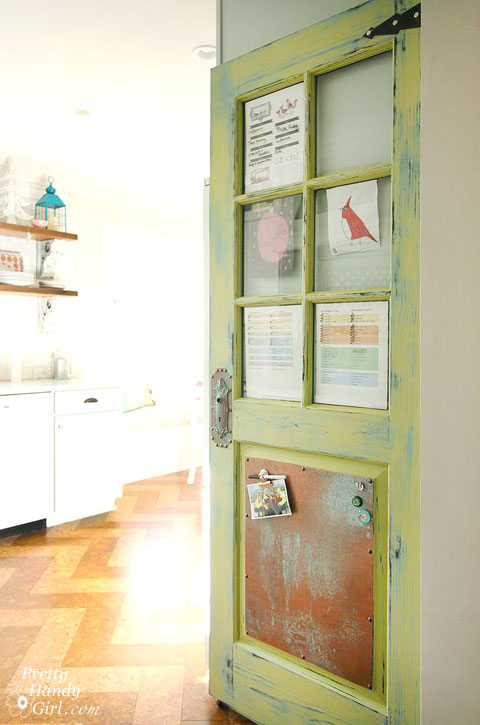
The uses for this paint are limitless! Discount light fixtures can be transformed into luxury copper versions with a little paint and patina spray. Paint inexpensive statues to look like real metal. Even Virgin Records and Ceasar’s Palace have used the paint and patina on exterior roof surfaces to fake the look. You may have seen the copper panel on our family organization center door. Today I want to show you how to create Inexpensive Copper Metal and Patina using Metal Effects!

Family Organization Door | Pretty Handy Girl

Materials:

(I’ve included affiliate links for your convenience. I earn a small percentage from a purchase using these links. There is no additional cost to you. You can read more about affiliate links here.)

Inexpensive Faux Copper and Patina Metal | Pretty Handy Girl

Optional: Sea sponge

Instructions:

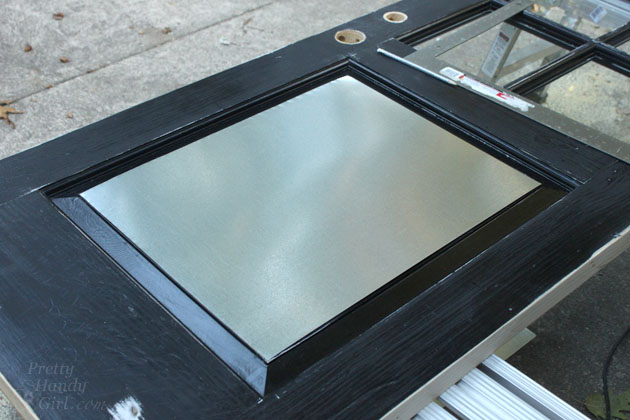
Cut your piece of sheet metal to size using tin snips.  Be sure to wear work gloves to avoid cutting yourself on the metal. Wipe off any dirt or grease.

Inexpensive Faux Copper and Patina Metal | Pretty Handy Girl

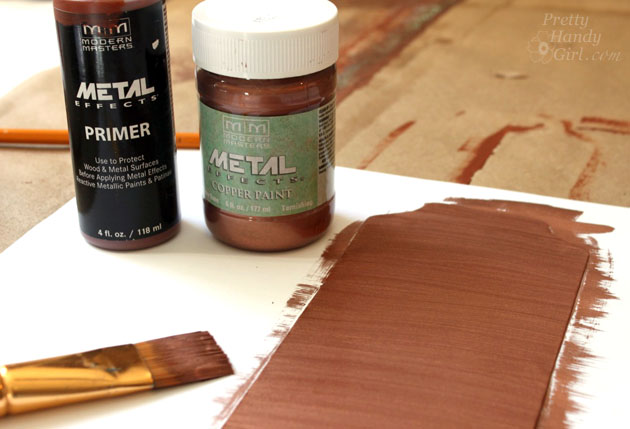
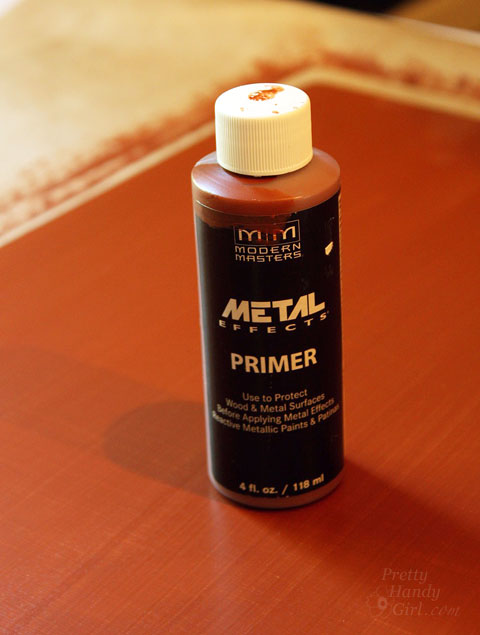
Coat the metal with one coat of primer. Let it dry and apply a second coat of primer.

Inexpensive Faux Copper and Patina Metal | Pretty Handy Girl

After the primer has dried, add one coat of the Metal Effects copper paint. After that dries, add a second coat. Read more

How to Mount Antlers

How to Mount Antlers

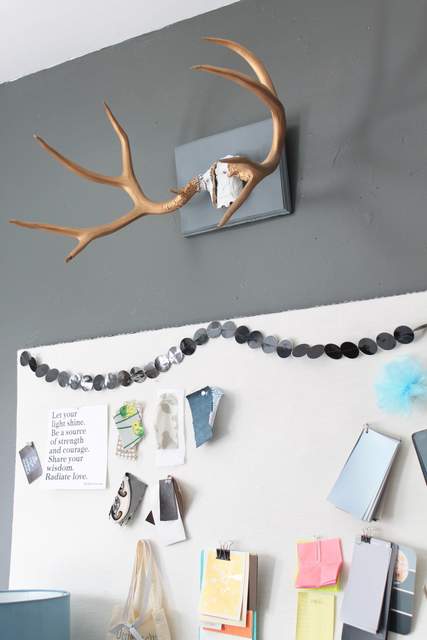
Hello! It’s Jessica from Decor Adventures.  One very popular home decor item that we are going to get pretty handy with this month is antlers. If you love rustic or outdoor style, this project is perfect for you. You’ll see all kinds of animal antlers on walls or holding jewelry or scarves. They can be both functional and practical. Antlers can be found at flea markets or second hand stores if you are lucky. They come in all sizes and shapes, plus you can paint them any color to match your style.

It’s much easier than you think to mount antlers on your own. You don’t need a degree in Taxidermy or any special tools, a drill will do!

Materials

  • Antlers
  • Long bolts
  • Nuts to fit bolts
  • Drill and drill bits
  • Hanging hardware
  • Paint (optional)
  • MDF or wooden board

Instructions

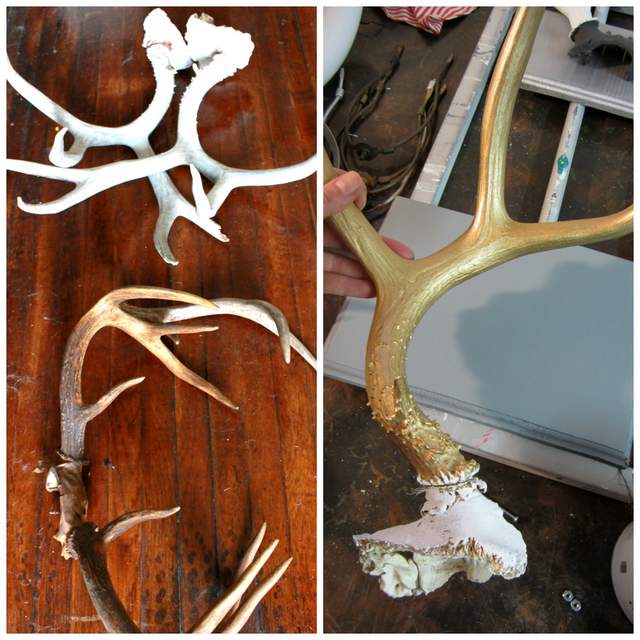
I mounted two sets of antlers that I got at a yard sale. One was a one-piece set and the others were two separate pieces. Most antlers you get will have some of the bone attached to the end of the antler. This is the part you will attach to a board to mount them. If you find them second hand they may already have holes drilled in them from when they were previously mounted.

One set I painted white and the other gold. It’s easy to spray paint antlers, so pick your favorite color or leave them natural if you like.

How ot Mount Antlers1. First, prepare the board you’ll mount the antlers on. These can be found at craft stores or you can cut your own from MDF. It should be slightly larger than the base of the antlers you’ll mount. You can paint the board if you would like. The silver one below already had the mounting holes drilled in it when I took this picture, but you can get an idea of the size board you need.

Read more

Cute Sock Snowmen | Pretty Handy Girl

Cute Sock Snowmen | Pretty Handy Girl

I have a very special guest for you today. This woman is a very talented artist and art instructor in Northern Virginia. She is the one responsible for my artistic genes and half the equation for my DIY passion. This woman is my fabulous mother, Shari! (She’s also affectionately referred to as Grammy Mac in our household.)

grammy-mac

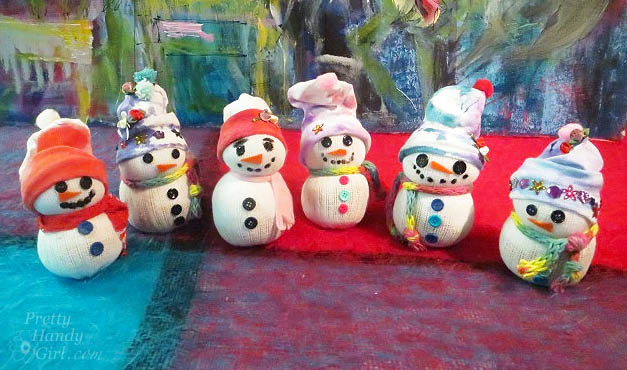
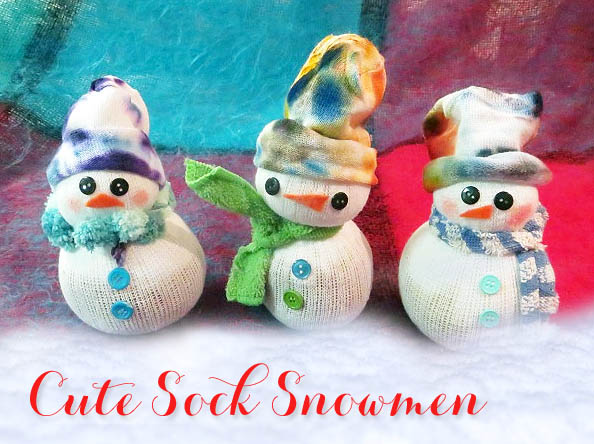
Please give my Mom a warm welcome here. She was kind enough to put together her first blog tutorial showcasing these cute sock snowmen that she made with her students (she teaches private art lessons after school.)

Take it away, Mom!

page_break_2

Snow Days! Here in Northern Virginia we have already had too many! The most disappointing part about this is that we haven’t had enough snow to make a snowball let alone a real snow person. In an attempt to make the kids happy, we headed to my studio to make snow people from tube socks. Perhaps if we make enough of them, they will bring on the real deal!

Materials:

(Shopping at the dollar store makes this project much more economical.)

  • 1 White tube sock (Adult Size 9-11)
  • Rubber bands
  • Rice (1/2 to 3/4 cup per person)
  • Polyester fiberfill stuffing
  • Buttons, pompoms, sequins, orange felt
  • Tacky glue
  • Brown pipe cleaners (to make stick like arms)
  • Black acrylic paint
  • Acrylic paint in your favorite colors for tie-dye hats and scarves
  • Cotton Swabs (a good tool for painting dots for smiles)
  • Faber-Castell Gelato pigment stick Bubblegum Shade  (if you can’t find this, you can use watered down pink craft paint)

Optional: 

  • Kitchen towels, fabric or ribbon cut into strips to make the scarves

Instructions:

Tie Dying the Hat & Scarf:

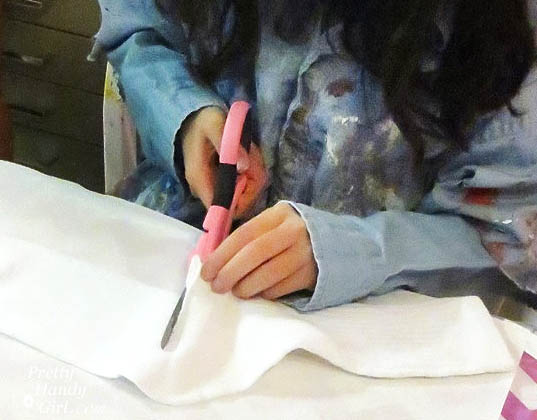
Cut the foot off your sock. (This will be the hat.) You may leave this white, or paint it.

Cute Sock Snowmen | Pretty Handy Girl

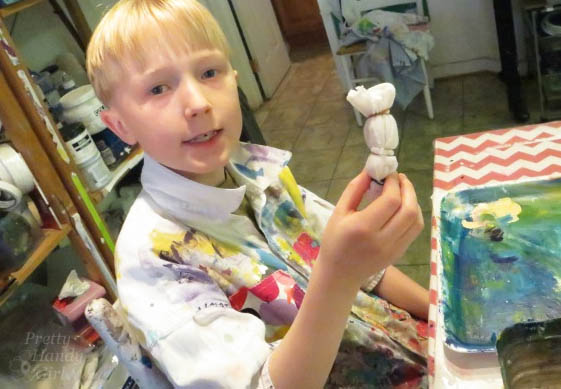
Fold the foot part of the sock accordion style, like a fan. Secure the folds with three rubber bands.

add-rubber-bands-to-accordian-sock

Pour your acrylic paints into a small tray or paper plate. Water the paints down slightly. Wet the wrapped sock in water, and roll it into two or three of your favorite colors.

Cute Sock Snowmen | Pretty Handy Girl

Let dry. Unroll the sock to reveal the beautiful colors. Cut off a 1” piece of the raveled end of the sock to make a matching scarf. Read more

leather heart necklaces

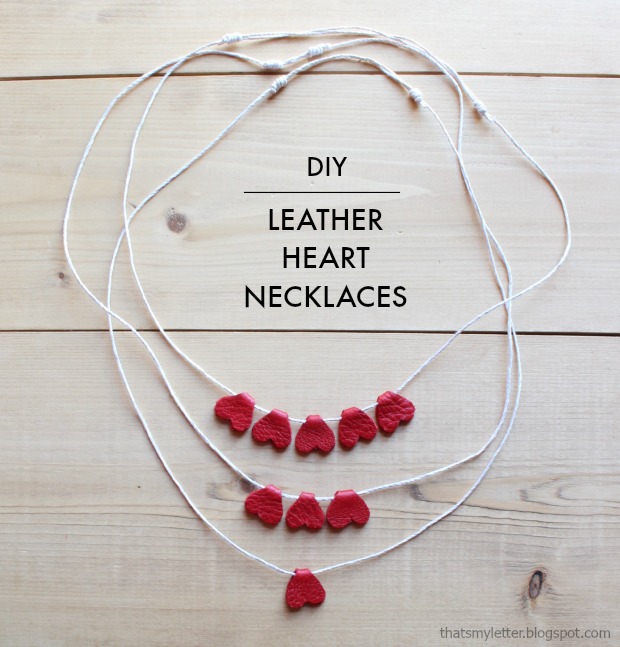
Hello Pretty Handy Readers!  We survived the holidays! Yes, January can be quiet but February will be here before you know it and that means Valentine’s Day. Jaime here today from That’s My Letter sharing this DIY leather heart necklace, no sewing necessary!

I’m a huge fan of giving valentines that are NOT CANDY and this project certainly fits the bill.  I used leather scraps and waxed hemp cording to make these simple leather heart necklaces.

leather heart necklaces 1

Add a lot of hearts or only one. It’s completely up to you!

leather hearts necklace 2

My necklaces are finished with adjustable sliding knots so the person wearing the necklace can have it loose and dangly or more snug up on the collarbone.

Materials:

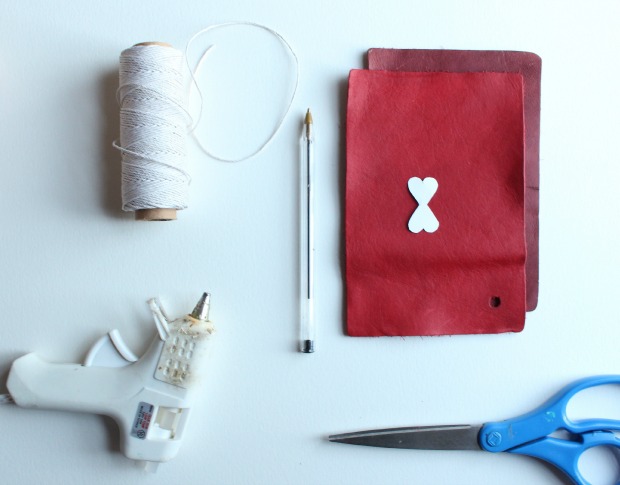
leather heart necklace supplies

  • Leather (small pieces or scraps)
  • Cardstock (small piece for heart template)
  • Pen
  • Scissors
  • Waxed hemp cording
  • Hot glue gun & glue sticks

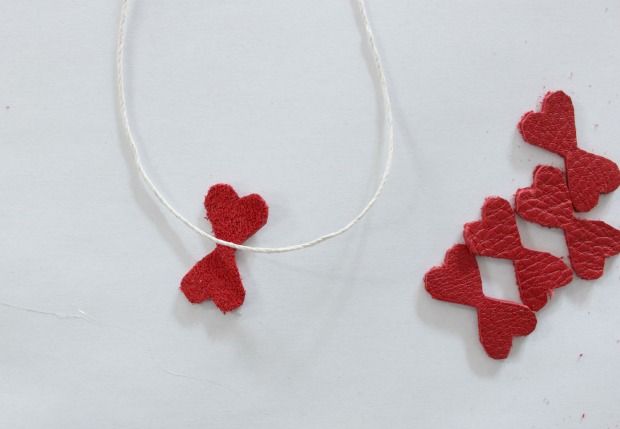
Step 1: Make a pattern for a heart shape similar to the one pictured above – two hearts with their points together.  Cut the pattern out of cardstock. Using a pen and your leather scrap trace around the pattern then cut out desired number of hearts.

leather heart necklace step 1

Step 2: Cut 34″ of cording for one necklace.  Place one heart shape under the cording as shown. Read more