DIY Constellation Wall Art

DIY Constellation Wall Art

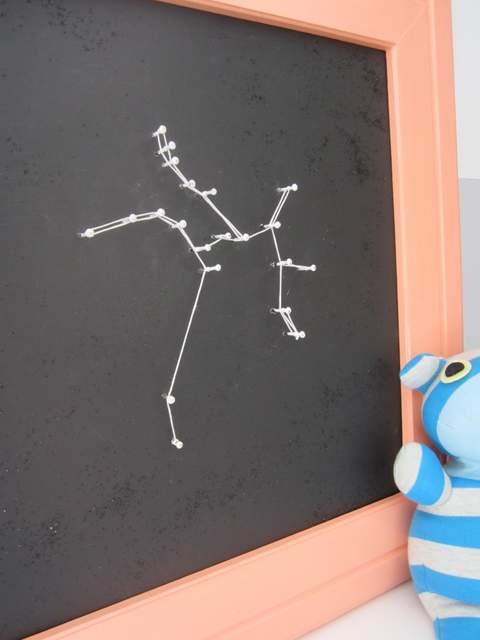
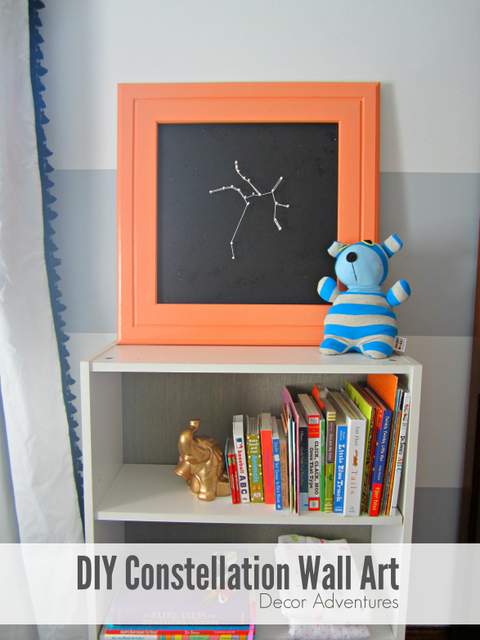
Happy New Year! It’s Jessica from Decor Adventures, back with a fun project for your walls this month.  In late November, my husband and I had a baby girl! We are enjoying every minute of her and on the side I’ve been working on decorating her nursery. This idea for constellation wall art is both a way to add art to the walls, and some personalization of her birthday. It’s easy to put together and only requires a few basic supplies.

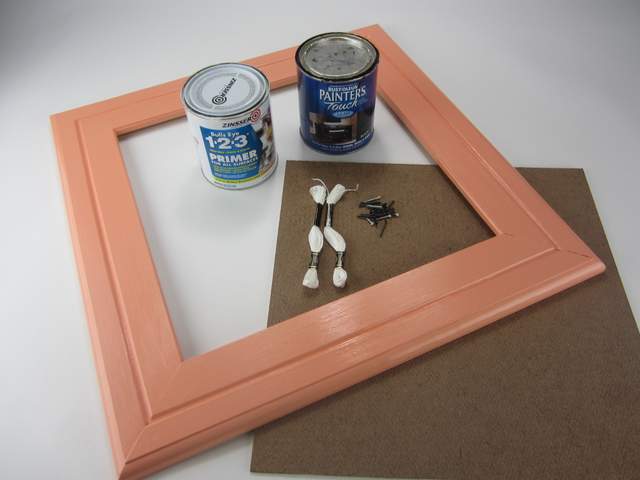
Materials

  • Picture frame
  • Hardboard to fit inside picture frame
  • Primer
  • White and black paint
  • Drill and drill bits
  • Small nails
  • Embroidery floss in white
  • Computer, internet, printer, paper
  • Hammer
  • Glitter (optional)

DIY Constellation Wall Art

Instructions

1. Paint your picture frame if desired. I used Smitten by Americana Decor chalky paint. I sealed it with 2 coats of polycrylic since chalky paint dries in a matte finish.

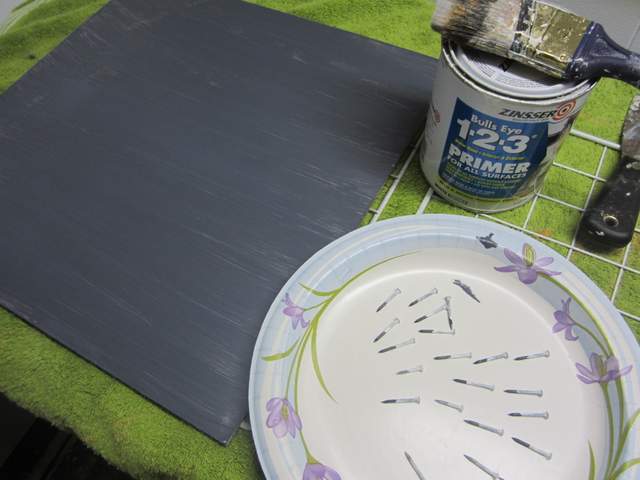
2. Prime and paint your hardboard with black paint. You could also use dark blue, since it will represent the night sky. I sprinkled a little bit of black glitter on the wet pant to add some sparkle (optional.)

Paint the nails white. These will be the “stars” in your constellation.

DIY Constellation Wall Art

3. Find an image of the constellation you plan to use and print out an image of it. You can find this with a quick search online, but this is a good resource for pictures. Print it on paper to fit inside your frame. Read more

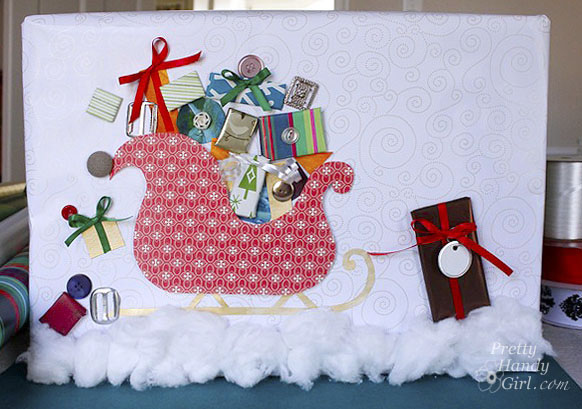
Sleigh Gift Wrap

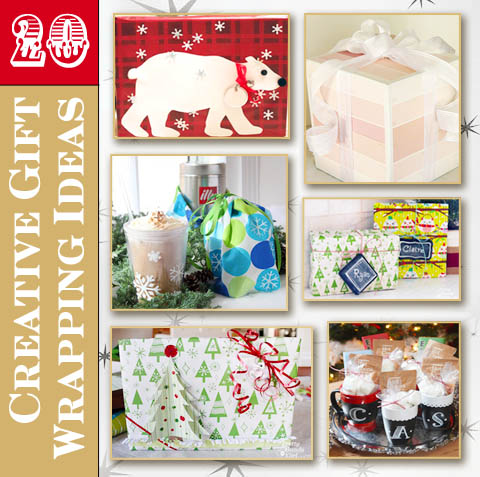
20 Creative Gift Wrapping Ideas | Pretty Handy Girl

Hi there! I’m Colleen from Just Paint It and I’m excited to share some of Pretty Handy Girl’s great creative gift wrapping ideas.

We’re reaching the home stretch before the big day and I know things can get crazy. But something I really enjoy is taking a little extra time to creatively wrap Christmas presents. It not only lets the recipient know you’ve put a little extra effort into their gift, but it’s also a great way to sneak some relaxation time in for yourself!

Let’s start with some basic boxes and add some cute embellishments.

Chalkboard Gift TagsChalkboard Gift Tag Signs

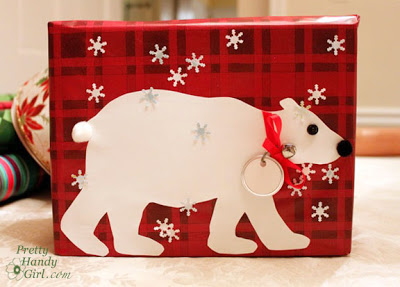
Polar Bear Gift WrapPolar Bear Gift Wrap

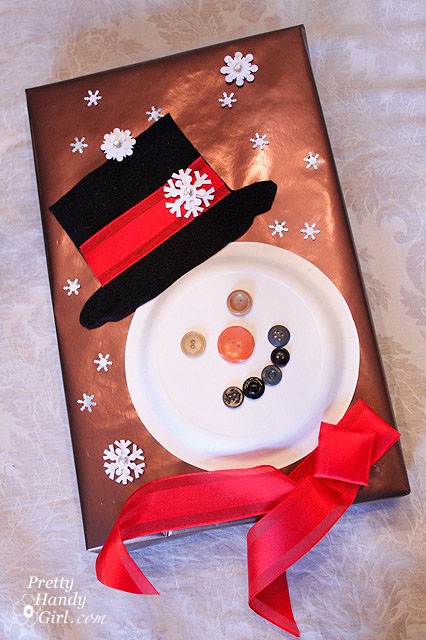
Snowman Gift WrapFrosty the Snowman Gift Wrap

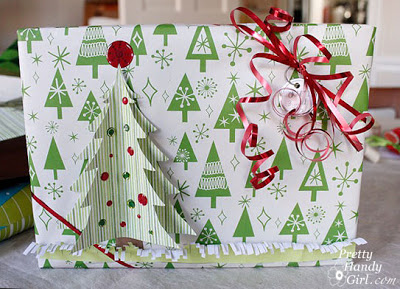
3D Tree Gift Wrap3D Tree Gift Wrap

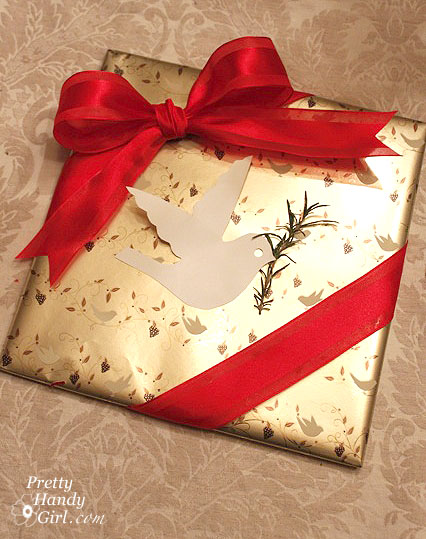
Dove Gift WrapDove Gift Wrap

Sleigh Gift WrapSleigh Gift Wrap Read more

paper bag ornament

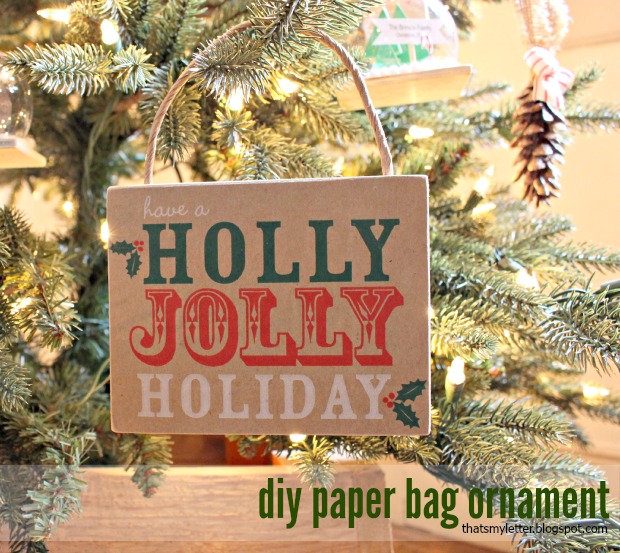
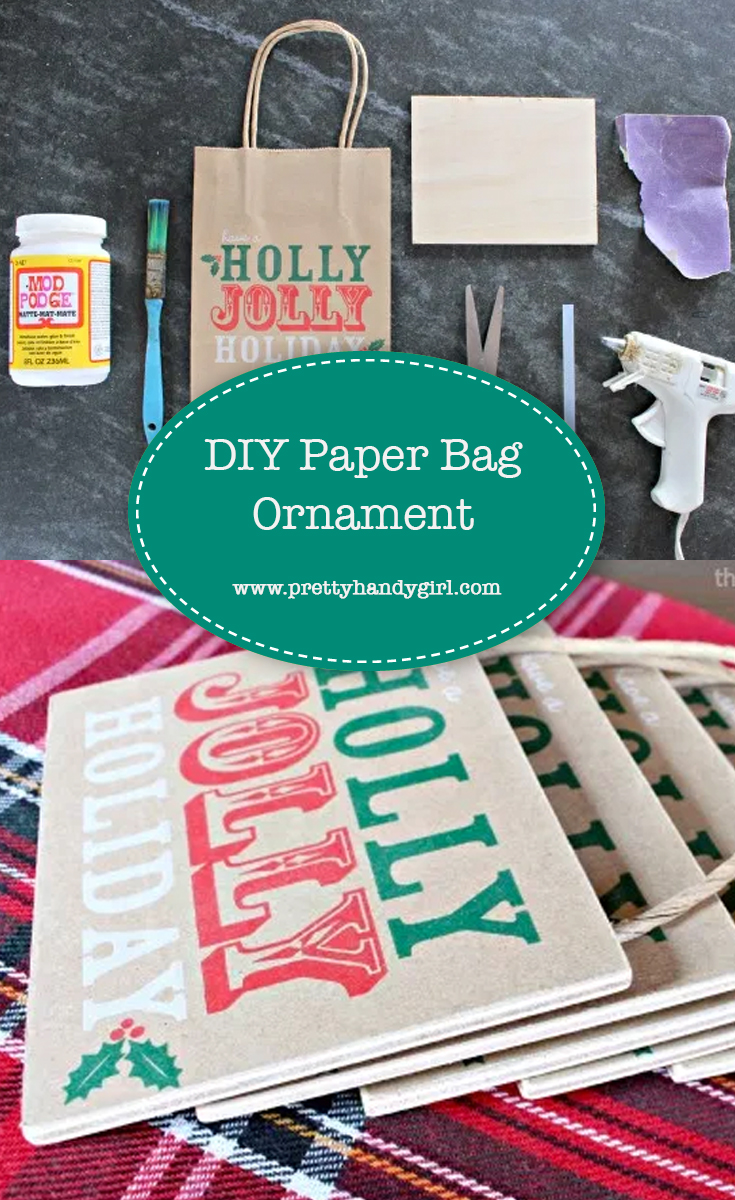
Looking for a fast and easy ornament or gift tag?  I’m Jaime from That’s My Letter here to share a diy ornament you can make from a readily available paper bag.  This project will have you looking at grocery and retail paper bags in a whole new light.

The graphics on retail paper bags make great ornaments and gift tags.  Look for fun and festive holiday graphics on paper bags everywhere you go then you can repurpose those paper bags into ornaments.

paper bag ornament 1

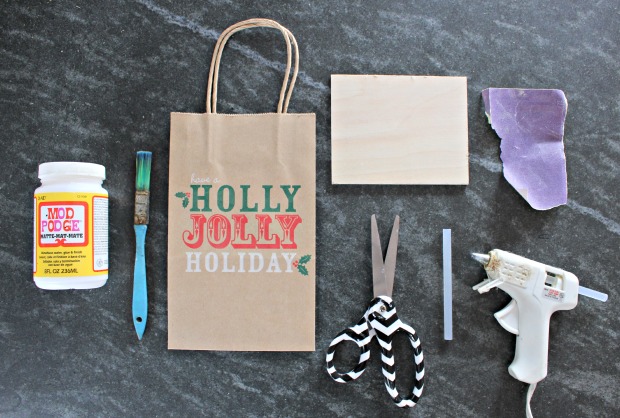
Supplies:

paper bag ornament supplies

  • paper bags (brown bags work best)
  • 1/4″ plywood cut to size to fit your graphics
  • mod podge
  • paint brush
  • scissors
  • hot glue gun & glue sticks
  • sandpaper

Instructions:

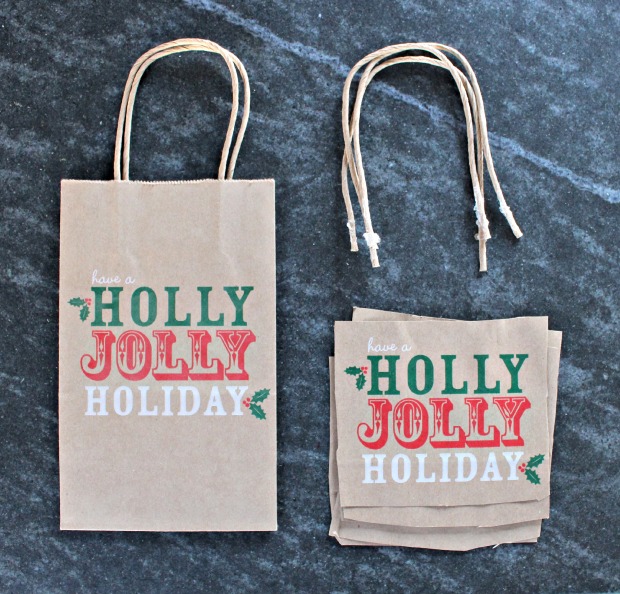
paper bag ornament step 1

Step 1: Carefully cut out graphics from the paper bag and pry off handle pieces.  You will also need small 1/2″ x 1″ pieces of paper bag to cover the cut ends of the handle hanger.

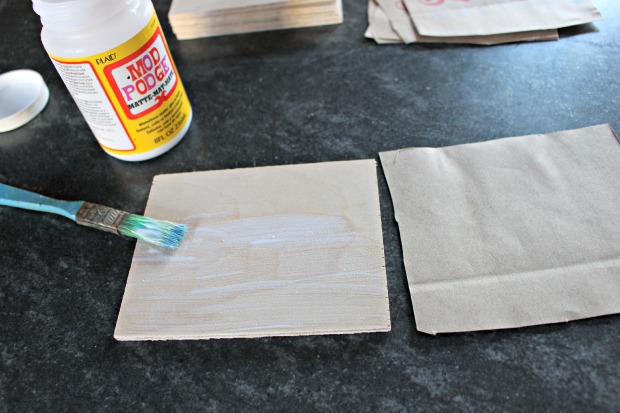
paper bag ornament step 2

Step 2: Apply a generous layer of mod podge to plywood.

paper bag ornament step 3

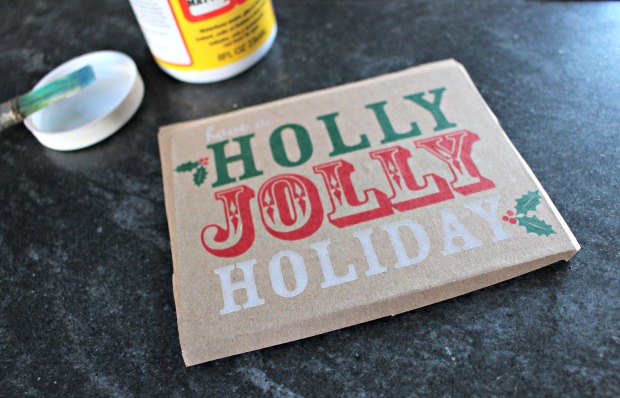
Step 3: Apply paper bag piece to wet mod podge.  Be sure to center paper onto wood then press smooth with fingers and press excess paper over edges down slightly.  Let dry and preferably stack heavy books on top to ensure good seal.

paper bag ornaments step 4

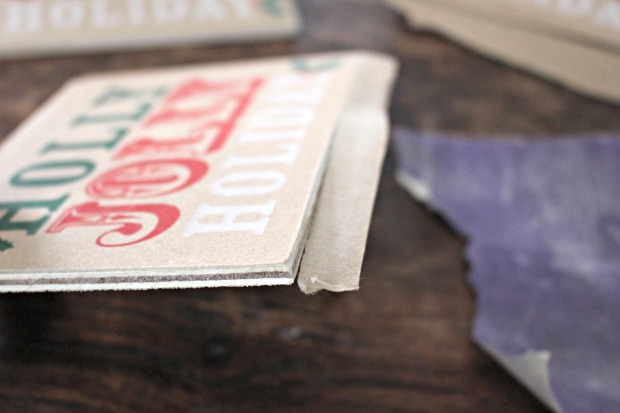
Step 4: Once completely dry use sandpaper to remove excess paper hanging over edge.  At the same time this will smooth the rough plywood edge too.

paper bag ornaments step 5

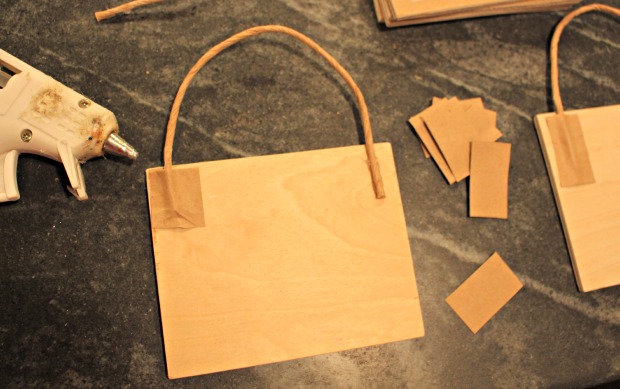
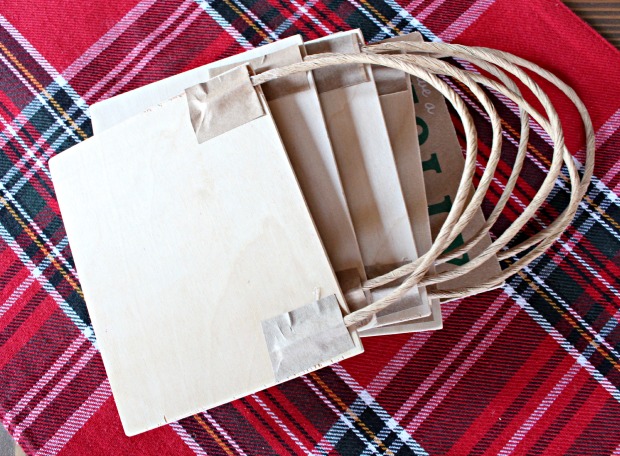
Step 5: Cut handle to desired length.  Secure to back of plywood using hot glue then cover cut end with small piece of paper bag just to keep things neat.  Repeat for other end of handle.

paper bag ornaments back

paper bag ornament 2

Repurpose paper bags into beautiful handmade ornaments or attach them to gifts as a gift tag.  This is a great craft to do with the kids. Have a holly jolly holiday!

Jaime signature


Pin for later!

DIY Paper Bag Ornament | Pretty Handy Girl

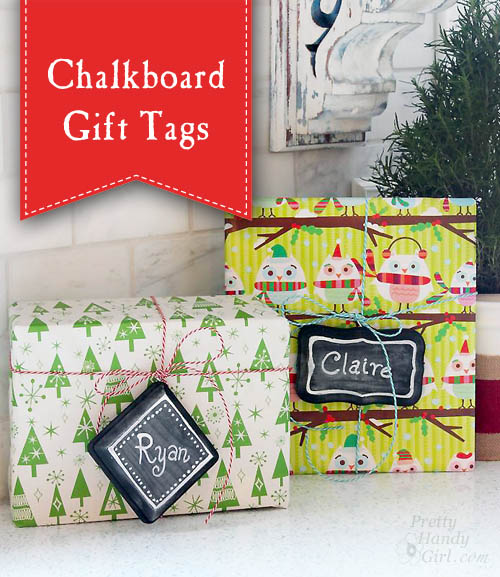
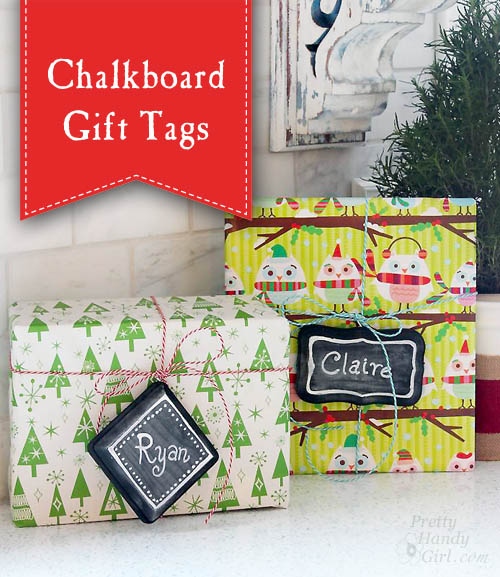
Chalkboard Gift Tags | Pretty Handy Girl

Chalkboard Gift Tags | Pretty Handy Girl

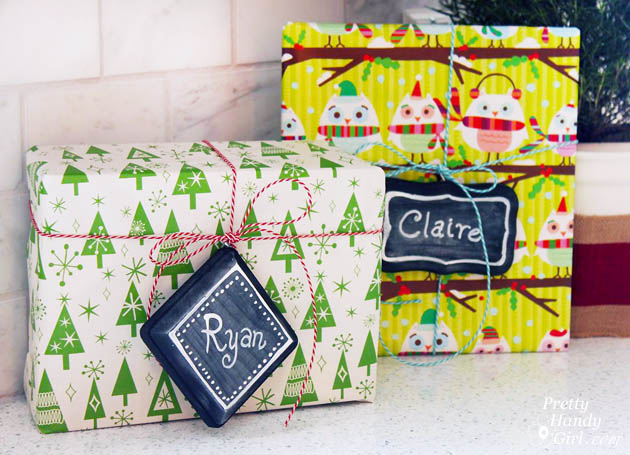
Want a great way to dress up gifts? Make these easy chalkboard gift tags for your holiday or birthday gifts. Purchase some inexpensive wood plaques or cut some masonite scraps and paint them with chalkboard paint.

Drill a few holes and thread them onto the ribbon on the gift. After the present has been opened the recipient can hang the chalkboard tag on their door or use them to label bins.

Materials:

  • Unfinished wood plaques (I bought mine at Michaels)
  • Small rectangular scraps of masonite
  • Chalkboard paint (spray or brush on works fine)
  • Screw eyes
  • Pliers
  • Drill
  • Drill Bits
  • Ribbon or rope
  • Chalk

Instructions:

Prep your tags by painting them with chalkboard paint. Typically I like to use two coats.

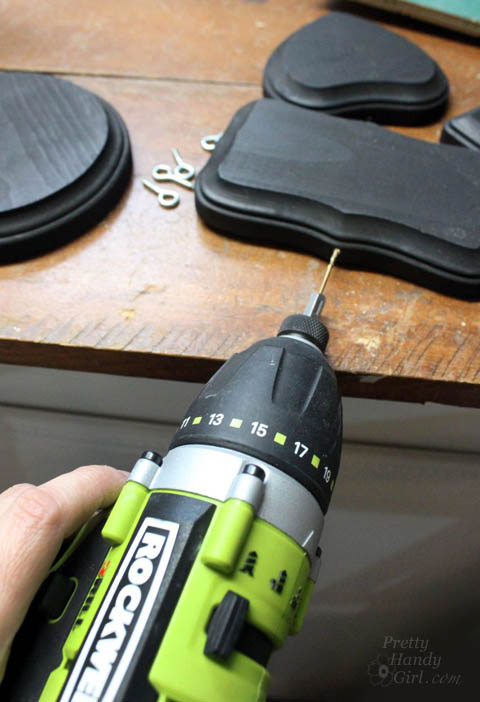
Drill holes in the top of the plaque (slightly smaller than the screw eye.)

Chalkboard Gift Tags | Pretty Handy Girl

Turn a screw eye into the hole. Pliers are helpful when it gets tough to turn. Read more
Mosaic Tile Coasters | Pretty Handy Girl

Mosaic Tile Coasters | Pretty Handy Girl

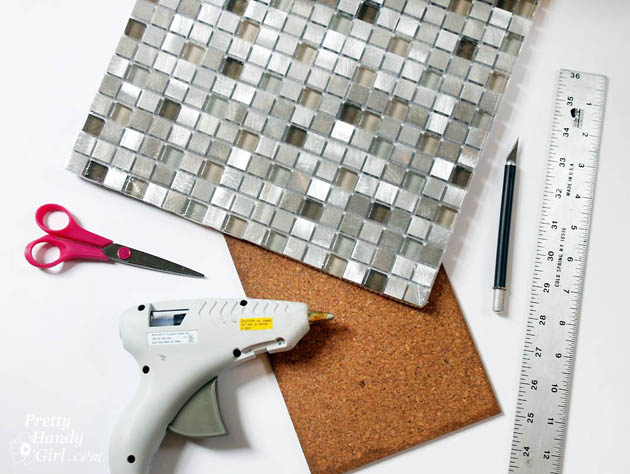
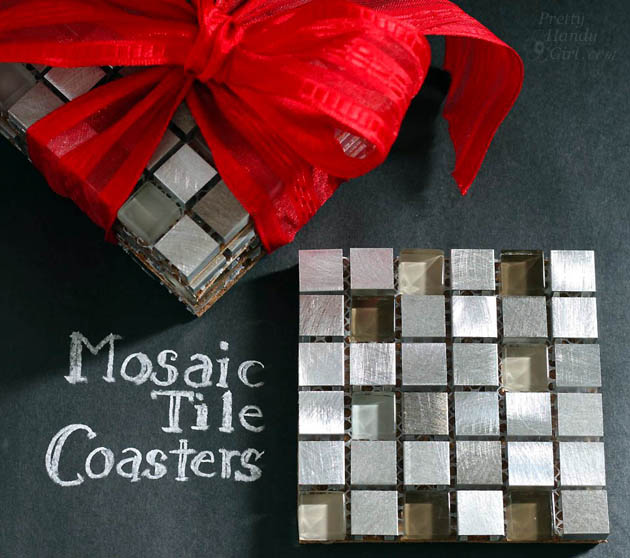
Want an easy and inexpensive gift idea to give out as a hostess gift for those upcoming holiday parties? How about Mosaic Tile Coasters? They are quick and easy to make. Last month, for my Lowe’s Creative Idea I created a unique lamp shade with mosaic glass tile. I had some leftover sheets and decided to make these coasters with the leftovers. Follow along to learn how to make another great Lowe’s Creative Idea.

Materials:

Mosaic Tile Coasters | Pretty Handy Girl

Instructions:

Begin by cutting your mosaic tile sheet into coaster size squares.

Mosaic Tile Coasters | Pretty Handy Girl

Trim off any excess mesh. Read more