Want an easy and inexpensive gift idea to give out as a hostess gift for those upcoming holiday parties? How about Mosaic Tile Coasters? They are quick and easy to make. Last month, for my Lowe’s Creative Idea I created a unique lamp shade with mosaic glass tile. I had some leftover sheets and decided to make these coasters with the leftovers. Follow along to learn how to make another great Lowe’s Creative Idea.
Materials:
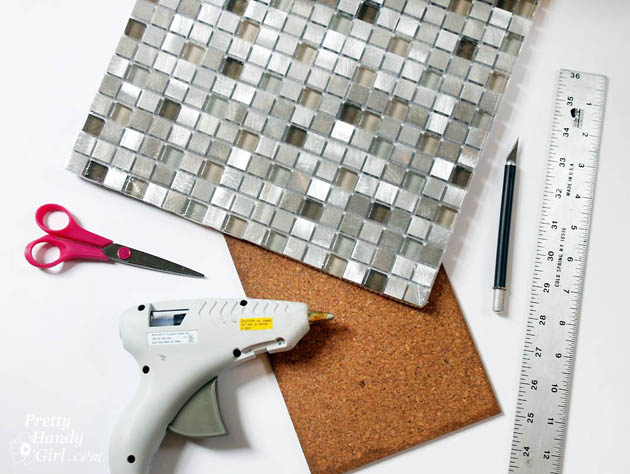
- Mosaic tile sheet
- Cork
- Scissors
- Hot glue gun
- Hot glue sticks
- Ruler
- X-acto knife
- Pencil
Instructions:
Begin by cutting your mosaic tile sheet into coaster size squares.
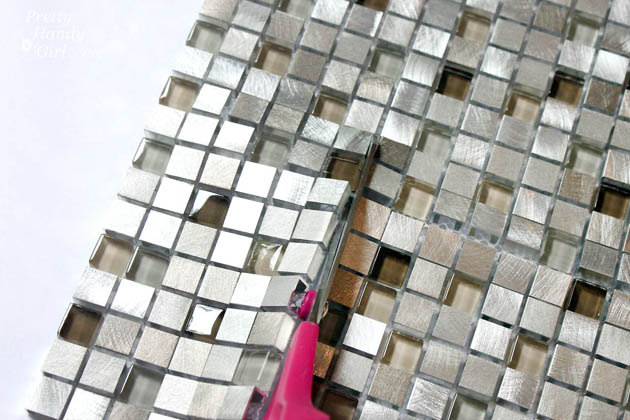
Trim off any excess mesh. Read more