galvanized metal bucket aging

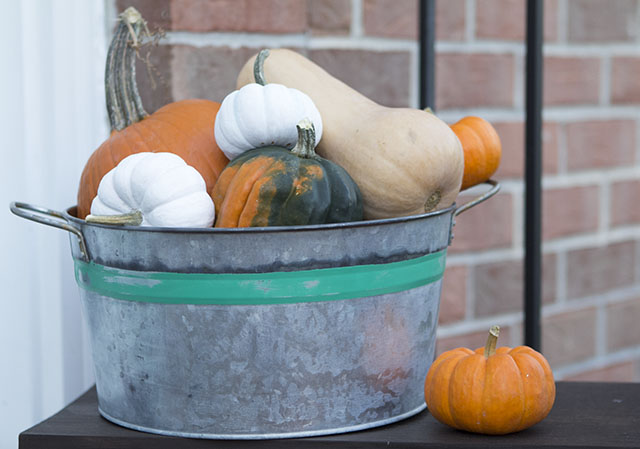
Hey everyone, it’s Jacque here from The DIY Village!  I am so excited to share this DIY tutorial with you.  I love the look of old metal buckets, but finding them with the nice patina is easier said than done. I am constantly coming across nice, bright and shiny buckets. I finally found a bucket that I liked the shape of and decided I would age it myself. Get ready to learn the quick process of aging galvanized metal that allows you to age it in minutes instead of decades!

Materials: 

  • Galvanized Metal Bucket
  • Painter’s Tape
  • Spray Paint
  • Cotton Balls
  • Rubber Gloves
  • Nail Polish Remover
  • Sand Paper
  • Zep Toilet Bowl Cleaner
  • Steel Wool

Instructions:

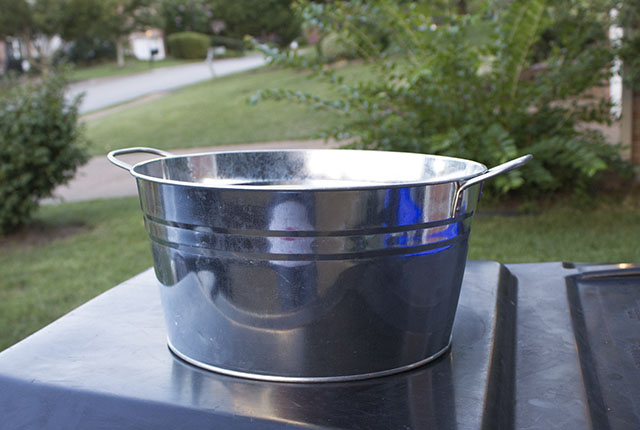
Start with a clean galvanized metal bucket.  Make sure all debris is removed by wiping the bucket down with a damp rag.

metal butcket

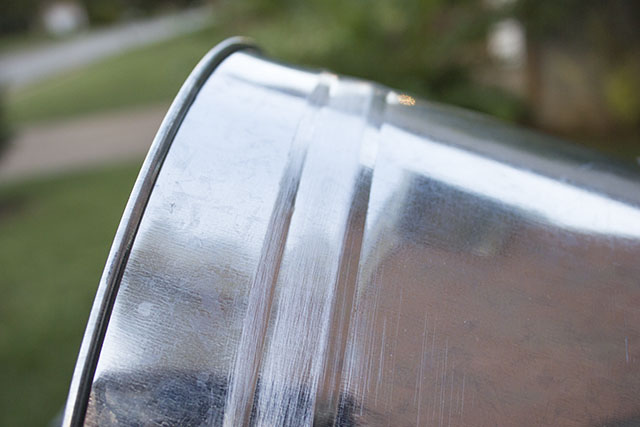
Decide where you’d like your painted stripe to appear on your bucket.

sand band

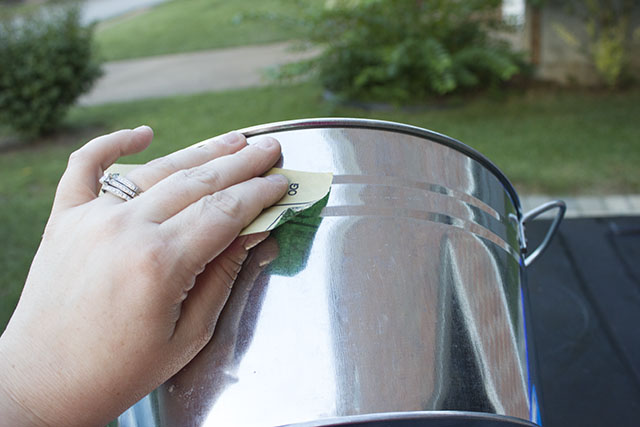
I positioned mine where the bends in the bucket are.

Sanded

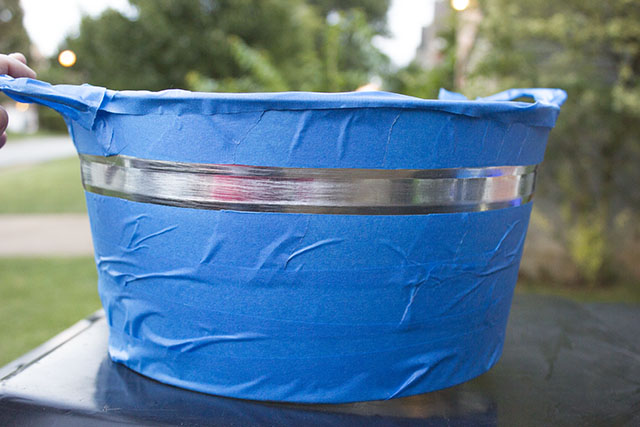
Tape off the rest of the bucket leaving a metal band showing through.

tape off bucket

Spray a couple coats of spray paint in the color of your choice on the band area. (Red would also be a fun option for a vintage look.)

Read more

How to Build Custom Rustic Crates | Pretty Handy Girl

How to Build Custom Rustic Box Crates | Pretty Handy Girl

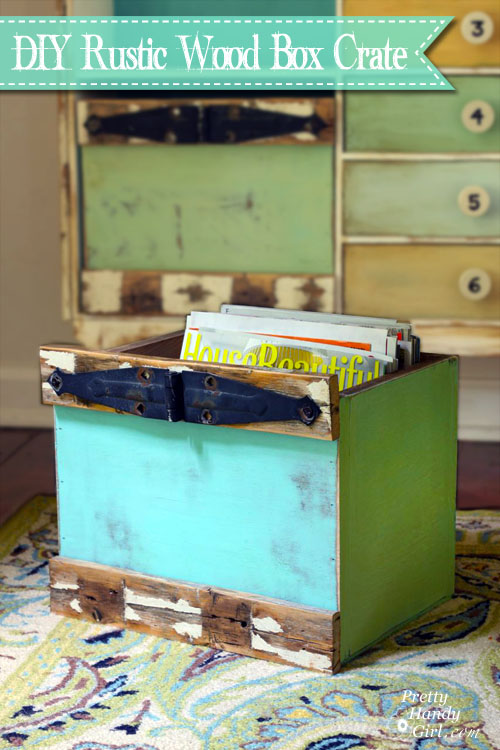
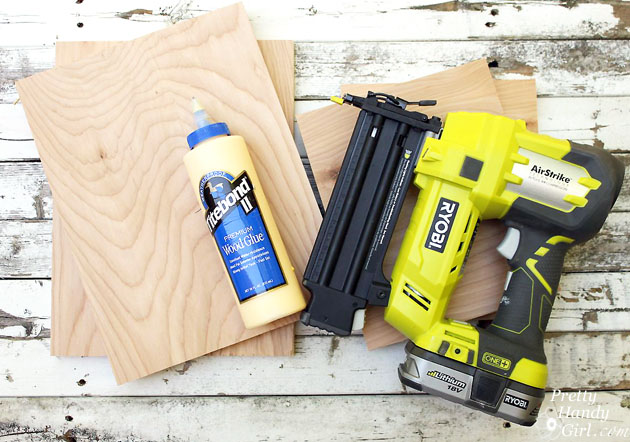
Making custom rustic wooden box crates is super easy. You can build your crates to fit in a book case or use them as drawers in a cabinet. When I was giving my IKEA cabinet a makeover, I chose to remove a door and build custom box drawers instead.

How to Build Custom Rustic Crates | Pretty Handy Girl

Here’s the super easy tutorial so you can build your own:

Materials:
(some links are affiliate links)

Tools:

Instructions:

Begin by cutting the 1/2″ plywood into four pieces the size you want for your crate sides.

How to Build Custom Rustic Crates | Pretty Handy Girl

Test fit the sides together. Add a line of glue to the ends of the plywood. Read more

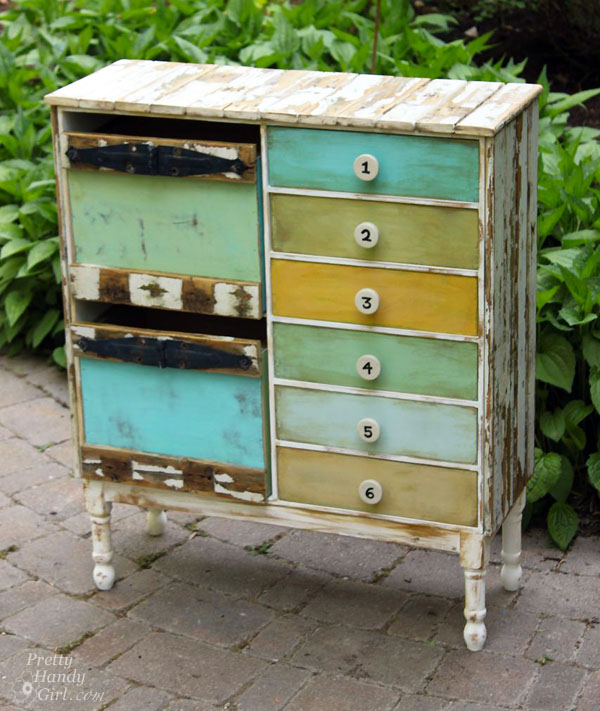
Rustic IKEA Hack Cabinet Transformation | Pretty Handy Girl

Rustic IKEA Hack Cabinet Transformation | Pretty Handy Girl

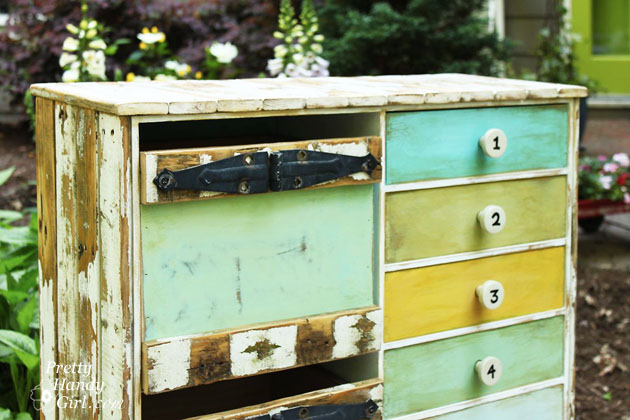
Rustic is not usually a word used to describe IKEA. IKEA is better know for their modern furniture, simple lines, meatballs and funny Swedish words. Today I’m going to change how you perceive IKEA furniture forever! Are you ready for this? Well, hang onto your hästes (Swedish for horses) because you’re going to see a transformation nothing short of amazing! You too can customize your plain jane furniture by adding legs and cladding the exterior with reclaimed picket fence wood.

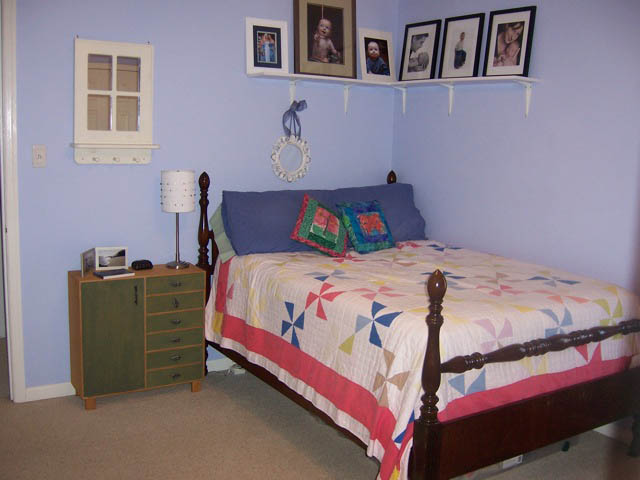
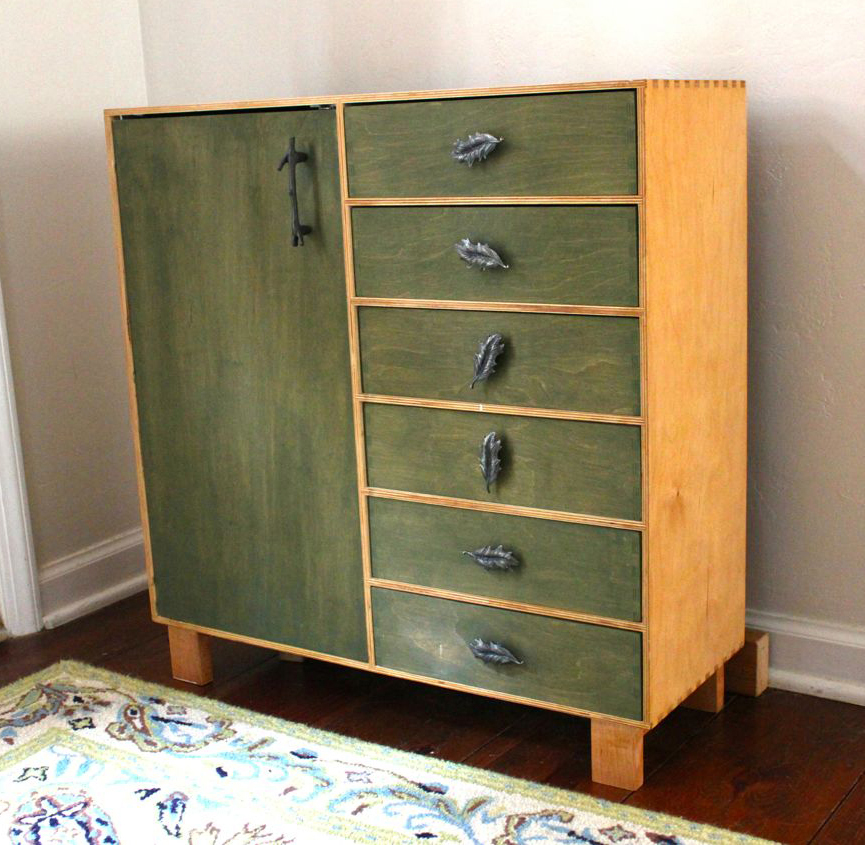
This tale starts with a hunter green stained IKEA storage chest that I bought for our first apartment and stained myself (can you tell what decade it was? Hint: hunter green, honey pine, throw some burgundy in there and I’m sure you’ll be guessing no more.) It moved from room to room each time we settled into a new home. But, it never really fit in.

ikea chest in guest room

The cabinet was short and not very deep. Plus, it bore the mark of the popular 90’s hunter green. It was ugly. Why didn’t I get rid of it years ago? Maybe I was attached to it because it was the first piece of furniture I ever stained myself. And it brought back fond memories of calling the fire department because I smelled gas. Turns out you aren’t supposed to use an oil-based stain indoors, especially if you have a gas stove. Lesson learned.

Rustic IKEA Hack Cabinet Transformation | Pretty Handy Girl

Fast forward two decades and it’s still hanging around. The other day as I was lamented the fact that our foyer is too small to fit a cute dresser, I found myself looking at this sad little IKEA chest. I picked it up and put it in our foyer. The fit was perfect in the small space behind the front door! But, it was short and let’s not mention the hunter green again. Plus, it just wasn’t cute. And it doesn’t reflect my warm and weathered style. But, you know me, I wasn’t deterred.

I did some mental gymnastics and began to hatch a plan to create a marriage that would last longer than two decades.

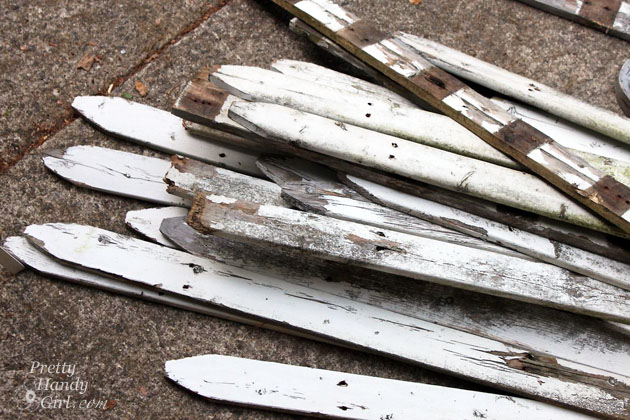
Old picket fence pieces

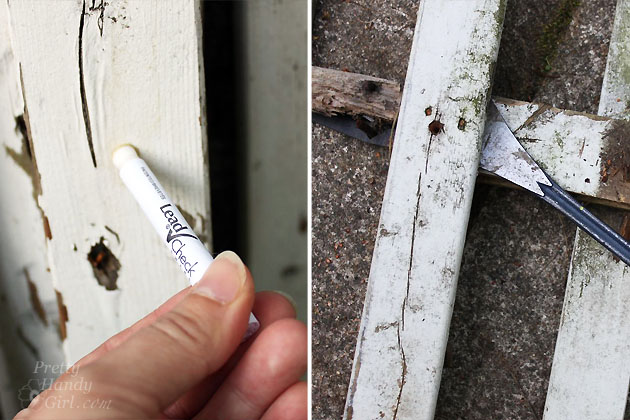
It began with some pieces of old picket fence that I found by a dumpster. They were perfectly chippy and rustic! Luckily the 3M Lead Check results were perfectly negative. I carefully took the fence apart and removed all the nails.

Lead check picket fence paint

Ready to see how I convinced the two polar opposites that they belonged together — rustic and modern — to create a match made in heaven? Let’s explore this couples’ counseling further:

Read more

Facelift for a Knotty Pine Dresser | Pretty Handy Girl

Facelift for a Knotty Pine Dresser | Pretty Handy Girl

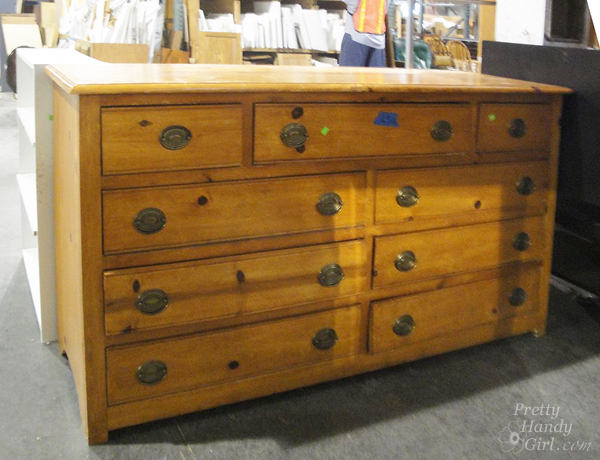
You know you’ve seen those knotty pine dressers from yesteryear. Their spotlight has faded and they are finding themselves at thrift shops, ReStores or worse yet…at the curb.

Facelift for a Knotty Pine Dresser | Pretty Handy Girl

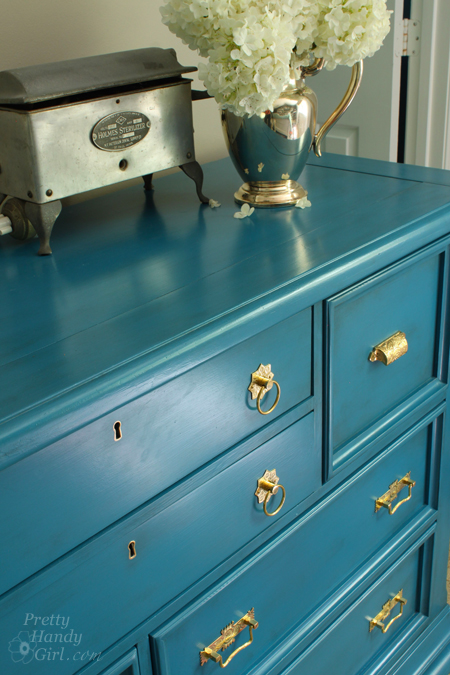
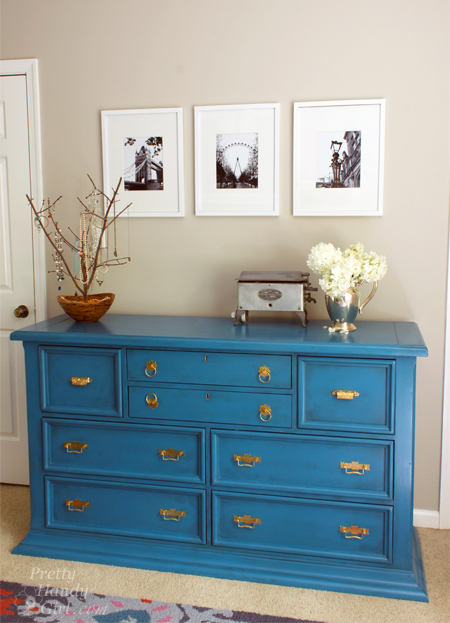
I’m begging you to let this knotty eyesore back into your home. It doesn’t have to be banished. It’s KNOT her fault she was built from cheap pine. All this dresser needs is a new coat of paint and some beautiful brass knobs and all her flaws and knots will be forgotten.

Facelift for a Knotty Pine Dresser | Pretty Handy Girl

Extra observant points to anyone who realized that this blogger forgot to take a good before picture! She looked very similar to the knotty pine dresser shown above, except she had wooden circle knobs and an unfortunate set of bun feet. I did remove the bun feet from the dresser when I first brought it home. Mama ain’t got no need for buns in this oven (or on my dresser.)

Here are the details on how to refinish a knotty pine dresser and give it a complete makeover!

Materials:

  • Sandpaper
  • BIN primer
  • Damp rag
  • Paint brush
  • Foam paint roller
  • Quart of Benjamin Moore Advance paint (Deep Ocean)
  • Valspar asphaltum glaze
  • Brass hardware (I bought mine from House of Antique Hardware)
  • Drill with bits
  • Screwdriver
  • Level

Instructions:

This tutorial will be fairly brief, if you need more photos and explanation, you can view my previous dresser painting adventure.

Begin by removing all the drawers and knobs. Lightly sand the dresser and drawer fronts. Wipe off any sanding dust. Read more

Farmhouse Painted (chalk like paint) Jar Vases | Pretty Handy Girl

Farmhouse Painted (chalk like paint) Jar Vases | Pretty Handy Girl

Two weeks ago was Teacher Appreciation Week at my son’s school. Every year I have a bit of a knee jerk reaction to this week. Is it because I don’t appreciate my sons’ teachers and administrators? Definitely not true! I appreciate them more than I can ever show. It’s a joke in our house that if I homeschooled, we probably wouldn’t have children. We all need that time away. And, my kids are so headstrong, that they learn much better from talented educators that don’t tuck them in bed at night.

So, why you ask do I have a knee jerk reaction? Let me explain.

Two weeks ago I spent less than 20 minutes whipping up some really cute vases using recycled jars painted with Farmhouse Paint. Wait…What is this paint?
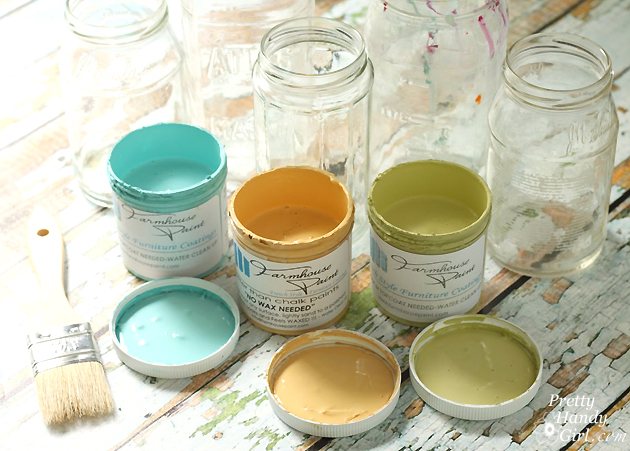
Farmhouse Painted (chalk like paint) Jar Vases | Pretty Handy Girl

Well, it’s “paint formerly know as chalk paint”  (don’t even get me on the soap box about everyone else not being able to call it chalk paint anymore because a particular company has trademarked the name. I mean, that’s like saying that no one can call it latex paint anymore because Brand X trademarked it. Sorry, I get riled up easily.)

Anyway, back to my story, I made these adorable little vases by saving up a bunch of recycled jars.

Farmhouse Painted (chalk like paint) Jar Vases | Pretty Handy Girl

Then I painted them with two coats of Farmhouse Paint. I’m in love with this paint. The colors are vibrant and you don’t need to wax after painting. Just a light sanding with fine grit sandpaper and it give you the same soft sheen as waxing would.
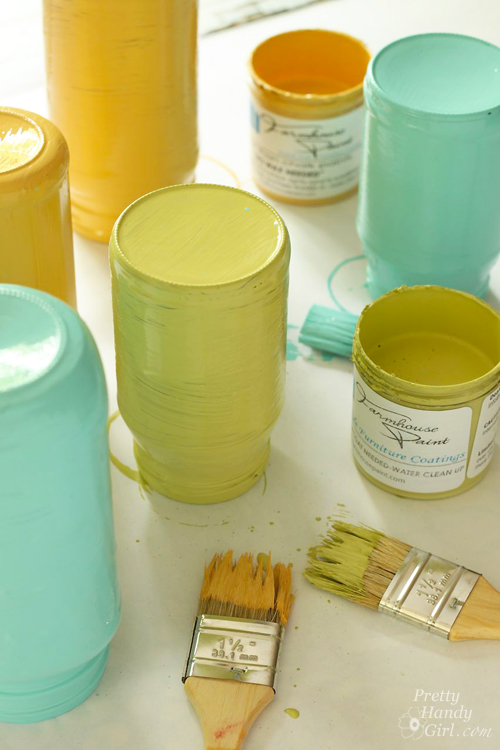
Farmhouse Painted (chalk like paint) Jar Vases | Pretty Handy Girl

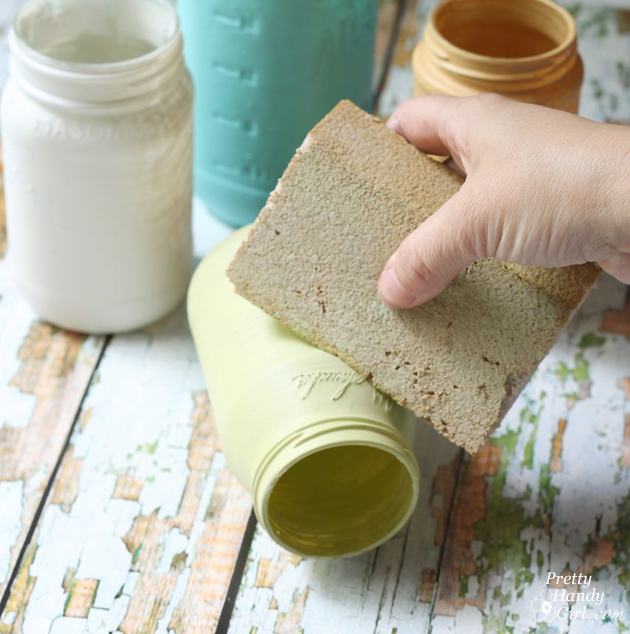
After the paint has dried I sand some areas (especially on any writing).
Farmhouse Painted (chalk like paint) Jar Vases | Pretty Handy Girl

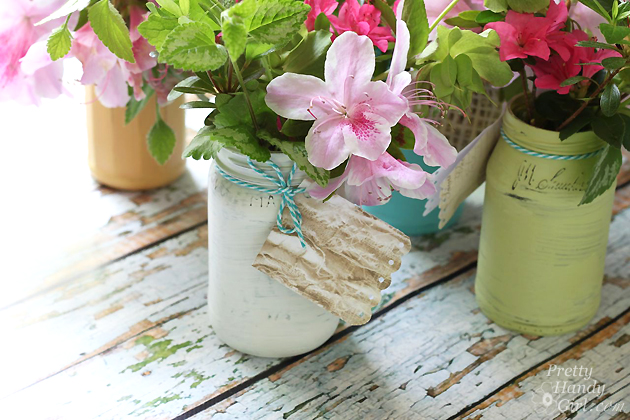
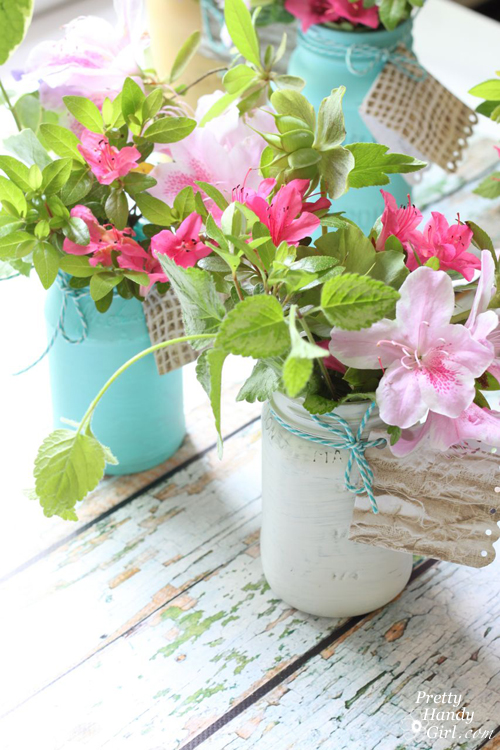
Finally, I added some fresh cut flowers from my yard and tied a string around the neck with a personal message.
Farmhouse Painted (chalk like paint) Jar Vases | Pretty Handy Girl

These little vases were adorable. They were cute and they seriously took me less than half an hour to put together (20 minutes to paint and a few more minutes cutting flowers in the yard.)

When I arrived at school, I began distributing the flowers. First the principal’s office — her desk was filled with more flowers vases than a florist’s counter. And the overflow was on her conference table.
     Farmhouse Painted (chalk like paint) Jar Vases | Pretty Handy Girl

The assistant principal’s desk had the same overcrowded vase problem.

I made my way around to my sons’ classrooms. Tins of cookies and more vases littered their desks. I was sad. Although I knew they appreciated the kind gifts, it must be overwhelming to get everything on one day or one week of the school year.

After the week is over and the cookies are gone, what is there? Nothing. Desks filled with papers to grade of course. But, no gifts; no notes of appreciation; no flowers…nothing.  That appreciation day is long forgotten.

That’s why I’m doing something different next year. Heck, I might even do some appreciating at the end of this school year!

Where are the gifts and flowers during the first week of school when the kids are scared, tired, disappointed, weepy for their Mom and Dad? Where are the gifts when the principal and other administrators have to deal with outraged parents because the school bus didn’t come on time to pick up their child? Or worse yet, what about the day after a weeknight Halloween? I know the children pour into their seats sleep-deprived and burned out after a high sugar evening. Heaven help me this year when Halloween falls on a Friday night. I might check into a hotel for two nights.

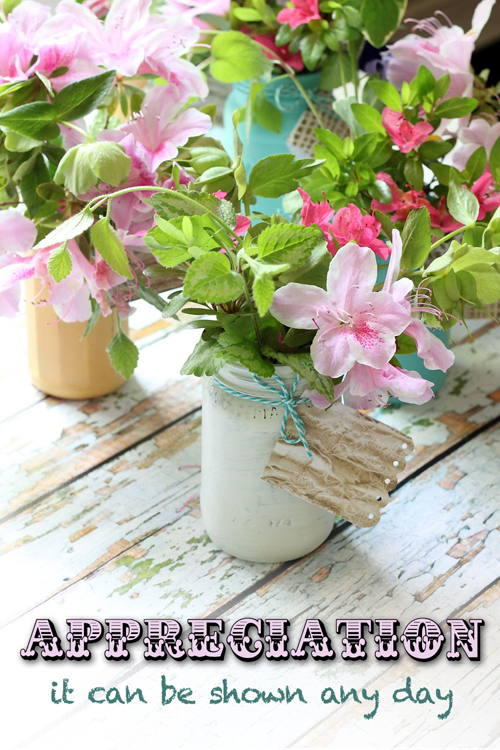
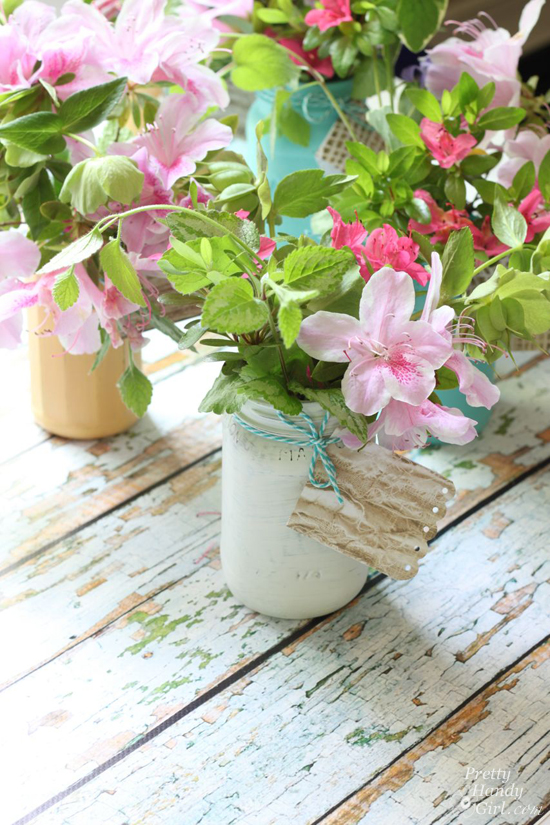
Anyway, I’m vowing to appreciate the staff and teachers at my sons’ school on any old ordinary day from now on. I’m sure that a small recycled jar turned into a sweet little vase of flowers will surely brighten the day of one tired educator. I may even slip a little gift card underneath. I know in our state, teachers are not paid nearly enough and we are facing a crisis as teachers leave schools searching for better paying jobs.

To all the teachers, school staff and administrators out there. I APPRECIATE you more than you will ever realize! Please forgive me if I don’t bring you a gift during Teacher Appreciation Week. I’ll surprise you some other time. 😉
Farmhouse Painted (chalk like paint) Jar Vases | Pretty Handy Girl

What do you say? Why not whip up a little painted vase to appreciate your child’s teacher on Monday. Or the last week of school? Or just on one ordinary not celebration day. Am I crazy? Doesn’t this make sense to you?

PHGFancySign

P.s. Did you like the chippy paint board backdrop I used? It’s not real wood, it is actually a vinyl backdrop made by my good friend Leen the Graphics Queen. It rolls up and stores neatly away. She should be selling them soon.


Pin for later!
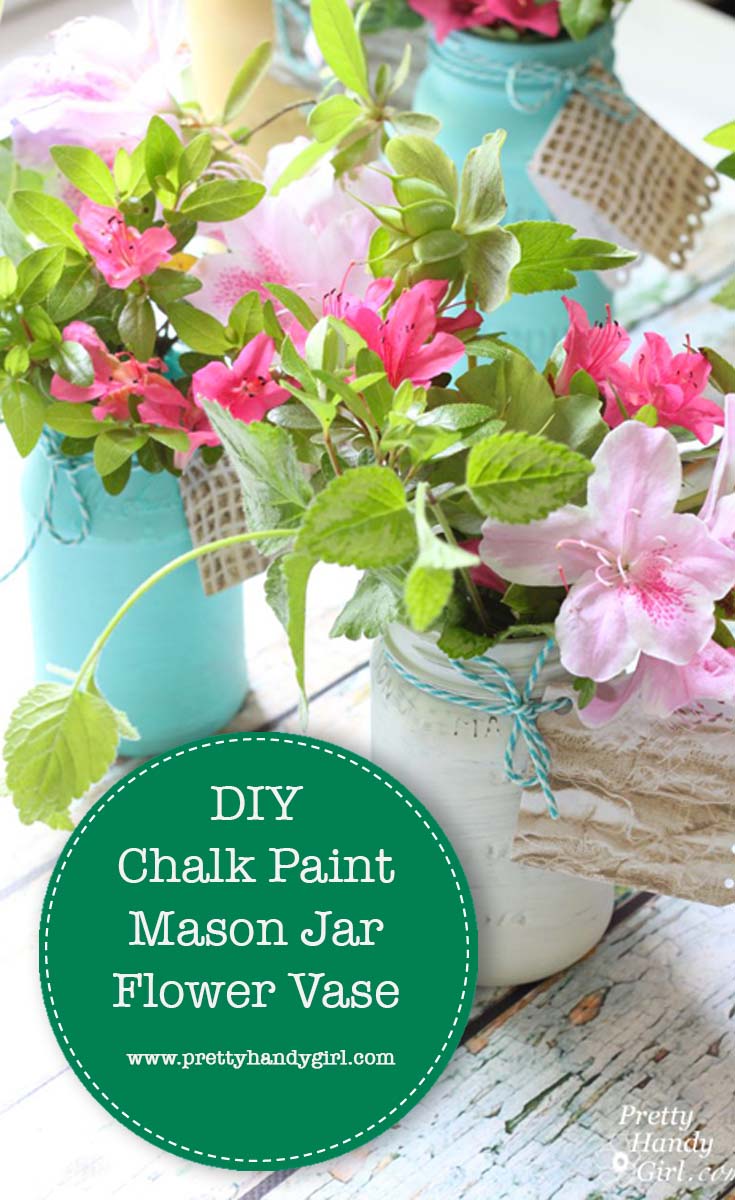
DIY Chalk Paint Mason Jar Flower Vase