How to Paint a Deck Mandala Tattoo | Pretty Handy Girl

How to Paint a Deck Mandala Tattoo | Pretty Handy Girl

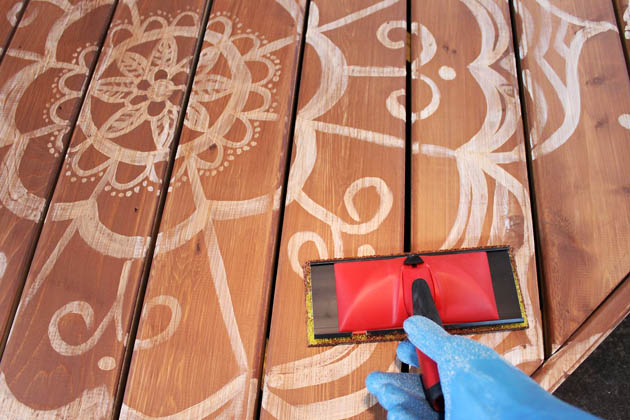
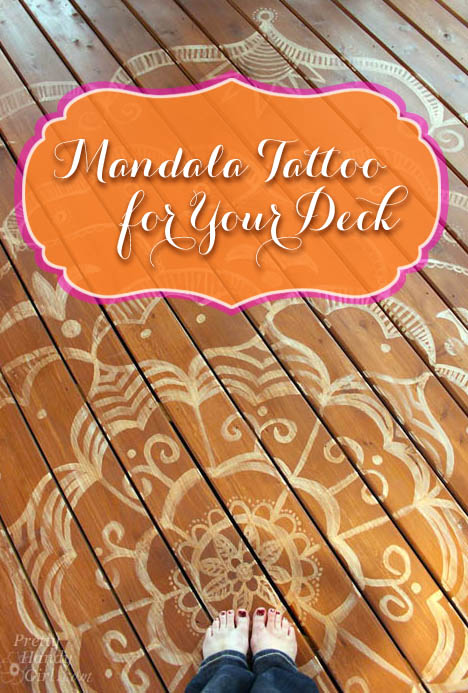
As promised, I’m back today to show you how to paint a giant mandala tattoo on your deck. Painting a design on your deck can turn an ordinary deck into a beautiful retreat. Add a few colorful accessories and you’ll have a backyard Bali getaway! Creating the mandala is a lot easier than it looks. Ready to get started?

Materials:

Instructions:

Pre-stained your deck with one coat of Thompson’s Waterseal Semi-transparent stain. (I used Acorn Brown.) Allow the stain to dry.

How to Paint a Deck Mandala Tattoo | Pretty Handy Girl

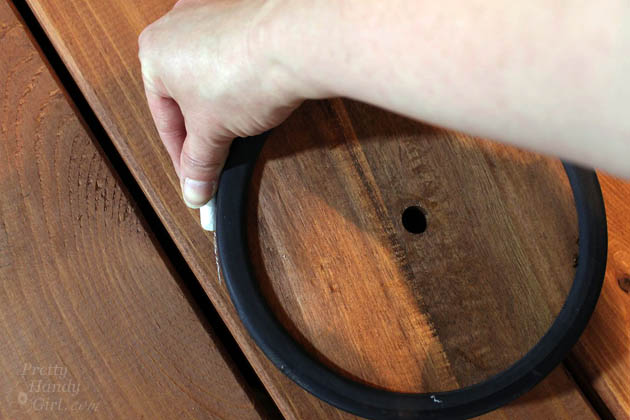
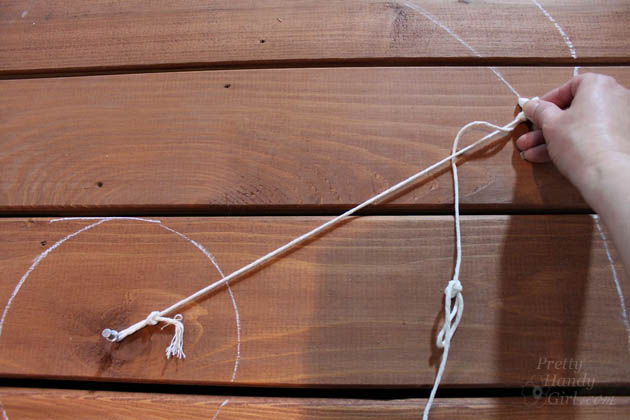
Choose the location for the center of your design. Trace around a small circular object or use the tack and string to trace a small circle.

How to Paint a Deck Mandala Tattoo | Pretty Handy Girl

Place the thumbtack in the center of the small circle and draw circles radiating out from the center. Try to add more distance from the previous circle as you go outward. (i.e. 3″ from the center, 6″ from the inner circle, 10″ from the 2nd circle.)

How to Paint a Deck Mandala Tattoo | Pretty Handy Girl

Divide your inner circle into eight sections and make a chalk tick marks. Read more

How to Refinish Wood Floors without Sanding | Pretty Handy Girl

How to Refinish Wood Floors without Sanding | Pretty Handy Girl
How to Refinish Wood Floors without Sanding

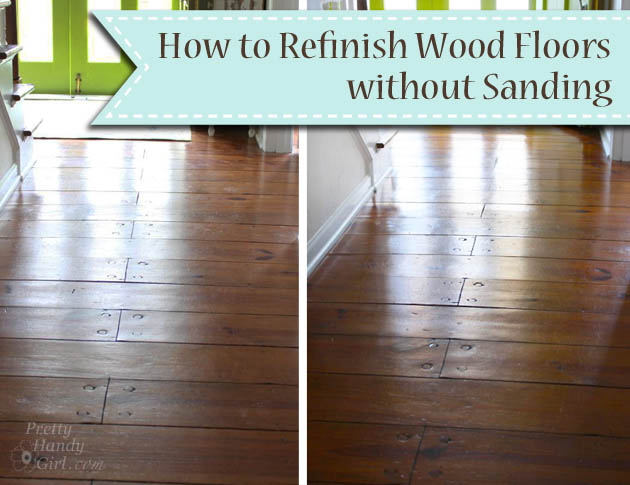
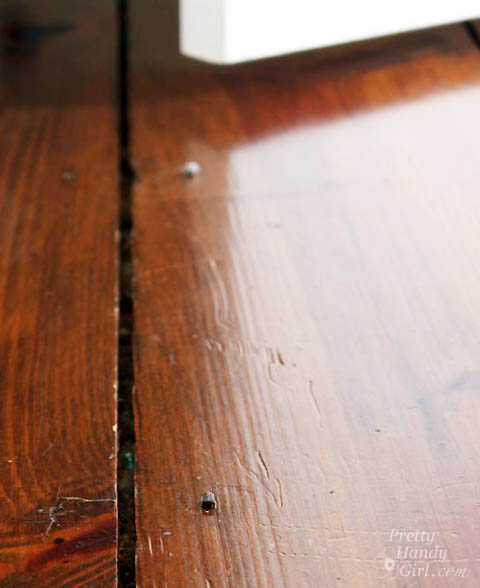
I love our antique heart pine floors! They are beautifully distressed. The round pegs and square nails securing them in place add loads of character. However, the square nails sit flush with the surface preventing us from ever being able to refinish them with a sander. The nails would tear up the sandpaper in no time. But, that’s no problem because I know a way to Refinish Wood Floors without Sanding!
 

How to Refinish Wood Floors without Sanding | Pretty Handy Girl

From time to time, our floors start to look dull…
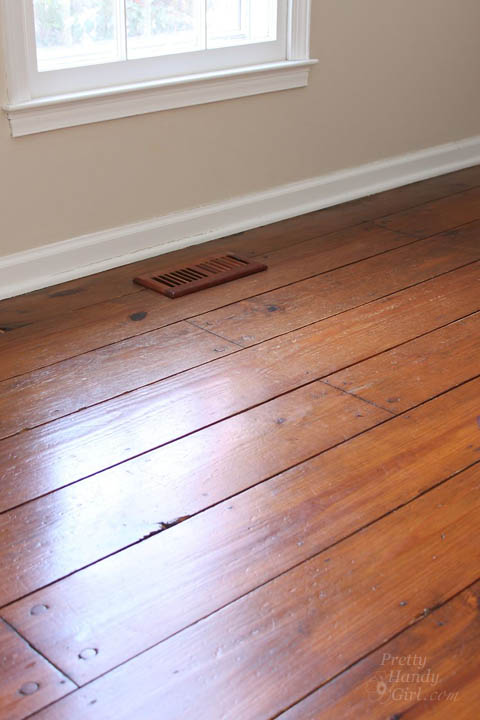
How to Refinish Wood Floors without Sanding | Pretty Handy Girl

…and the scratches are more noticeable. This is when I know it’s time to refinish them.
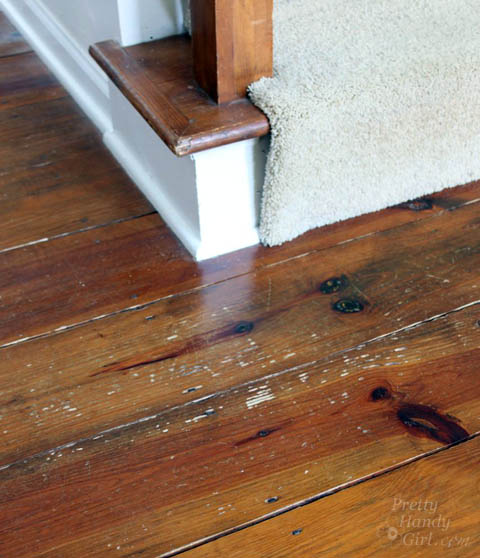
How to Refinish Wood Floors without Sanding | Pretty Handy Girl

The first time I refinished our floors, it was several years ago when we were painting the office and dining room. I decided to try to refinish the floors because the rooms were already devoid of furniture. Several neighbors had recommended Bona® Hardwood Floor Cleaner and Bona® Hardwood Floor Polish. I was skeptical, but the results were beautiful floors that had luster, but still showed their beautiful age.
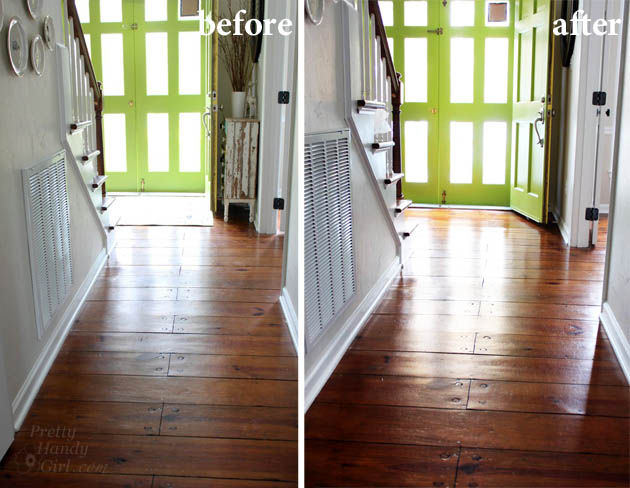
Before and After Finishing Wood Floors without Sanding | Pretty Handy Girl

The Bona® Hardwood Floor Cleaner did a fabulous job of cleaning the floor without damaging them. And, the Bona® Hardwood Floor Polish provided a strong finish without any waxy build up. The high gloss protective layer adds some shine, but isn’t overly shiny. The polish also fills micro-scratches, evening out the appearance of the floor.
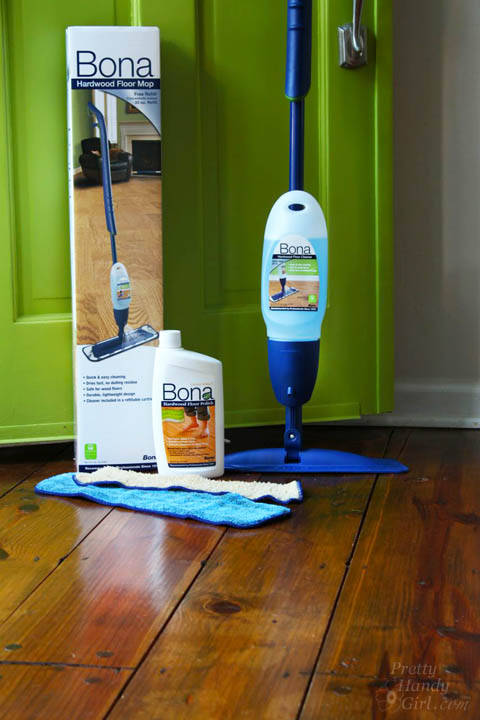
How to Refinish Wood Floors without Sanding | Pretty Handy Girl

Fast forward to this past week when Bona asked me to write a sponsored post for them, I jumped for joy because I already use and love the Bona® Hardwood Floor Products! (Here’s my full disclosure: Yes, this is a sponsored post. No, I was not told what to write. And yes, I probably would have blogged about my experiences using Bona® Hardwood Floor Products at some point anyway. Win-win.)

I highly recommend trying the combo of the Bona® Hardwood Floor Cleaner and the Bona® Hardwood Floor Polish before spending huge amounts of money to have your floors refinished. (Bona® Hardwood Floor Cleaner & Polish will not work on floors that have an oil or wax coating. Test in an inconspicuous area to be sure it will work for your floors.)

Here’s how to Refinish Your Wood Floors without Sanding:

Materials:

(I’ve included affiliate links for your convenience. I earn a small percentage from a purchase using these links. There is no additional cost to you. You can read more about affiliate links here.)

Instructions for Cleaning the Wood Floors:

Remove all rugs and furniture from the room. If you have heavy furniture pieces that are never moved, you can leave them in place.
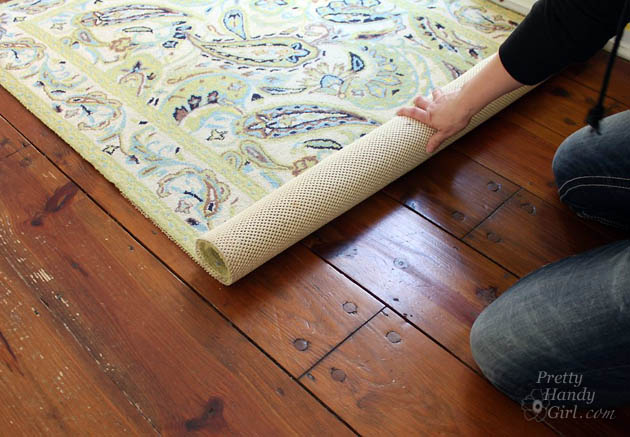
How to Refinish Wood Floors without Sanding | Pretty Handy Girl

Vacuum or sweep the floors to remove all dirt and debris.
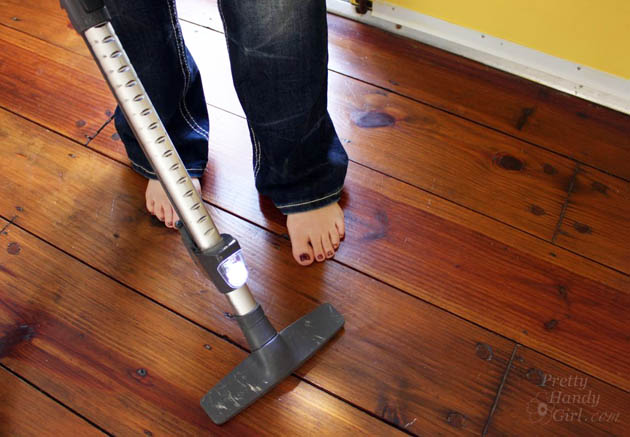
How to Refinish Wood Floors without Sanding | Pretty Handy Girl

Assemble your Bona® Hardwood Floor Spray Mop as shown here: Read more
Inexpensive Faux Copper and Patina Metal | Pretty Handy Girl

inexpensive faux copper metal patina

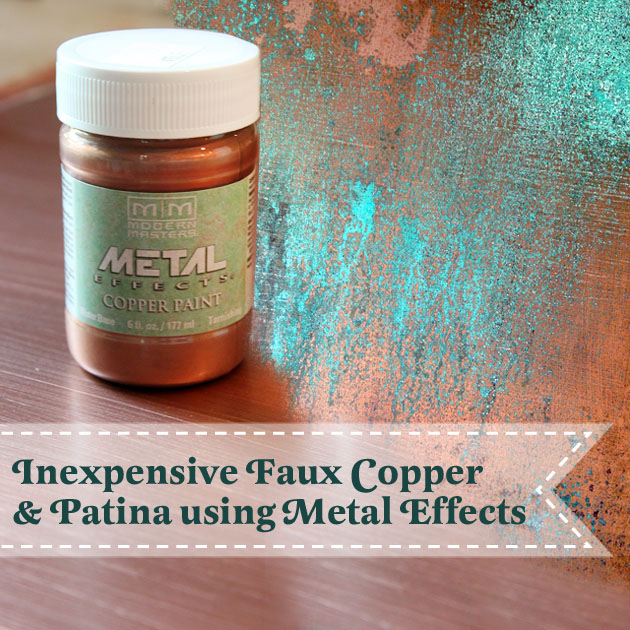
Do you love the look of copper, but the price makes your head whip the other way? Have no fear my dear! You can create inexpensive faux copper and patina for a fraction of the cost.

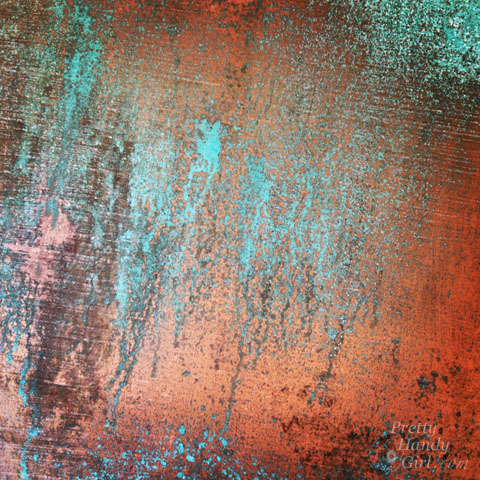
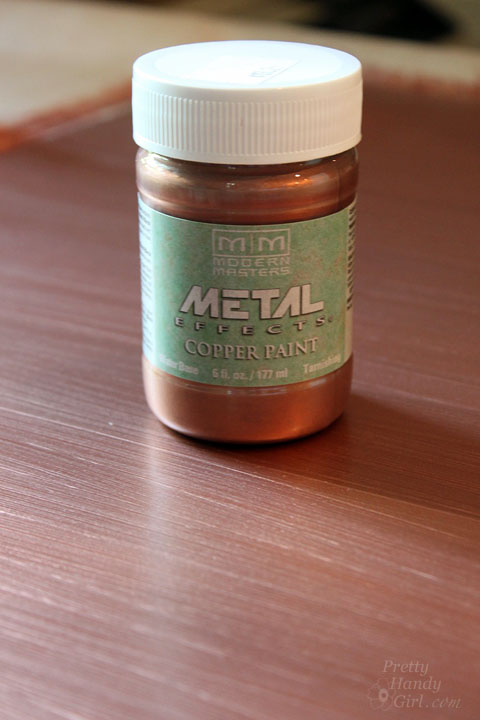
I was introduced to Modern Masters Metal Effects at Haven last year and the finish definitely fooled me. I honestly thought it was real copper. When I read up on the product, I realized that there are real copper particles in the paint which allows it to react and patina with the Metal Effects Green Patina Solution. (affiliate link)

Inexpensive Faux Copper and Patina Metal | Pretty Handy Girl

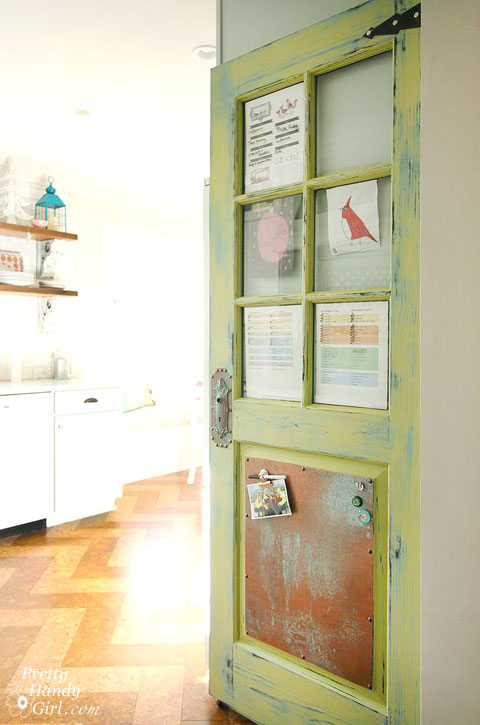
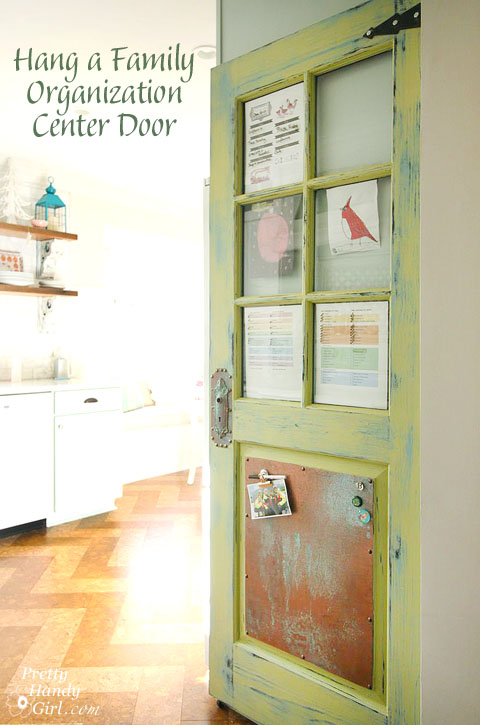
The uses for this paint are limitless! Discount light fixtures can be transformed into luxury copper versions with a little paint and patina spray. Paint inexpensive statues to look like real metal. Even Virgin Records and Ceasar’s Palace have used the paint and patina on exterior roof surfaces to fake the look. You may have seen the copper panel on our family organization center door. Today I want to show you how to create Inexpensive Copper Metal and Patina using Metal Effects!

Family Organization Door | Pretty Handy Girl

Materials:

(I’ve included affiliate links for your convenience. I earn a small percentage from a purchase using these links. There is no additional cost to you. You can read more about affiliate links here.)

Inexpensive Faux Copper and Patina Metal | Pretty Handy Girl

Optional: Sea sponge

Instructions:

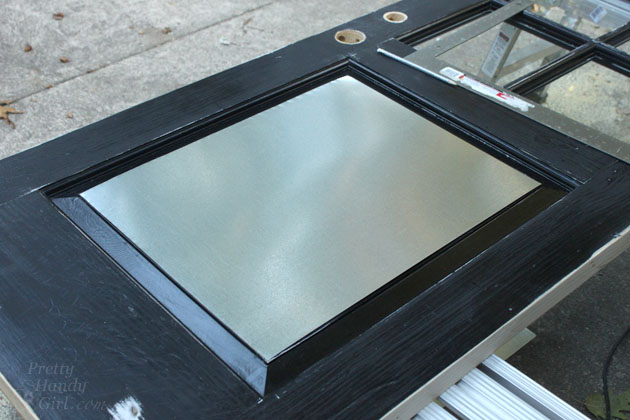
Cut your piece of sheet metal to size using tin snips.  Be sure to wear work gloves to avoid cutting yourself on the metal. Wipe off any dirt or grease.

Inexpensive Faux Copper and Patina Metal | Pretty Handy Girl

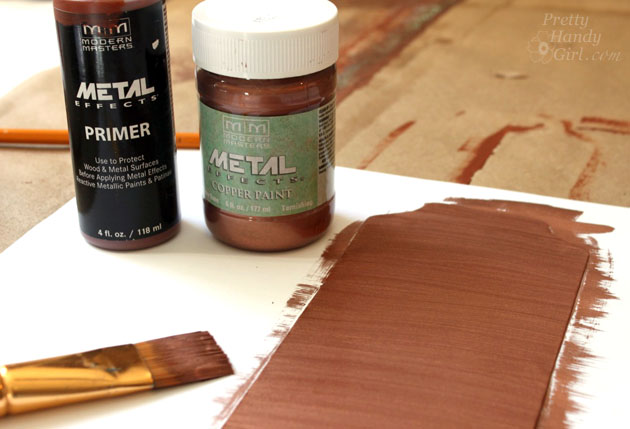
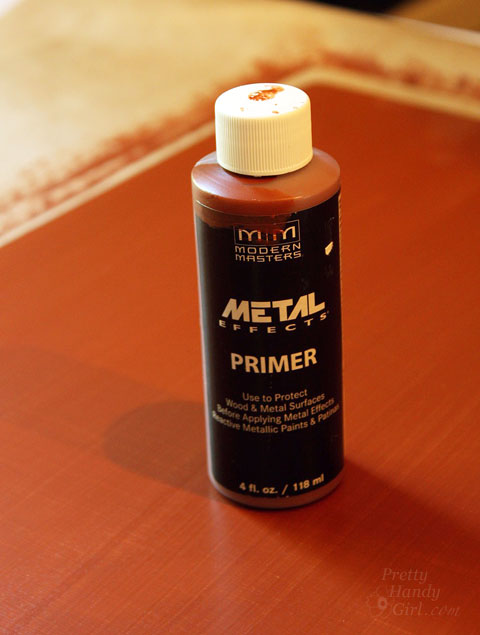
Coat the metal with one coat of primer. Let it dry and apply a second coat of primer.

Inexpensive Faux Copper and Patina Metal | Pretty Handy Girl

After the primer has dried, add one coat of the Metal Effects copper paint. After that dries, add a second coat. Read more
Family Organization Door | Pretty Handy Girl

Family Organization Door | Pretty Handy Girl

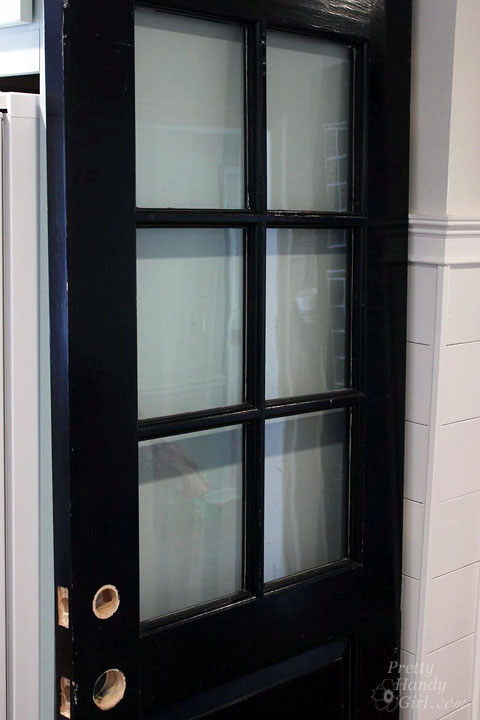
It’s hard to stay organized when you are a DIY blogger, Mom, wife, cook, cleaner, taxi driver, and a student (taking evening classes for the general contractor exam.) I’ll be the first to admit that I’ve dropped a few balls in this massive juggling act. But, I strive to improve and part of that effort involved hanging a Family Organization Center Door next to the refrigerator.  Did you know there was such a thing? Ha, me either until I saw this half window door at our local Habitat ReStore.

Family Organization Door | Pretty Handy Girl

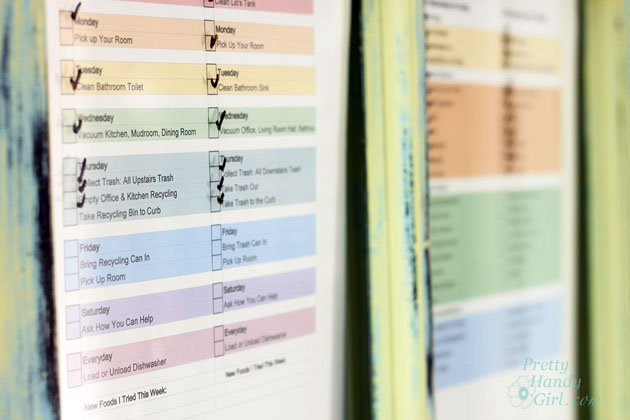
A vision of a place to plan meals, keep track of chores and keep reminders became clear in my head when I first saw it. Want to see how I took this old door and turned it into a family organization center? Hang around for a few minutes to find out.

Materials:
(contains some affiliate links)

Optional:

Instructions:

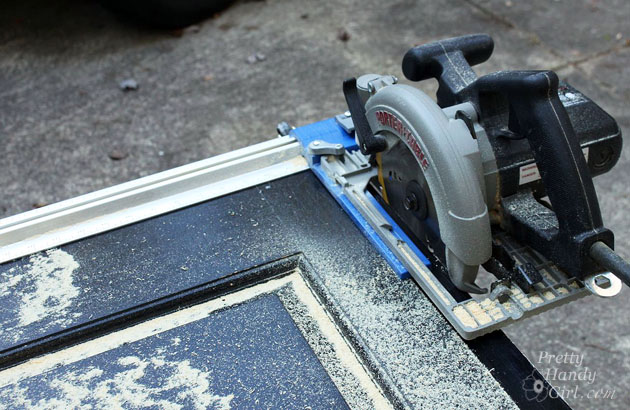
After finding a door for your organization center, you may need to trim down the sides to fit your space. I had to trim an inch off each side of my door to fit on the side of our refrigerator cabinet. Use a circular saw to trim the door. Using a Kreg Rip Cut will help keep the saw straight.

Family Organization Door | Pretty Handy Girl

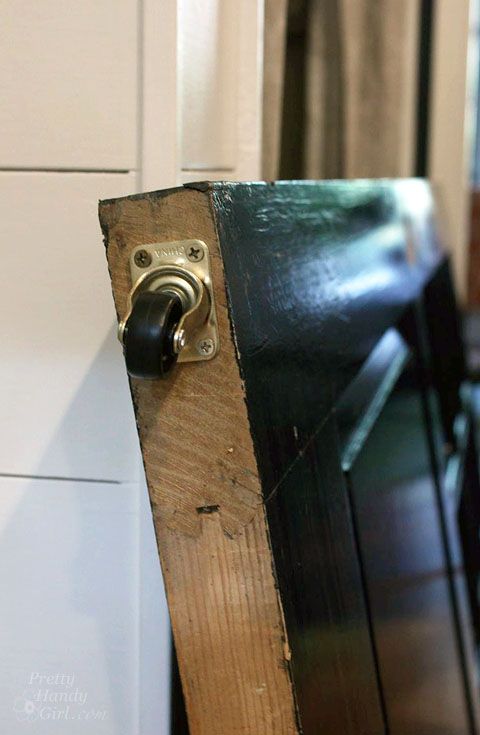
For extra stability, you may want to add a caster on the bottom of the door (opposite the hinge side). This is not necessary, but will add extra support.

Family Organization Door | Pretty Handy Girl

Cut scraps of coax cable to fit into the tops of the windows. Read more

Gray Restoration Hardware Stain Recipe | Pretty Handy Girl

Gray Restoration Hardware Stain Recipe | Pretty Handy Girl

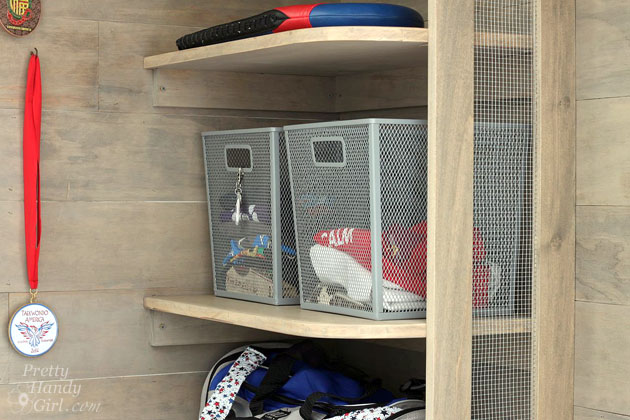
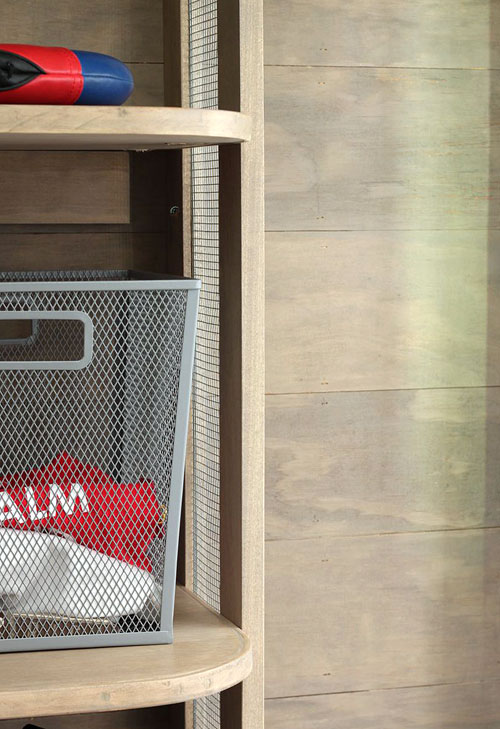
I’ve fallen in love with the Restoration Hardware Salvage Gray wood stain. But, try as I might, I haven’t found a pre-mixed stain that produces the same look. That never deterred me, and I don’t like to give up. Therefore, I created my own recipe for approximating that Restoration Hardware Weathered Gray stain. You may have seen this beautiful gray stain on my Sports Gear Storage Shelves the other day. Because I love you and I love to share, here is the DIY Restoration Hardware Weathered Gray Stain Recipe.

Materials:

Glaze: 

DIY Restoration Hardware Weathered Gray Stain Recipe Instructions:

Premix your glaze in a jar or bottle. 1 Part Valspar Arid Plains with 3 parts Valspar clear glaze.

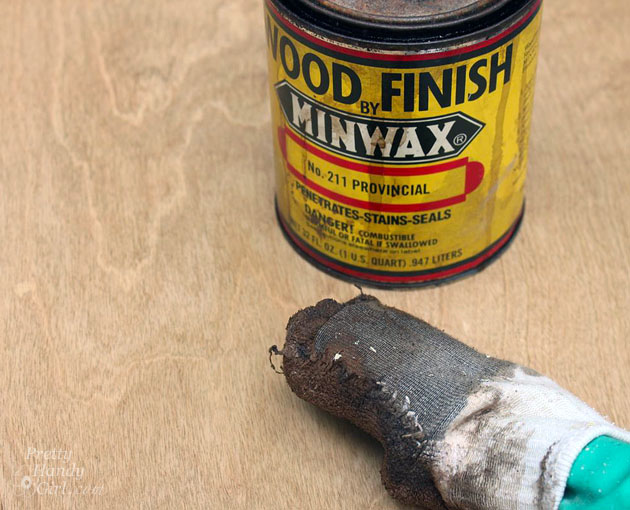
Sand your wood smooth. Put on a rubber glove and slip an old sock over the glove. Dip you hand into the stain and wipe the stain onto your wood. Always wipe on stain with the grain.

Gray Restoration Hardware Stain Recipe | Pretty Handy Girl

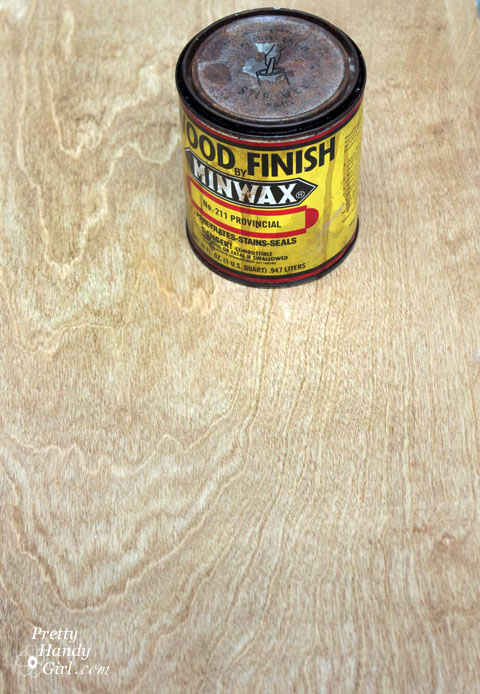
After the first coat has dried, repeat by adding a second coat of Minwax Provincial stain. Let the stain dry.

Gray Restoration Hardware Stain Recipe | Pretty Handy Girl

Lightly sand the wood before applying the glaze. Read more