10 Minute Fix for a Leaky Faucet | Pretty Handy Girl

Leaky faucet? No problem! Check out this TEN MINUTE fix from Pretty Handy Girl to get that faucet working in no time! | how to fix a leaky faucet | #prettyhandygirl #tutorial #DIY

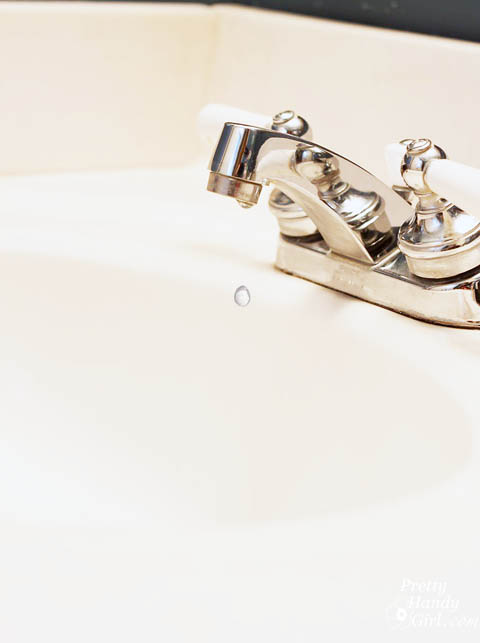
Drip, drip, drip! Is that leaky faucet keeping you up at night? I have a 10 minute fix that will bring you sweet dreams and a lower water bill.

Leaky faucet? No problem! Check out this TEN MINUTE fix from Pretty Handy Girl to get that faucet working in no time! | how to fix a leaky faucet | #prettyhandygirl #tutorial #DIY

Oftentimes the washers in faucets wear out after continuous use. Replacing them is actually easy and will only take about ten minutes (minus the time to run to Lowe’s to pick up the new ones.)

Materials:

10 Minute Fix for a Leaky Faucet | Pretty Handy Girl

  • Pliers
  • Needle-nosed pliers
  • Philips screwdriver
  • O-Ring (purchase after removing the old one)
  • Seat Washer (purchase after removing the old one)

Instructions:

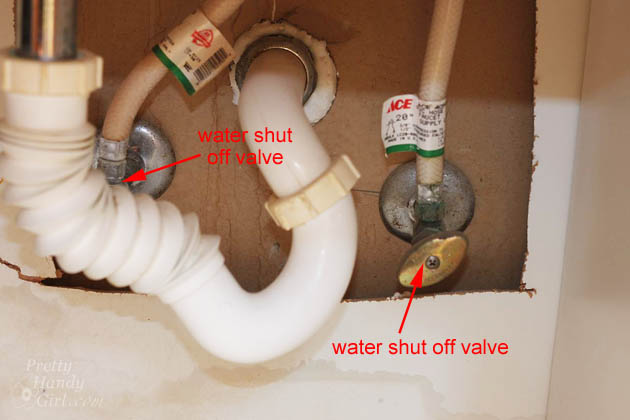
Begin by turning off your water. You can locate the water shut off valves under the sink.

10 Minute Fix for a Leaky Faucet | Pretty Handy Girl

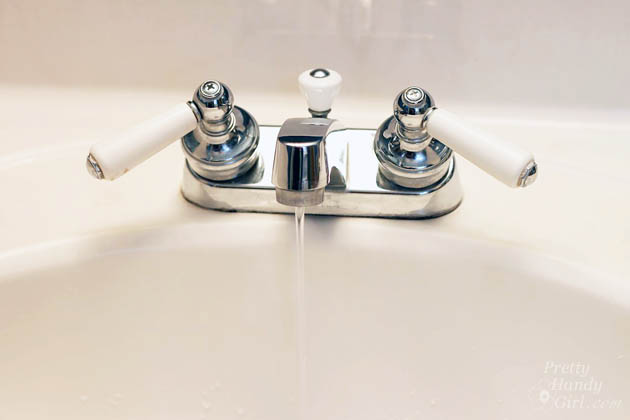
Turn on the water until the faucet runs dry.

10 Minute Fix for a Leaky Faucet | Pretty Handy Girl

Use the philips screwdriver to loosen and remove the screw on top of the faucet handle. Read more

Racing Stripe Mirror Makeover | Pretty Handy Girl

Racing Stripe Mirror Makeover | Pretty Handy Girl

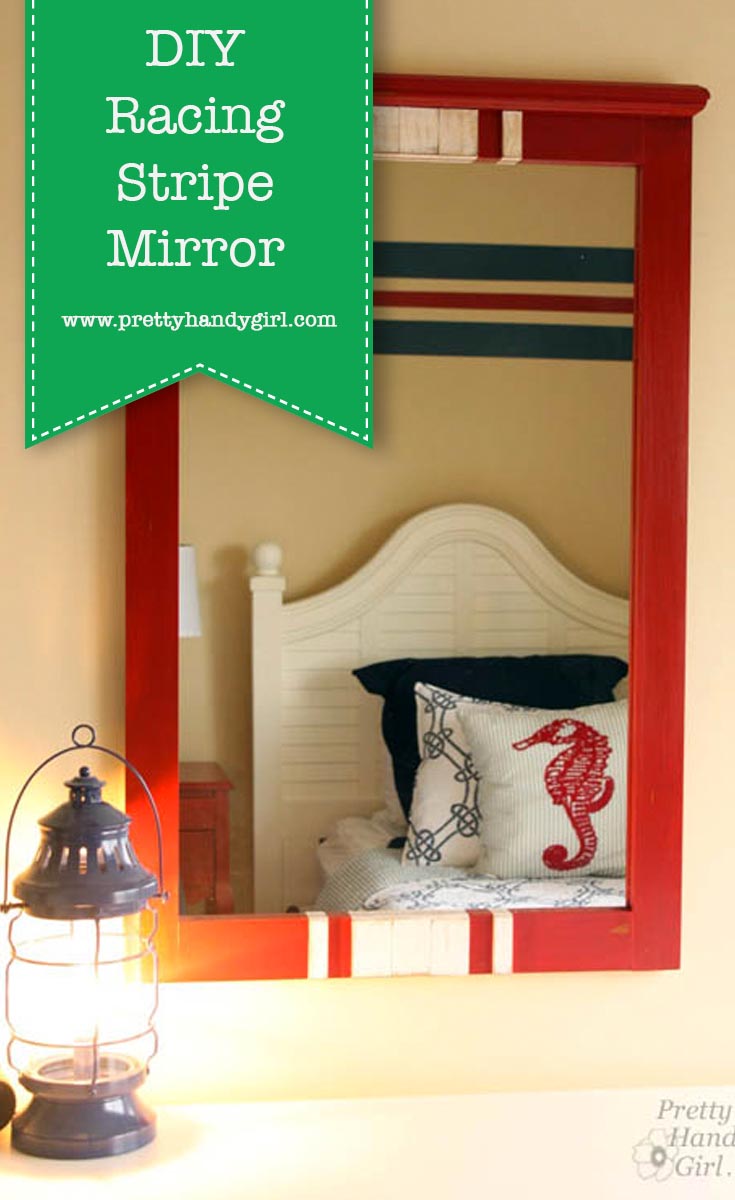
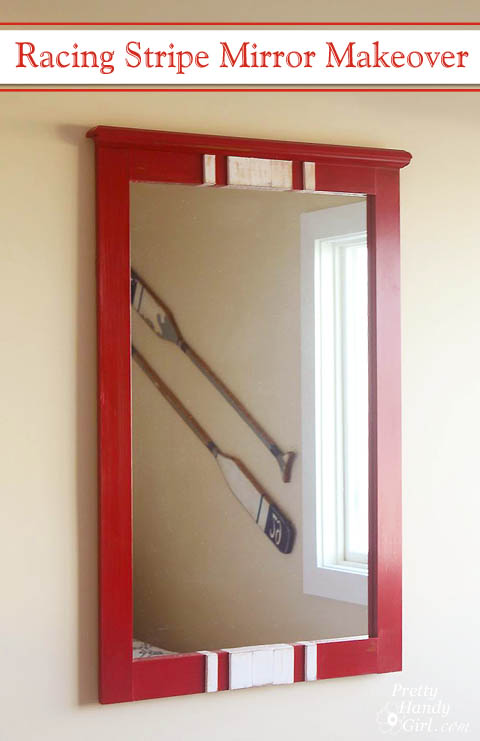
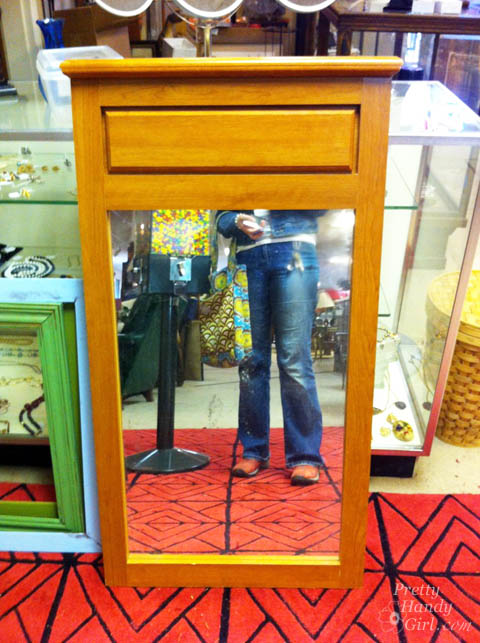
While my sister and I were renovating the Topsail Beach condo we had a strict budget. Finding a large mirror for less than $15 was challenging until I found this mirror with potential. I know my sister was doubtful, but I had a vision. Some red milk paint, lattice and glue would make this racing stripe makeover complete!
Racing Stripe Mirror Makeover | Pretty Handy Girl

To transform the mirror, I disassembled the top and cut off the panel portion using my Dremel MultiMax. I salvaged the top crown moulding and re-attached it to the new top of the mirror with glue and finish nails.

Then it was time to add stripes.

Materials (some links are Amazon affiliate links):

Instructions:

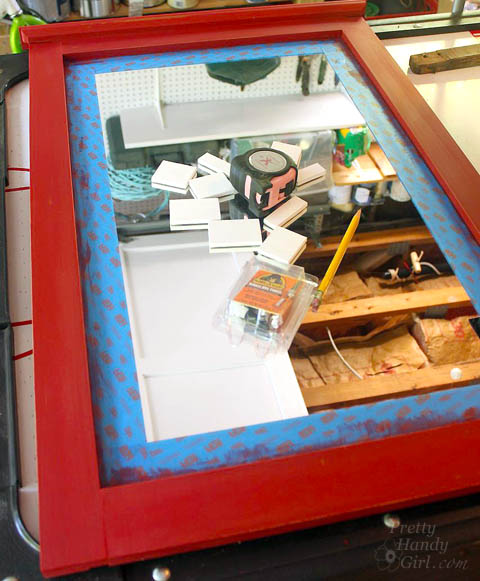
Tape off the edge of the mirror where it meets the frame. Paint two coats of Miss Mustard Seed Tricycle red paint onto the frame. (See this post for painting with milk paint.)
Racing Stripe Mirror Makeover | Pretty Handy Girl

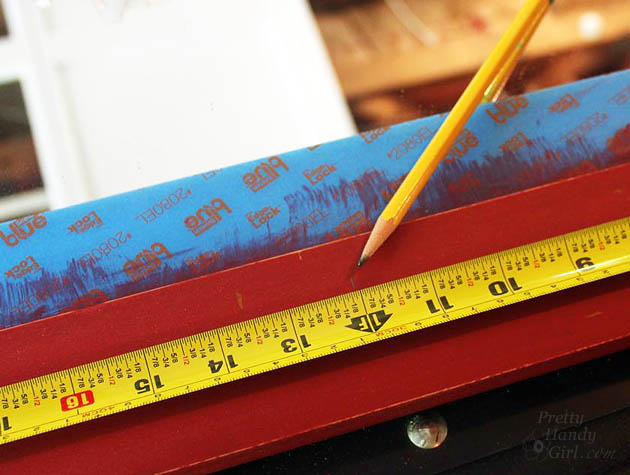
After the paint dries, wax it or leave it unfinished. Mark the center of the frame at the top and bottom of the mirror.
Racing Stripe Mirror Makeover | Pretty Handy Girl

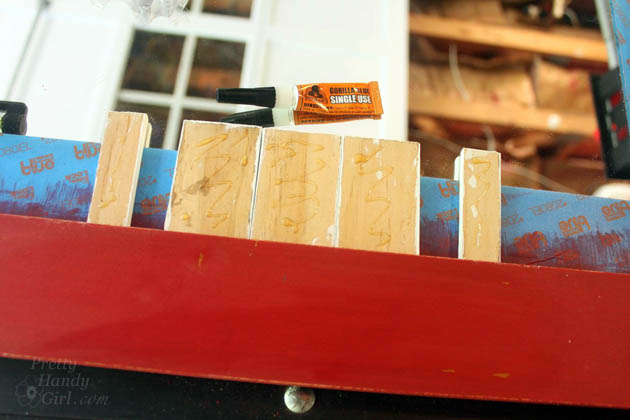
Cut pieces of lattice to fit the mirror frame width. (I used three pieces of lattice and cut a fourth piece in half for the outer stripes.) Pre-paint the lattice pieces ironstone (white) and let dry.

Wet the frame and the back of the lattice. Apply a small amount of Gorilla Glue to the backs of the lattice.
Racing Stripe Mirror Makeover | Pretty Handy Girl

Line up the center lattice piece with the pencil mark. Attach it and the other two pieces beside the middle lattice.
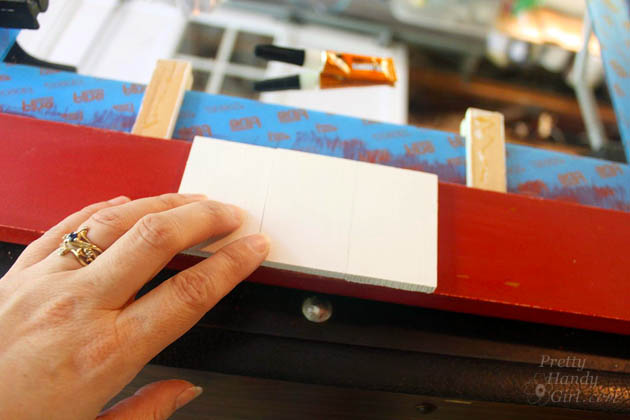
Racing Stripe Mirror Makeover | Pretty Handy Girl

Use a ruler to create a space between the middle stripe and the outer small lattice piece. Glue the outer pieces in place.
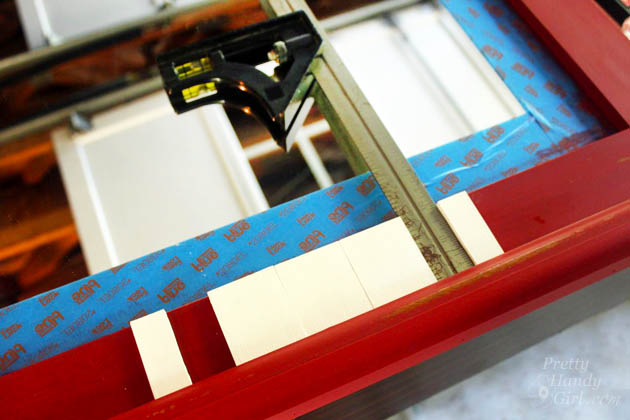
Racing Stripe Mirror Makeover | Pretty Handy Girl

Set a weight (or paint can) on top of a scrap board and the lattice pieces while the glue dries.
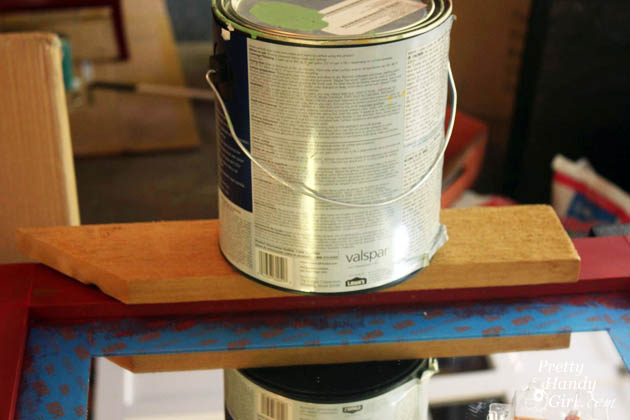
Racing Stripe Mirror Makeover | Pretty Handy Girl

Remove the weight. Paint the top and bottom edge of the mirror frame white to create the illusion that the stripe continues around the frame edges. Distress the lattice pieces with sandpaper if you want a rustic look.
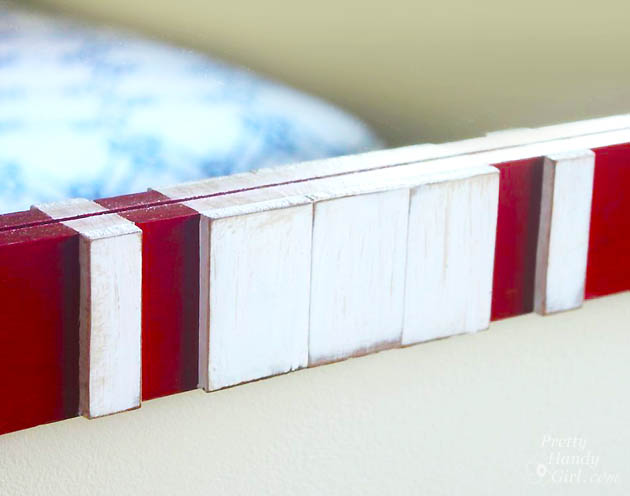
Racing Stripe Mirror Makeover | Pretty Handy Girl

Hang your mirror on the wall and admire! Not bad for $15, two coats of paint, and some scrap lattice!
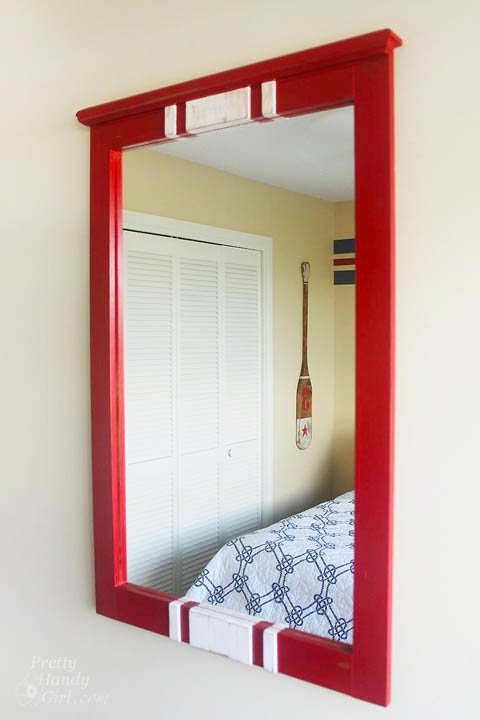
Some red milk paint, lattice and glue transform this $15 find into a charming racing stripe mirror perfect for a boys' room! | thrift store makeover | DIY mirror | mirror tutorial | #prettyhandygirl #DIY #tutorial

The mirror hangs happily in the twin bedroom at the Topsail Beach Condo. Click here to see the rest of the condo!
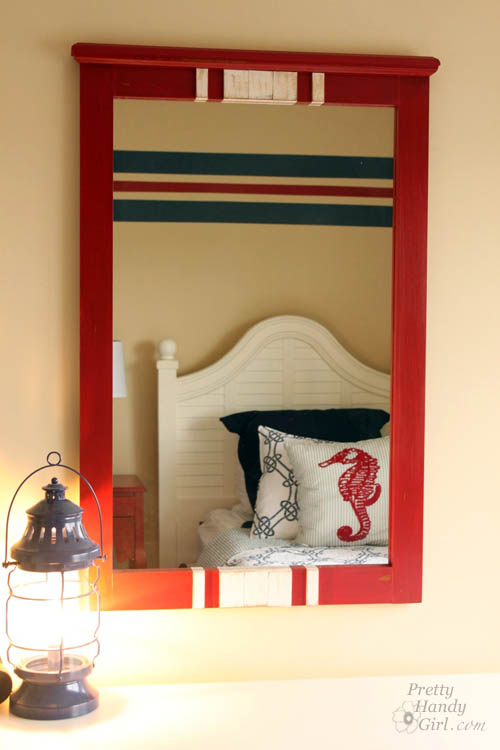
Some red milk paint, lattice and glue transform this $15 find into a charming racing stripe mirror perfect for a boys' room! | thrift store makeover | DIY mirror | mirror tutorial | #prettyhandygirl #DIY #tutorial

Hope you never turn down a $15 mirror again ;-).

PHGFancySign


Pin for later!
 

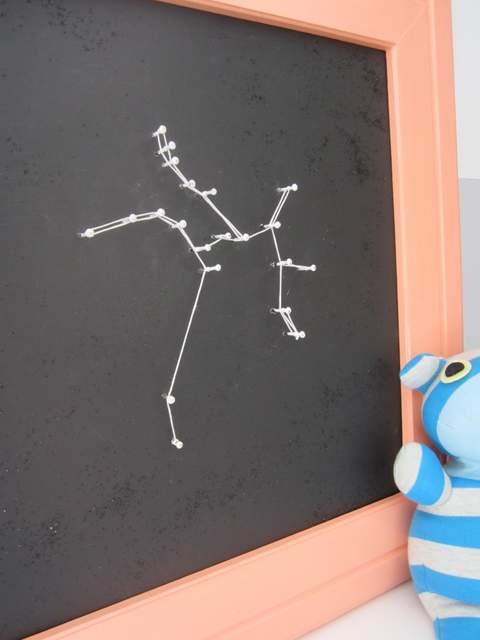
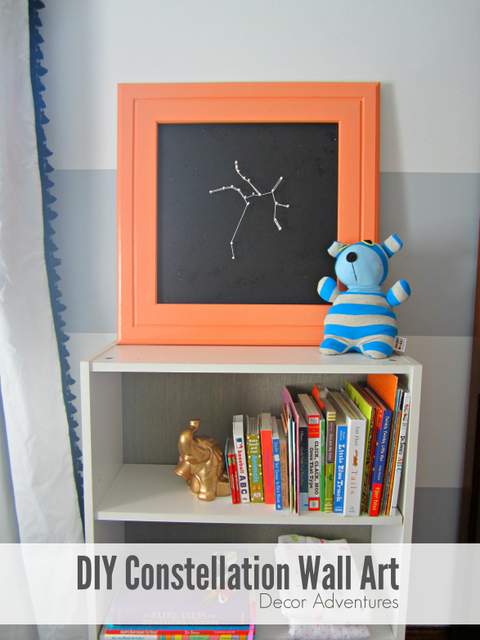
DIY Constellation Wall Art

DIY Constellation Wall Art

Happy New Year! It’s Jessica from Decor Adventures, back with a fun project for your walls this month.  In late November, my husband and I had a baby girl! We are enjoying every minute of her and on the side I’ve been working on decorating her nursery. This idea for constellation wall art is both a way to add art to the walls, and some personalization of her birthday. It’s easy to put together and only requires a few basic supplies.

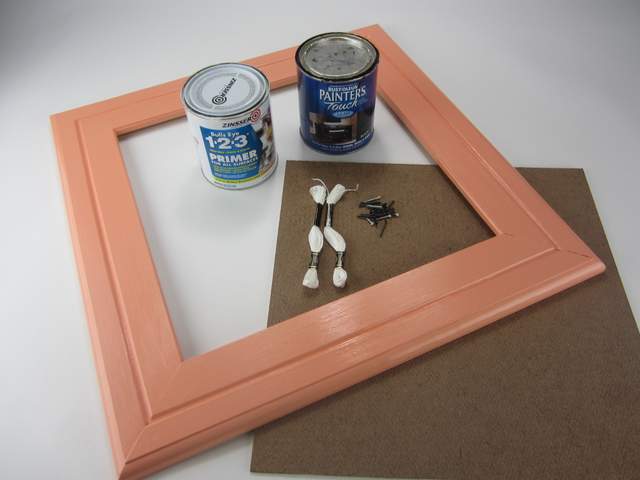
Materials

  • Picture frame
  • Hardboard to fit inside picture frame
  • Primer
  • White and black paint
  • Drill and drill bits
  • Small nails
  • Embroidery floss in white
  • Computer, internet, printer, paper
  • Hammer
  • Glitter (optional)

DIY Constellation Wall Art

Instructions

1. Paint your picture frame if desired. I used Smitten by Americana Decor chalky paint. I sealed it with 2 coats of polycrylic since chalky paint dries in a matte finish.

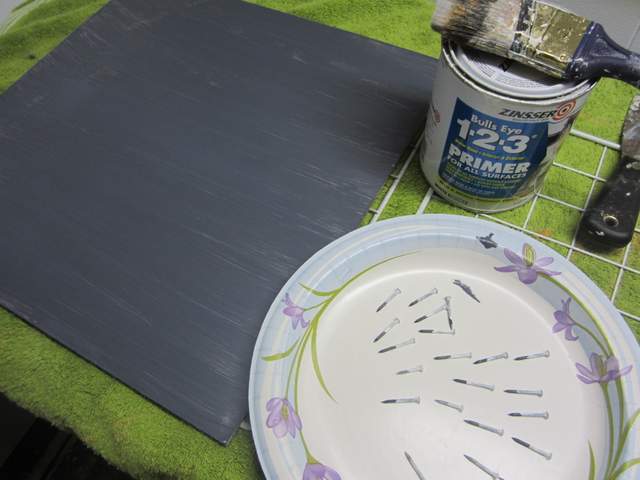
2. Prime and paint your hardboard with black paint. You could also use dark blue, since it will represent the night sky. I sprinkled a little bit of black glitter on the wet pant to add some sparkle (optional.)

Paint the nails white. These will be the “stars” in your constellation.

DIY Constellation Wall Art

3. Find an image of the constellation you plan to use and print out an image of it. You can find this with a quick search online, but this is a good resource for pictures. Print it on paper to fit inside your frame. Read more

12 DIY Home Storage Tutorials | Pretty Handy Girl

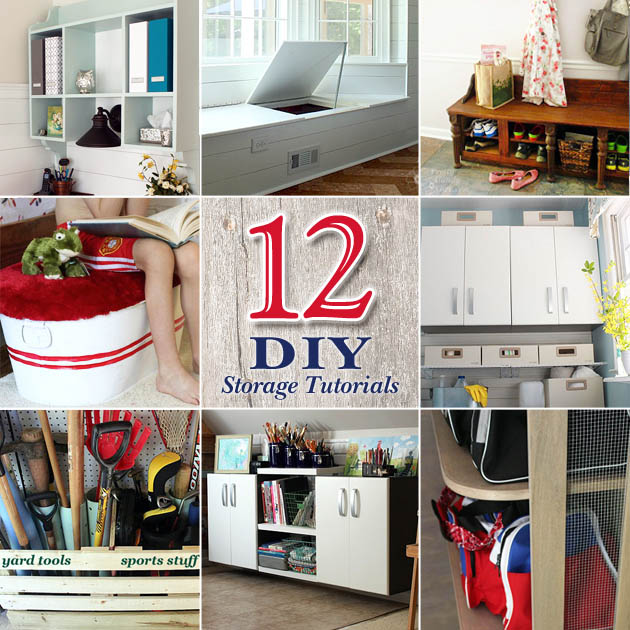
It’s January and you know what that means! Time to clean and purge the house of all the excess stuff. Last year I was too busy with projects to purge, so this year I’m taking advantage of some warmer days to clean out our home. I hope you’ll excuse me while I’m in clutter busting HELL mode. In the meantime you might enjoy these 12 DIY Storage Projects to help you organize your home (and hide clutter.)

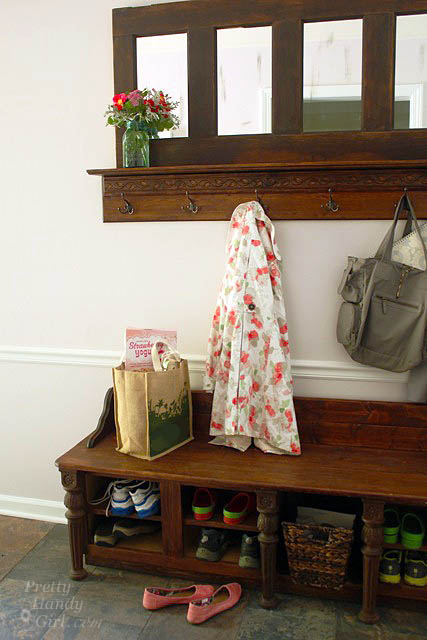
mudroom_shoe_storage_bench
Make a Coat Rack from an Old Door
 and Make a Shoe Storage Bench with Kitchen Cabinets

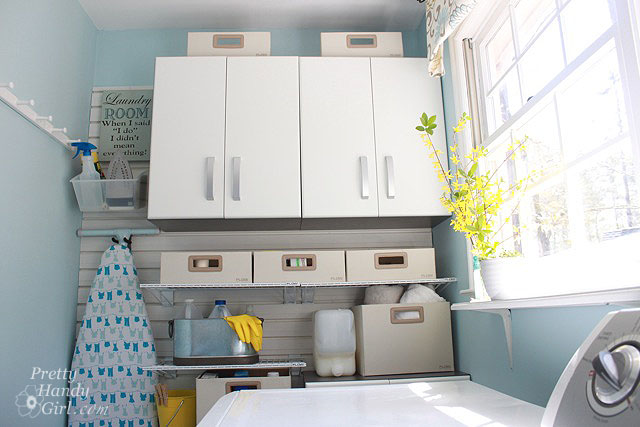
full_flow_wall_above_washerLaundry Room Storage using Flow Wall Read more