Rustic Metal Magnetic Window Frame | Pretty Handy Girl

Galvanized Metal Magnetic Windows | Pretty Handy Girl

I was really inspired by Laura Putnam’s new book: DIY Rustic Modern Metal Crafts. I love the look of aged galvanized metal and knew that our home needed more of it. Today I’ll share with you a tutorial to create your own Rustic Metal Magnetic Window Frame, inspired by Laura’s Vintage Window Memo Board. But, you’ll definitely want to get a copy of Laura’s book to learn how to make 34 more storage and decor items using galvanized metal!

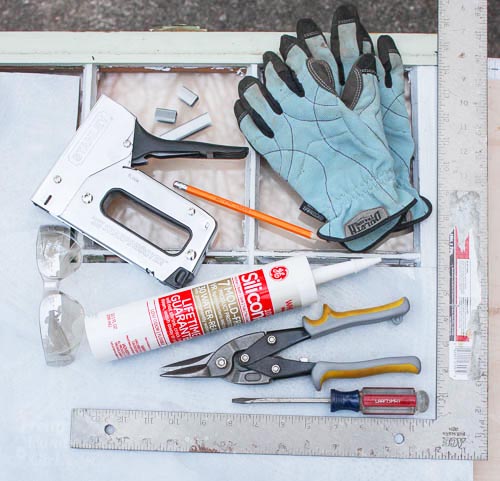
Materials:
(contains affiliate links)

Galvanized Metal Magnetic Windows | Pretty Handy Girl

Optional: Silicone Caulk (for more secure metal)

Instructions:

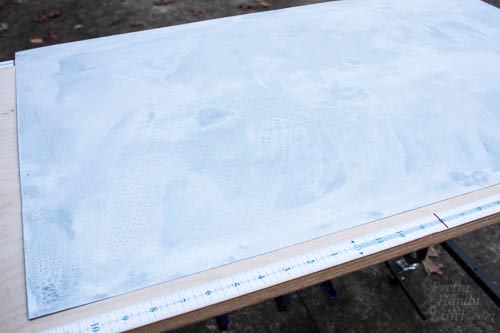
Ready to make your own Rustic Metal Magnetic Window Frame? If you have newer galvanized metal, you can easily add an aged patina to metal following this tutorial. Prepare ahead of time, because it might take up to 8 hours to get the look you want. The sheet you see below was left overnight in the solution to get a nice white patina.

aged-galvanized-sheet-metal

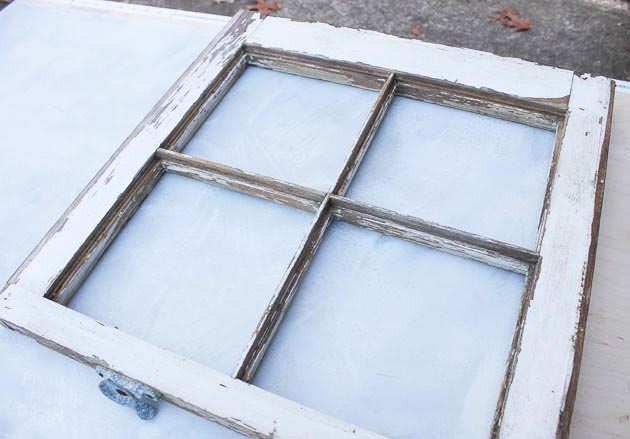
Remove the glass panes from your old window.

old-window-pane

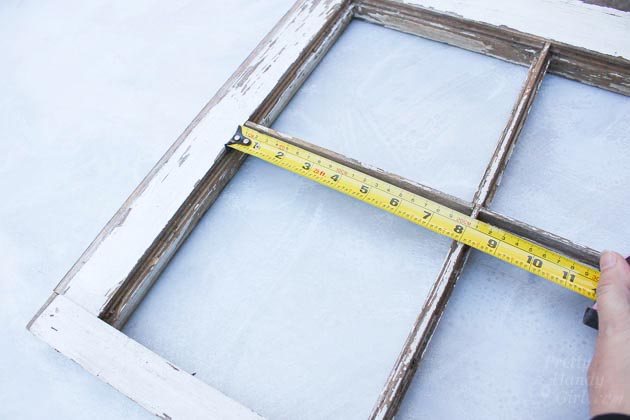
Measure the size of each pane.

measure-window-panes

Transfer your measurements onto the galvanized metal sheet. Read more

Family Organization Door | Pretty Handy Girl

Family Organization Door | Pretty Handy Girl

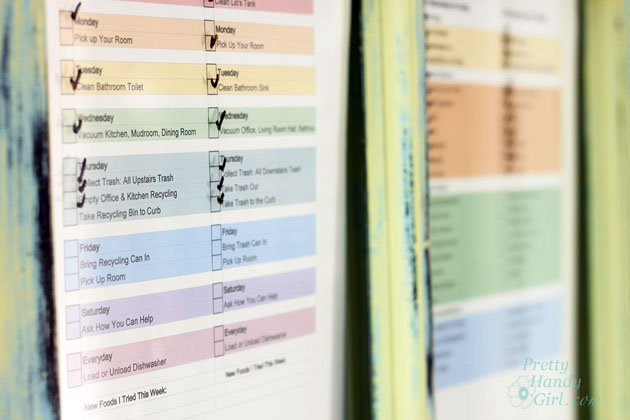
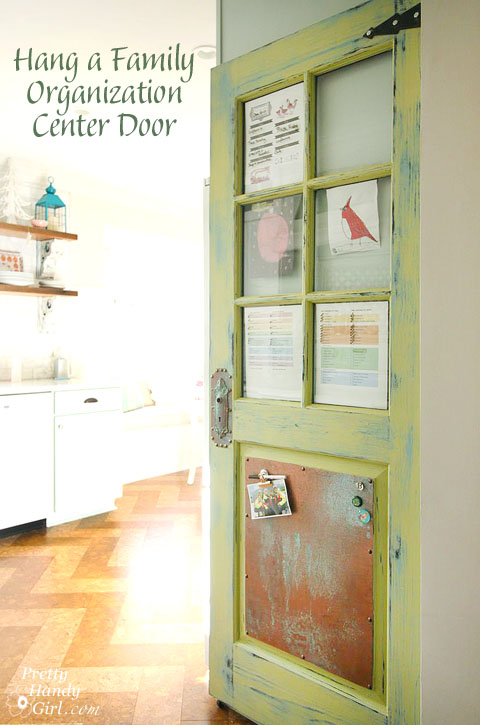
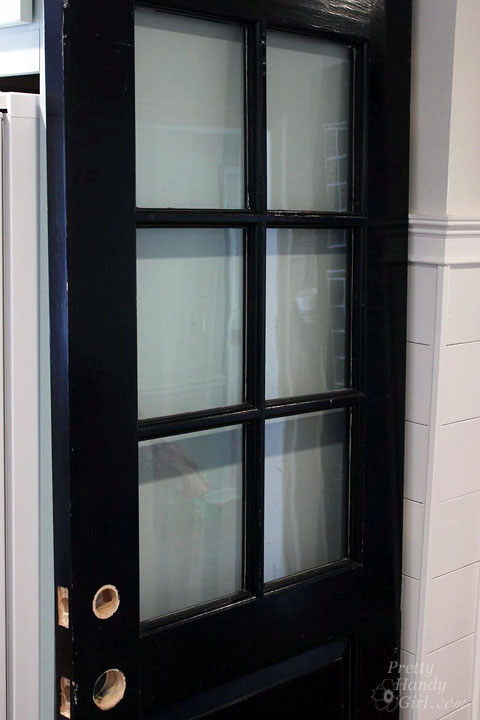
It’s hard to stay organized when you are a DIY blogger, Mom, wife, cook, cleaner, taxi driver, and a student (taking evening classes for the general contractor exam.) I’ll be the first to admit that I’ve dropped a few balls in this massive juggling act. But, I strive to improve and part of that effort involved hanging a Family Organization Center Door next to the refrigerator.  Did you know there was such a thing? Ha, me either until I saw this half window door at our local Habitat ReStore.

Family Organization Door | Pretty Handy Girl

A vision of a place to plan meals, keep track of chores and keep reminders became clear in my head when I first saw it. Want to see how I took this old door and turned it into a family organization center? Hang around for a few minutes to find out.

Materials:
(contains some affiliate links)

Optional:

Instructions:

After finding a door for your organization center, you may need to trim down the sides to fit your space. I had to trim an inch off each side of my door to fit on the side of our refrigerator cabinet. Use a circular saw to trim the door. Using a Kreg Rip Cut will help keep the saw straight.

Family Organization Door | Pretty Handy Girl

For extra stability, you may want to add a caster on the bottom of the door (opposite the hinge side). This is not necessary, but will add extra support.

Family Organization Door | Pretty Handy Girl

Cut scraps of coax cable to fit into the tops of the windows. Read more

How to Add Security Film to Glass Doors & Windows | Pretty Handy Girl

How to Add Security Film to Glass Doors & Windows | Pretty Handy Girl

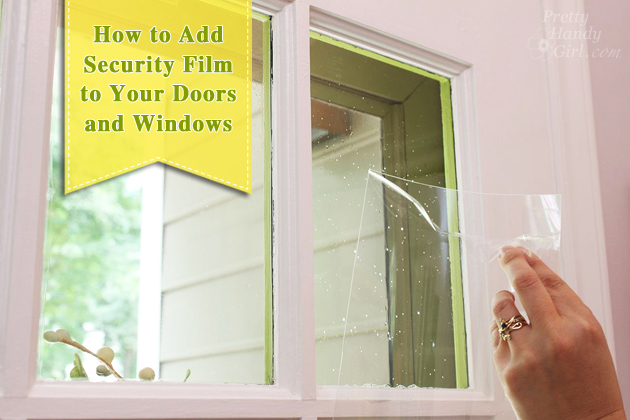
The folks at Allstate Insurance have graciously sponsored this post, which will help you learn how to install security film to safeguard your doors (or windows) from a potential break-in! It’s a simply DIY solution that could potentially save you the heartache of having your home burglarized.

I’ve noticed an unsettling trend in our area. There are more thefts popping up around our neighborhood. Luckily the majority of them are burglaries with no violence. But, it’s still unsettling. If you want the latest on crimes around you, sign up for SpotCrime.com. Simply enter your address and you’ll get emails when crimes are reported around you. Then again, this could lead to a bit of paranoia {raising hand.}

SpotCrime.com map

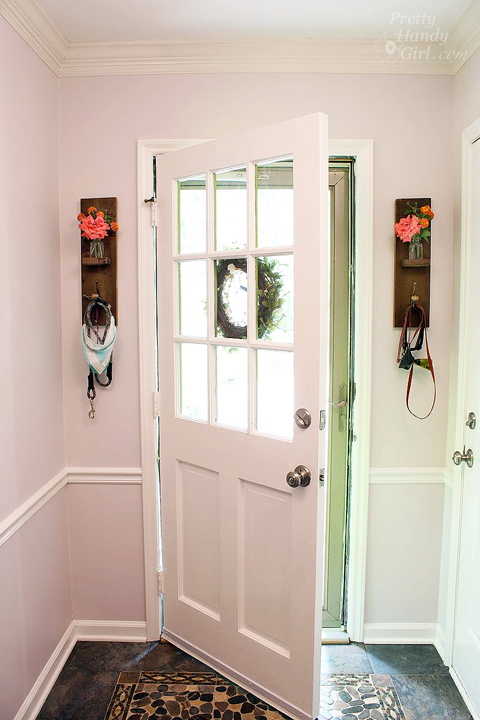
Regardless, there are two doors in our home that have always caused me some concern. We have two half window doors that needed some added security measures. The first one is the entrance to our mudroom. The second one is the back door to our garage (and you know I’d be heartbroken if anyone stole my power tools!)
How to Add Security Film to Glass Doors & Windows | Pretty Handy Girl

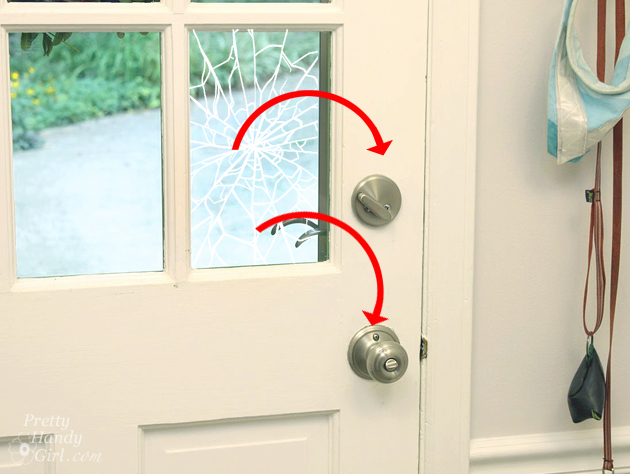
If you have a door like this, a burglar can simply break the pane of glass closest to the knob, reach in and turn the deadbolt and handle. One option is to install a two-sided keyed entry deadbolt lock. Because we have little children, I worried about them not being able to find the key and get out of the house in the event of a fire.
How to Add Security Film to Glass Doors & Windows | Pretty Handy Girl

This past week I happened to hear about security film and did a little research. I was skeptical until I tested the material myself. The results seriously amazed me! You can watch my test in the video later in this post.

In the meantime, here are the supplies you’ll need and the very simply installation instructions!

(I’ve included affiliate links for your convenience. I earn a small percentage from a purchase using these links. There is no additional cost to you. You can read more about affiliate links here.)

Materials:

 Instructions:

1. Begin by removing the grill if you have one solid piece of glass with faux dividers (see my video below for more details on removing the grill.) If you have true divided light, move on to the next step.

2. Measure your windows. Reduce the size by 1/8″ to leave space at the edges for the water to escape. Transfer the measurements onto the film with pen. Cut the window film with the x-acto knife and ruler. (You could use scissors in a pinch.)
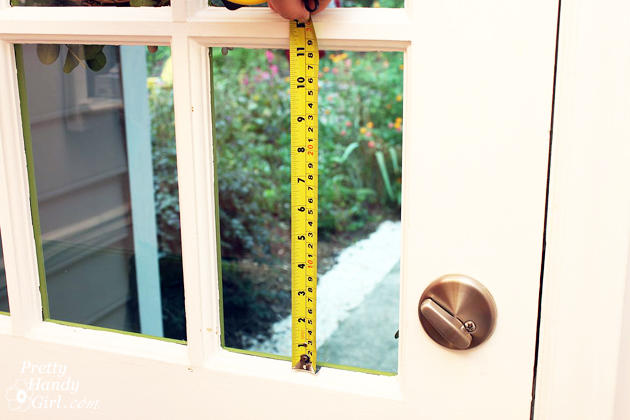
How to Add Security Film to Glass Doors & Windows | Pretty Handy Girl Read more
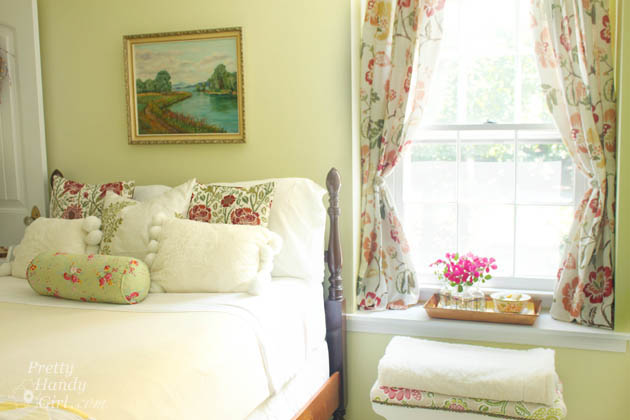
Painted Lampshade & a Quick Guest Room Makeover | Pretty Handy Girl

Painted Lampshade & a Quick Guest Room Makeover | Pretty Handy Girl

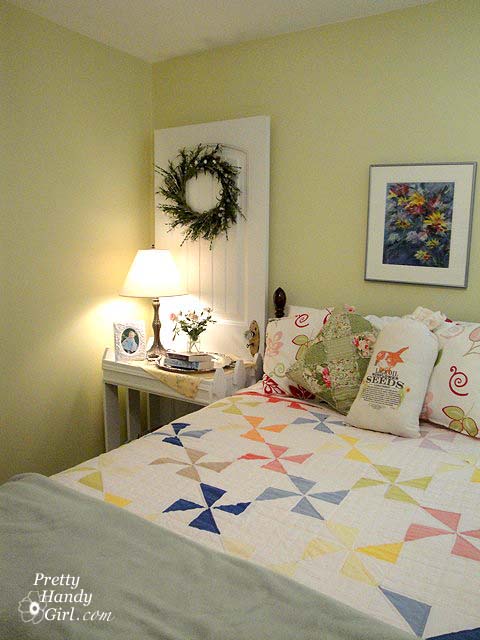
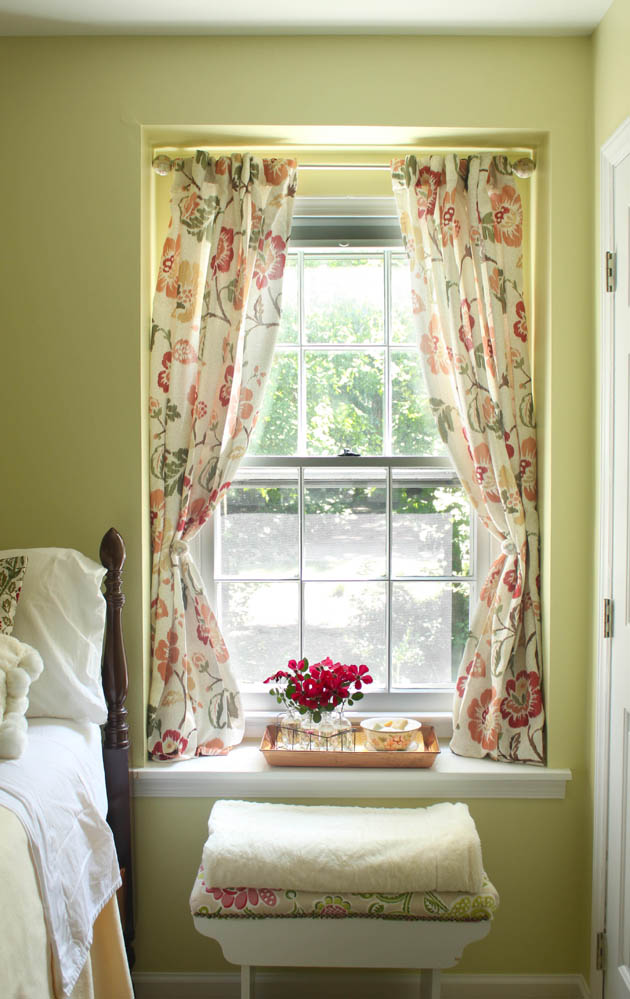
My mom was coming to visit his month. Since she’s a repeat guest, I wanted to give the guest room a little mini makeover for her. With the addition of some new pillows, curtains and a painted lampshade I gave it a new look in an afternoon.

Here’s the before:

GuestBed

And the after: Read more
Painted Lampshade & a Quick Guest Room Makeover | Pretty Handy Girl

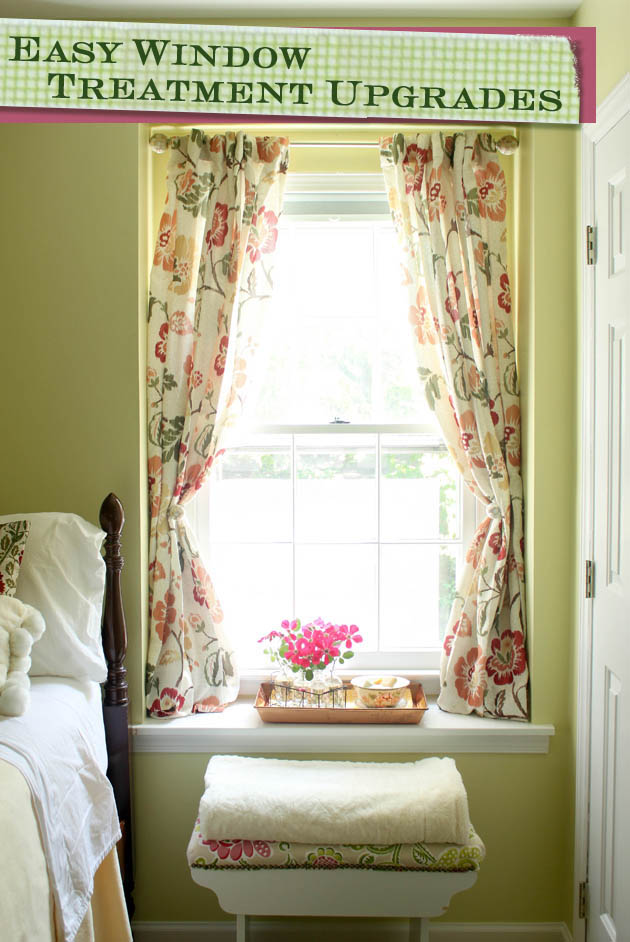
Easy Window Treatment Upgrades | Pretty Handy Girl

Whoa. What happened to summer? Labor Day is here and that means the holidays are just around the corner. I’ve started to think about sprucing up our guest room in anticipation of having guests. The number one complaint our guests have (not that many of them complain) is that there is too much light that comes in the window in the morning. When Lowe’s asked us to focus on window treatments in September, I realized the time had come to address this blinding light situation. Little did I know, that installing new blinds and curtains would take less than an hour!

Here is the basic window that I started with. (Yes, there’s a roller shade there, but it was hidden under a valance and frankly it’s a pain to use.)

How to Install Window Blinds and Curtains | Pretty Handy Girl

After taking a few measurements, I headed to Lowe’s to look at the options for window blinds and curtains. It was a tough decision because I really liked some of the roman shades. But, I wanted a blind that wouldn’t block much light when it was raised. I settled on the Levolor cordless room darkening cellullar shade. Not only does it have a low profile when installed, but raising it and lowering is as easy as pressing a button. Plus, no strangulation hazards because there are no external cords! I’m kicking myself for not doing this sooner.

How to Install Window Blinds and Curtains | Pretty Handy Girl

How to Install Blinds and Curtains from Lowe’s in less than an hour: Read more