Painted laminate table

How to Paint Laminate Table Top to Withstand WearHow to Paint a Laminate Table Top

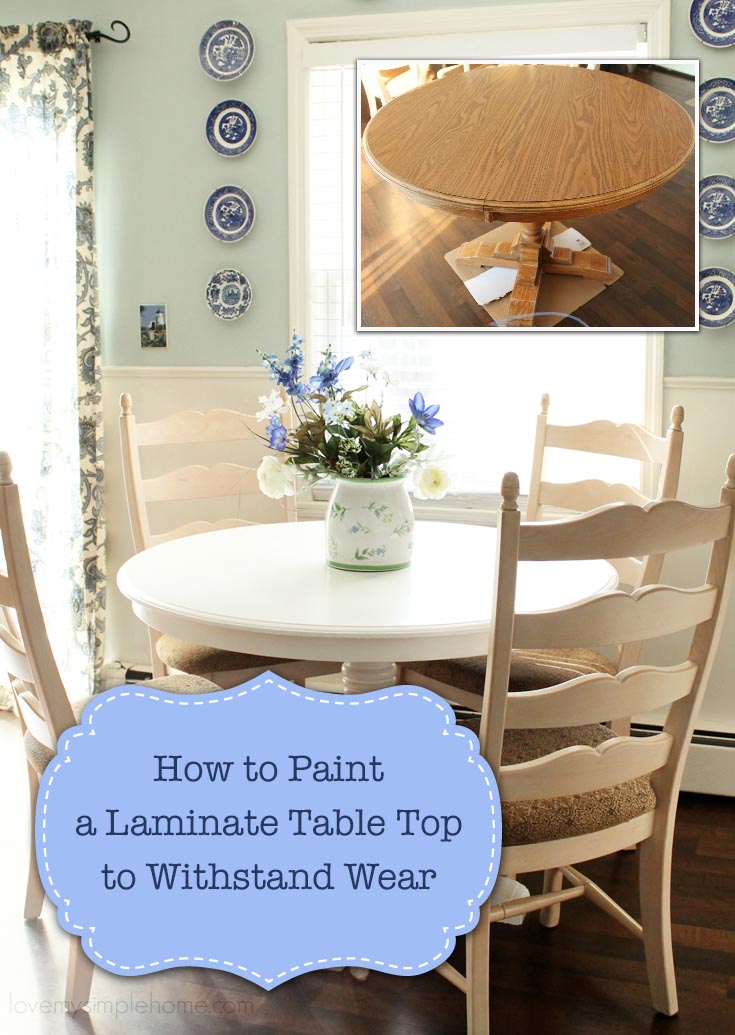
Do you have a laminate top dining table that you want to paint, but are not sure how to paint it so it will withstand the wear and abuse a table usually receives? I can help by showing you how I painted my table. It was easy to do but takes some patience.

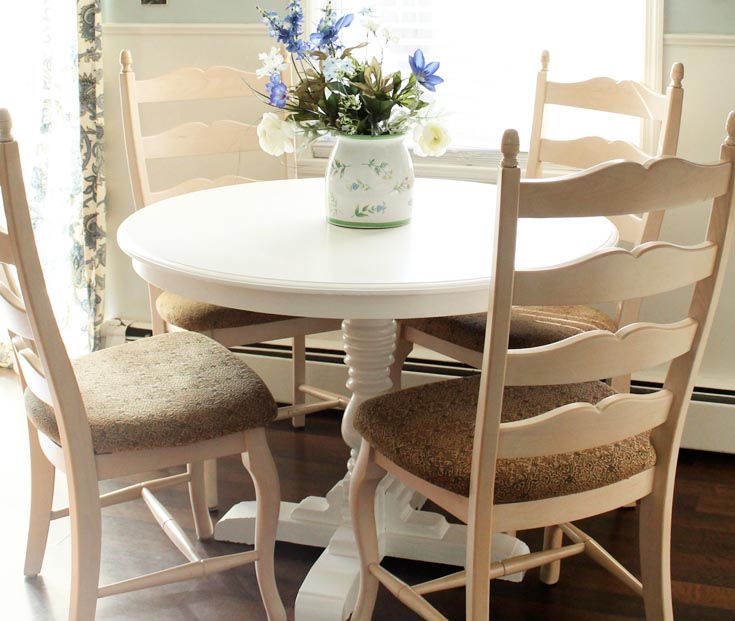
Hello awesome readers, I am Julie from Love My Simple Home, and I’m so excited about today’s post!  Over the summer I purchased this laminate dining table at a yard sale to use in my dining room.  After storing the table for several months,  I finally decided to pull it out of storage and give it a beautiful new finish with bright white paint.Laminate Table Top
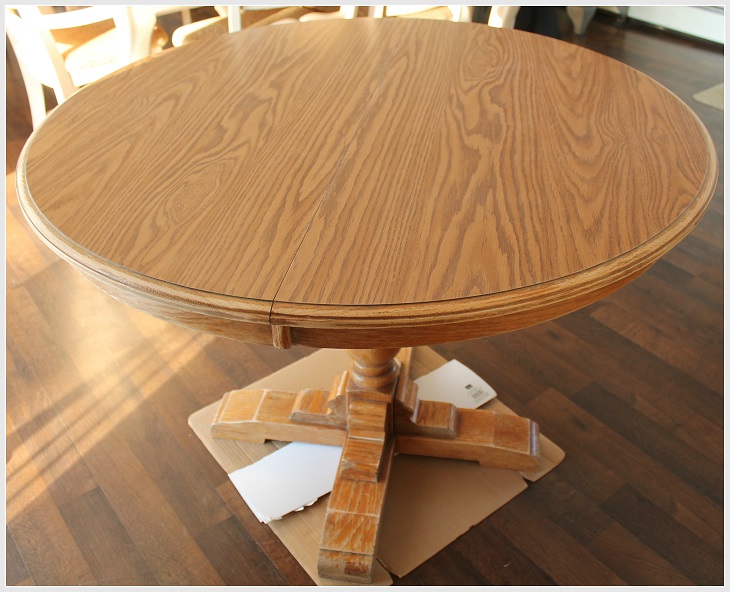
Laminate Table Top Material List:

Palm Sander

Paint with Primer

Foam Roller

Paint Pan

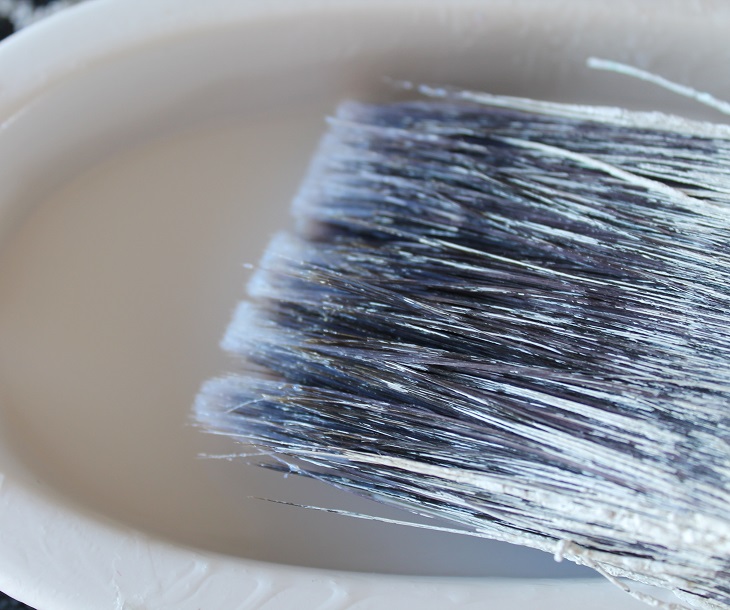
Synthetic Paint Brush

Polycrylic Clear Satin

Paint a Laminate Table Top Step 1: Clean

The very first thing you need to do is wash the table off.  Use a soapy sponge with water to clean all the dirt, oil, or grime off the table top and base.  Use a clean dry towel to dry it completely.

Paint a Laminate Table Top Step 2: Sand

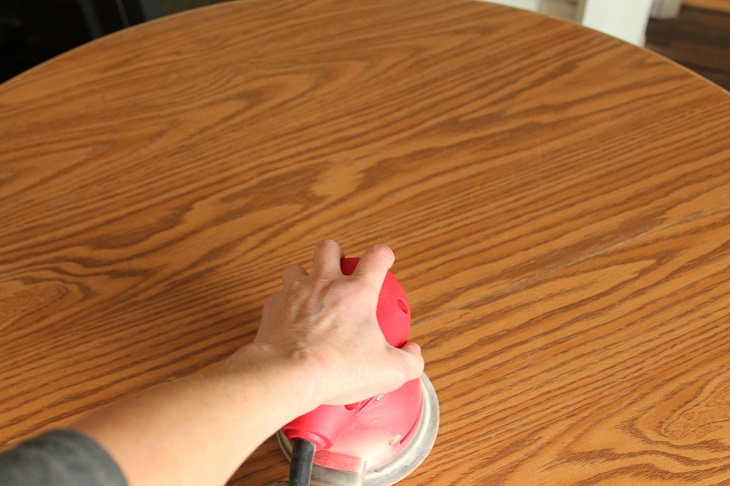
The purpose of sanding is to give the paint/primer something to grab onto.  Use a palm sander with 220 grit sandpaper and sand the top in the direction of the grain. You don’t need to sand too much, just enough to add some “tooth” for the paint to stick to. After sanding, clean the surface again with a soft clean cloth.  If the base of your table is in poor condition, go ahead and sand it too. (You might find it easier to hand sand the base of the table.)

Laminate Table Top


Paint a Laminate Table Top Step 3: Paint

A table that will be used daily needs a paint that is durable and can withstand spills.  I recommend BEHR Premium Plus Ultra in an Eggshell enamel finish. (You don’t need an entire gallon, one quart is plenty.) This paint is stain-blocking and is paint & primer in one.  For a super bright white, use Ultra Pure White.

Laminate Table Top


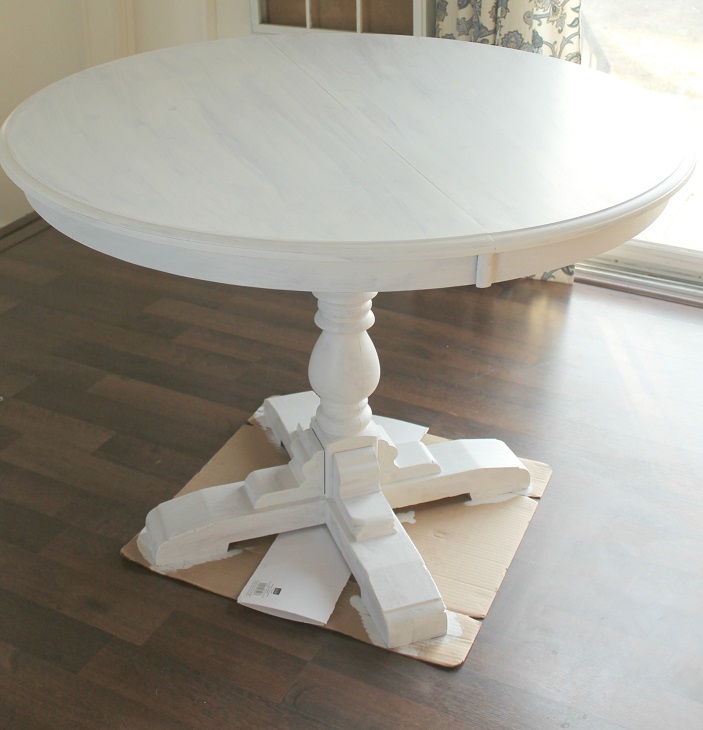
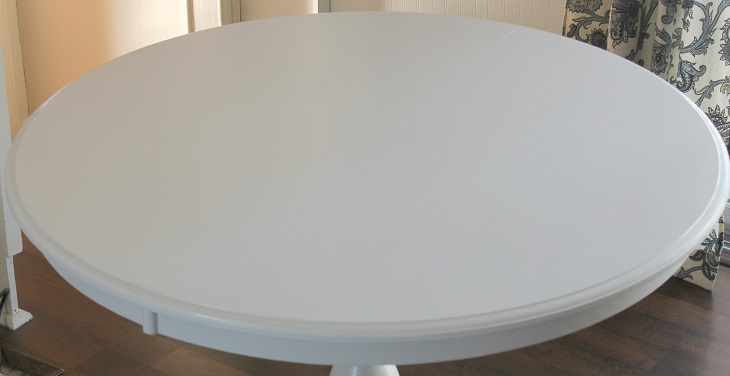
Apply 4 thin coats of paint with a foam roller.  Wait 2 hours between coats.  Don’t let the first few coats discourage you. They will show the laminate underneath. Be patient, the end result will be a beautiful smooth finish.

This is what the table looks like after one coat:

Laminate Table Top

Here is the same table after 4 coats:

Laminate Table Top

If you are painting your base, use a paintbrush to paint the legs and other parts of the table that are not easily accessible with the roller.

Paint a Laminate Table Top Step 4: Seal

The final step to keep your table beautiful and help it stand up to wear is to seal it!  Use at least 3 coats of Minwax Polycrylic clear satin to seal the top of the table.  Using a synthetic paintbrush apply one thin coat and let it dry overnight (patience).  Then lightly hand sand with a 320 grit sandpaper.  Clean off the surface and add another coat, wait 2 hours and apply the final coat (or more coats if desired).

Laminate Table Top


Allow the sealer to harden for at least 48 hours. Then start eating at your beautiful new table.

Laminate Table Top

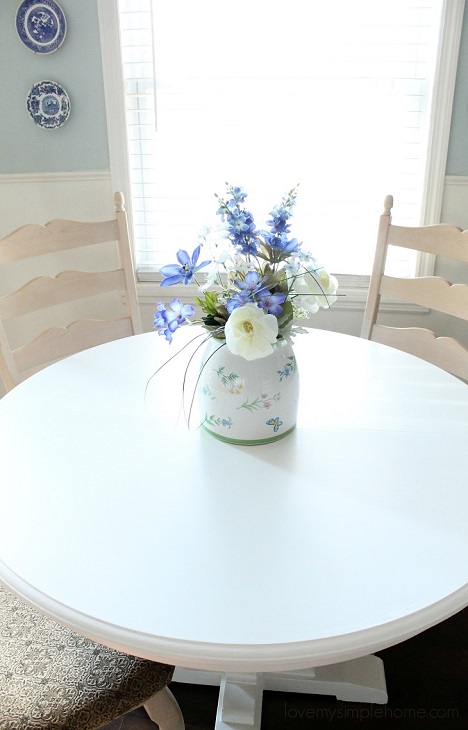
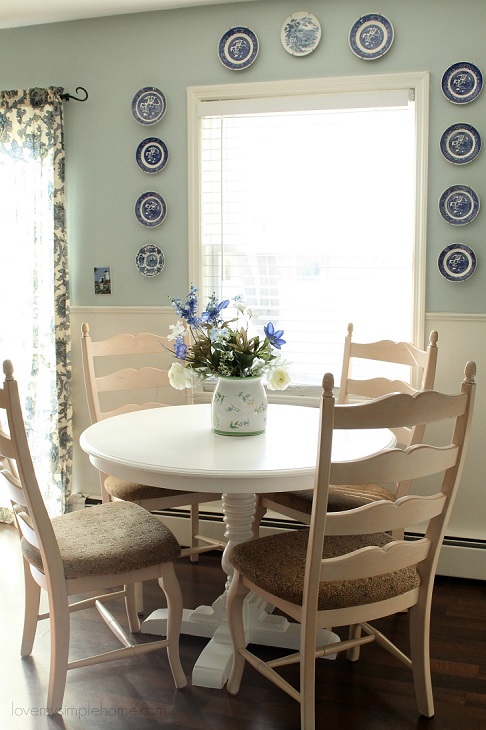
Would you believe this table was an ugly laminate tabletop if you had not seen the before pictures?

Laminate Table Top

That’s it, I hope this tutorial was helpful!

Laminate Table Top

If you liked this post, I think you’ll also love these posts because they will help you transform more furniture in your house!

Laminate Table Top

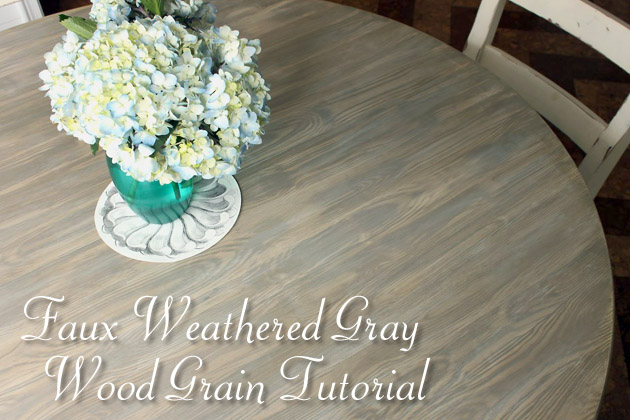
Faux Weathered Gray Wood Grain Table Top Tutorial


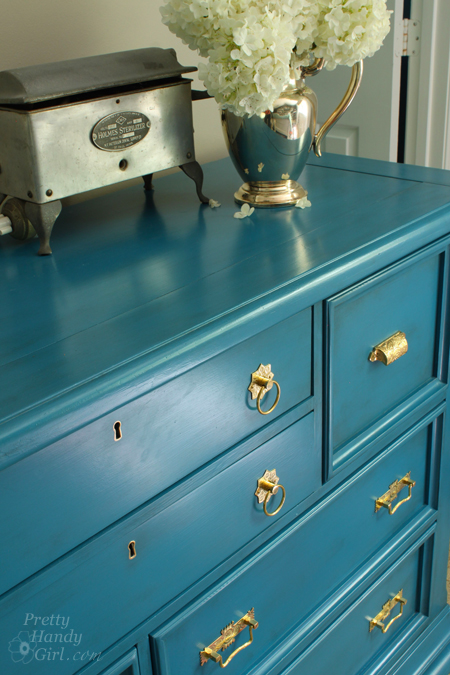
Facelift for a Knotty Pine Dresser | Pretty Handy Girl

How to Paint a Knotty Pine Dresser


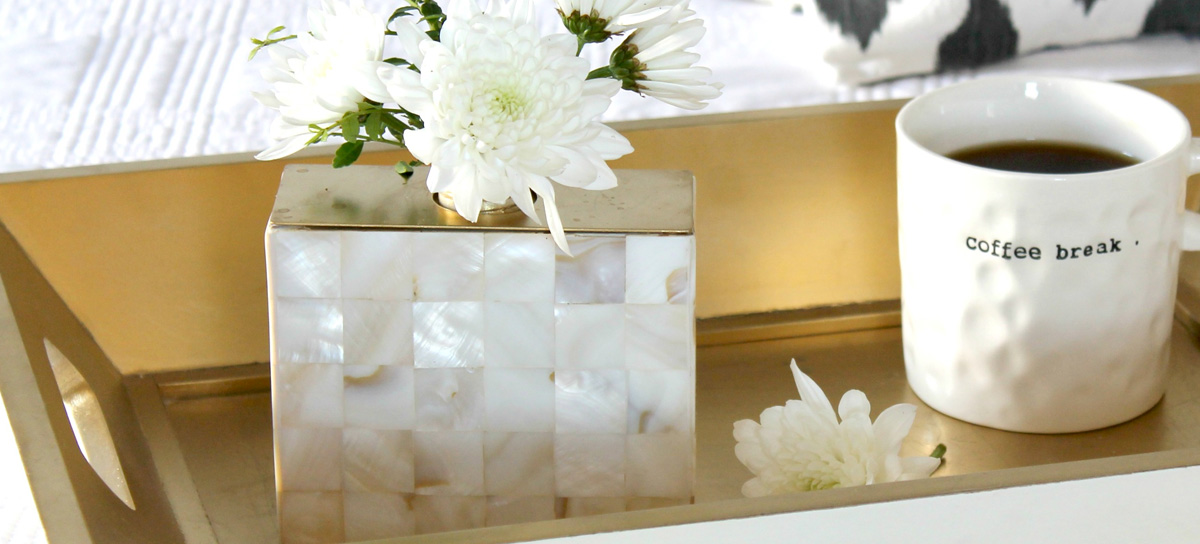
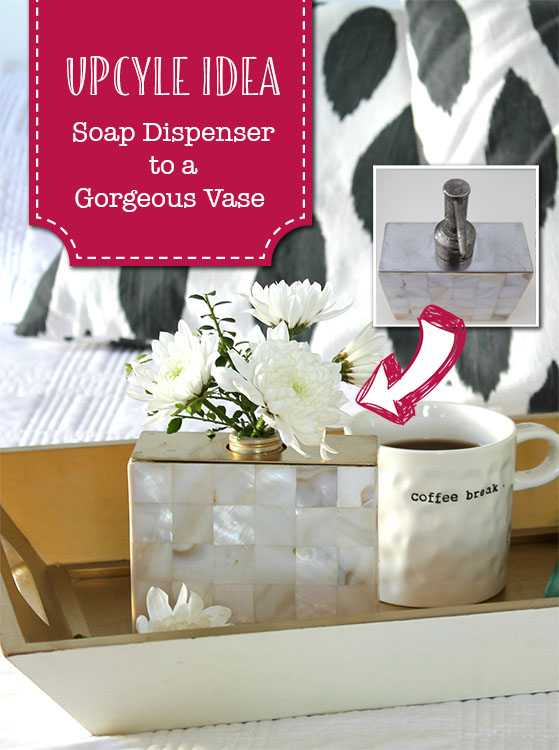
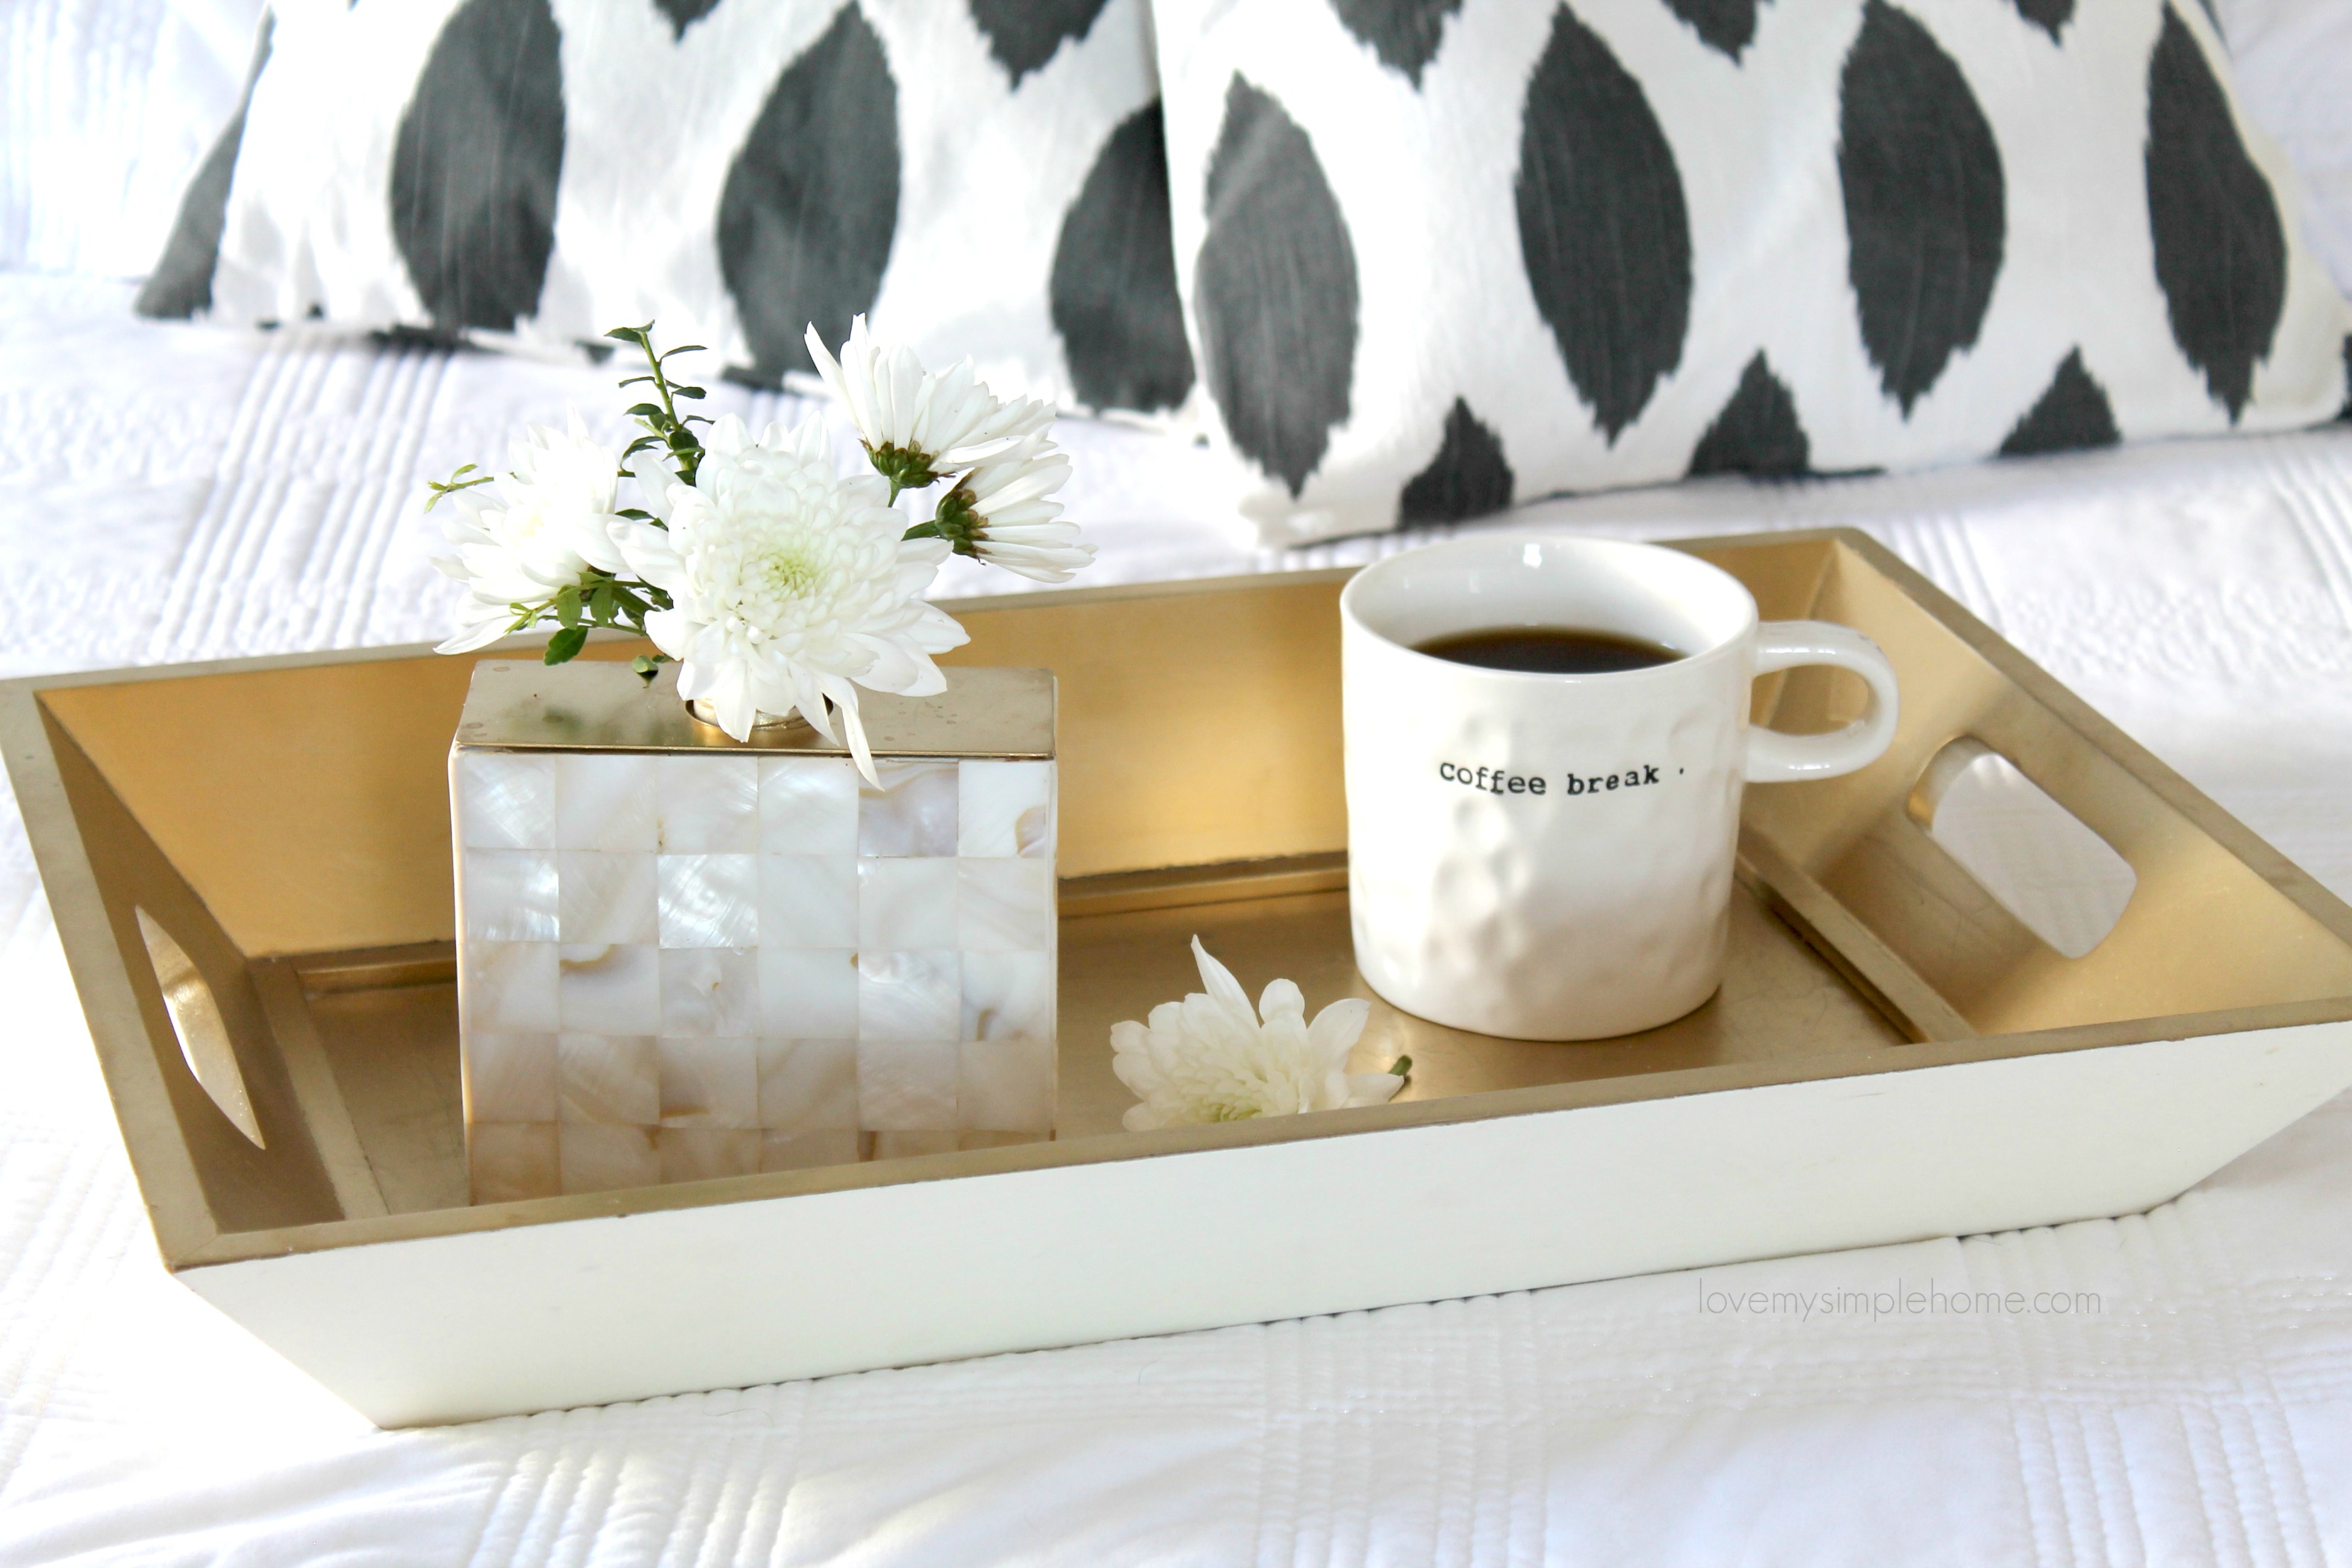
Upcycle Idea: Soap Dispenser to Gorgeous Vase
Upcycle Idea: Turn a Soap Dispenser into a Vase
Hello, Pretty Handy Girl Readers! I’m Julie from Love My Simple Home and I’m excited to be here as a new contributor and hanging with you! I have a passion for interior design and share affordable and creative home decor ideas. Over on my blog, you will find a variety of quick, simple and original repurpose tutorials. Today I am happy to share with you a super easy upcycle idea using a soap dispenser (of all things.)
Materials:

(I’ve included affiliate links for your convenience. I earn a small percentage from a purchase using these links. There is no additional cost to you. You can read more about affiliate links here.)

Inexpensive Sources for Soap Dispensers:

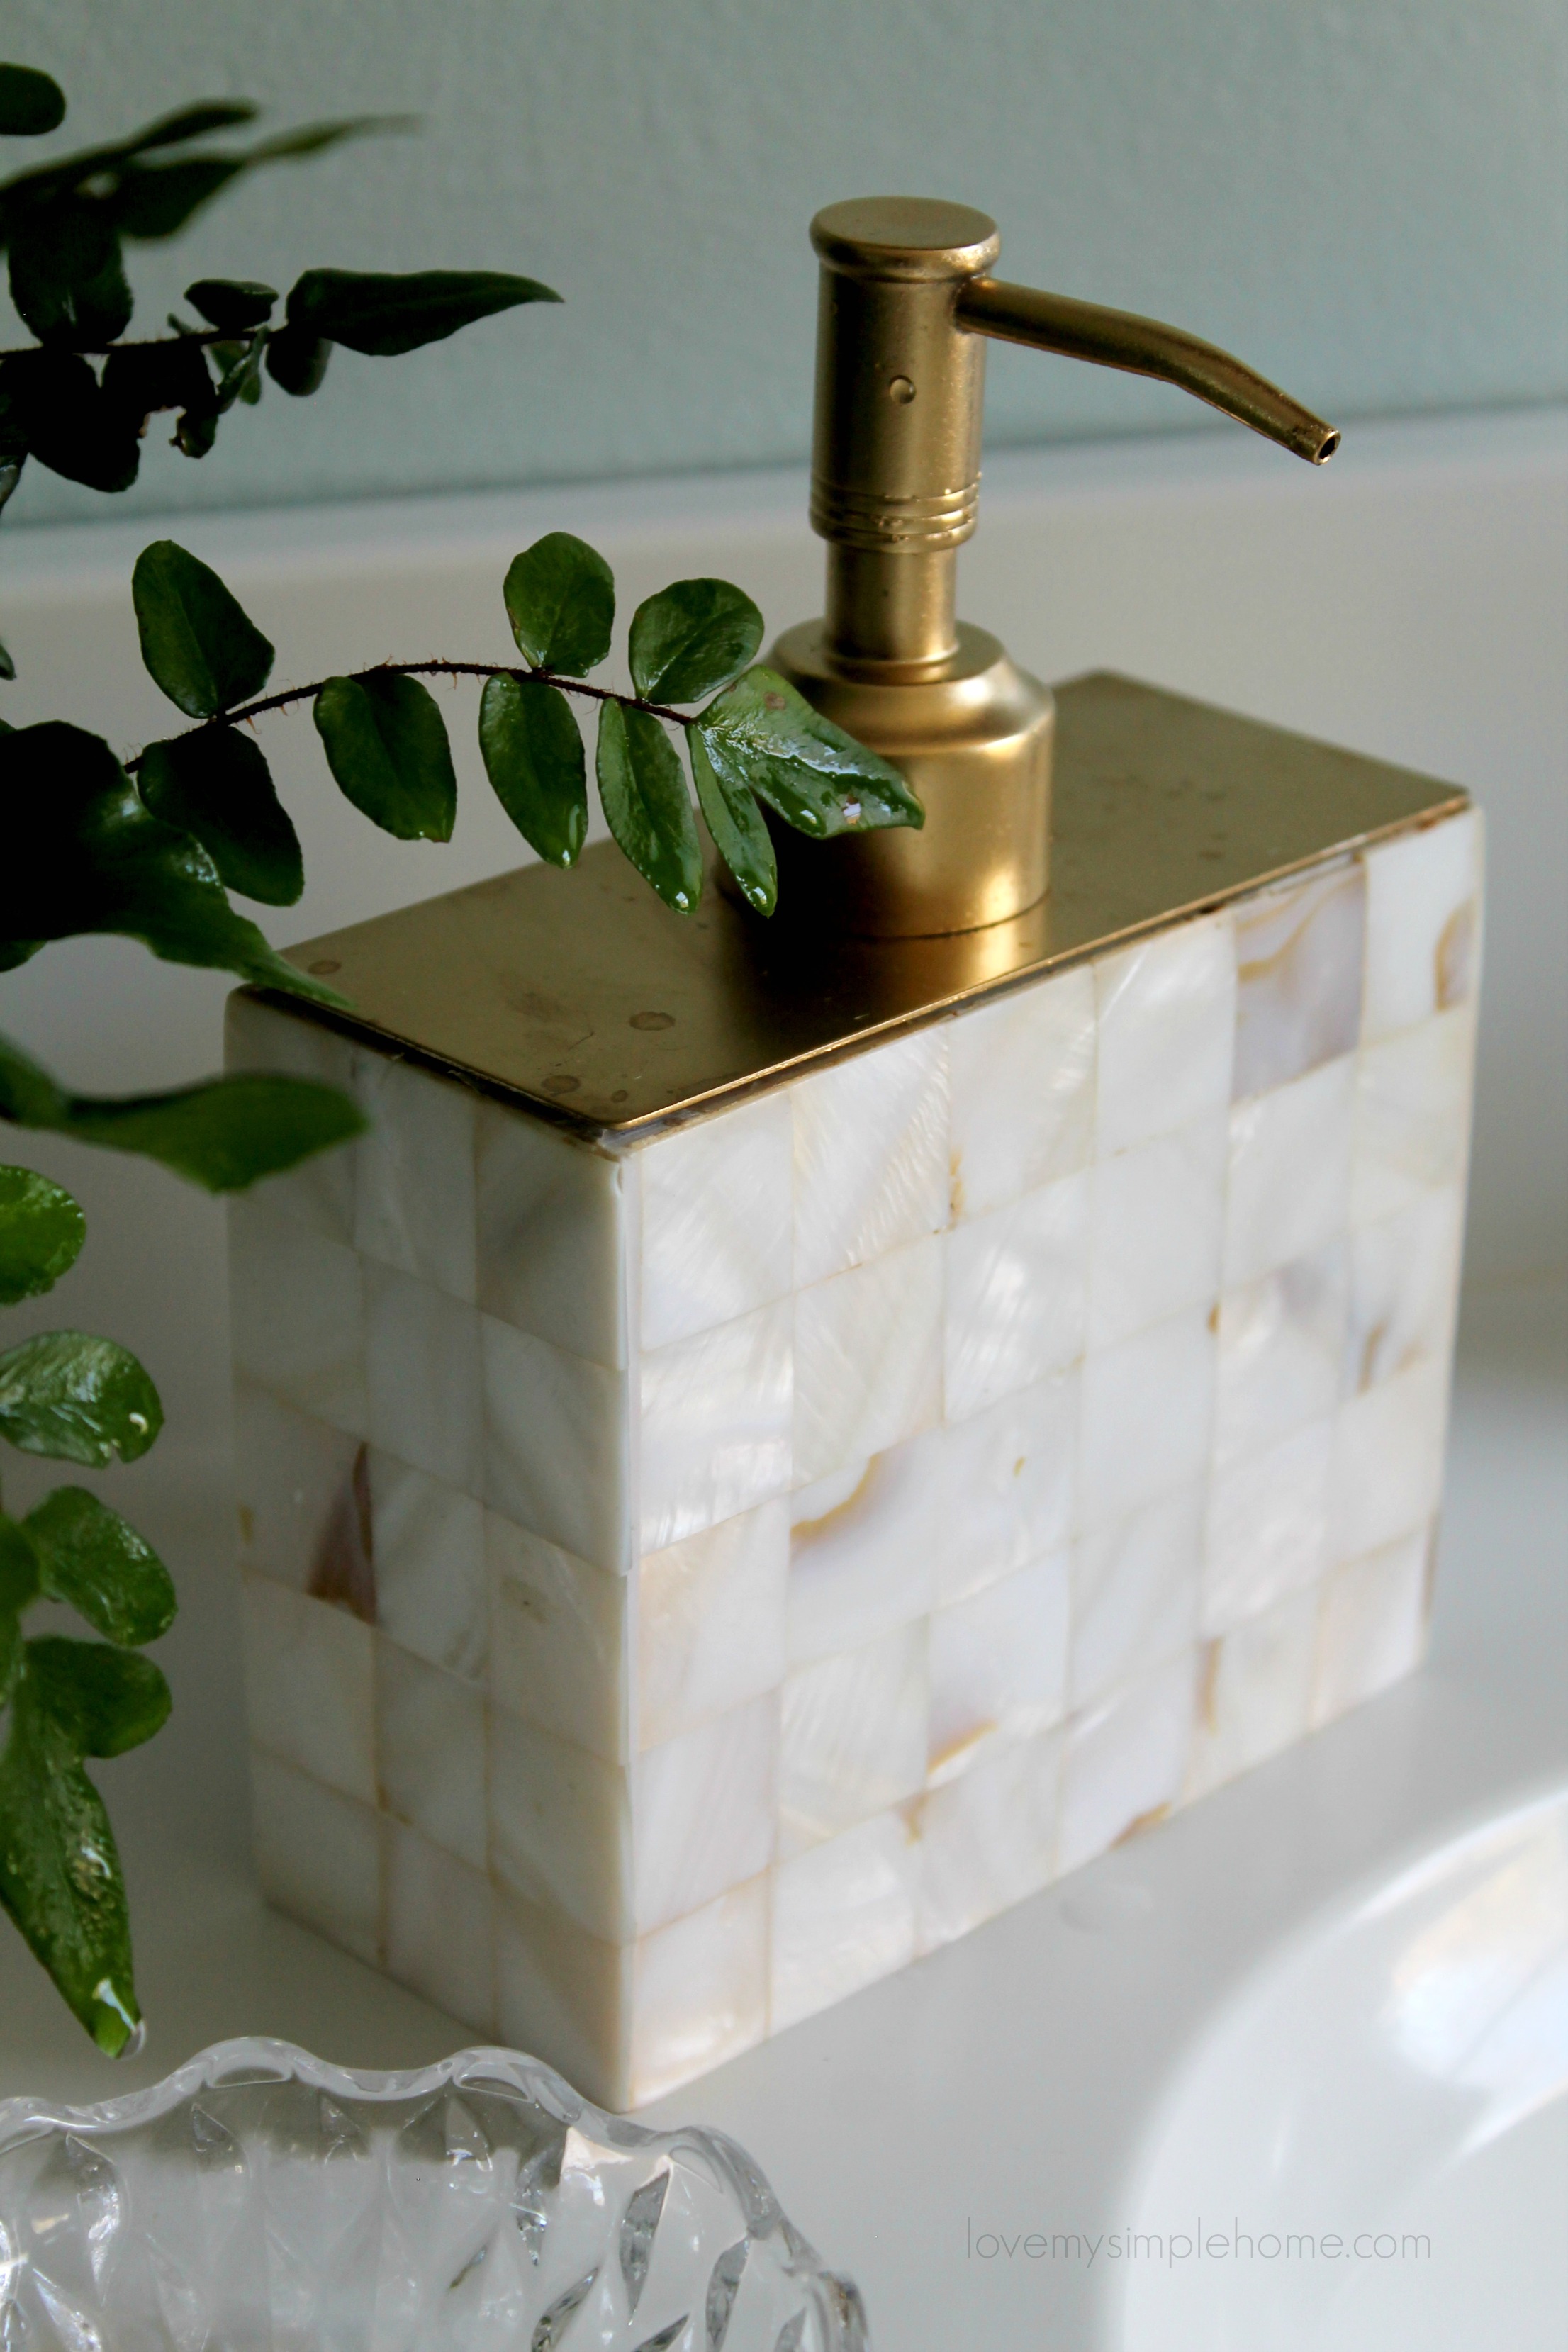
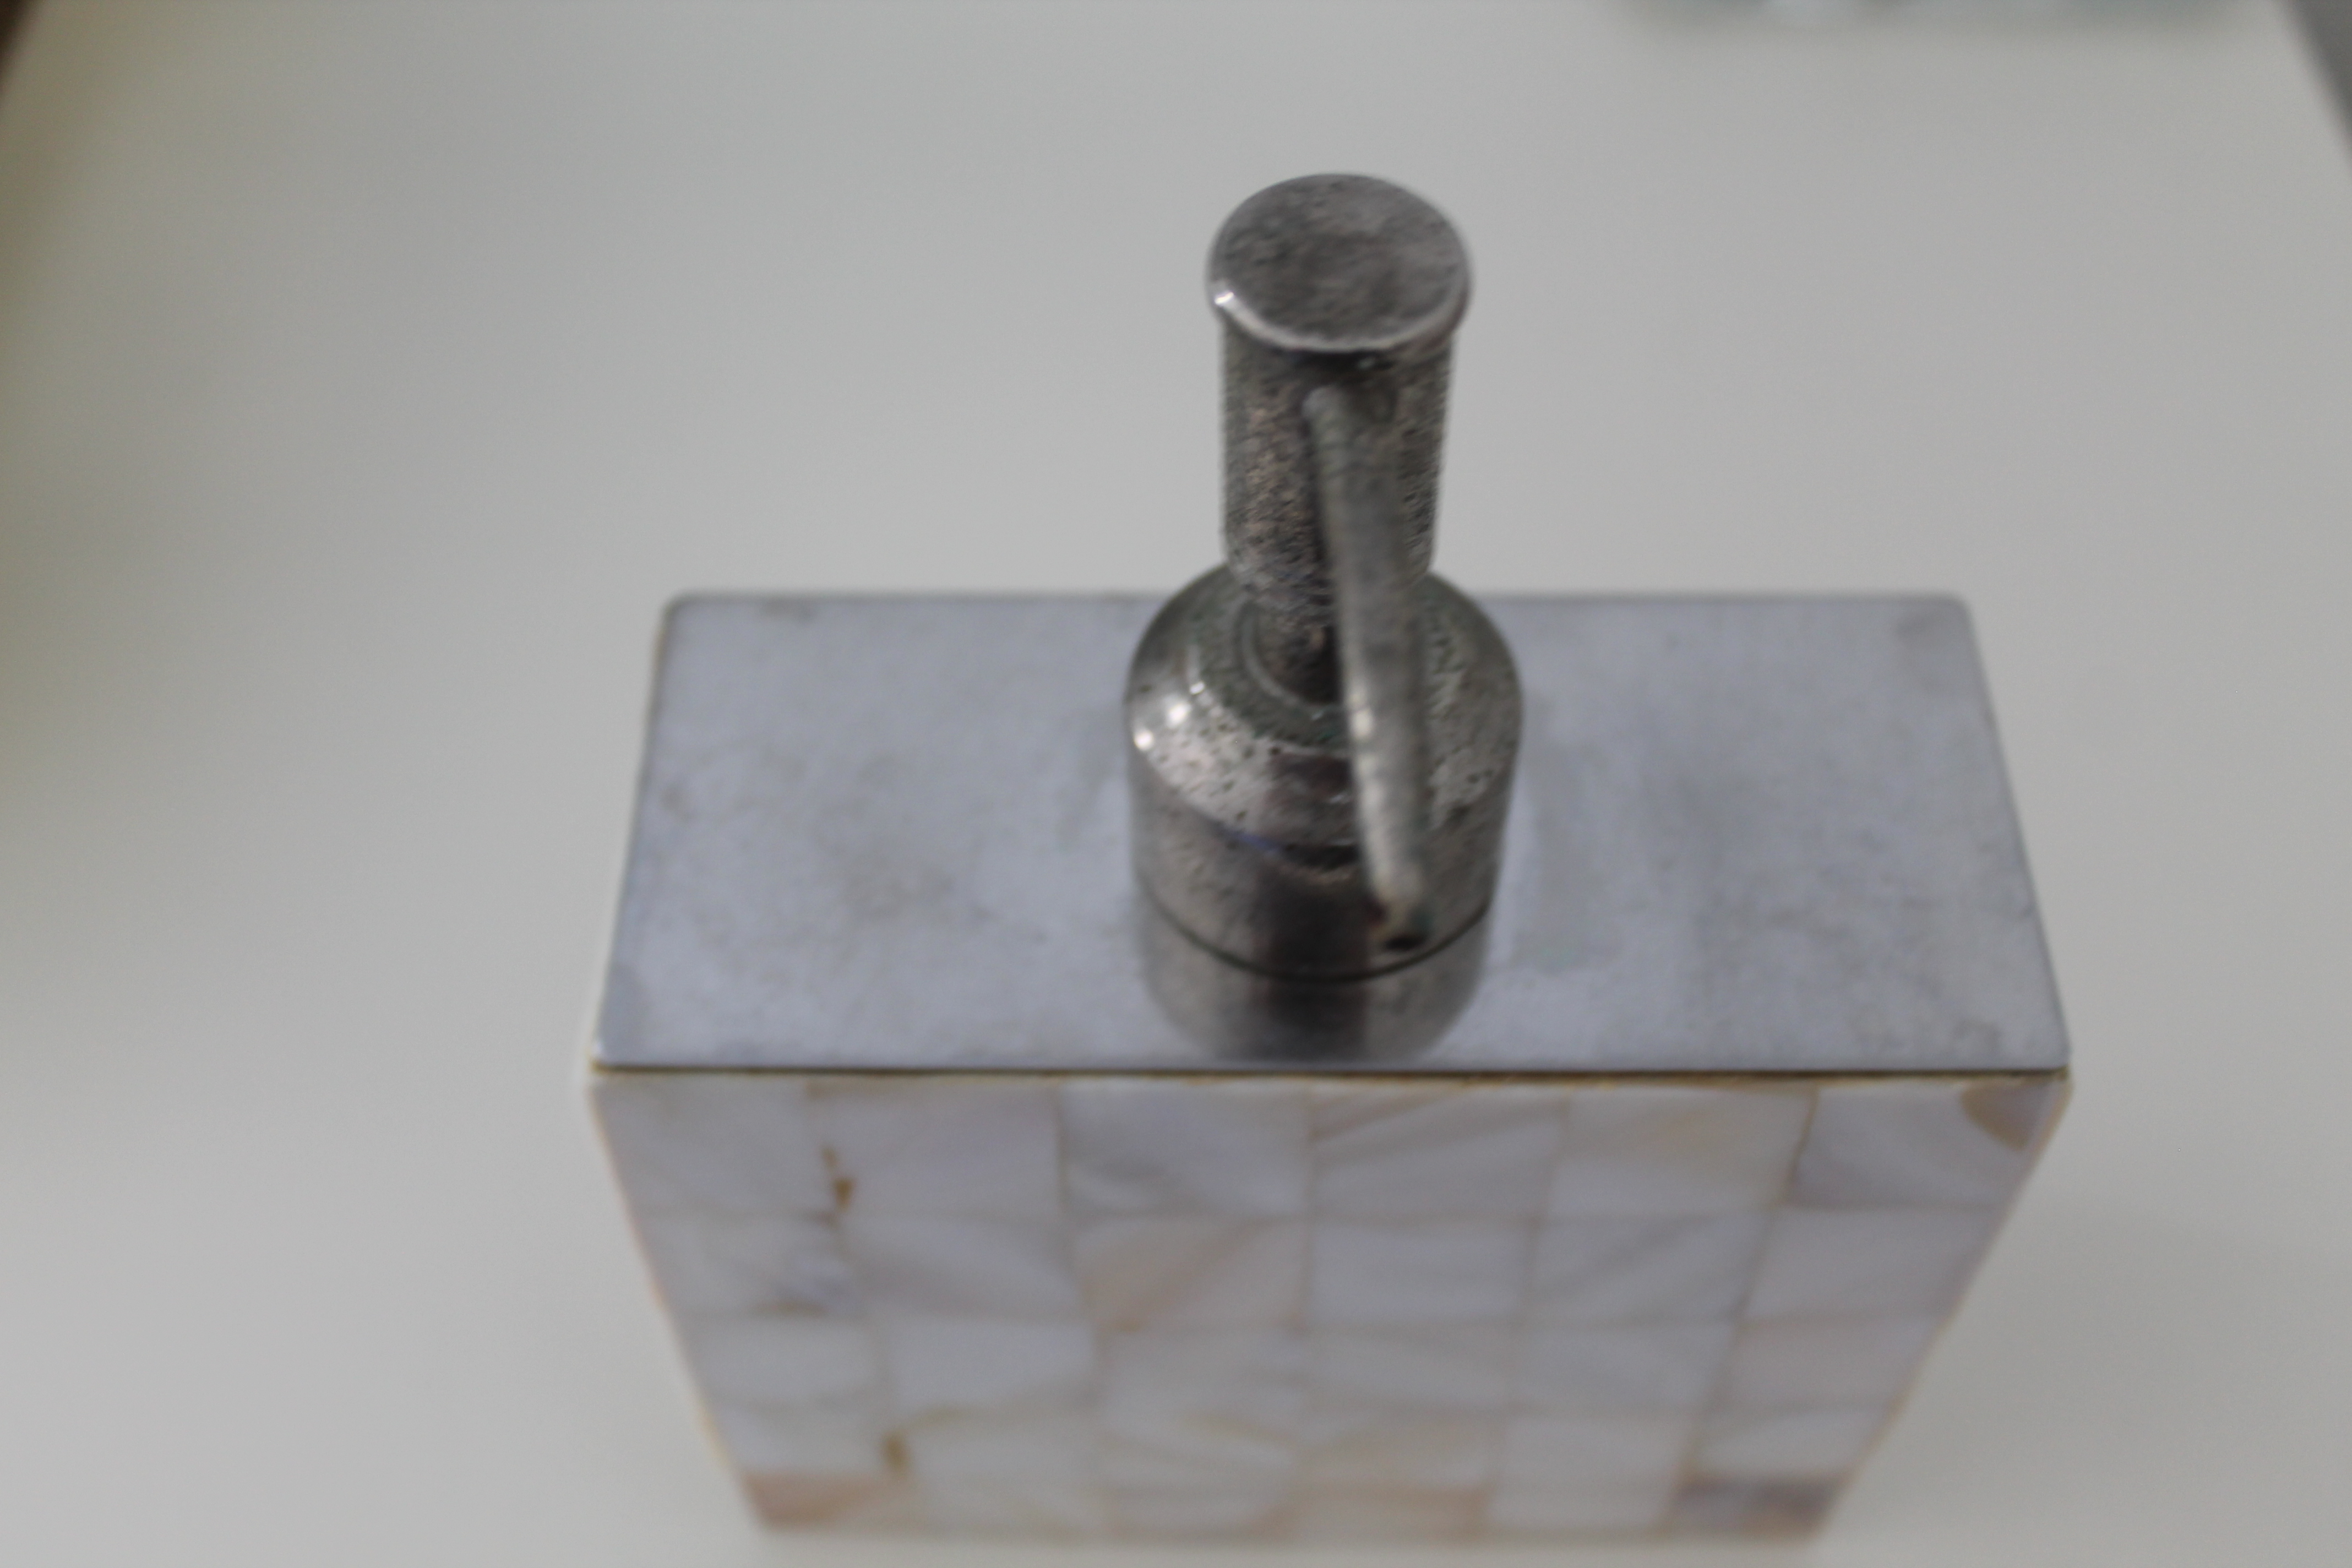
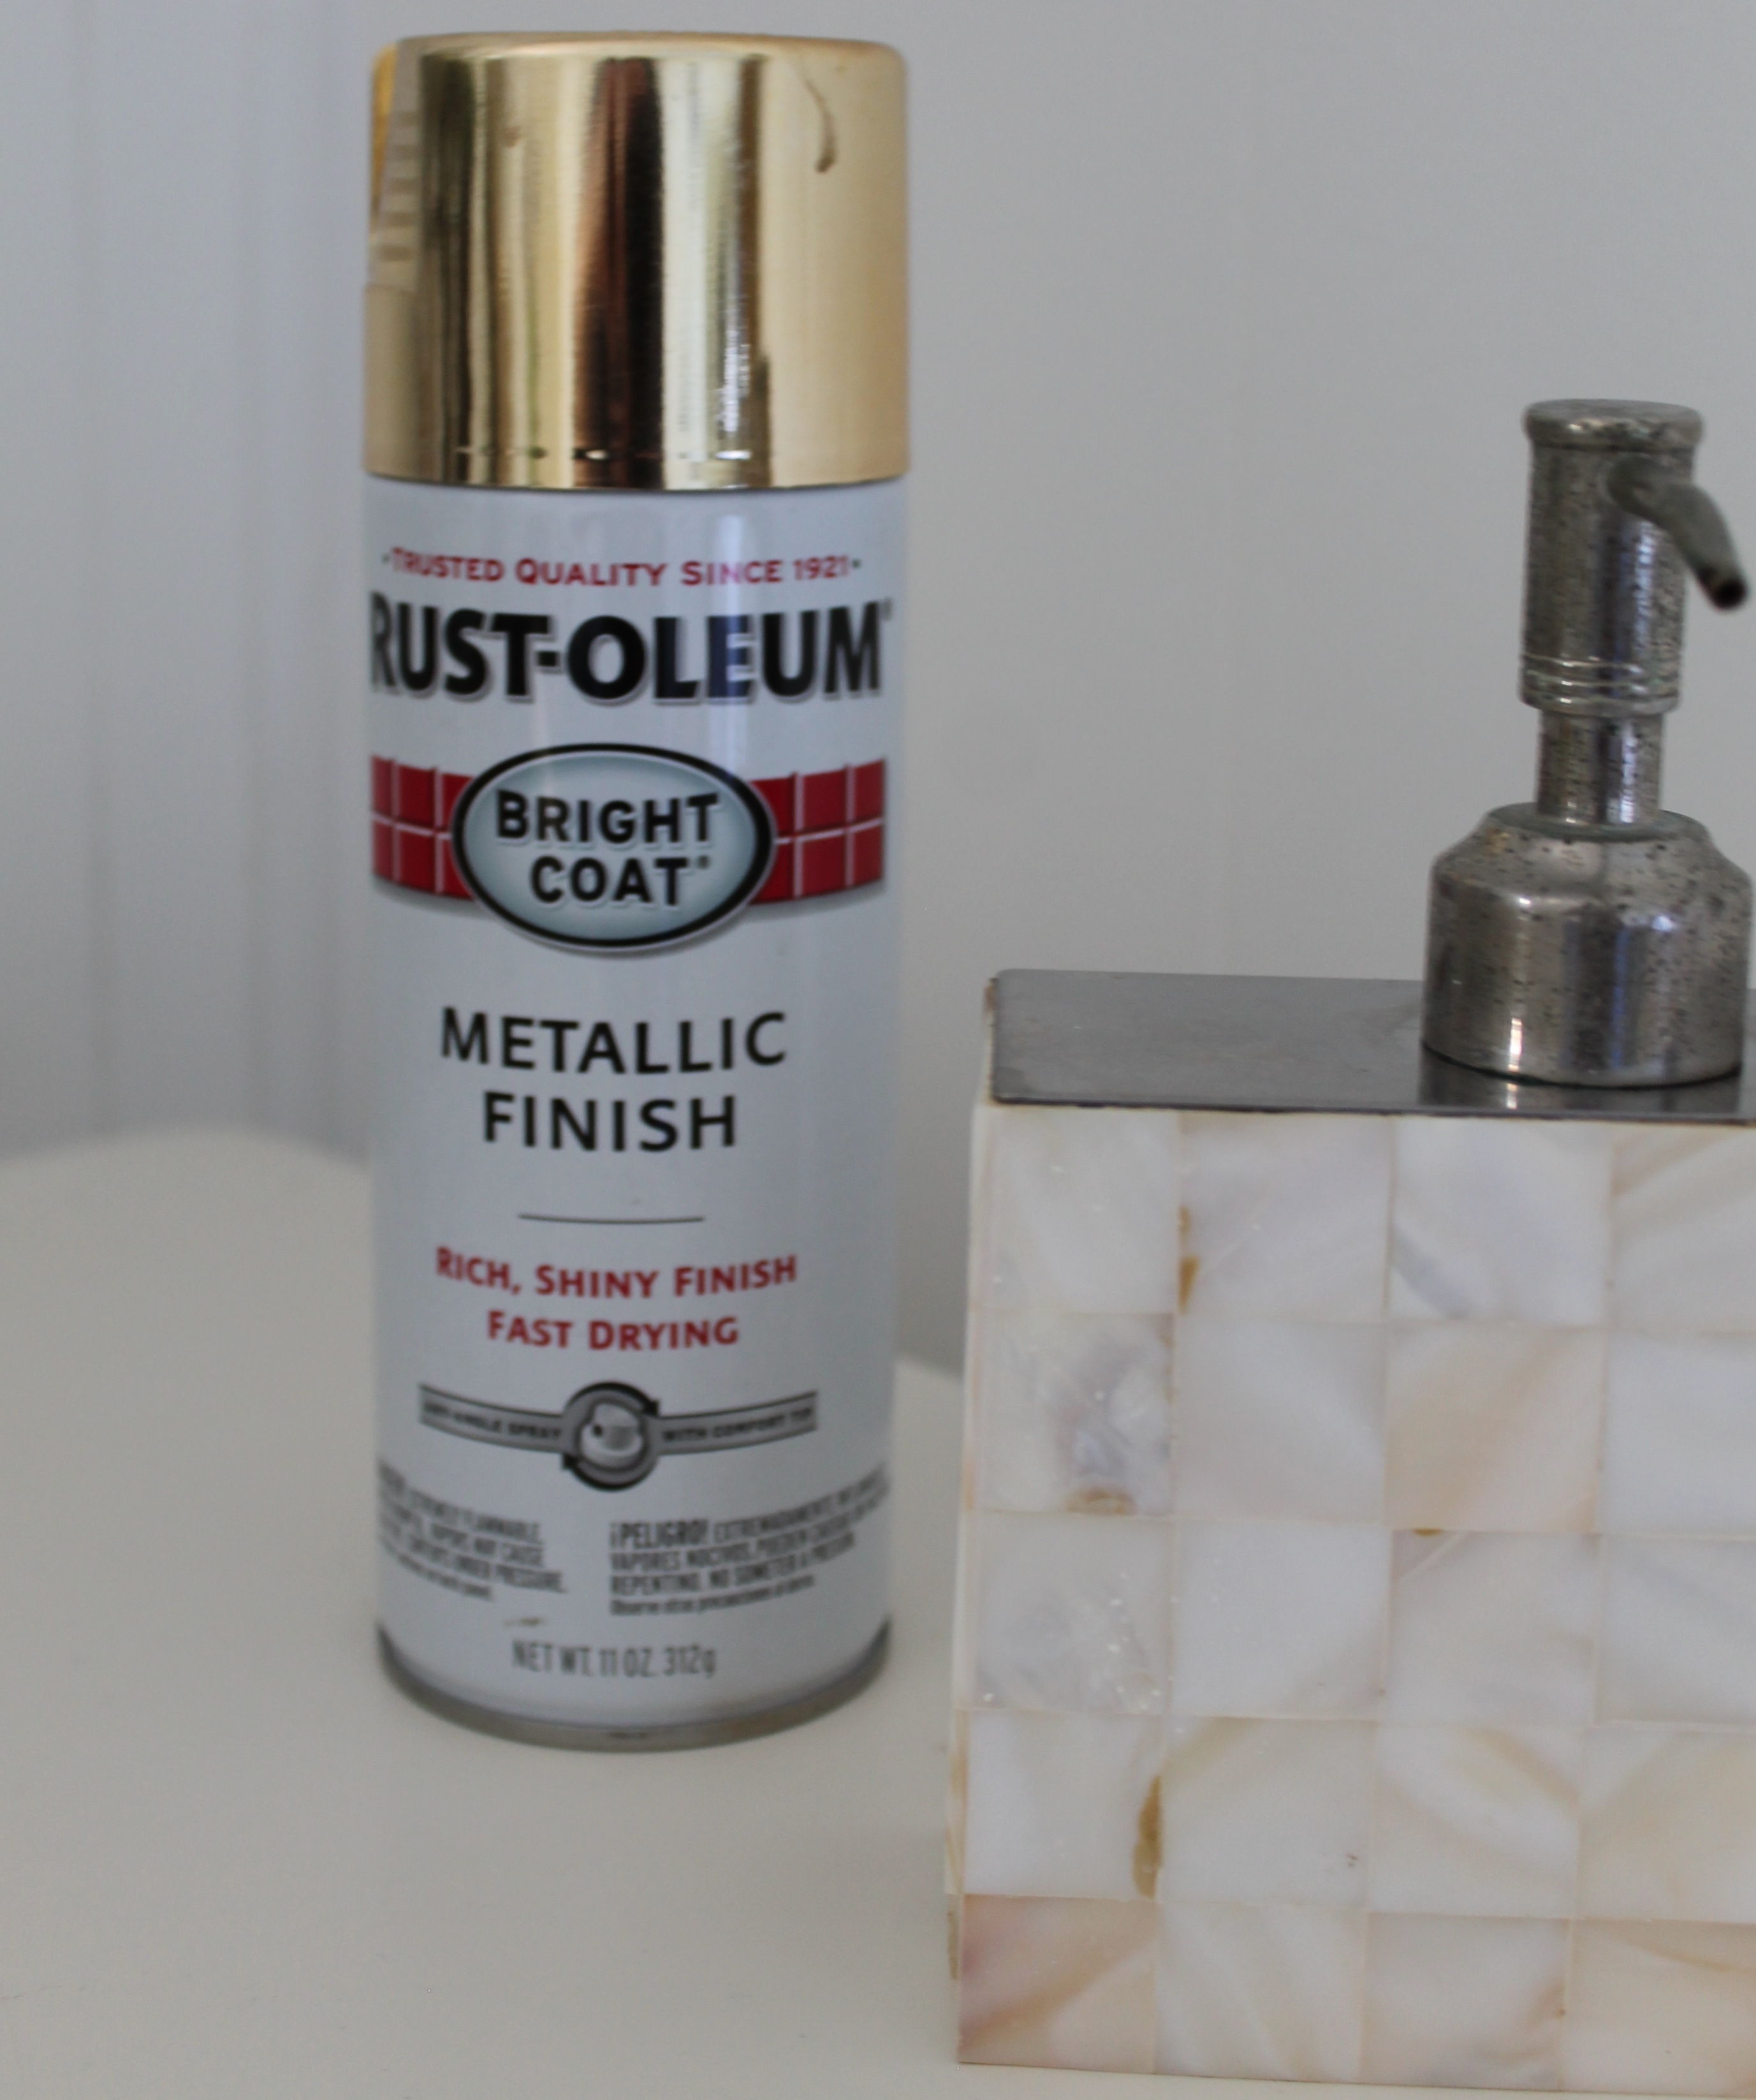
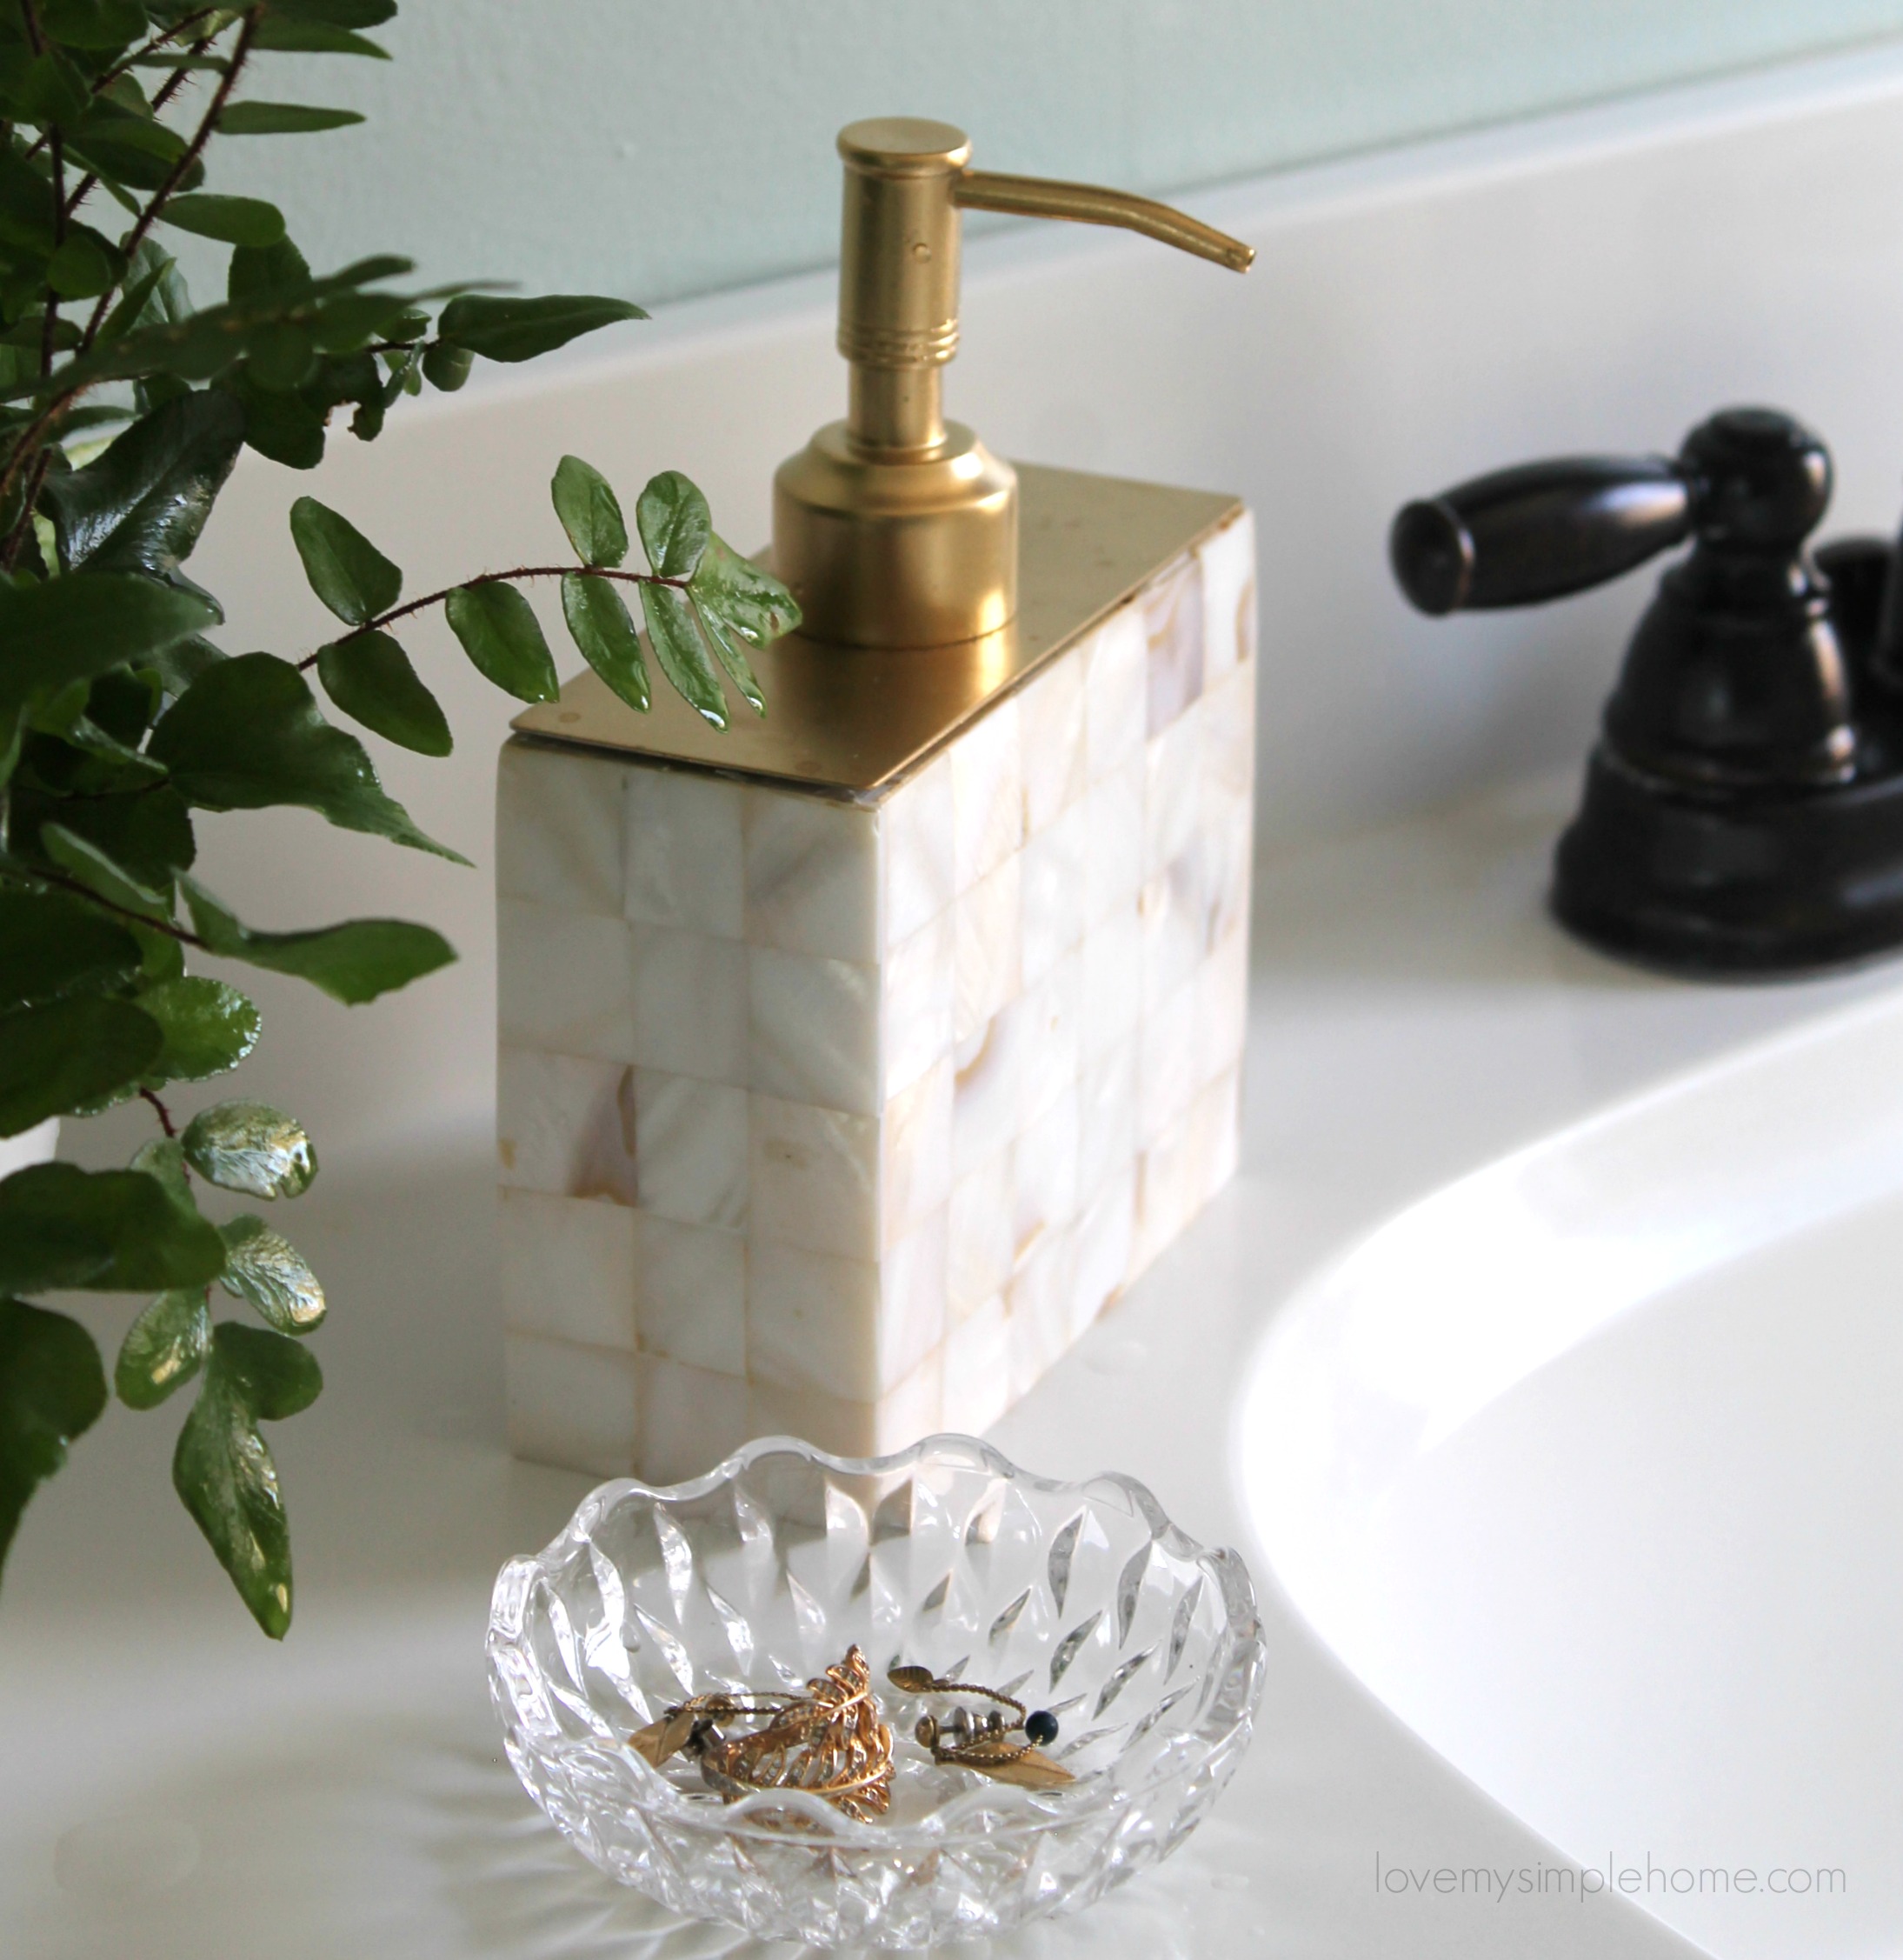
You can buy soap dispensers at the dollar store, thrift stores or find them at garage sales.  Would you believe I  purchased this soap dispenser at a garage sale for a dollar!  Seriously you can’t beat that!  I fell in love with the mother-of-pearl tiles on the bottle, but not so much with the dull silver finish.


Instructions:

If your soap dispenser needs a little TLC, you can always clean it up and use spray paint to renew the finish.

Before you begin to spray paint remove the pump from the bottle by twisting it off.  To remove the metal plate, wedge a thin screwdriver underneath the plate and lift, it should pop right off. If you are struggling to remove the plate with the screwdriver you can wrap the dispenser in newspaper or painter’s tape and spray paint the plate attached to the bottle.

Pro Tip for Spray Painting:

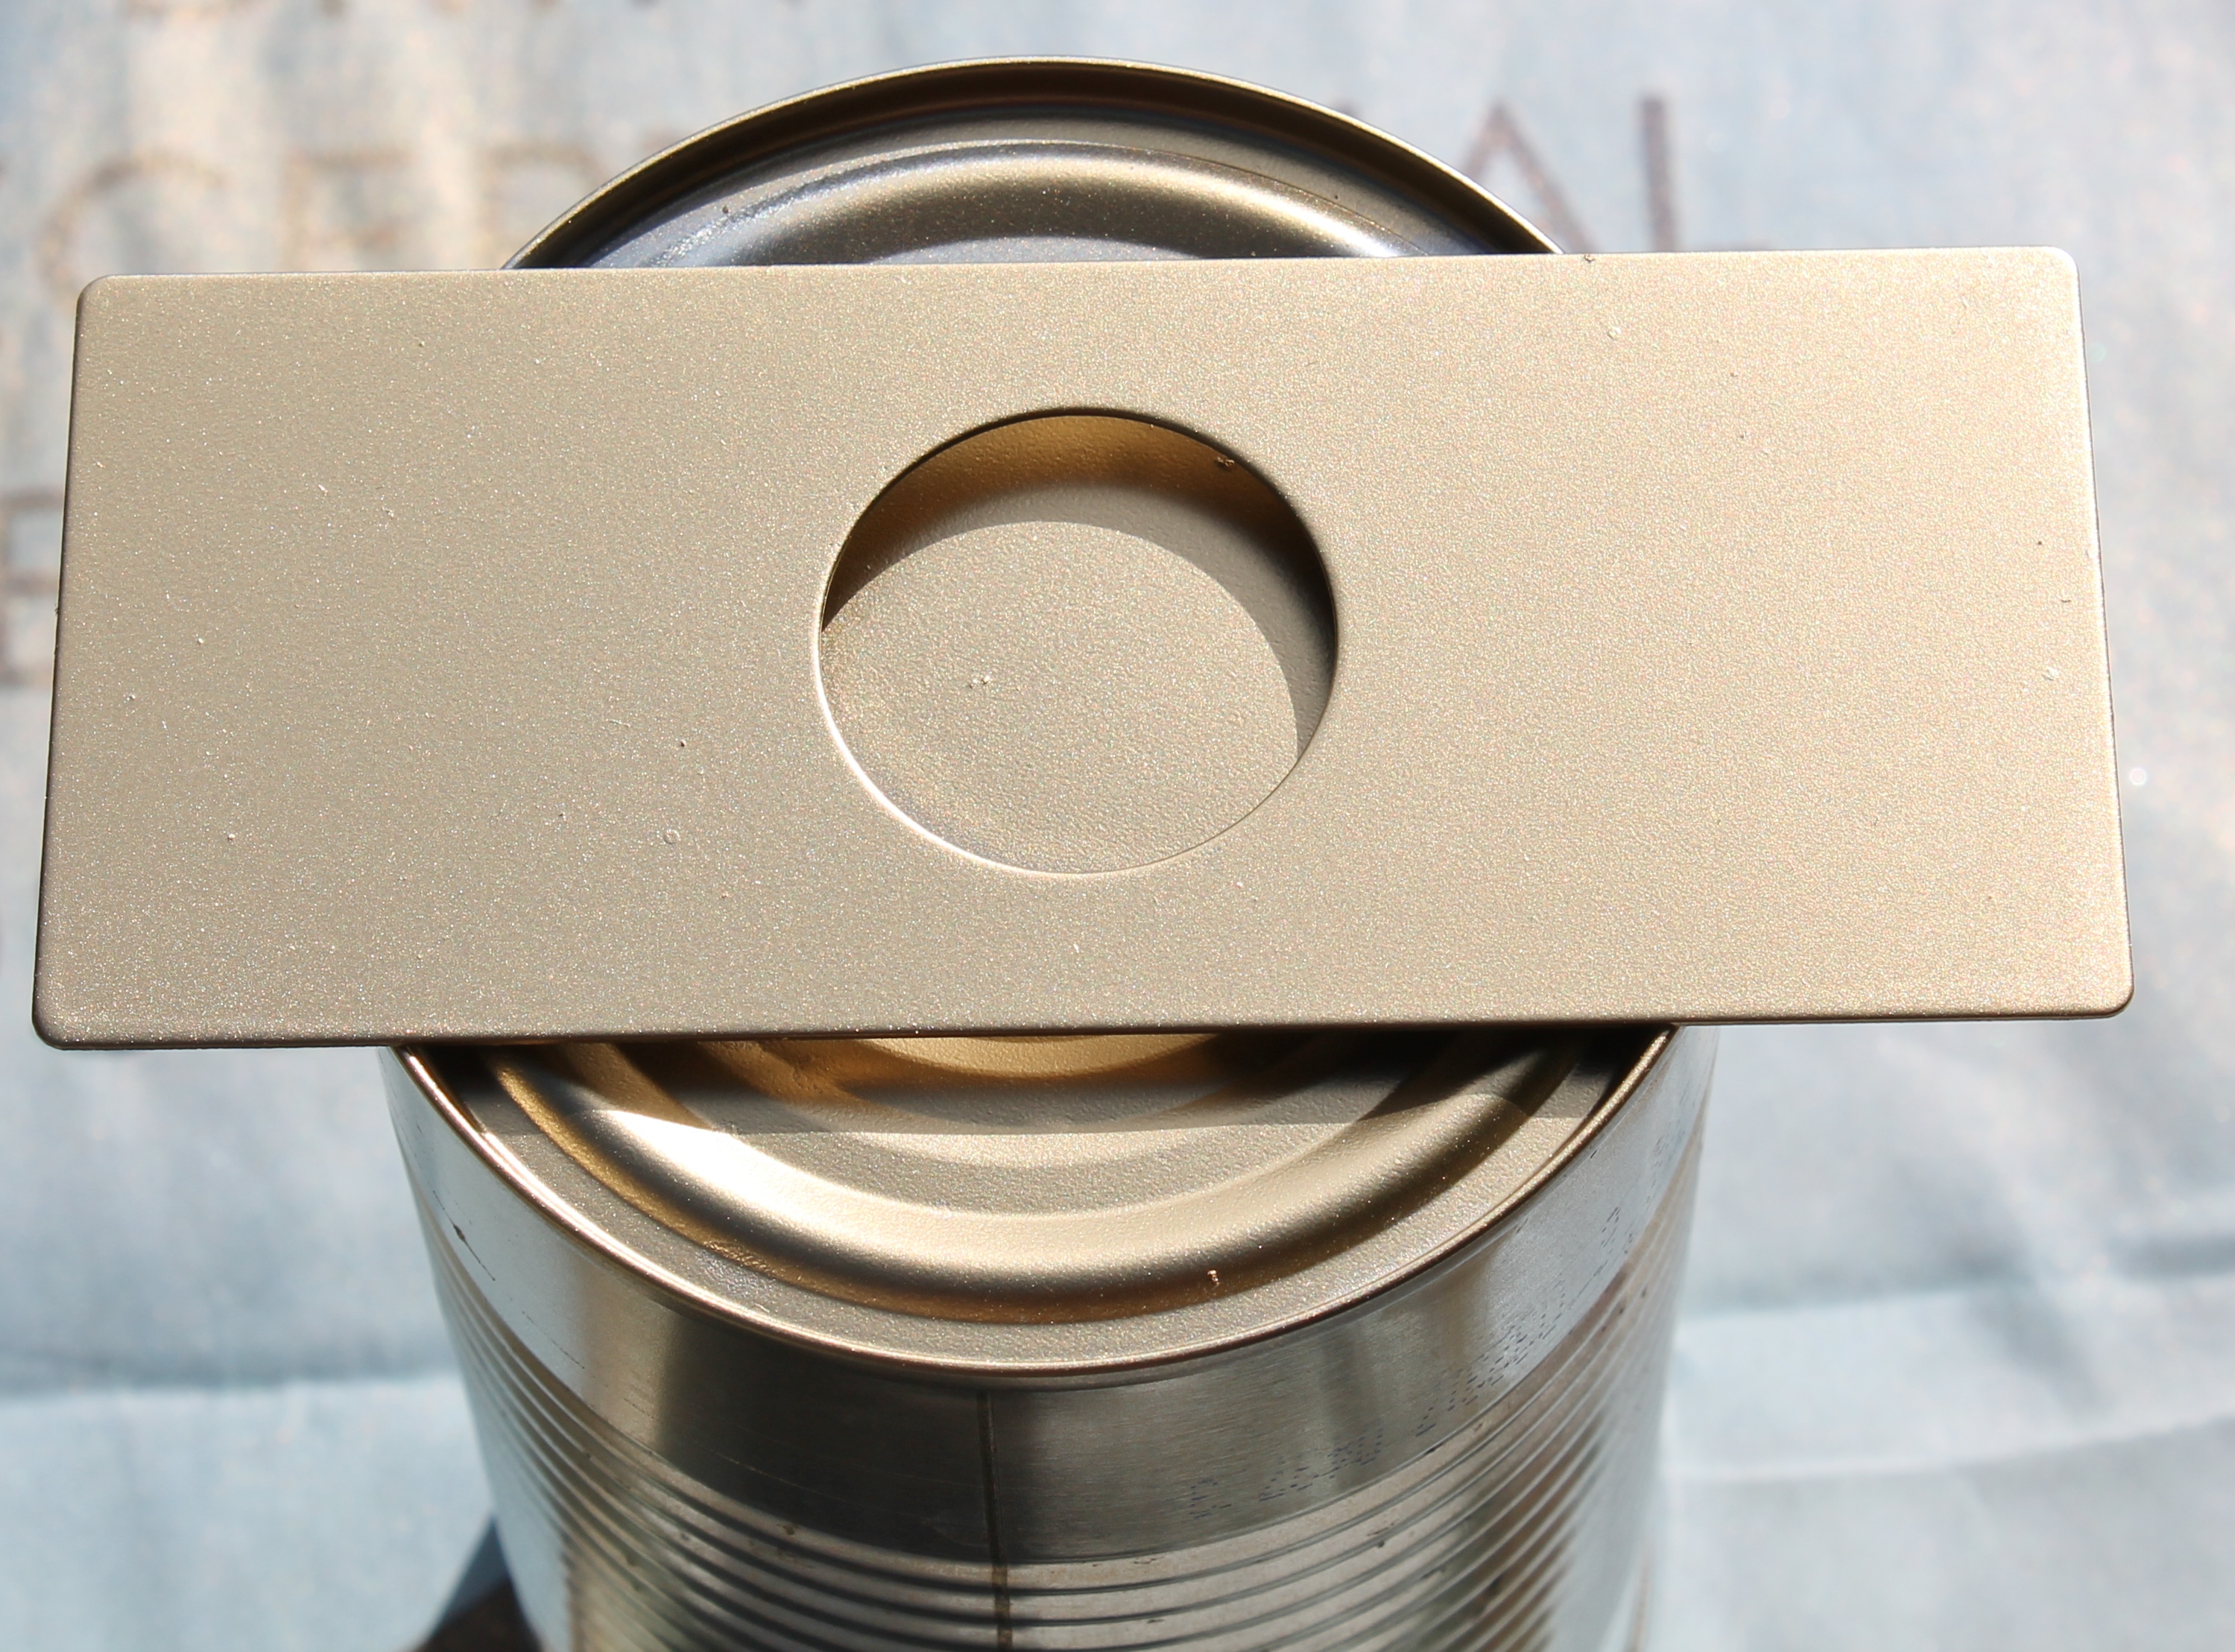
Place your object on top of a tin can, this prevents the edges from sticking or the spray paint from pooling around the object you are spraying.

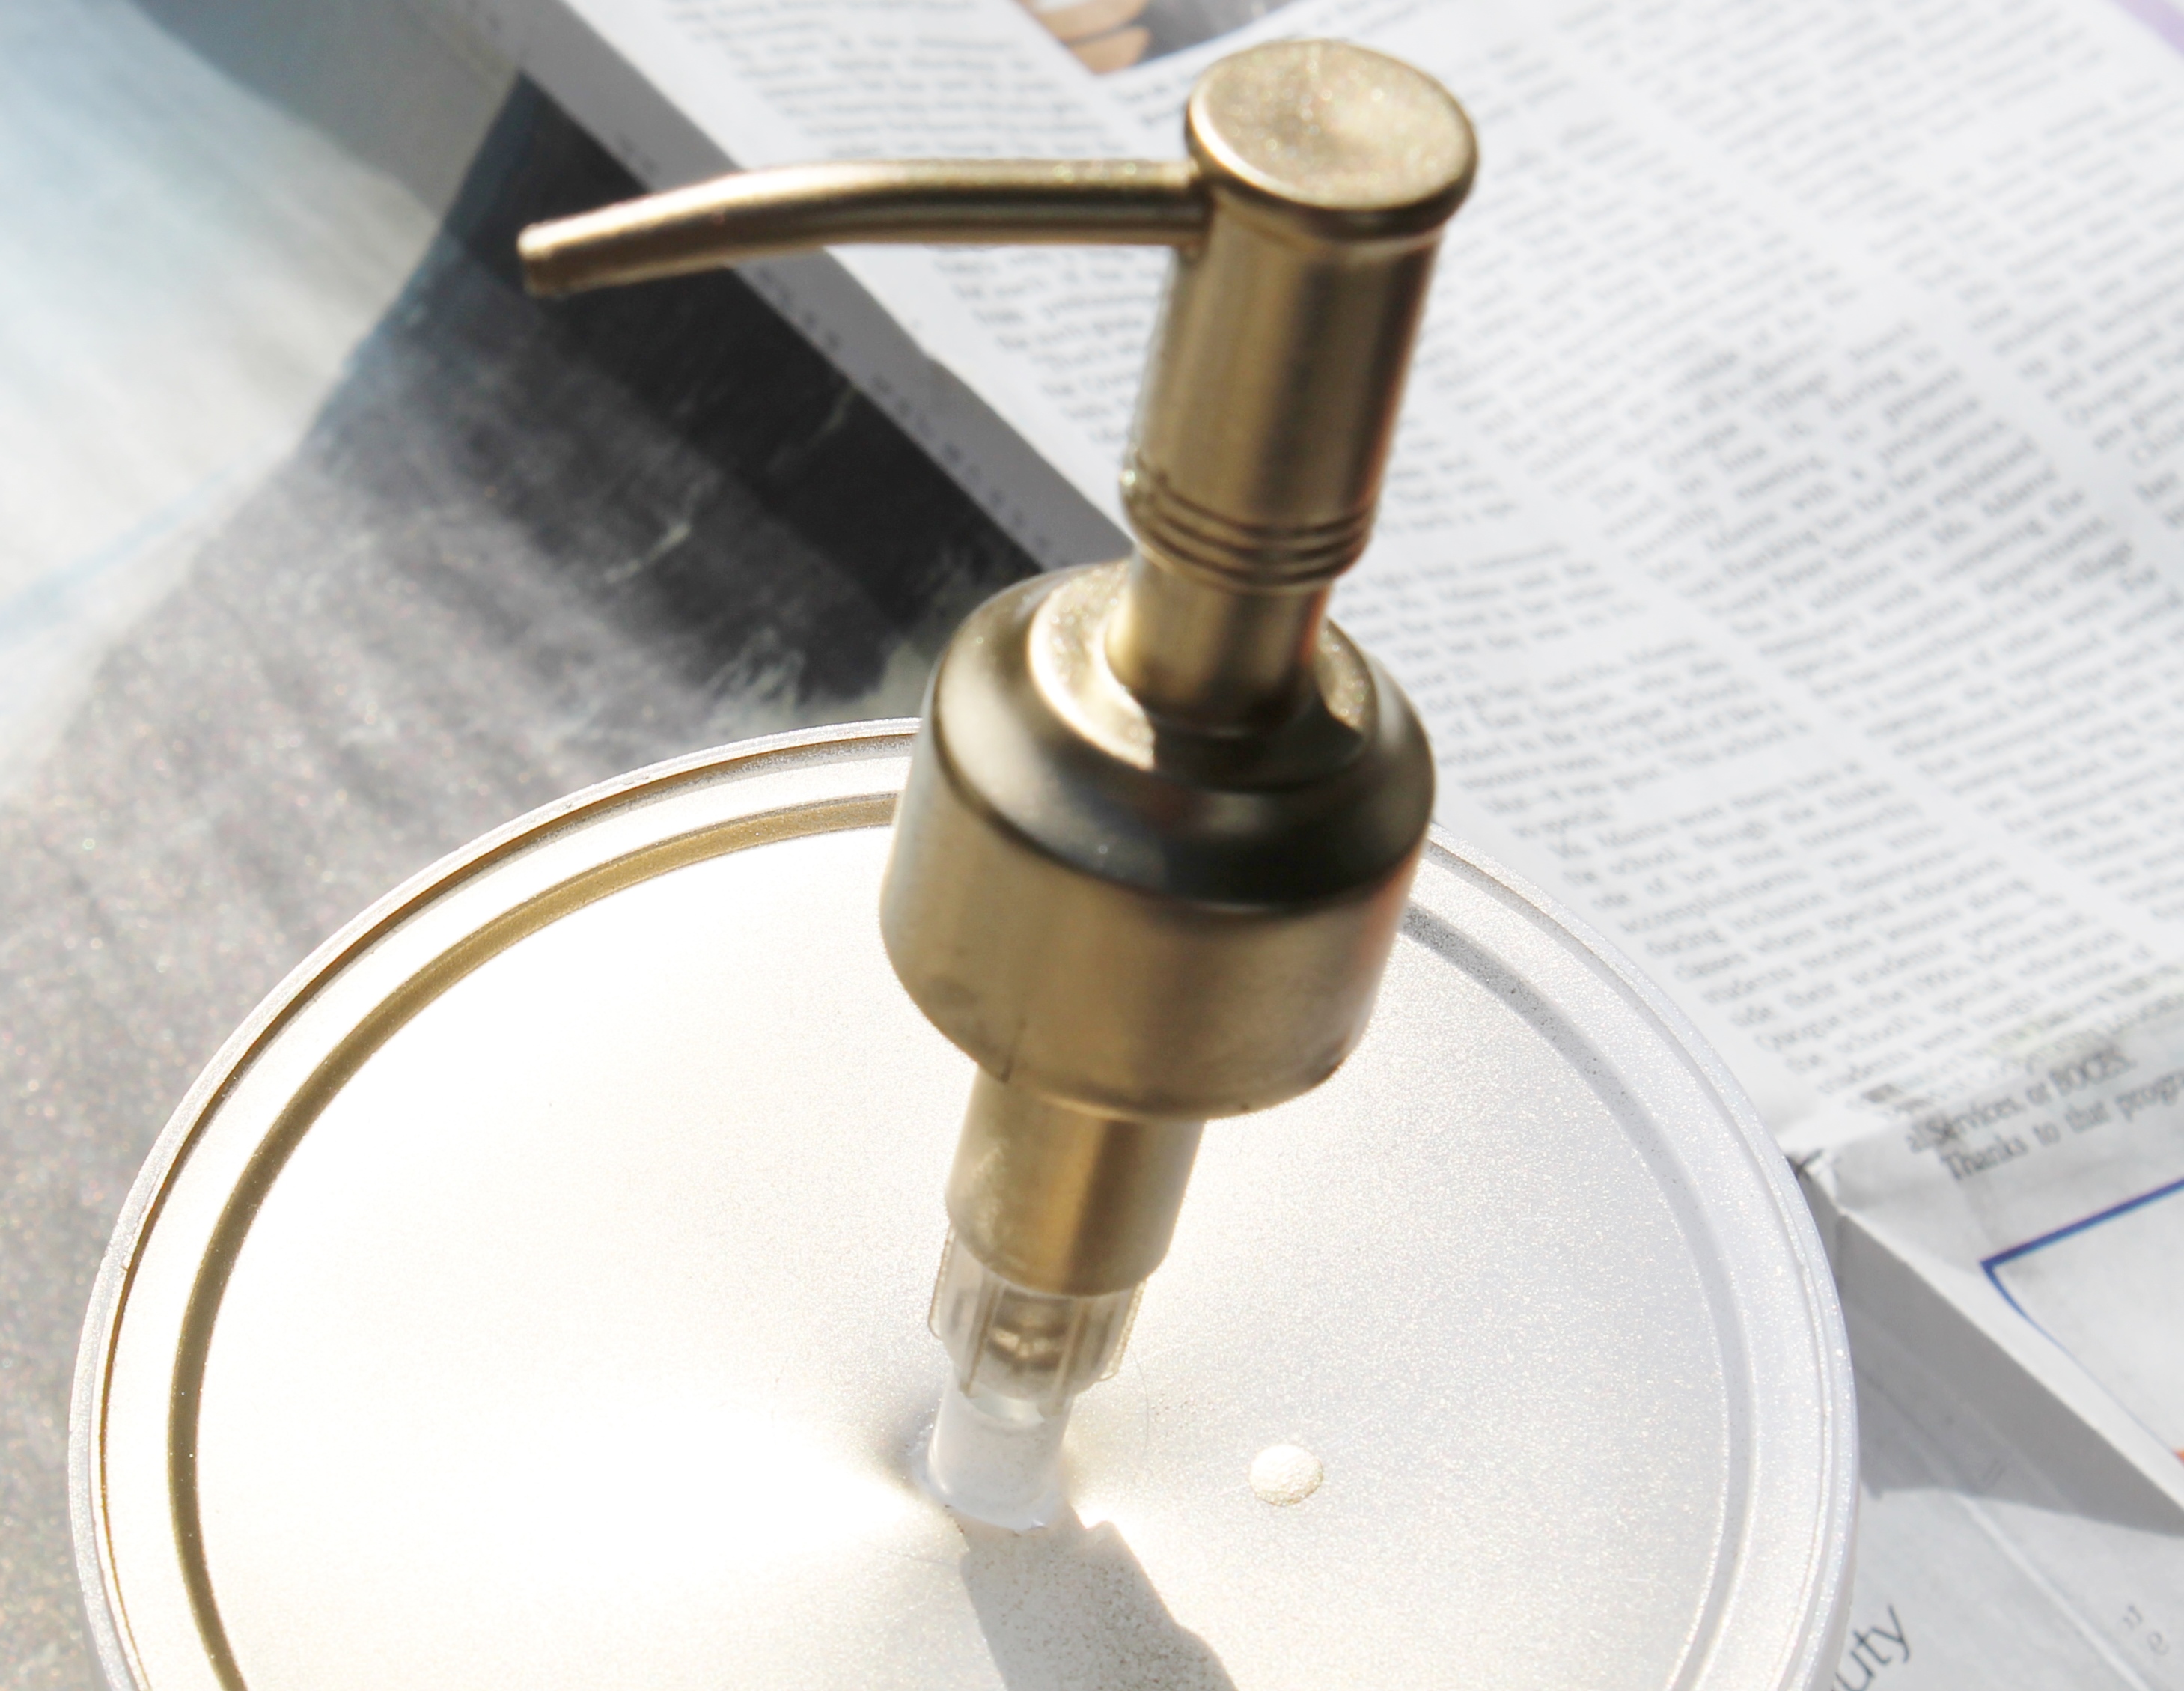
Spray paint the pump with the same color spray paint.  (This is an extra step, but it will allow you to turn the vase back into a soap dispenser at a moment’s notice.)  For help holding the pump, slide it inside the lid of a plastic container and spray.  This will ensure all of the sides get covered.

After the spray paint has dried you can glue the metal plate back onto the dispenser.

Fill the dispenser with water and fresh blooms from your yard! Or if your flowers aren’t blooming until spring, purchase a bouquet at the grocery store.  You can split the bouquet up to use in many different vases in your home.

If you get tired of using the vase, you can always return it back to its original purpose as a soap dispenser.

There you have it, a super easy repurpose project.  I’ll be back again next month sharing another one of my simple projects. In the meantime, you might like this repurposed glass block clock turned into picture frame.

~ Read more of Julie’s Tutorials ~

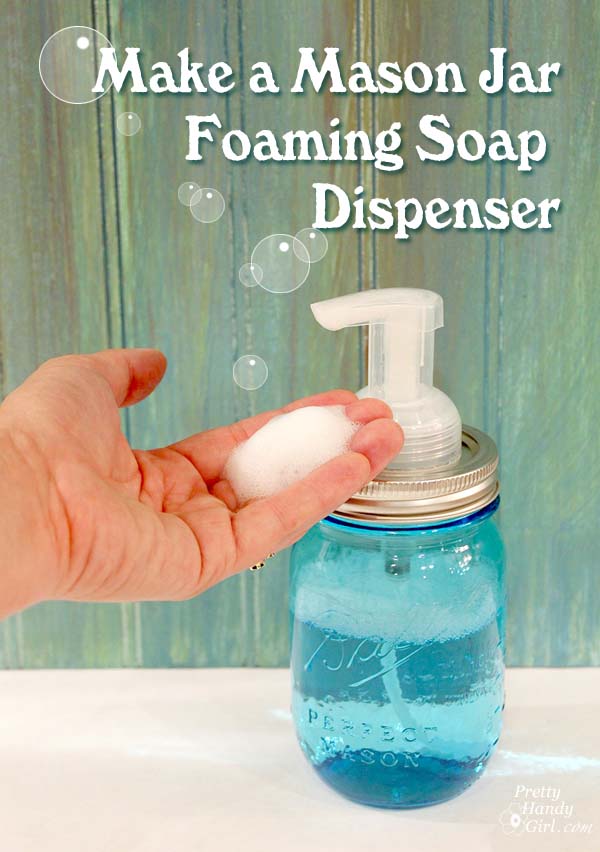
If you liked this tutorial, you’ll love creating your own mason jar foaming soap dispenser:

2 Ways to Fix a Knob Screw that's Too Long | Pretty Handy Girl

2 Ways to Fix a Knob Screw that's Too Long | Pretty Handy Girl

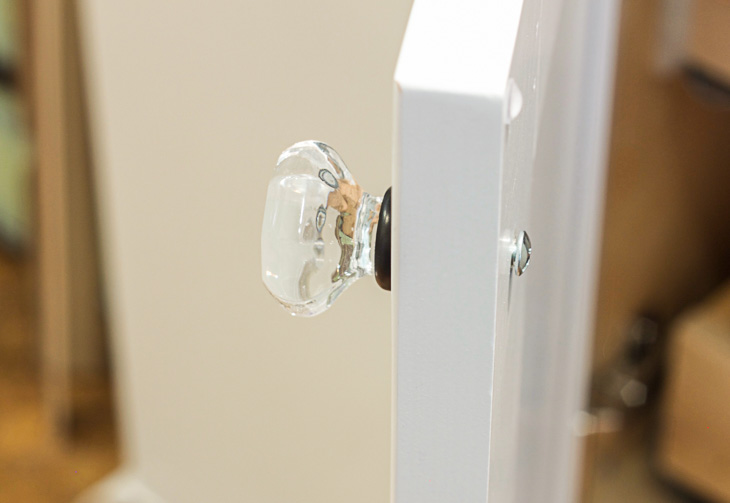
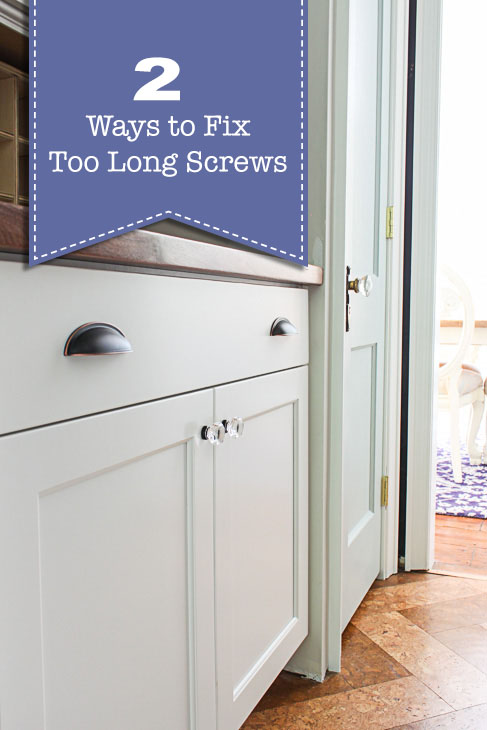
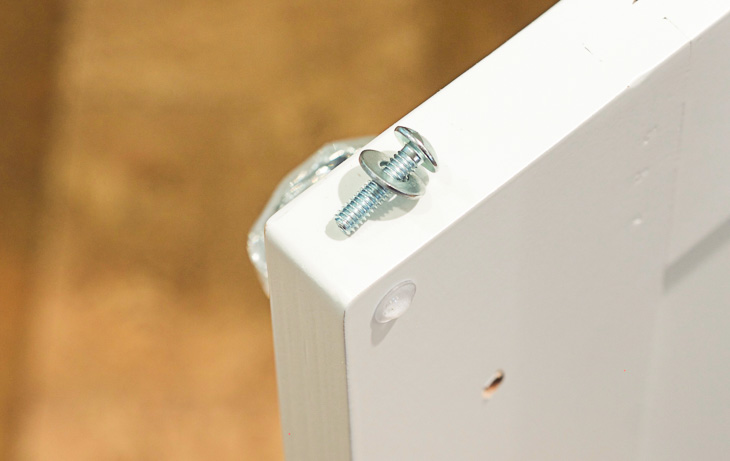
Have you ever put new knobs on a cabinet only to find out that the screw is too long. It’s a pain for sure. That little project that you thought would take a few minutes is now going to require a trip to the hardware store — or will it. Not today! I have a tutorial to show you Two Ways to Fix a Knob or Pull Screw that’s Too Long.

2 Ways to Fix a Knob Screw that's Too Long | Pretty Handy Girl

1st Way to Shorten a Screw that’s Too Long:

First things first, let’s discuss the quickest way to deal with a screw that is almost the right length. Simply add a washer or two to the inside of the screw.

2 Ways to Fix a Knob Screw that's Too Long | Pretty Handy Girl

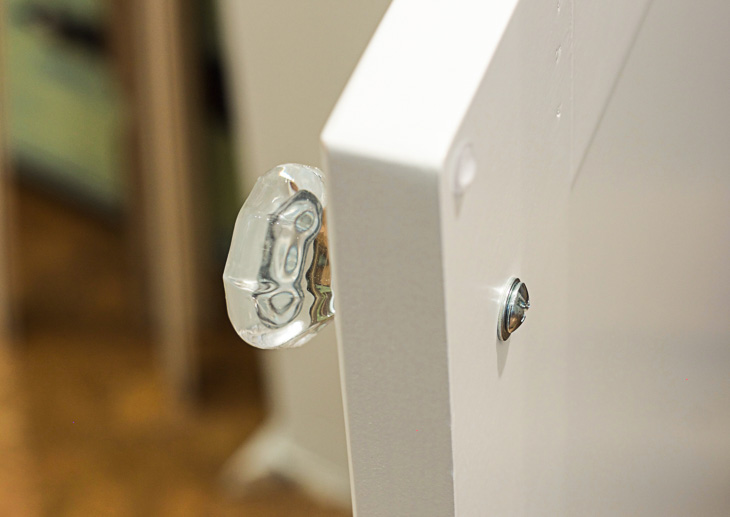
Then reattach the knob. Bam, perfectly tight knob.

2nd Way to Shorten a Screw that’s Too Long:

(I’ve included affiliate links for your convenience. I earn a small percentage from a purchase using these links. There is no additional cost to you. You can read more about affiliate links here.)

2 Ways to Fix a Knob Screw that's Too Long | Pretty Handy Girl

But what do you do if you would need more than two washers to make the screw fit? This tip will blow your mind.

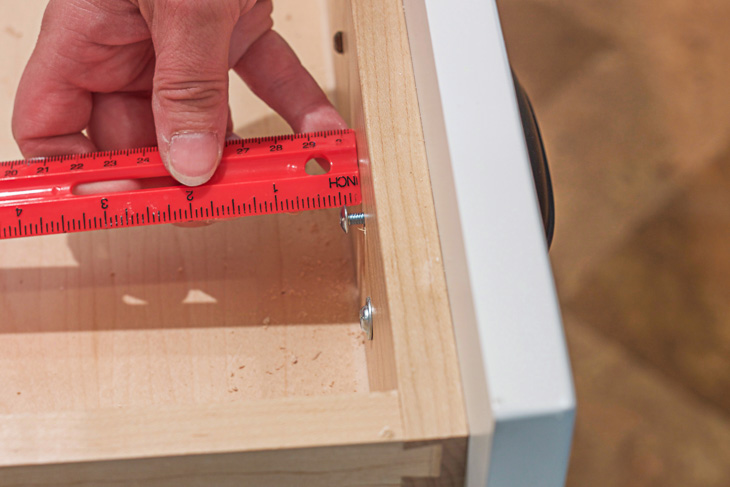
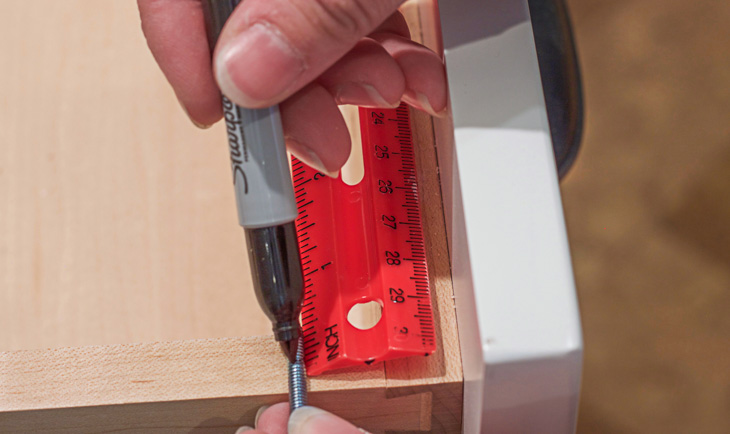
First measure the excess screw length.

2 Ways to Fix a Knob Screw that's Too Long | Pretty Handy Girl

Mark that distance + 1/16″ more on the screw.

2 Ways to Fix a Knob Screw that's Too Long | Pretty Handy Girl

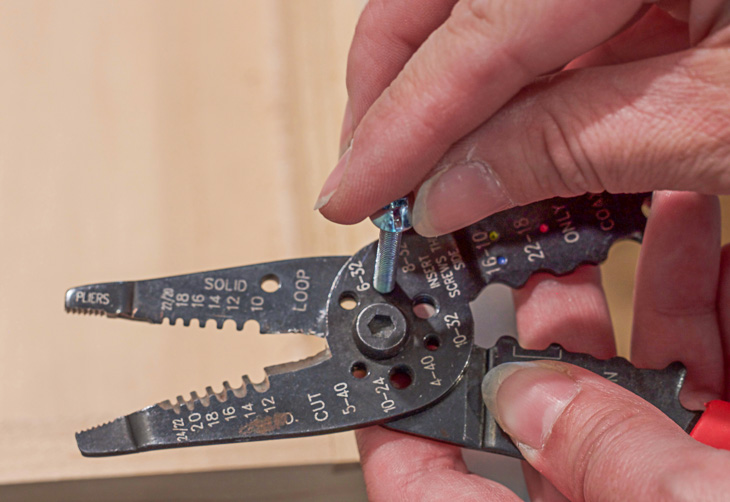
Use a pair of wire strippers (affiliate link to the strippers I own and love) and thread the screw into a hole on the pliers (the one that fits best.) The mark should be inside the pliers before you continue.

2 Ways to Fix a Knob Screw that's Too Long | Pretty Handy Girl

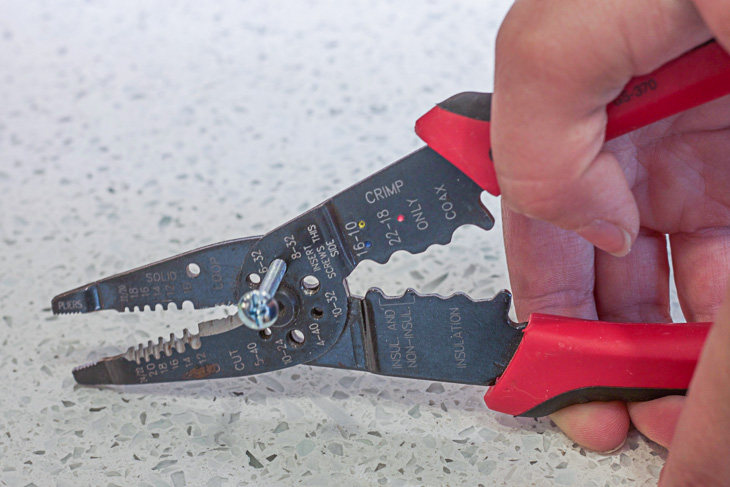
Squeeze firmly on the pliers.

2 Ways to Fix a Knob Screw that's Too Long | Pretty Handy Girl

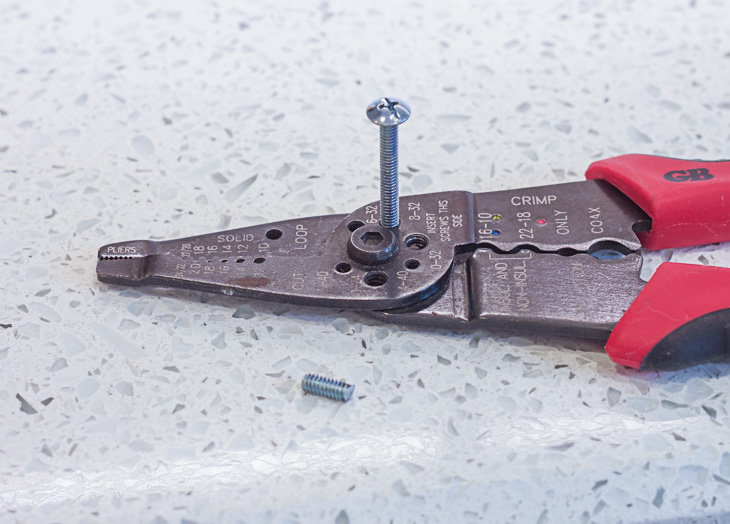
And boom, your screw is cut but still able to be screwed into the knob!

2 Ways to Fix a Knob Screw that's Too Long | Pretty Handy Girl

You’re knobs and pulls can be perfectly installed on cabinets now. Was that mind-blowing? Did you know that trick already?

2 Ways to Fix a Knob Screw that's Too Long | Pretty Handy Girl

I’ll be back soon to show you a new gadget I used for installing the knobs!

Two Ways to Fix a Screw thats Too Long

Vintage Map Lampshade | Pretty Handy Girl

Vintage Map Lampshade | Pretty Handy Girl
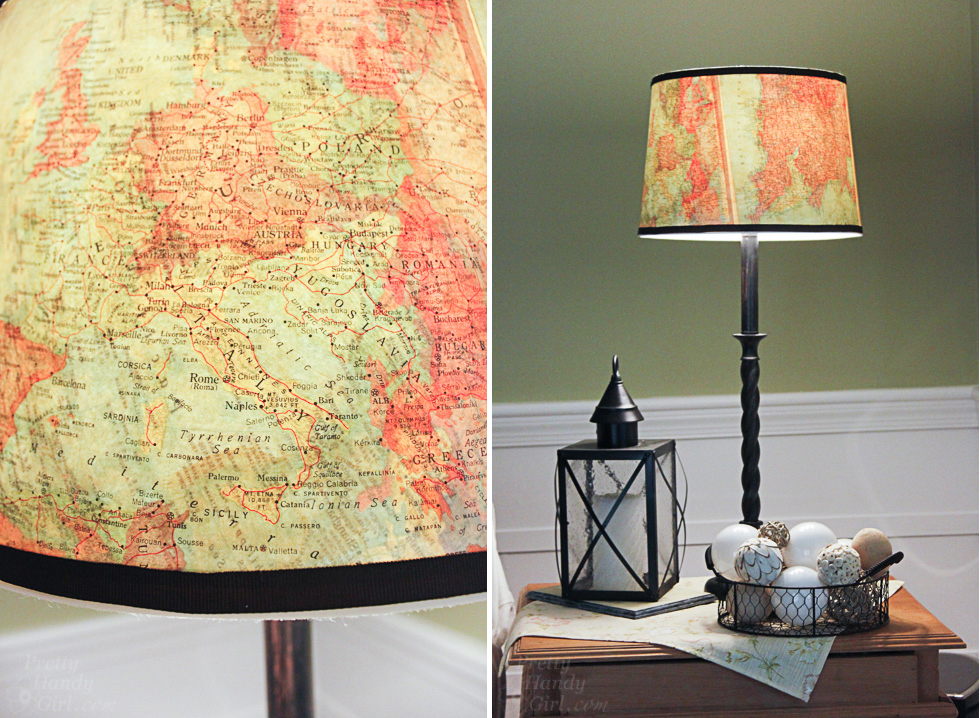
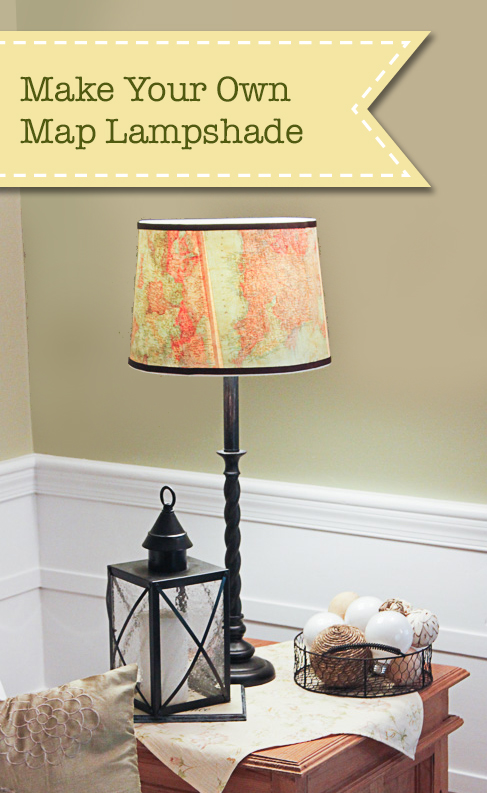
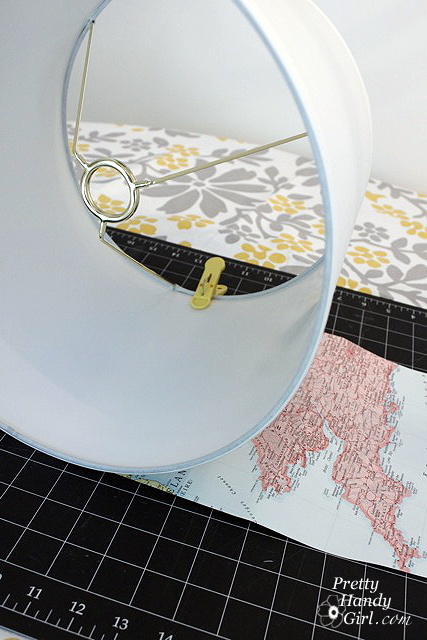
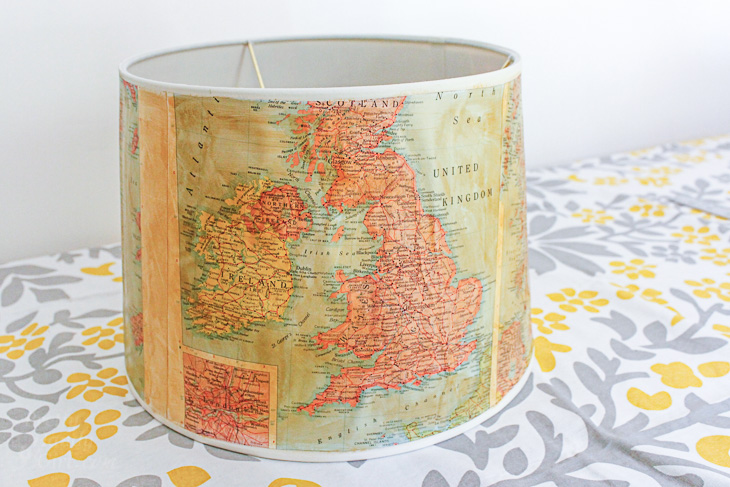
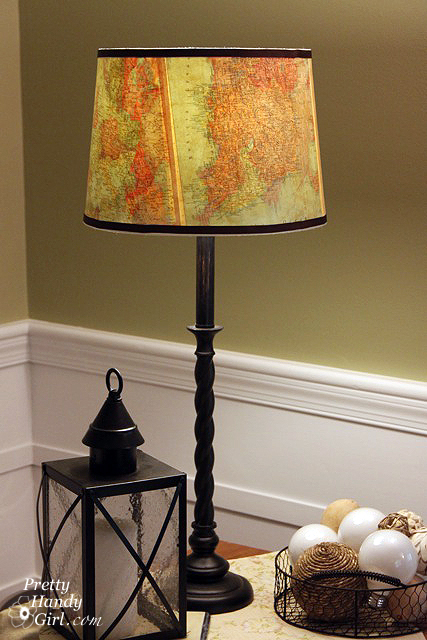
Do you want to update a plain vanilla lamp shade? Do you have a vacation you want to remember? You can do both with this vintage map lampshade!

The process to create a Vintage Map Lampshade is easy, especially if your lamp shade is close to a perfect cylinder. But, what do you do when you have a cone shaped shade? The instructions are a little more complicated, but I can show you how.

Pull up a seat and I’ll show you how to create a cool decorated lampshade. (Keep in mind you don’t have to use maps. You could use wallpaper, fabric, a poster, or anything you want!) Let’s do this.

Vintage Map Lampshade | Pretty Handy Girl

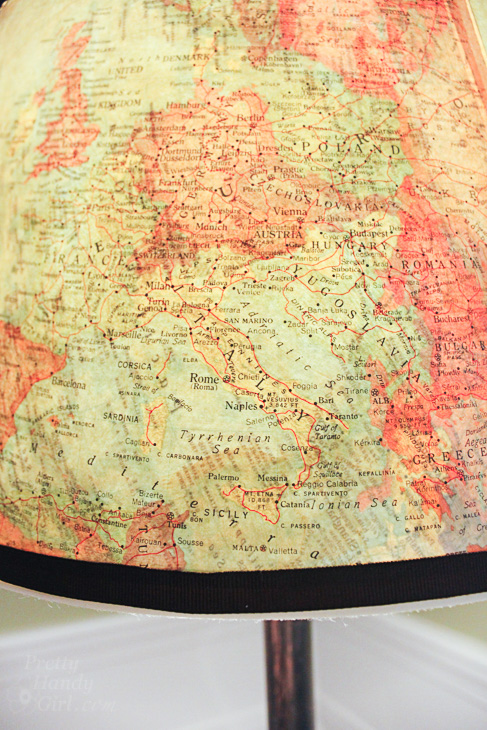
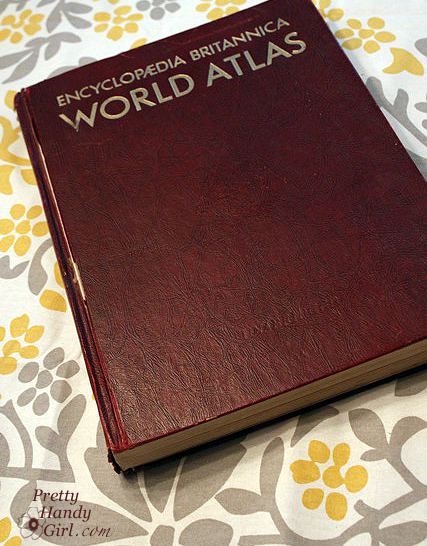
During a trip to my local thrift store, I discovered an old atlas and knew I could use it for oodles of projects. As I walked out of the store a flood of ideas came to me. One of them was to make a Vintage Map Lampshade.

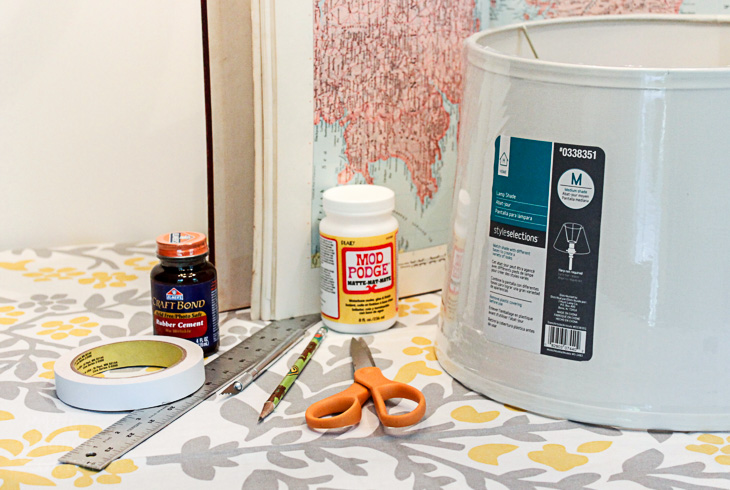
Materials:

(I’ve included affiliate links for your convenience. I earn a small percentage from a purchase using these links. There is no additional cost to you. You can read more about affiliate links here.)

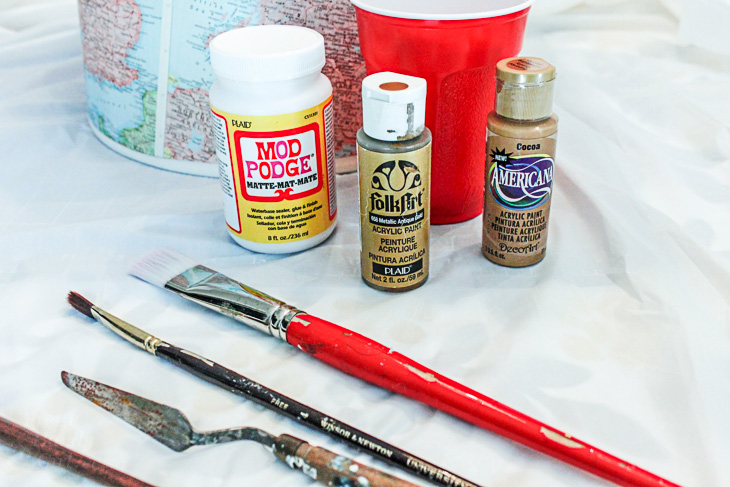
To add a vintage glaze you will also need:


Instructions:

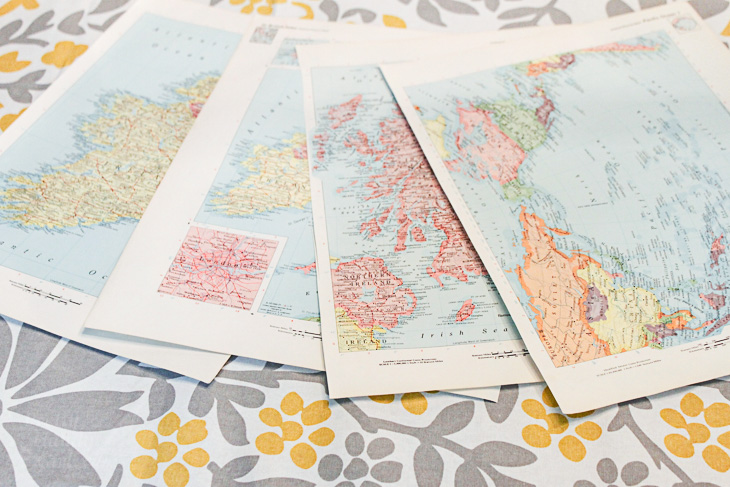
Start by selecting the maps or paper you want to use. Carefully cut them out along the spine using a fresh x-acto blade — don’t let your blade get dull. (I use a new one for each project. Your cuts are much cleaner when working with a fresh blade.)

Set your pages aside for now.

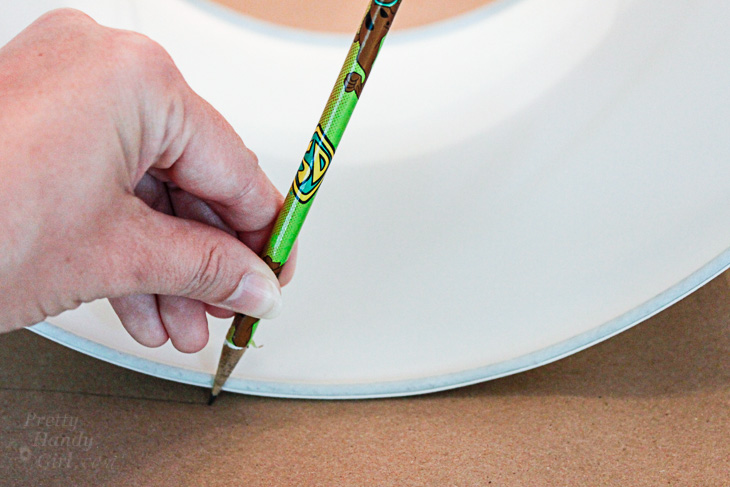
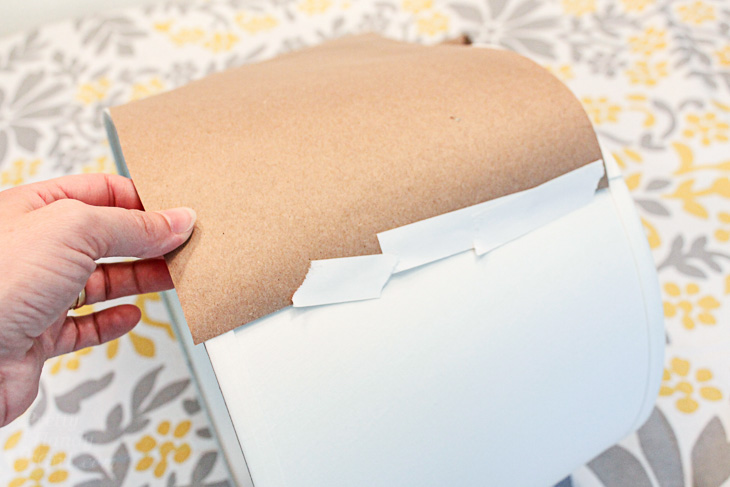
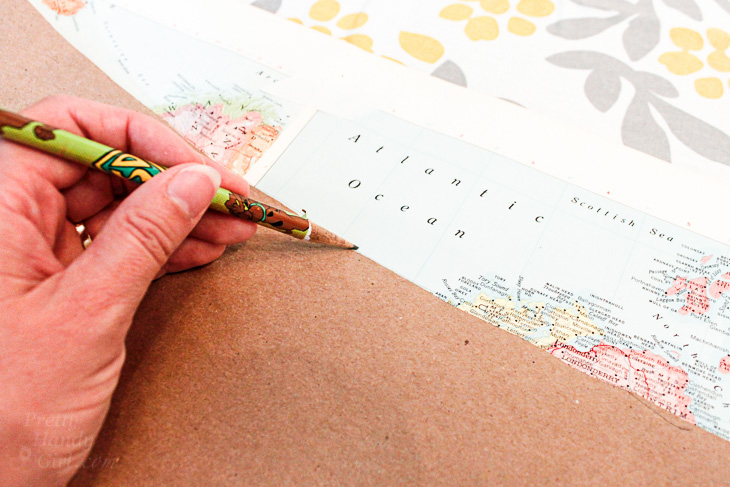
To make a template for your shade, roll out a large piece of craft paper. Lay your lampshade on the craft paper. Start at the vertical seam on the shade (to give you a visual of where to start and stop) and set your pencil along the bottom edge of the lampshade.

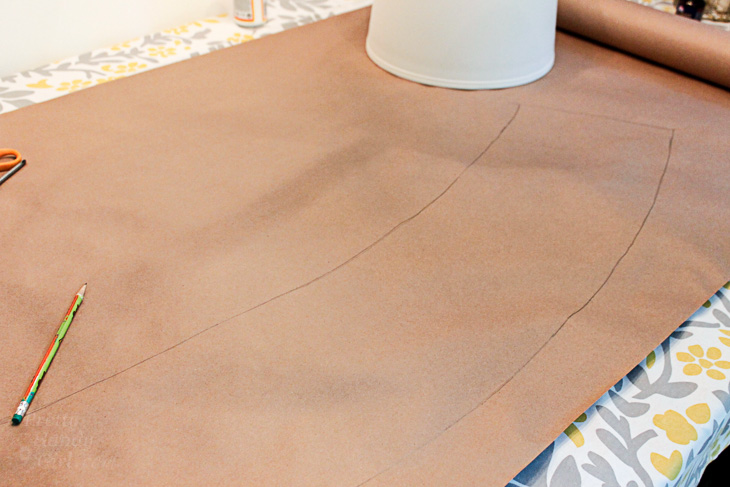
Gently roll the shade on the paper and mark along the bottom edge of the shade.

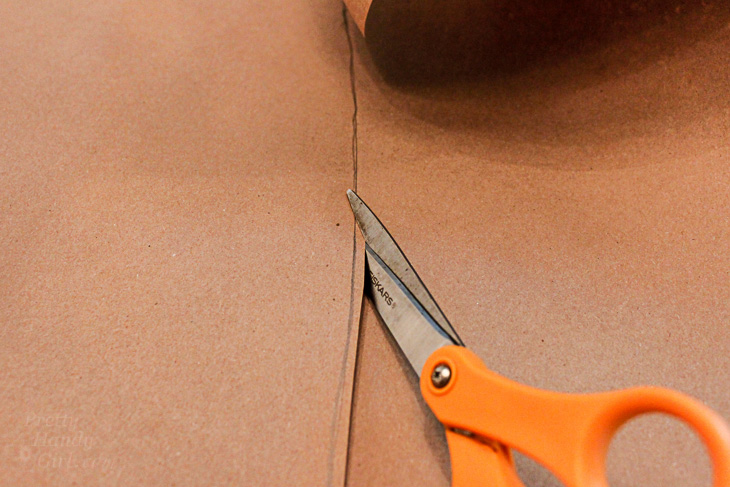
When you reach the end, reverse your shade and draw along the top edge. At the end, add an inch or two for overlap. Cut along the outlines to create your lampshade template.

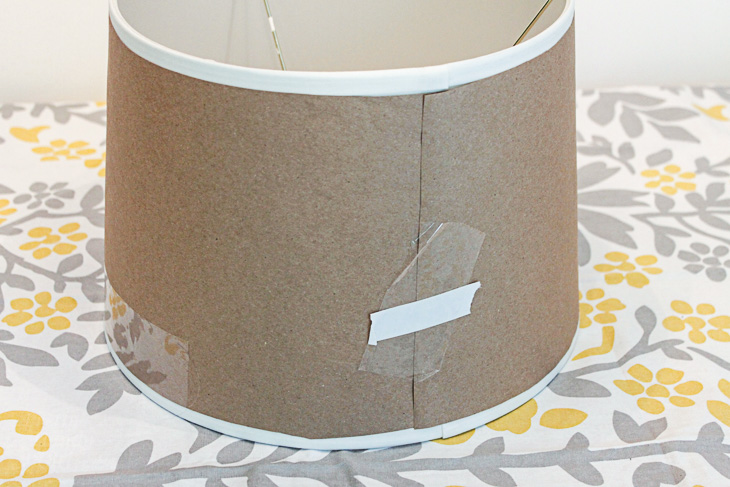
Tape the template onto your lamp shade using the low tack tape. Make sure it fits snugly.

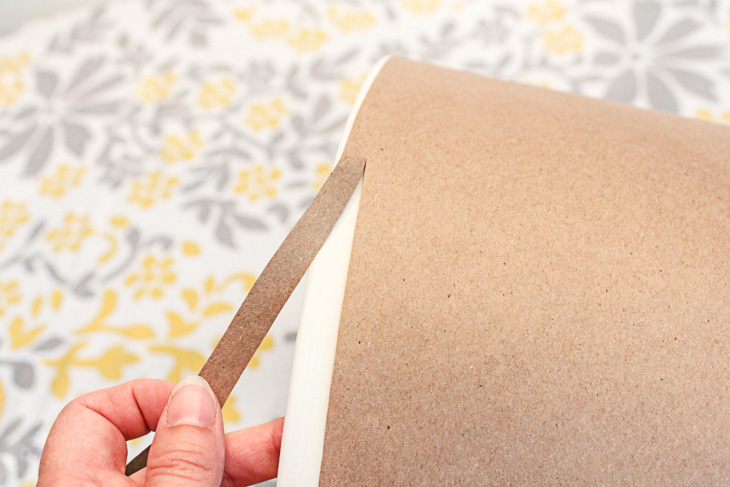
Trim any excess from the edge of your template. Should you choose, trim excess to allow room for the grosgrain ribbon.

Make sure your template fits perfectly before you proceed.

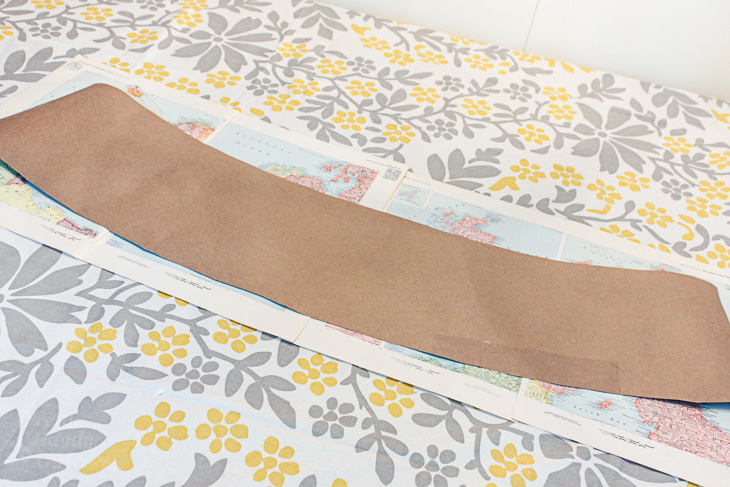
Lay out your craft paper template on top of the map pages. Make any adjustments to the page layout.

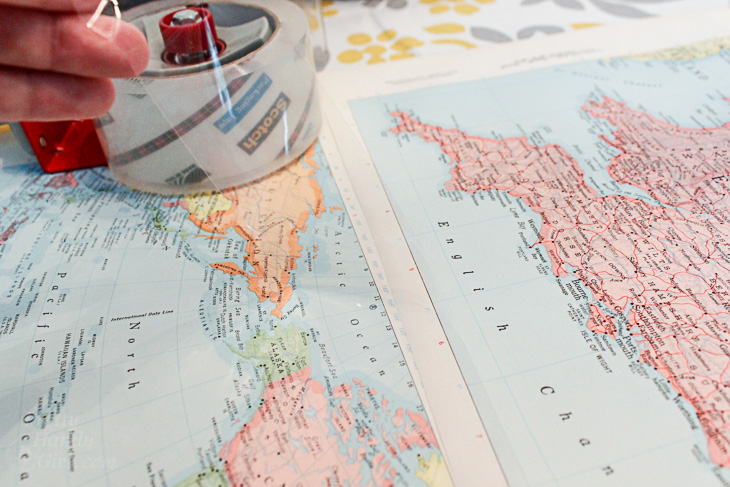
Tape your map pages together using clear packing tape on the inside only.

Trace the template on top of the map pages.

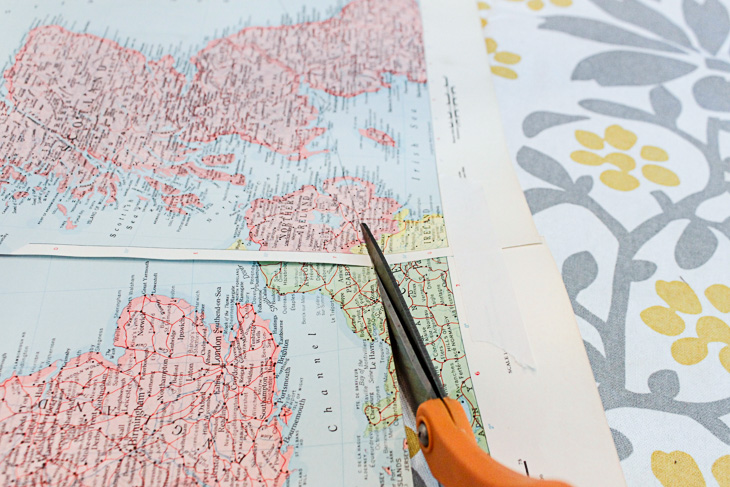
Cut out the shape along the pencil line.

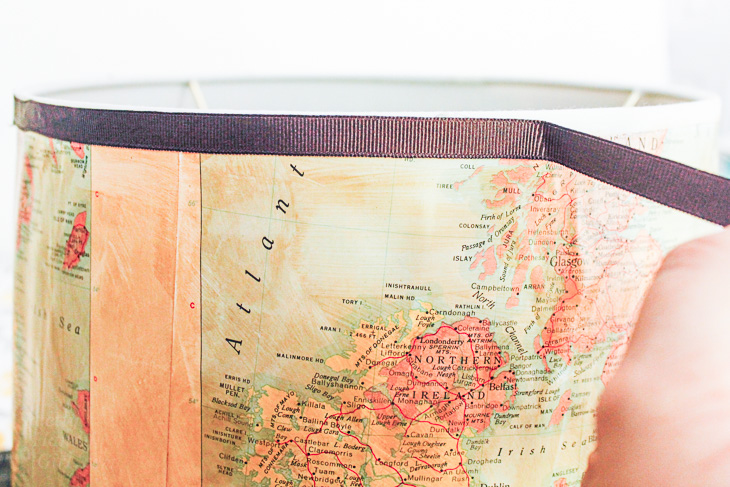
Wrap the lampshade with your cut out map pages.  Clip the edges with clothes pins.

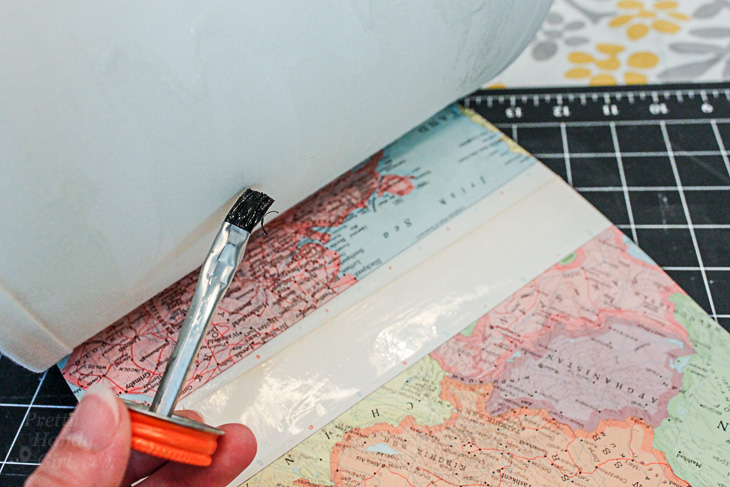
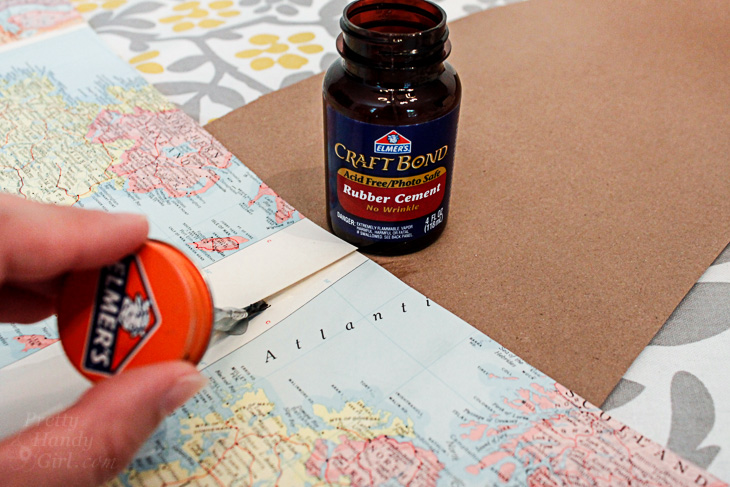
Working in small 8″ sections, brush rubber cement onto the map and the lamp shade. Wait a minute or two for the glues to dry. Then press them together. This is the best way to get maximum adhesion when using regular rubber cement. It creates a stronger bond than just one coat applied and joined while it is still wet. Alternatively you could use spray adhesive (especially if you are using fabric.)

Continue by gluing another section until you reach the end. To finish the seams on the outside, brush some rubber cement under the seams where your maps overlap. Press and hold them down until the glue dries.

Add a Vintage Aged Glaze:

Time to give your maps a vintage aged look! Pour 2 parts mod podge into an empty cup. Add about 1 part cocoa paint. Mix them together. Test some of the glaze on a scrap piece of paper. If you like the glaze color, start brushing it onto the lamp shade. Be careful not to use too much of the glaze or the paper will start to wrinkle. (If it does, no worries, some of the wrinkles will come out when it dries. Any remaining wrinkles make it look old.)

Let the glaze dry.

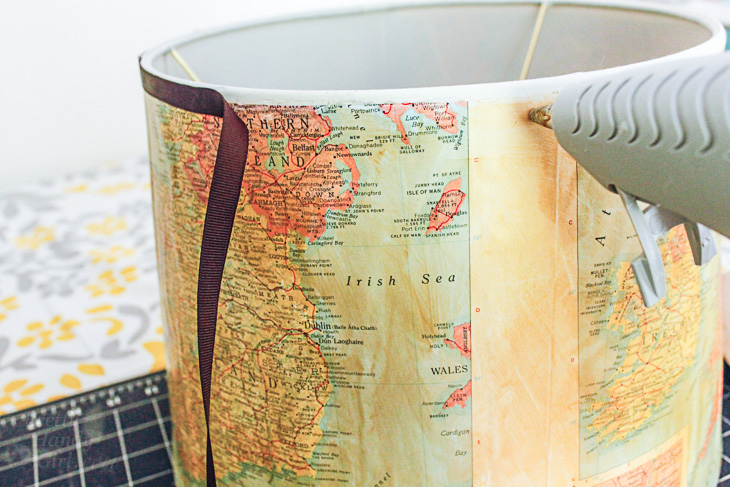
Cut two strips of grosgrain ribbon the circumference of your lamp shade plus an inch for overlap.

Hot glue the ribbon onto the top and bottom edges of your lamp shade. (Please, please, protect your fingers, read my hot glue gun safety post before working with hot glue!)

Put your lampshade on your favorite lamp.

Admire your unique lamp shade that brings back fond memories of a special trip.

If you make one of these, what map would be on your’s? Your home state? The place you were born? Where your family’s heritage resides? Or something completely different? I would love to hear your ideas.

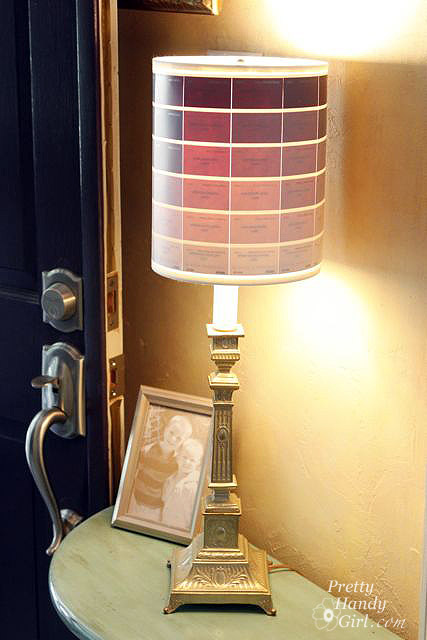
Did you like this tutorial? Want to learn how to revamp another lamp shade with paint chips!

The result are a beautiful ombré lamp that is fun and colorful.


Easy Peppermint Snowflakes | Pretty Handy Girl

Easy Peppermint Snowflakes | Pretty Handy Girl

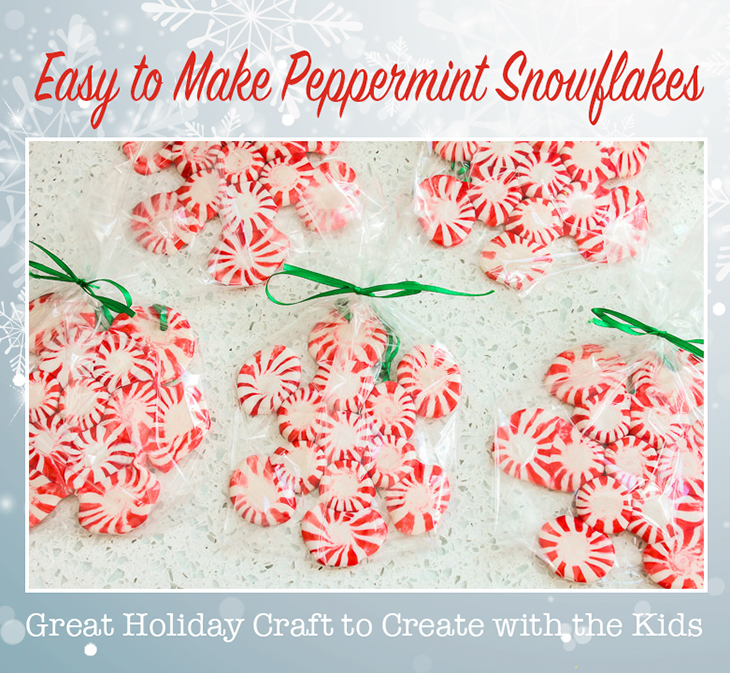
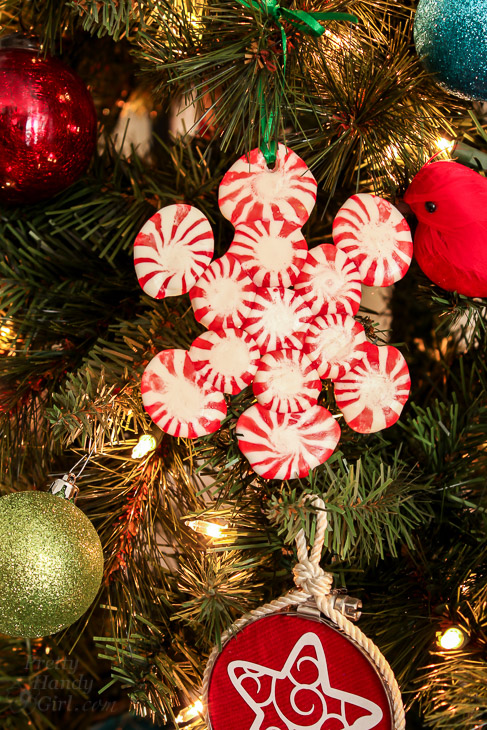
Last year I made these Easy Peppermint Star Ornaments. They were a lot of fun to watch as they melted and fuzed into a snowflake ornament. My son asked if we could make them again this year. Because the kids are officially out of school now, I thought this would be the perfect holiday activity today.

Won’t you join us as we make these Easy Peppermint Star Ornaments?

(I’ve included affiliate links for your convenience. I earn a small percentage from a purchase using these links. There is no additional cost to you. You can read more about affiliate links here.)

Materials:

Directions:

Pre-heat oven to 300ËšF.

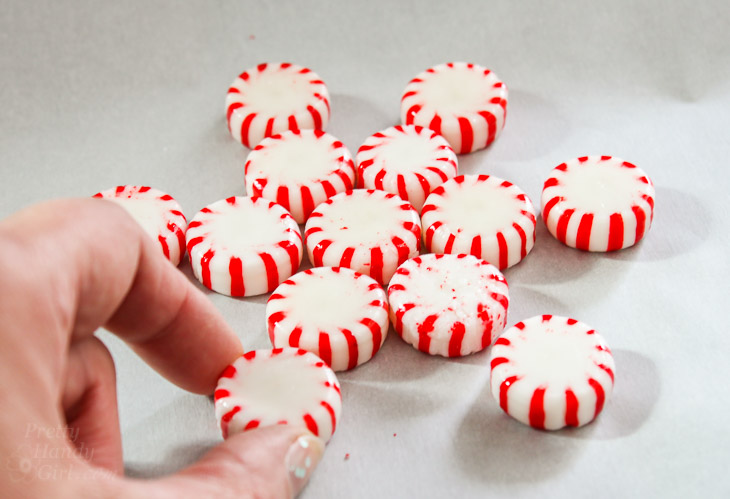
Unwrap the candies. You’ll need 13 candies per star. Lay the peppermints onto a baking sheet covered with parchment paper. Arrange them into a snowflake design:

Easy Peppermint Snowflakes | Pretty Handy Girl

Place the baking sheet into the pre-heated oven. Bake for 8 minutes.

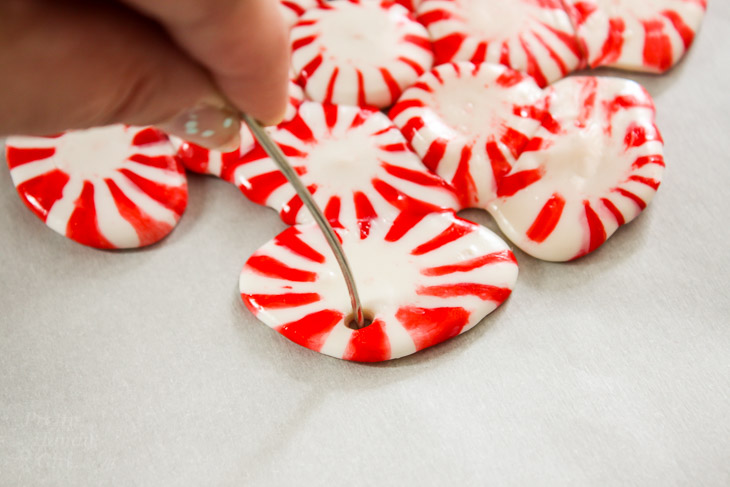
Remove the tray and immediately use a large needle to create a hole in the top of one of the outer points of the snowflake.

Easy Peppermint Snowflakes | Pretty Handy Girl

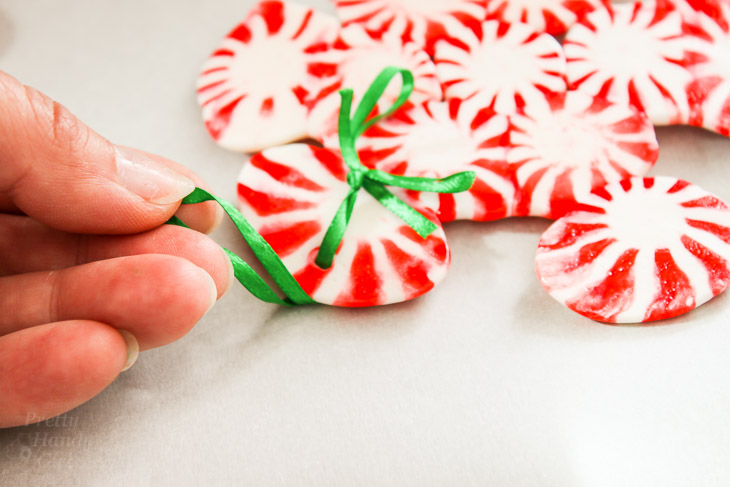
Allow the peppermints to cool and thread a green ribbon through the hole and tie.

Easy Peppermint Snowflakes | Pretty Handy Girl

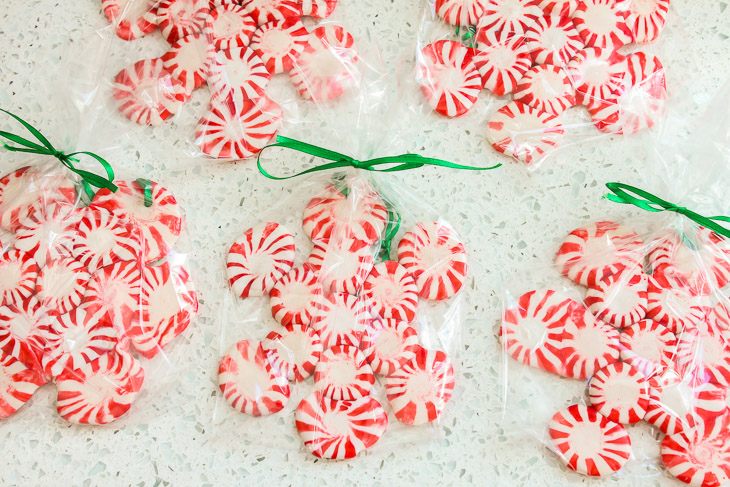
Wrap up the Peppermint Star Ornaments in treat bags and give them to your friends and neighbors!

Easy Peppermint Snowflakes | Pretty Handy Girl

Or hang them on your tree ;-).

Easy Peppermint Snowflakes | Pretty Handy Girl

Here’s the quick video wrap up for how to make Easy Peppermint Star Ornaments:

Be sure to plan on making more than you need. The melting process can create some not so desirable snowflakes, but they still taste good ;-).


Pin for later!