Rustic Scrap Wood Shadow Box Frame | Pretty Handy Girl

Okay all you woodworkers. You know as well as I do that you have an ever growing scrap wood pile that you don’t want to throw away because you know you’ll use it one day.
Rustic Scrap Wood Shadow Box Frame | Pretty Handy Girl

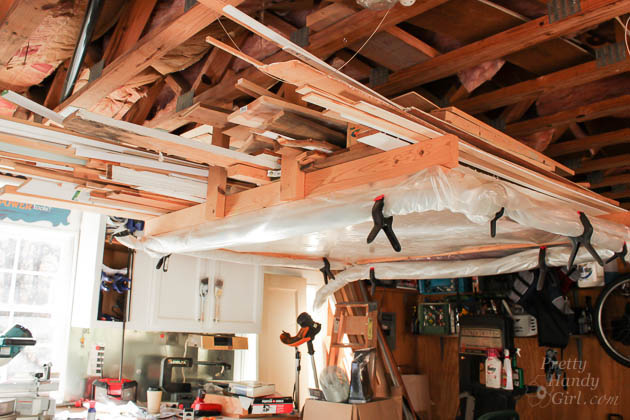
Well, today is that day! I challenge you to use some of that scrap wood to make a Scrap Wood Shadow Box Frame like this one.

But, if this isn’t your cup of tea, Sawdust Girl has an entire link up party of scrap wood projects. And you can link up your own scrap wood challenge too!

Okay, so the truth behind this project is that Pretty Handsome Guy has been begging me to frame his U.S. Open flag from Pinehurst almost two years ago. My poor hubby rarely asks for anything, and I figure he waited long enough.

Materials:

  • Scrap wood
  • Backer board (scrap bead board, masonite, thin plywood)
  • Construction glue
  • Lattice edging
  • Wood stain
  • Plexi-glass
  • D-hooks
  • Drill bit
  • Drill
  • Double stick foam tape
  • Brad nails
  • Nail gun or hammer
  • Machine screws
  • Saw (miter, jigsaw or Dremel UltraSaw)

Optional: Gorilla Glue

Instructions:

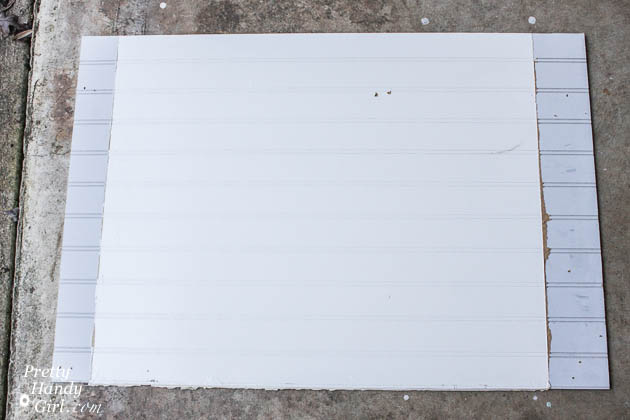
Cut backer board to the size you want for your frame.
Rustic Scrap Wood Shadow Box Frame | Pretty Handy Girl

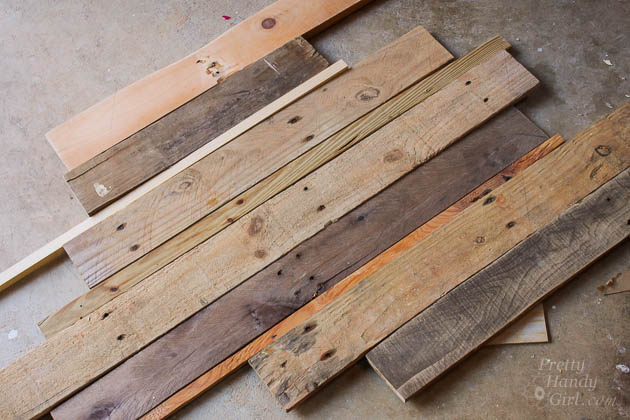
Lay out your scrap wood on top of the backer board until it is covered completely.

Rustic Scrap Wood Shadow Box Frame | Pretty Handy Girl

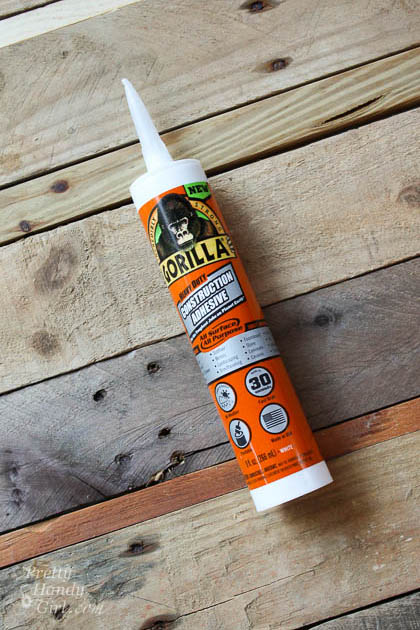
I tried Gorilla Glue Construction Adhesive on this project (Gorilla Glue sent me a tube of glue to try out.) It dried and held all the scrap wood firmly.

Rustic Scrap Wood Shadow Box Frame | Pretty Handy Girl

Lift up one piece of scrap wood at a time and apply construction glue onto the backer board. Read more

door stop title

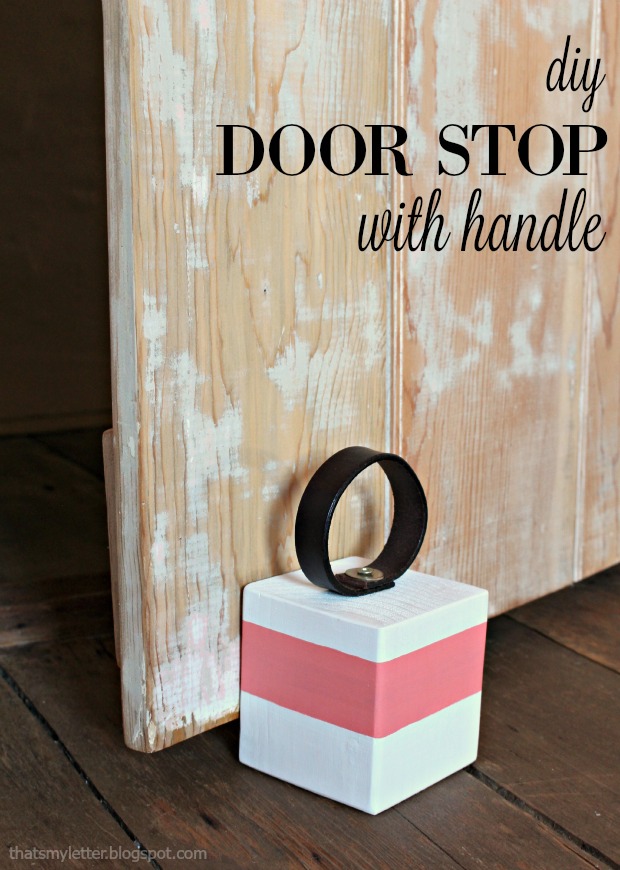
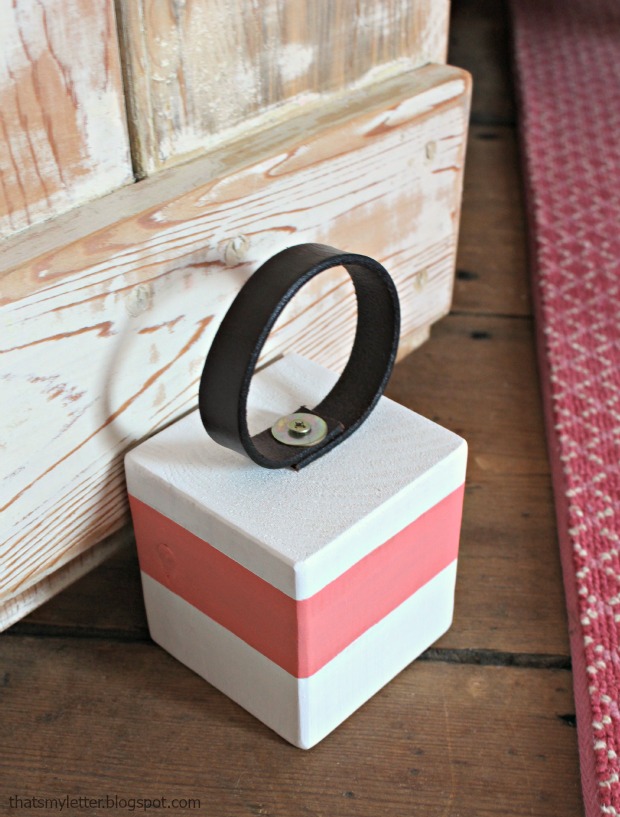
Hi Pretty Handy Readers!  Jaime here from That’s My Letter sharing a quick and easy scrap wood project.  Today I’ll show you the step by step tutorial for how to make a DIY Door Stop with a Leather Handle.

door stop 1

They say necessity is the mother of invention and this is clearly a case in point.  My girls’ bedroom door wouldn’t stay completely open on its own.  You might have a similar door in your home that you want to stay wide open except gravity keeps pulling it closed?  In our house nothing is level so naturally the door wants to close and we needed a door stop that was easy for my girls to use.

door stop 3

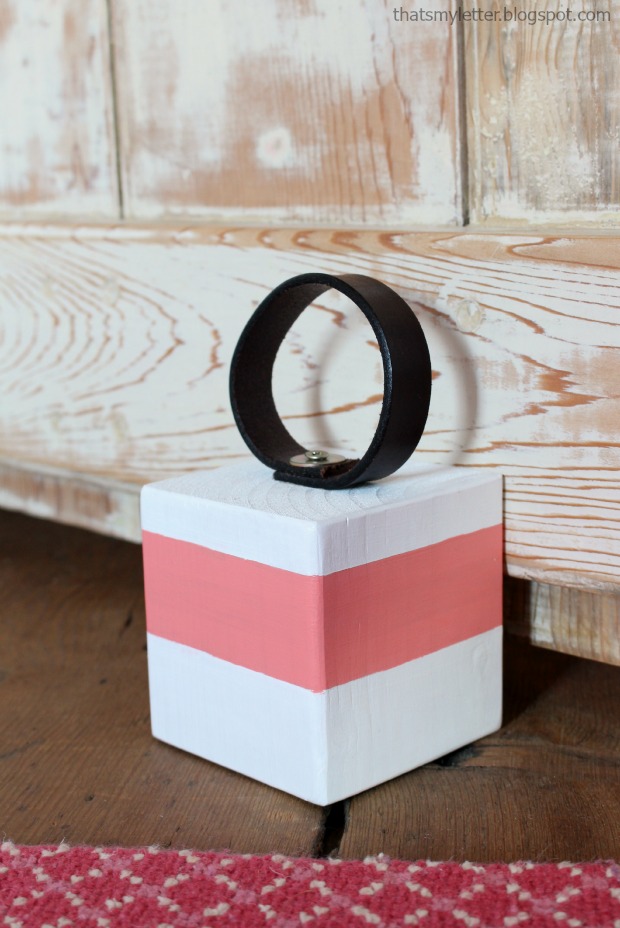
I used a piece of scrap 4×4 wood and made a simple leather loop handle so now my girls can easily move the door stop when they want to shut the door.  (Please note our door is solid wood and moderately heavy but if you have a very heavy door you might want a larger piece of wood.)

door stop 2

In addition to using the door stop to keep the door wide open, my girls also use it to keep the door slightly ajar at night.

Supplies:

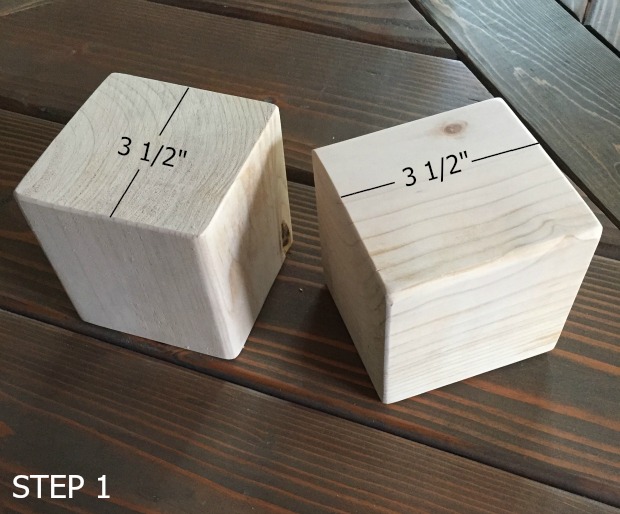
  • 1 – 4×4 scrap wood @  3 1/2″
  • 1 – leather belt scrap 1/2″ w x 9″ l
  • 1 1/2″ wood screw
  • washer
  • drill & drill bits
  • glue
  • sandpaper
  • paint

Instructions:

Step 1: Cut the 4×4 scrap wood at 3 1/2″ (or longer if you have a heavy door).  Sand edges smooth.

door stop step 1

Step 2: Paint as desired.  I used painters tape to mask off a portion to make the pink stripe. Read more

sliding mirror title

How to build a sliding mirror door:

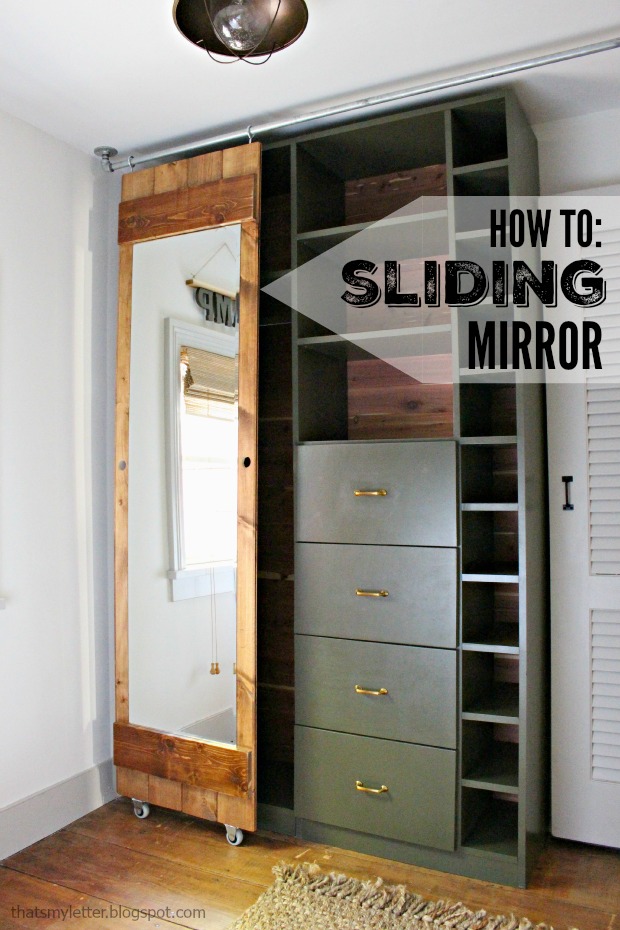
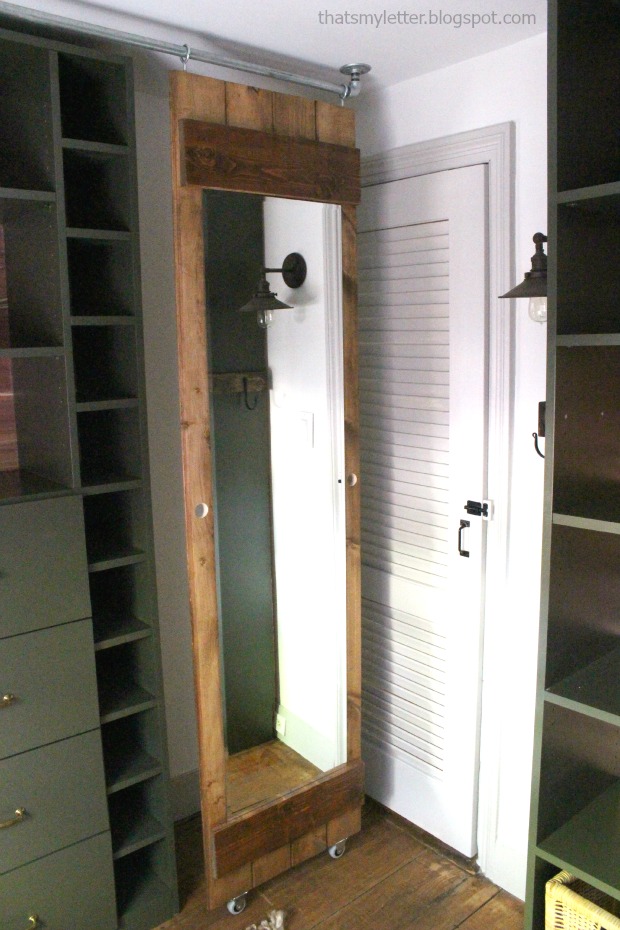
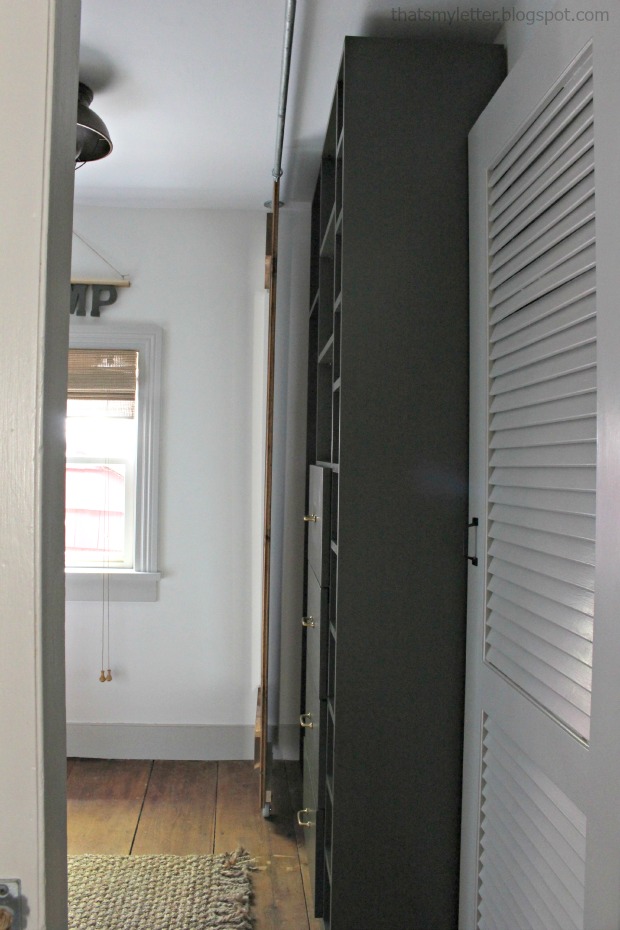
Hello Pretty Handy Readers!  Jaime here from That’s My Letter and today I am sharing a sliding mirror project that is the finishing touch on my newly made over walk-in closet.  I will show you how to build a sliding mirror door using wood, wheels and pipe fittings.

This sliding mirror is my solution to a small walk-in closet with no wall space and no back of the door option for a mirror.  The mirror slides across the room on stationary wheels and a galvanized steel pipe track.

sliding mirror 3

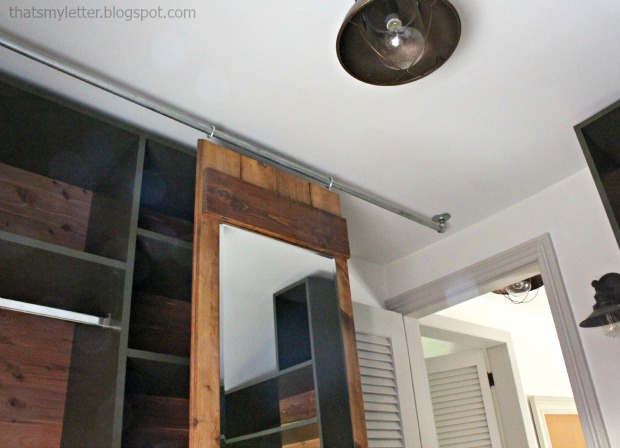
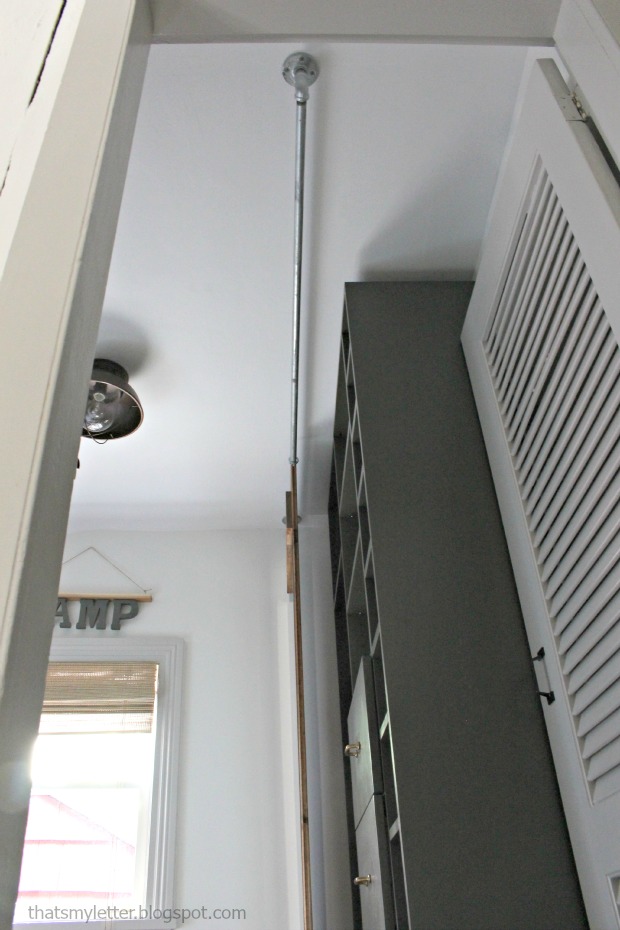
My pipe extends beyond the built-ins (mainly because that’s the pipe I had on hand) but this also allows for full access to the built-in compartments.

sliding mirror 5

In the photo below you can see the pipe extends beyond the built-ins at the ceiling:

sliding mirror hardware installed

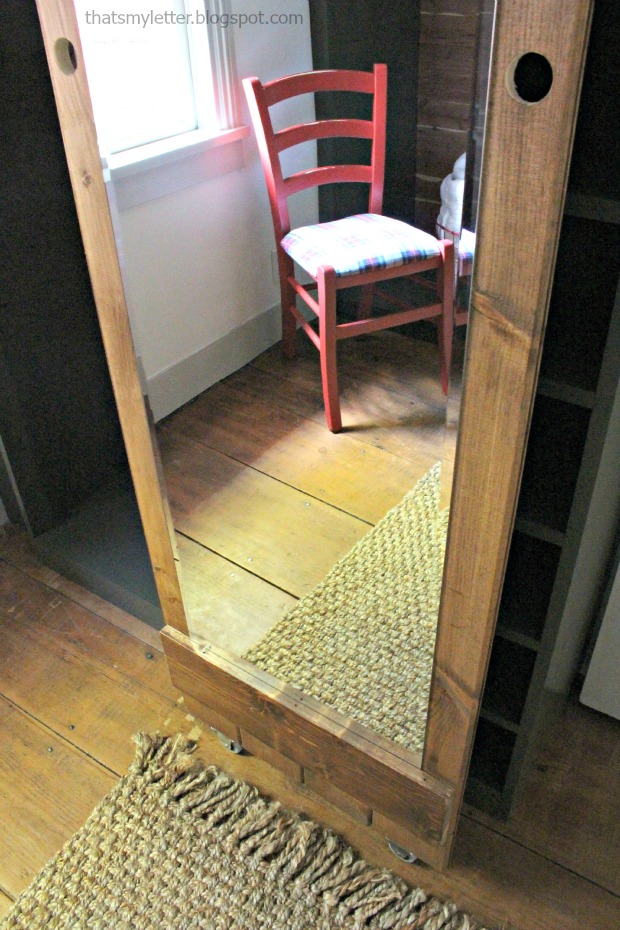
Simple finger pull holes allow you to glide the mirror along the pipe.  You could get fancy with hardware here but I took the minimalist approach.

sliding mirror 2

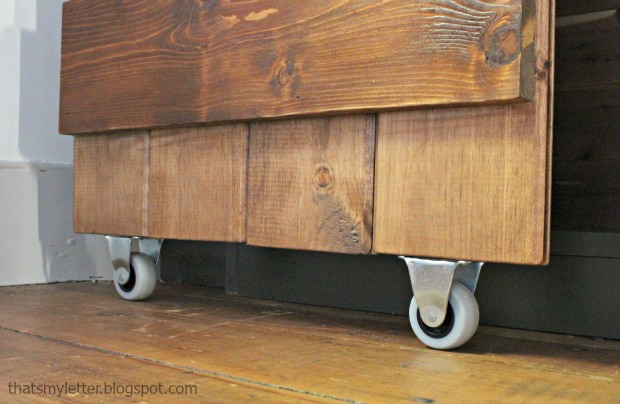
Stationary wheels keep the mirror in place while eliminating the need for any lower track system.

sliding mirror wheel detail

Hello super slim profile!  The whole mirror and wood support is only 1 1/2″ thick so the mirror does not protrude out into the room.

sliding mirror profile

Ready to make this clever sliding mirror? Let’s get to it… Read more

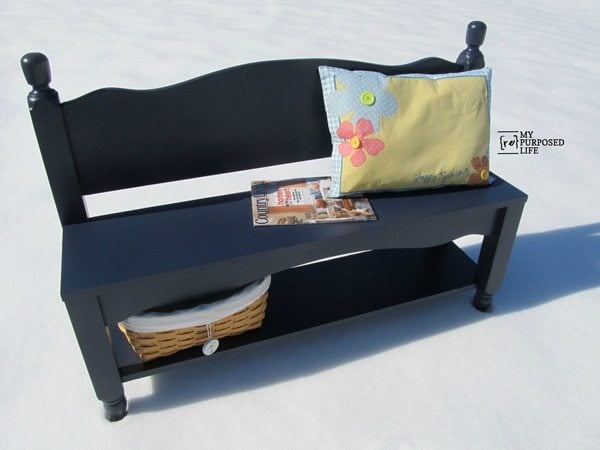
my-repurposed-life-navy-blue-small-headboard-bench

Today’s Rockstar is one of the bloggers that I aspired to be when I started blogging. This gal truly paved the way for DIY Bloggers. Gail is here to show us how to make a headboard bench. Watch closely as she deftly converts an old headboard into a cozy entryway bench.

Gail is the rockstar behind the wildly famous My Repurposed Life! She has the ability to see beyond the ugly junk and trashed items on the curb. She has a way of seeing the beauty in all of it!

Rockstar DIY Series

I hear the sounds of hammering, Gail is ready to take the stage! Give it up for this rockstar!

page_break_2

Hi there Pretty Handy Girl readers. I am so happy to be here, because I’m a huge fan of Brittany. I’ve followed her blog for a long, long, time.

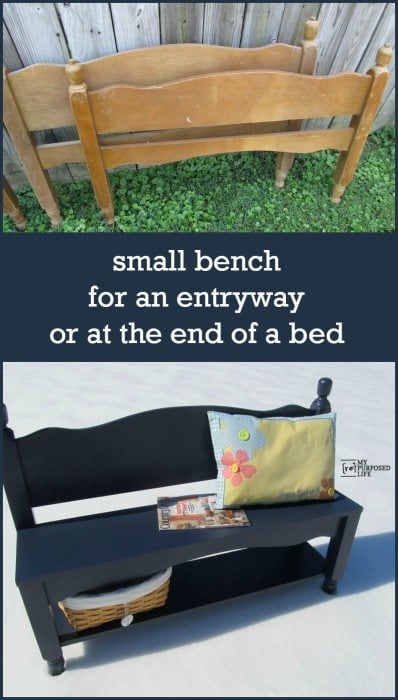
I’m Gail from My Repurposed Life. If you don’t know me, the blog name sort of gives it away. I mostly blog about repurposing items; saving them from the landfill; and giving them a new purpose in life. Many people who find me through Google, do so by looking for headboard benches. It’s pretty much what I’m known for. Today, I’m going to share one of my all-time favorite headboard benches with you.

my-repurposed-life-small-entryway-bench

A supply and tool list is at the bottom for your reference.

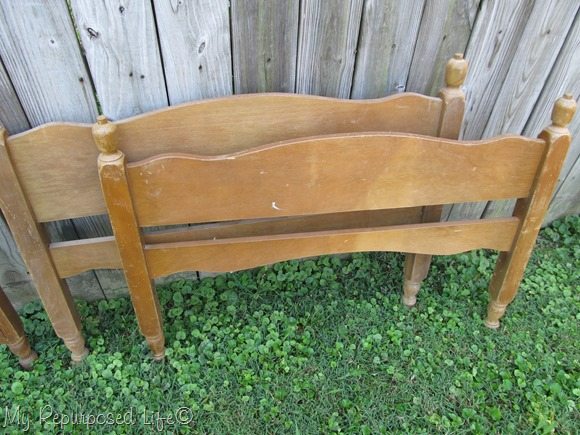
bunk bed

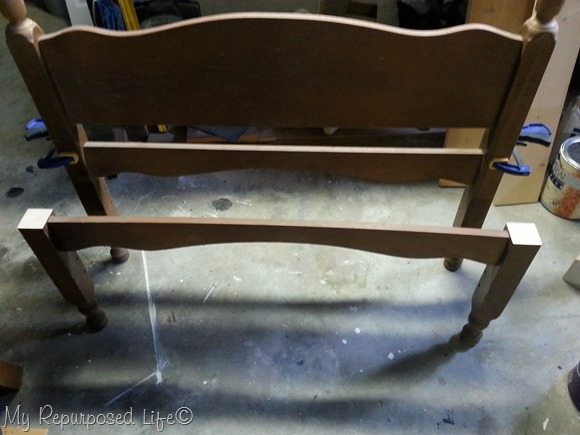
I got two sets of these bunk beds for a steal at a thrift store. They’re not typical of the headboards I normally pick up—I prefer larger headboards.

You can see the piece in the back is slightly larger than the one in the front. That identifies it as the headboard.

twin-bench

You can see the headboard is in tact, but the foot board was cut on the miter saw right above the brace, leaving the top half of the foot board for another project.  At this point you decide how deep you want the seat of your bench to be.

kreg-pocket-holes

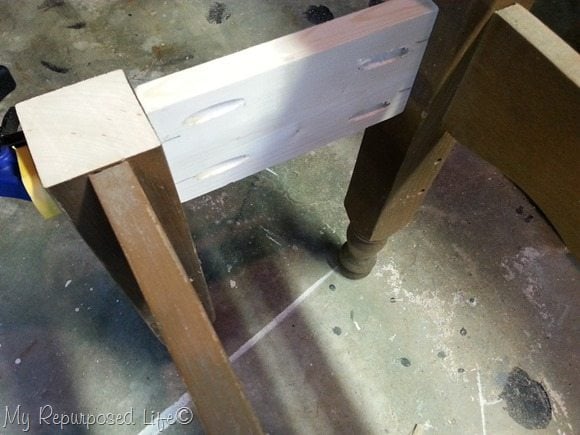
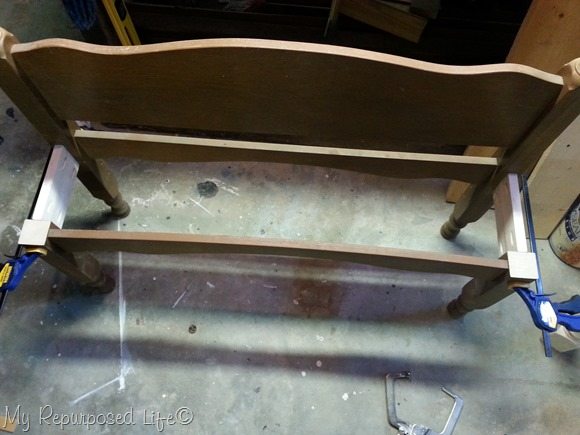
I used scrap 1×4’s for the side that connects the headboard to the foot board. All of my boards are secured using a Kreg Jig and pocket hole screws.

side-skirting

See how easy? the bench is already formed with a few simple steps, you could stop right here and add a seat. However, I knew I wanted to do a little something extra for this petite bench. Read more

Easy Clipboard Stand | Pretty Handy Girl

Easy Clipboard Stand | Pretty Handy Girl

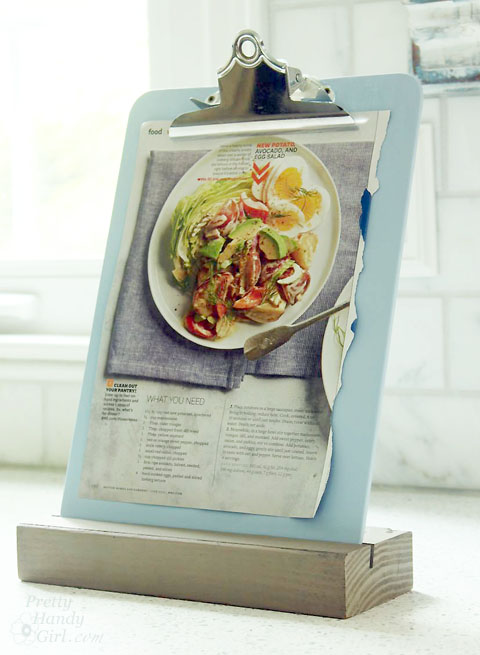
Today’s project is so easy, I named it the Easy Clipboard Stand (catchy name, no?) This is a great way to upcycle an old clipboard and a scrap 2×4. This clipboard stand is super versatile. It can be used as a traditional stand for announcements; a copy stand; a recipe holder; an art frame or anything you need to bring attention to. Plus, if you use a dark chalk paint color, it can be used as a chalkboard sign. Bonus.

Materials:
(contains affiliate links)

Tools:

Instructions:

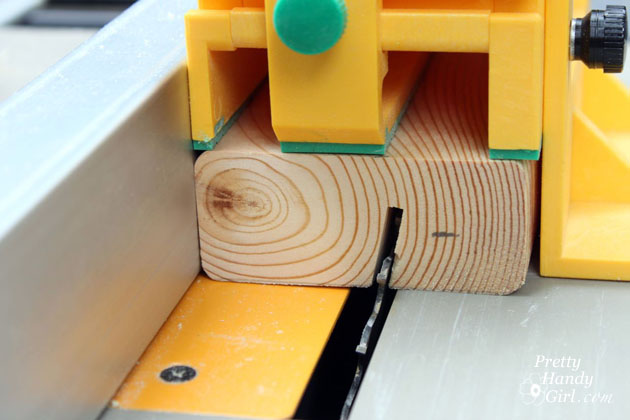
Cut the 2×4 scrap to the same width as the clipboard. Set your table saw blade approximately 2/3 height of the 2×4 block. Angle the blade to 15 degrees. Carefully slide the block over the blade. You’ll notice I use a GRR-Ripper Push Block to keep my hands away from the blade. (If you own a table saw, you need one of these!)

Easy Clipboard Stand | Pretty Handy Girl

The 2×4 should look like the photo below.  Read more