 How to Paint a Laminate Table Top
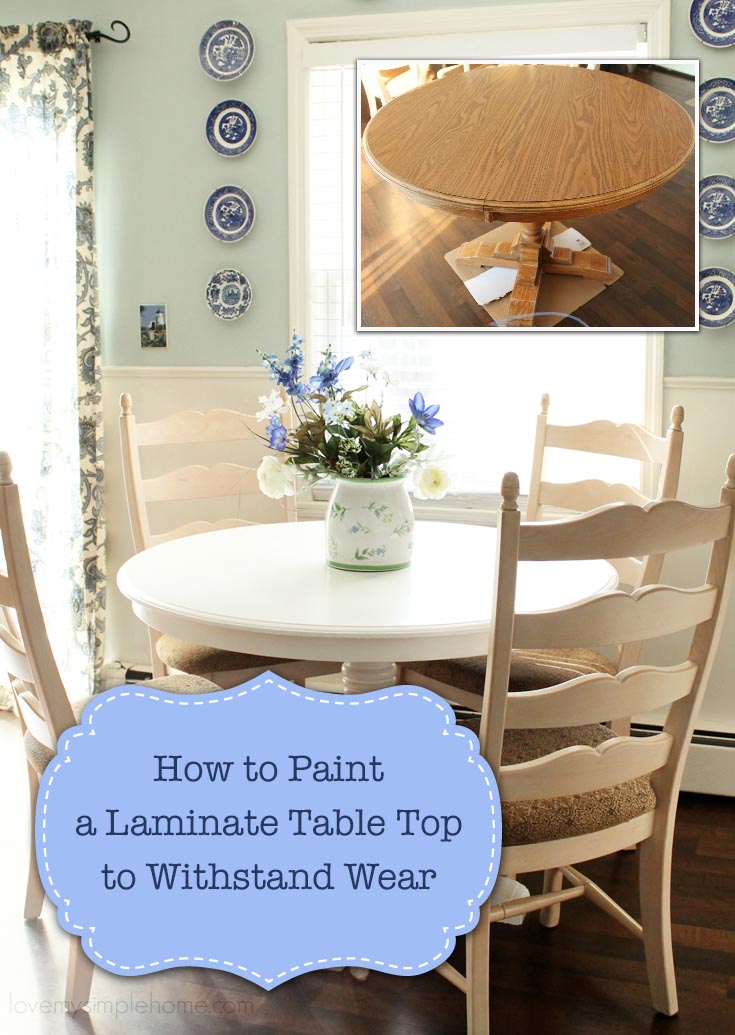
Do you have a laminate top dining table that you want to paint, but are not sure how to paint it so it will withstand the wear and abuse a table usually receives? I can help by showing you how I painted my table. It was easy to do but takes some patience.
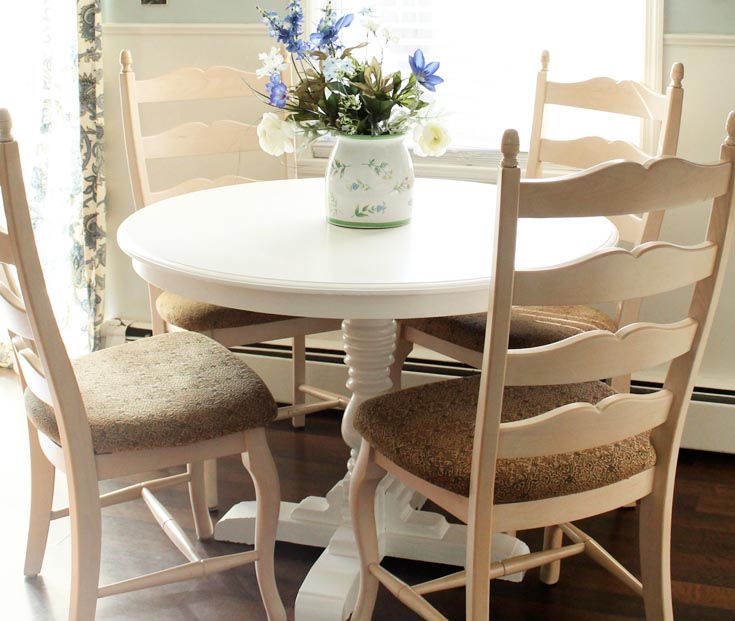
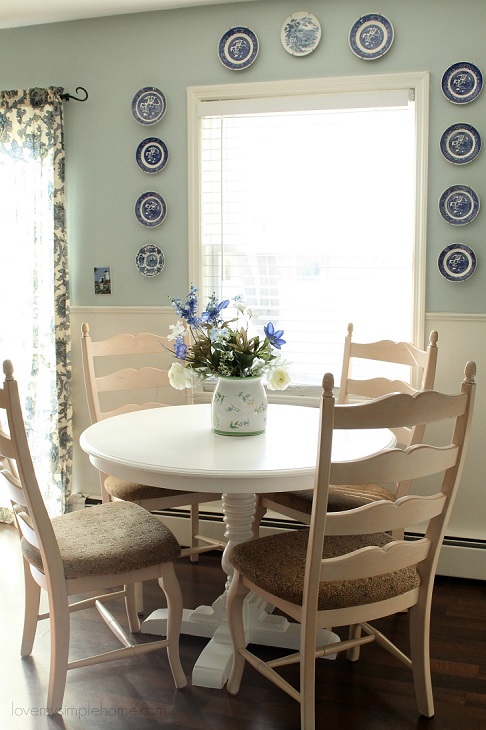
Hello awesome readers, I am Julie from Love My Simple Home, and I’m so excited about today’s post! Over the summer I purchased this laminate dining table at a yard sale to use in my dining room. After storing the table for several months, I finally decided to pull it out of storage and give it a beautiful new finish with bright white paint.
Laminate Table Top Material List:
Palm Sander
Paint with Primer
Foam Roller
Paint Pan
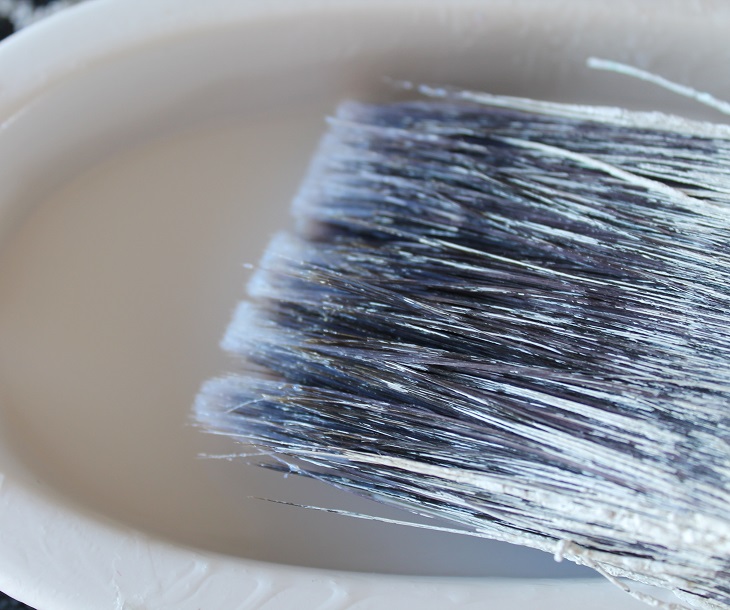
Synthetic Paint Brush
Polycrylic Clear Satin
Paint a Laminate Table Top Step 1: Clean
The very first thing you need to do is wash the table off. Use a soapy sponge with water to clean all the dirt, oil, or grime off the table top and base. Use a clean dry towel to dry it completely.
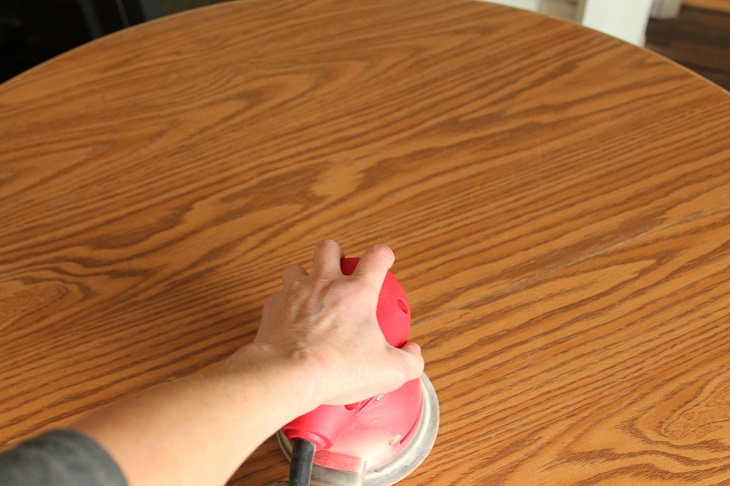
Paint a Laminate Table Top Step 2: Sand
The purpose of sanding is to give the paint/primer something to grab onto. Use a palm sander with 220 grit sandpaper and sand the top in the direction of the grain. You don’t need to sand too much, just enough to add some “tooth” for the paint to stick to. After sanding, clean the surface again with a soft clean cloth. If the base of your table is in poor condition, go ahead and sand it too. (You might find it easier to hand sand the base of the table.)
Paint a Laminate Table Top Step 3: Paint
A table that will be used daily needs a paint that is durable and can withstand spills. I recommend BEHR Premium Plus Ultra in an Eggshell enamel finish. (You don’t need an entire gallon, one quart is plenty.) This paint is stain-blocking and is paint & primer in one. For a super bright white, use Ultra Pure White.

Apply 4 thin coats of paint with a foam roller. Wait 2 hours between coats. Don’t let the first few coats discourage you. They will show the laminate underneath. Be patient, the end result will be a beautiful smooth finish.
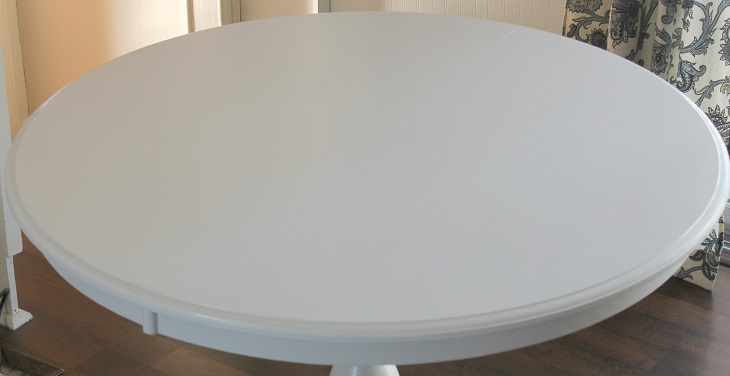
This is what the table looks like after one coat:

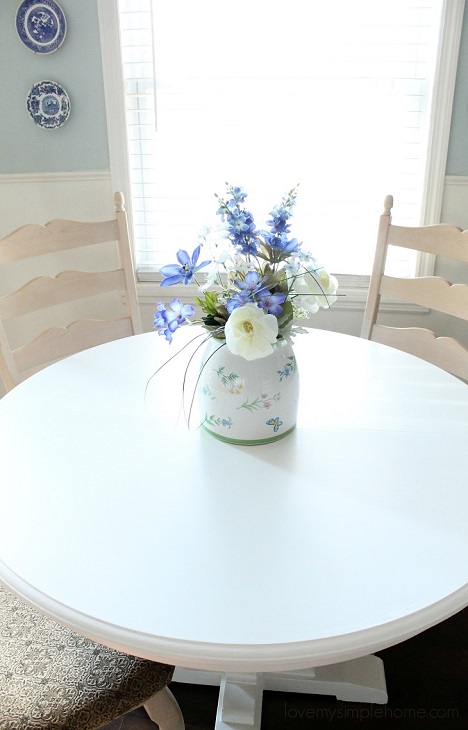
Here is the same table after 4 coats:
If you are painting your base, use a paintbrush to paint the legs and other parts of the table that are not easily accessible with the roller.
Paint a Laminate Table Top Step 4: Seal
The final step to keep your table beautiful and help it stand up to wear is to seal it! Use at least 3 coats of Minwax Polycrylic clear satin to seal the top of the table. Using a synthetic paintbrush apply one thin coat and let it dry overnight (patience). Then lightly hand sand with a 320 grit sandpaper. Clean off the surface and add another coat, wait 2 hours and apply the final coat (or more coats if desired).
Allow the sealer to harden for at least 48 hours. Then start eating at your beautiful new table.
Would you believe this table was an ugly laminate tabletop if you had not seen the before pictures?
That’s it, I hope this tutorial was helpful!

If you liked this post, I think you’ll also love these posts because they will help you transform more furniture in your house!

Faux Weathered Gray Wood Grain Table Top Tutorial
How to Paint a Knotty Pine Dresser